
Make gorgeous gifts and crafts using items from your recycling bin, scrap pile or even the trash. 35 creative and eco-friendly DIY gift ideas!

DIY Gift Ideas & Crafts
When it comes to giving something meaningful, DIY gifts are always a win. Whether you’re celebrating a special occasion, surprising a family member, or getting ready for the holiday season, the best part about these amazing homemade gifts is the love and thought that go into them.
Unlike store-bought gifts, these crafty ideas show off your creativity and add that personal touch everyone appreciates.
In this post, we’re sharing fun and easy DIY gift and craft ideas that are perfect for any time you want to make someone feel extra special.
Gift & Craft Ideas Made from Trash, Scraps & Recyclables
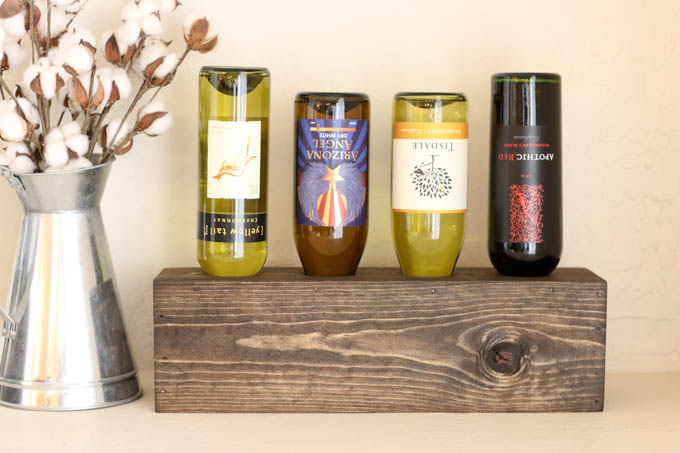
Scrap Wood Wine Holder
A scrap wood wine holder is a great way to repurpose leftover wood into something stylish and useful. With a simple step-by-step tutorial, you can create a handmade piece that’s both practical and thoughtful—perfect for impressing any gift recipient.
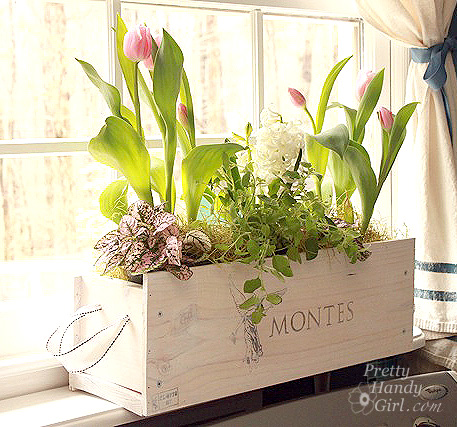
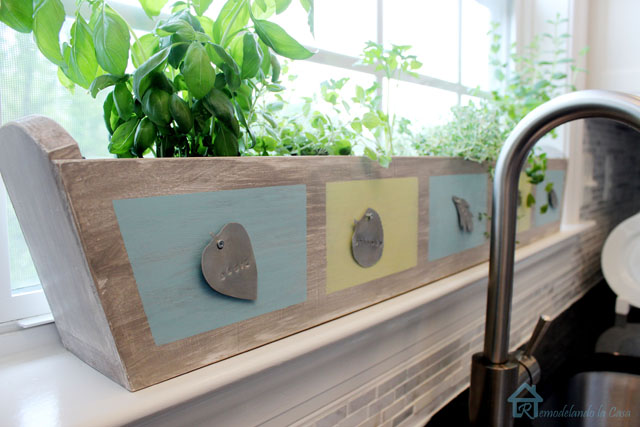
Window Box from a Wine Crate
A window box from a wine crate is a creative and eco-friendly project that makes a great gift idea. It’s especially perfect for Mother’s Day, adding a personal touch she’ll love.

20 Upcycled Recycled Glass Crafts
20 upcycled recycled glass crafts that make the best gifts! From mason jar projects to your own candles and homemade bath salts, each idea can be customized to the recipient’s interests.
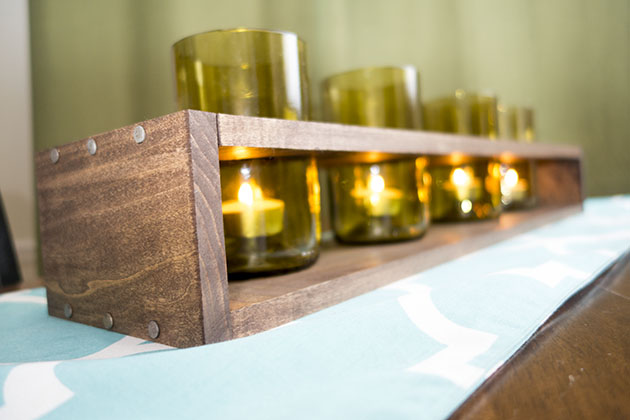
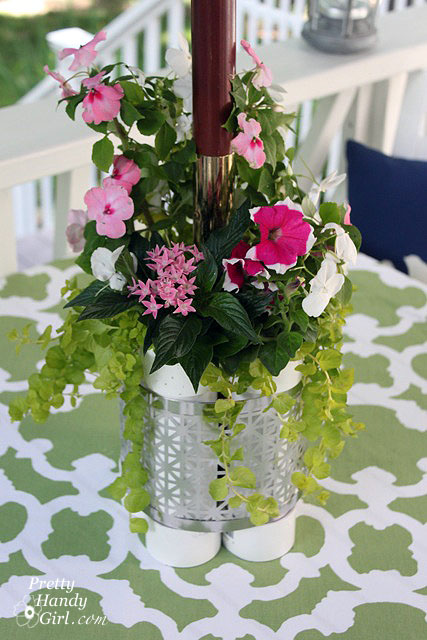
Rustic Wine Bottle Centerpiece Gift Idea
This rustic wine bottle centerpiece gift idea comes with a full tutorial so you can make it yourself. It’s a creative idea that works for any time of year!

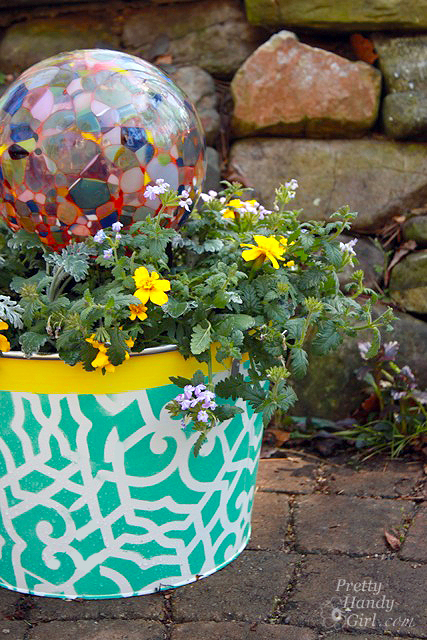
Don't Pitch Glass Bottles-Cut Them in Half!
Don’t pitch glass bottles—cut them in half and turn them into something amazing! From planters to décor, this DIY is perfect for upcycling your favorite things and makes a unique gift, especially when you add pretty flowers.

DIY Gold Leaf Bottle Vases
DIY gold leaf bottle vases are a fun way to upcycle bottles into chic décor. They also make thoughtful gifts that are sure to be a hit.
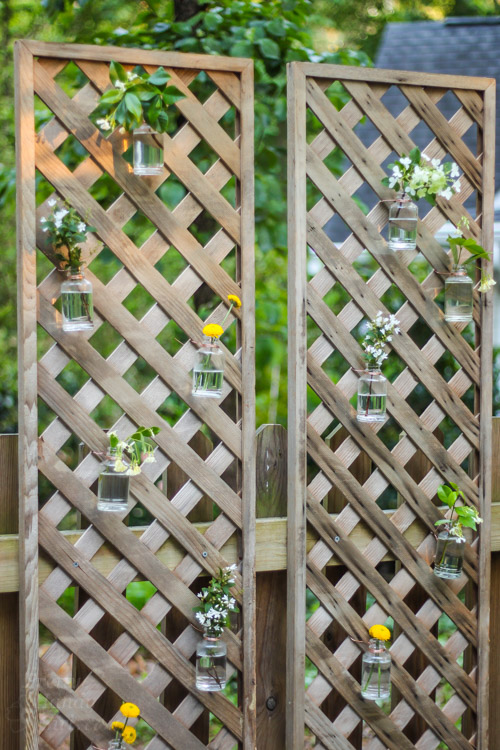
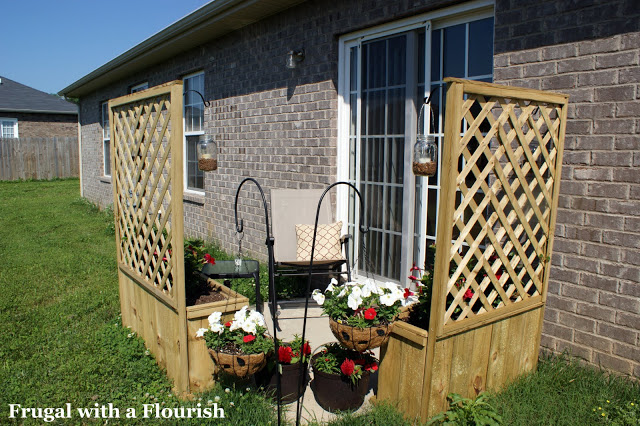
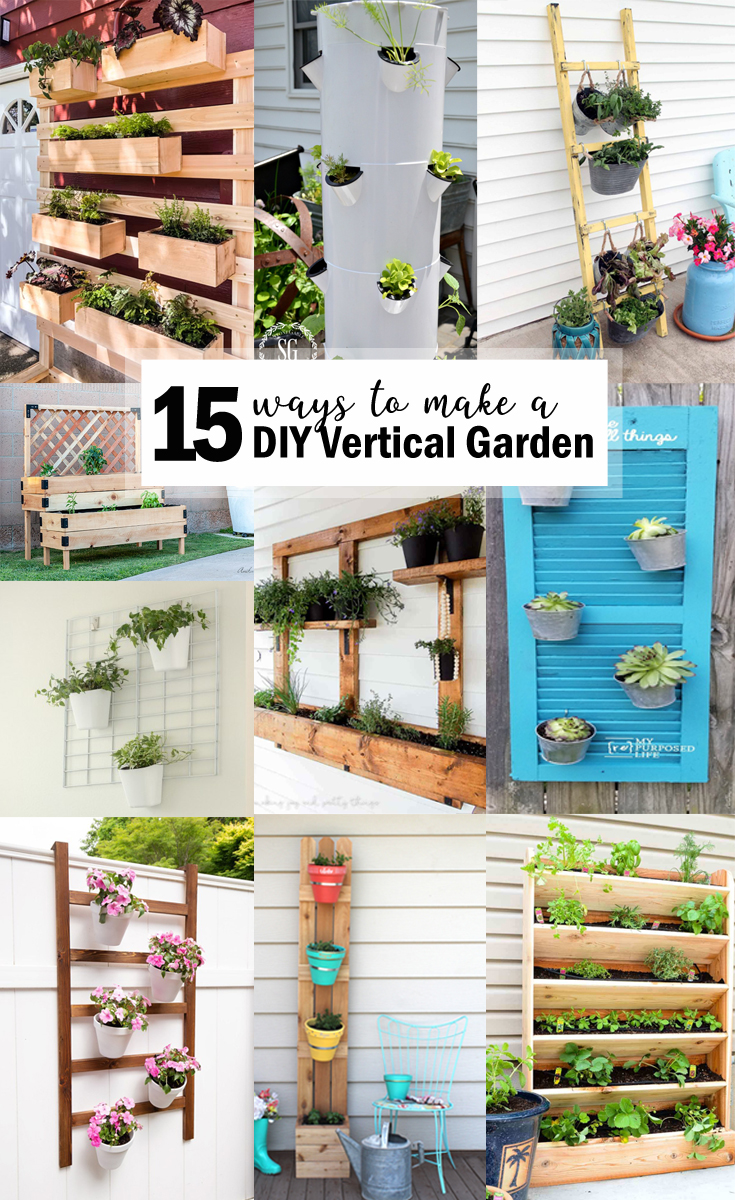
Create a Living Wall Lattice Privacy Screen
Create a living wall lattice privacy screen that not only adds charm to your outdoor space but also goes the extra mile by providing both beauty and function.
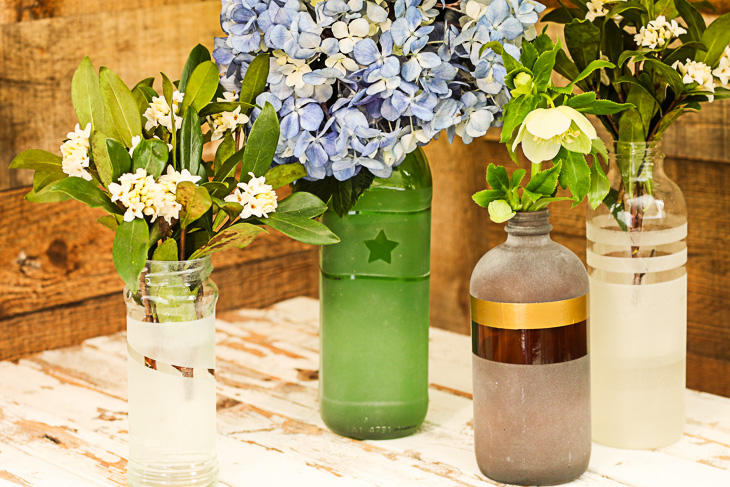
Frosted Glass Vases from the Recycling Bin
Turn old jars and bottles into frosted glass vases from the recycling bin! This easy DIY is budget-friendly, stylish, and perfect for home décor or gifting.
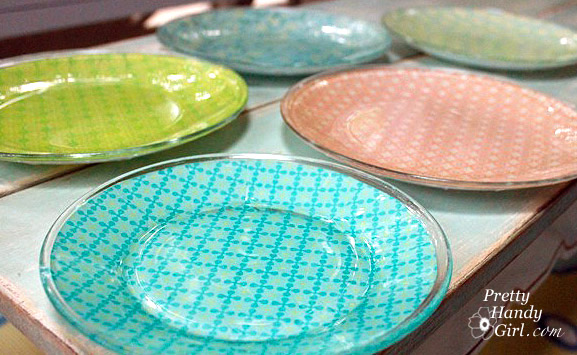
Easy Decoupage Citrus Glass Plates
These easy decoupage citrus glass plates are a fun way to add a pop of color to your table or gift. Pair them with a printable tag for a thoughtful handmade touch.
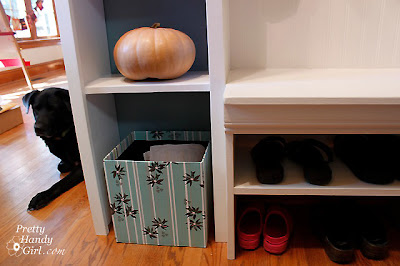
Create Your Own Decorative Bin
Create your own decorative bin with this easy DIY project! A functional way to add style to your space while keeping things organized.
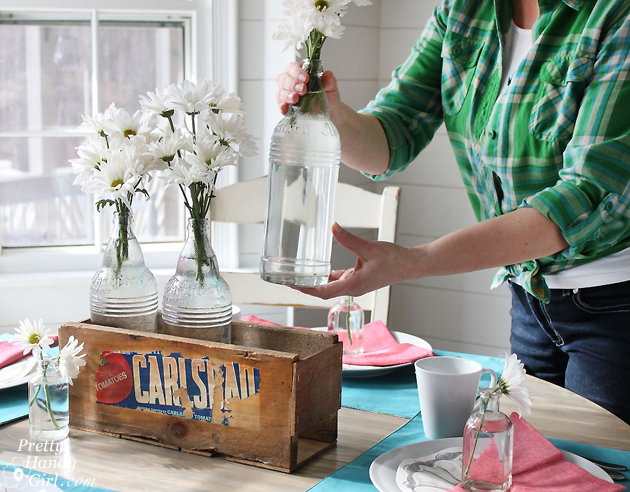
Build a Vintage Produce Crate Centerpiece - No Power Tools!
Create a charming vintage-inspired centerpiece using an old produce crate—no power tools required! Perfect for farmhouse décor, seasonal displays, or a rustic touch for your table.
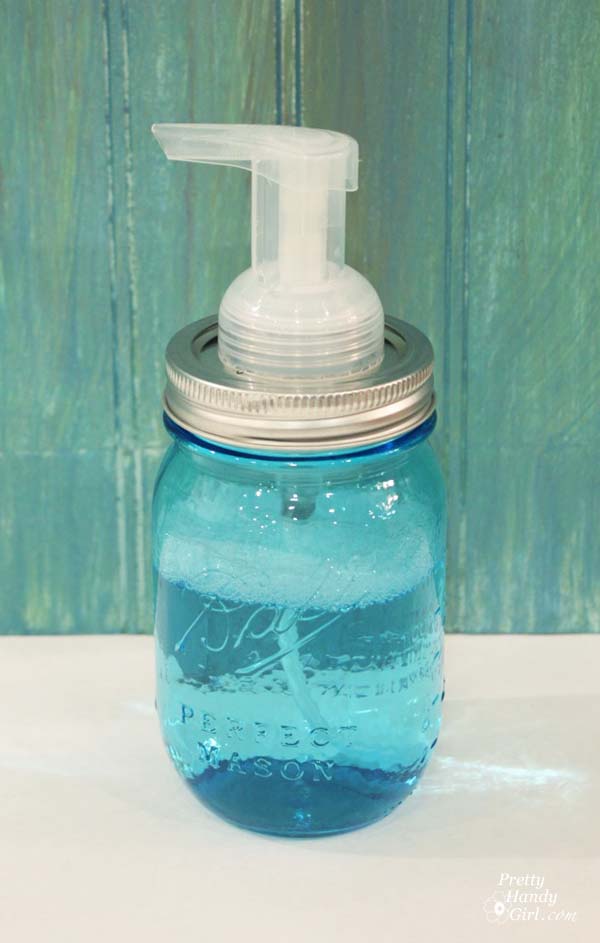
How to Make a Mason Jar Foaming Soap Dispenser
Learn how to turn a simple mason jar into a stylish foaming soap dispenser—perfectly paired with homemade bath bombs for a thoughtful, DIY spa gift!
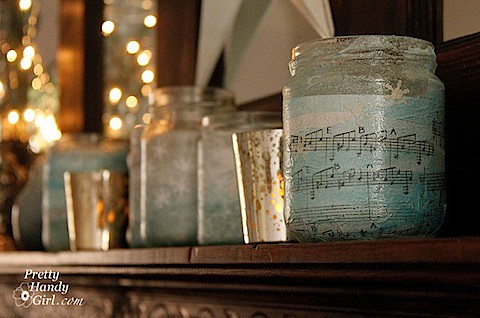
Glass Jar Votive Holders
Craft simple and elegant glass jar votive holders—perfect for adding a warm, cozy glow to any room or table setting.
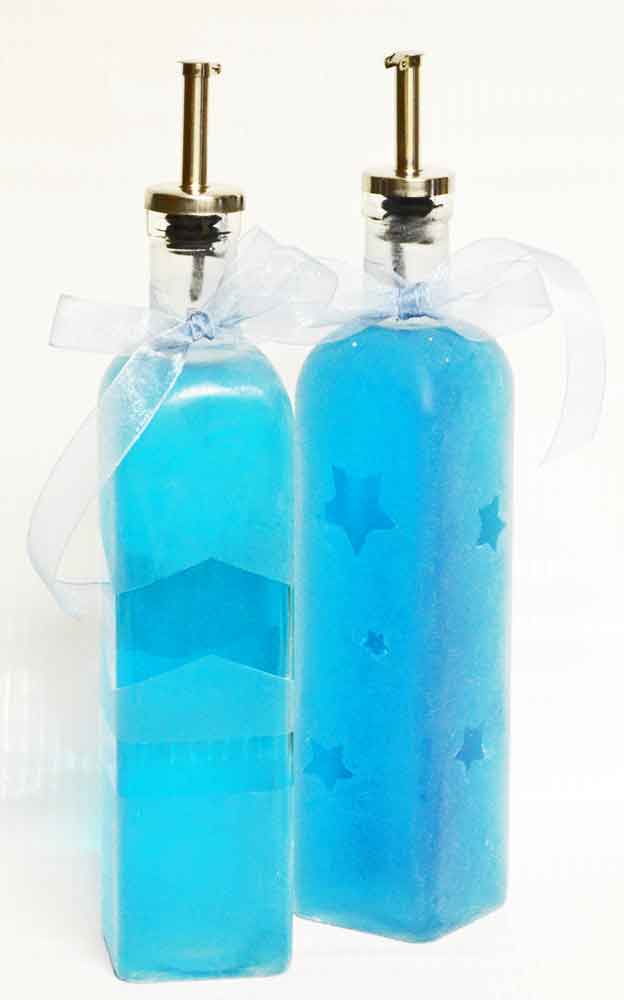
Faux Etched Glass Soap Dispenser Gift
Create a beautiful faux etched glass soap dispenser—a chic, personalized DIY gift that looks store-bought but is totally handmade!
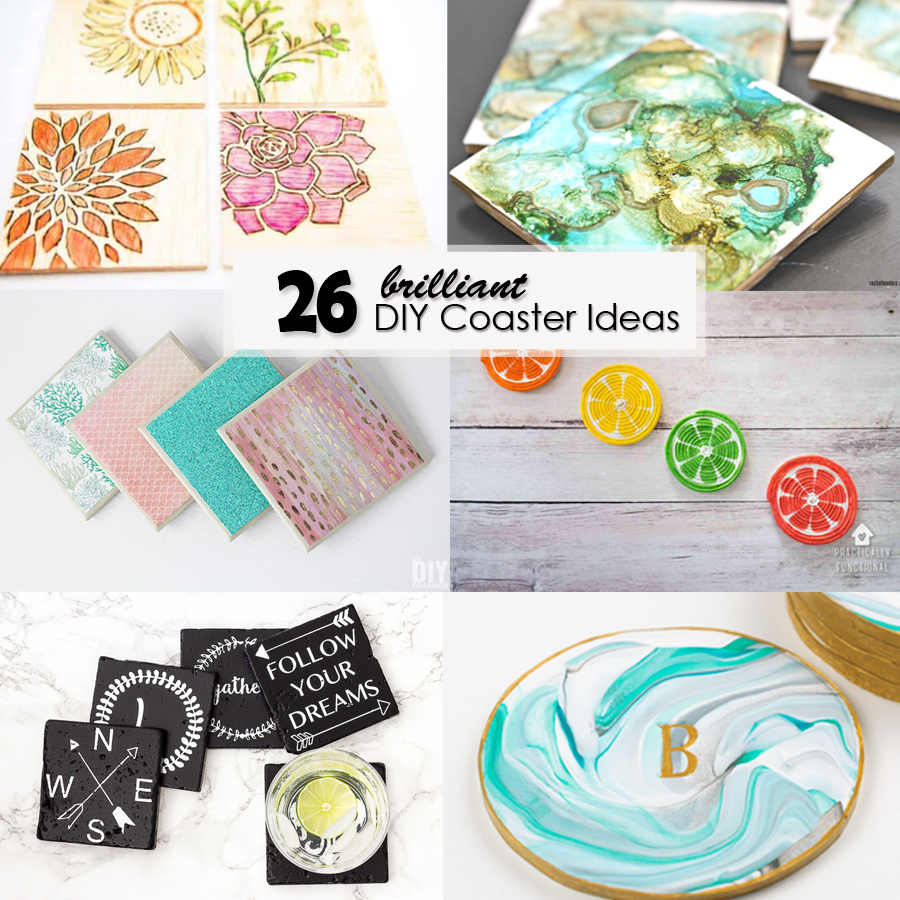
26 Brilliant DIY Coaster Ideas
Discover 26 brilliant DIY coaster ideas—from rustic wood to colorful resin—that are both functional and fun to make for your home or as gifts!
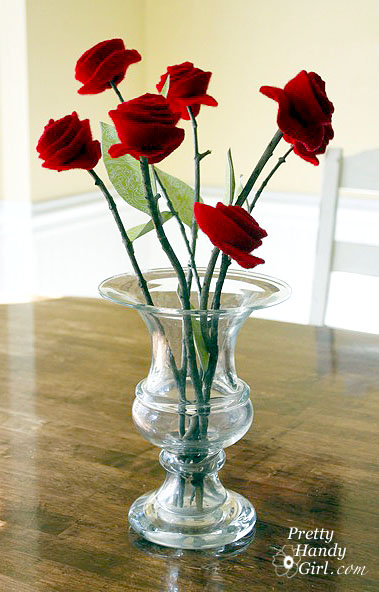
Wool Roses on a Stem
Craft elegant wool roses on a stem for a lasting, handmade bouquet—perfect for home décor or thoughtful, timeless gifts.
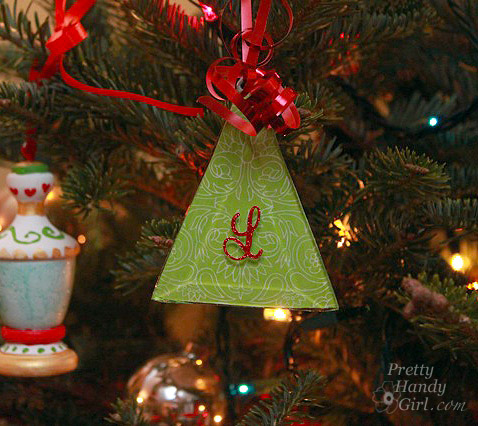
Beveled Glass Ornaments from an Old Brass Light
Create beautiful DIY ornaments with beveled glass by upcycling an old brass light—a sparkling, creative project that adds unique charm to your holiday decor!
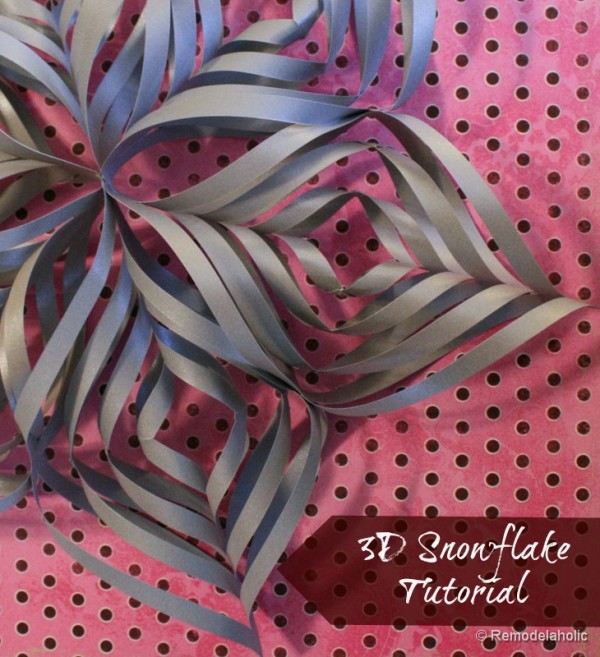
3-D Snowflake Tutorial
Learn how to make a 3-D snowflake—a standout DIY ornament that adds a unique, eye-catching touch to all styles of Christmas trees.
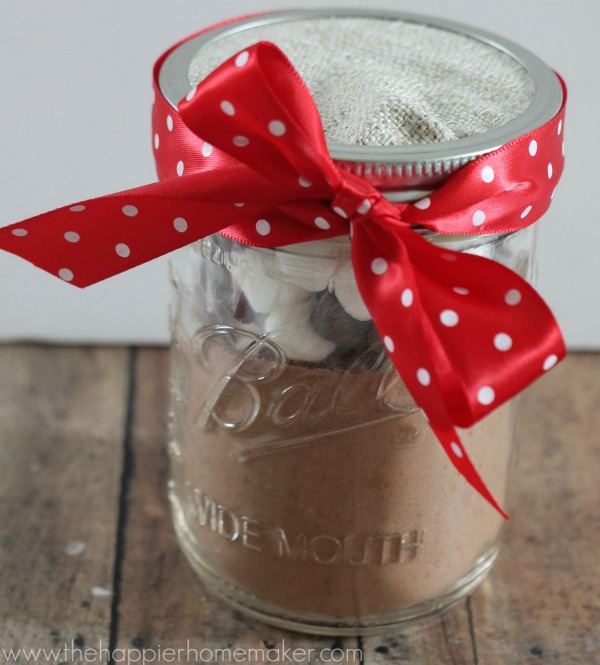
DIY Gift Idea: Hot Cocoa Mix in a Jar
Whip up a cozy DIY gift with homemade hot cocoa mix in a jar—a sweet and simple treat that’s perfect for the holidays or any chilly day!

Lemon Zest Popcorn Recipe
Try this zesty twist on a classic snack with our Lemon Zest Popcorn recipe—bright, flavorful, and perfect for a light, refreshing treat!

Hostess Gift Basket in a Paint Can
One of my favorite handmade gift ideas is to put together a gift basket. Here is a charming hostess gift basket in a paint can—a fun, creative way to package your favorite DIY gifts for any occasion!

Aged Painted Pail Tutorial
Learn how to transform a plain pail into a rustic, charming piece with this aged painted pail tutorial—perfect for decor or storage!
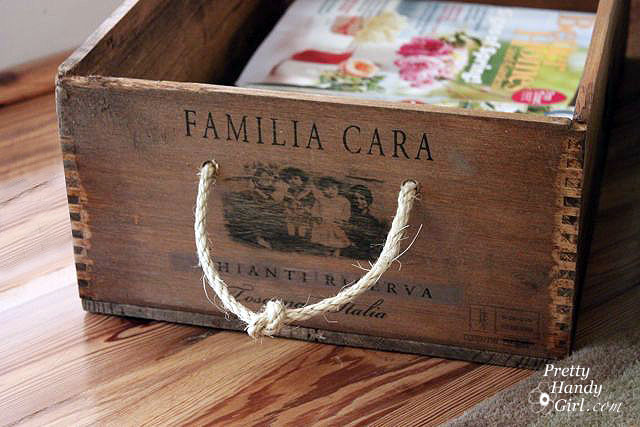
Rustic Wine Crate with Rope Handles
Craft a rustic wine crate with rope handles—a stylish, functional DIY that’s perfect for home decor, storage, or gifting. This would be a perfect gift for book lovers to hold their favorite books.
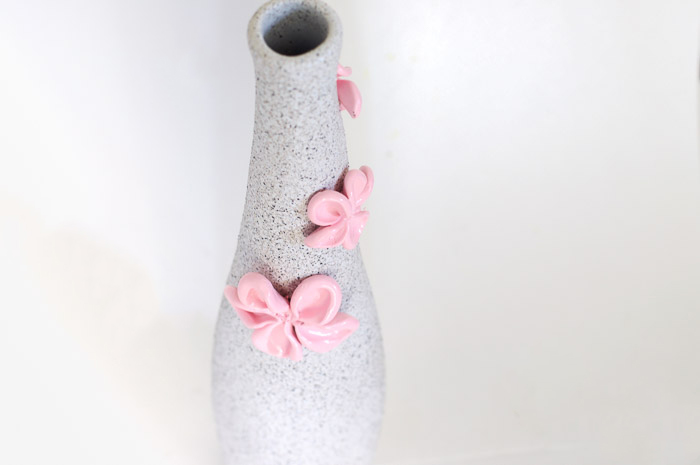
Faux Stone Vase from Recycled Bottle
Transform a recycled bottle into a faux stone vase—a stylish gift that adds a chic, handmade touch to any space.
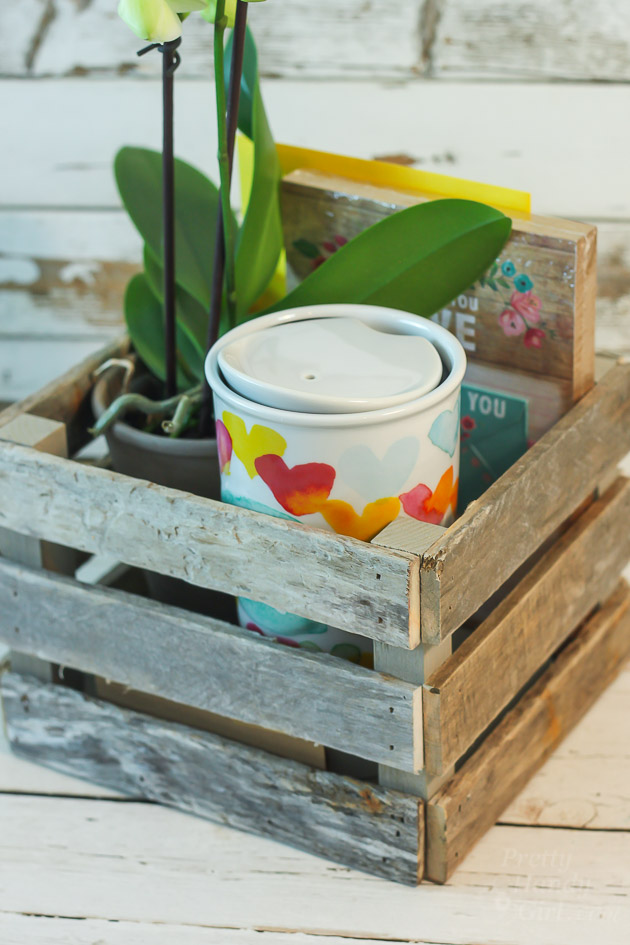
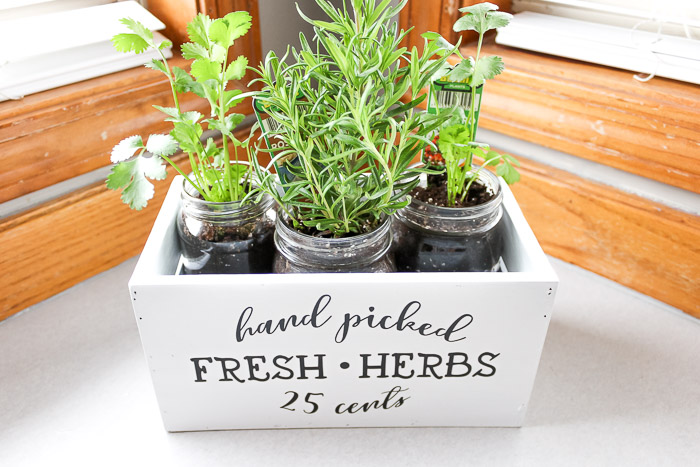
Make a Driftwood Gift Crate
Create a driftwood gift crate—a thoughtful DIY for plant lovers, complete with space for a personalized, heartfelt message.

DIY Spring Wreath
Welcome the spring season with a DIY spring wreath—bright, cheerful, and easy to make using scrap paper and buttons!

Recycled Glass Jars for Teacher Appreciation Week
See how I made these adorable little vases by saving up a bunch of recycled jars.
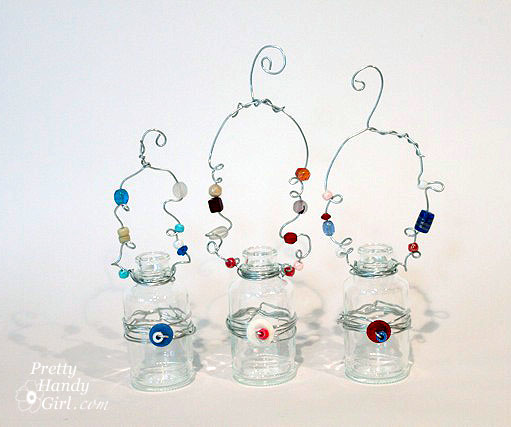
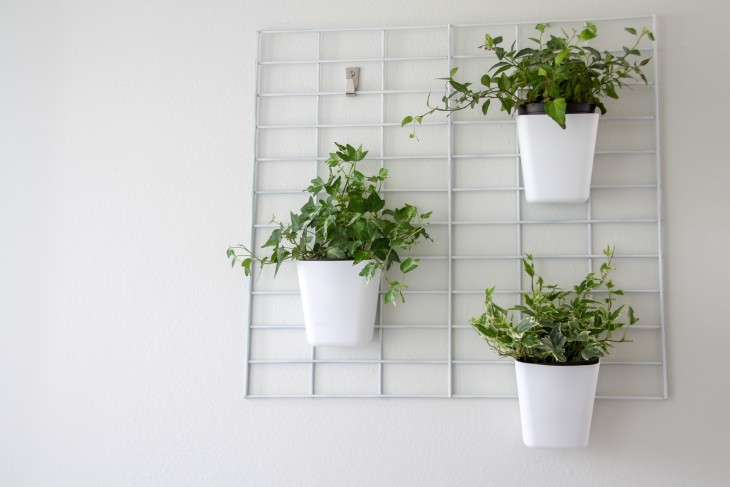
Hanging Beaded Glass Flower Vases
Craft hanging beaded glass flower vases—a beautiful DIY project that adds sparkle and charm to any room or outdoor space.

Spray Painted Glass Jars and Bottles
Give old glass jars and bottles a fresh, colorful makeover with spray paint—perfect for stylish DIY decor or personalized gifts!

Simple Washi Tape Vases
Create simple washi tape vases—a quick, colorful DIY that adds a playful, personalized touch to any room or table setting.

Simple Vases using Radiant Orchid
Brighten your space with simple vases in Radiant Orchid—a stylish, easy DIY that adds a pop of color to any space.

Rustic Bark Vases
Craft rustic bark vases—a natural, charming DIY that brings a touch of woodland beauty to your home, or to gift.

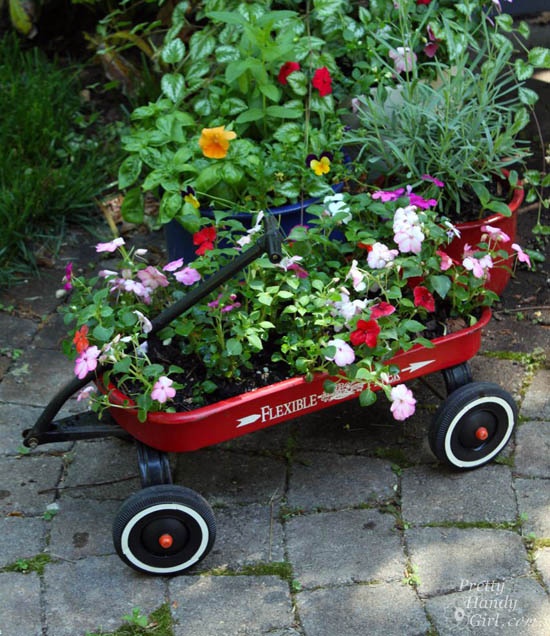
Clever DIY Upcycled Vases
Turn everyday items into clever DIY upcycled vases—a creative, eco-friendly way to gift flowers, or plants.
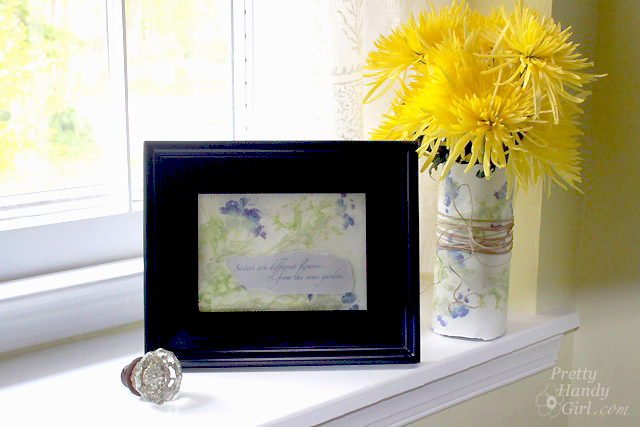
Easy Pounded Flower Gift Ideas
Create easy pounded flower gifts—perfect DIY ideas for college students looking for thoughtful, budget-friendly, and personalized presents.
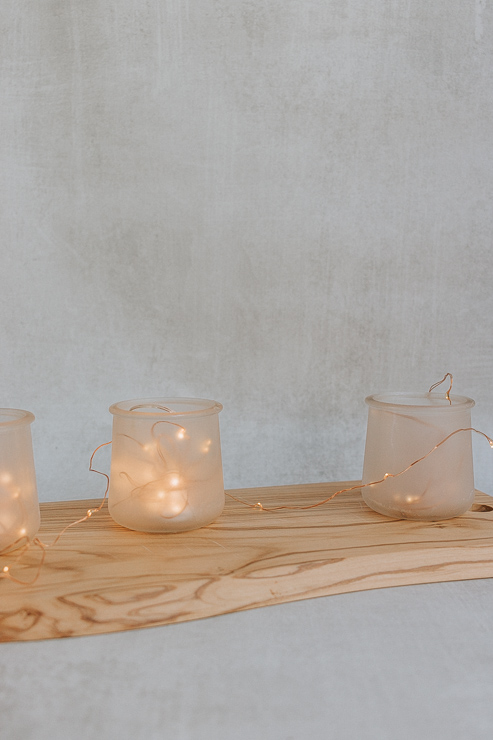
DIY Frosted Votive Candle Holders
Make DIY frosted votive candle holders—a simple, elegant project that adds a soft, cozy glow to any space.
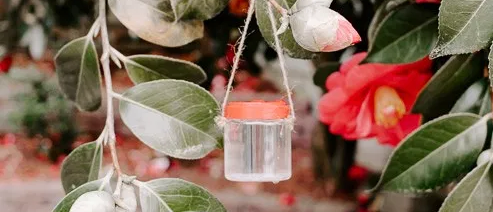
Kid-Friendly Craft: DIY Hummingbird Feeder
Make a kid-friendly DIY hummingbird feeder—a fun, hands-on craft that brings colorful birds right to your backyard!
PIN FOR LATER

Are you inspired to create your own DIY gifts after seeing these ideas? There are so many great crafts too!
Thanks for stopping by.

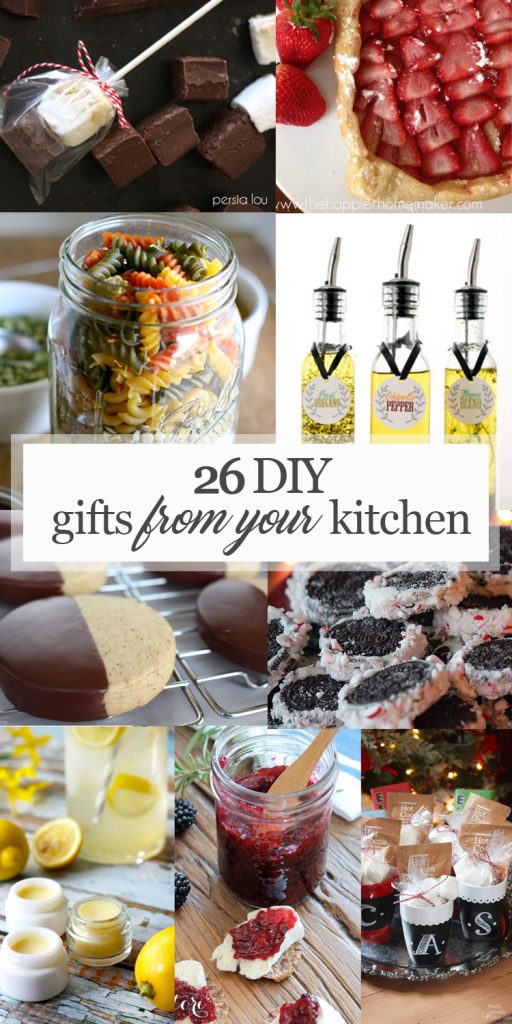
If you like this post, you may also like this post with DIY gifts from your kitchen.


