DIY Holiday Napkin Rings made from inexpensive Garland

Festive DIY Napkin Rings for your Holiday Table

Happy Holidays! I thought it would be very apropos to share this easy last-minute holiday napkin ring tutorial with you all. It’s that time of year when time is short and things are busy.  The last thing we need is to stress about table settings.  If you happen to need something quick to dress your tables,  these festive DIY napkin rings will have you covered!

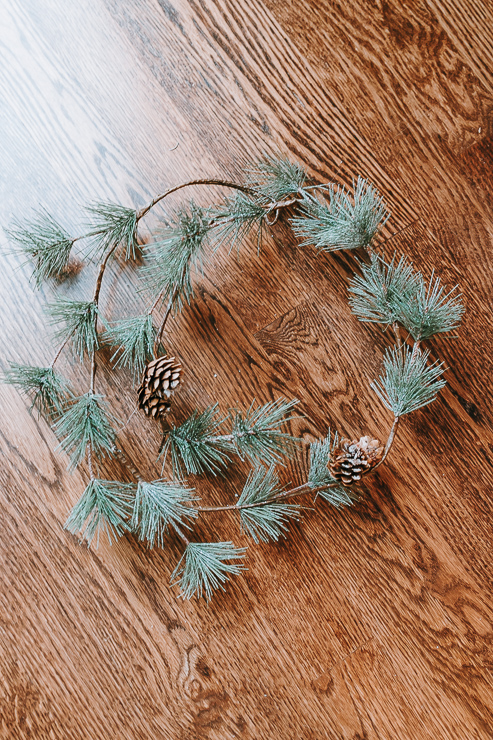
I got the idea for this while I was in Target. Of course, I love to peruse their home decor aisles, which are filled with holiday decor at the moment. I saw this lovely little green garland for $8! Bargain! I am picky about my faux greenery, but this one looked pretty good (especially for the price). I knew I could make this into a cool centerpiece or napkin rings.

Greenery Napkin Ring DIY

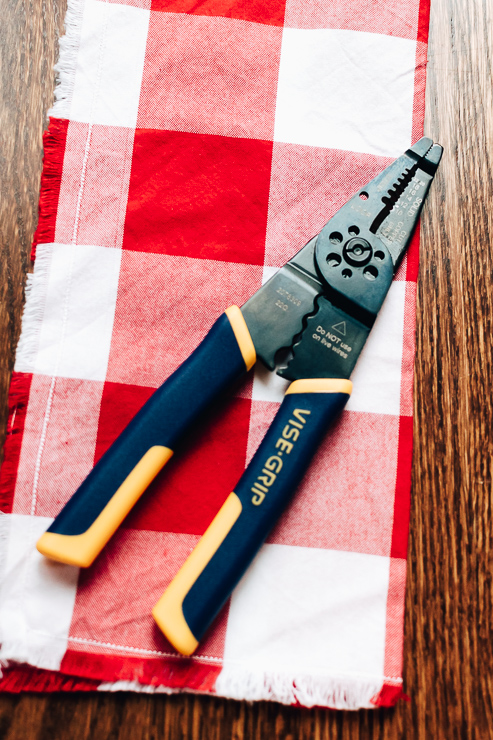
You can follow these same steps to make napkin rings out of any holiday garland.  Dollar Stores might be a good source for inexpensive garlands.  It’s helpful if your garland has a bendable wire with it, this makes shaping the rings easier.  I would also like to suggest that you use wire cutters for cutting the wire.  Strong scissors may do the job, but it can be tough. And why ruin your good scissors?

wire cutters for cutting wire garland

Let’s get started, shall we?

Materials:

(I’ve included affiliate links for your convenience. I earn a small percentage from a purchase using these links. There is no additional cost to you. You can read more about affiliate links here.)

inexpensive christmas garland

Instructions:

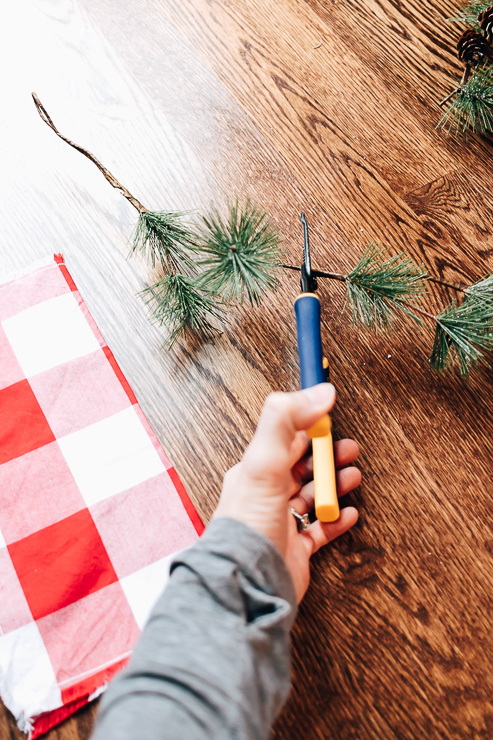
Step 1: Cut a small piece of garland.

cut off small piece of garland

Take your wire cutters and cut a piece of garland. The length will depend on how thick your napkins are. I have these frayed red buffalo check napkins that I made for the 4th of July, and I’m reusing them for the holidays! (You can check out the tutorial for those red napkins right here.) The material is somewhat thin, so I cut about a 4-inch piece of garland.

Step 2: Bend Garland Piece into a ring

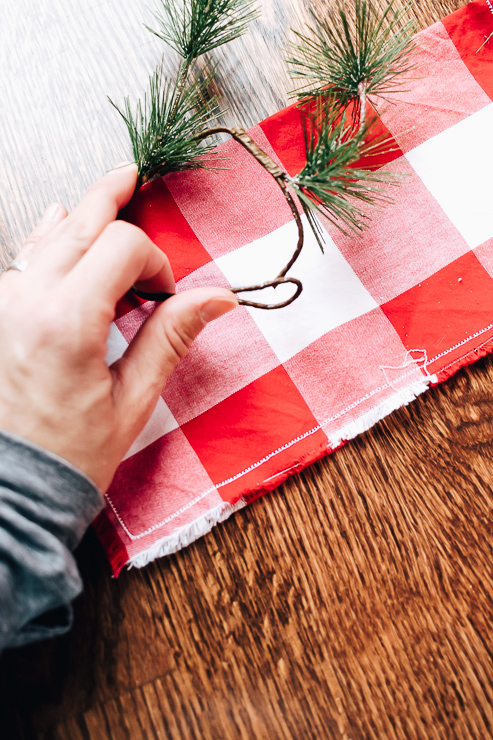
shape your garland piece into a ring

Bend your garland piece into a ring. This is why it helps to be using garland with wire! All you have to do is mold it in a circle and twist it together. Then you can fluff up the greenery on the ring any way you like.

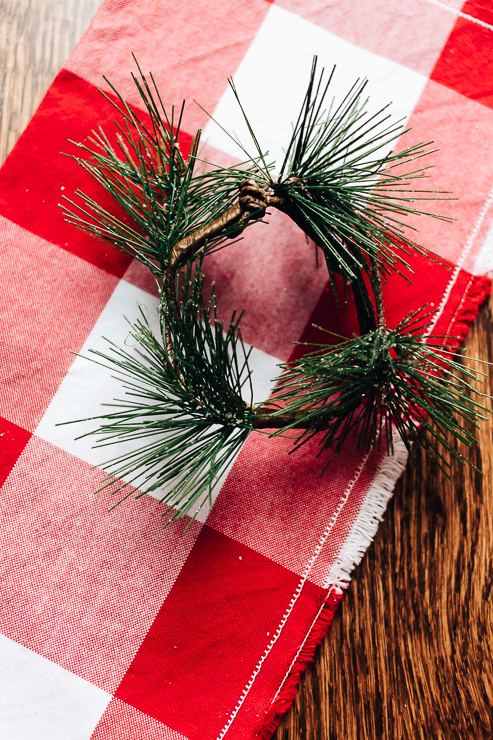
ring of garland

Definitely ensure that your ring doesn’t have any sharp, exposed wires. If so, just clamp it down with pliers.

Step 3: Insert your napkin

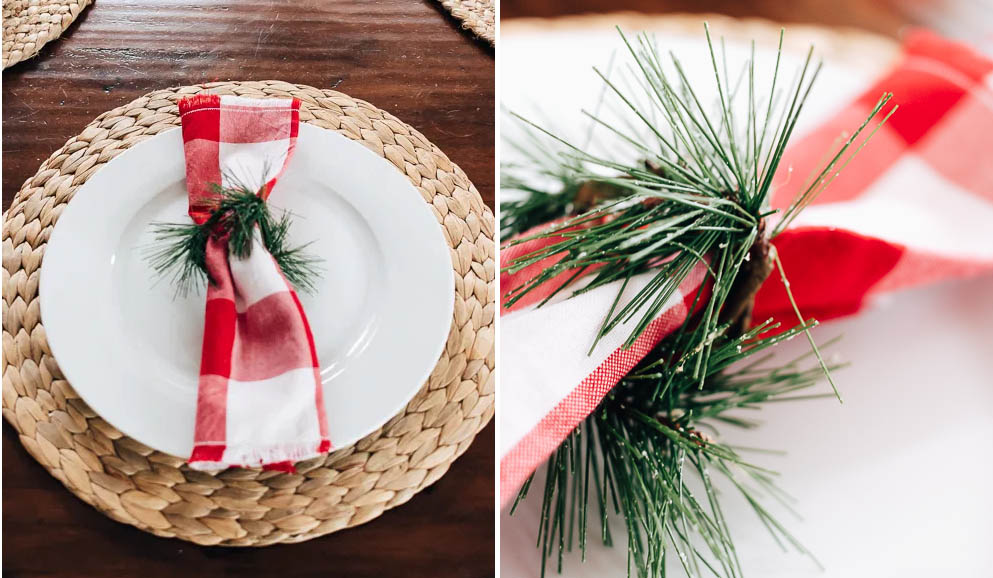
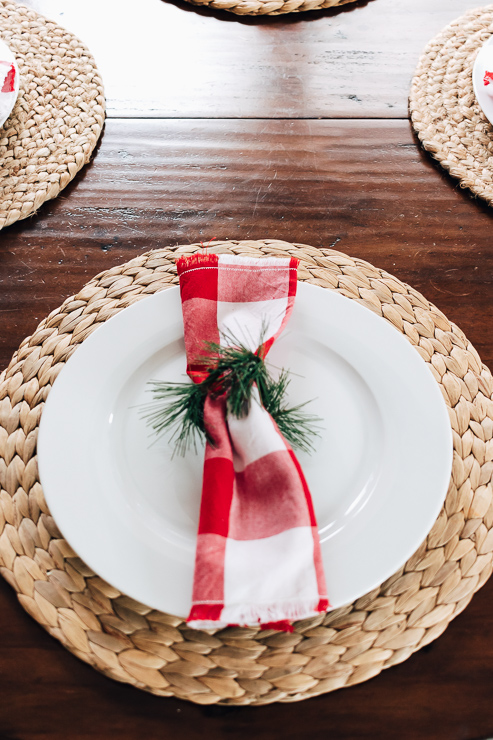
Red Napkins with DIY Napkin Rings made from garland

Now for the fun. Take the whole napkin and pull it through the ring. But here’s another way to do this.

Take your napkin and lay it out flat. Grab the napkin in the center and place your napkin ring over the center fold. Voila!

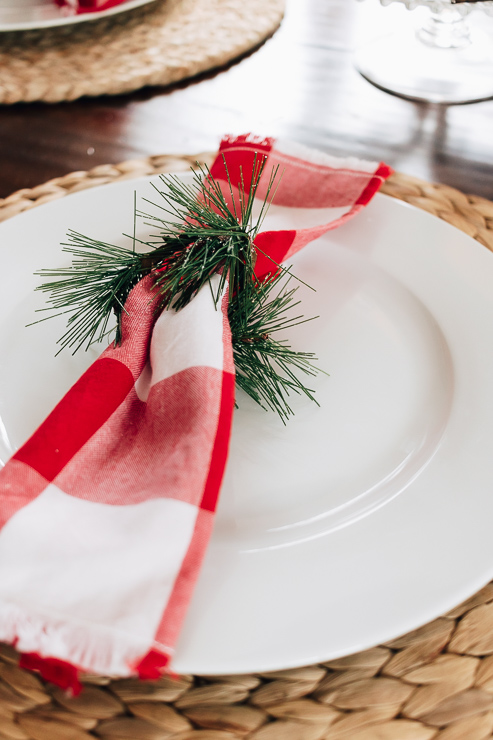
close up image of green napkin rings around a red holiday napkin

I think napkin rings really add to place settings, especially if you’re like me and only have a small round table. It’s stylish without overcrowding the table. I think these extra touches really make the holidays feel special. And instead of spending $5 on each napkin ring, you spent $8 on the whole project. As a bonus, you’ll probably have garland leftover to decorate with!

If you want more great ideas for your Holiday table, check out this gorgeous Holiday Tablescape.

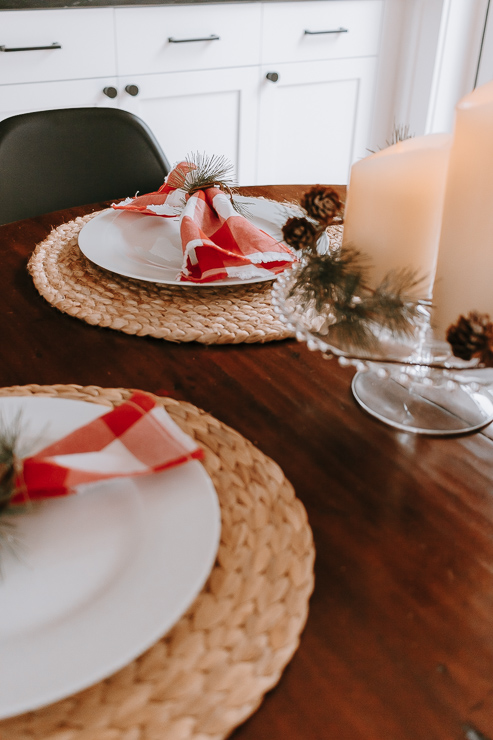
Christmas Table with candles and red napkins and festive napkin rings

I want to take a moment to wish you all a Happy and safe Holiday and a Joyous New Year. I’ve now been writing for Pretty Handy Girl for a year, and I couldn’t be more thankful for this opportunity to connect with you all. Thank you so much for being a reader! It means so much to me to have you here.

karen signature

~ See More of Karen’s Tutorials ~


karen from decor hintHello!  I’m Karen, the creator of the Home Decor and DIY Blog: Decor Hint. I’m a Native of the East Coast, but I currently live in beautiful Seattle with my hubby, our two wonderful children, and our spunky wheaten terrier.

You can usually find me with some sort of craft in one hand and a coffee in the other. And I’m always rearranging furniture or moving lamps from room to room. I have a passion (read: obsession) for decorating, DIY, and gardening. In short, I love making my house into a home.

Like many, I’m inspired by what I see in home decor magazines, but I’m not so inspired by the price tags.  Consequently, I love finding and creating beautiful budget-friendly home decor items. In a head to head competition, I bet you’d never know the difference between the designer items and my DIY creations!  Many of my DIY projects focus on sewing, crafting, upcycling and organizing. Some of my favorite projects have been making pretty wreaths, sewing my own tassel hand towels, and crafting these trendy wood bead garlands. I can’t wait to inspire you and spark your creativity through my DIY projects.

You can always connect with me on Pinterest, Twitter or Instagram.


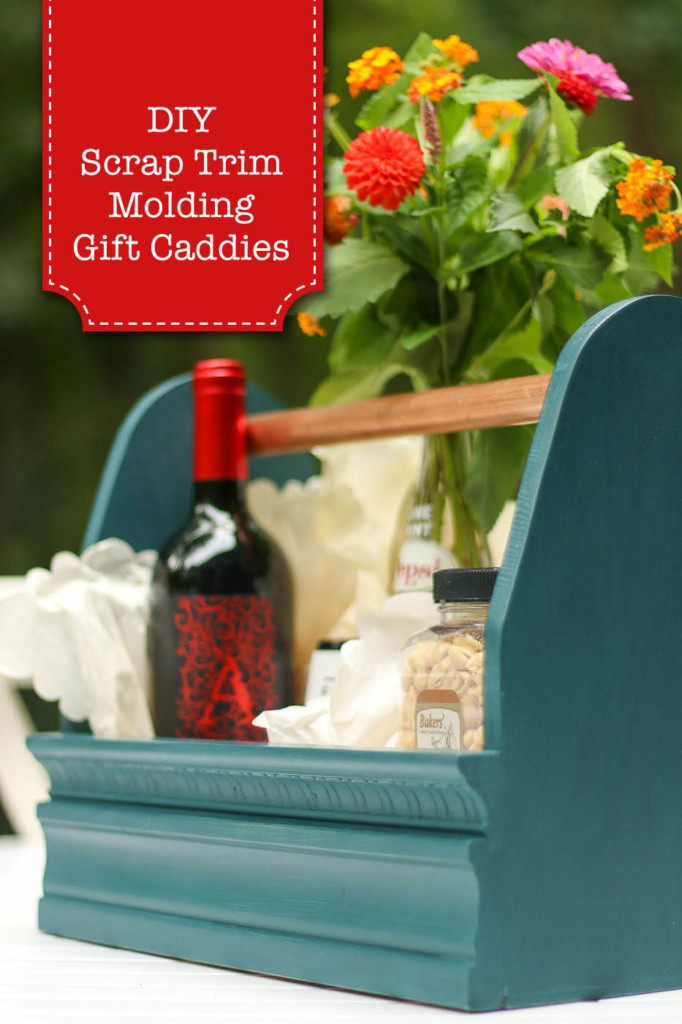
DIY gift caddies made from scrap trim is a great way to create an inexpensive gift basket AND use up all those little pieces of scrap trim in your wood pile.

DIY Gift Caddies using Scrap Molding

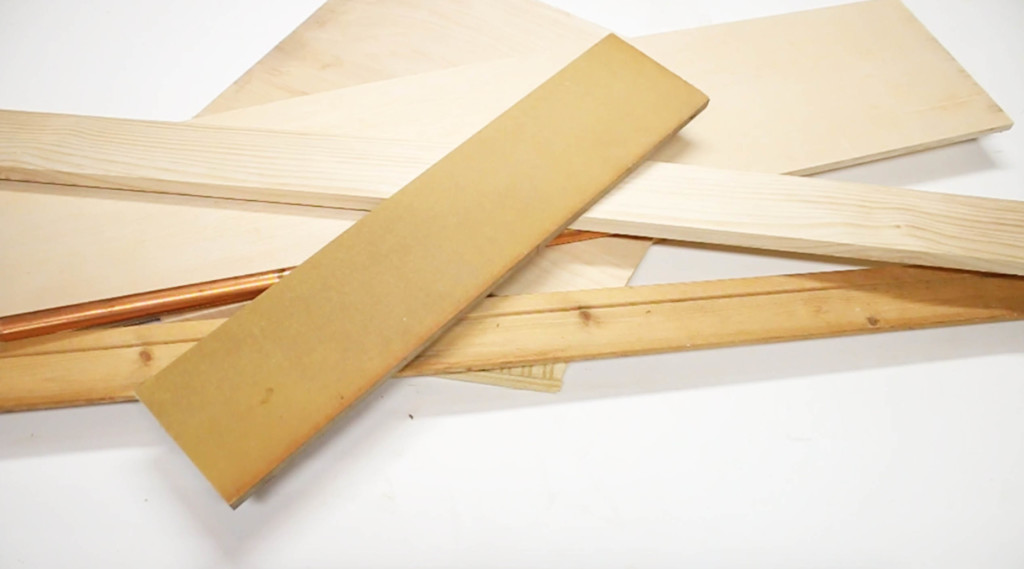
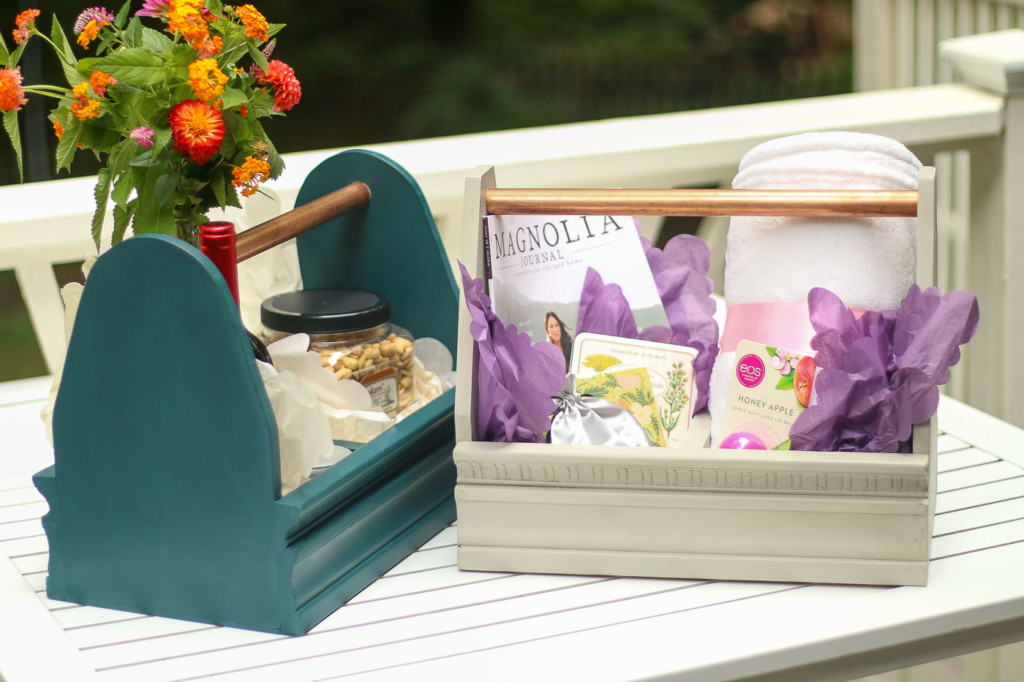
Christmas is a few weeks away and I don’t feel like going shopping in the mall. I’m not really sure what to get everybody. But, after mulling over all the scrap trim in my scrap wood pile, I came up with a genius plan. Gift baskets are always a winning idea for anyone on your list because they can be filled with a variety of gifts in a theme. Fill these caddies with anything you like, but be sure to leave me a comment letting me know what you included in your gift caddies!

Ready to get started? Let’s turn this scrap wood pile into…

… beautiful DIY gift caddies!

Gather these materials and tools and then we can get building!

Materials &  Tools:

(I’ve included affiliate links for your convenience. I earn a small percentage from a purchase using these links. There is no additional cost to you. You can read more about affiliate links here.)

Protective Equipment:

Materials:

Tools:

Cut List:

If you need tips for cutting metal pipe, click here to see how easy it is to cut metal pipes by hand or watch my video:

Scrap Trim Ideas:

You can use any scrap trim molding you have on hand. For a simple caddy, use flat door casing or door stop. For a more decorative look, use trim with more details. No scrap trim? No problem! At Home Depot, you can purchase trim by the linear foot, so feel free to head over there and purchase a 3 foot section of decorative trim for your 18″ long caddy.

You’ll probably want to steer clear of polystyrene trim since it’s not as strong, nails will go right through it, and wood glue generally won’t hold it firmly.

Instructions:

To start this project, cut your wood from the cut list above. Definitely watch my video to learn how to make these simple DIY Gift Caddies using Scrap Molding!

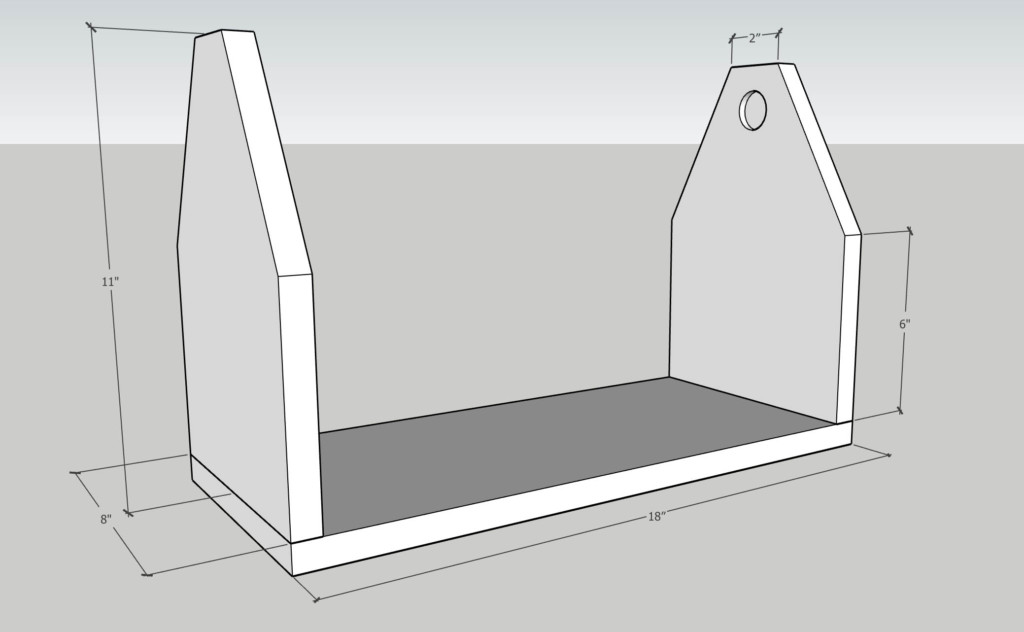
The base of my gift caddy is  8” x 18”, but feel free to make your caddy a custom size based on your scraps or your gifts.

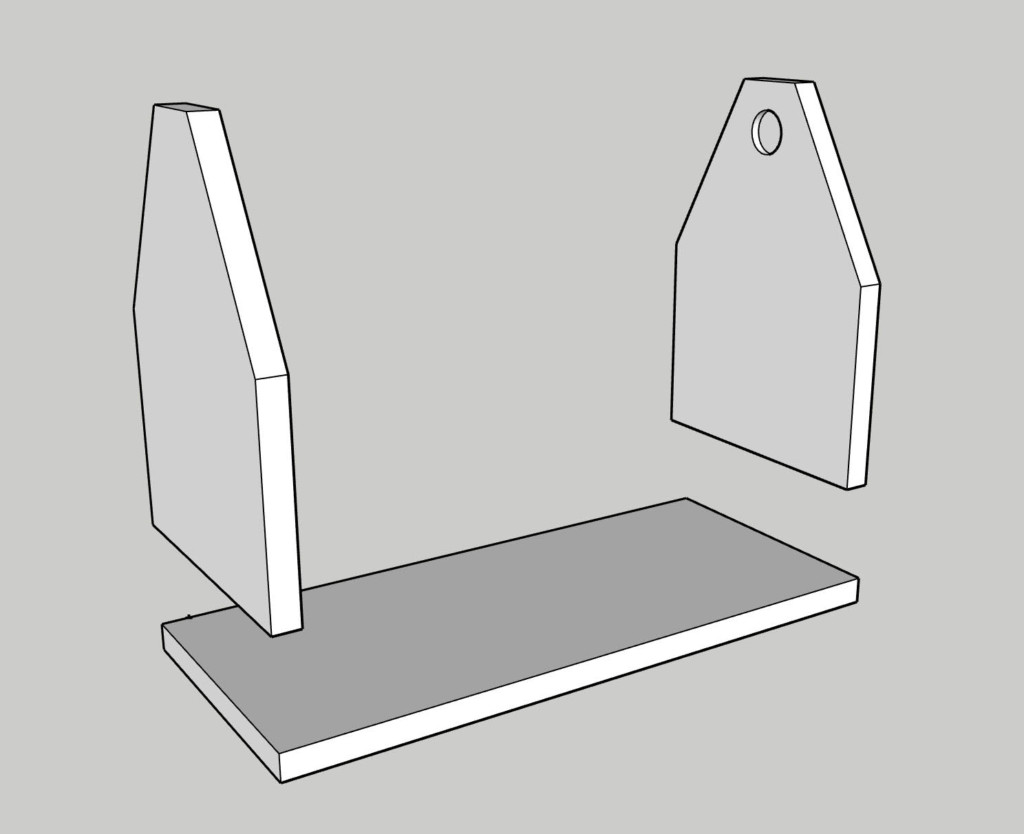
Cutting the top of the sides:

You can curve the top of your caddy by tracing the perimeter of a paint can or another round object.

Make Your Own Street Sign | Pretty Handy Girl

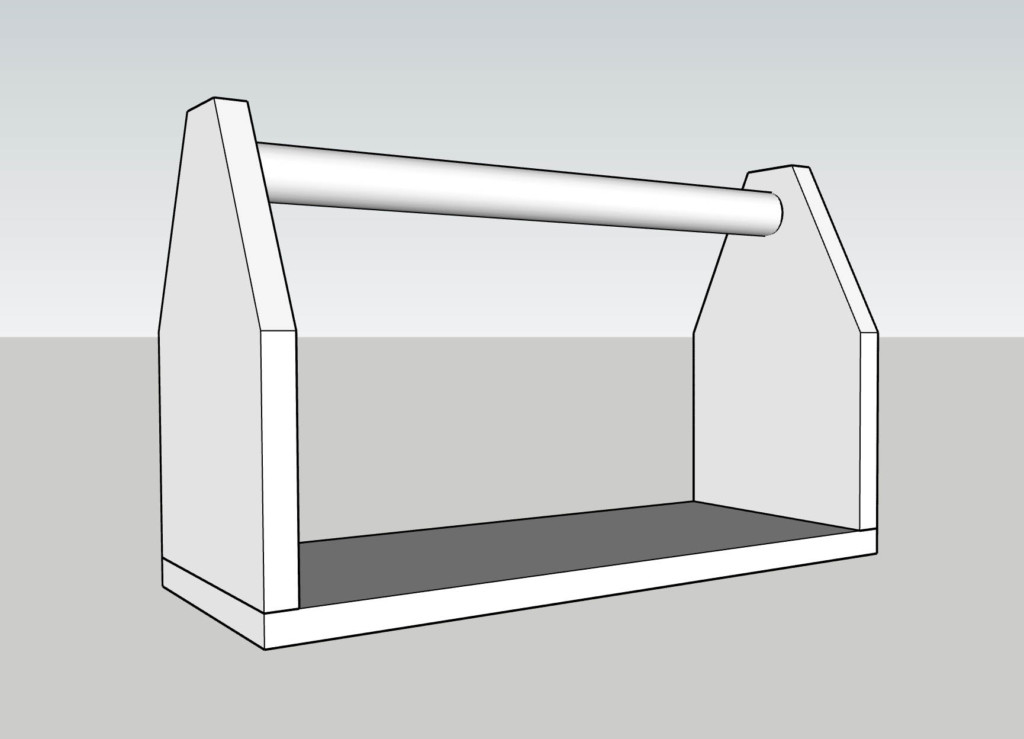
Alternatively, you can cut straight angles off the top corners as shown in the diagram below. Simply mark off two inches at the top of the sides. Then make an angled line down to the location where your trim starts on the sides.

Cut the top profiles using a band saw or jigsaw. If you don’t have either, you can use a coping saw.

Sand off any rough edges from your plywood pieces using a sander.

Adding Scrap Trim:

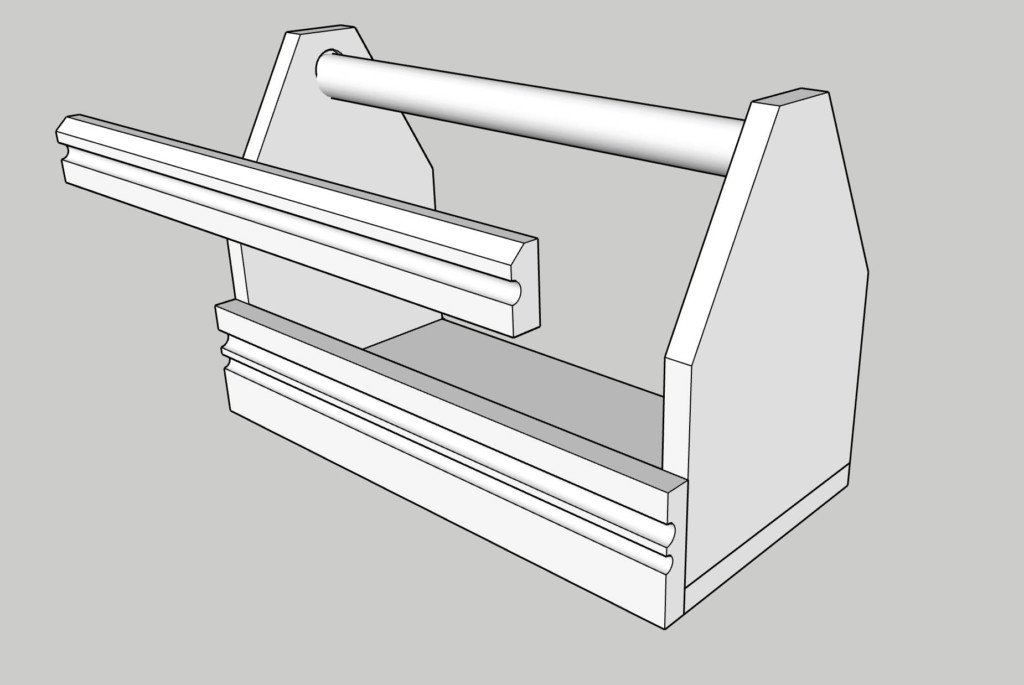
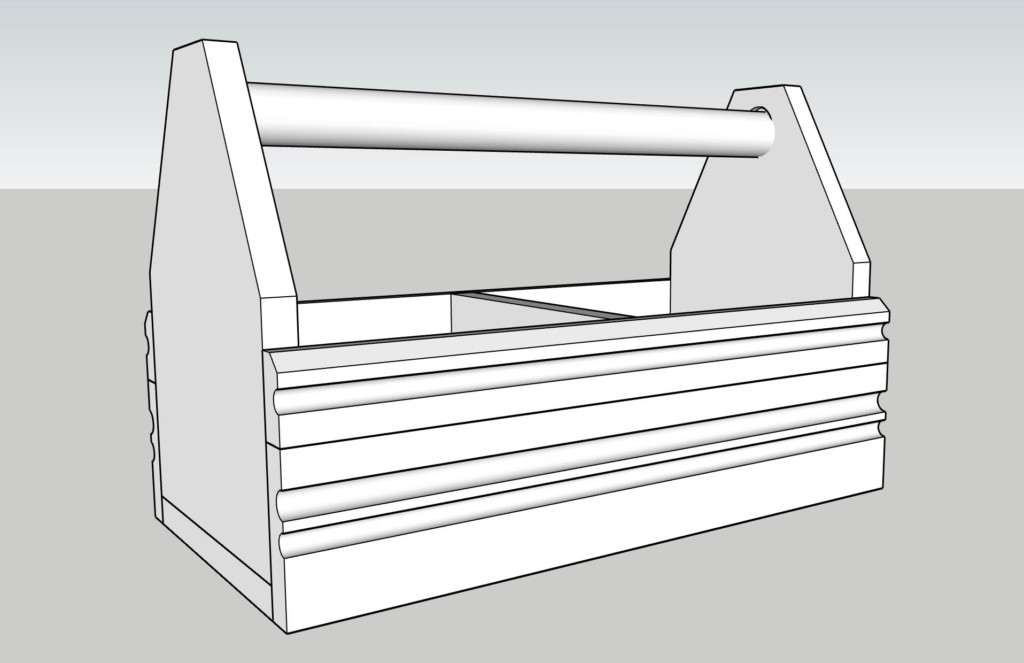
Now it’s time to use all your fabulous scrap trim. You can use whatever trim you have laying around, there are no rules. I chose a piece of door trim and some decorative egg and dart trim for this caddy.

Cut your molding to 18” (the same length as the base).

Caddy Handles:

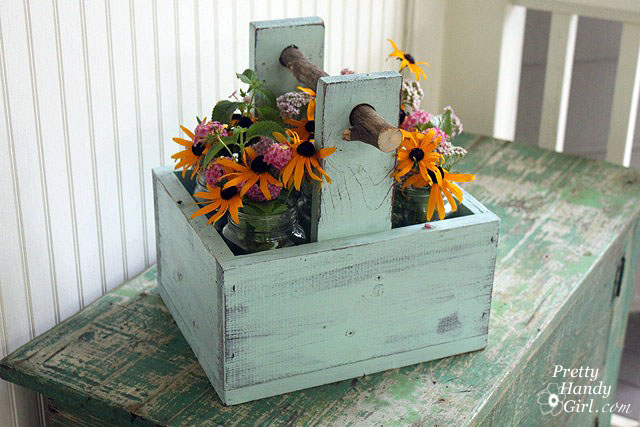
For the caddy handle, I happened to have some copper pipe in my scrap pile, but you can use a dowel, old closet rod, or even a branch like I used on this caddy.

rustic-wooden-caddy-with-branch-handle

Use a forstner bit the same width as your handle to drill halfway into the caddy sides. (For the branch, you might want to drill completely through the sides.) The 3/4″ copper pipe is equal to a 7/8″ forstner bit.

Dry fit the handle into the sides. You’ll need to measure to make sure the width of your caddy is the same at the top and bottom. You might have to drill a little deeper into the sides until the top is equal to the bottom when the handle is fitted into the holes.

Assemble the Caddy:

Run a bead of glue along each end of your base. Then set the sides on top of the base.

To secure the handle, add a bunch of construction adhesive into the holes you drilled into the sides.

Assemble the caddy. Clean up any glue squeeze-out. Flip your caddy onto its side and secure the base into the sides with several brad nails.

To secure the scrap trim sides. Use more wood glue along the edges of the side pieces. Then set the trim in place and secure it with a few more nails. Wipe off any glue squeeze-out.

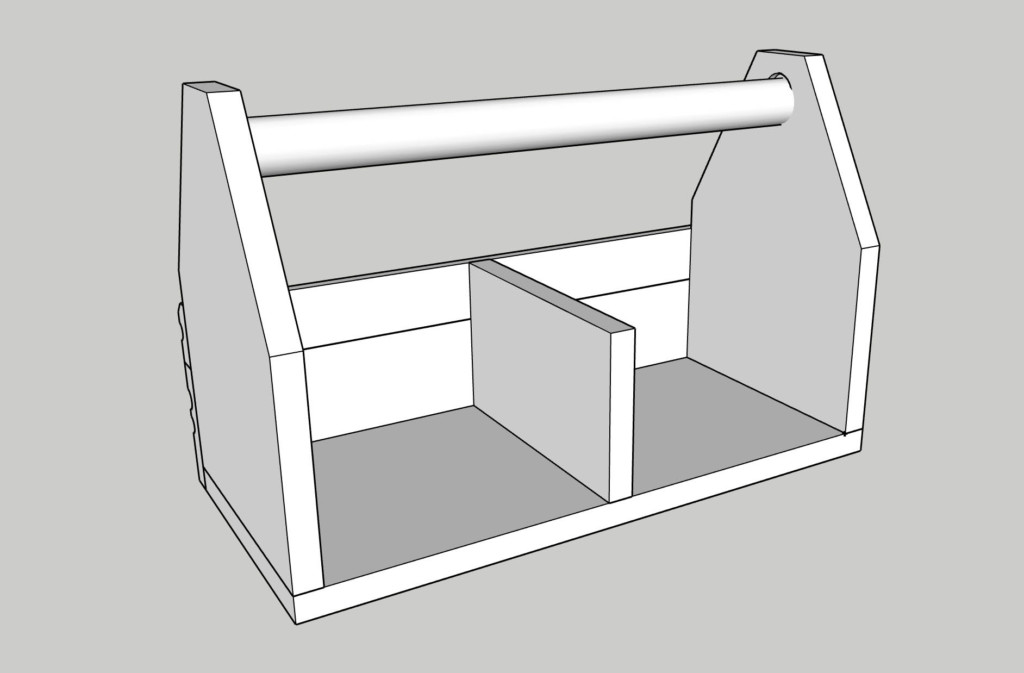
This next step is truly optional. I like to add a divider in larger caddies. If you want to do the same, cut a piece of one-by to fit inside the caddy. Add some wood glue onto the bottom and sides of the divider, then set it in place.

Finish off the caddy build by adding trim to the other side. Secure the trim and divider with nails.

Finishing the Caddy:

Use a wood putty to fill in the gaps and nail holes. After the wood putty dries, sand it smooth.

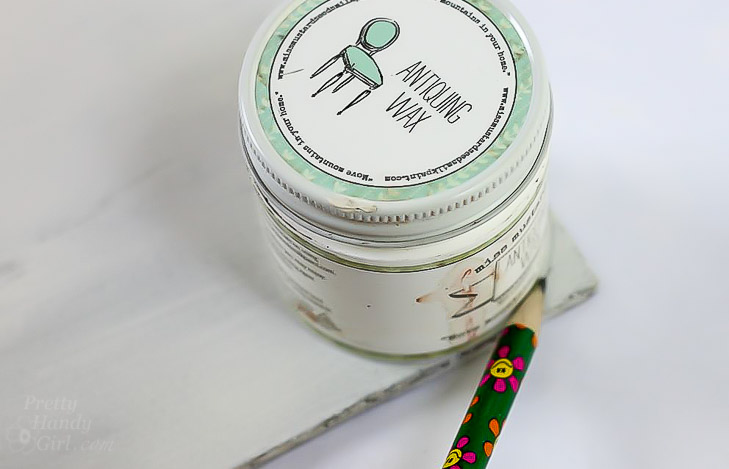
Paint or stain the caddy in the color of your choice. Finish the caddy with polyurethane or wax to protect it.

Fill Your Gift Caddy:

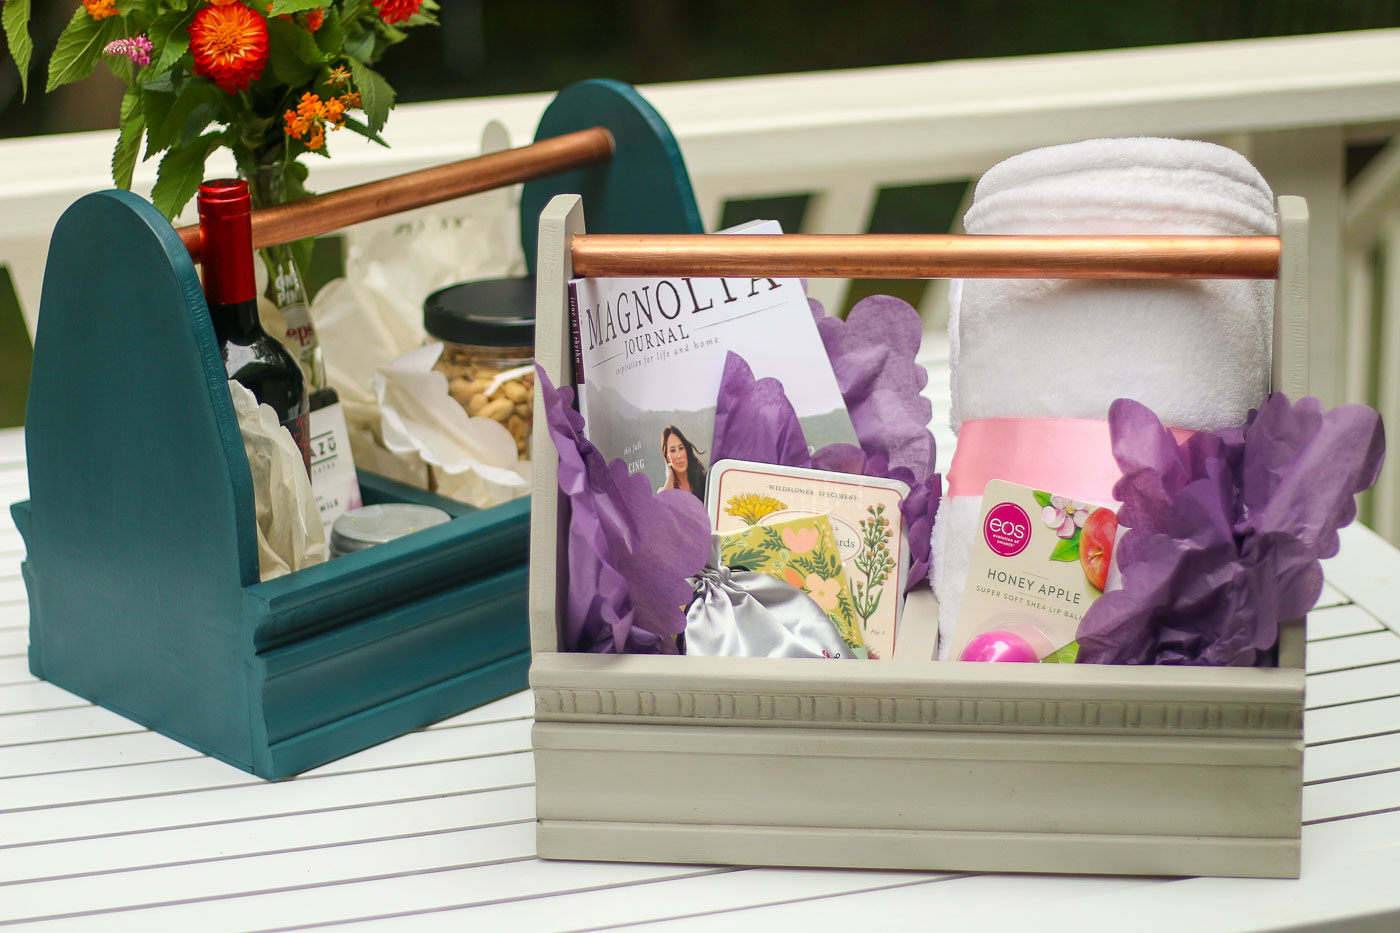
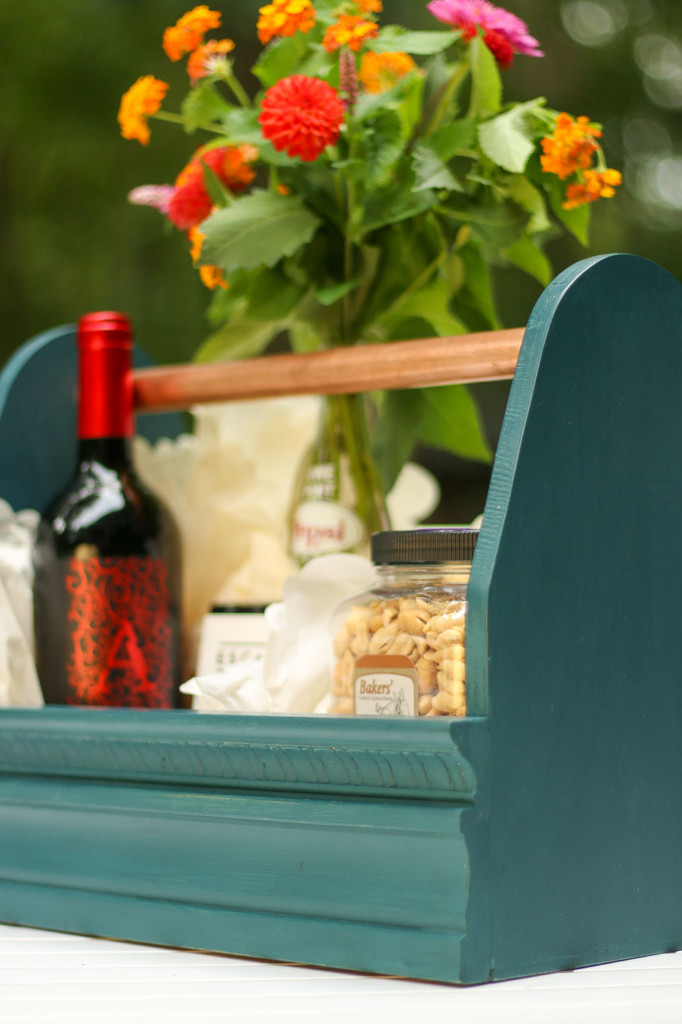
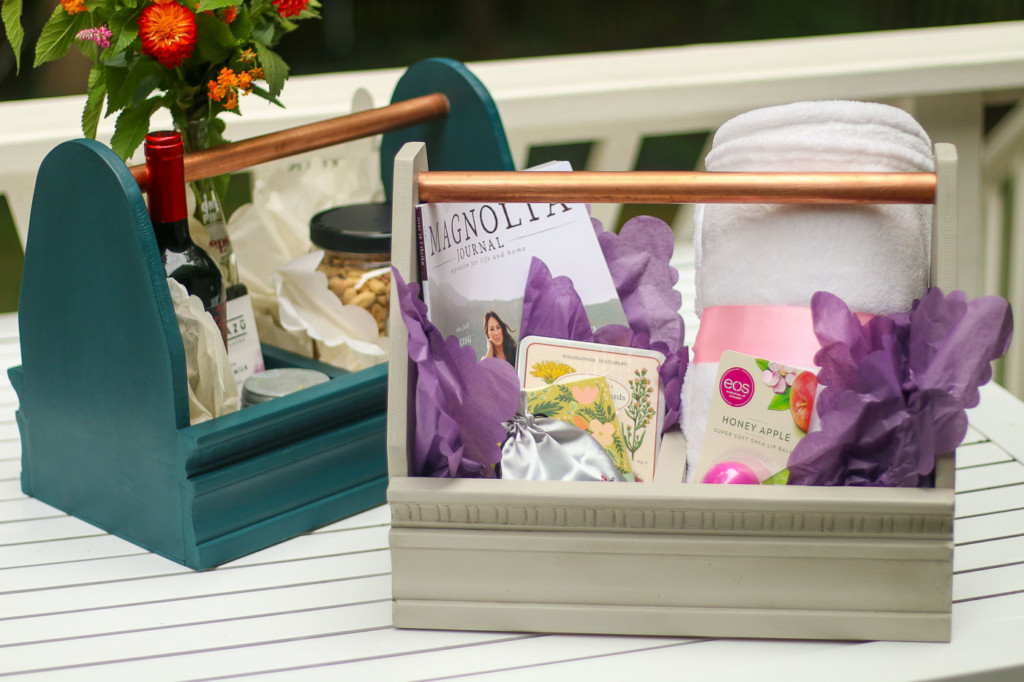
You can fill these caddies with just about anything! Create a snack basket:

Or a fill it with a candle, eye mask, cozy blanket, and a magazine for a relaxation basket.

I would honestly love to hear your suggestions for things to add to these gift caddies in the comments below! Until next time, hope you have a very Happy Holiday season!

Like this gift idea? Then you’ll love these additional gift basket ideas:

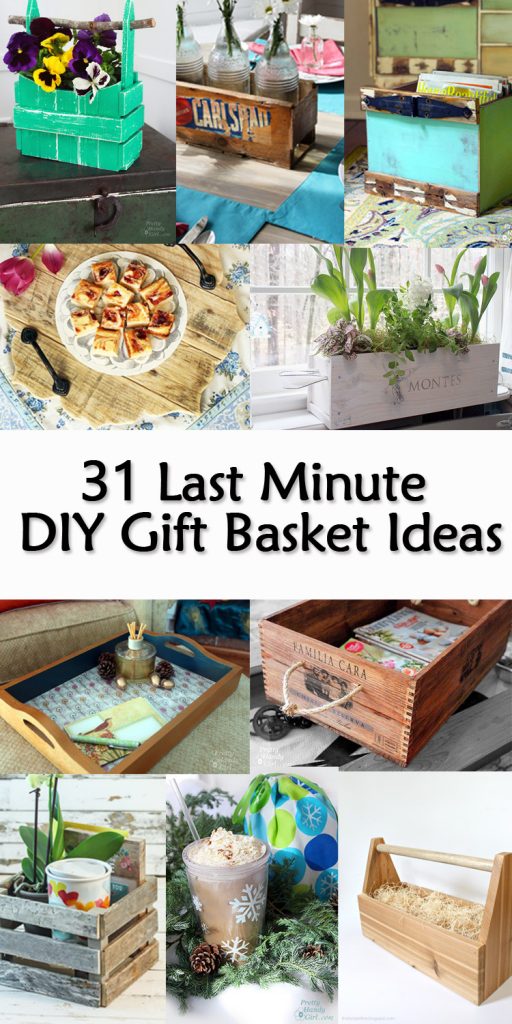
31 last minute gift basket ideas pinterest images

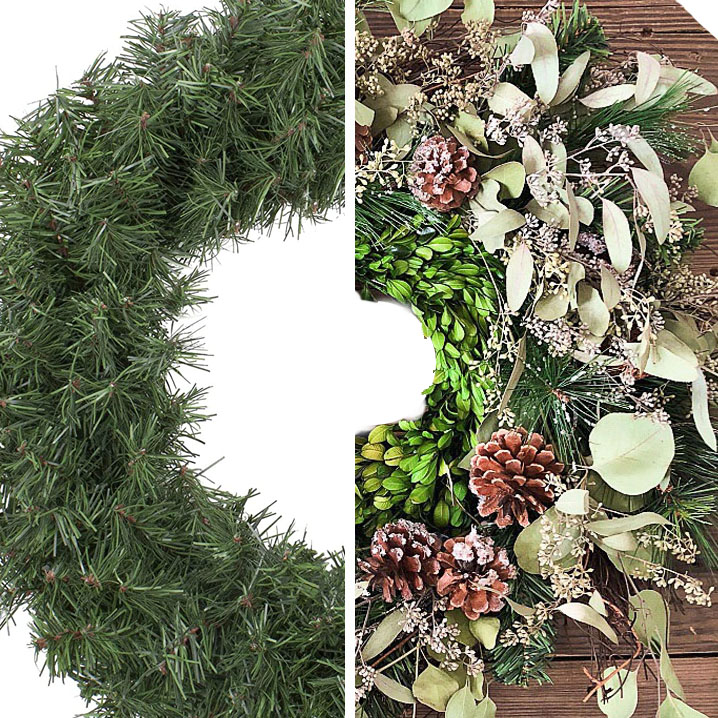
half cheap wreath, half expensive looking wreath

I’ve noticed many people are jumping right into decorating for Christmas. In a year where we’re only looking for some cheer, I can completely understand. Today I’ll show you how to dress up a basic cheap wreath to make it look like an expensive one. From Cheap to Chic: A Thrift Store Wreath Makeover.

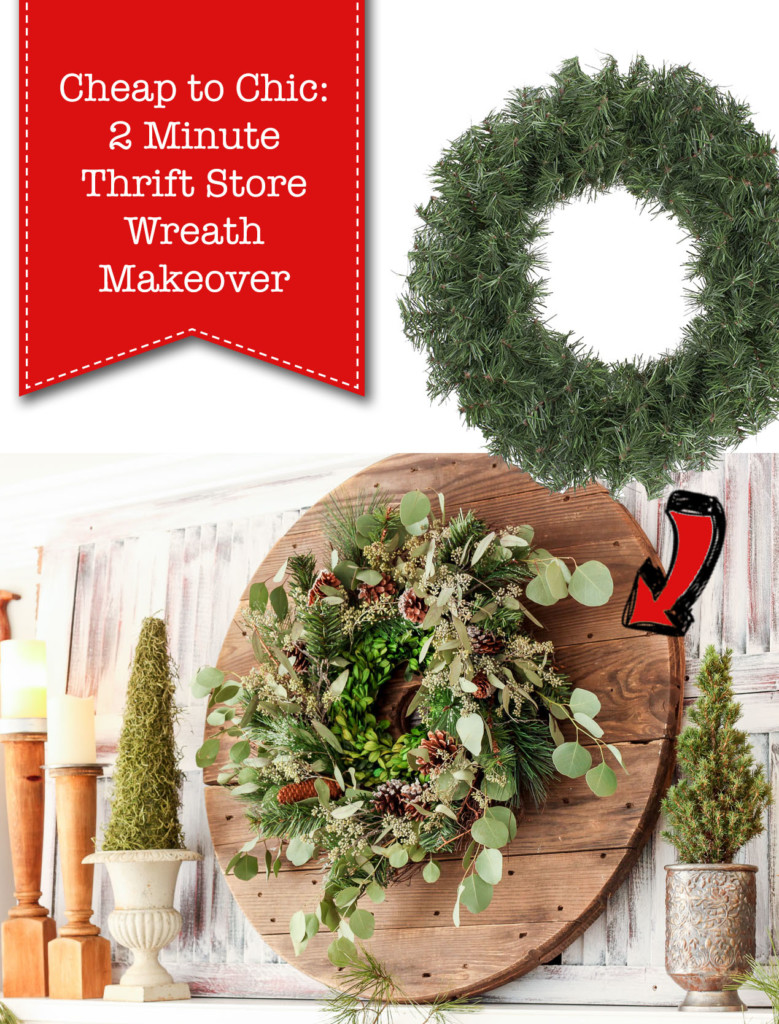
Cheap to Chic: 2 Minute Thrift Store MakeoverCheap to Chic: Thrift Store Wreath Makeover
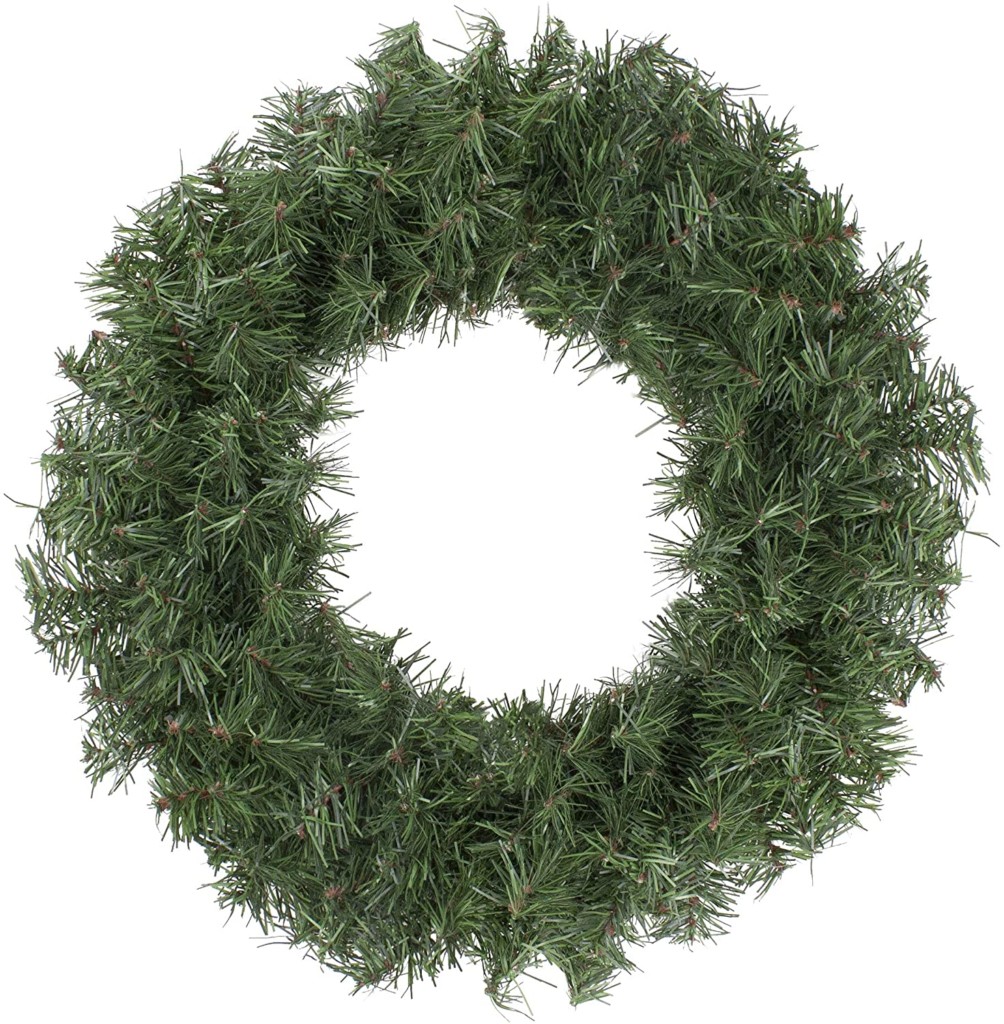
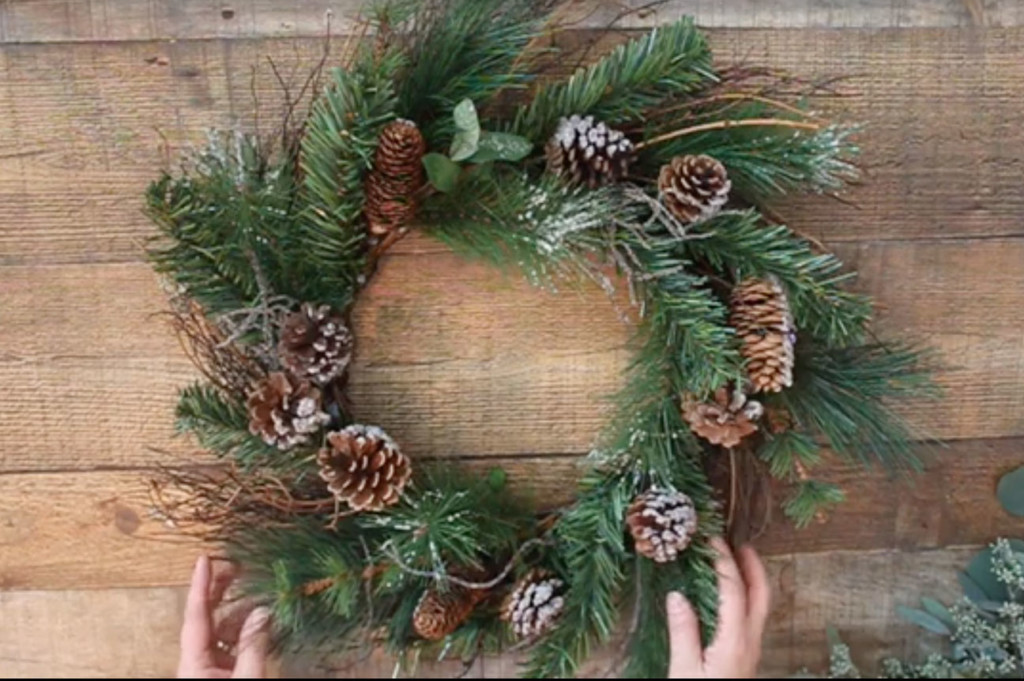
Never pay a lot for your holiday wreaths, because today I’ll show you how to get an expensive look without a lot of money. First, you’ll want to score a cheap wreath. I bought this wreath at a thrift store and it had some pretty ugly berries on it (which I’ve already pulled off).

Where to Score Cheap Wreaths:

cheap fake pine wreath

  • Thrift or Consignment Store
  • Craig’s List or Facebook Marketplace
  • Clearance (look after the holidays)
  • Buy a Basic Wreath (this one is only $15)
  • Trash (you never know when you’ll find a wreath curbside!)

Materials:

(I’ve included affiliate links for your convenience. I earn a small percentage from a purchase using these links. There is no additional cost to you. You can read more about affiliate links here.)

Optional:

Instructions:

You’re going to love how quick and how beautiful this cheap to chic wreath makeover is!

If you bought a thrift store wreath, go ahead and remove any tacky decorations you don’t like. You can always save them for another craft or just pitch them.

cheap pine wreath from thrift store

Pair with Another Wreath:

To get a lot of impact, pair your wreath with a smaller or larger wreath. I used a smaller boxwood wreath to fill in the center. The nice thing is it fit tightly inside my faux pine wreath. You may need to use floral wire to secure the wreaths together.

added boxwood wreath inside thrift store wreath

Add Real Greenery:

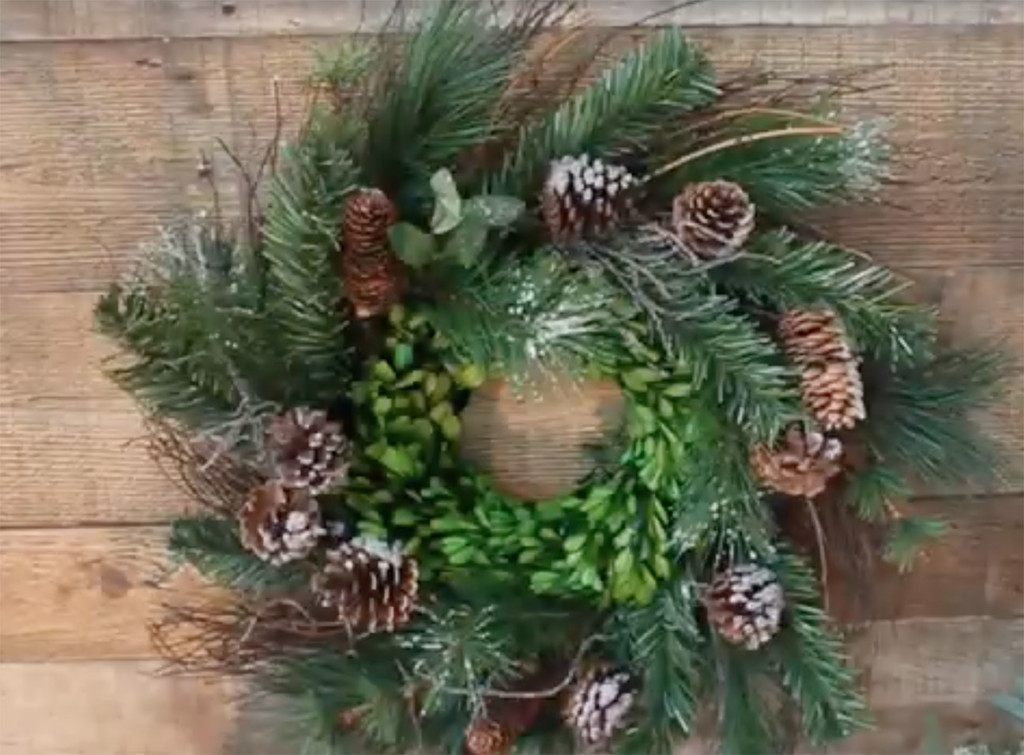
To hide the tacky fake wreath, add in real greenery. Head to the floral section of your grocery store and look for seeded eucalyptus. If they don’t have any, ask them to order some for you. This was the cheapest route (unless you have a friend or neighbor with a eucalyptus tree.)

Don’t want to leave home? Head outside and scour your yard. Look for a variety of greenery! Cut some pine, spruce, juniper, magnolia, rosemary, or holly branches.

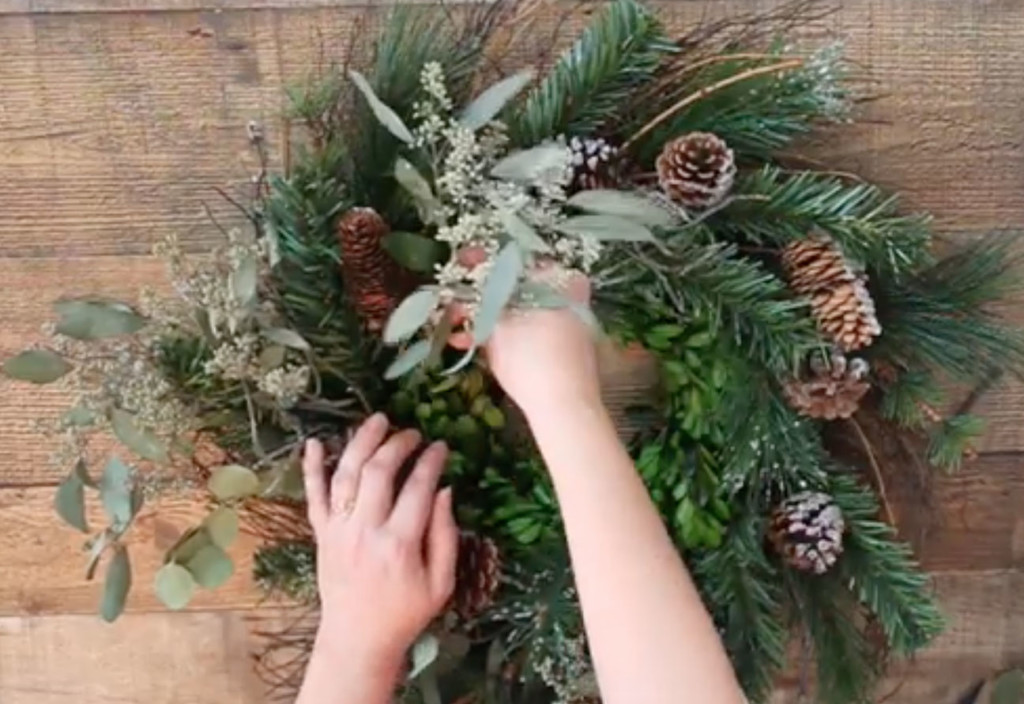
add eucalyptus leaves to wreath

Hanging Your Wreath:

You can add a ribbon to hang your wreath from or create a loop using the floral wire. Hang your beautiful chic wreath on the door, over your fireplace, or anywhere you want some holiday cheer!

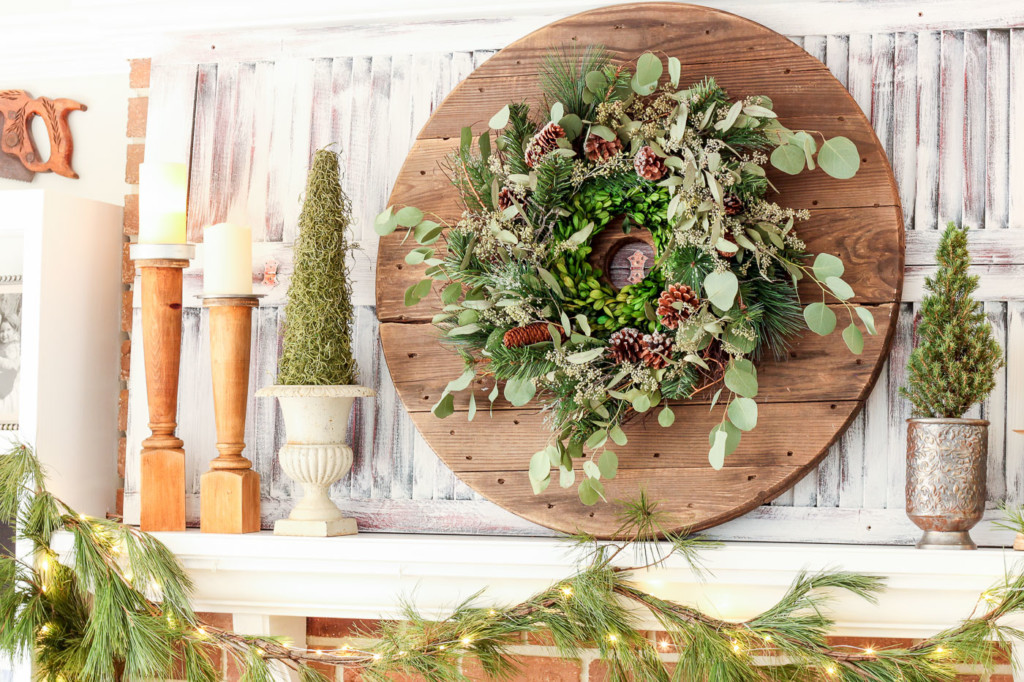
mantle decorated for Christmas with green wreath on cable reel

2 Minute Makeover for Your Cheap Wreath:
To show you how easy it is to transform your cheap thrift store wreath, watch my quick two-minute video.

Be sure you’re subscribed to my YouTube channel to get access to all my DIY tutorials.

I hope you enjoyed this easy cheap to chic wreath transformation and you’ll never give an ugly Christmas wreath a disgusted look again.

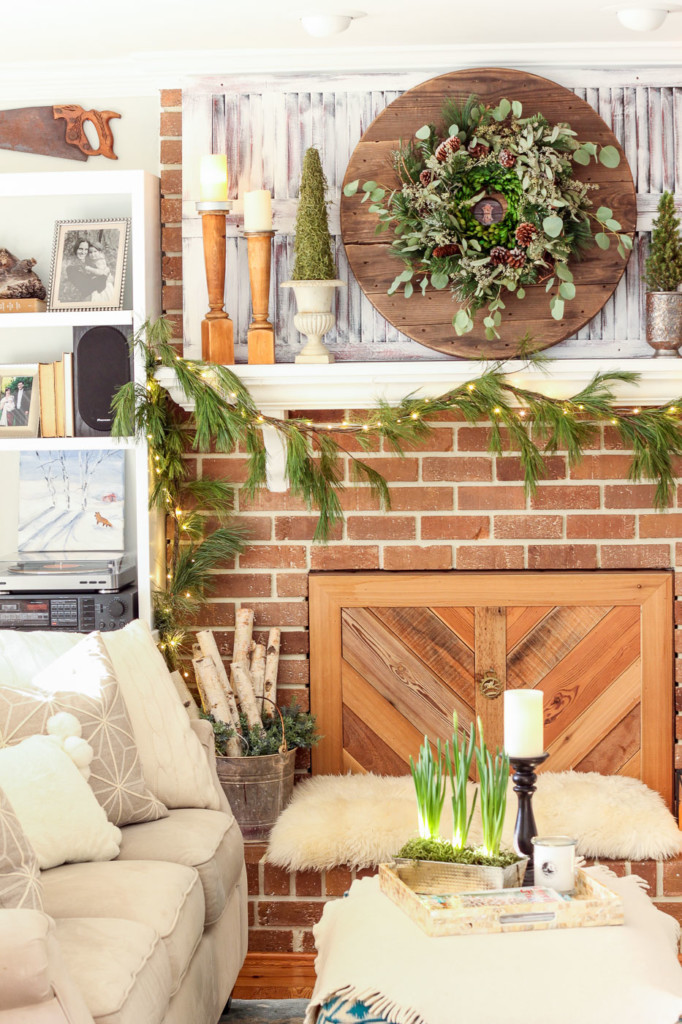
farmhouse style mantle fireplace

Rustic Pallet Serving Tray | Pretty Handy Girl

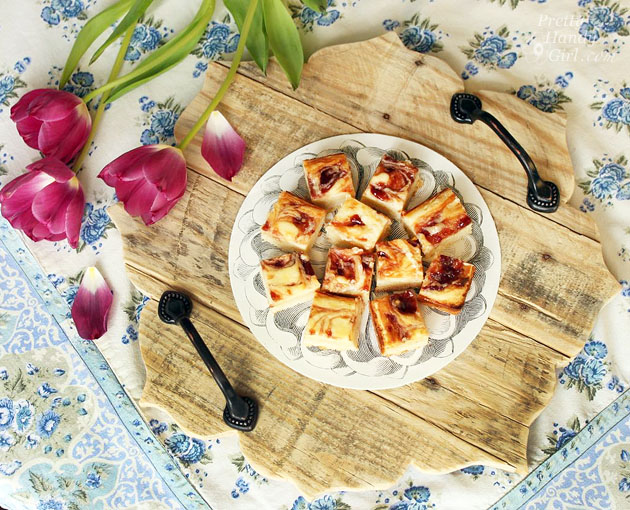
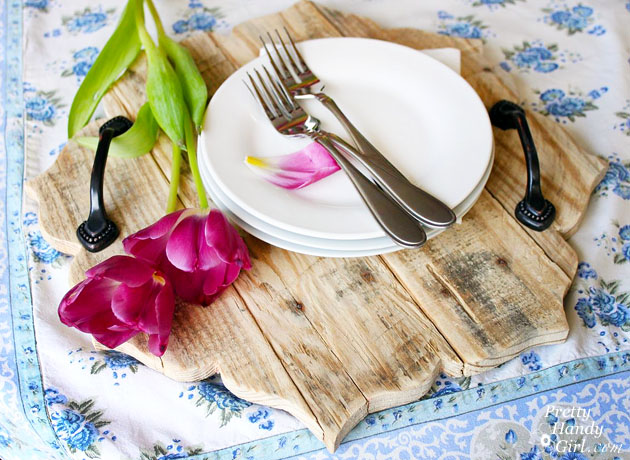
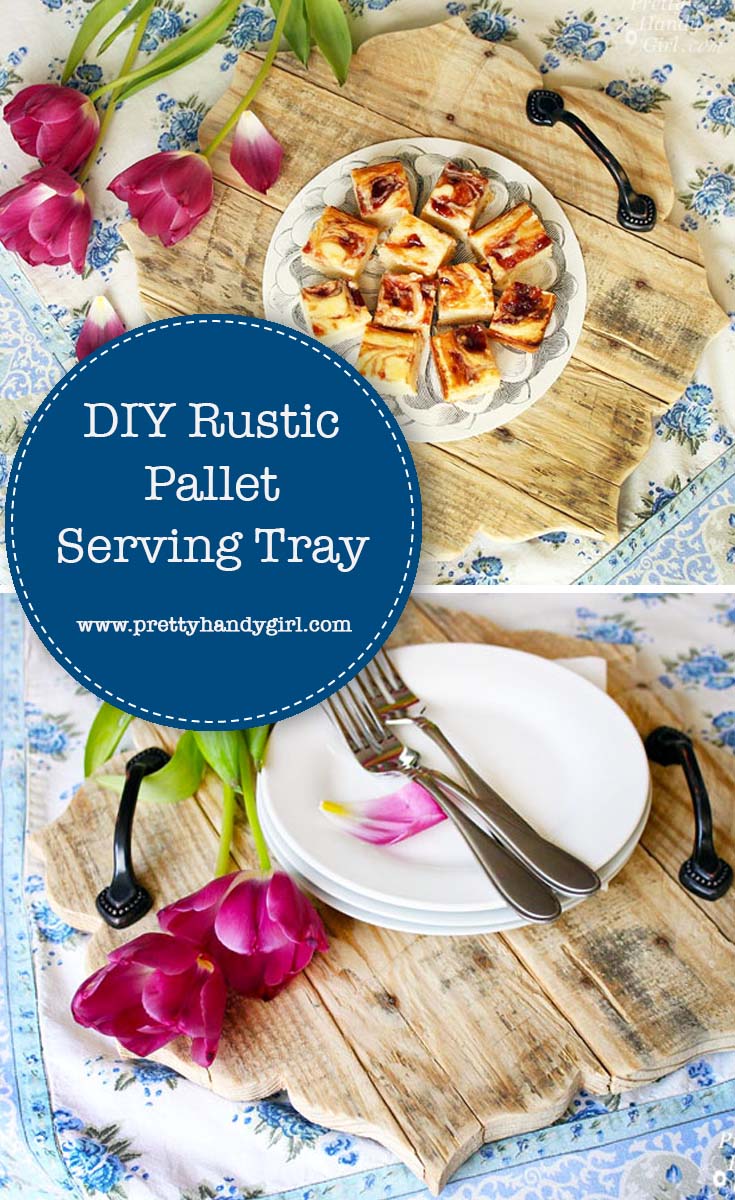
It’s amazing how serving food on a rustic tray can elevate your standard meal or dessert into an elegant occasion. This simple decorative rustic pallet serving tray is a simple project anyone can do!

Rustic Pallet Serving Tray | Pretty Handy Girl

Rustic Pallet Serving Tray

When I worked on a deck makeover with my sister, Caitlin (of Symmetry Designs), we shopped for a lot of the accessories ahead of time. She wanted me to find the perfect Bali-esque tray. Unfortunately I was coming up empty-handed. But, sometimes, you just have to DIY it! This Rustic Pallet Serving Tray was the brainchild of my sister, but I took her idea and ran with it.
Here’s how to make one for yourself.

Materials:

(I’ve included affiliate links for your convenience. I earn a small percentage from a purchase using these links. There is no additional cost to you. You can read more about affiliate links here.)

Instructions:

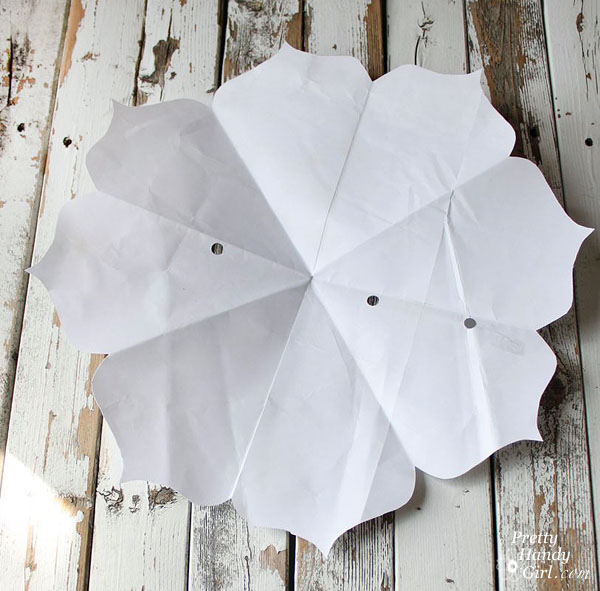
Fold a piece of paper into eights. Cut a design along the edge. (I used a simple scallop shape like this “}”.)

Rustic Pallet Serving Tray | Pretty Handy Girl

When you unfold the paper, you should have a paper template to use for tracing.

Rustic Pallet Serving Tray | Pretty Handy Girl

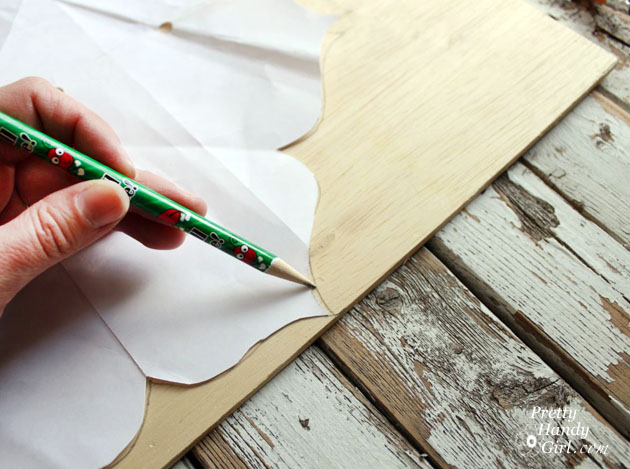
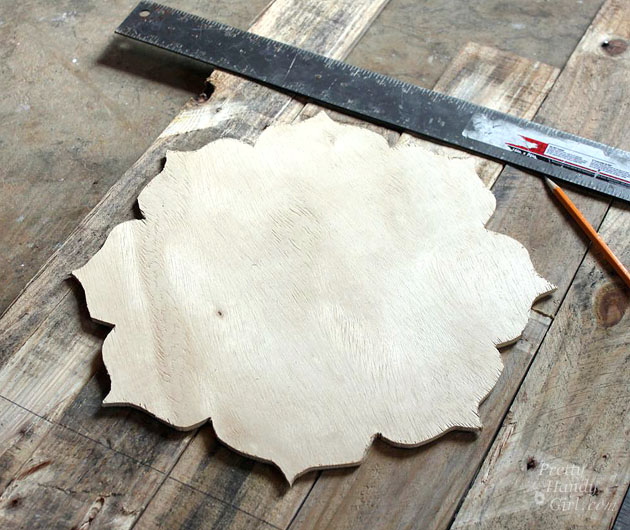
Trace the template onto a piece of thin plywood.

Rustic Pallet Serving Tray | Pretty Handy Girl

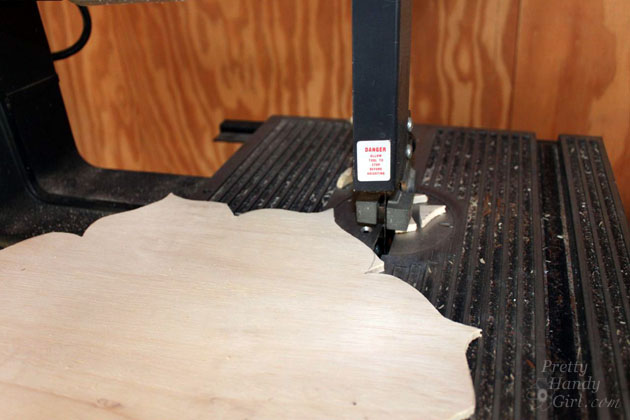
Use a jigsaw or band saw to cut out the shape. You might find this tutorial helpful for cutting out intricate shapes.

Rustic Pallet Serving Tray | Pretty Handy Girl

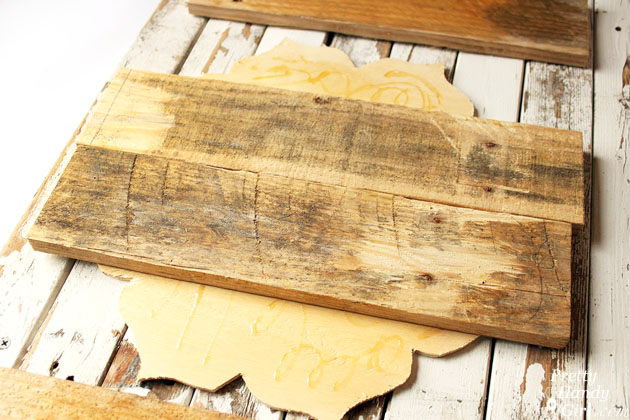
Lay your plywood shape on top of the rustic boards. Move the boards around until you like the sections that will make up the tray. Mark a square around the shape with a ruler.

Rustic Pallet Serving Tray | Pretty Handy Girl

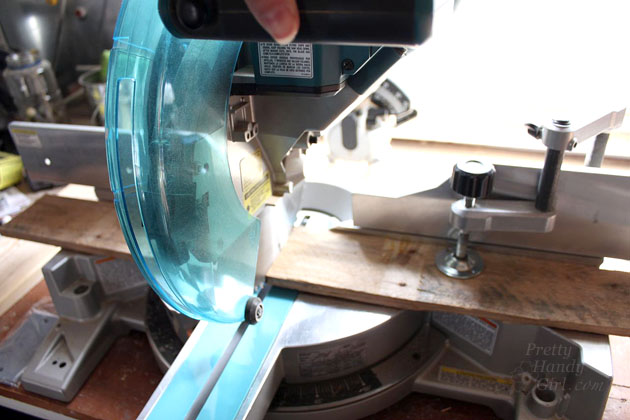
Cut the boards down to size using the pencil mark as a guide.

Rustic Pallet Serving Tray | Pretty Handy Girl

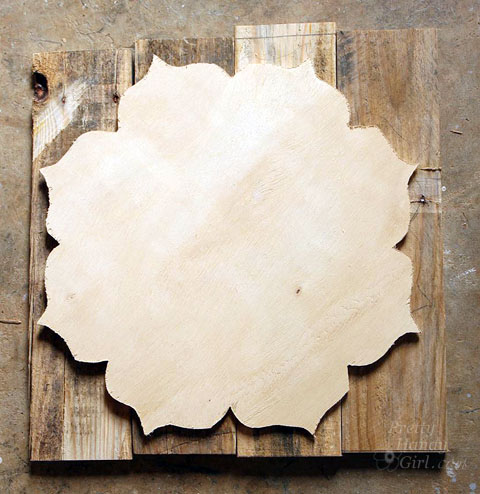
Dry fit the boards together on the plywood shape.

Rustic Pallet Serving Tray | Pretty Handy Girl

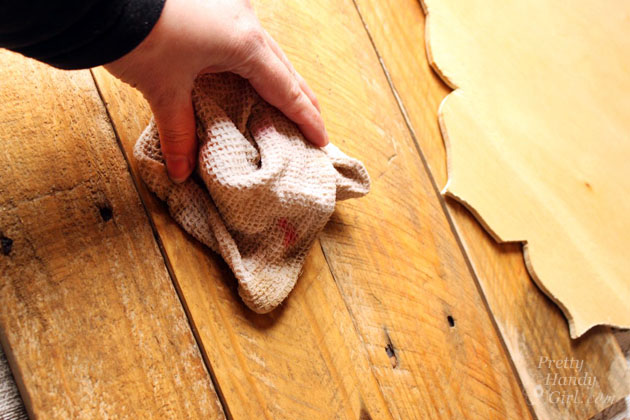
Wet both the plywood shape and the boards with a damp rag.

Rustic Pallet Serving Tray | Pretty Handy Girl

Apply Gorilla Glue to the plywood shape.

Rustic Pallet Serving Tray | Pretty Handy Girl

Set the rustic boards into the glue on the plywood shape.

Rustic Pallet Serving Tray | Pretty Handy Girl

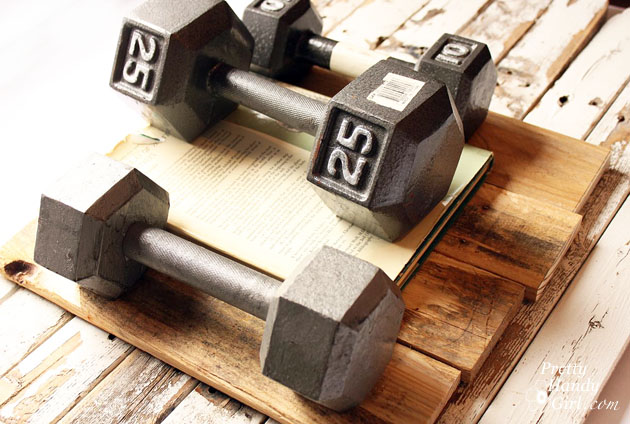
Weigh the boards down with weights or heavy books.

Rustic Pallet Serving Tray | Pretty Handy Girl

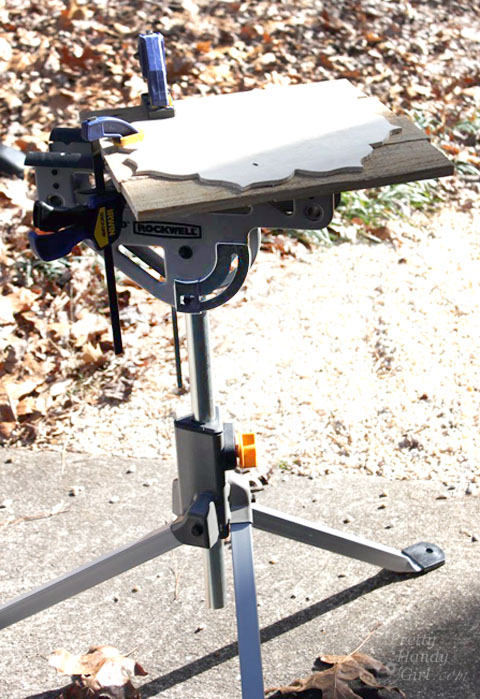
Allow to dry for at least an hour. Remove the weights and clamp the boards onto a work surface (with the area needing to be cut hanging over the edge. Make sure there is clearance for the jig saw blade. You’ll need to cut half the boards and then turn and re-clamp to cut the entire circumference. The Rockwell JawStand works beautifully for this task.

Rustic Pallet Serving Tray | Pretty Handy Girl

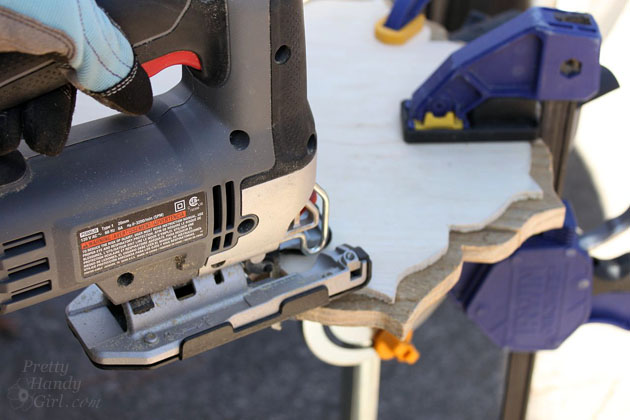
Draw a pencil line 1 inch out from the plywood shape. Cut around the pencil line with a jig saw.

Rustic Pallet Serving Tray | Pretty Handy Girl

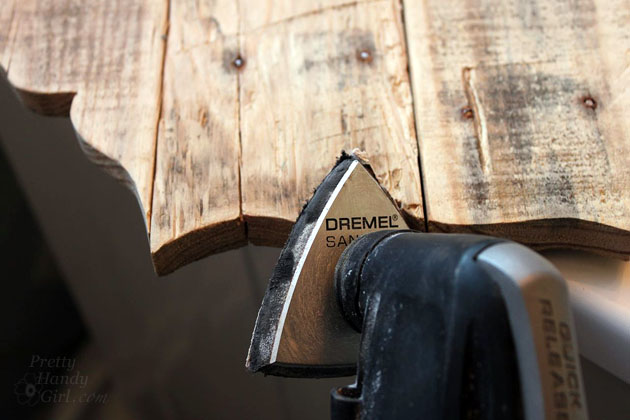
Sand edges and grooves with sandpaper or Dremel Multi-Max.

Rustic Pallet Serving Tray | Pretty Handy Girl

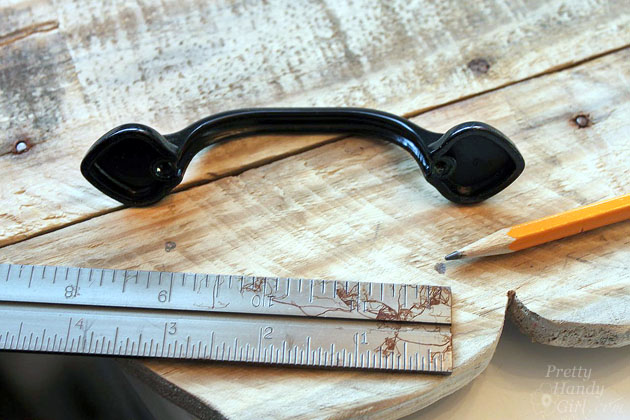
Measure and mark the location of the handles on the tray.

Rustic Pallet Serving Tray | Pretty Handy Girl

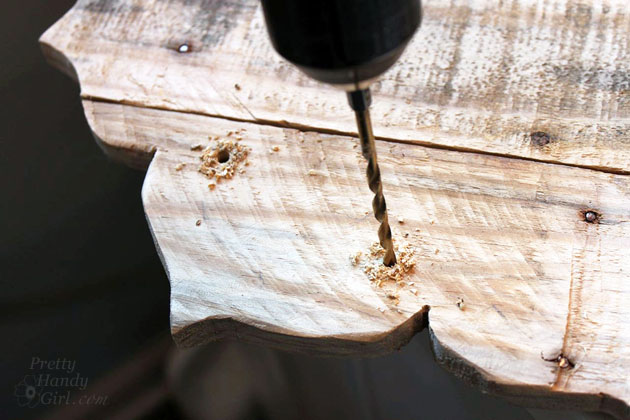
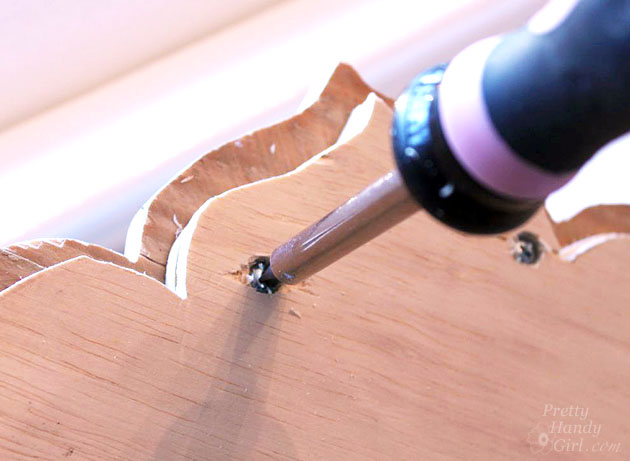
Pre-drill holes using a bit that is the same size as the handle screws.

Rustic Pallet Serving Tray | Pretty Handy Girl

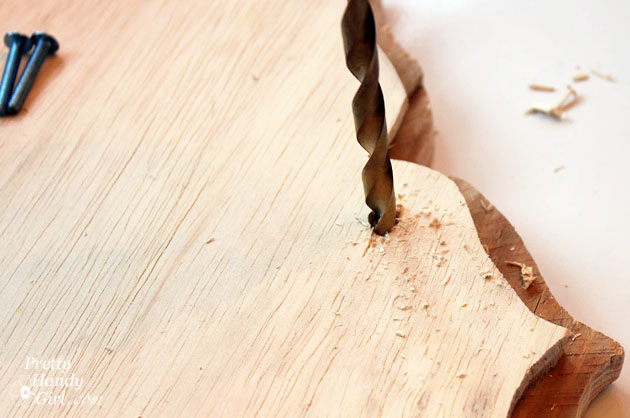
Flip the tray over and drill countersink holes with a larger drill bit.

Rustic Pallet Serving Tray | Pretty Handy Girl

Attach the handles with the screws. The screw heads should sink into the plywood.

Rustic Pallet Serving Tray | Pretty Handy Girl

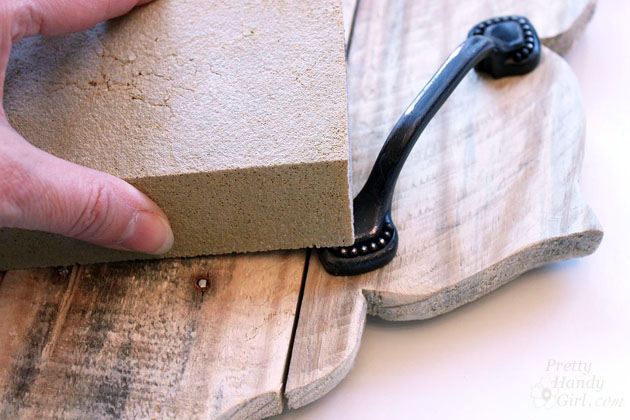
If you want a truly rustic look, lightly sand your handles.

Rustic Pallet Serving Tray | Pretty Handy Girl

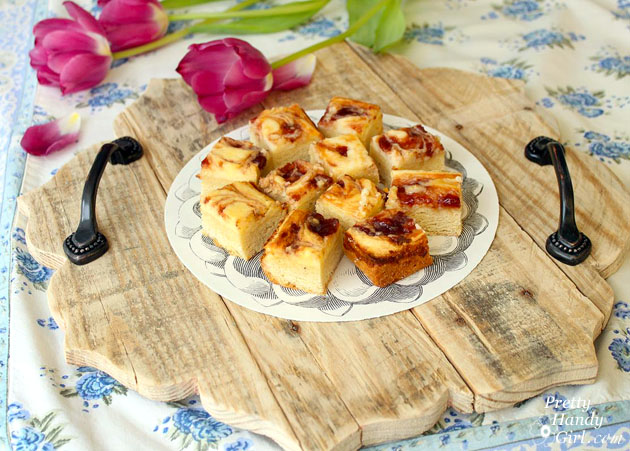
If you are going to use your tray for food, use a plate or doily under the food.

Rustic Pallet Serving Tray | Pretty Handy Girl

What do you think? Do you like this beautiful rustic tray? Think you could make one? I bet you could!

Rustic Pallet Serving Tray | Pretty Handy Girl

You can see this tray and our Bali-inspired deck makeover here.
PHGFancySign

Pin for later!

This DIY Rustic Pallet Serving Tray is easy to create with a cutout pattern | Plank serving tray | Pretty Handy Girl #DIY #woodworking #DIYtray #servingtray #rustichomedecor

Farmhouse Painted (chalk like paint) Jar Vases | Pretty Handy Girl

This is by far one of my favorite gift crafts. Grab a few recycled jars or bottles and use your favorite chalk paint to create simple chalk-painted jars!

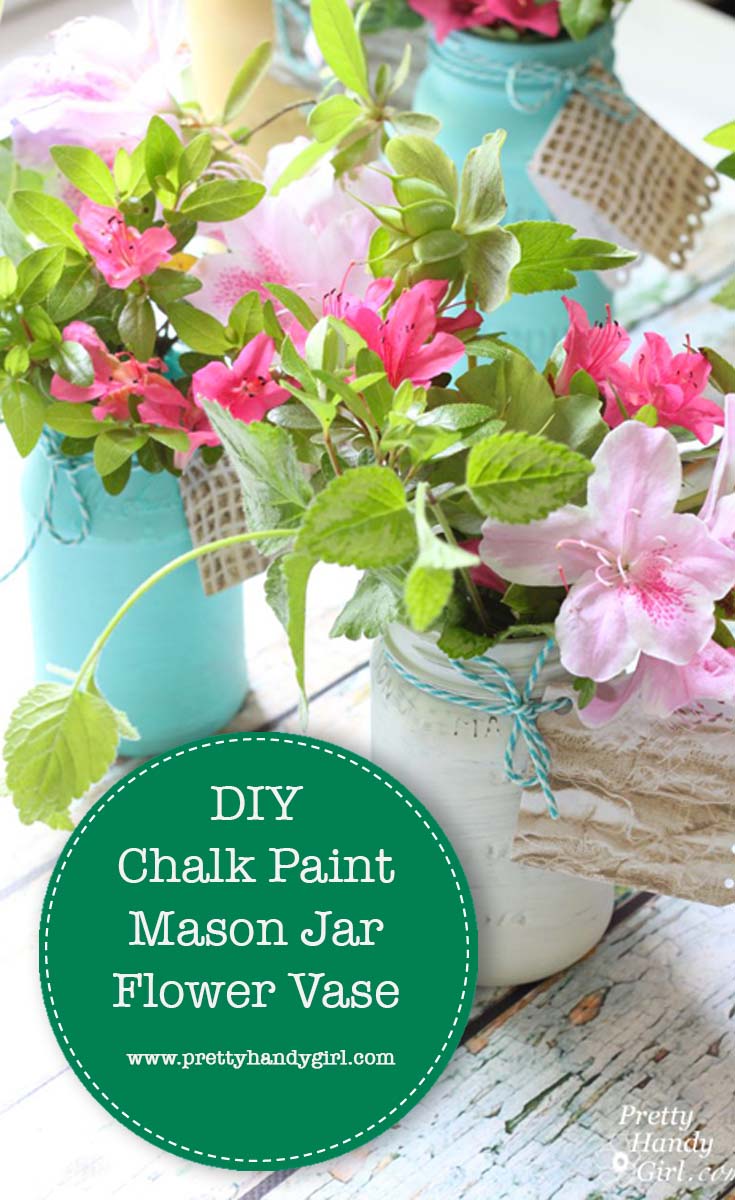
DIY Chalk Paint Mason Jar Flower Vase

Simple Chalk-Painted Jars

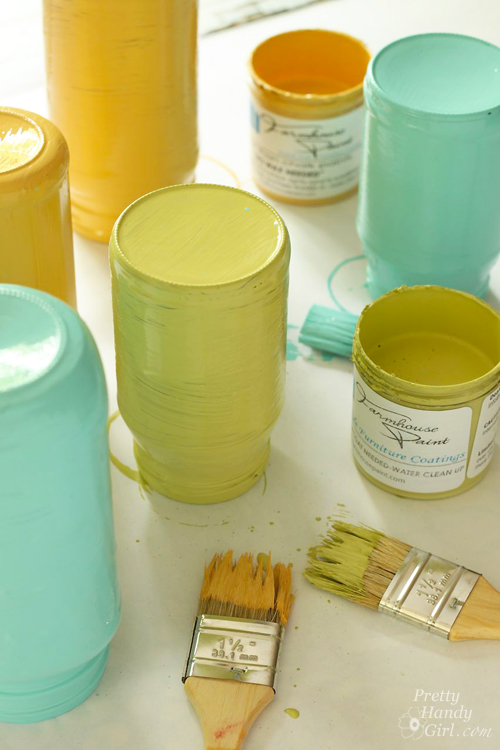
Two weeks ago I spent less than 20 minutes whipping up some really cute vases using recycled jars painted with Farmhouse Paint. Wait…What is this paint?

Farmhouse Painted (chalk like paint) Jar Vases | Pretty Handy Girl

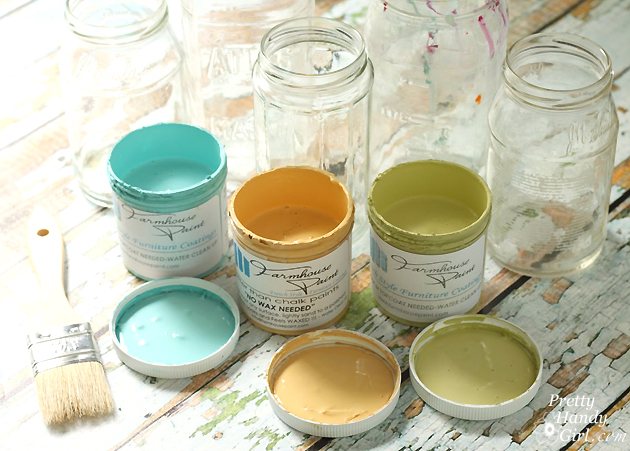
Well, it’s a one-step furniture paint (previously known as chalk paint.) I was sent a few jars to try. But, you can use any chalk paint you already have or make your own using this tutorial to make any color chalk paint.

Farmhouse Painted (chalk like paint) Jar Vases | Pretty Handy Girl

The key material is recycled jars, I like to keep a fair amount on hand.

Farmhouse Painted (chalk like paint) Jar Vases | Pretty Handy Girl

All you have to do is wash the jars well. Remove the labels and any glue residue. Here’s a great tutorial for easily removing glue from bottles.

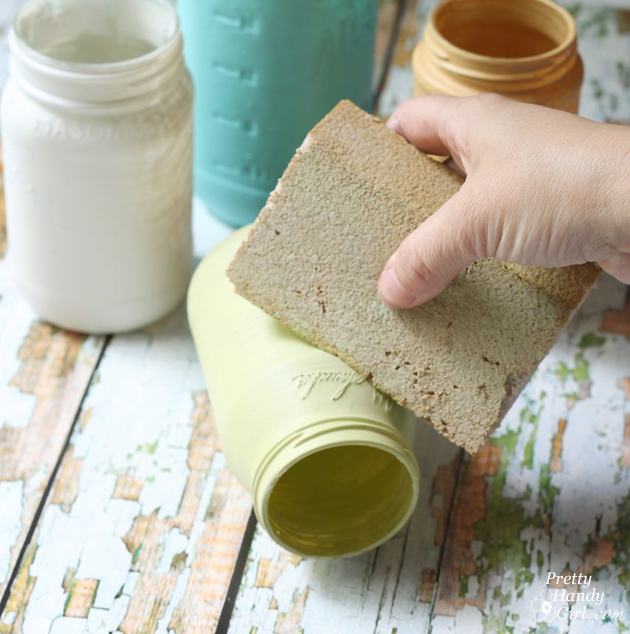
Dry the jars thoroughly then coat with two coats of chalk paint. I’m in love with the Farmhouse paint. The colors are vibrant and you don’t need to wax after painting. Just a light sanding with fine-grit sandpaper and it gives you the same soft sheen as waxing would.

Farmhouse Painted (chalk like paint) Jar Vases | Pretty Handy Girl

After the paint has dried, sand some areas (especially on any writing) to distress them.

Farmhouse Painted (chalk like paint) Jar Vases | Pretty Handy Girl

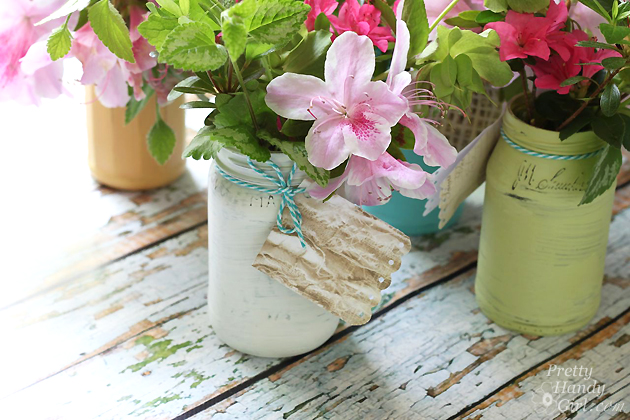
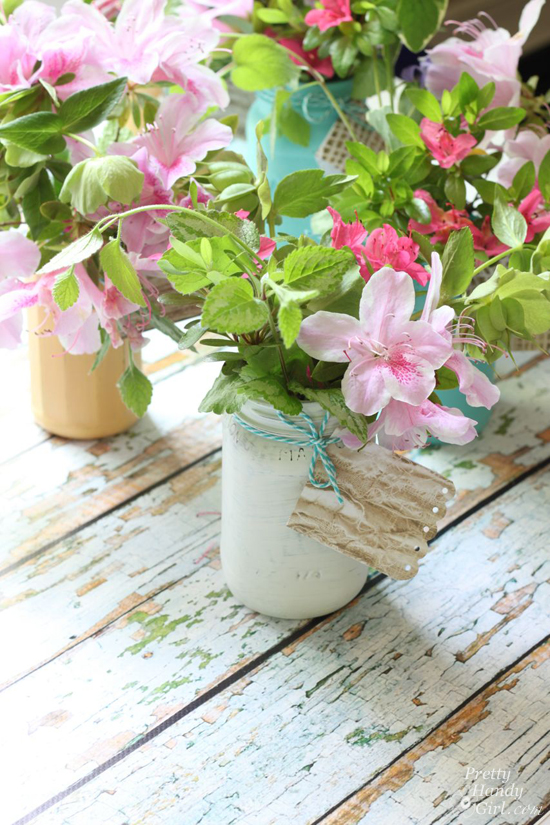
Finally, add some fresh cut flowers from the yard and tie a string around the neck with a personal message.

Farmhouse Painted (chalk like paint) Jar Vases | Pretty Handy Girl

These little vases were adorable. They were cute and they seriously took me less than half an hour to put together (20 minutes to paint and a few more minutes cutting flowers in the yard.)

In the past, I made these little chalk painted vases for teacher gifts. This year, sadly we never got to say goodbye to my sons’ teachers. For all you teachers out there, we appreciate you more than you can imagine. Especially as we do our best to homeschool our children during the COVID-19 outbreak.

Farmhouse Painted (chalk like paint) Jar Vases | Pretty Handy Girl

What do you say? Why not whip up a little chalk-painted vase to appreciate a friend, a loved one, an essential worker, or just to brighten your day!

PHGFancySign

P.s. Did you like the chippy paint board backdrop I used? It’s not real wood, it is actually a vinyl backdrop made by my good friend Leen the Graphics Queen. It rolls up and stores neatly away. She should be selling them soon.

Pin for later!

DIY Chalk Paint Mason Jar Flower Vase