
These 41+ arts and crafts for kids are the perfect way to encourage creativity and keep them entertained during the dog days of summer!

Arts and Crafts for Kids
If you are looking for fun and engaging activities to keep the little ones busy, you are in the right place! This post includes over 40 easy arts and crafts for kids of all ages.
Whether you’re crafting on a rainy afternoon or planning a weekend project, these ideas are a creative way to spark imagination and build hands-on skills.
From colorful paper crafts to simple DIY’s using items you already have at home, there’s something for everyone.
The best part? Most of these projects are quick, mess-free, and tons of fun for the whole family!
Arts & Crafts for Kids
These are some of the best arts and crafts ideas to help young artists explore their creative side while having fun. Each project encourages imaginative play and helps develop important skills like fine motor skills and hand-eye coordination.

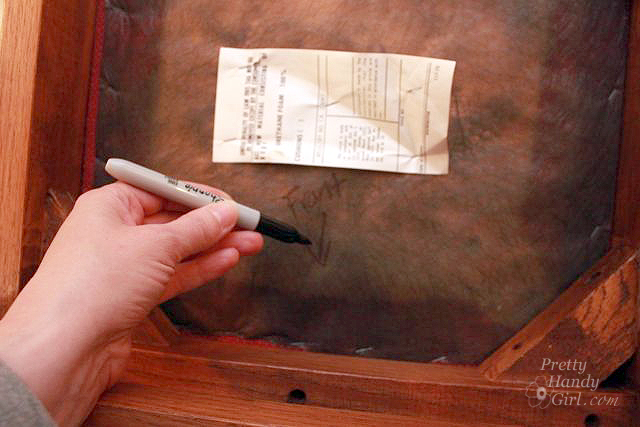
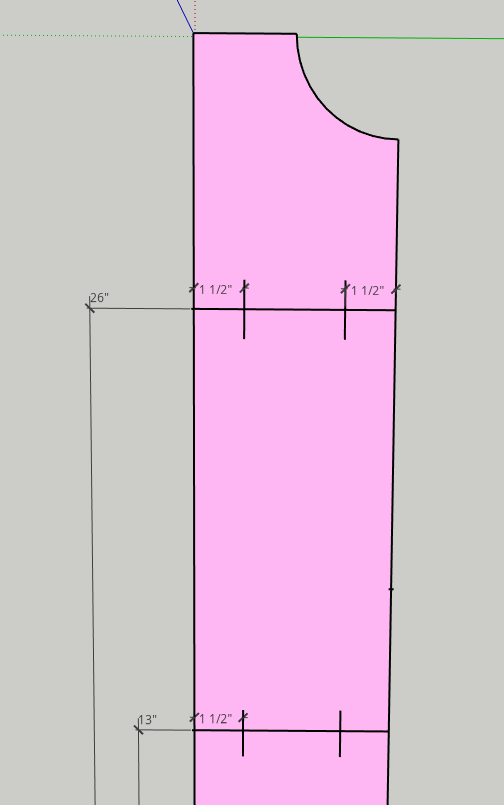
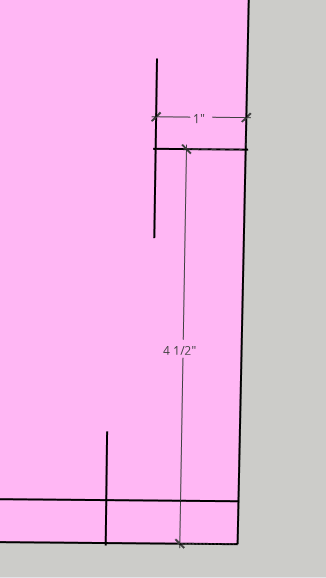
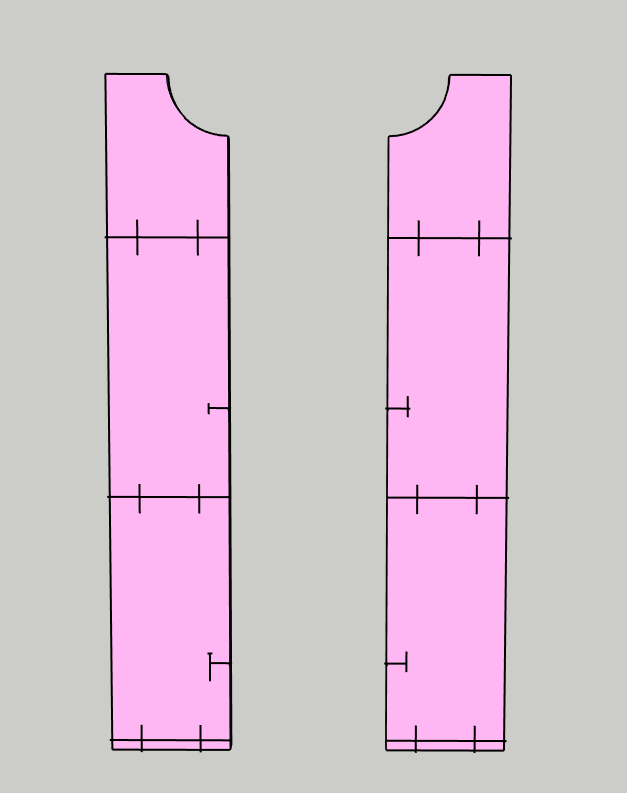
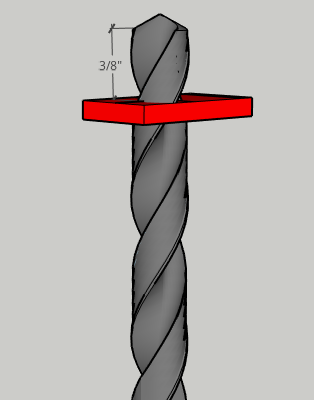
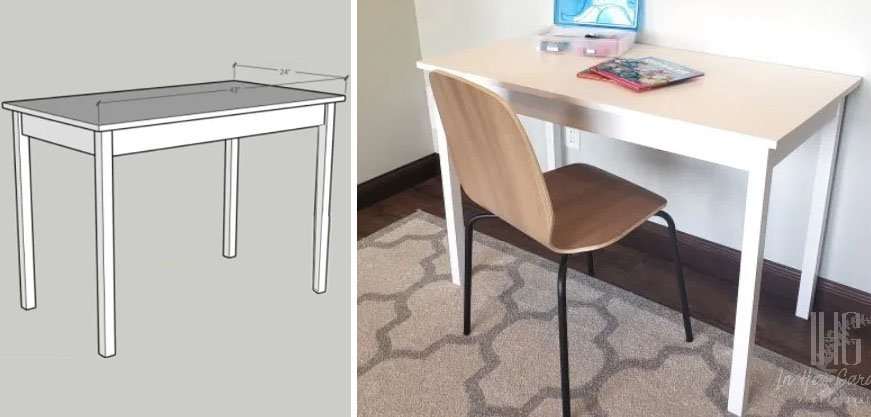
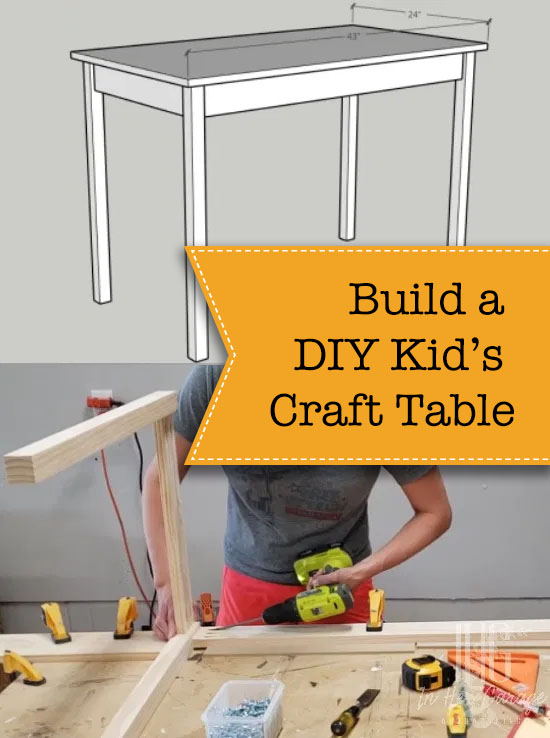
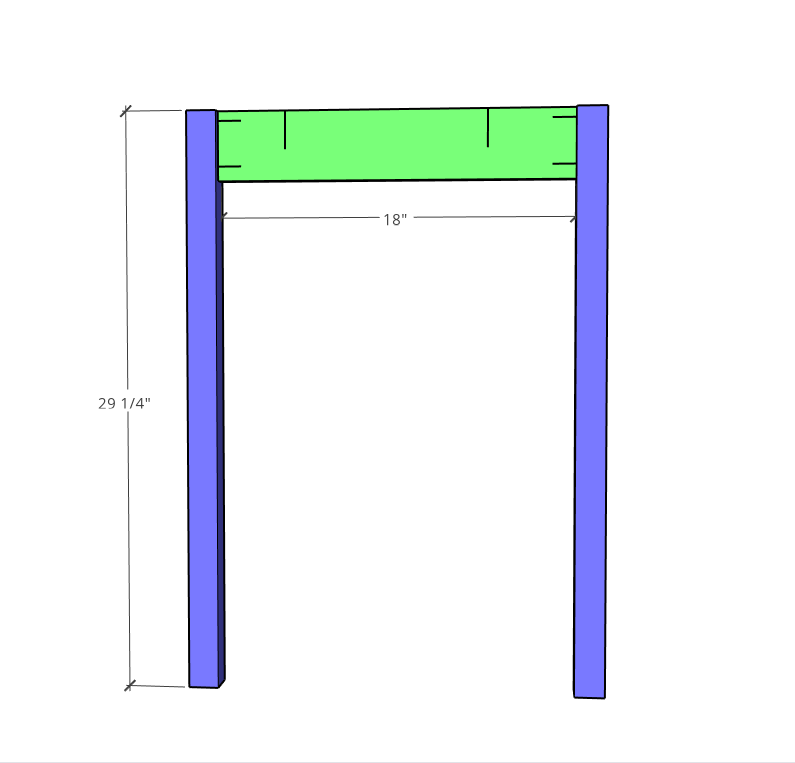
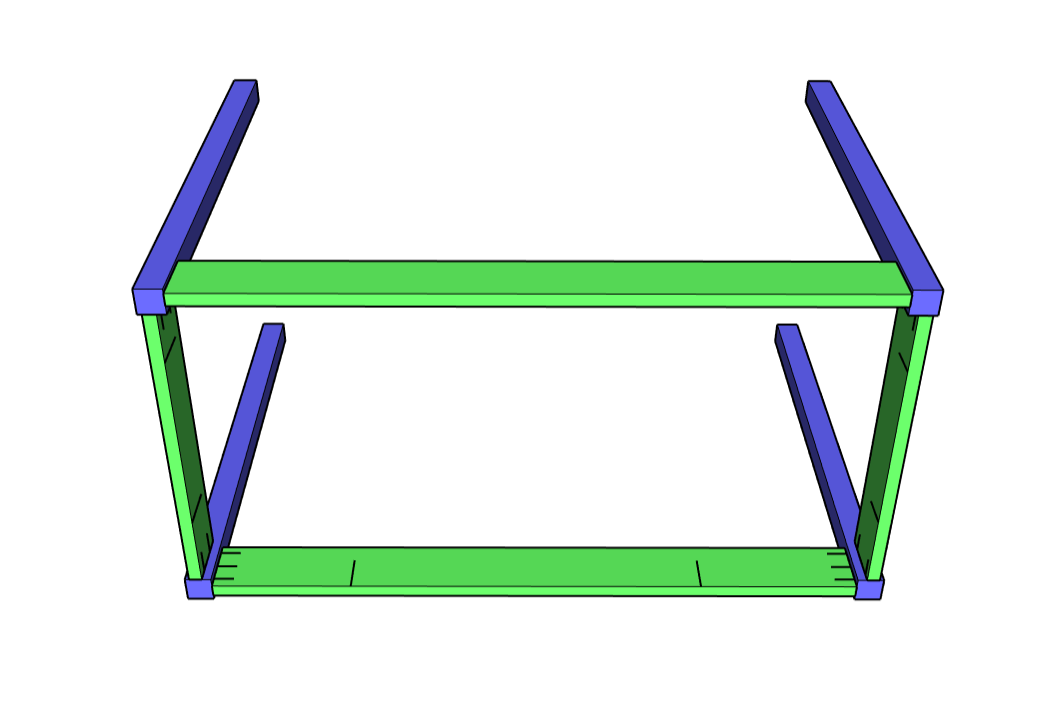
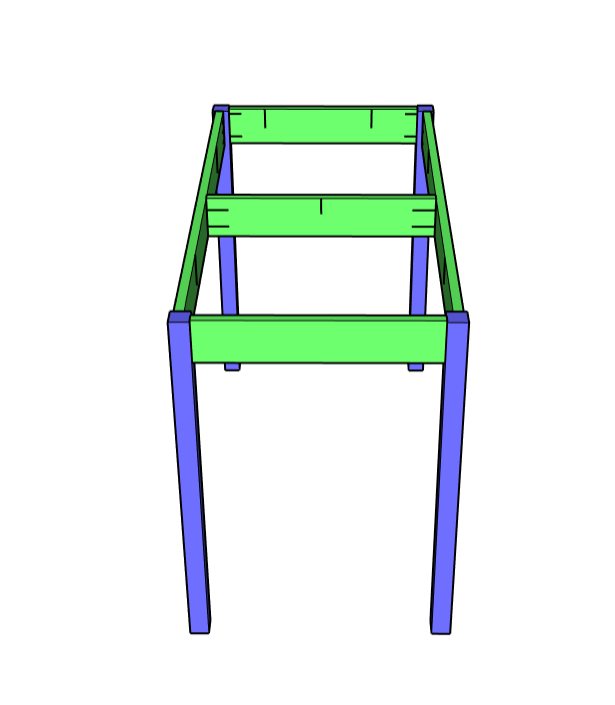
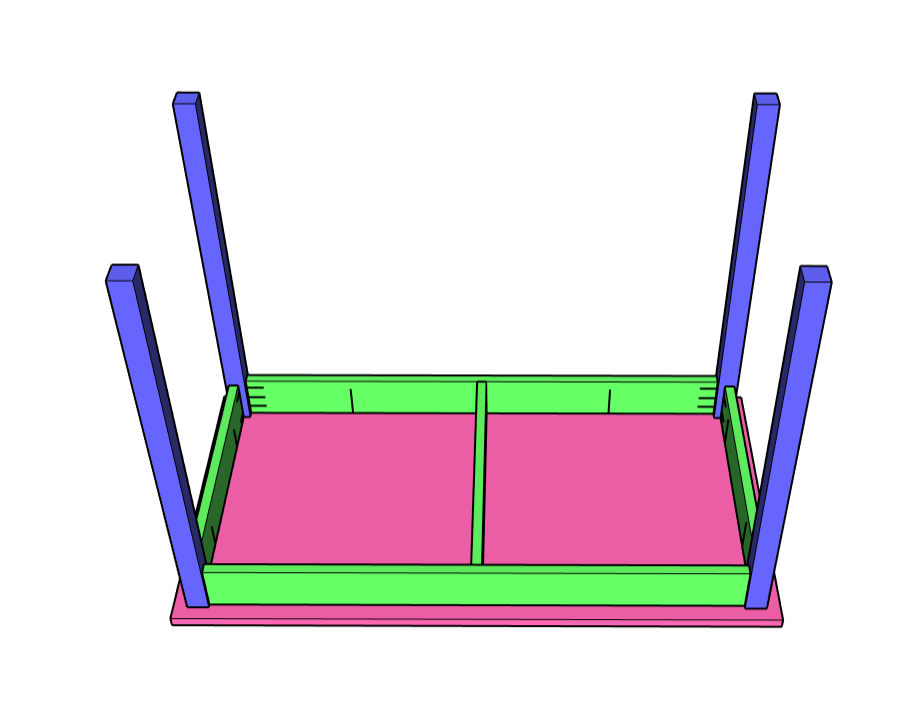
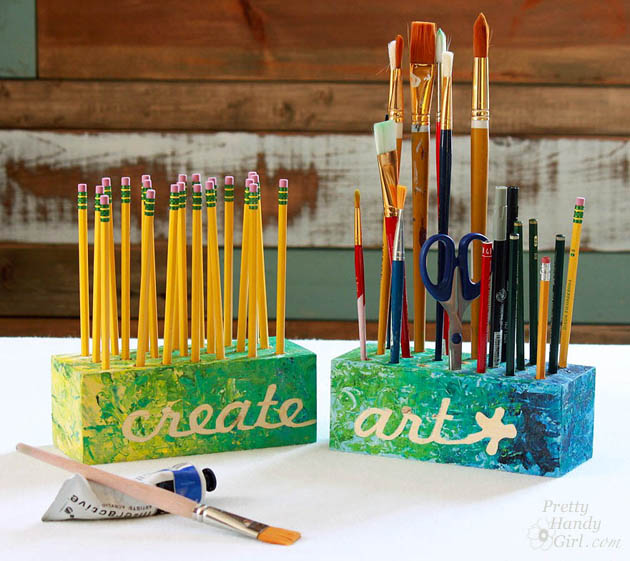
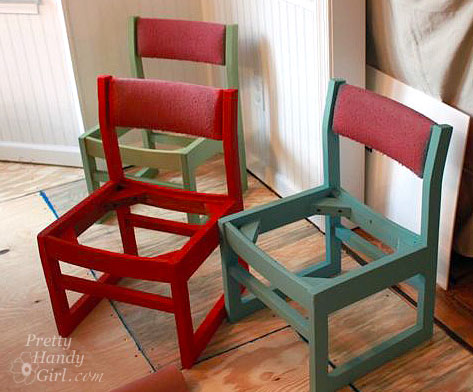
Creative Block Desk & Art Utensil Holder
This creative block desk & art utensil holder is a great way to organize art supplies using fun shapes and different colors.
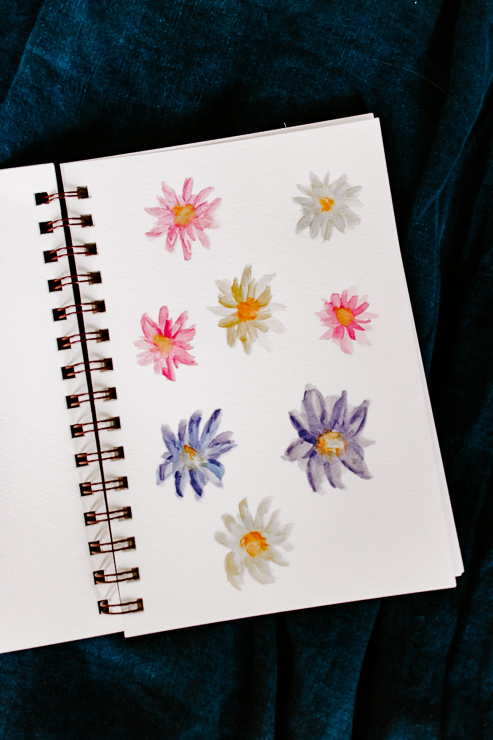
How to Paint Watercolor Daisies
Create easy to paint watercolor daisies with this fun and relaxing project! Perfect for beginners, this simple art idea uses light brushstrokes and soft colors to make beautiful floral designs. Great for handmade cards, wall art, or just practicing your painting skills!
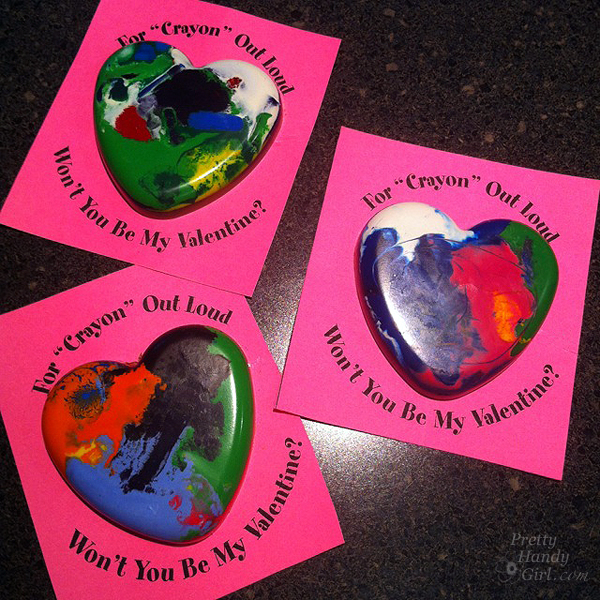
Melted Crayon Hearts
Make melted crayon hearts the easy way—perfect for younger kids! This fun craft uses broken crayons in different colors to create bright, heart-shaped gifts that are simple and mess-free. A creative activity kids will love year round (or for Valentine's Day)!

Make Pinch Pots from Clay
Make pinch pots from clay—a perfect rainy day project for older kids that's creative, hands-on, and so much fun!
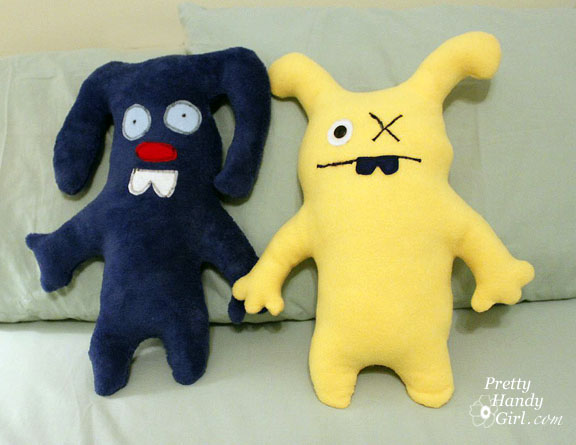
Make Your Own DIY Monster Dolls
Make your own monster dolls—a fun way for little kids to get creative with just a little help from adults if using hot glue or sewing.
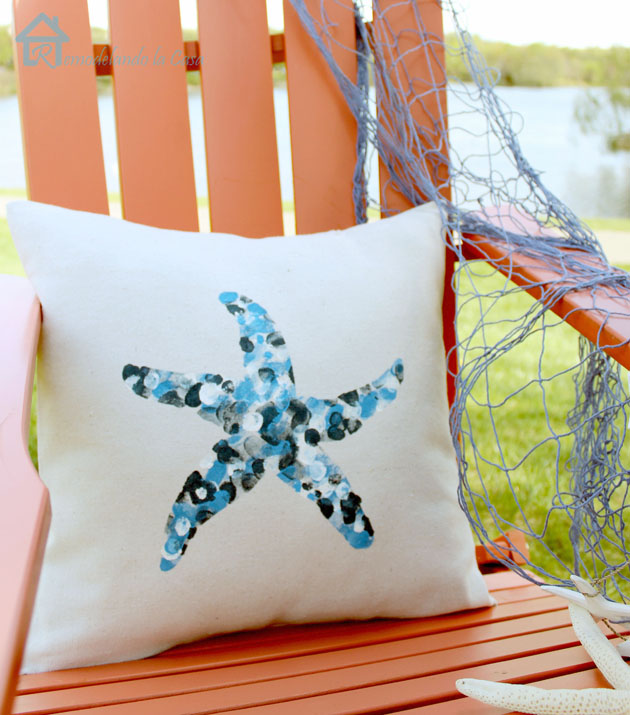
DIY Thumbprint Design Envelope Pillows
Create DIY thumbprint design envelope pillows for a sweet, personal touch that family members will love! A heartfelt and easy project that turns fingerprints into lasting keepsakes.
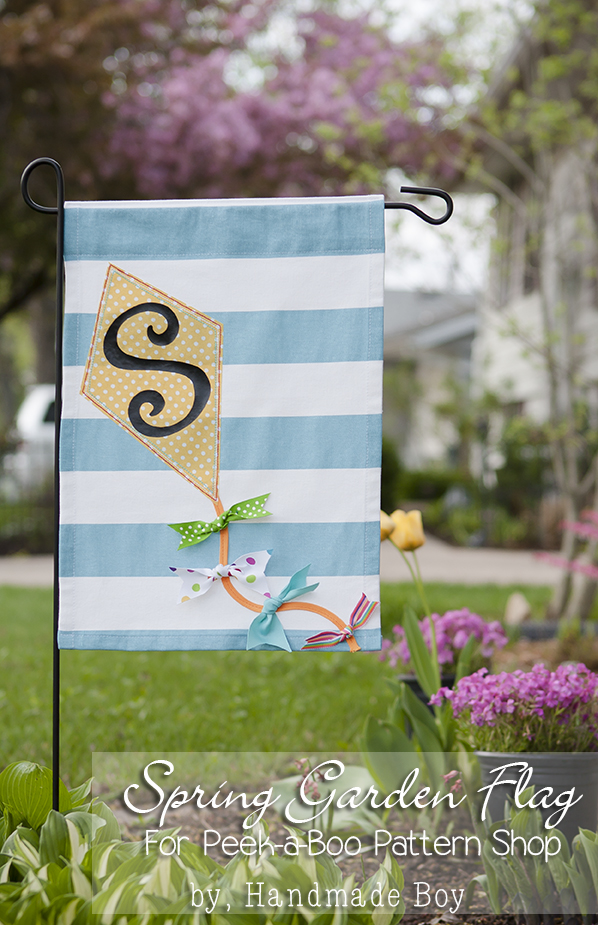
DIY Garden Flags for Every Season
DIY garden flags for every season are a frugal and fun way to decorate your outdoor space year-round! Use fabric scraps, stencils, or paint to create personalized flags for holidays, seasons, and everything in between.
Simple Pounded Flower Gift Ideas
Try these simple pounded flower gift ideas—easy craft ideas using white paper and fresh blooms to create beautiful, nature-printed art pieces with watercolor paints. Perfect for cards, bookmarks, or framed gifts!

DIY Crafts Tweens Will Love
30+ DIY crafts tweens will love—packed with easy crafts made from basic materials you likely already have at home. Fun, creative, and perfect for keeping hands busy and imaginations flowing!

25+ Art and Craft Boredom Busters
Art and craft boredom busters are the perfect way to keep kids engaged with fun, hands-on art activities that spark creativity and imagination. Great for rainy days, weekends, or anytime inspiration strikes!
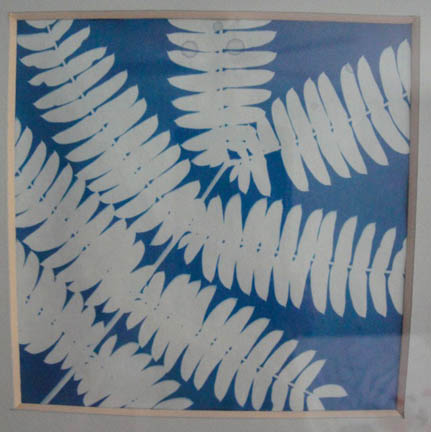
Sun Prints - Easy and Stylish Summer DIY Art
Learn how to make sun prints for an easy and stylish summer DIY art project that creates beautiful designs with a unique textured look using simple materials.
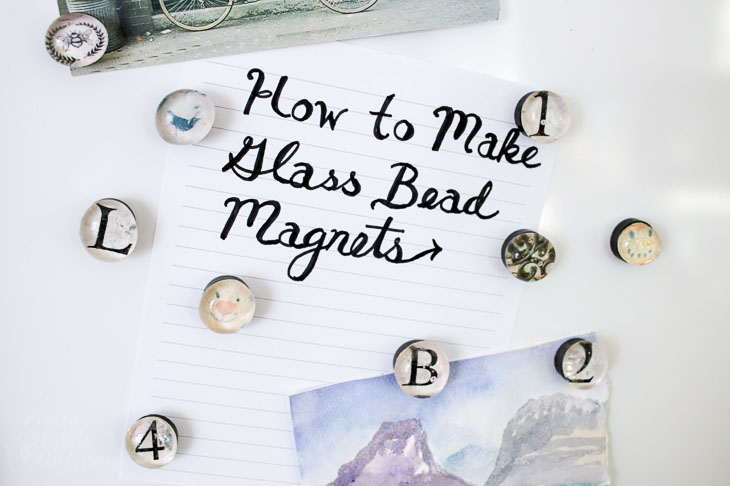
Decorative DIY Glass Bead Magnets
Create decorative DIY glass bead magnets that add a colorful and personalized touch to any fridge or magnetic surface.
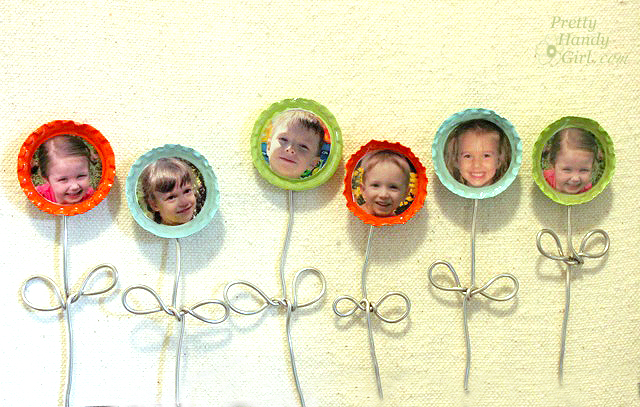
Bottle Cap Magnet Flowers
Bottle cap art magnet flowers are a fun and creative diy craft that brightens up any space with colorful, handmade floral designs.

DIY Sea Shell Matching Game
This DIY sea shell matching game is a fun and educational activity that combines creativity with a beachy theme, perfect for kids and family playtime.
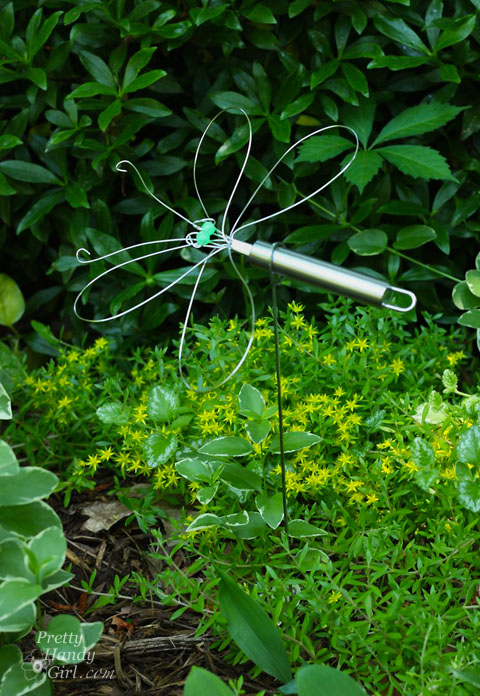
Dragonfly Garden Decor
Create a dragonfly garden decor using a wire whisk and skewer for a unique and charming DIY project that adds whimsical flair to your outdoor space.
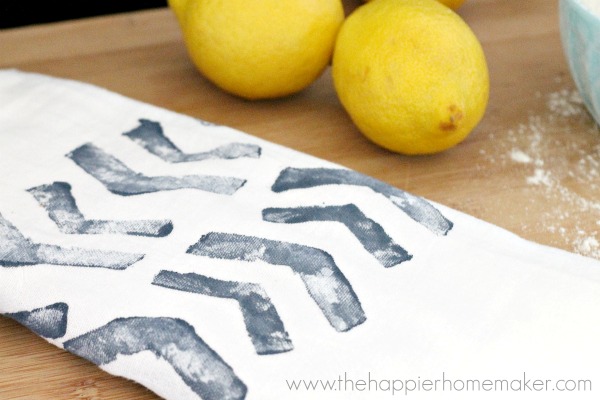
Block Print Stamped Tea Towel
Create a DIY block print stamped tea towel is a simple and stylish craft that adds a personalized, textured look to your kitchen linens.

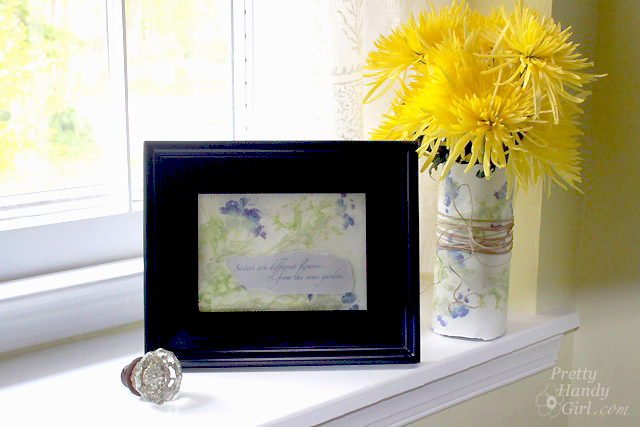
Simple Washi Tape Vases
Craft simple washi tape vases with this tutorial. They make thoughtful and easy teacher’s appreciation gifts with a colorful, textured look that brightens any space.
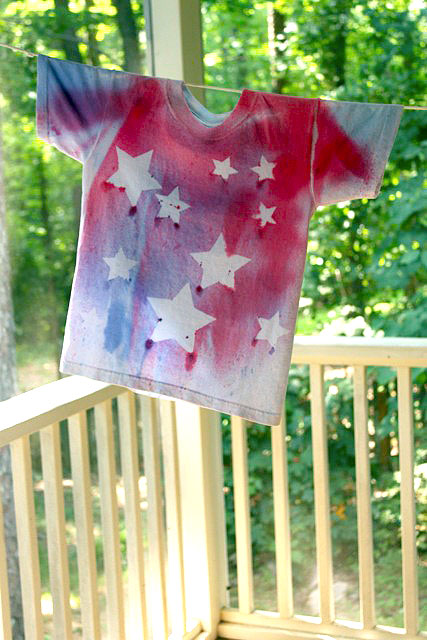
Dye-Sprayed Shirts
Make dye-sprayed shirts using simple painter's tape masks to create vibrant, textured designs with a fun and easy DIY technique perfect for summer fashion.
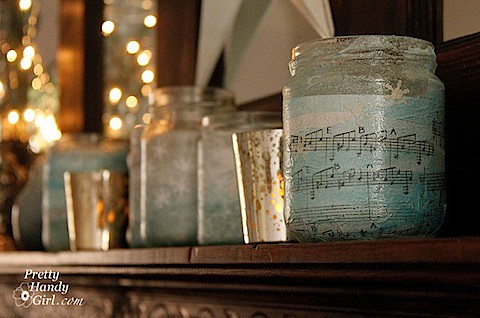
Glass Jar Votive Holders
Craft glass jar votive holders for a charming DIY project that adds a warm, textured glow to any room or outdoor setting.
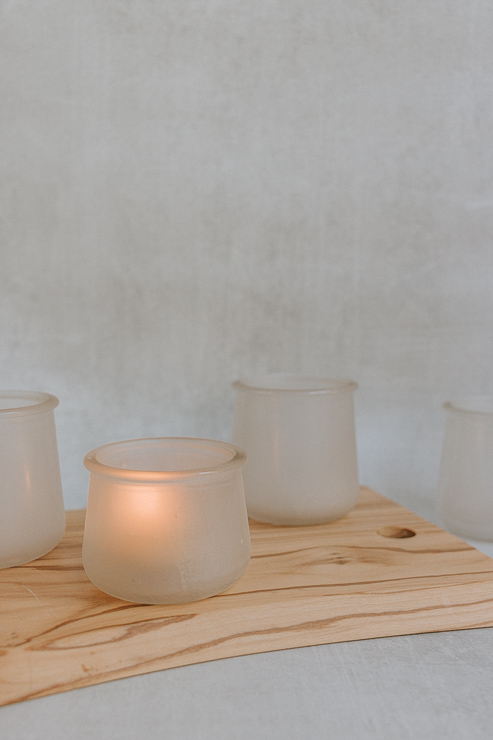
Frosted Votive Candle Holders
DIY frosted votive candle holders are a simple and elegant way to add a soft, textured glow to your home decor.
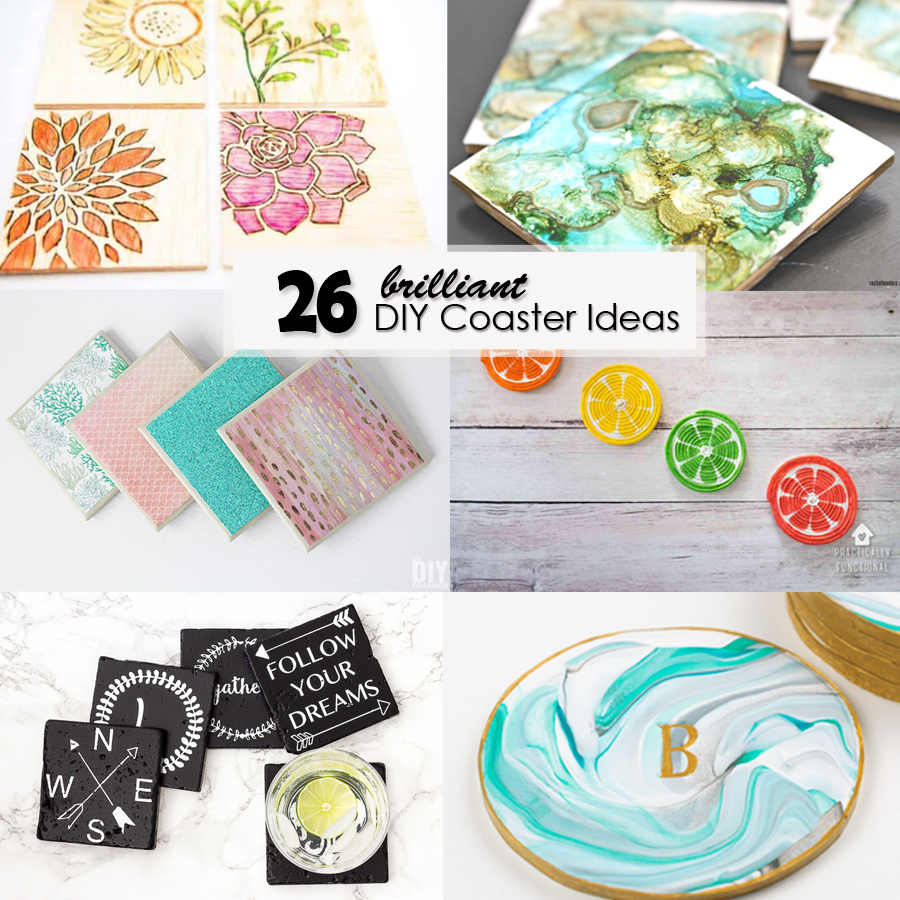
26 Creative DIY Coaster Ideas
Here are 26 DIY coaster ideas that offer creative and functional ways to protect surfaces while adding a stylish, textured touch to your space. Little artists will enjoy these fun craft ideas.
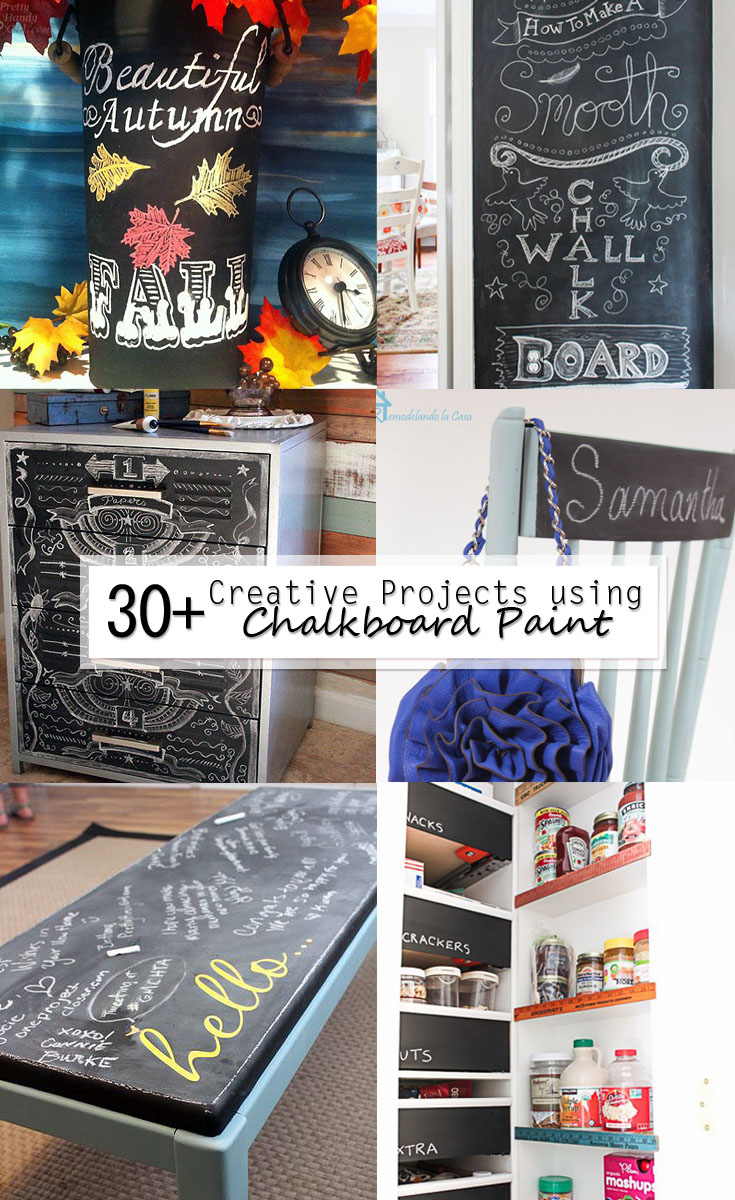
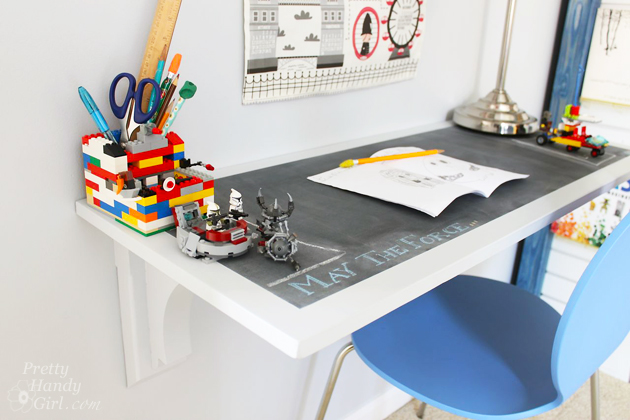
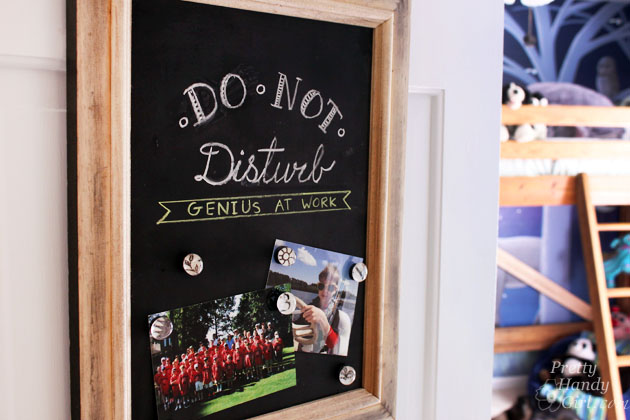
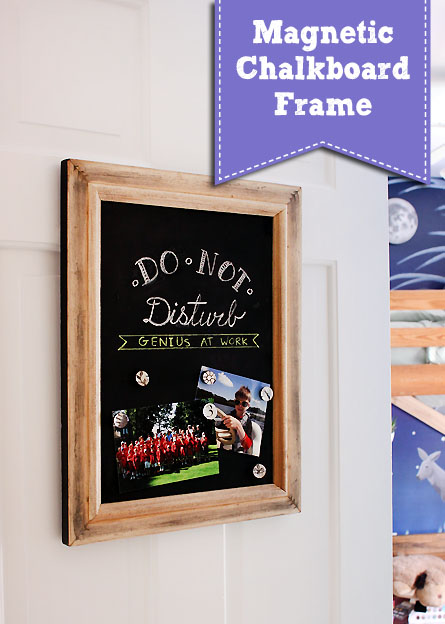
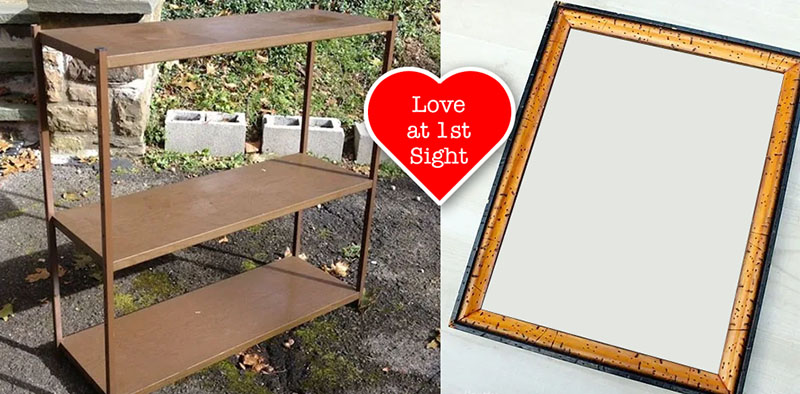
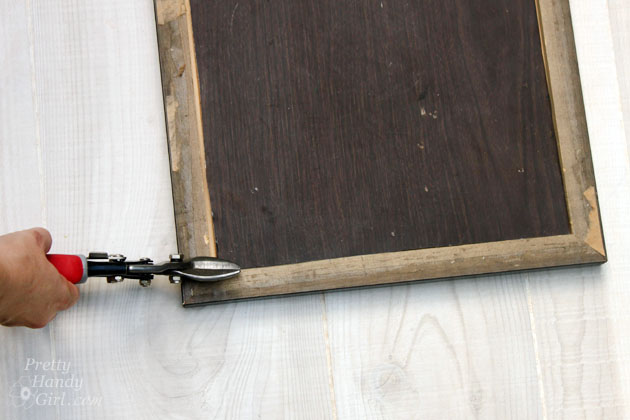
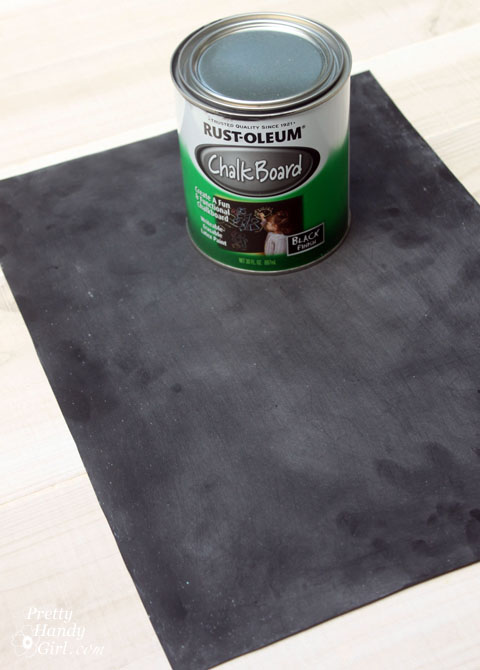
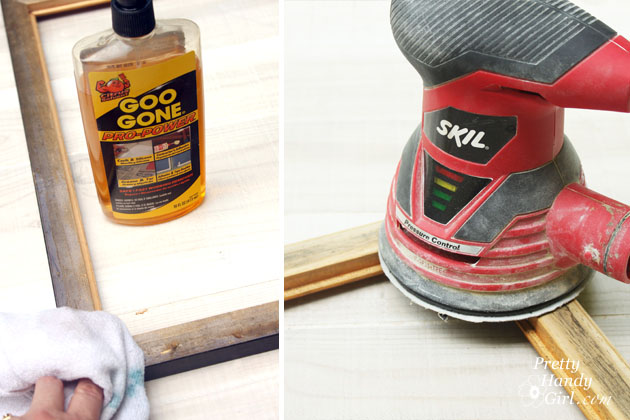
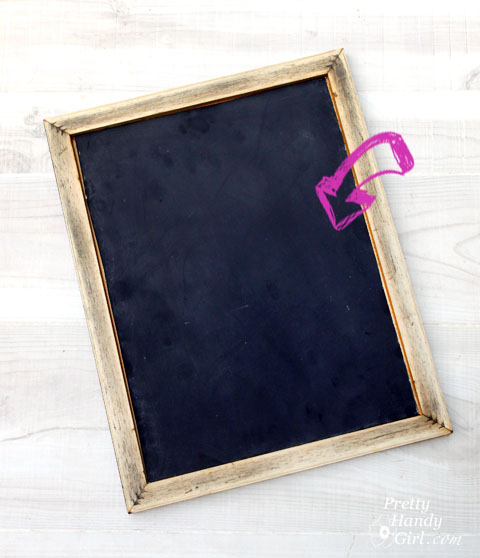
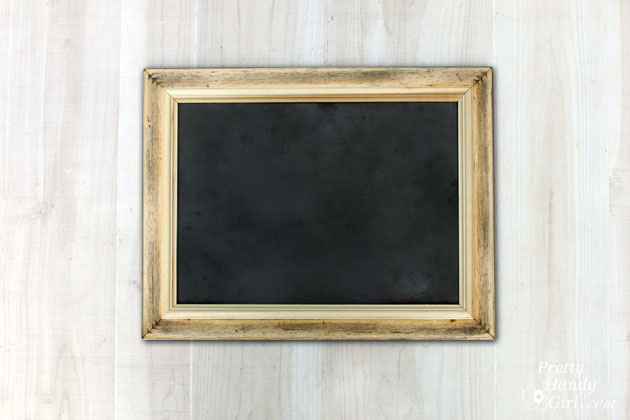
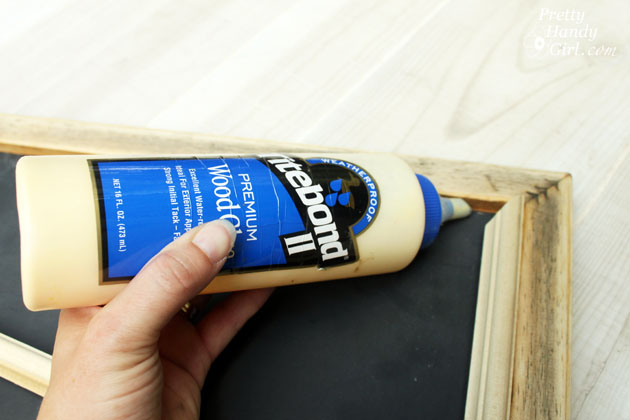
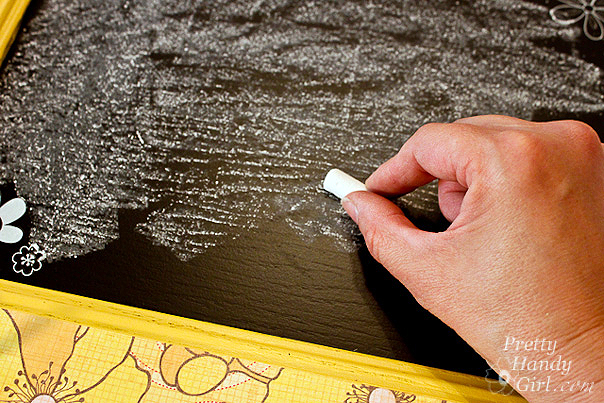
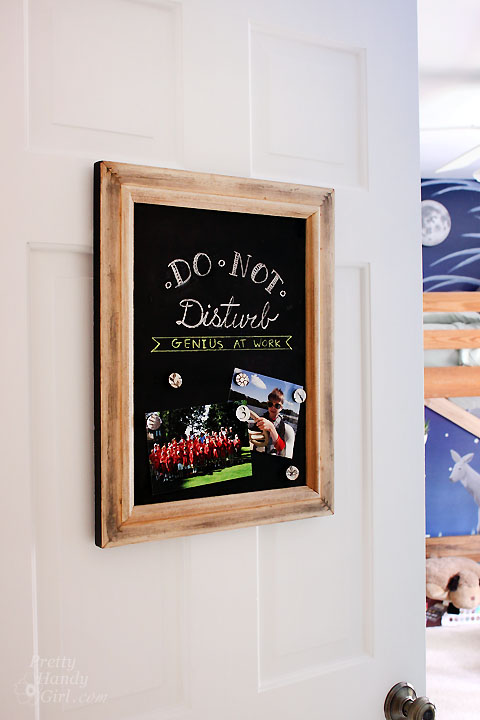
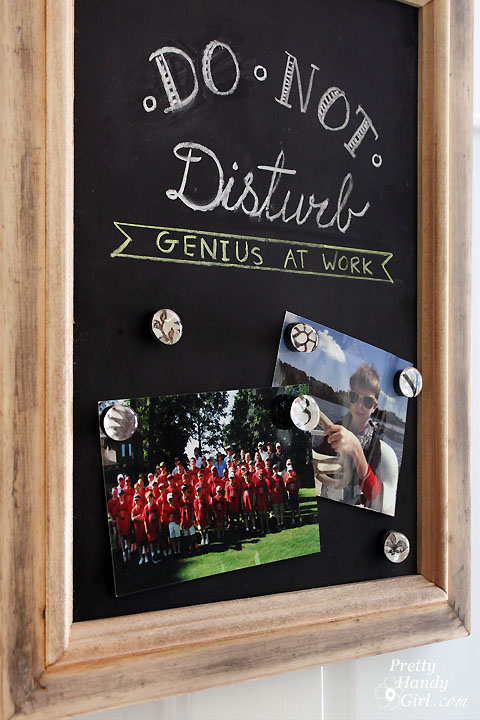
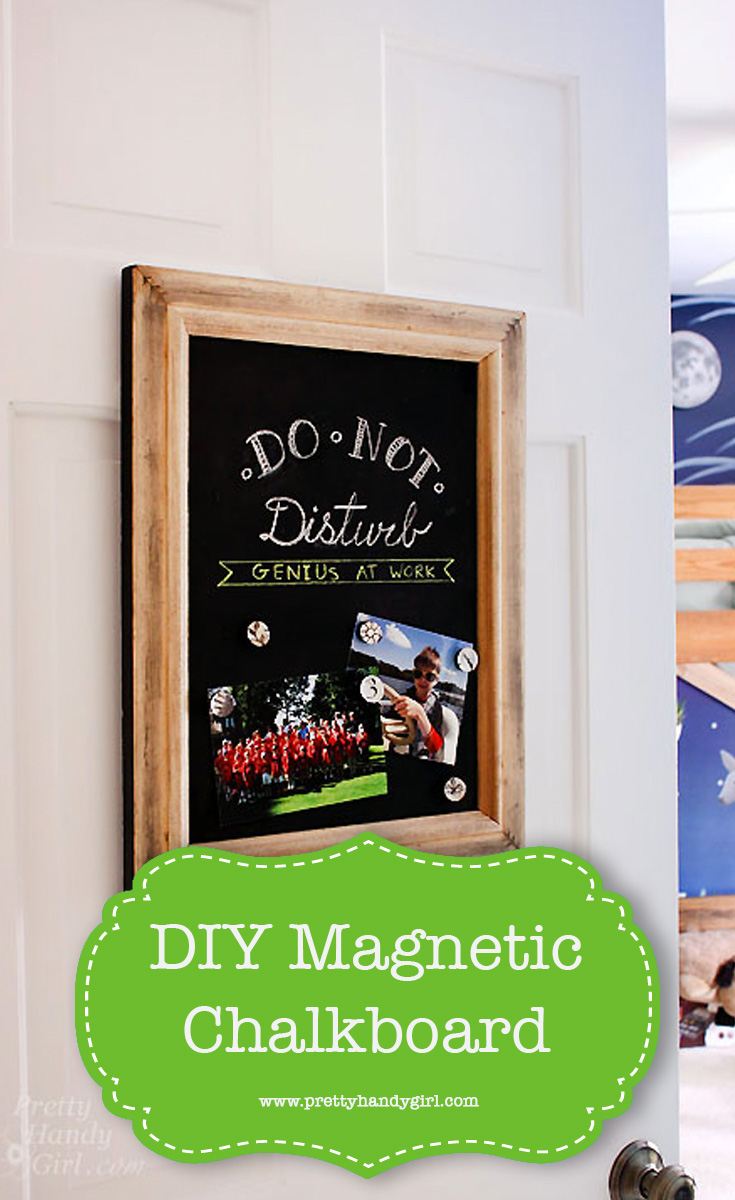
30+ Creative Projects using Chalkboard Paint
Explore these creative projects using chalkboard paint to transform ordinary surfaces into fun, interactive spaces with a textured and customizable finish.
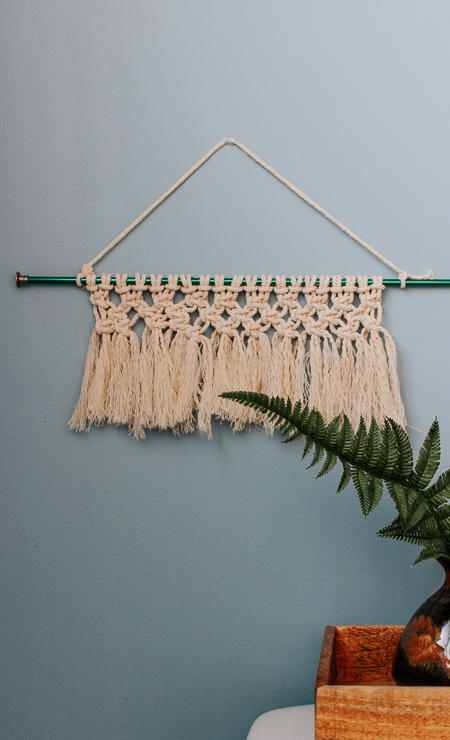
Make a Mini Macrame Wall Hanging
Make a mini macrame wall hanging: learn simple knotting techniques to create a stylish, textured piece of handmade decor perfect for any space.
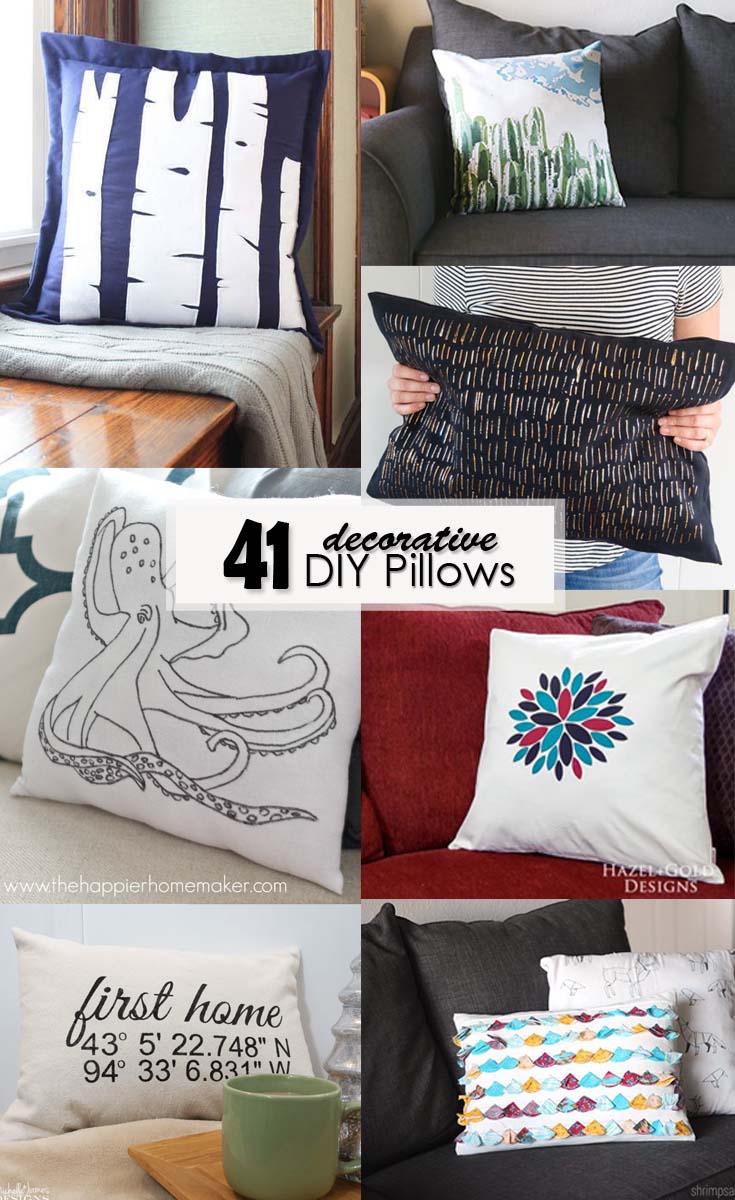
Decorative DIY Pillows
Discover 41 decorative DIY pillows that offer a variety of stylish and textured designs to easily refresh your home decor with handmade charm.
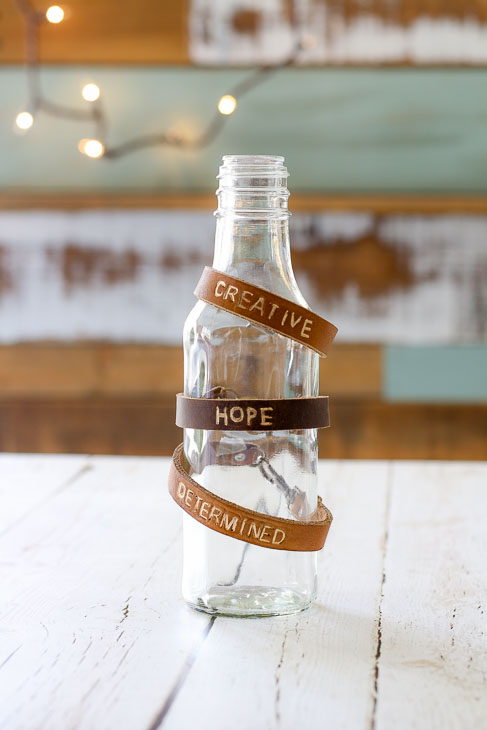
DIY Leather Word Bracelets
DIY leather word bracelets are a trendy and personalized accessory that combines stylish textures with meaningful messages for a unique handmade look.

Back to School Pencil Vase
This back to school pencil vase is a fun and practical craft that adds a textured, colorful touch to a desk or gift idea for teachers.
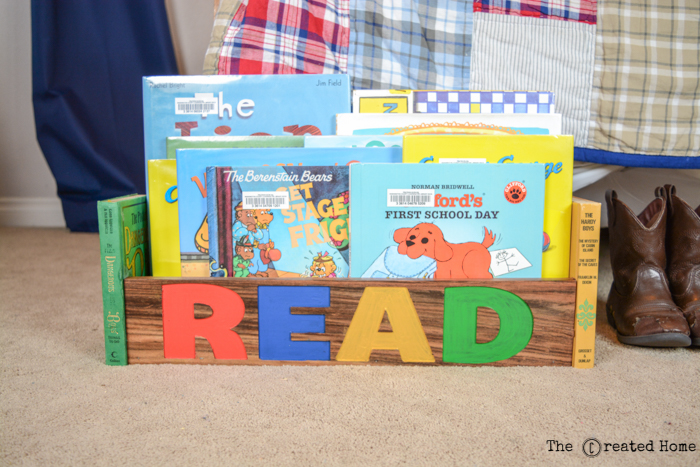
DIY Library Book Box
Make a library book box for a fun and functional project that adds a charming, textured storage solution for your childs favorite reads.

DIY Gold Leaf Bottle Vases
DIY gold leaf bottle vases are elegant and stylish crafts that add a shimmering, textured touch to any home decor.

Woodland Fairy Garden in a Jar
Woodland fairy garden in a jar is a magical DIY project that creates a textured, enchanting miniature world perfect for indoor decor.

4x4 Picture Frame
This 4x4 picture frame is a simple and fun diy craft that lets children create a personalized keepsake for their favorite photos.
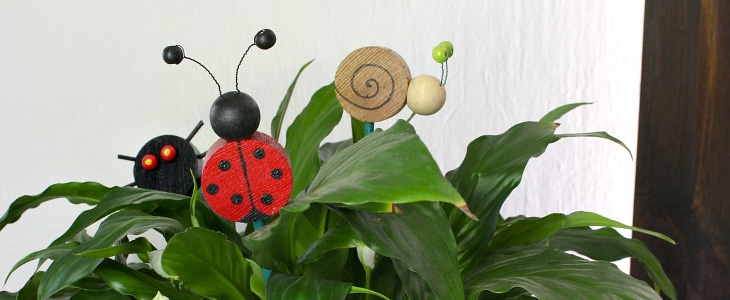
Cute Critter Plant Stakes
Create cute critter plant stakes to add a whimsical touch to your garden, making plants even more charming and fun.

DIY Yard Dice
DIY yard dice are a fun and interactive outdoor game project that adds a playful element to your backyard gatherings.
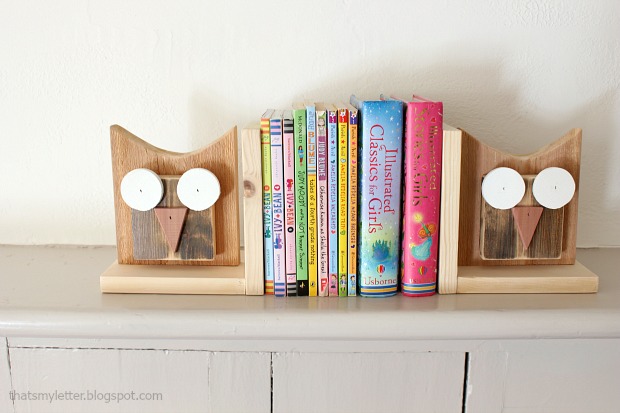
DIY Owl Bookends
These DIY owl bookends are a charming and creative project that adds a unique touch to a child's bookshelf or desk.

Make a Boo-Boo Bear
Make a boo-boo bear, a cozy rice ice and heat pack that provides soothing relief with a cute and textured handmade design kids will love.
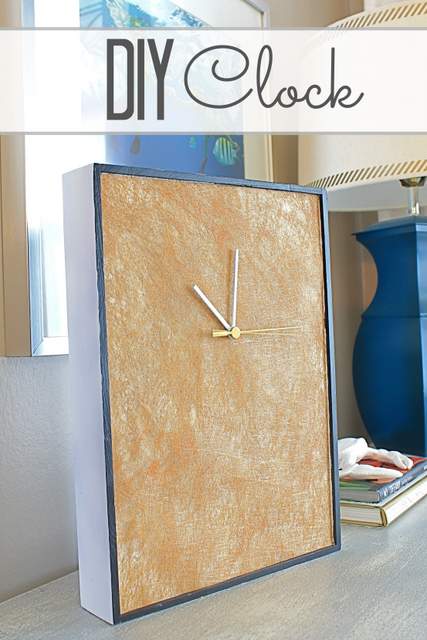
DIY Clock Tutorial
Learn how to make a DIY clock with this tutorial that guides you step-by-step to create a stylish and functional timepiece for your home.

DIY Ring Holder
Craft a ring holder for a simple and elegant craft that provides a stylish way to keep your jewelry organized.
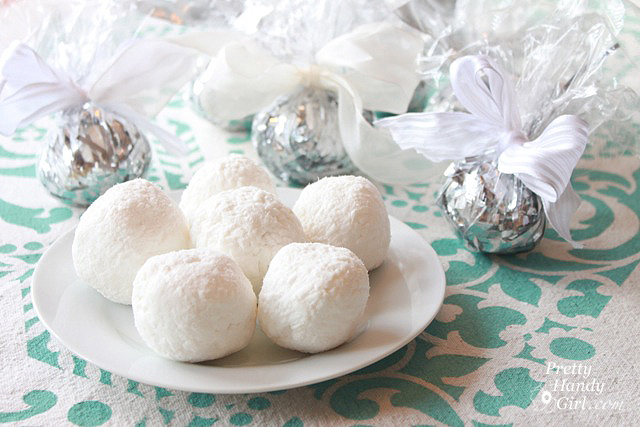
Soap Snowballs with a Surprise
These soap snowballs have a surprise inside that kids will flip for! They are a fun and DIY activity that combines playful textures with a hidden treat for extra bathtime delight.
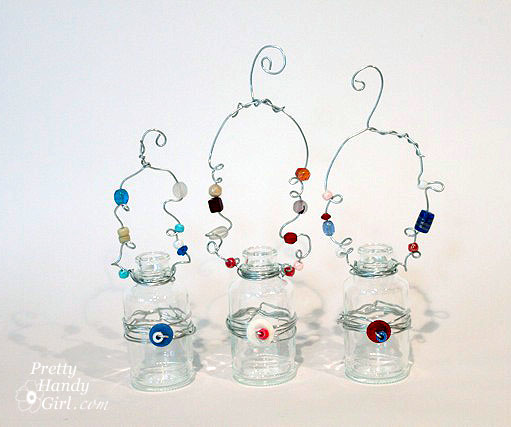
Hanging Beaded Glass Flower Vases
Learn how to craft hanging beaded glass flower vases, They are a beautiful project that adds a colorful touch to your home or garden decor.
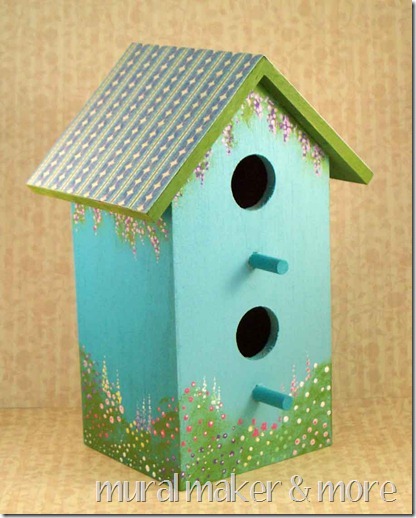
Painted Flower Garden Birdhouse Tutorial
This painted flower garden birdhouse tutorial shows you how to create a charming and colorful birdhouse with acrylic paints in your favorite colors. This is a great project that older children can make to brighten up your outdoor space.
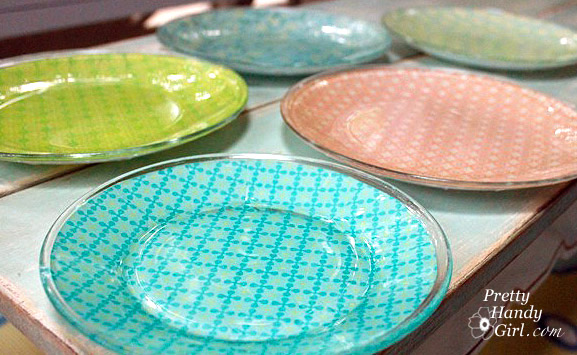
Easy Decoupage Citrus Glass Plates
These pretty decoupage citrus glass plates feature bright and cheerful citrus fruits, perfect for adding a fresh and fun touch to your table decor.
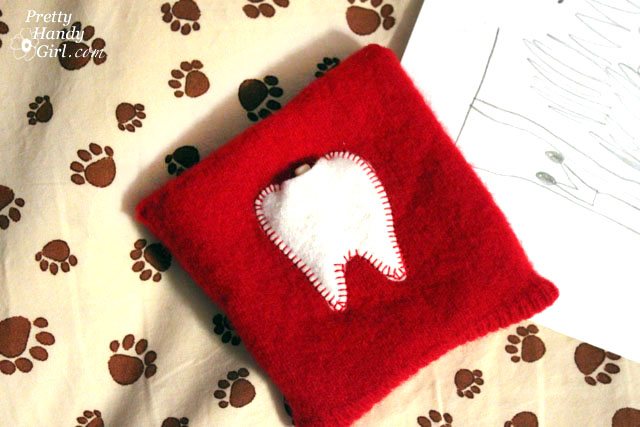
10 Minute Tooth Fairy Pouch
You can make this cute tooth fairy pouch in just 10 minutes. It's an adorable project that creates a handy place to keep lost teeth safe.
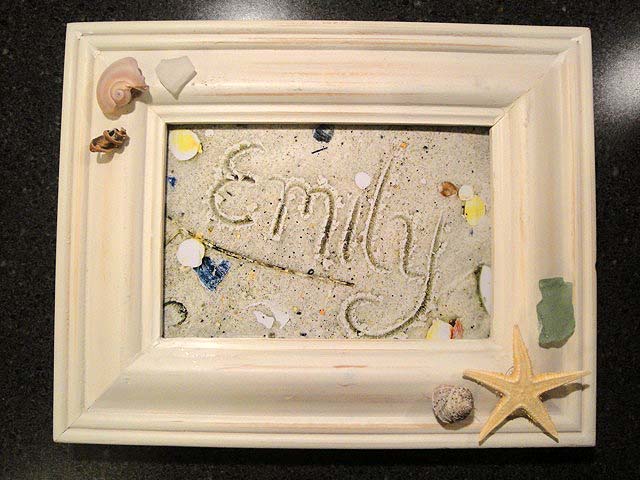
Writing in the Sand Picture DIY
This writing in the sand picture captures a peaceful and creative moment, perfect for personalized beach-themed decor or keepsakes.
I hope you enjoyed this post all about easy arts and crafts for kids. Hopefully, you found a fun art activity (or two) to add to your summer craft list.
In the meantime, pin this image to save it to Pinterest to refer to later.

You may also enjoy these easy crafts:
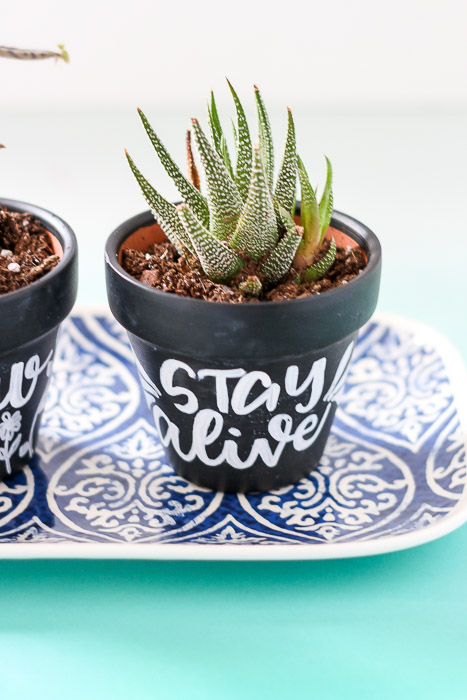
Handlettered Mini Chalkboard Planters
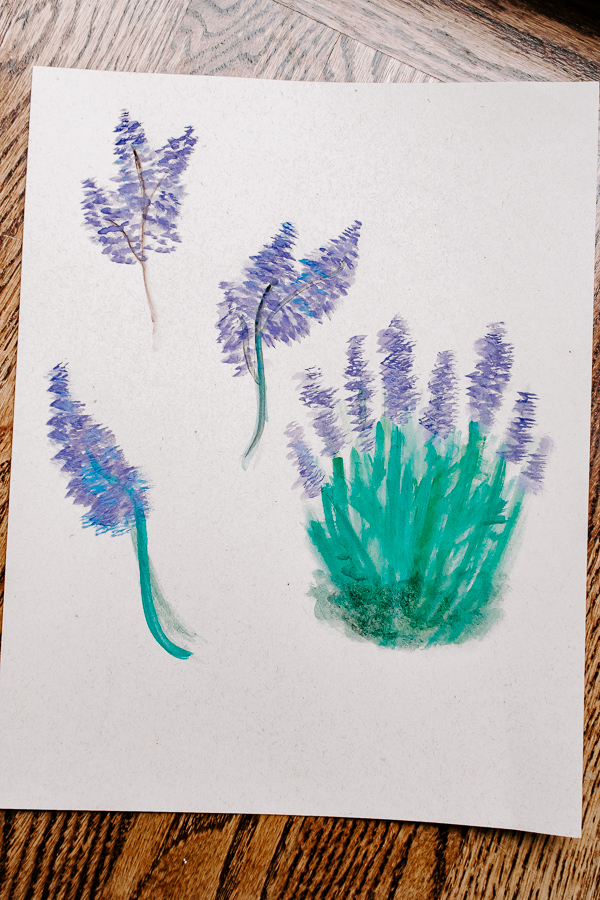
How to Paint Watercolor Lavender


