Half Round Copper & Wood Side Table
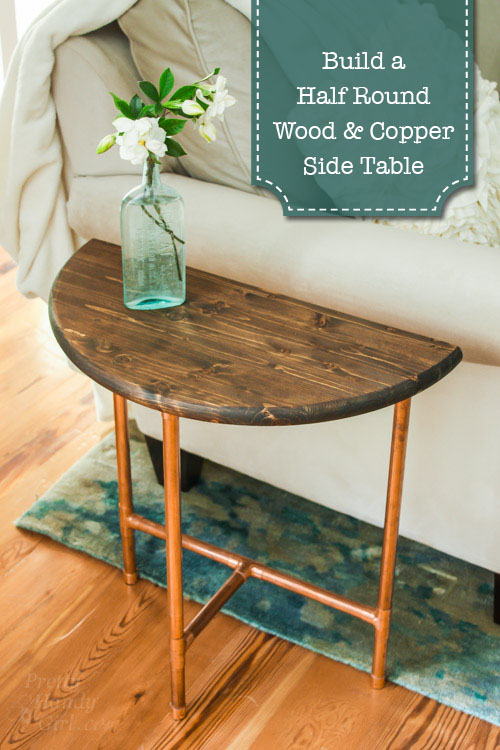
I wanted to build a small side table for our living room that wouldn’t take up a lot of floor space and have a light, airy, and industrial feel. I realized that was a tall order, but I like to challenge my creativity. On top of that order (like whip cream on a mocha frappé) I wanted some shiny copper bling (because who doesn’t love bling?) I had a general idea for the structure of the table, but wasn’t sure what to use for the top. While on one of my weekly excursions to Lowe’s, I spotted wood rounds. I grabbed one, headed to the plumbing department to buy some pretty copper pipe, and headed home to make a Half Round Copper & Wood Side Table.
Before you think you won’t be able to make this table because you can’t solder, I have a surprise for you. It isn’t soldered! I used an all surface adhesive to secure all the joints! Not just any adhesive will work. Luckily I was recently acquainted with Liquid Nails Fuze*It when Liquid Nails challenged me to use it in a sponsored post. Challenge accepted!
Materials:
(I’ve included affiliate links for your convenience. I earn a small percentage from a purchase using these links. There is no additional cost to you. You can read more about affiliate links here.)
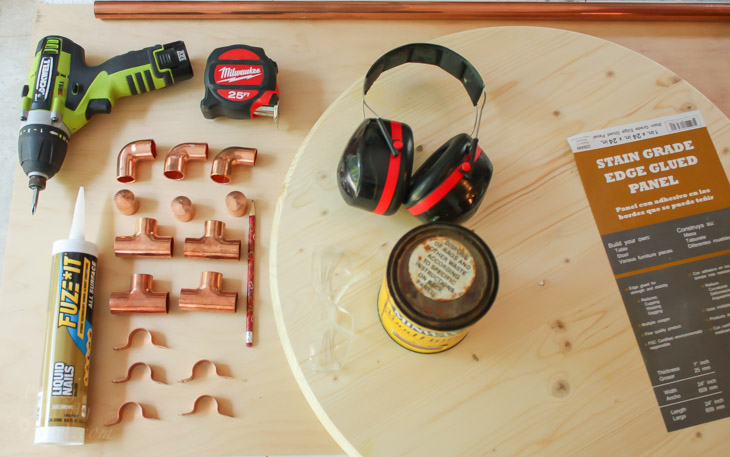
- 24″ Round Wood Panel
- 3/4″ x 8′ copper pipe
- 4 – T connectors
- 3 – 90˚ angle elbows
- 3 – 3/4″ End caps
- 3 – Pipe straps
- 3/4″ wood screws
- Tape measure
- Caulk gun
- Painter’s tape
- Level
- Drill with phillips head bit
- Pipe Cutter (or hacksaw or Rockwell BladeRunner with metal cutting blade)
- Jigsaw (or bandsaw or Rockwell BladeRunner with wood cutting blade)
- Pencil
- Liquid Nails Fuze*It
- Minwax Dark Walnut stain
- Furniture Wax or Polycrylic
- Safety glasses
- Ear protection (if using the BladeRunner)
Pipe Cut List:
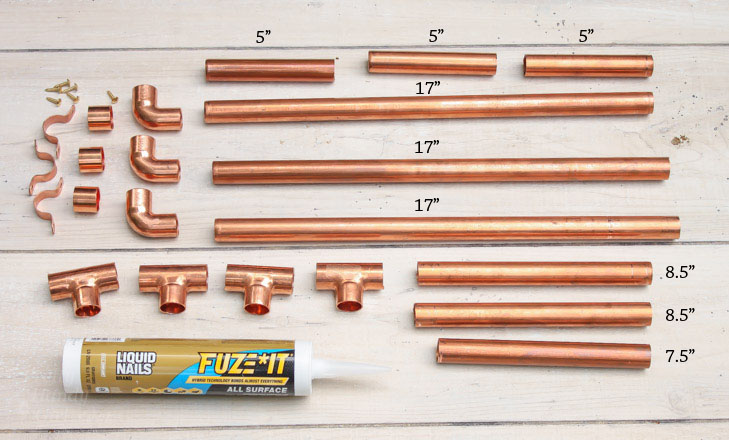
- 3 – 5″
- 3 – 17″
- 2 – 8 ½”
- 1 – 7 ½”
Instructions:
Begin by cutting your copper pipe to size. You can use a pipe cutter or any saw with a metal blade.

(When my pipe cutter broke, I tried the Rockwell BladeRunner. It cut through the pipe nicely but the last cut always resulted in a slight kickback action. Not a big deal as the hood kept it from flying.)
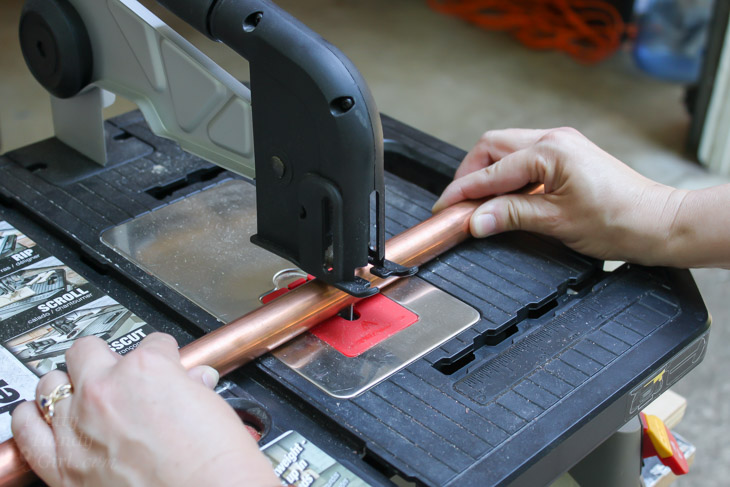
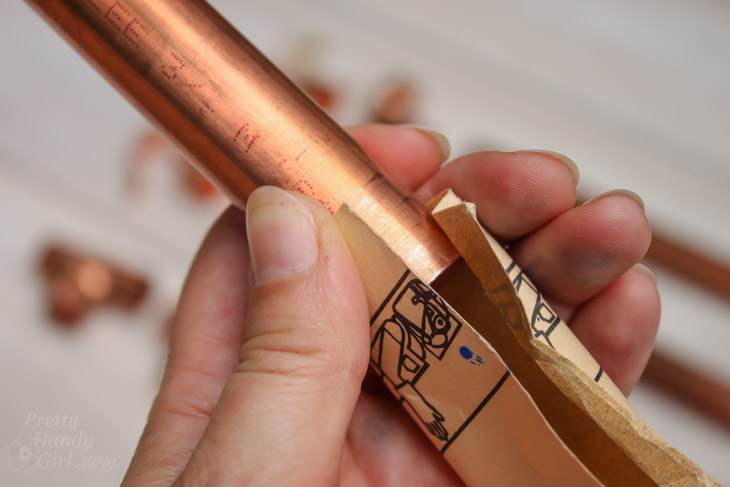
Use a piece of sandpaper to clean up the cut edges of the pipes.
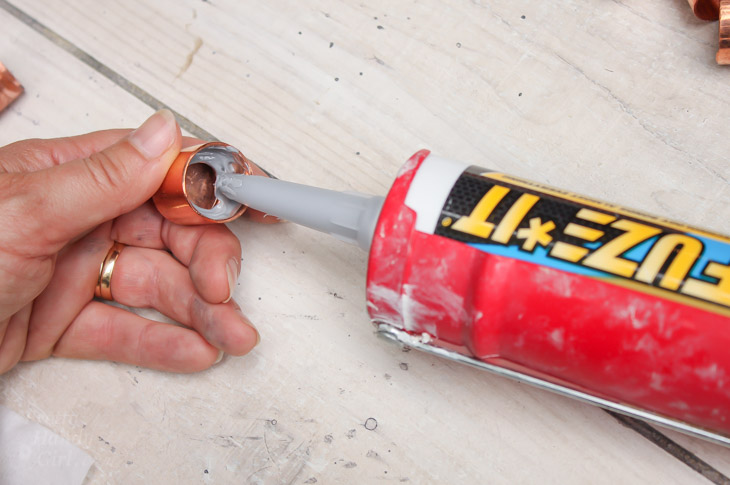
Open the tube of Liquid Nails Fuze*It All Surface Construction Adhesive. Remove the nozzle and puncture the top of the tube. Load the tube into a caulk gun. Squeeze some adhesive into the three copper caps.
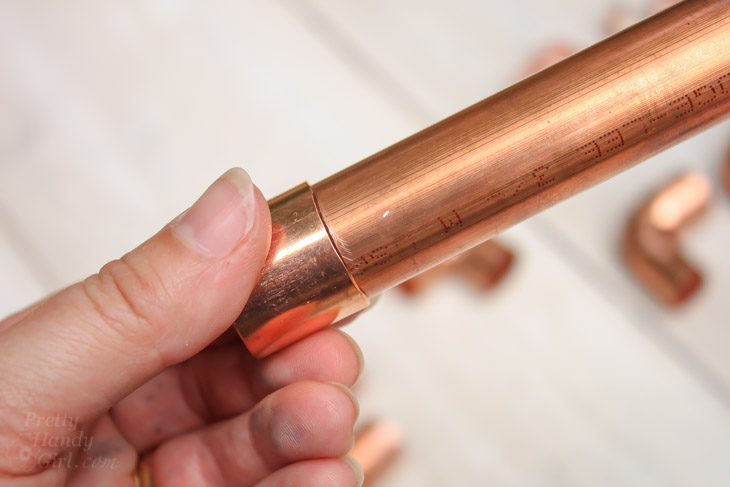
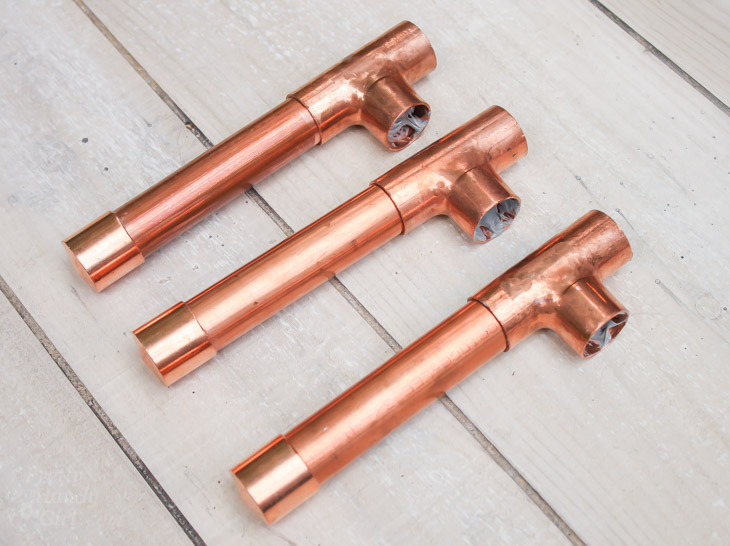
Insert the three 5″ pipes into each cap. These will be the feet of the side table.
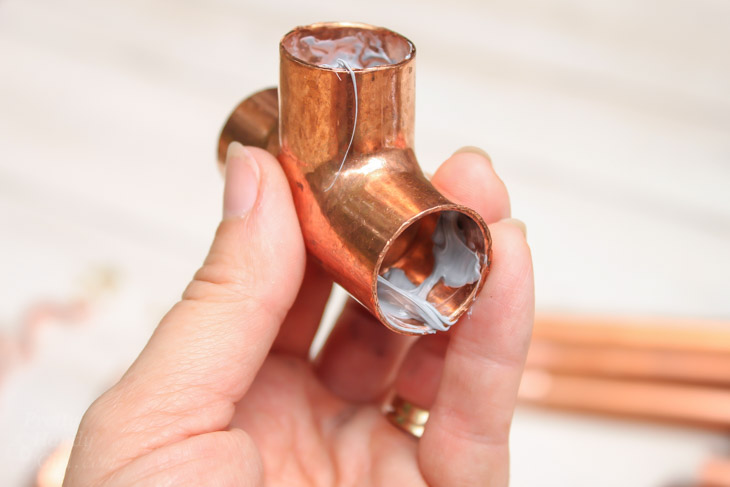
Squeeze the Fuze*It adhesive into the three openings in the “T” connectors. (You can wipe off any excess adhesive with a damp paper towel or baby wipe.)
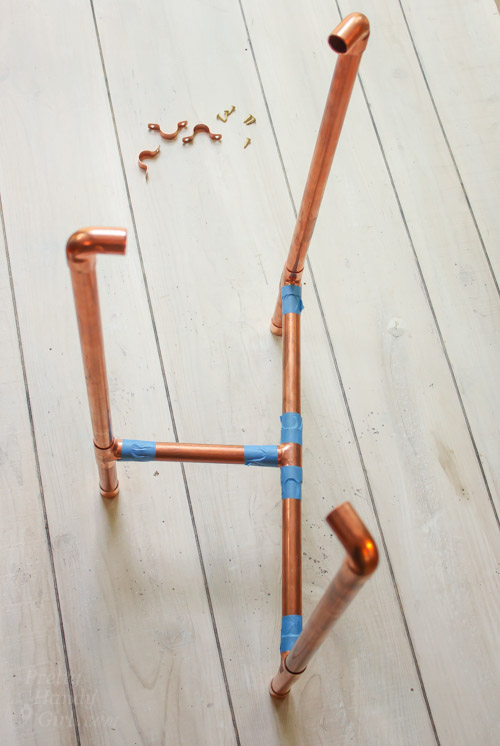
Slide the feet into one side of the “T” connectors as shown below.
Insert two 8 ½” pipes and the one 7 ½” pipe into the last “T” connector and attach the glued legs as shown below to create the base.
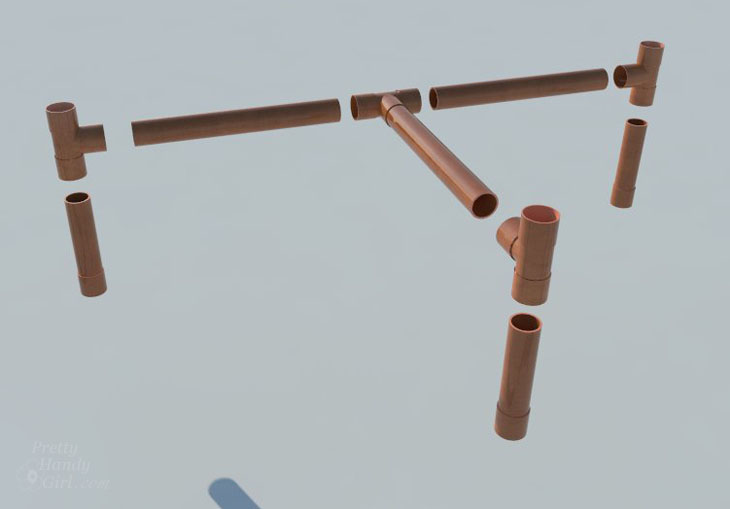
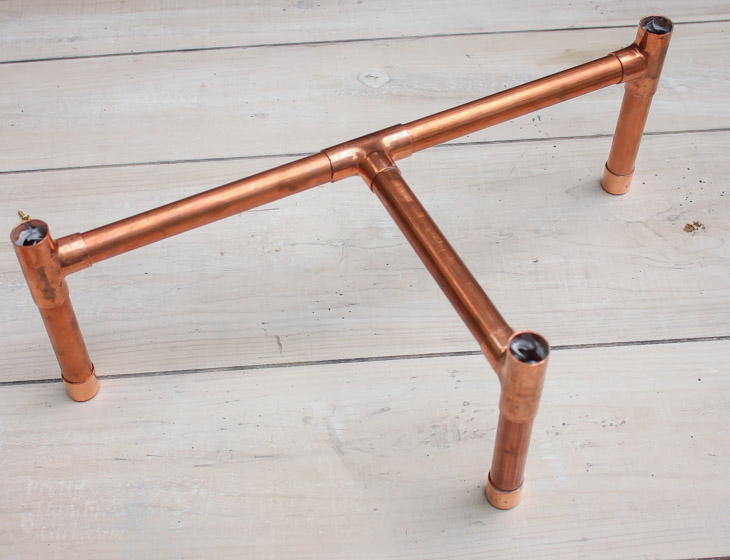
Slide the 17″ pipes into the base as shown:
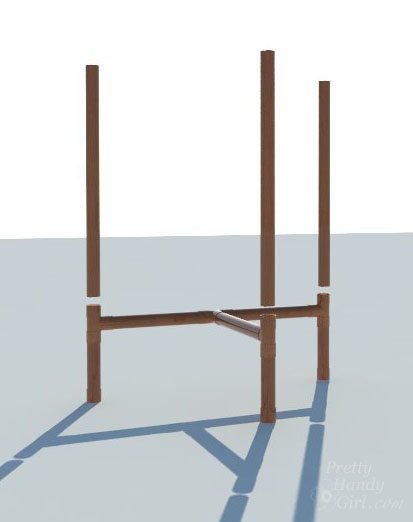
Add more Fuze*It adhesive to the 90° elbow joints and attach to the tops of the legs. Aim the elbows in toward the center.

Check all the legs to make sure they are straight and plumb.

Add painter’s tape to the joints to hold until the adhesive cures (in a few hours).
Meanwhile, measure and mark the half location (with the wood grain) on the wood round . Cut, the round with the BladeRunner, jig saw, band saw or table saw.

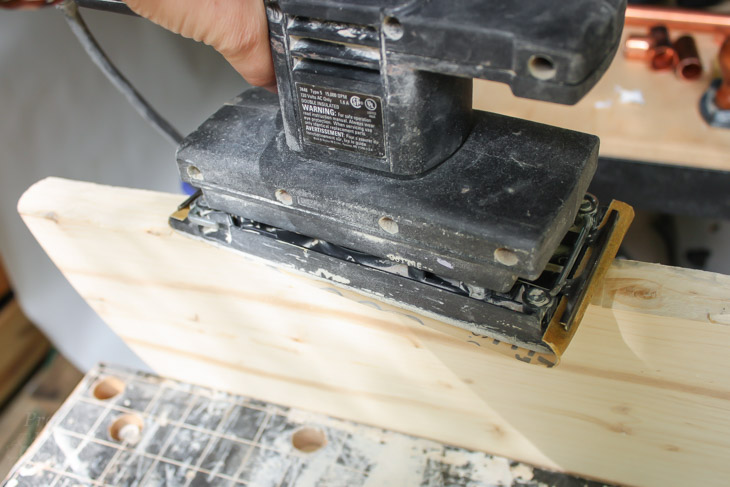
Sand the cut edges smooth.
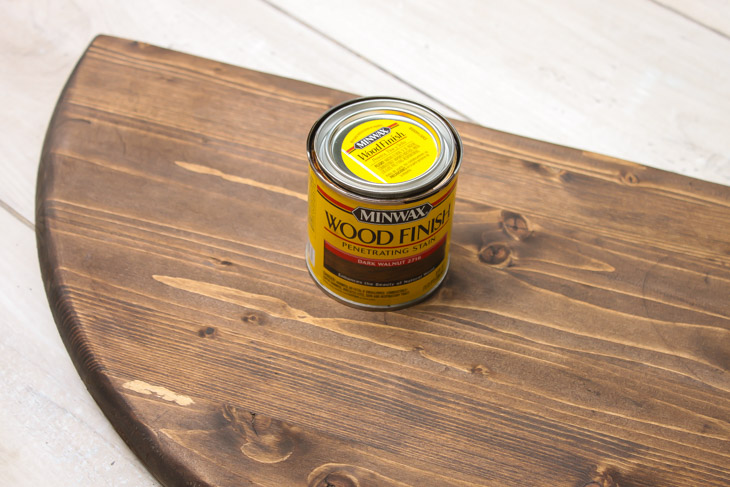
Wipe any sanding dust off the table top. Stain with Dark Walnut stain. Wipe off excess. After the stain has dried, re-apply a second or third coat to achieve the darkness you desire.
Once the Liquid Nails Fuze*It adhesive has cured, turn the legs upside down and center the legs on the table. (To allow the straight side to fit snug against a wall, center the legs 1 ½” from the edge. The round edge will protrude a few inches beyond the center leg.
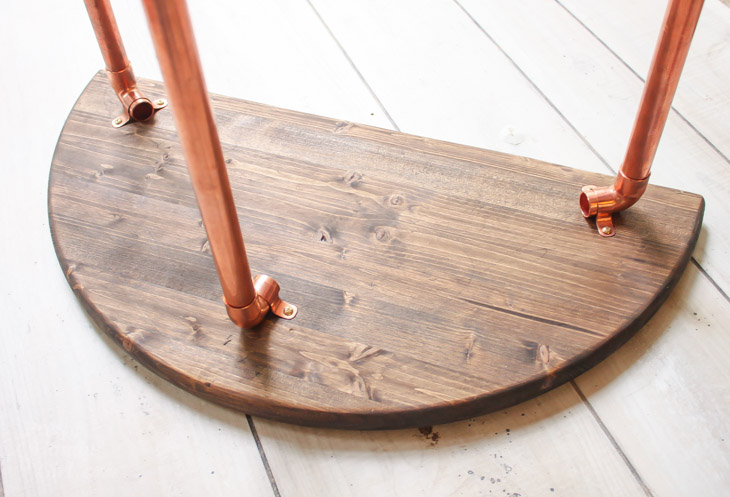
Attach the 90° elbows to the half round with pipe straps and 3/4″ screws.

Wax or polycrylic the table top to protect it.
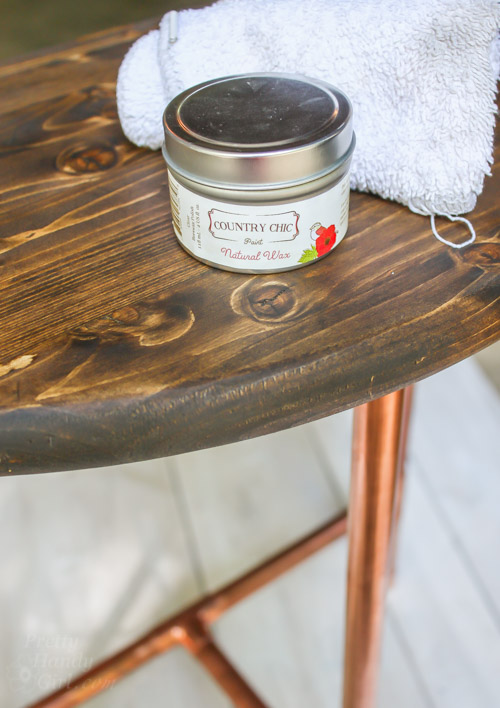
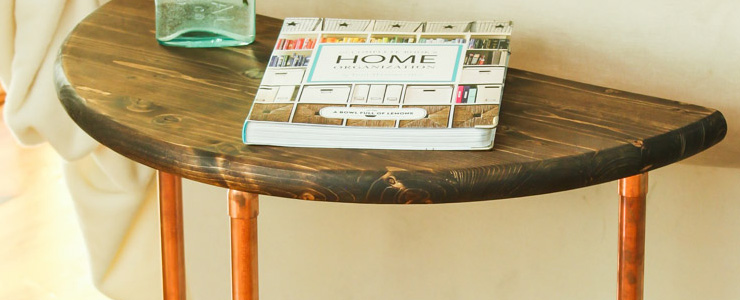
Enjoy your new Half Round Copper & Wood Side Table.

Obviously, I still have another wood half round to make a second table. But, I’m going to try to come up with another creative use for it. Any ideas?
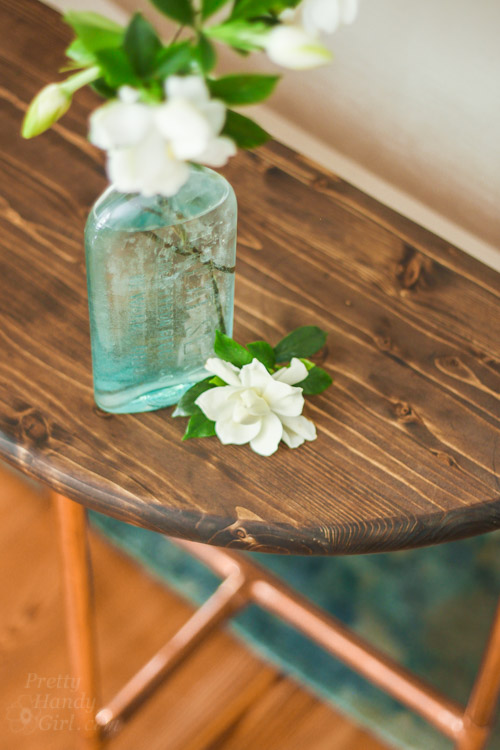
No one has to know that you didn’t solder the joints. It’s our little secret.

I was surprised how simple this project was. The hardest part was making sure the legs are plumb.

I hope you’ll make one for yourself. Be sure to pick up some Liquid Nails Fuze*It All Surface Construction Adhesive. It bonds almost everything to almost everything else.
![]()
Disclosure: This is a sponsored post for Liquid Nails Fuze*It. I was compensated for my time. I was not told what to write. As always I’m very particular about the products I write about.



Perfect!!! I found this wooden side table very attractive and elegant.
Curious about the cost?
your table looks great! maybe you could use the other half of the wood round as a shelf? Please post pictures when you do make something with it.
I really enjoyed this read and am actually in the process of making a similar table for my bedroom. However I think I may use the black 1/2 inch heating pipes, because I like that rustic look.
Since the copper will naturally change color/oxidize with grease/chemical from hands, etc (in years, I know, but I am just OCD), what can you recommend for the protective coating to preserve the orange color?
Sasha, I’m not sure what you can use, but try looking on the internet for suggestions. I know you could shine it up with a copper or brass cleaner if it does tarnish.
Very soft sand paper 1000 grid and more them clear coat it couple times I have solder my joints they never come apart
What great timing, I really need some occasional tables, these are perfect. Love this to bits, copper is so lovely. I’ve made candle holders using the same elbows and pipe. Just want to buy the supplies now. Thank you so much Brittany
I have a question about that Fuse-it: Do you remember those round tables that used to be sold with three legs? I have an old one that I covered with mosaic, tiles and marbles. It’s beautiful. However, I have not been able to secure the legs. I added wood pieces, screwed new legs into it and it seemed just fine. Then one of my granddaughters tipped it over and the legs came off. I can’t use long screws because of the glass in the top (didn’t think of that.) Do you think this Fuse-it would hold the legs better?
Andrea, I know exactly what you mean and I have a similar table that I had to break apart and re-glue. I’d say it’s worth a shot! Be sure to take apart the table and clean out any old glue first.