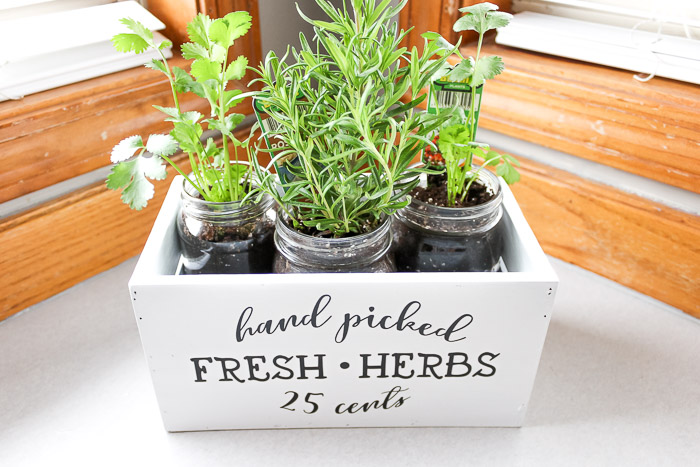
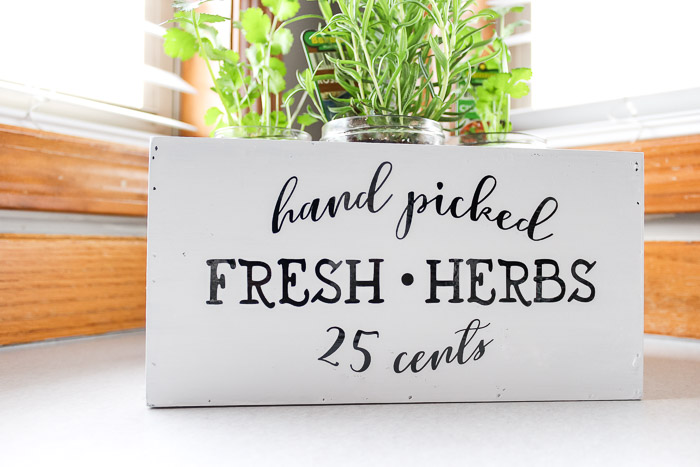
Indoor Herb Garden with Mason Jars
Growing herbs indoors is not as difficult as it sounds! Whether you are short on garden space, or just want to have fresh herbs available to you all year long, this tutorial for an indoor herb garden using Mason Jars is simple to create.
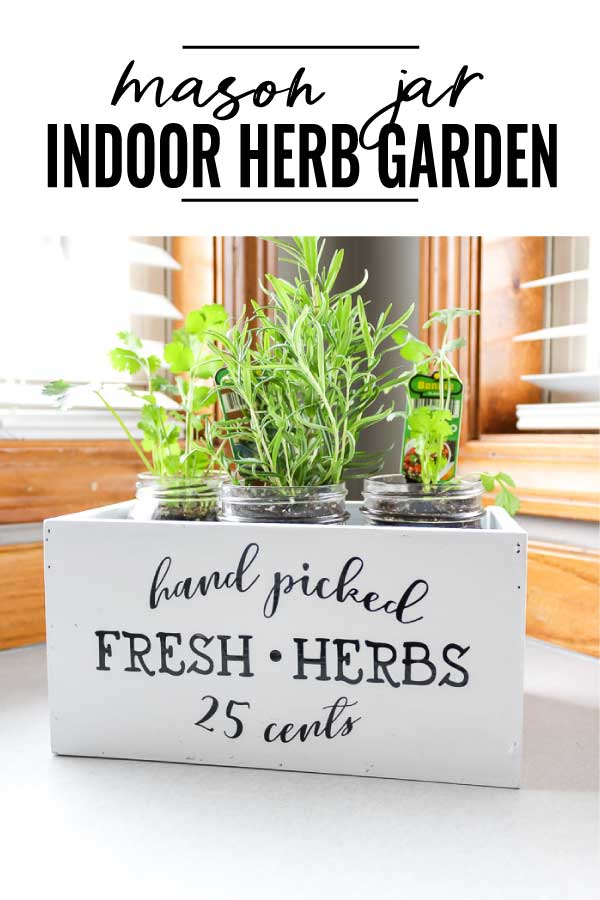
Indoor Herb Garden with Mason Jars
Hello, it’s Amanda from Domestically Creative and I’m back with another simple tutorial. This time we’re creating an indoor herb garden from Mason Jars and a thrift store wooden crate. Here’s how to make one for yourself or to gift to a friend.
Materials:
(I’ve included affiliate links for your convenience. I earn a small percentage from a purchase using these links. There is no additional cost to you. You can read more about affiliate links here.)
- Wooden box/crate or another container
- Sandpaper
- Paint (I used chalky paint)
- Paintbrush
- Stencil —optional
- Quart Mason Jars or other reused glass jars
- Small pebbles
- Sphagnum Peat Moss
- Potting Mix
- Herbs of choice
Instructions
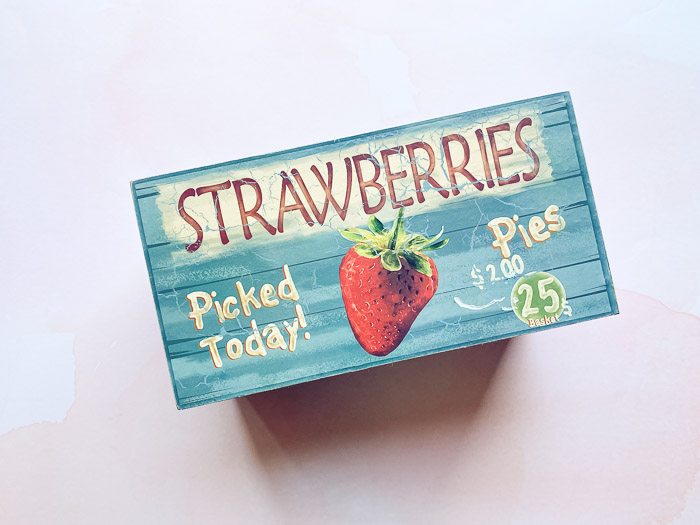
Step 1—Cleaning and Prepping
If you are using a thrifted find for your indoor herb garden, you’ll want to be sure to clean it really well before painting. If you aren’t using a thrifted box, check out this planter tutorial on building something similar for yourself.
Decide on which type of paint you’ll be using to paint the wooden box with. I chose to use chalky paint so there is less sanding and prep work required. If you choose to use latex or another type of paint, you’ll want to sand as much of the existing finish off as you can to get a smooth, blemish-free base to paint over. You’ll also need to use a primer before painting.

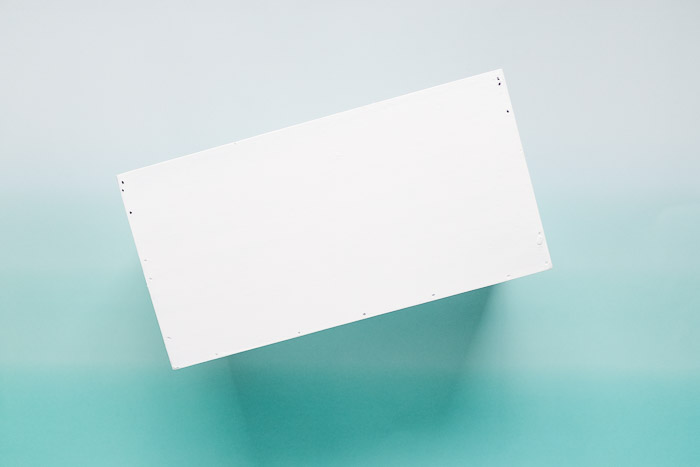
Step 2—Painting the Indoor Herb Garden
Give the wood box 2-3 coats of paint, letting the paint dry completely between coats. It may be necessary to lightly sand between coats to ensure a smooth finish.
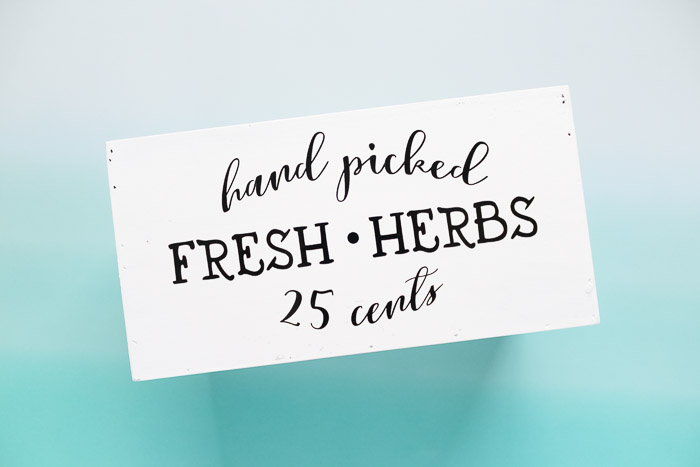
Step 3—Optional Stenciling
My indoor herb garden includes a vinyl applique cut using a Silhouette Cameo. You can find vinyl appliques online, or find a stencil to adorn your own indoor herb garden any way you choose.
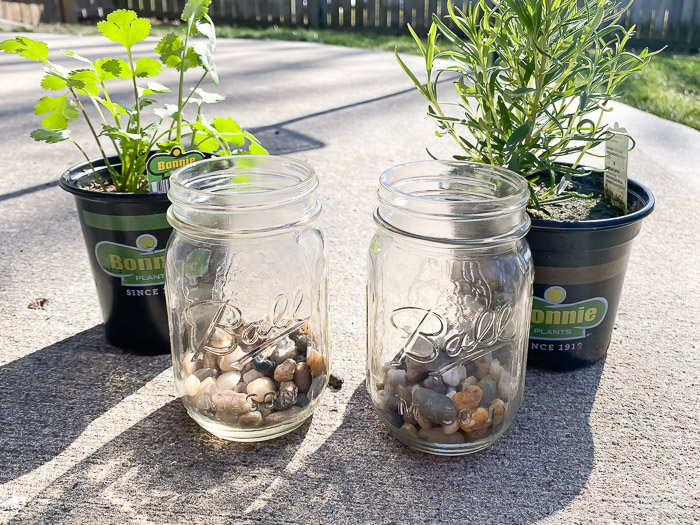
Step 4 —Planting herbs in Mason Jars
To plant herbs in a Mason Jar, you’ll want to add a 1 ½” layer of rock at the bottom of each jar. This will give any excess water a place to drain so the roots of the plant do not rot.
Next, add a layer of potting soil to fill 3/4 of the glass jar. Create a divot in the soil for the roots, and then place the herb in the jar. Cover the roots with Sphagnum Peat Moss, filling the jar the rest of the way to just below the mouth of the jar.
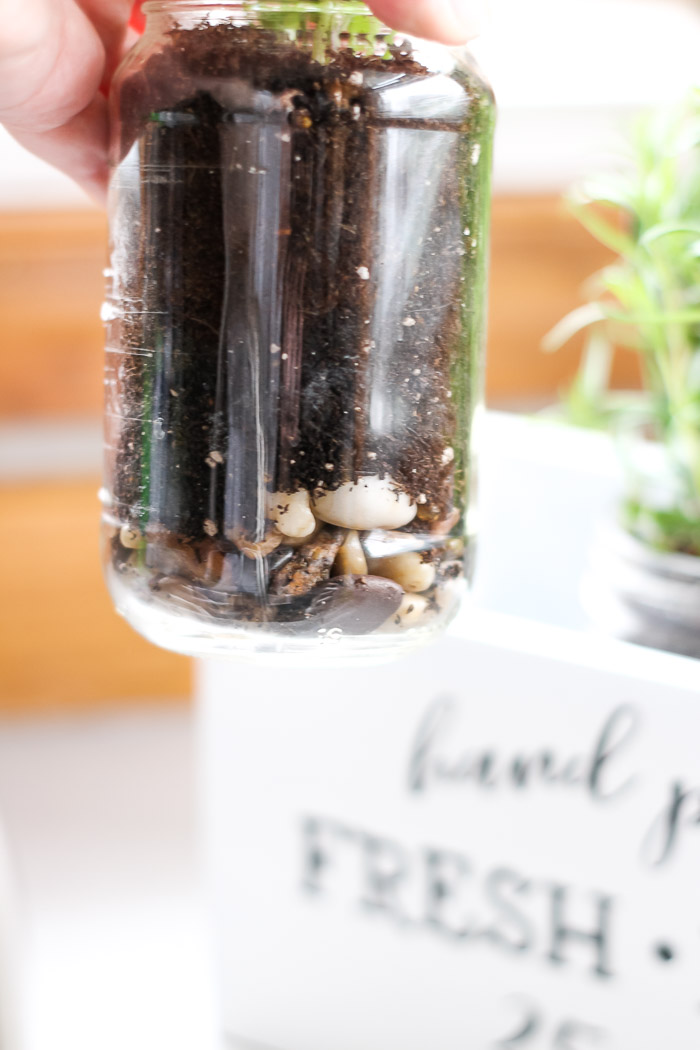
Give each herb a small amount of water or a few spritzes from a spray bottle of water. Do not overwater.
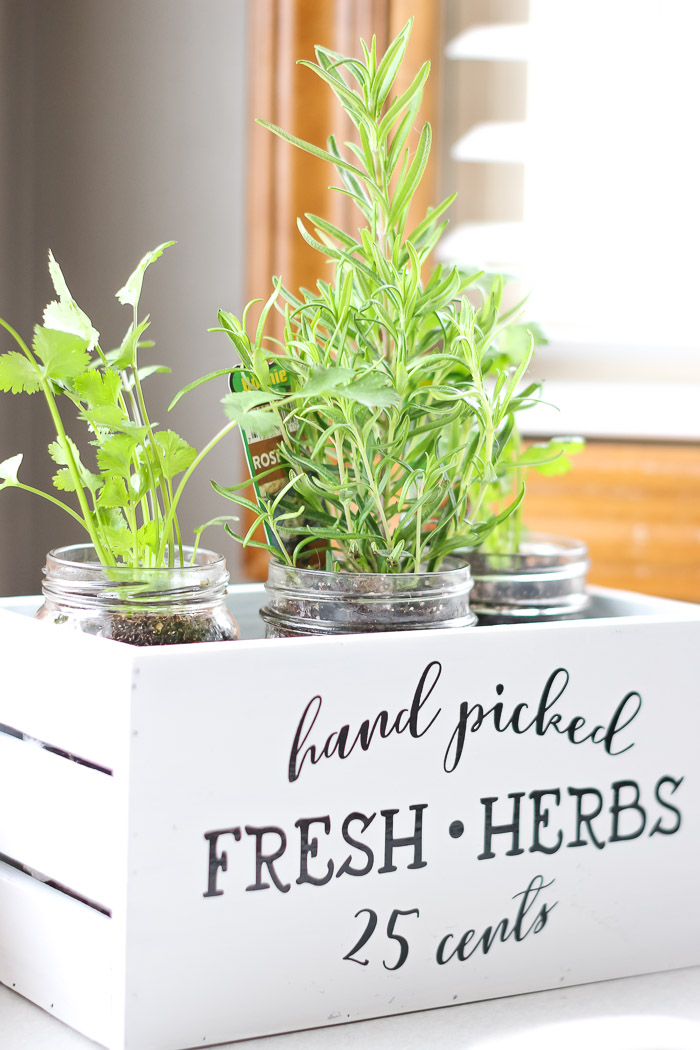
Step 5 — Assembling the Indoor Herb Garden
Put each Mason Jar in the wooden box or crate and arrange to your preference. Place the indoor herb garden in a sunny and warm location for the best growth.
Step 6 —Caring for indoor herbs
Keep each jar of herbs watered, but not overwatered. It’s best to do a finger test to the soil. If it is dry to the touch, give the soil a few spritzes of water. If the soil is moist to the touch it does not need watering. Harvest herbs as needed with scissors, or as they start to outgrow the container.
Next time you have something on the menu that calls for fresh herbs (even in the middle of Winter), you can just walk over to your indoor herb garden with Mason Jars and gather what you’ll need.
What are some herbs that would make a great addition to your own indoor herb garden?
![]()

I’m Amanda, and I am the creator and voice behind the food and DIY blog, Domestically Creative. What started as a place to share updates with friends and family after we moved from Illinois to Tennessee and then to Texas, turned into a passion for finding creative and frugal ways to feed us and decorate our homes.
I have always had the “make it myself” attitude and I’m not afraid to bust out the power tools or get creative when it comes to decorating our home on a budget. You can usually find me scouring the local thrift stores, garage sales and estate sales looking for my next makeover (like this litter box cabinet), or dreaming up ways to make our new house feel more like home. My most recent project was giving my home office a much needed facelift. Some of the plans included creating a fun inspirational accent wall and adding pegboard to store my craft hoards.
I currently call Missouri home, where I live with my husband, dog, and 2 cats in a pretty dull, late 90’s split level. My husband and I both love to travel the U.S and recently purchased a small travel trailer to tag along in our journeys. In our free time together we can usually be found working together on a home project, exploring a new place, or just lounging with our pup, Delilah.
I’d love for you to connect with me on social media via Facebook, Instagram, Pinterest and Twitter!
See all of Amanda’s tutorials HERE.

Leave a Reply
Want to join the discussion?Feel free to contribute!