DIY Built-In Fire Pit Benches
DIY Built-In Fire Pit Benches
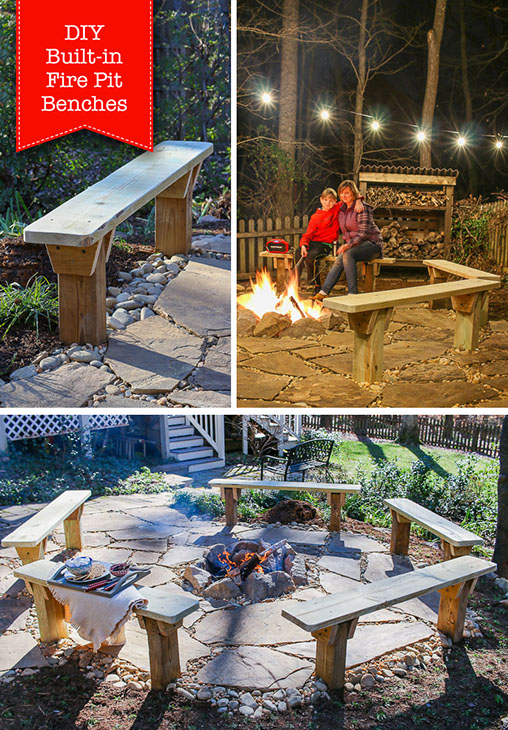
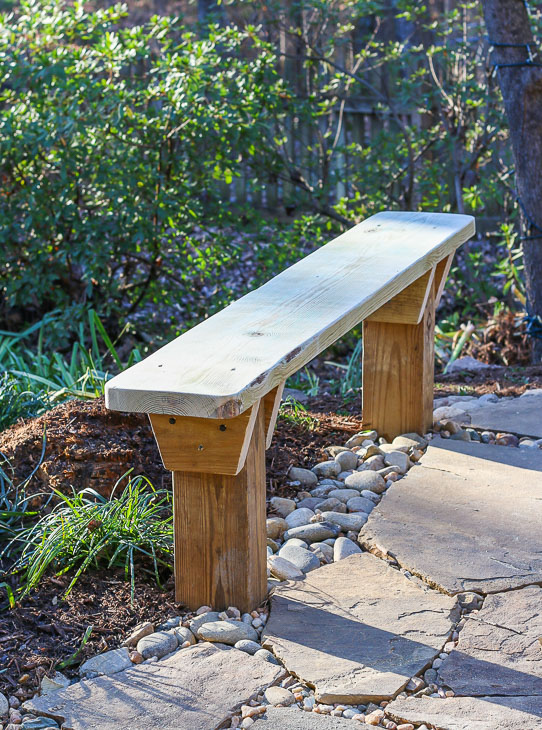
These simple DIY built-in fire pit benches are a simple and attractive design. The lumber costs are low and the skills required are minimal — a winning combination in my book! Just think, you could have these permanent benches built around your fire pit by the end of the weekend.
Years ago, I created a very simple (and inexpensive) fire pit using some stumps from a tree we had to have taken down. I simply asked the tree guys to cut the tree into 18″ stumps.
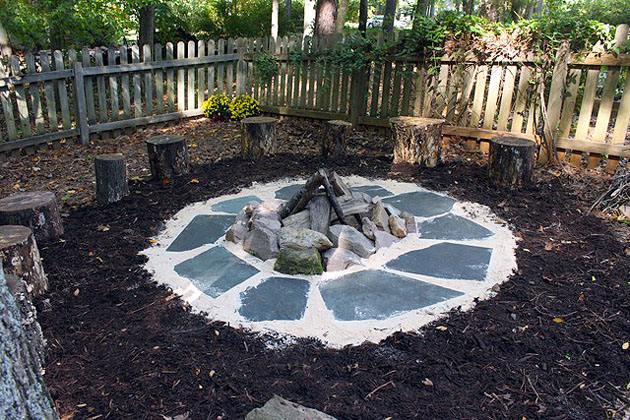
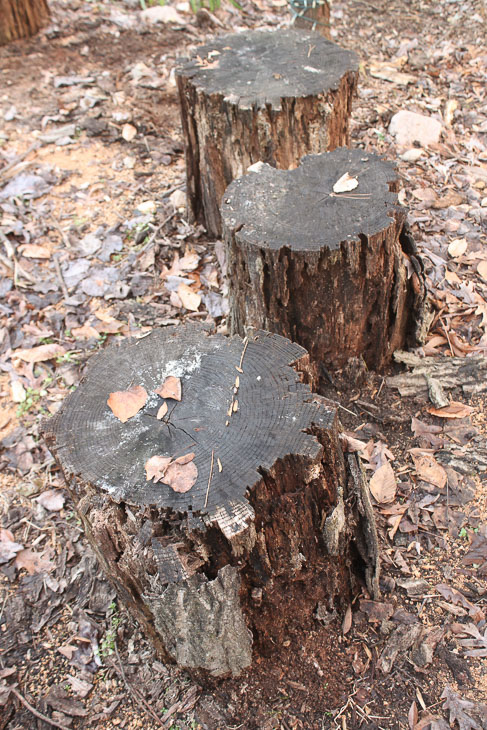
Having fire pit get togethers with friends and family is one of our favorite activities. During these gatherings, our meal planning is usually nothing fancy. Most of the time it consists of hot dogs, salad, s’mores, and good conversation over a warm fire. Unfortunately, after a few years, our stump seats rotted out. For the past year or more we haven’t had any friends over for a fire pit outing because I was afraid the stumps might disintegrate the minute someone sat down. That would be awkward, right?
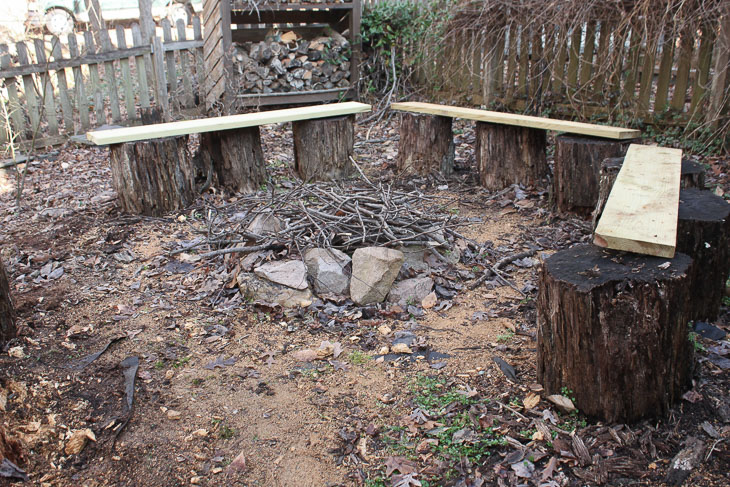
I toyed with the idea of buying more permanent seating, but all the options were expensive (especially when trying to provide seating for 12-15 people.) As luck would have it, after finishing all the construction on the Saving Etta project, I had some leftover lumber (a few pressure treated 2x10s, 2x6s, and 4×6 posts. On the day before the open house, I threw the lumber into my truck and hauled it home thinking I might be able to build benches for around our fire pit. (Note to self, 2x10s placed on top of rotting stumps is no more attractive than rotting stumps.)
After a few days (and several cold days where you couldn’t drag me outside), I finished building five built-in fire pit benches and couldn’t be more thrilled with the results. Why don’t you join me and see how this rotten fire pit got it’s groove back with new seating and a new low maintenance stone surround.
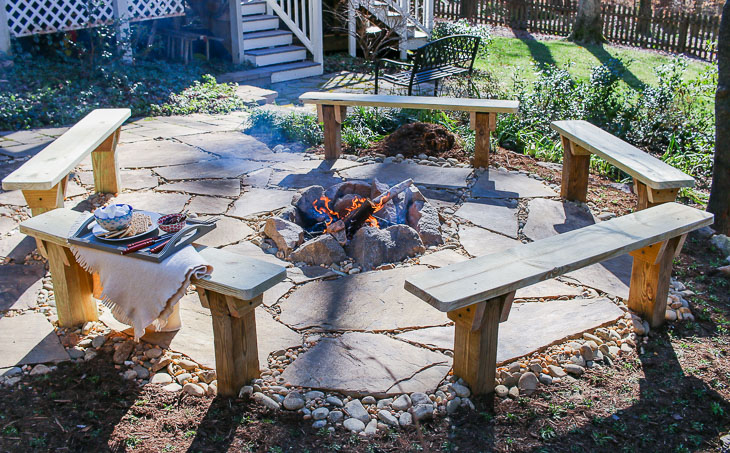
Trust me, it is the same fire pit area you see above. Amazing transformation, right?!
DIY Built-In Fire Pit Benches Materials:
(I’ve included affiliate links for your convenience. I earn a small percentage from a purchase using these links. There is no additional cost to you. You can read more about affiliate links here.)
Tools:
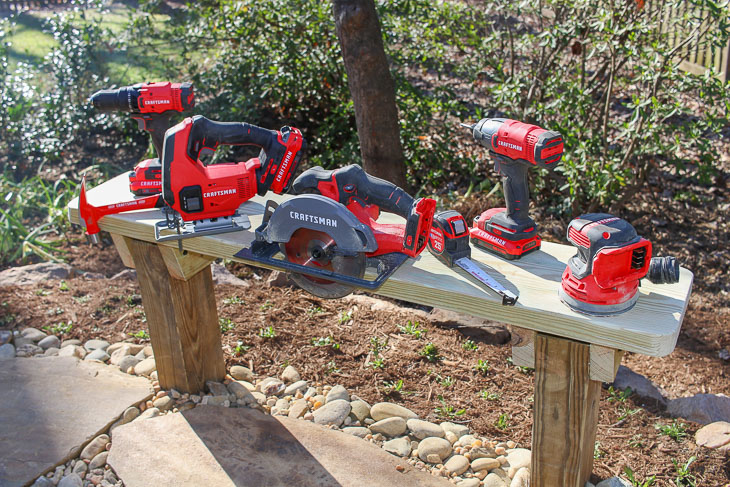
- Craftsman 20V Max 6 ½” Cordless Circular Saw
- Craftsman 20V Max 5″ Random Orbital Sander
- Craftsman 20V Max 1/4″ Hex Chuck Impact Driver
- Craftsman 20V Max 1/2″ Drill/Driver
- Craftsman 20V Max Jig Saw
- Craftsman 20V Bluetooth Speaker
- Tape measure
- Hammer
- Stake
- String
- Spray Paint
- Shovel
- Pencil
- Combo Square
- Level (helpful to have a short one too)
- Clamp
- Drill bits
Safety Equipment:
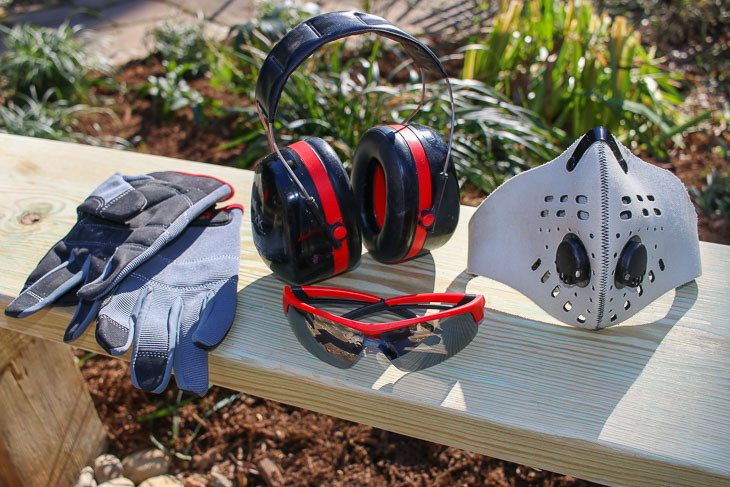
Lumber & Fasteners:
- 2 ½” exterior wood screws
- 3/8″ Lag screws or TimberLOK Structural Wood Screws
- 1 – 4″ x 6″ x 8′ pressure treated post
- 1 – 2″ x 10″ pressure treated lumber (purchase length for your bench seat)
- 1 – 2″ x 6″x 4′ pressure treated lumber
- Scrap 2″ x 4″ lumber (or other lumber to brace posts while concrete cures)
- Quikrete
- Drainage rock
The All Battery Challenge:
The folks at Craftsman sent me all the battery-powered tools used in this project. This is a sponsored post for Craftsman, so I decided to really challenge myself by only using the Craftsman V20 battery-powered tools and forgo dragging an extension cord out to the job site. (I also vowed not to cheat and use any of my corded power tools in my workshop.) Want to see if these tools lived up to the challenge?
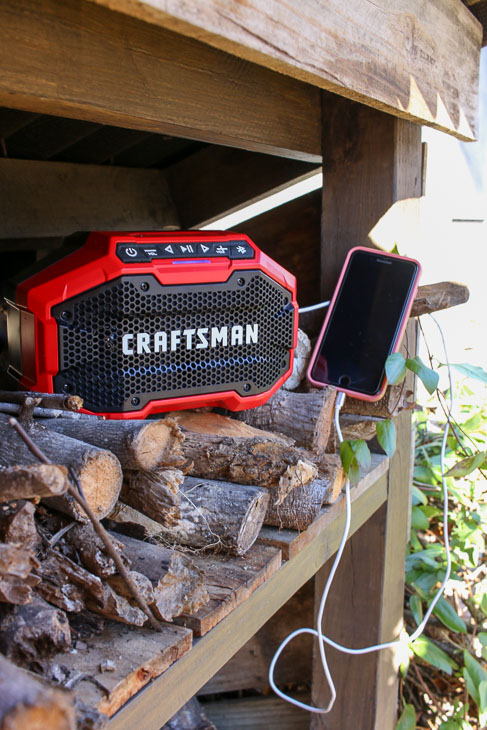
I can’t forget this Craftsman Cordless V20 blue tooth speaker that doubles as a USB charger when my phone battery get low while jamming out. Hard work is always easier with some rockin’ tunes.
DIY Built-In Fire Pit Benches Video Tutorial:
Some people learn best by watching others, I get that. Which is why I made this tutorial video for you! Feel free to watch the video below to learn how to make the built-in fire pit benches. I will include the step-by-step tutorial below with a little more detailed instruction. Let’s get building!
Site Preparation:
Before building your fire pit benches, clear your build area. It took me a bit of physics ingenuity to clear out the old rotting stump seats from our fire pit area. (Definitely watch the video to see my magnificent solution for lifting the stumps into the wheelbarrow. They may have been rotting, but they were still very heavy.)
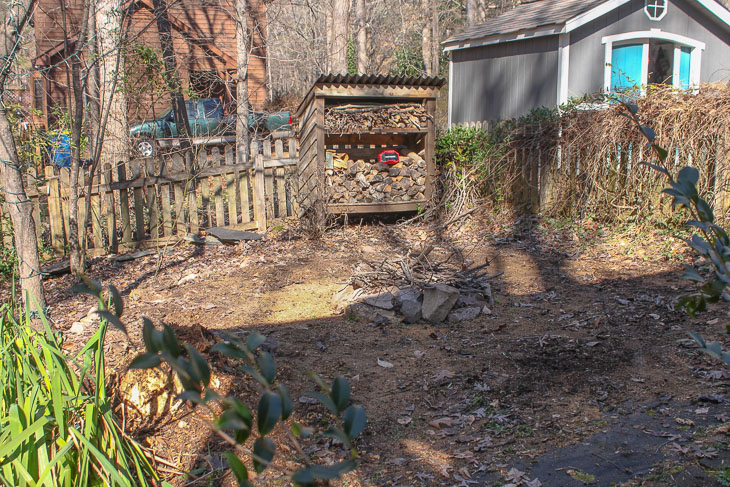
After the area is cleared, drive a stake into the center of your fire pit area.
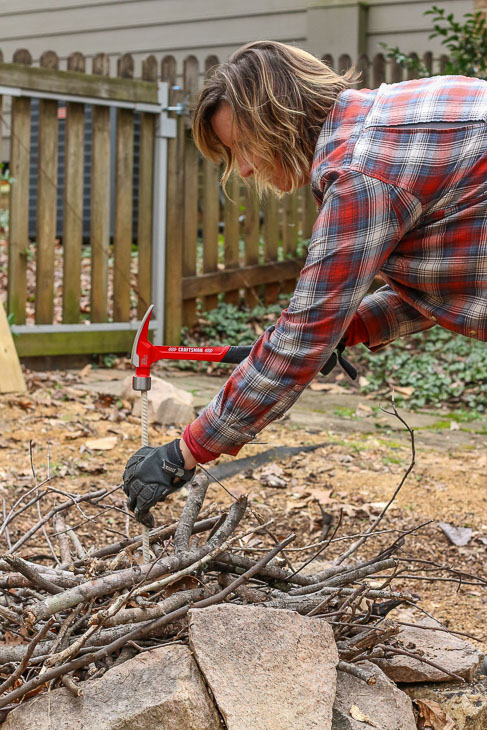
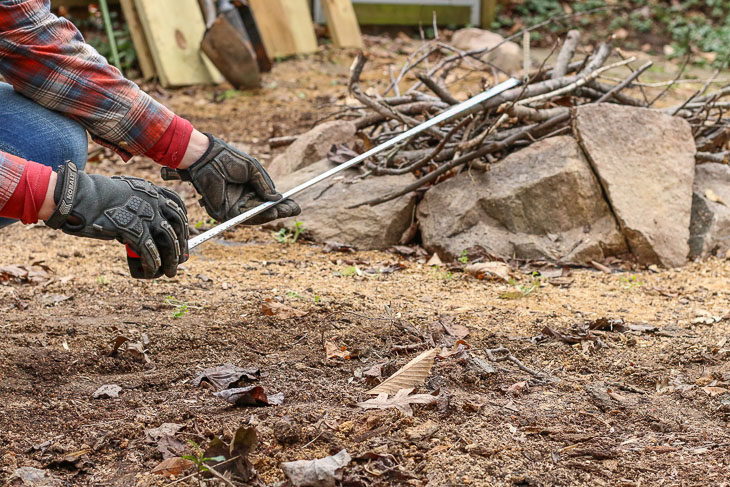
Measure out 5’ from your fire pit center (or the distance you want your benches to sit.)
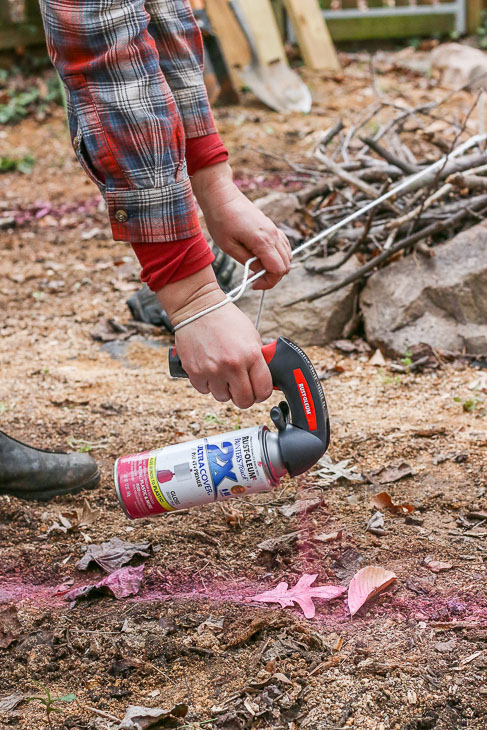
Attach the string to the stake. Make a loop big enough to fit your hand through at the 5 foot mark. Insert your hand into the loop and use a can of spray paint to trace a circle around the fire ring.
Cut your 2×10 pressure treated lumber to the size you want your bench tops. (Personally, I chose alternating 4’ and 5’ benches for our fire pit. The 5′ benches can accommodate three adults each or more little ones. These five benches will accommodate 13 adults comfortably and probably more people if we squeeze kids on some of the benches.)
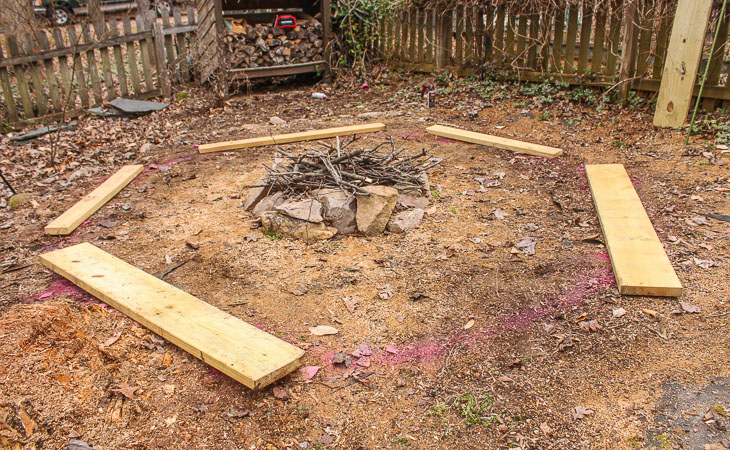
Lay out where your benches will sit and mark the locations for the support posts. I suggest centering the support posts 18” narrower than the bench seats. (Nine inches in from each side.)
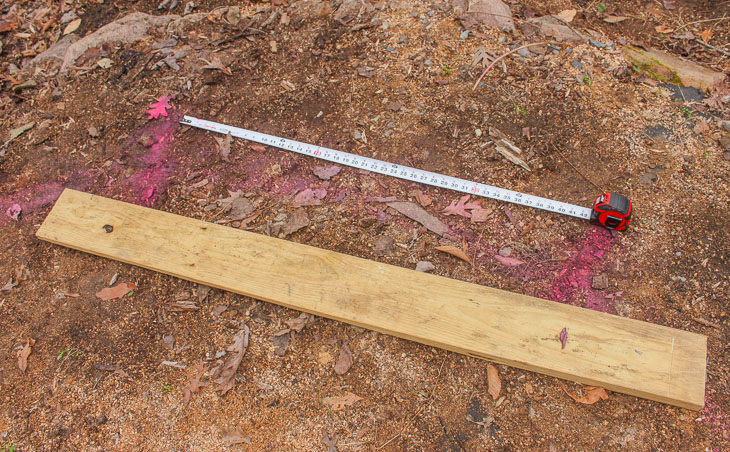
Dig a hole three times the widths of your posts. The depth will be determined by your frost line for footings as referred to on this map or in your local building codes.
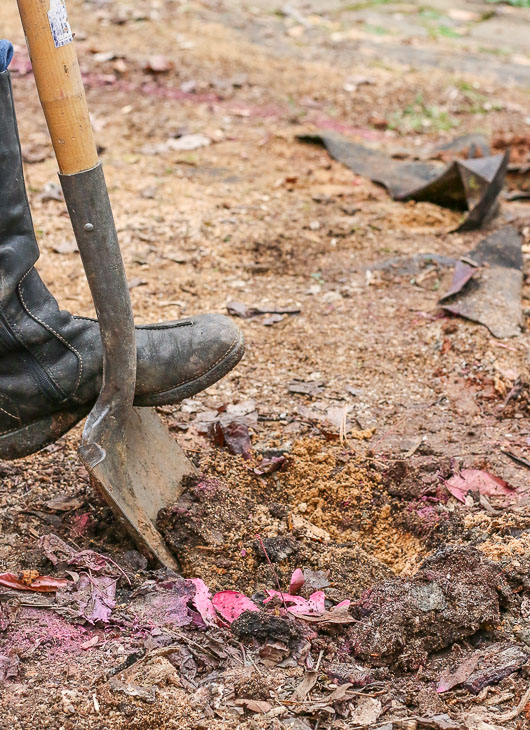
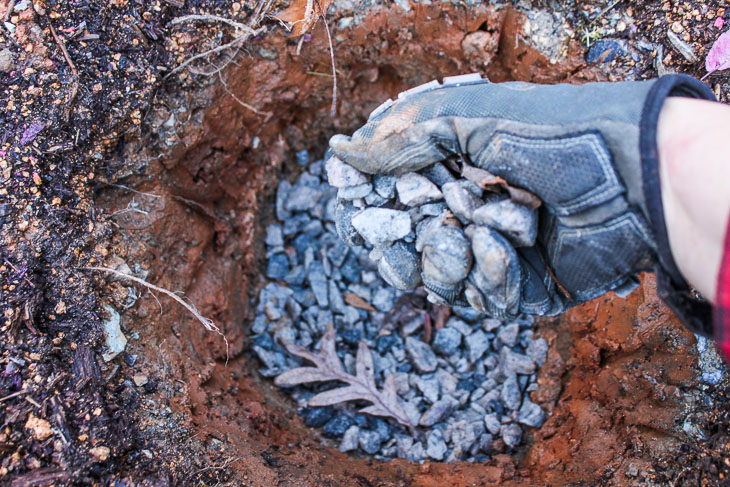
Set a 1-2″ layer of drainage rock into the base of your hole. Drainage rock provides a sturdy base for your post, but it also allows water to seep away from the post.
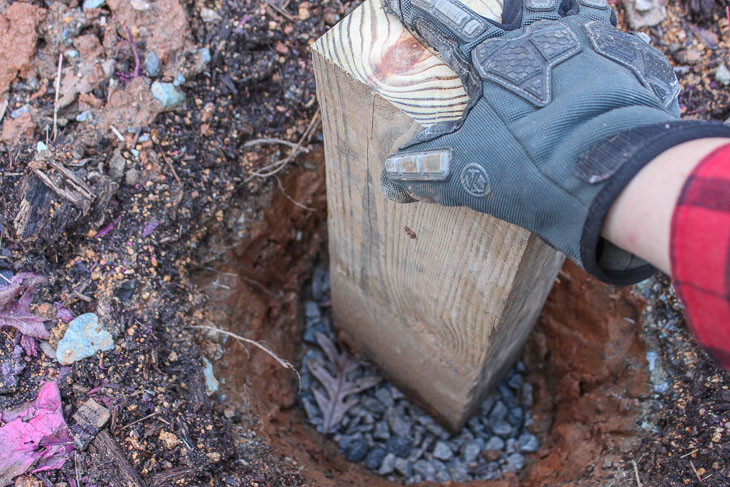
Use your post to tamp the gravel down and create a firm base.
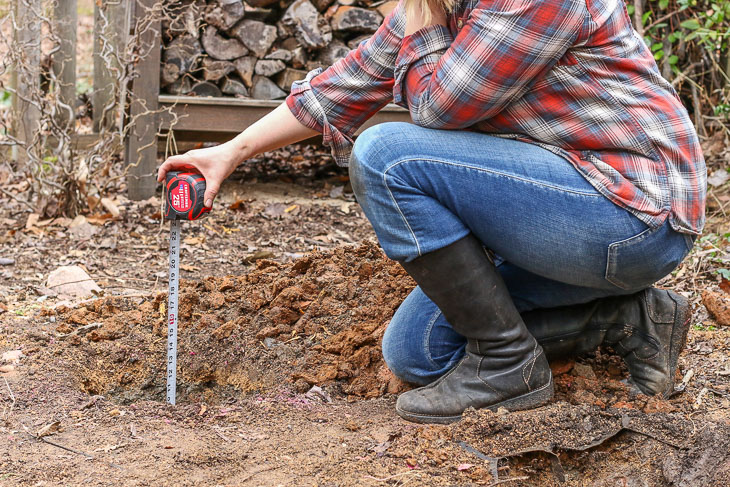
Measure the depth of your hole. Add 16 ½” to your hole depth and cut your posts to this length. (Hole Depth + 16.5″ = support post length.) This should give you an 18″ bench height, which is standard chair height.
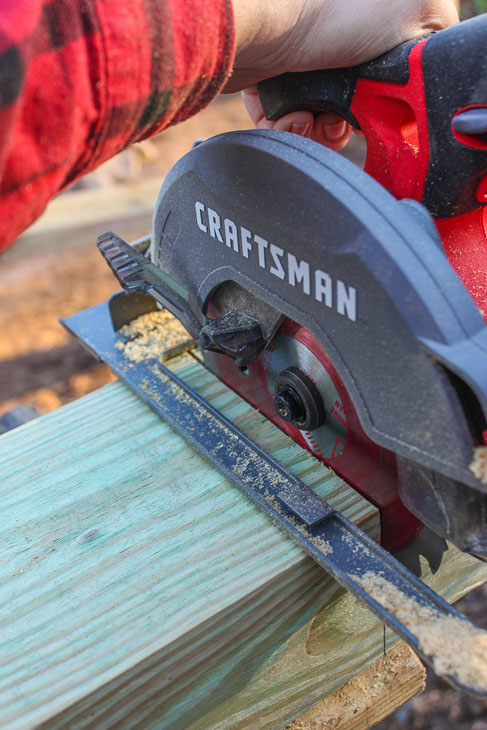
I had my doubts that this battery-powered saw could cut through all the pressure treated 4×6’s. But, with a fully charged battery and a steady feed, they cut through each post! (Tip: If your saw isn’t cutting through the lumber, swap out your battery for one with a full charge.)
Place your first post in the hole. Then set your bench seat on top of the post. Level the bench seat and measure the distance between the bottom of the bench seat and the bottom of your hole to determine the length of your other support post.
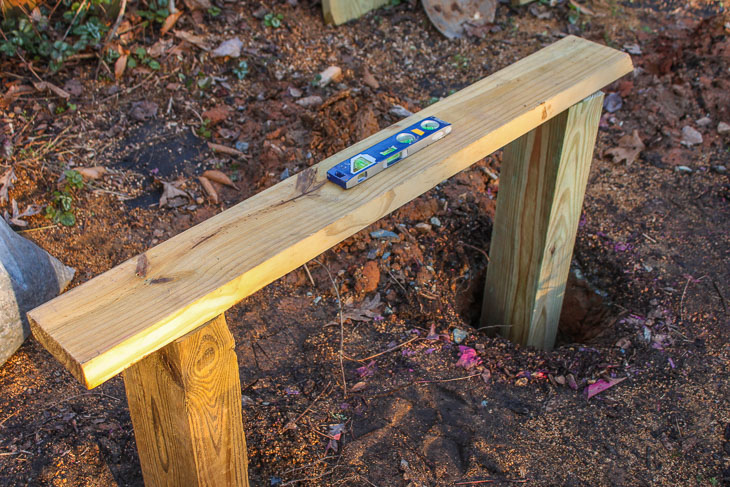
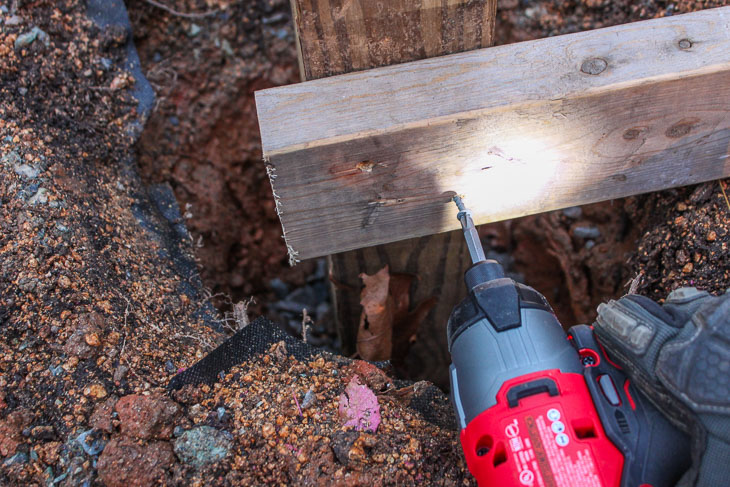
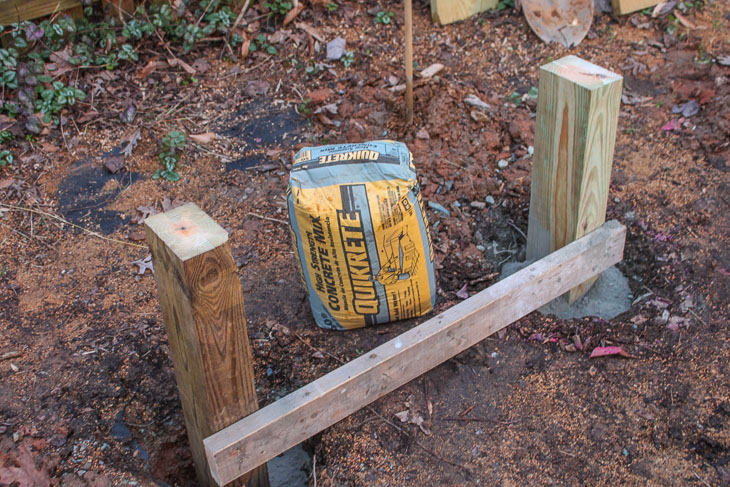
Set the second support post into the hole and check to make sure it is level with the first support post. Add or remove drainage gravel until the bench seat is leveled. Line up the two support posts so they are even and plumb in both directions. Secure a scrap 2×4 between the posts to hold them in place while adding the concrete mix.
Follow the directions on your concrete mix. Fill the holes with the mix and add the water. Allow the posts to set overnight.
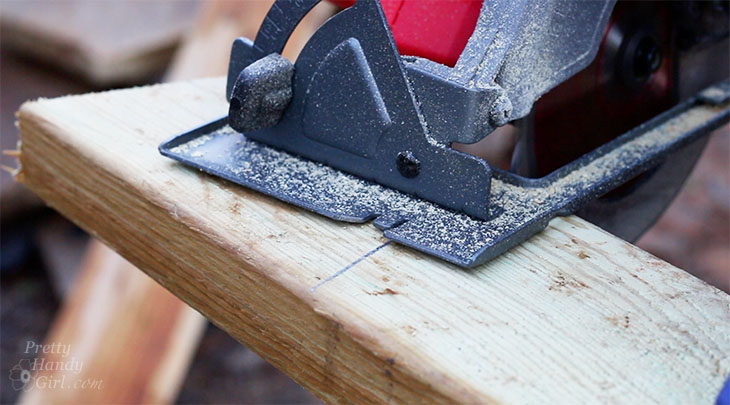
To cut the bench support pieces, trace a trapezoid shape onto a 2×6. The narrowest part of your trapezoid should be the width of your posts and the widest part of your trapezoid should be 1” narrower than your bench depth.
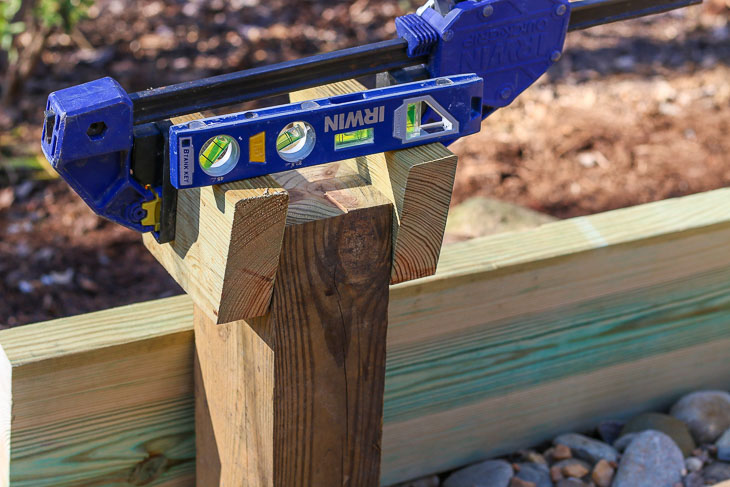
Each support post gets two trapezoid support pieces sandwiched onto either side. Use a clamp to hold the supports while you level them side to side and front to back.
Then drill three pilot holes into each support piece.
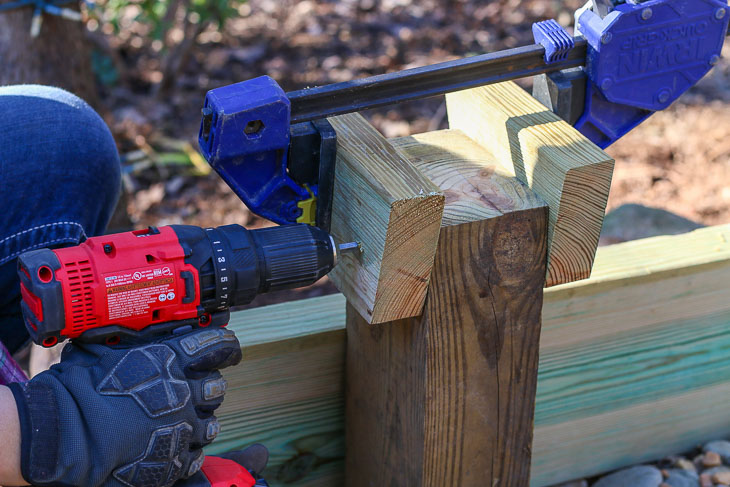
Drive ⅜” lag screws or structural wood screws into the pilot holes.
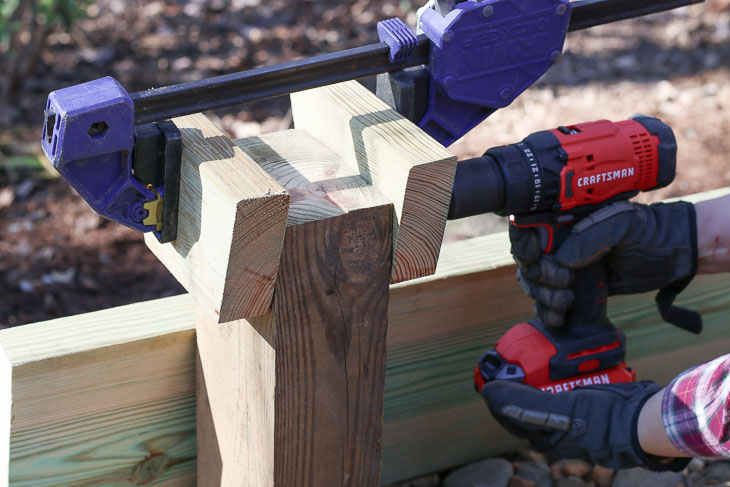
Clamp the other support trapezoid pieces to the second post. Check to make sure the top of the supports are level with the first supports. Make any adjustment, then drill pilot holes and drive structural wood screws through the trapezoids (like you did on the first post.)
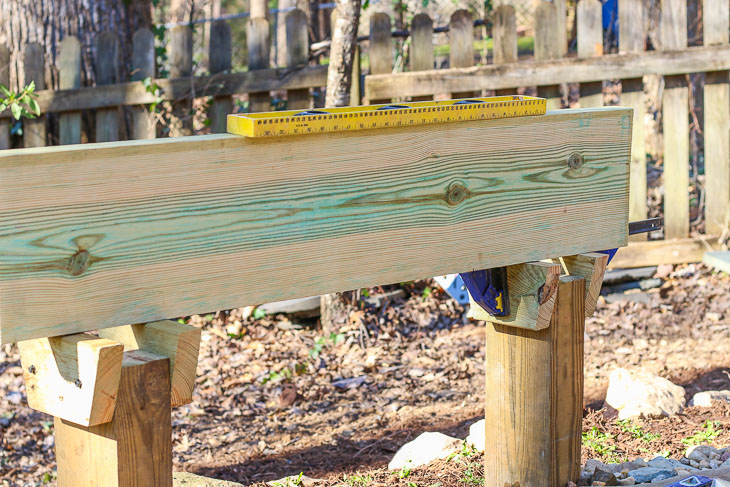
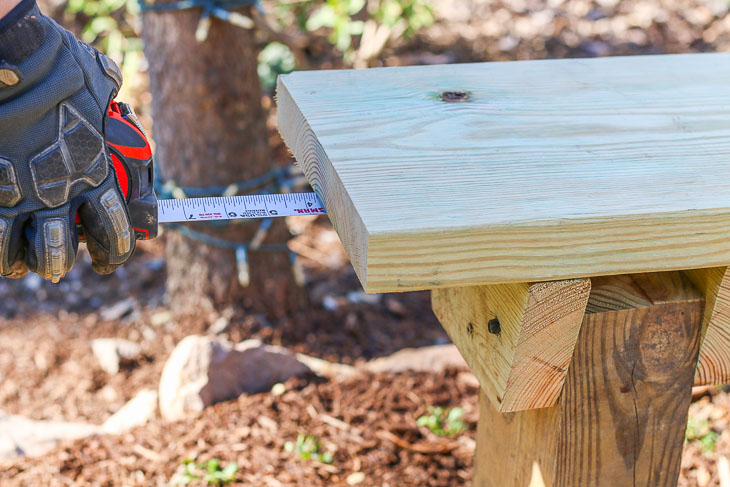
Center your bench top side to side and front to back on top of the support posts.
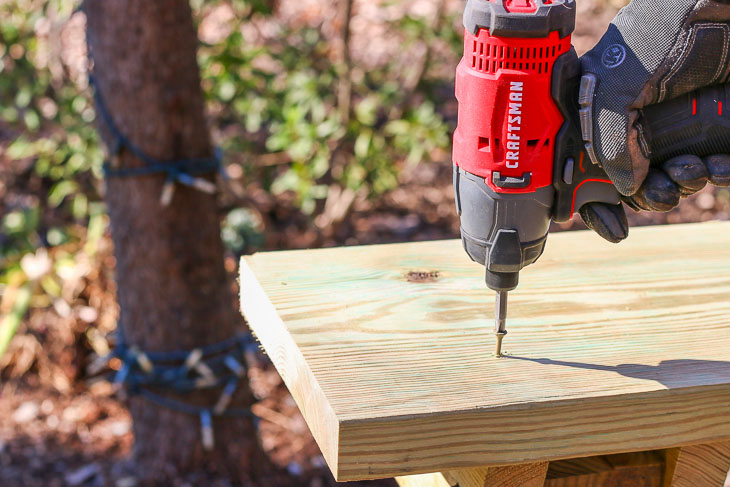
Drive 2 ½” wood screws through the bench top and into the support pieces. Two screws on each side of the seat should be sufficient.
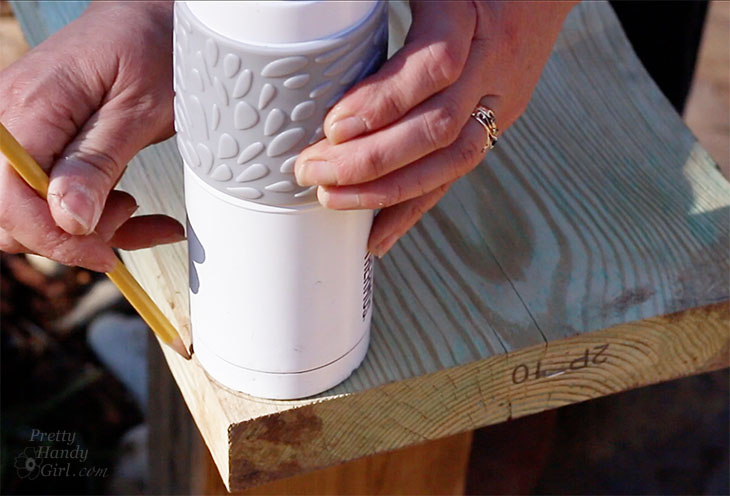
Using a circular object (like a glass or water bottle) trace a curve onto each corner of your bench seat. Use a jigsaw to cut along the lines and round off the sharp corners.
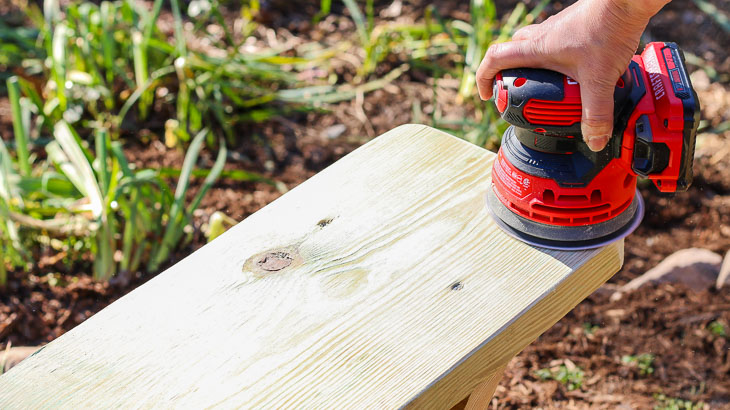
Sand all surfaces and edges smooth on your bench. Wipe off with a damp rag and finish your benches with paint, stain, or a sealant.
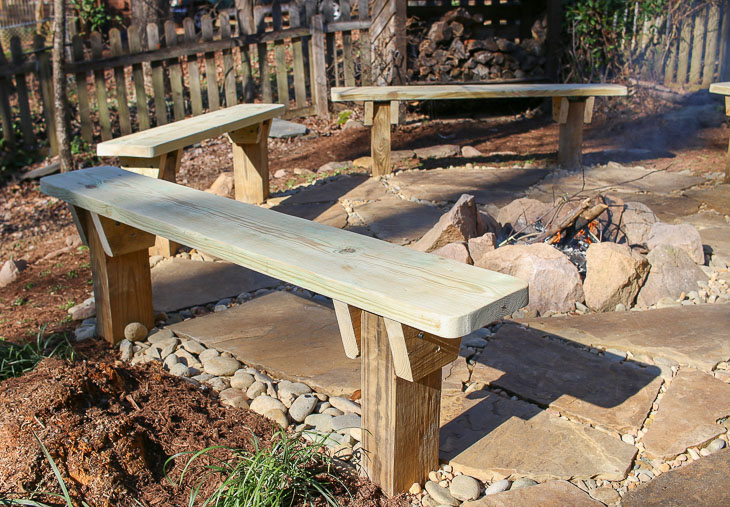
These benches are sure to last much longer than my rotting stumps. It’s time to call the family out and enjoy some s’mores by the fire!
Want a peek into my real life struggles? This was my goal: Take a nice family photo of my boys happily enjoying roasting marshmallows.
Result 1: One boy who can not sit still.
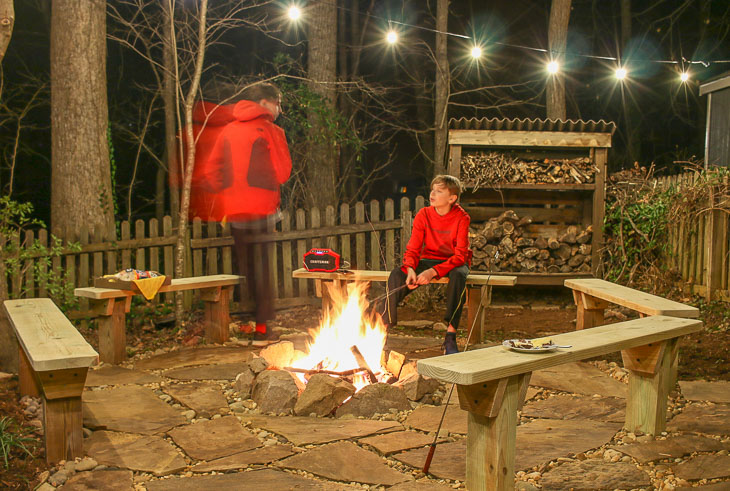
Result 2: If you put sticks in boys’ hands you can expect a wild rumpus.
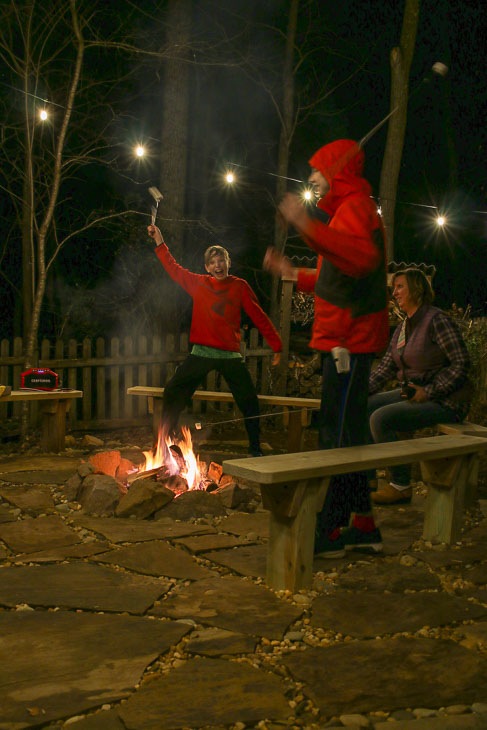
Result 3: Bribe boys with one more marshmallow if they sit still for 2 seconds. Success!
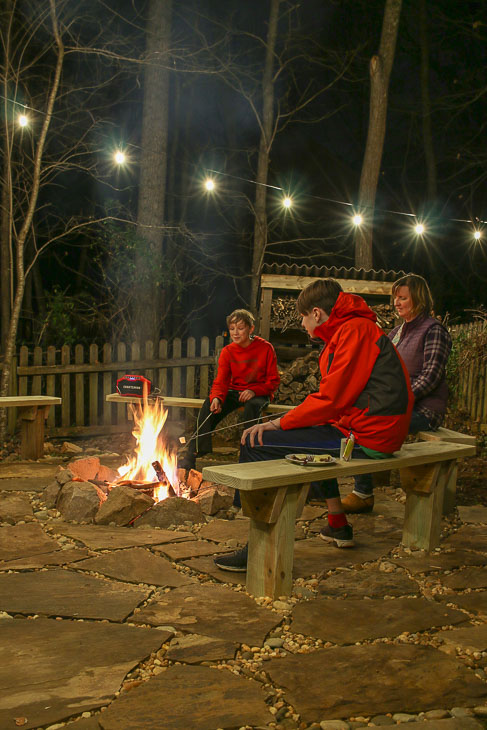
We are loving the new built-in fire pit benches. I can’t wait to invite the first group of friends over.
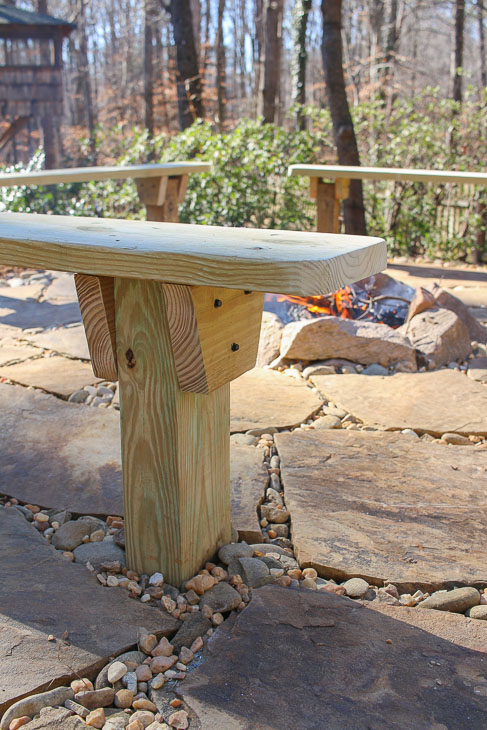
I bought a new bag of marshmallows and chocolate just for the occasion!
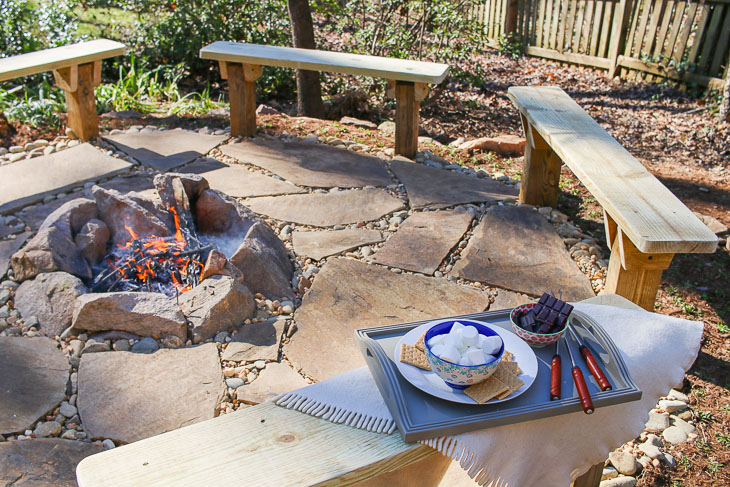
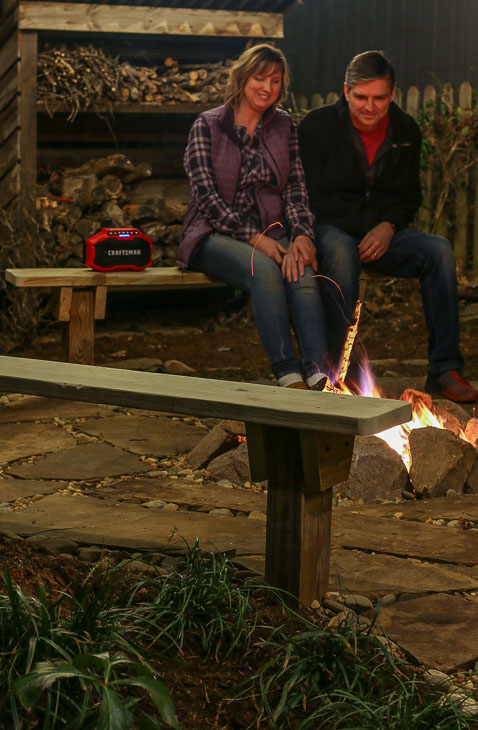
Of course, the fire pit area is also nice for just two people. Pretty Handsome Guy and I had a little wine and marshmallows after the boys went to bed. You can’t get a more frugal date night.
I hope you liked this tutorial. I’d love to hear from you in the comments below, especially if you have questions or build these benches for yourself!

Disclosure: This is a sponsored post for Craftsman. I was not told what to write. All words and ideas are my own. I am very particular about the brands I work with, and only partner with companies that provide quality materials and/or services.
If you haven’t done so already, be sure to *subscribe to my YouTube channel!
*My followers on YouTube get sneak peeks of some of the projects I’m working on, so subscribe today!



Leave a Reply
Want to join the discussion?Feel free to contribute!