Build Your Own Custom Kitchen Herb Planter
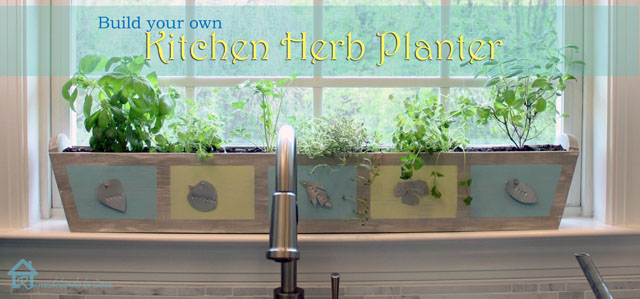
Hello again, it’s Cristina from Remodelando la Casa. I’m happy to share a tutorial to build this kitchen herb planter with you today. It’s one of those projects that you can decorate and customize to your own needs.
Having fresh herbs was something I really wanted to have in my kitchen and NO, I was not going to plant them outside only to forget watering them like it happened last year. They died sooner than expected and I think the lack of water plus my not so good “green thumb” were the main factors for that to happen :-(.
Having an indoor herb planter seemed like the perfect solution. Unfortunately, I couldn’t find a long planter to fit in our 5 inch deep kitchen window ledge. So, I decided to build a custom planter to fit.
Materials:
- 1 x 4″ board (for the bottom and the two rounded end panels.)
- *¼ x 6″ board (for the front and back side panels) *I used the ¼” material to keep the planter from being too deep.
- Wood glue
- Sand paper / sander
- Thick plastic drop cloth material
- Decorative paint
- Accessories
You can build it with a simple hand saw, hammer and nails but it will be less labor intense if you have:
- Pneumatic nail gun
- Jigsaw
- Miter saw
- Circular saw
- Hot glue gun
Instructions:
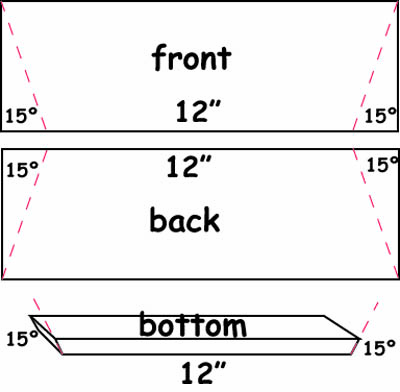
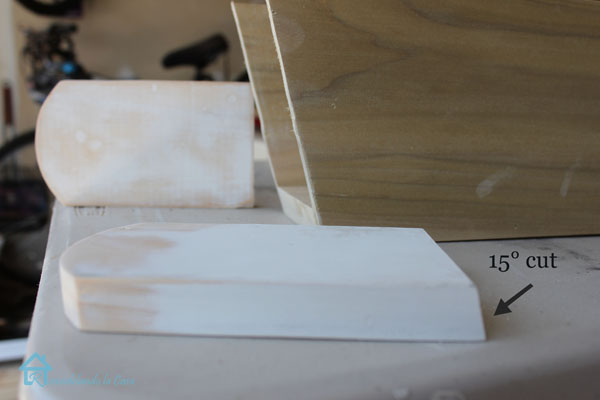
Determine how long you want to build your planter. Add at least 6 inches to your dimensions (to account for the angled top ends.) Cut your front and back pieces (the 1/4″ x 6″ boards) at a 15 degree mitered angle as shown below.
Cut your 1″ x 4″ board to the same width as the short dimension of the front and back (shown as 12″ below). Angle your saw blade to cut a 15 degree bevel cut.
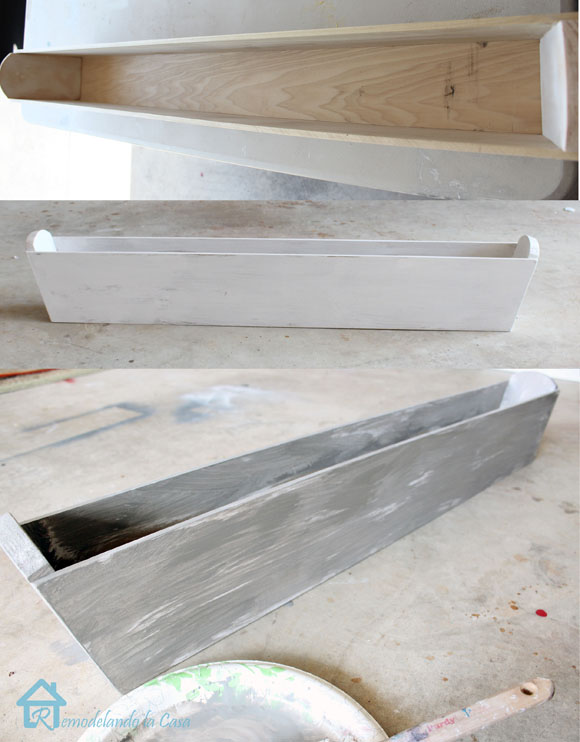
Glue and nail the side panels to the the bottom panel.
Cut your side pieces out of the 1″ x 4″ board and bevel cut at a 15° angle on the miter saw. Use a jigsaw to give the top edge a rounded shape.
Both ends can now be attached with wood glue and finish nails.
If desired, you can fill the gaps and nail holes with caulk and sand it well. If you wish to stain your planter box, use stainable wood putty instead.
Paint one coat of white acrylic paint. Then follow up with a grey wash. Sand well in between coats.
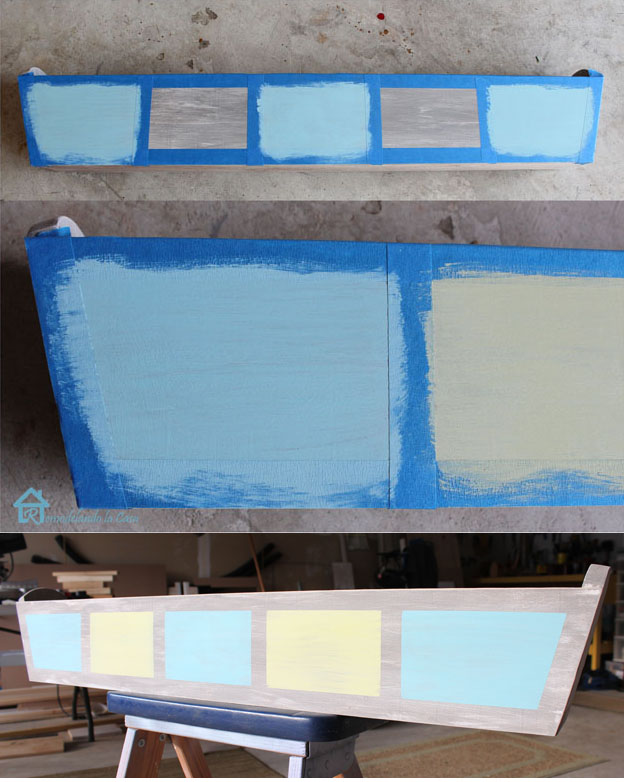
The decorative possibilities are endless, you can leave it like that, you can add a quote or stencil a design. I chose to paint some “squares” on it.
Add a waterproof liner:
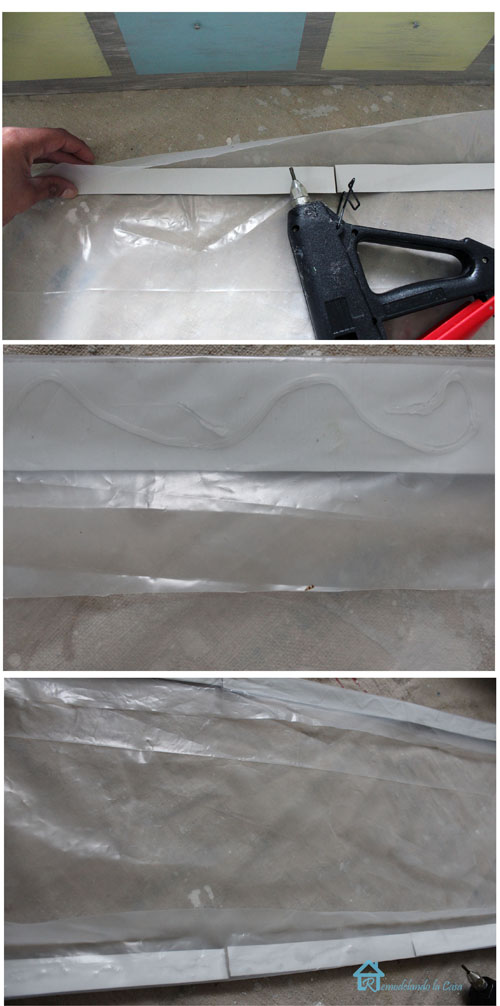
Heat your hot glue gun at a low or medium heat setting to avoid melting the plastic.
Place the plastic material inside the box. Add one extra inch on each side and cut the material.
Hot glue 1″ strips of cardboard to the long sides of the plastic material as shown below.
Fit the plastic material inside the planter and hot glue it in place.
Your planter is now ready to be filled!
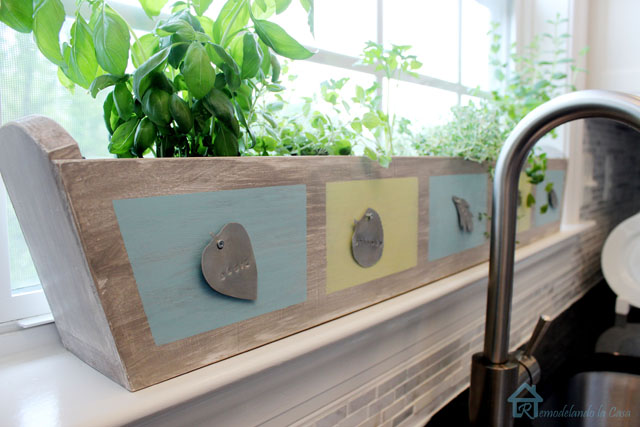
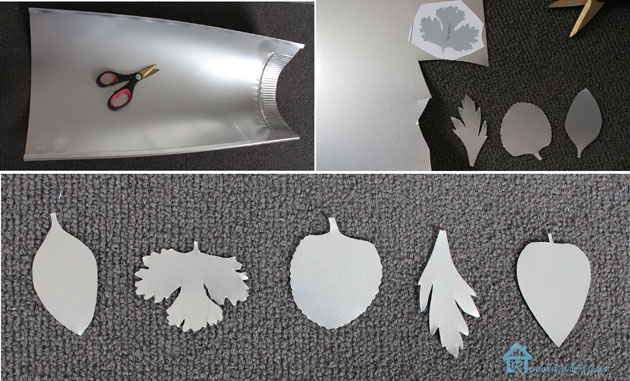
My decorative plan included metal leaf tags (tutorial coming soon.)
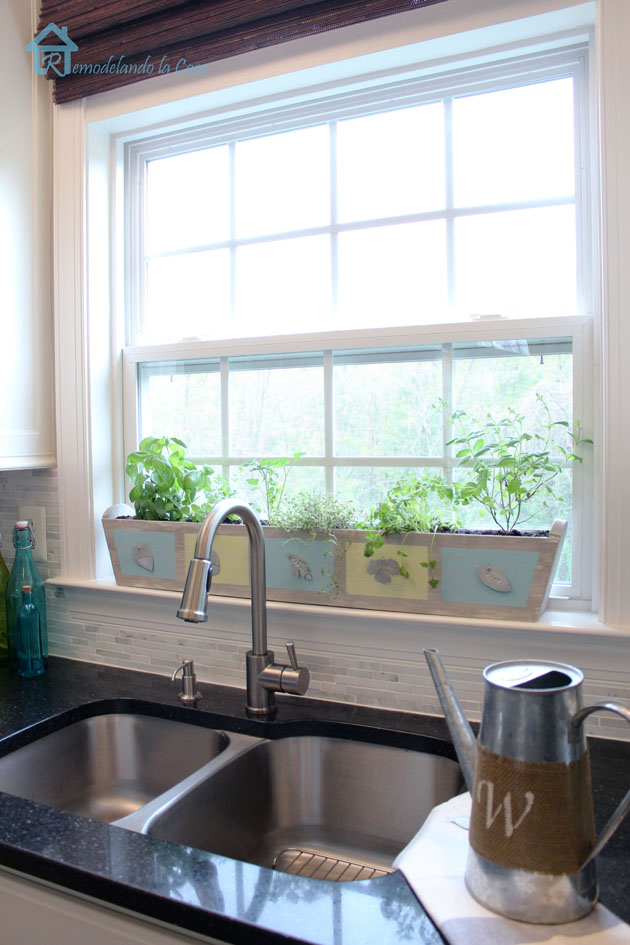
The herb garden is all done!
Fill it with your herbs of choice.
Don’t forget to water them.
I think this is the best place to keep them alive, now I just need to make sure I don’t over water them! 🙂







My wife has been asking for me to make one of these for her for quite a while. Now maybe I will actually make it, and I like the idea of using tiles to decorate it. Thanks for sharing!
Great job, Cristina! I just love the indoor planter. The metal leaf tags are great. I can’t wait for the tutorial.
Also, another great idea is to use small pieces of tile to frame the box. They can be installed with a tile adhesive like Bondera Tile MatSet. As you said, the decorative possibilities are endless.
I never even thought about using tiles, what a great idea! That would open even more decorative possibilities. Thanks Christine!
The texture and the little metal cutout herbs match the stainless steel sink perfectly. I love the idea of having it right by the window and sink, so convenient.
This is a great idea and so detailed! Thanks!
I love this planter for herbs. I have the perfect spot for it in my kitchen. I’ve been wanting to have an herb garden and was saving the project for summer. I love your box!! Also love the the colors and the cutouts to label the herbs. Such a fun and cute project!!
Thank you so much, Crystal! I’ve been enjoying having fresh herbs right there in the kitchen. I’d love to see yours when you make one.
Why the plastic dropcloth? Won’t it need holes for drainage? Did i miss that step in the instructions?
Renee, answering for Cristina, For an indoor planter, you don’t need drainage holes because the soil will dry out on it’s own and you control the water. If the herb planter is put outside, then yes, you’d need proper drainage.
Thanks Brittany! I also want to add that to help with drainage, a layer of small pebbles was laid at the very bottom of the planter, to act as a water reservoir for any excess water that the soil cannot hold after watering the plants.