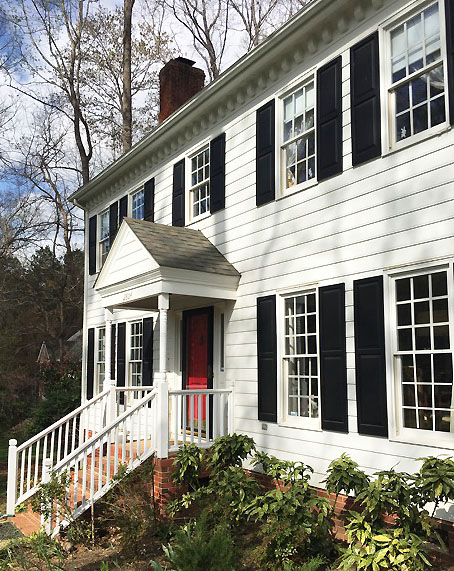
Having a beautiful home is the ultimate goal of all homeowners. But, curb appeal is more than just caring about how your house looks from the street. Failing to keep up with exterior home maintenance can be a red flag to potential buyers who are looking for a well maintained home. Even if you don’t plan to sell your house anytime soon, not repairing deterioration and rot can create easy access for rodents, insects, and water into your home. Have no fear, if your home is looking less than perfect, I have 15 simple curb appeal ideas you can do to improve the look of your home. (And rest assured most of them are DIY projects!)

Saving Etta: 1900 Home Saved from Demolition and restored into a beautiful Triple A construction modern farmhouse.

15 Ways to Improve Your Home’s Curb Appeal

Here are 15 instant boosts for your home’s curb appeal, (whether you’re prepping to sell or just want to take pride in your home’s appearance.) Most of these ideas are simple DIY solutions that won’t break the bank. Ready to find out how to improve your home’s appearance?

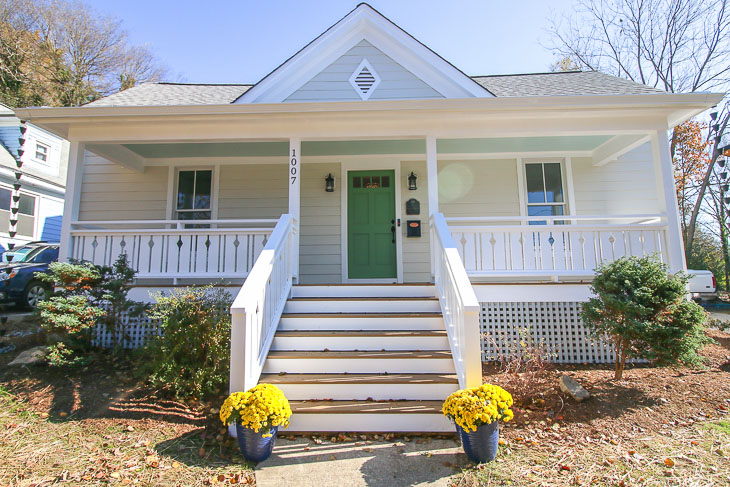
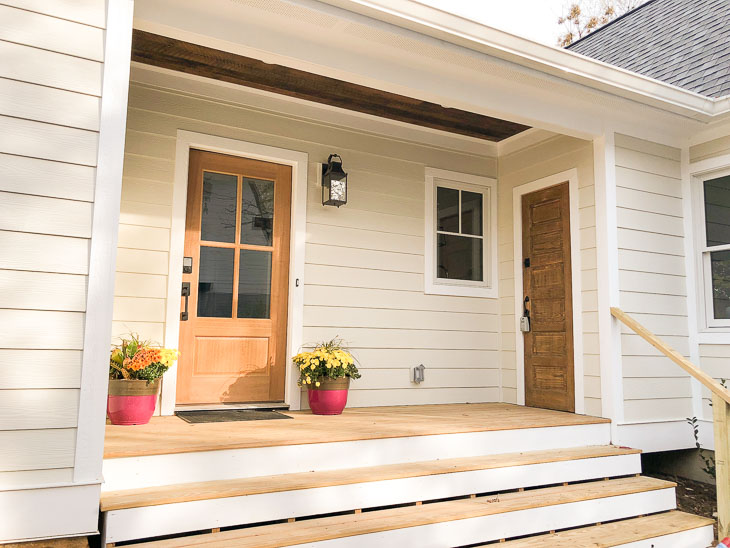
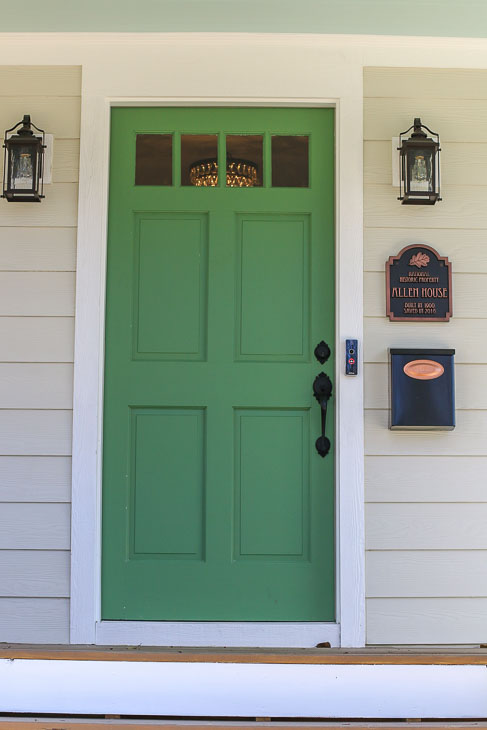
1. Freshen Up the Front Door

A peeling or faded front door is the first thing your guests will see. But, don’t think you need to invest in a new front door. Instead, simply grab a quart of exterior paint and paint your front door. (Before you start painting, check to see if the paint is oil or latex paint. And always test for lead paint on houses older than 1978.)

If the paint is in poor condition, you may need to sand or strip the door before painting. Here’s a tutorial for stripping paint from a door. Then you’ll want to learn how to paint a door like a professional by following this tutorial.

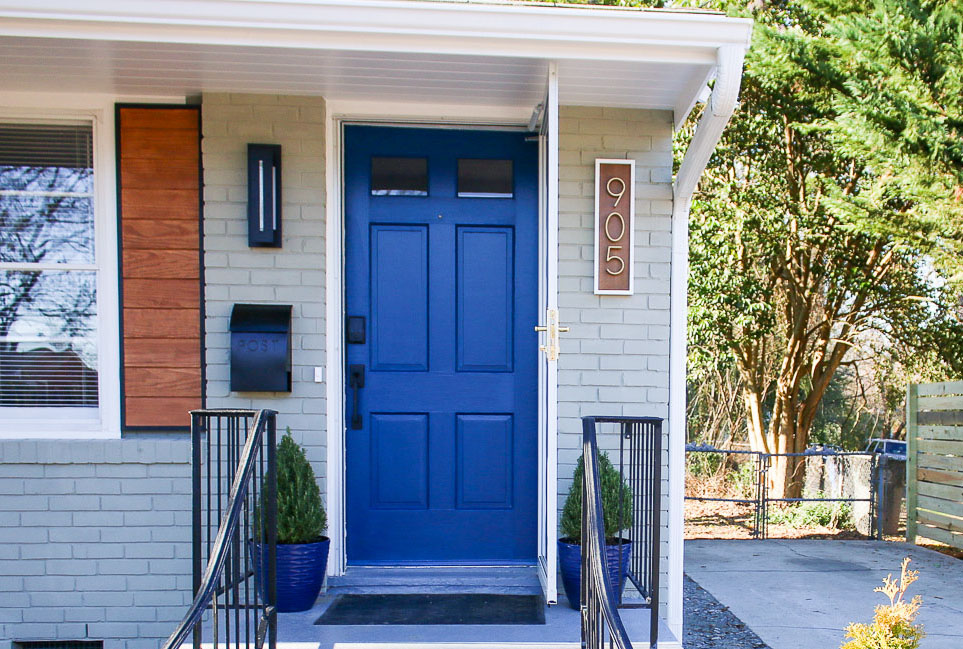
When it comes to choosing a color, it can be a bit overwhelming looking at all the different colors in the paint store. Ask an associate, or use this compilation of colorful front doors to help you choose. When you narrow it down, choose a classic or bold color that complements your home’s siding and trim. This is an inexpensive way to add a pop of color and draw attention to your home. This one step will instantly make the entrance more inviting.


2. Upgrade House Numbers

Swapping outdated or faded numbers with modern, stylish options is a great way to make a good first impression. Learn how to make this simple DIY Modern house number sign for a custom look. (Plus, you make your home easier to find for emergency personnel or just that late night shopping spree delivery.)


3. Install New Light Fixtures

I like to say that lighting is the jewelry for your house. Add some bling to your home by updating faded, flaking, or old porch lights to more contemporary ones. Also, consider installing lights that are large enough for you home’s size. There are so many options at your local hardware store, looking at them up high on a display can make it hard to judge their size. I recommend measuring your current lights, then look at the dimensions listed on the box in the store to help visualize the size. Also, don’t forget to make sure your new lights put off enough light. Ready to replace yours? Installing new exterior lights is an easy DIY, and you don’t have to hire an electrician.


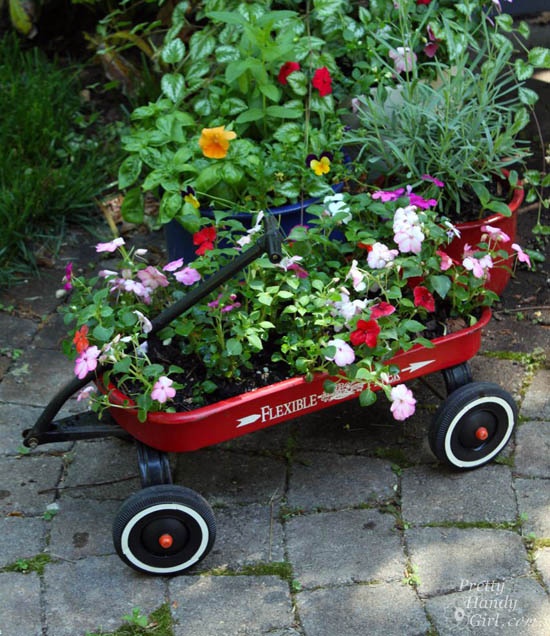
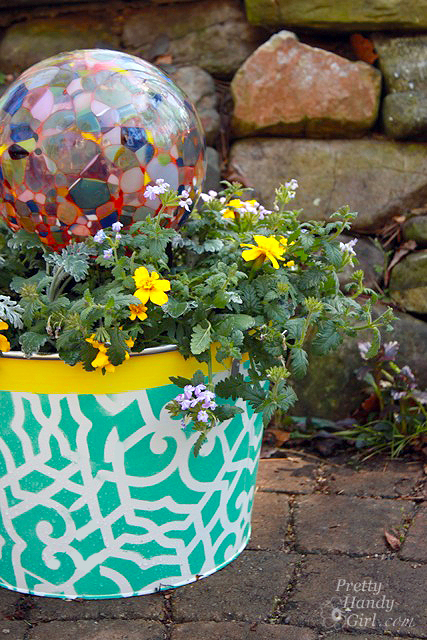
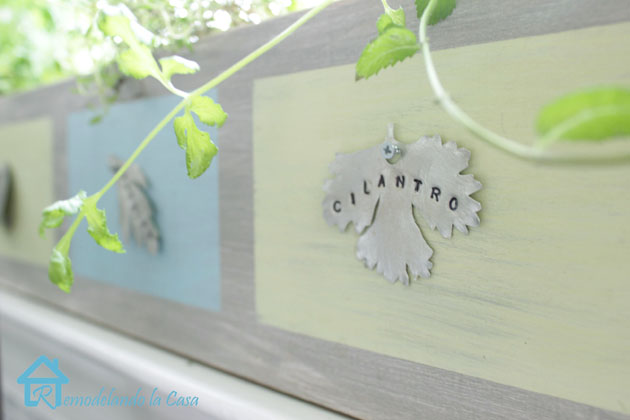
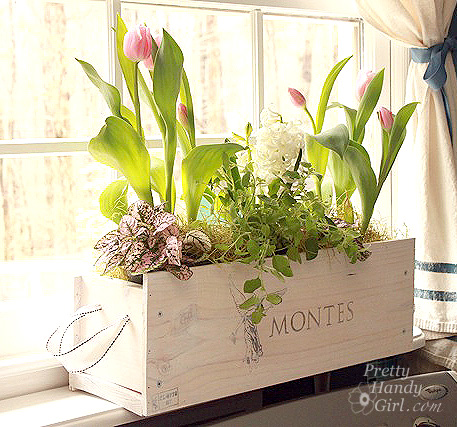
4. Add Colorful Landscaping for Visual Interest Garden

You can add flower beds to the front of the house if you have green thumbs, but honestly an easy way to add color is by filling window boxes or planters. I prefer real flowers, but in a pinch you can use faux ones. Here’s a tutorial to build your own window boxes. And this article will help you create knockout container gardens! Just adding a few pots of flowers will make a big impact on the look of your house. Try it and see!


5. Clean the Exterior of Your Home of Your Home

Clean your home’s exterior, siding, driveway, walkways, and steps to remove years of dirt and mildew—it makes a huge difference. You can hire a pressure washer or try this simple house cleaner without a pressure washer or ladder.

Don’t forget to clean windows which will make them shine and bring in more natural light inside the house.


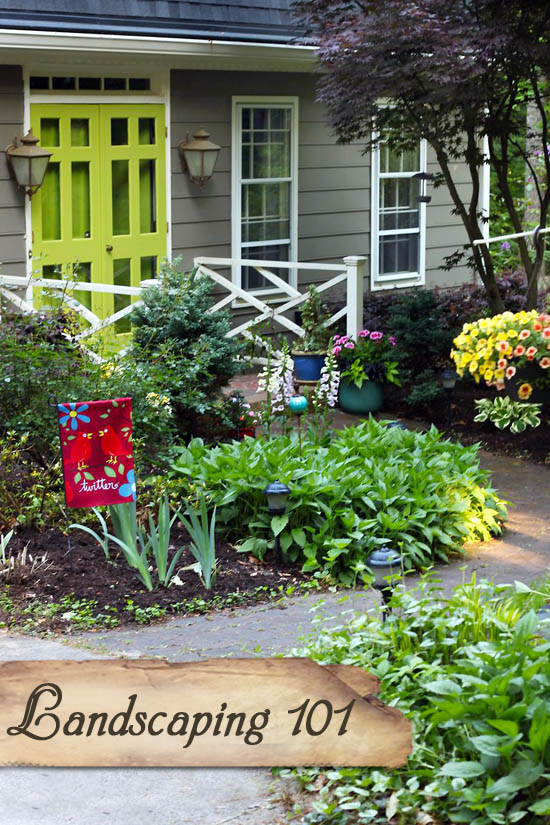
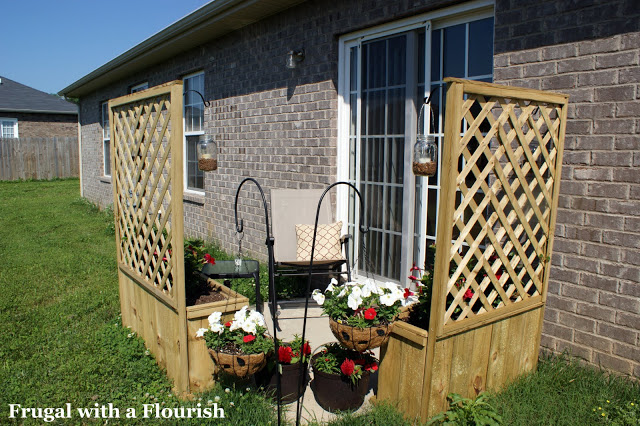
6. Plant or Refresh Landscaping

A house without landscaping can look naked. Foundation plantings are important for anchoring your home visually. On the flip side, overgrown landscaping can make your home look neglected. Take some time to trim overgrown shrubs, edge the lawn, add new mulch to garden beds, and plant low-maintenance perennials for lasting beauty. You don’t have to spend a fortune, simple landscaping upgrades can make a huge difference. This article will give you the basic tips and tricks to improve your landscaping.


7. Replace or Paint the Mailbox

What’s the first thing someone sees when they are driving down the street toward your home? Answer: Usually it’s the mailbox (unless your mailbox is attached to the house). If you have a leaning, dented, faded, or rusty mailbox, it’s time to give it an update. Just a new coat of paint on the post can do wonders for your curb appeal. Or how about this fun crafty way to cover up your mailbox.


25 Rugs You'd Never Guess were Painted | Pretty Handy Girl

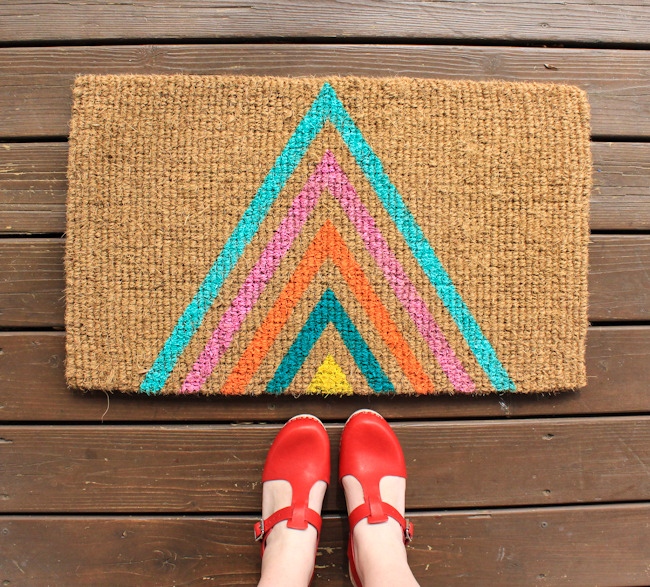
8. Get a New Doormat

A clean, new welcome mat helps define the entry and gives a tidy first impression. If you have an old mat that is looking grungy, you can give that mat a new look with a little paint. Or head to your home improvement store to grab a new one.


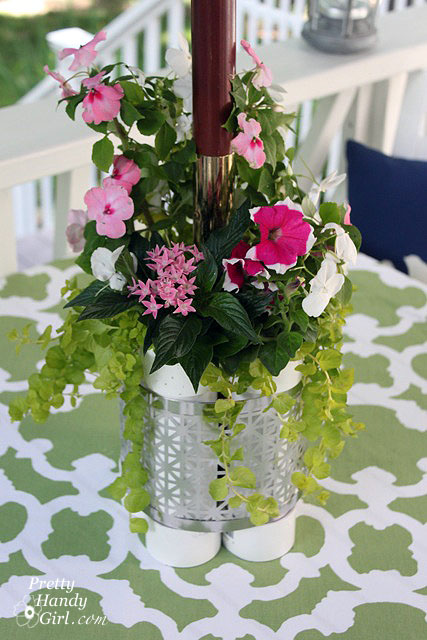
9. Frame the Entry with Potted Plants

Flanking your front porch with planters or topiaries adds symmetry and elegance. You don’t have to go overboard with the decorating, just two topiaries can add a welcoming vibe.


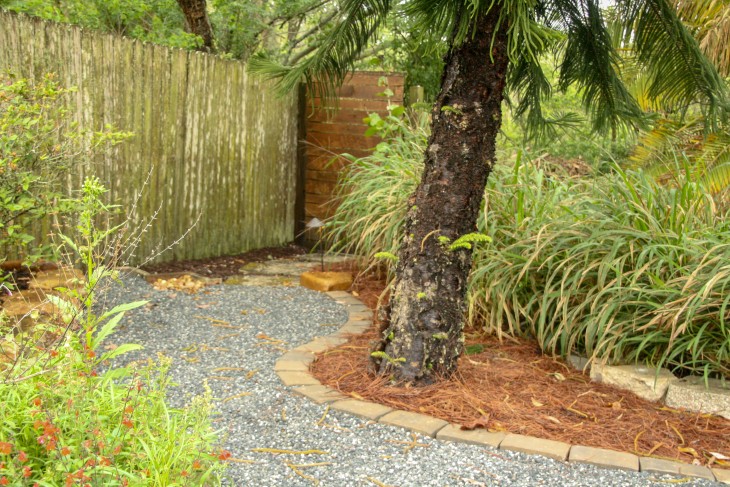
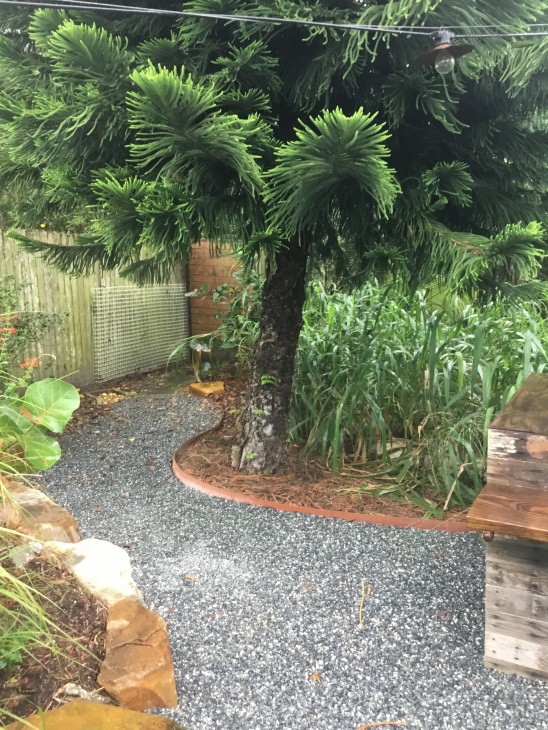
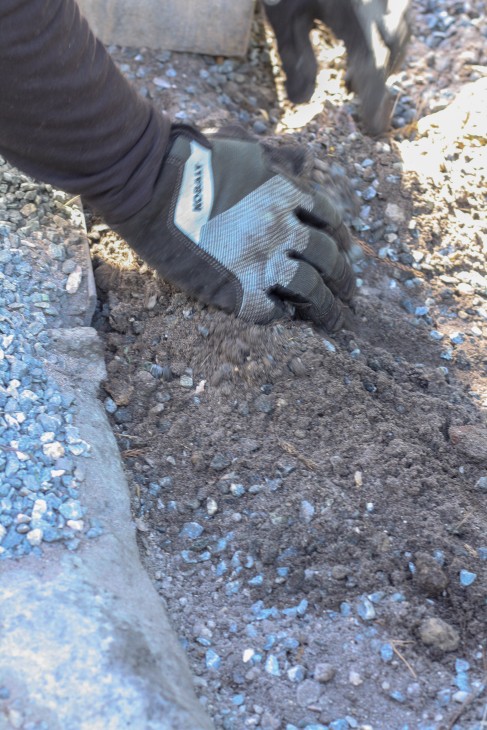
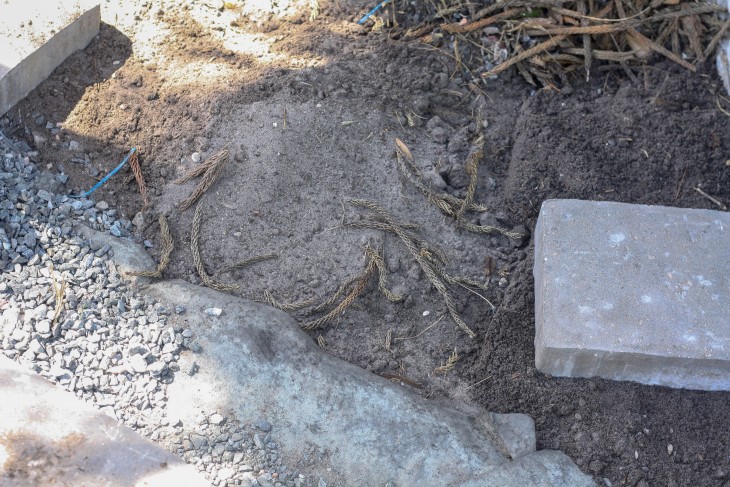
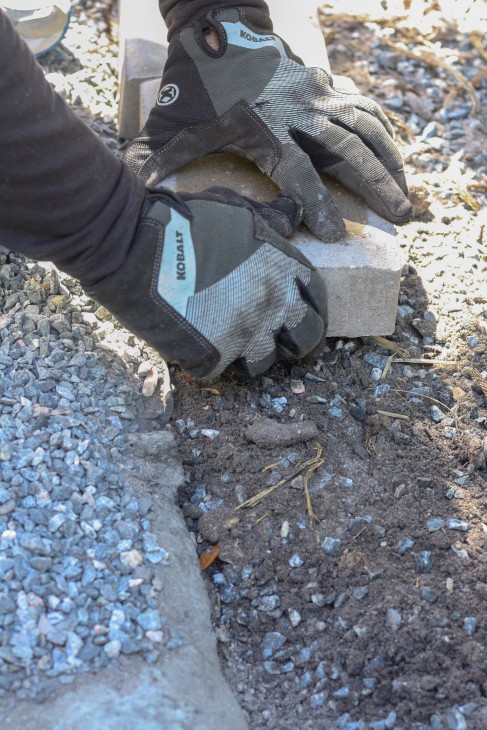
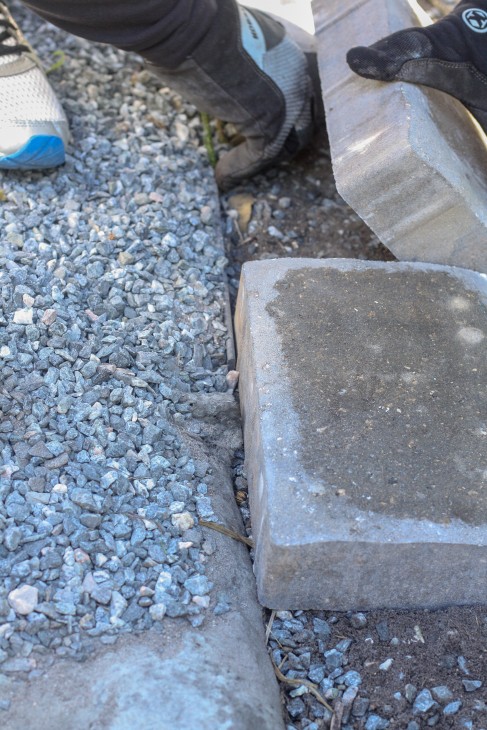
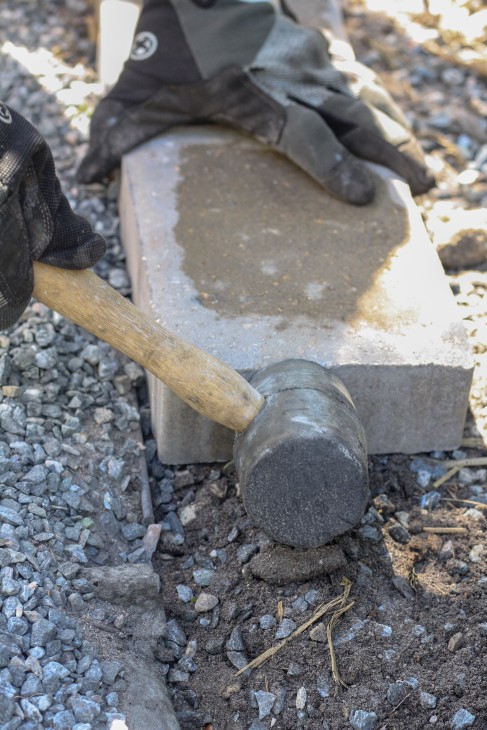
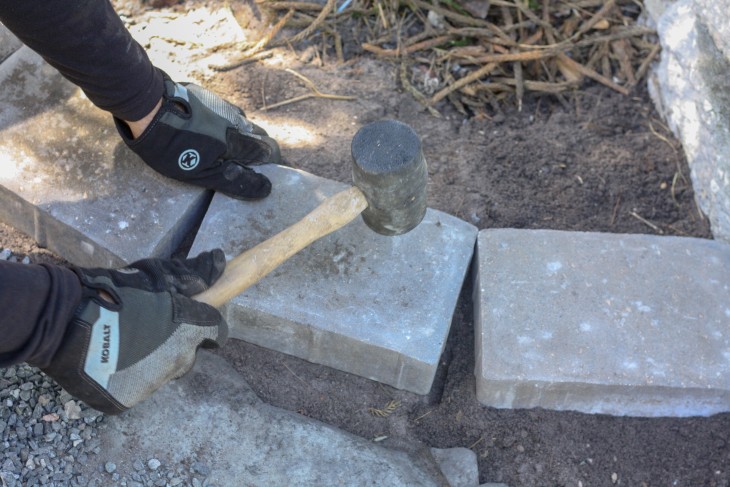
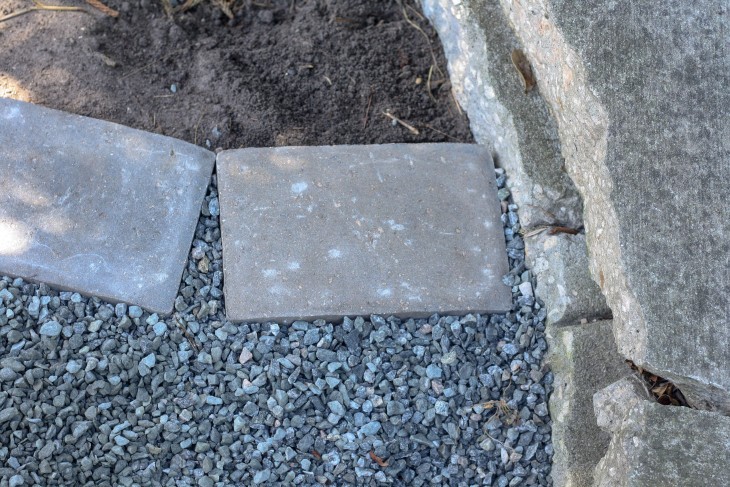
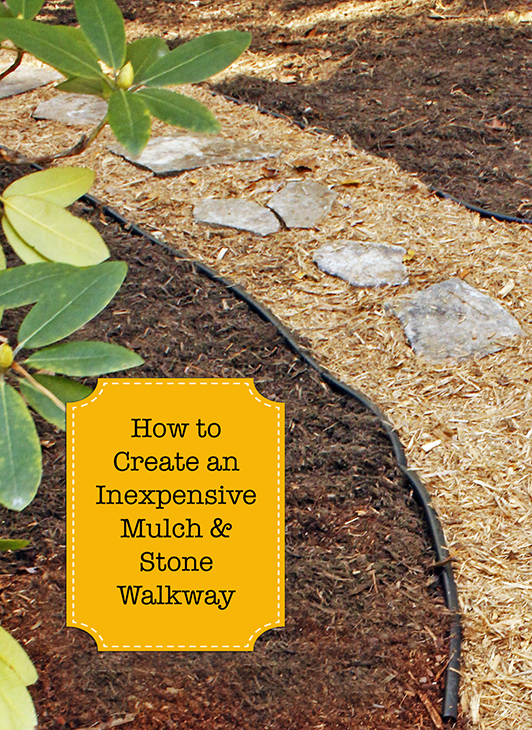
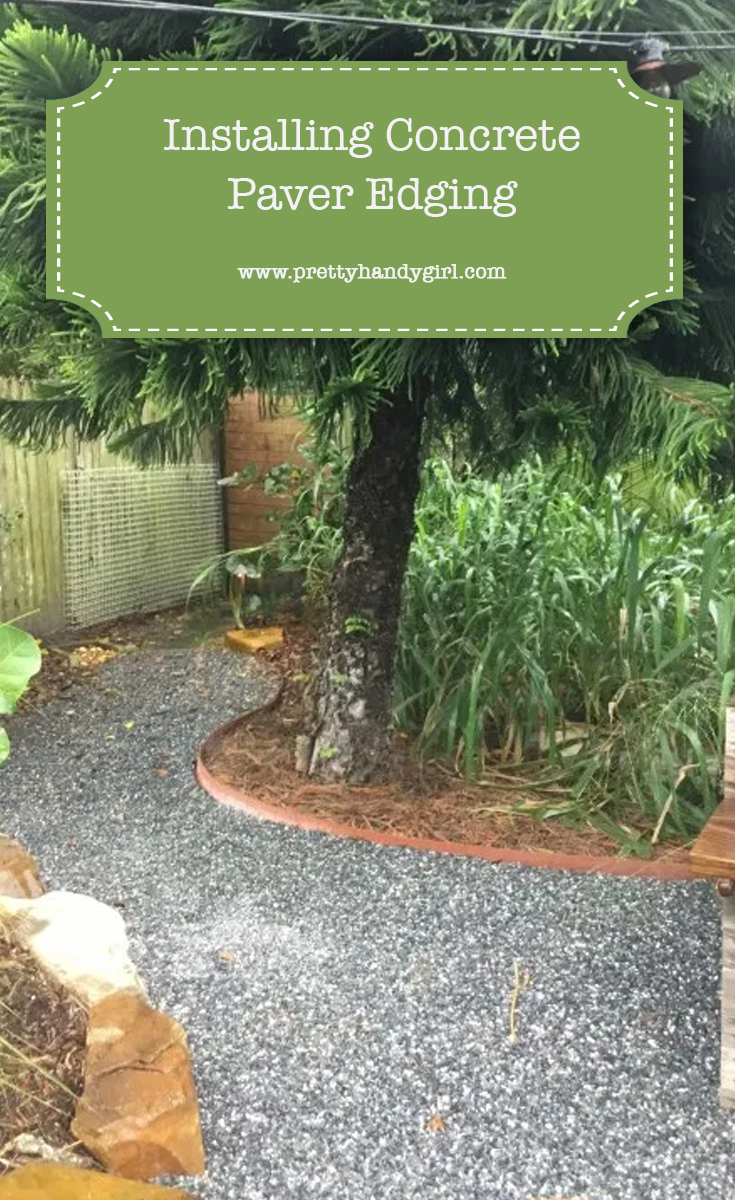
10. Upgrade Pathways

Nothing makes a less than stunning entrance than a cracked, deteriorating, or non-existent front walkway. Add stepping stones, repair cracks, or upgrade your front walkway. If you need to replace your front path completely, look into one of these 10 alternatives to concrete pathways.

Then you can highlight your walkway by installing your own low-voltage outdoor lighting or solar lights.


1905's ranch with modern wood shutters

11. Add Shutters or Paint Existing Ones

Decorative shutters (real or faux) add architectural interest and charm to bland exteriors. You don’t have to spend a fortune, shutters can be a great DIY project. Here’e how you can make your own modern shutters like the ones above.


12. Paint or Stain the Porch or Steps

Peeling paint or stain on your front stoop can be a real negative for your home’s appearance. A fresh coat of paint or stain on wooden porch floors, railings, or steps brings them back to life.


13. Replace Old Hardware

Update door handles, knockers, and hinges to give your front door an instant face lift. While you’re at it, you could install a smart lock and never worry about misplacing your key again.


14. Add Outdoor Seating

Adding a bench, colorful chairs, or a DIY porch swing can add that “come sit and stay awhile” message you want to express to your guests.


15. Clean the Roof and Gutters

The roof and gutters on a house are often overlooked. Believe it or not, these are two of the most important things to maintain on your home. A roof that gathers sticks, leaves, or moss can cause rainwater to puddle and back up under the shingles leading to water working its way into your house. Gutters are important for diverting water away from the foundation. Get a professional to clear your roof and gutters (especially if you have a two story house or can’t access it easily). Doing these few things will keep your home well maintained.

If you need a new roof, I have you covered with this article about how to to choose a new roof for your house.


Keep Track of Home Maintenance Tasks

Speaking of maintenance, I created the ultimate checklist for home maintenance and you can get your copy here. This is a great resource for any homeowner and it will help protect your most valuable asset (your house).

I hope you found this guide helpful to give your house great curb appeal. You never have a second chance to make a first impression when prospective buyers walk up to your front door. It’s even more important for your curb appeal to be in tip top shape when you are listing your home for sale and want to impress potential home buyers. Did you know that if you boost curb appeal you’ll also boost your home’s value? Try some of these small changes and watch your neighbors start complimenting your house.

Pin this image to save this post for reference later:


How to Hire Great Contractors

As a general contractor, I know hiring great tradespeople to work on your home can be challenging and a bit scary. But, I’m happy to share my tried and true tips for hiring great contractors! Confidently move forward with hiring help for those home repairs or maintenance. Here’s the comprehensive guide to help you hire only the best contractors to work on your house.

20 Questions You Absolutely need to Ask to Hire Great Contractors

Installing Concrete Paver Edging

Transform your outdoor living space with this step-by-step guide on how to install concrete paver edging with tips from professionals with a lasting finish.

Installing Concrete Paver Edging

Edging can be a beautiful and decorative addition to your landscaping. It can delineate two different landscape materials, but can also prevent lighter weight materials (like mulch and fine gravel) from washing out during rain storms.

Ultimately landscape edging is one element that easily adds value and a professional touch to a multitude of outdoor spaces. It is a game changer for any front yard, backyard, pathway, or outdoor living space. And, it’s one of the easiest hardscape projects to accomplish for homeowners.

Today I’m back to share the simple steps for paver installations around an area (like a patio or pathway) in your backyard.

There are many types of edging you can chose from and various products in your local home improvement or landscaping supply store. Landscape edging is available in many materials: plastic, steel, poured concrete, natural stone, and wood.

It’s up to you to choose materials that will fit with your landscape style. But, today we are sharing our years of experience to show you how to install concrete paver edging (a great paver edging product in our opinion). Concrete pavers are beautiful, long lasting, and can be a very affordable choice for edging around your flower beds or garden.

Ready to learn how to install your own concrete edging? You can definitely do this without a professional paver installer!

Materials for Concrete Paver Installations:

(I’ve included affiliate links for your convenience. I earn a small percentage from a purchase using these links. There is no additional cost to you. You can read more about affiliate links here.)

Installing Concrete Paver Edging:

Installing Concrete Paver Edging

In the above photo we used standard plastic edging at first. We had installed it while building out this gravel pathway but the plastic rails weren’t performing the way we had hoped for in this particular area and we were looking for a less maintenance and less erosion in the long run.

Anytime we had a lot of rain, the gravel would wash over the plastic edge re-straint. We decided to scrap the plastic edging and use some extra concrete pavers to provide more stability between the two areas.

Preparation:

Use a hose or straight edge to mark where your edging will be installed. You can use straight runs for a more formal look, or use curves for more visual interest. Dig out any grass and remove any obstacles (or relocate your edging for objects that can’t be moved.)

If your paver edging is on a hill or needs to hold back dirt, you may need to use some paver edge restraint systems (like spikes, underpinning, or a retaining wall).

Instructions:

Step 1: Use a shovel, hand trowel, or use your hands to dig out an area slightly wider than the pavers. For best results dig down about three inches to allow for a one inch layer of drainage gravel, one inch of bedding sand, and one inch so the bottom of the pavers will be set in the ground and the top of the paver will be slightly raised above the ground level.

Installing Concrete Paver Edging

Step 2: Level the dirt (base) so that the pavers will be level when laid next to each other. (You may need to remove any leaves or fallen tree debris to achieve a nice level surface.) Add one inch of gravel on top of the dirt. Then add an inch of bedding sand. 

(Note, we skipped the bedding sand and had gravel mixed in with the dirt already. But, we live in Florida where there’s not a frost or freeze-thaw cycles in our ground. If you live in a colder climate, you may want to dig deeper and use the gravel and sand layers mentioned above.)

Installing Concrete Paver Edging

Step 3: Starting at one end, begin laying your pavers next to each other.

Installing Concrete Paver Edging

Work one paver at a time, adjusting the soil & stone underneath to level it with the adjacent stones.

Installing Concrete Paver Edging

Step 4: To avoid the frustration of paver edge separation, use the rubber mallet, strike the end of each paver to secure it as tightly as possible to the previously laid one.

Tamp the top of the paver with a rubber mallet or hammer to set it in place and compact the gravel underneath. Making sure that each paver is level with the one before it.

Installing Concrete Paver Edging

Step 5: When you arrive at a curve in your design, create a gradual bend. Make sure the corners of the pavers meet at one point. You may have to re-position the pavers a few times to get it to fit just right!

Installing Concrete Paver Edging

Tips for working with curves:

  • Adjust the spacing between pavers, so that the gap is similar for each paver. Instead of a large gap between two pavers, spread the gap over multiple pavers (5 or 6) so it isn’t as drastic a turn.
  • Use a garden hose or string to lay out curves, but you can also use spray marking chalk to help with the layout. Draw a curve on the ground using the marking paint and step back to take a look. If you don’t like it or want to fix specific areas on the curve, scratch the paint off with your foot and re-draw your line.
  • Check your work as you go along! Step back, take a deep breath and see if you need to make adjustments. Don’t try to conquer Rome in a single pass! We have found that by stepping back to look at the projects as you go is a great way to make adjustments instead of having to go back when you think everything is done. It is also a great way to appreciate the work you have completed and gain a greater sense of accomplishment.
Installing Concrete Paver Edging

Step 6: Fill in the gaps with landscape gravel if creating a pathway. (Alternatively, if you don’t mind the mess, you could mix a bag of concrete and trowel it into the voids.)

Installing Concrete Paver Edging

Where the pavers do not meet completely, fill in with small landscape gravel (or standard concrete) to give a cohesive look.

Installing Concrete Paver Edging

Fill your second area with a contrasting material (like mulch, pine straw, soil, grass or other natural elements.

Installing Concrete Paver Edging

If you liked this concrete paver project tutorial, you may also want to learn about 10 pathways that are great alternatives to concrete:

10 concrete-free walkway ideas for your home and garden
Installing Concrete Paver Edging

Want more landscaping ideas? See how to add a mulch and stone path in a few hours:

How to Create an Inexpensive Stone & Mulch Walkway

Or learn the basics of landscaping your yard:

Landscaping 101: Tools, Planting, and Adding Color to your Landscaping | Pretty Handy Girl

Pin for later!

Installing Concrete Paver Edging | Pretty Handy Girl

collage with 4 images showing diy planters

Create beautiful DIY planters and containers on a budget! Discover 25+ DIY container garden ideas for every style—modern, rustic, whimsical, and more.

4 image collage diy planters and containers for plants

DIY Planter Ideas

Good news—whether you’re working with a big garden bed or decorating a tiny patio, this collection of 28 DIY planters and containers has something for everyone!

Each project is an easy DIY with a helpful step-by-step tutorial, so you can create stylish indoor planters or tackle outdoor projects with confidence.

Most of these ideas use basic tools and materials you may already have on hand, making them perfect for beginners or weekend crafters.

DIY Planters and Containers

Pin for Later:

7 image collage diy planters and containers with text overlay

With these 28 DIY garden planter and container ideas, you can give your outdoor space a fresh, creative makeover with new planters that reflects your personal style.

Whether you love rustic charm, modern minimalism, or something more whimsical, there’s a creative project here to inspire every green thumb and DIY enthusiast.

We hope you are inspired to make your own planters after seeing this collection.

To build the ultimate raised garden bed with arched trellis, you’ll want to see this tutorial:

Thanks for stopping by!

signature

Welcome to the next level in low maintenance gardening! If you came here from my raised garden bed tutorial, let’s make your new home garden even more amazing by installing a sub-irrigated planter system. Don’t let the name fool you, sub-irrigation is a fancy term, but it’s easy to create.

What are Sub-Irrigation Planters?

Sub-irrigation (sometimes called SIP system) garden beds are a type of raised bed that waters plants from the bottom up, rather than the top down. This method helps maintain consistent soil moisture and can be more water-efficient than traditional watering techniques. In short, SIP planters are a self-watering container.

Key Features:

  • Water Reservoir: At the bottom of the bed, there’s a built-in reservoir that holds it’s own water source (I used a pond liner and perforated drainage pipes)
  • Wicking System: Above the reservoir, garden soil specifically for sub-irrigation (more on this mixture later) draws water up via capillary action to the plant roots. This results in a healthier vegetable garden.
  • Overflow Drain: Ensures excess water drains out, preventing over-saturation, too much water, and root rot.
  • Fill Tube or Pipe: Used to add water directly into the reservoir without disturbing the soil when it hasn’t rained for a while.

Benefits:

  • Water Conservation: Less water is lost to evaporation.
  • Even Moisture Levels: Plants receive a steady supply of water, reducing stress.
  • Low Maintenance: Less frequent watering is needed (going on vacation? No problem, it waters itself.)
  • Improved Root Health: Encourages deeper root growth, improved plant health, and prevents surface drying.
  • Conserves Water: Great for areas with restrictions on water usage or for severe drought conditions
  • Save Money: No need to incur the extra cost of buying soaker hoses, drip irrigation, or timers.

Ready to learn how to make your own sub-irrigation planter bed like the one above? (Note: your garden bed doesn’t have to be as elaborate, you can add it to a standard raised garden bed. I’ll show you how.)

How to Install a Sub-Irrigation System in Your Raised Garden Bed

To learn how to build a sub-irrigation garden bed, you’ll want to watch my video before proceeding. You can fast forward to minute 8:00 if you wish to see the sub-irrigation portion of the video.

To create a water-tight planter, use a fish-safe pond liner to line inside of each bed. Then measure and cut lengths of perforated drain pipes to fit in the bottom of the garden bed.

To cap off the drainage pipes, I used some weed barrier (landscape fabric) and taped it to the ends using flashing tape. This will hopefully keep the dirt from getting into the pipes. (For additional protection, you might want to lay weed cloth on top of the pipes before filling with garden soil.)

Now you’ll want to add a fill tube to fill the reservoir of the garden with water (during dry spells or to simply top off the garden). A 2 inch PVC pipe is installed vertically into one of the drainage pipes. Then use a funnel or cut off plastic bottle with the neck pointing into the pipe for a fill spout. To secure the funnel, tape or silicone seal around the neck of the funnel and the pipe.

Once your garden bed is filled with soil, only the funnel should be visible above the garden surface.

In addition to a fill tube, a drainage hole (overflow hole), drain tube, or overflow pipe is also needed.

This will prevent your garden bed from flooding (in the case of too much rain). The overflow tube is installed in the top of the drainage pipe and sends excess water out of the planter on each end. You can view how this works in my YouTube video. Seal around the overflow tube where it goes through the pond liner with silicone sealant. Wait for it to cure before exposing to water.

Now it’s time to add the garden soil mixture specifically for a sub-irrigation bed.

Raised Bed Garden Mix for Sub-Irrigation Gardens

To grow plants and vegetables in a sub-irrigation garden bed, you need a specific mixture of growing medium. It’s important to have a mixture of soil that is light and airy (nothing too heavy or dense). The mixture I used keeps the soil from getting too compact but also feeds the vegetables and fruits with nutrients. Perlite or vermiculite is a common ingredient in potting mix soil that facilitates drainage and aeration. Here’s the garden soil mixture I use for my sub-irrigation beds:

You can mix the soil ahead of time in a wheelbarrow, on a tarp, or mix it in the bed with a hoe and rake (take care not to puncture the pond liner). After adding the soil, mix in any fertilizer you want depending on what will be grown in your garden.

Now that your garden bed is filled with soil, it’s time to plant you vegetables or flowers! Get ready for those baby plants to take off and grow in your new sub-irrigation garden bed.

Visually you’d never know my garden is a sub-irrigation garden! It will be our little secret, okay? Then again, you may want to brag to all the neighbors about how you rarely have to water your garden.

Now all you have to do is decide what type of plants you’re going to grow in your new raised garden bed!

Happy gardening.

signature

The build plans to create your own raised garden bed with arched trellis can be found here or head to Etsy to purchase the plans.

Pin this image to save it:

If you liked this article, you can see how I made a never rot square foot garden grid here.

How to Build a Square Foot Gardening Grid that Won't Rot | Pretty Handy Girl

Gardening is a passion of mine and I’ve built several garden beds in my life. But, I’ve always dreamed of building a vegetable garden that could keep the deer, rabbits, and other critters out. I also wanted garden trellises that my climbing plants wouldn’t outgrow. Finally, I wished for a garden that could survive without being watered for a week or more while we were on vacation. If you follow me on Instagram, you saw the process of building this bed unfold two years ago, it’s taken me a while, but I finally have a new DIY for you!

Introducing the Ultimate Raised Garden Bed with Arched Trellis and Sub-Irrigation!

How to Build a Raised Garden Bed with Arched Trellis

After sharing the garden bed build on my social media channels, I got many requests for the plans. I put it off for a while because I knew creating them would take a big chunk of time to create, but I think you all are worth the effort. By popular request, I drew up the plans in SketchUp and wrote a complete step-by-step tutorial to build this beautiful garden structure filled with diagrams to help you build one for yourself.

Raised Garden Bed Size:

The build plans I created call for a footprint of 11’6″ x 12’3″, but you can customize the gardens to fit your space requirements. If you do make changes, don’t forget to leave room to walk around the full exterior of the gardens. Also allow room for the gates to be opened and closed. The trellis frame height when built according to the plans is 7′ tall. You can customize any part of this build to fit your needs, though I would not recommend making the beds any wider as it will be hard to reach more than three feet across to harvest your veggies or flowers. But, if you have extremely long arms, you do what you want.

Full Plans for a Raised Garden Bed with Arch Trellis:

My full plans to build the raised garden beds with arched trellis are available to purchase here. I also made a video showing how I built the garden bed and installed a sub-irrigation system in them. The link to this video can be found here or you’ll find it embedded below.

I recommend downloading the plans and then watch the video completely before ordering materials since I offer some alternative materials and building construction (especially for the side panels).

Now, let’s talk over some details about building this raised garden bed before you get started.

Measurements:

A few notes about measurements. If you’re building your raised garden beds on flat ground, great! This will be a lot easier. If your raised bed is on a sloped section of land, you may want to make one of your beds taller to accommodate the slope. I wouldn’t recommend making one bed shorter, unless you are going to skip the sub-irrigation feature. On the flip side, more height means more dirt and materials are needed to fill the bed. Plus, more lumber and panels will be needed to clad the sides. Just be aware of this when budgeting.

I highly recommend watching the video before beginning this tutorial. It will illustrate how I prepped and built my garden beds on a gently sloped site.

Additionally, you may want to measure first and cut based on your measurements versus the measurements in my plans. Especially when you are cutting the lumber for the cross pieces on the arched trellis, the cap of the posts, and the gates. Wood can shrink, swell, twist, and bow, which can lead to changes in dimension.

You may also want to modify the heights of the shorter 4×4 posts. I find I can access my garden fairly well, but I do have to duck under the 2×4 cap on these posts. Just be aware if you make these posts taller, you will need to buy additional lumber to accommodate for the excess.

Tools:

(I’ve included affiliate links for your convenience. I earn a small percentage from a purchase using these links. There is no additional cost to you. You can read more about affiliate links here.)

*These tools aren’t necessary, but will make your build easier.

Please note, you should have a basic knowledge for using a circular saw, drill, and impact driver before beginning this build. If you want to learn how to use these tools, I have a complete guide to using power tools here. Always use safety equipment when working with power tools. I’m not responsible for any injuries incurred during this build.

Supply List:

A full supply list is available with the downloadable build plans, but basically you’ll need to compile these materials for the build:

Prepping the Area:

Again, watch my video to see how to prep your planter bed areas. This will help you prep your garden site to allow for proper drainage, building, and planting.

Step 1: Select your location for your raised planter beds. Try to choose a garden space that is already leveled.

Step 2: Clear any vegetation and level the area for each bed (3′ x 12′  each with a 5′ section in between the beds.) If you have a severe slope, you may need to use retaining wall blocks or pavers to build up a low spot.

Step 3: To extend the life of the garden beds and prevent rotting, scrape away 1-2 inches of dirt. Backfill the area with drainage rock and tamp to level the rock.

Step 4: Lay landscape fabric (weed barrier) on top of the rocks to prevent weeds from growing and to protect the pond liner if you are creating a sub-irrigation bed.

Step 5: If you have a slope, you may want to consider building the lower planter bed taller so the tops of the beds are level. The best way to figure out the height differential is to lay a straight 2×4 on the ground from one bed to the other. Set a level on top of the 2×4 and use blocks or bricks to raise the lower end until the bubble shows a perfect level. Measure the lift under the raised end. This is the amount you will add to the upright pieces of the garden bed sides. For example, if you have to raise one end of the 2×4 with the level on it 5 inches, your new upright 2×4’s will now need to be 5 inches taller to be level with the bed on the higher ground.

Side Panel Materials for Garden Beds:

Let’s discuss some other options for cladding and closing in the garden bed sides. Feel free to customize the panels for your style (and visual interest) using some of the materials mentioned below. You’ll want to choose the best materials for longevity (non-rusting, non-deteriorating, and sturdy).

Side Panel Materials: You can use metal roofing material as I did. You can also use decking material (composite or pressure treated lumber*) on the inside or outside of the garden bed frame. There are also a variety of PVC materials you could use. Just be sure to select a material that is weather resistant and will not rot or disintegrate over time. I put together a Photoshop rendering of some different side panel materials for your convenience.

*There is some controversy about using pressure-treated lumber for vegetable gardens because of the potential for the chemicals to leach into the food. Do your own research. To protect chemicals from leaching, you can seal the interior of the bed with exterior paint, stain, or sealant. You can also line your bed with a liner.

alternate raised garden bed materials. - PVC panel, siding, and corrugated metal roofing material

Step-by-Step Instructions:

If you’re ready to build this raised garden bed with arched trellis, you can purchase and download the step-by-step tutorial here. I’ve spent a lot of time designing and building the beds and worked out all the kinks so you don’t have to. I know you’ll find the tutorial extremely helpful for building your raised garden beds. You can also break the plans down into smaller sections if you only want to build one of the beds.

Watering Your Garden with Sub-Irrigation Garden Beds

You can water your garden, use drip irrigation, or to learn how to make your garden bed self-watering with sub-irrigation, you’ll want to refer to this tutorial on How to Make a Sub-Irrigation Garden.

To learn what type of garden soil mixture you’ll need for your sub-irrigation vegetable garden, reference this information in the article with all the details about a sub-irrigation garden.

Good luck to you as you proceed with your raised planter beds, once you’re done you’ll have a thriving garden bed. All you have to do is decide what types of plants you want to grow in it. I’d love to see your finished garden beds, please email me some photos (or tag me on Instagram) so I can gush over your garden.

Pin this image to save it:

This image has an empty alt attribute; its file name is pin-raised-garden-bed-arched-trellis-plans-2-687x1030.jpg

If you liked this tutorial, I think you’ll love this one too:

How to Compost - Magnificent Garden Soil| Pretty Handy Girl

How to Create Nutrient Rich Soil for Your Garden & Plants