
This DIY reupholster chair tutorial features a This End Up chair. You can follow the same basic steps to recover and renew similar chairs.

As a parent of two elementary school students, I always ask my kids’ teachers if they need anything for their room. Usually the answer is markers, wipes, or snacks.
But, my kindergartner’s teacher knows about my secret identity after having taught my older son for a year.
So, she didn’t hesitate to ask me if I could possibly recover a few really sad looking chairs that had seen their fair share of kindergarten butts. 😉
(I’ve included affiliate links for your convenience. I earn a small percentage from a purchase using these links. There is no additional cost to you. You can read more about affiliate links here.)

How to Reupholster This End Up Chairs (a Simple DIY)
These poor chairs were still very study and in good shape, but the fabric was nubby, pilled, stained, and not in good condition.
I love a good challenge, especially with a solid piece of furniture, so I took all three of the chairs home over the Christmas break for my next DIY project.
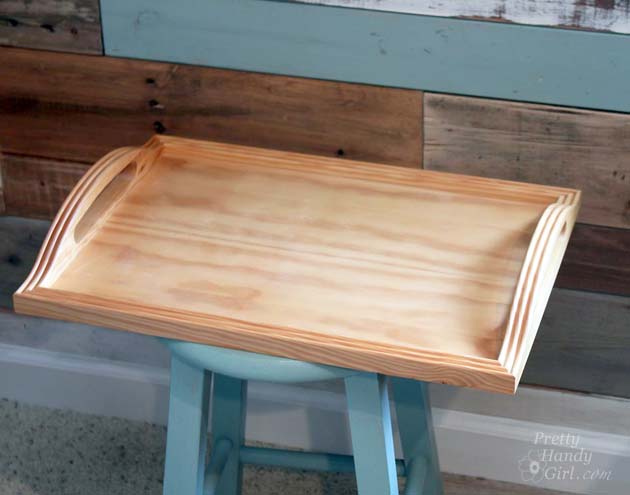
I knew I could give these chairs new life. The first step involved removing the seats and the old upholstery fabric.
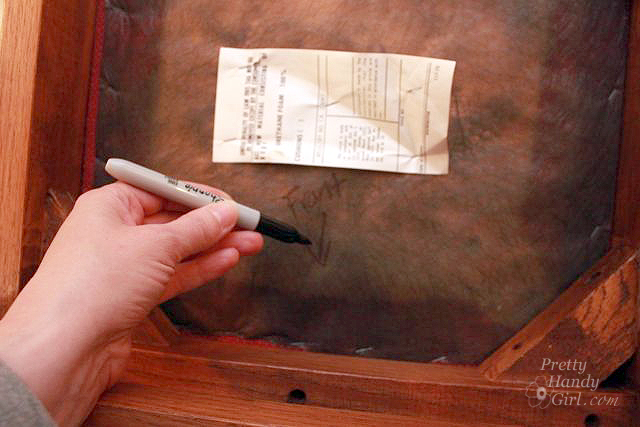
Before I touched the seats, I flipped over the chairs and marked the front side of the chair so they would fit together perfectly when I put them back together.
Next I removed all the screws securing the chair seat to the frame of the chair (all six of them.)

Because of the construction of these chairs, I found it necessary to use a longer bit on my drill to get into each hole.

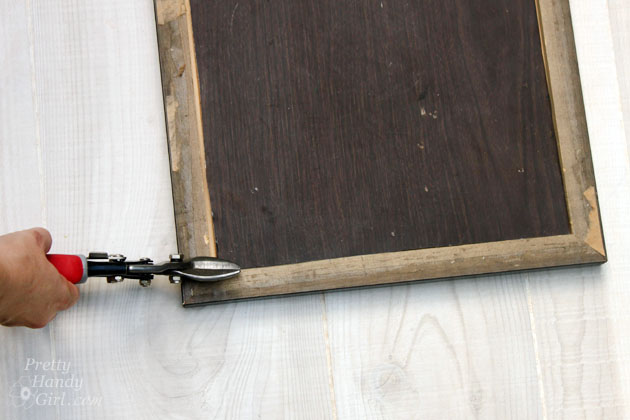
I pried off the piping from the seat backs with a 5-in-1 painter’s tool and needle-nosed pliers. Then removed the old fabric and old foam.

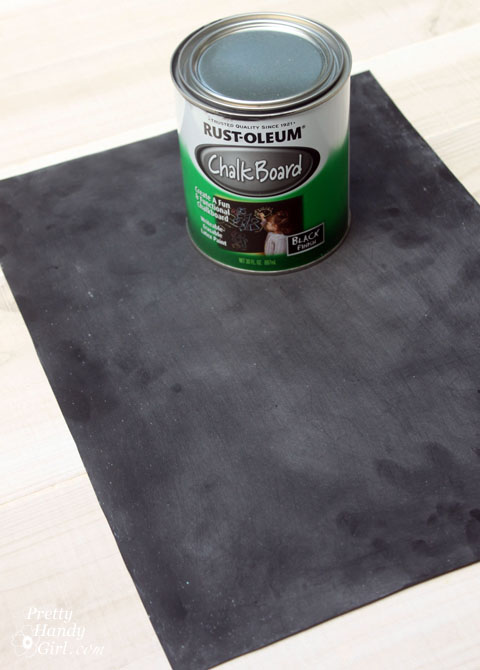
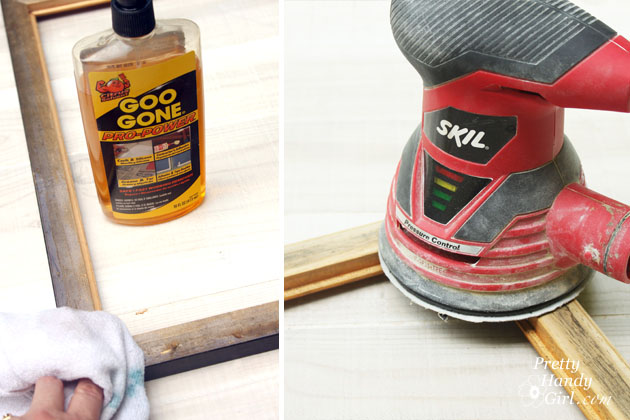
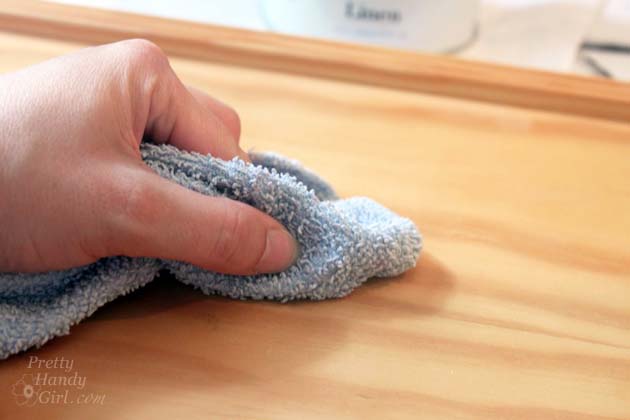
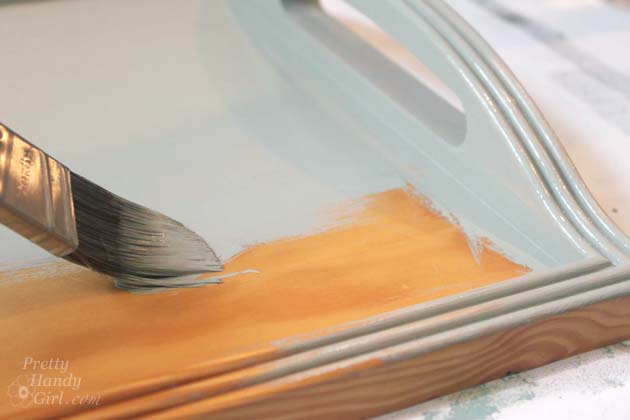
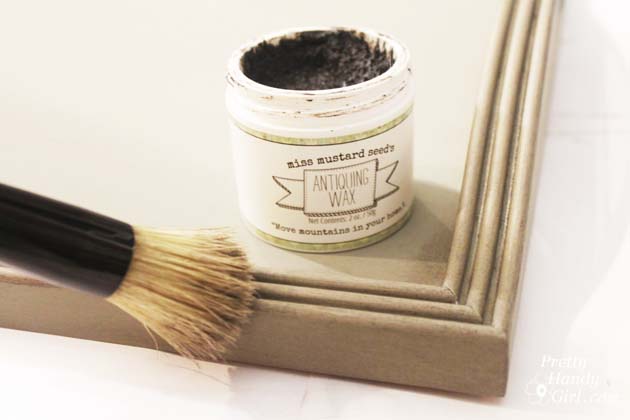
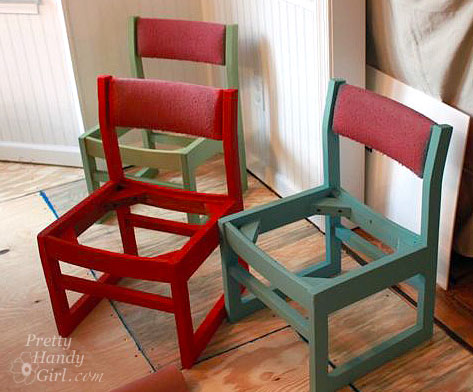
After the seats were removed, each chair got a good cleaning, a little sanding and then a couple coats of Miss Mustard Seed Milk Paint (colors used: tricycle and luckett’s green) and the blue one was chalk painted.
I used the bonding agent with the milk paint to make sure the paint would stick to the chairs.

Finally, the chairs each got two coats of Minwax Polycrylic because those kindergartners are tough on furniture and this is a great way to give them a bit more protection.

Now on to the fun part!
How to Reupholster This End Up Style Chairs:
You can pick up the supplies at Home Depot, Lowe’s, or your local craft store.
Materials:
(I’ve included affiliate links for your convenience. I earn a small percentage from a purchase using these links. There is no additional cost to you. You can read more about affiliate links here.)

- Fabric
- Oil cloth tablecloth (optional for waterproofing)
- Batting
- Staple gun
- Staple Remover
- 1/4″ staples
- Scissors
- Hot glue gun
- Screwdriver
- Piping (see tutorial for making your own piping)
- Hammer (for any staples that don’t go in all the way)

I let my son’s teacher to pick out new fabric from one of my favorite fabric sources, Spoonflower.com.
Not only do they have loads of designs to choose from, but you can also upload your own graphics and create your own custom fabric!
You can also check out your local fabric store.
She picked out adorable space themed patterned fabric: Rocketship fabric and Space Fireworks fabric.
With a primary color palette, they are the perfect fabric choice for a kindergarten classroom.
Instructions:
Cut out fabric, oil-cloth (optional), and any additional batting a few inches larger than the bottom of the chair seat.
The great thing about this project is no sewing machine is needed for this upholstery project.

Layer the new pieces of fabric face down on the floor. then the oil-cloth next (I put the oil-cloth face up so the fuzzy back side would be against the fabric to keep it from feeling too crinkly.)
Cut a square out of each corner about 1″ from the seat cushion corner.

Staple one staple into the center of each side. Work across form each other, gently stretching the fabric taut.

Add more staples along each side.

Corners are neatly folded and then stapled to secure them. Hammer any staples that didn’t go completely into the bottom of the seat.

Re-attach the seat to the chair frame by replacing all the screws.

Flip the chair right side up and follow these steps:
- Layer batting, then fabric over the chair back. Trim the batting to fit perfectly on the back of the chair.
- Cut the fabric about an inch wider on the two sides and the bottom. Fold under the raw edges of the fabric.
- Secure the fabric to the chair back by stapling at the top of both sides first.

Next put a few staples into the bottom of the seat back (hidden from view.)

Continue stapling the fabric to the chair along the sides.
Set your staples as close to the frame as possible so the piping will hide your staples later.
Hammer any staples that stick up.

If you haven’t done so already, make your piping.
The easiest way to do that is to sew your piping following this tutorial. Trim the excess fabric from the piping.

Peel back the ends of the piping fabric to expose about an inch of the rope inside. Cut the rope.
Then fold the fabric back and tuck the raw edges inside. This will give you a flat section at the end of your piping.

- Staple this flat end to the underside of the chair back.
- Spread some hot glue on top of the staples along the side of the chair back.
- Pull the piping taut and press it into the hot glue.
- Secure the end of the piping with hot glue and a staple.

Secure the piping to the opposite side using the same method. Follow the same tutorial for the second chair.

That’s it! Check out this sweet new chair!

Would you know that it was the same chair if I hadn’t shown you?
BEFORE:

AFTER:

Good, let’s keep it our little secret ;-).
The next time you see an outdated chair at the thrift store, consider giving it a new look with this easy blog post tutorial.
There is no need for a professional upholsterer. Give it a try. You will be amazed at just how easy it is. Good luck!
The new chairs were such a big hit with the kids. They all rushed to be the first to sit on them.
I think their teacher was happy with the finished product too.

It’s a happy trio of kindergarten chairs!


Pin this image to save for later or share with a friend:

You might also like this chair makeover with a video tutorial on my YouTube channel:

Pin for later!

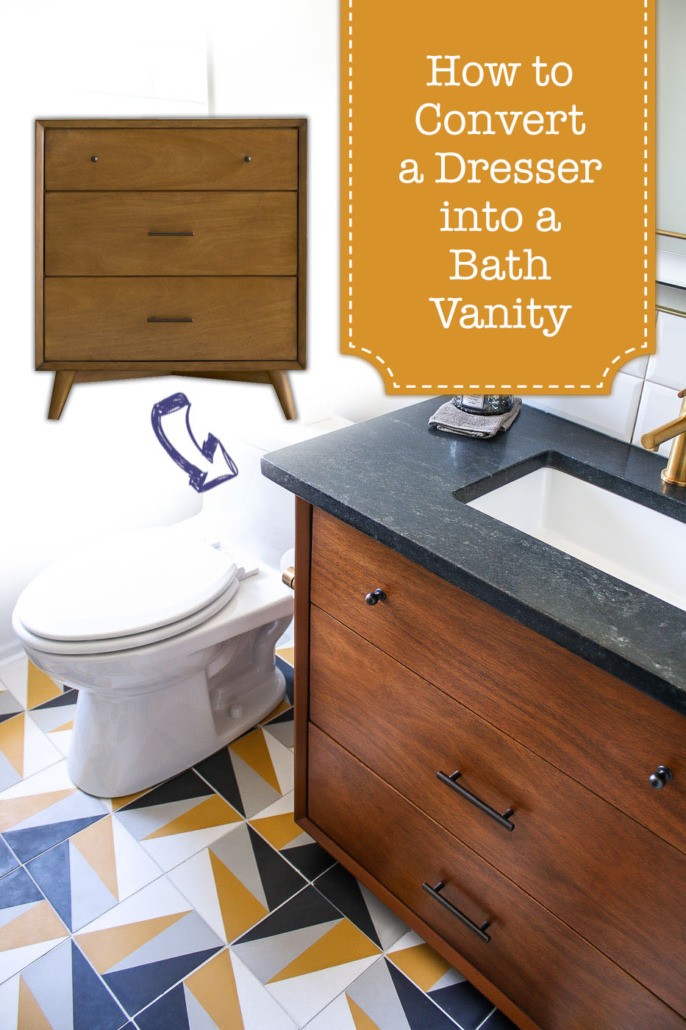

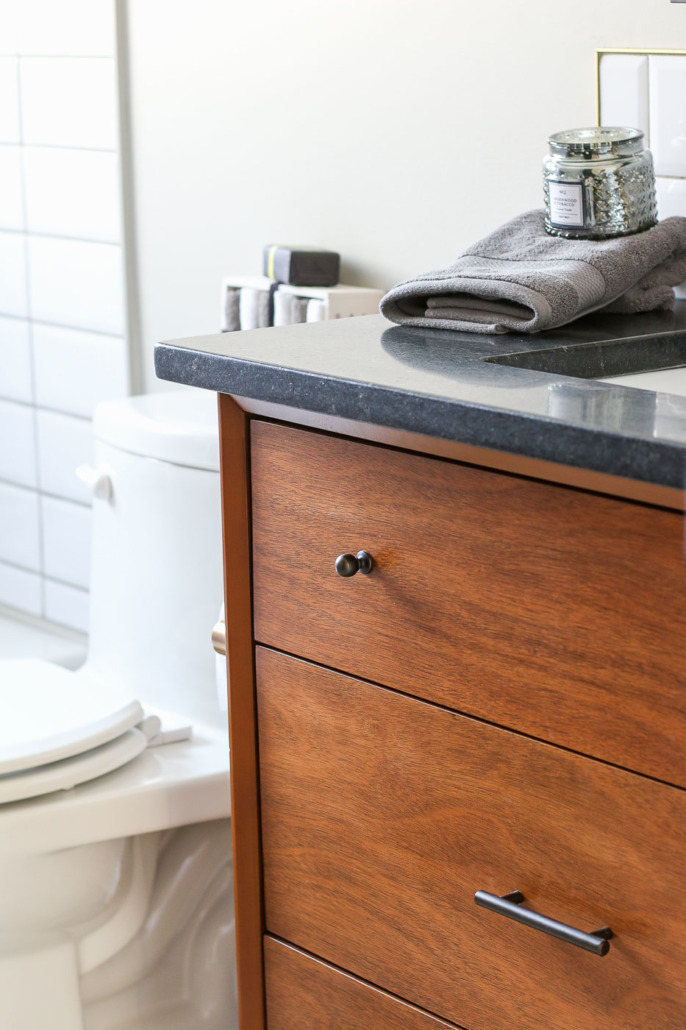
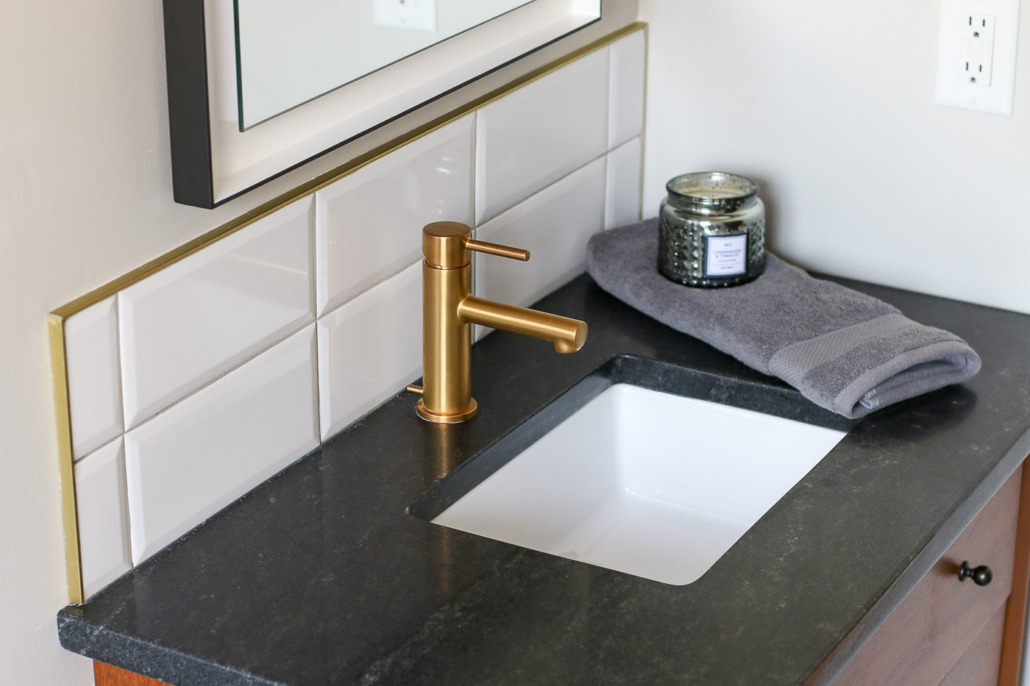

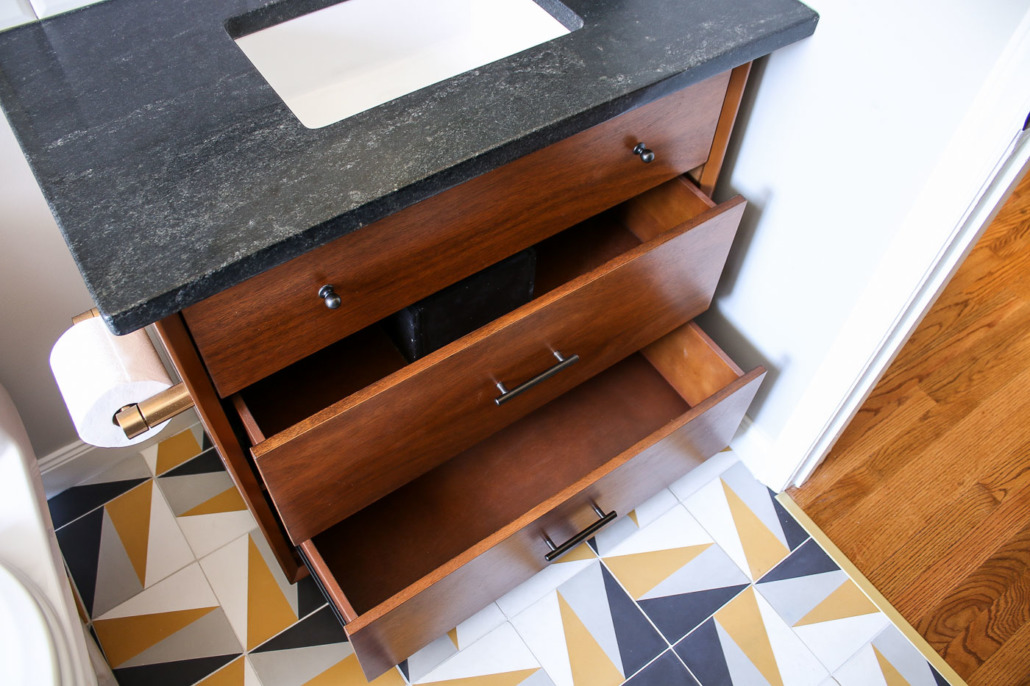
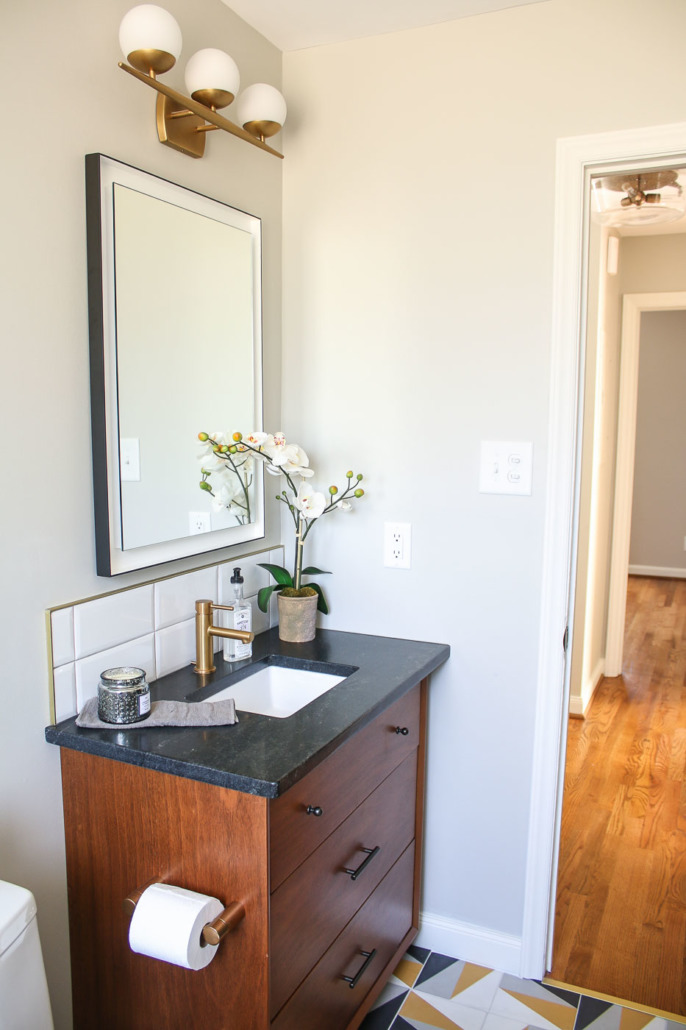
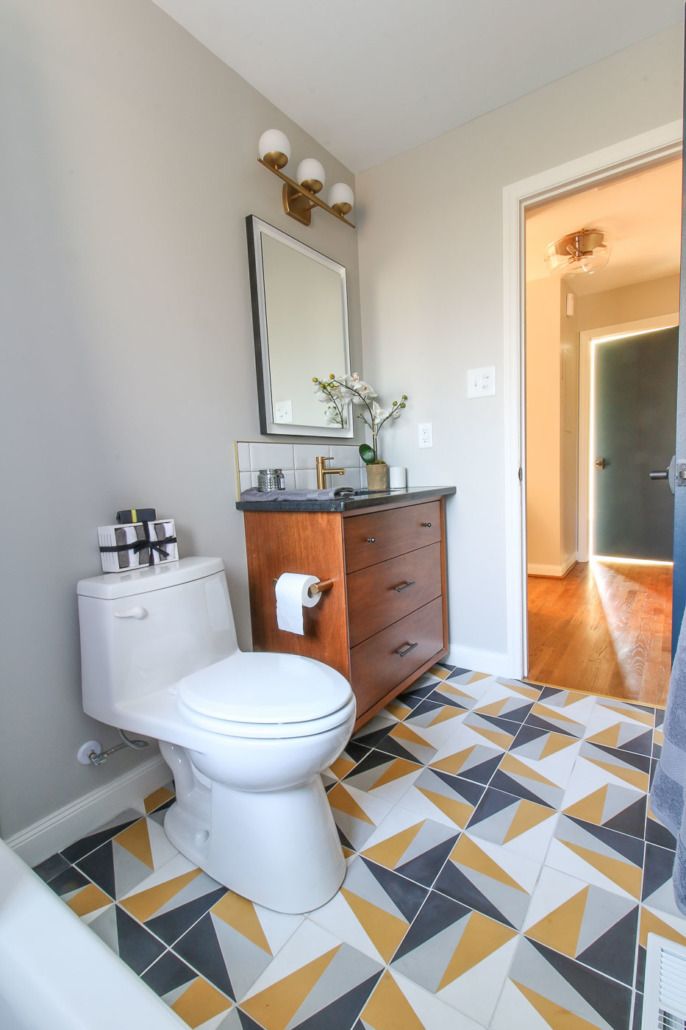
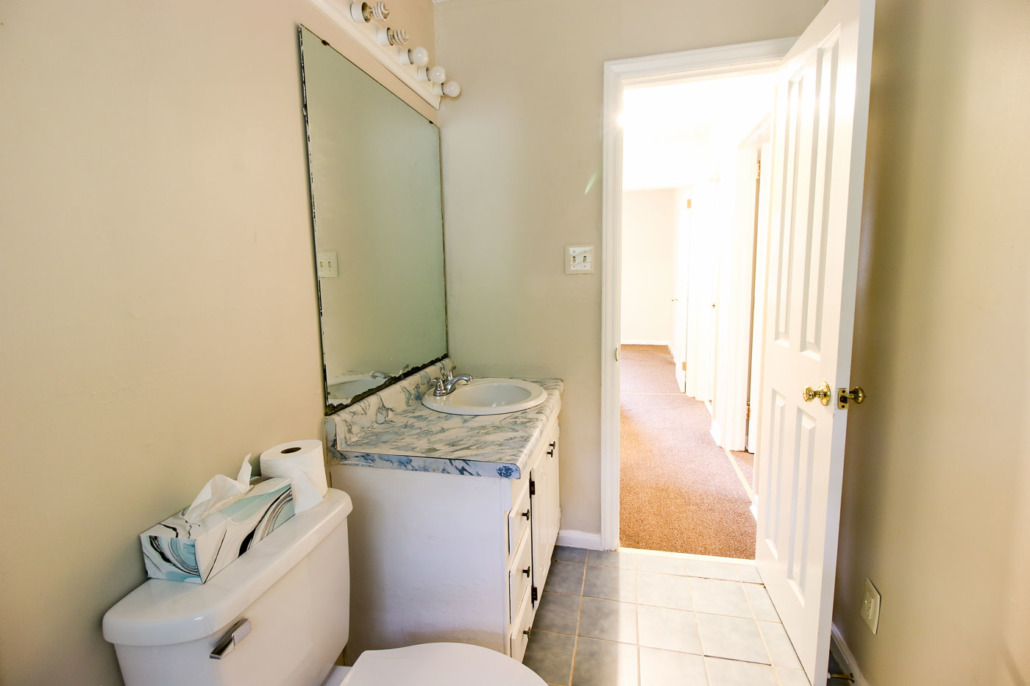
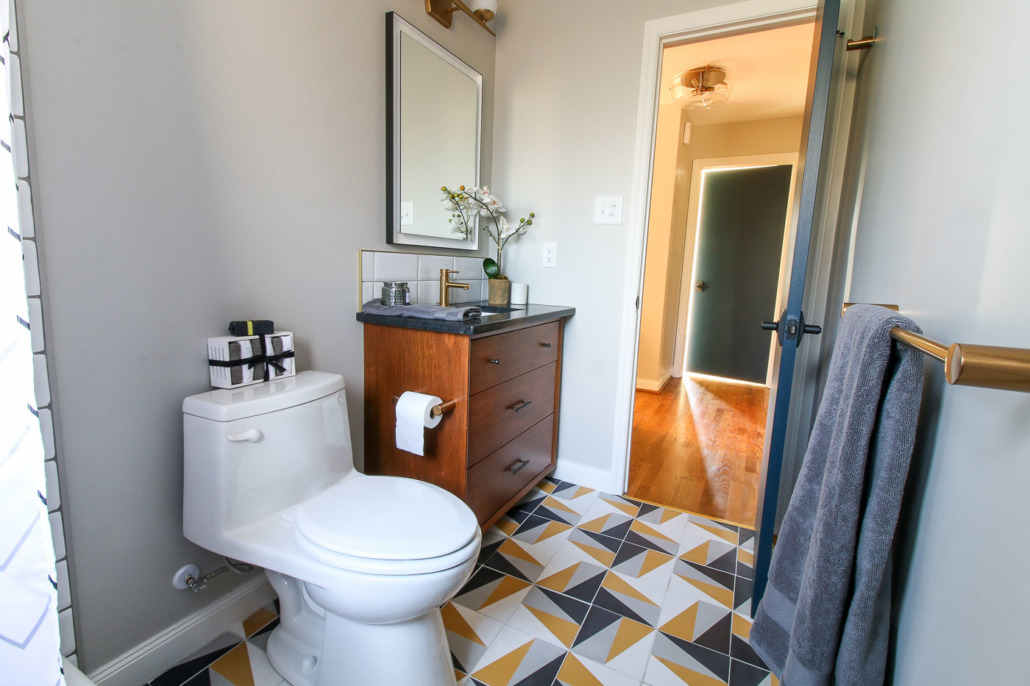
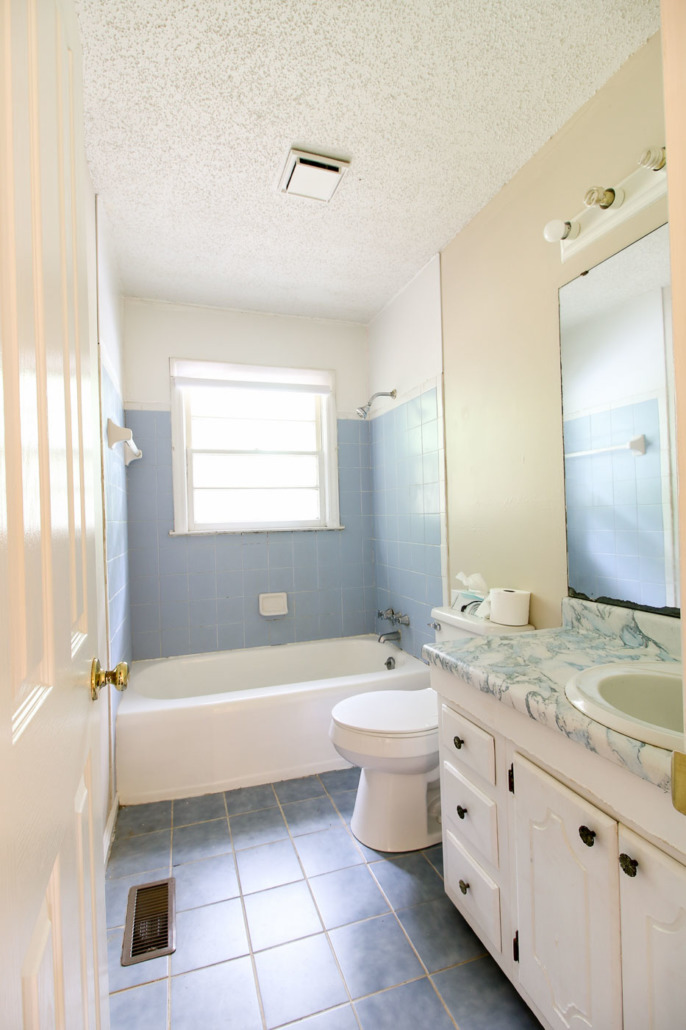
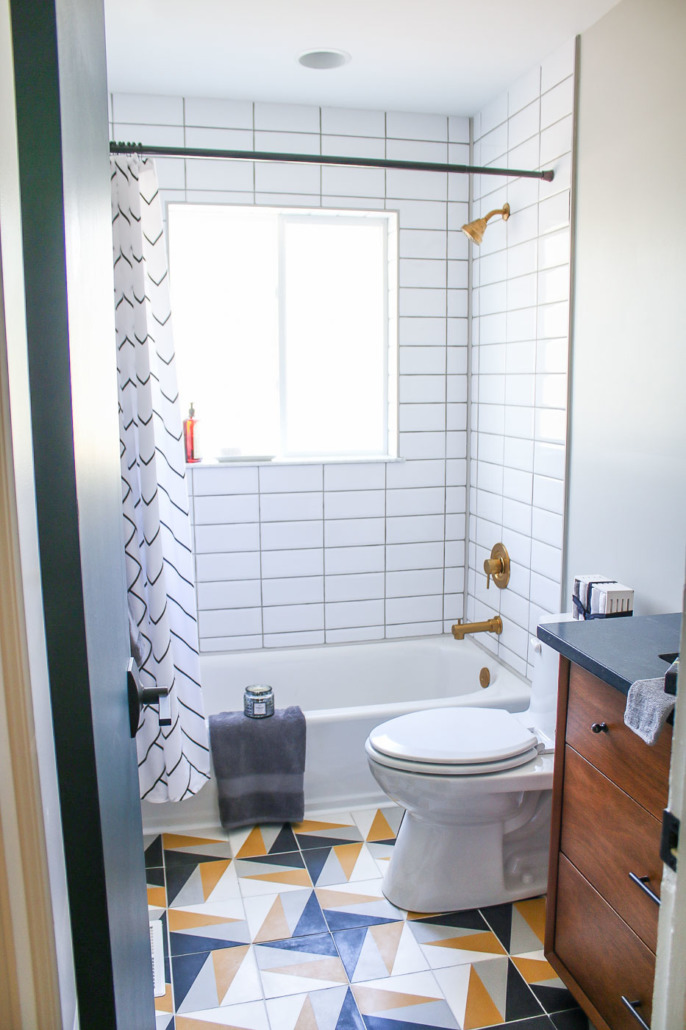


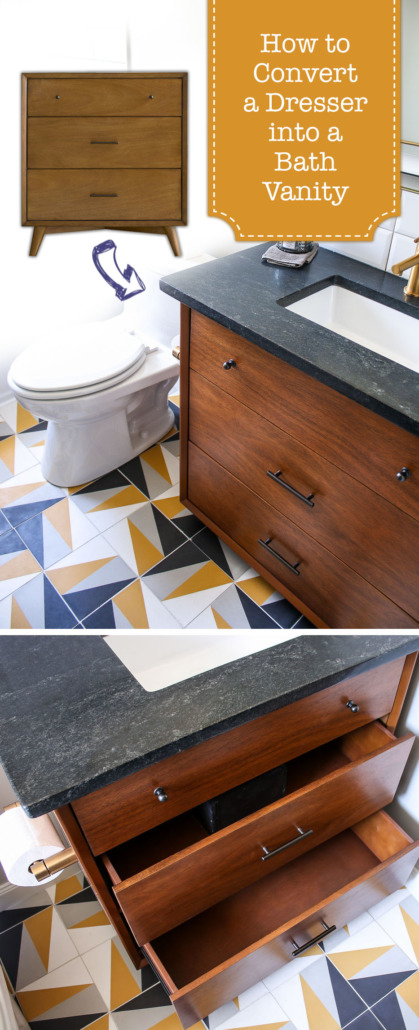
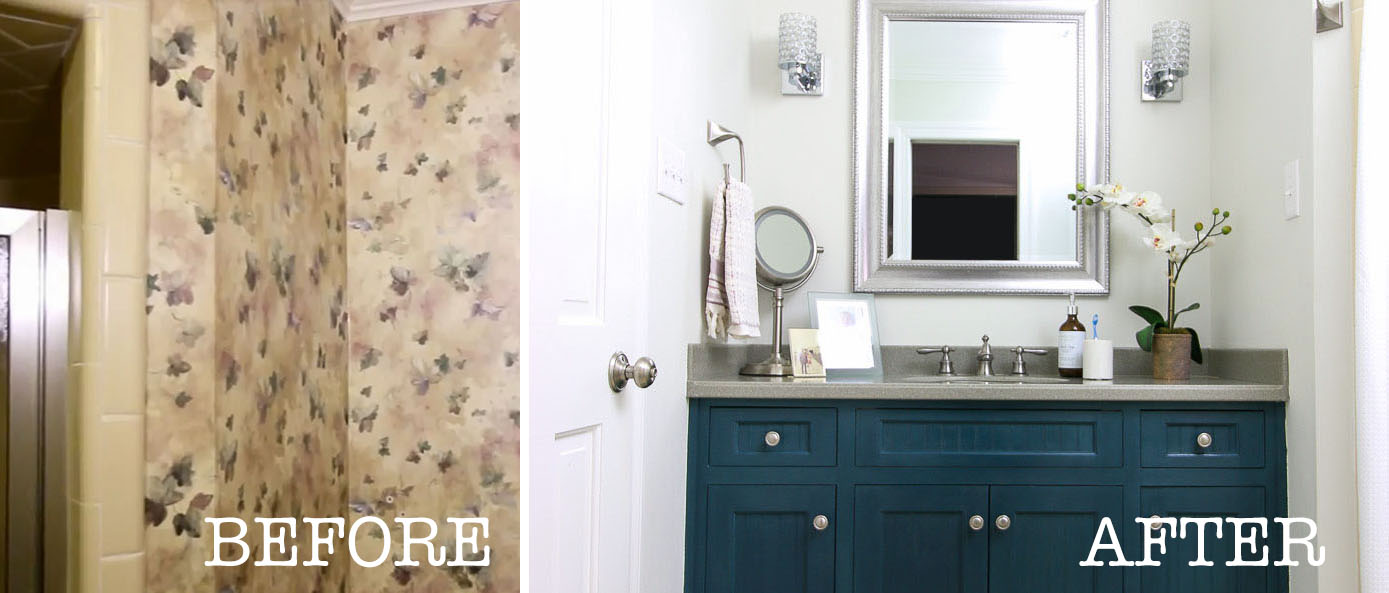
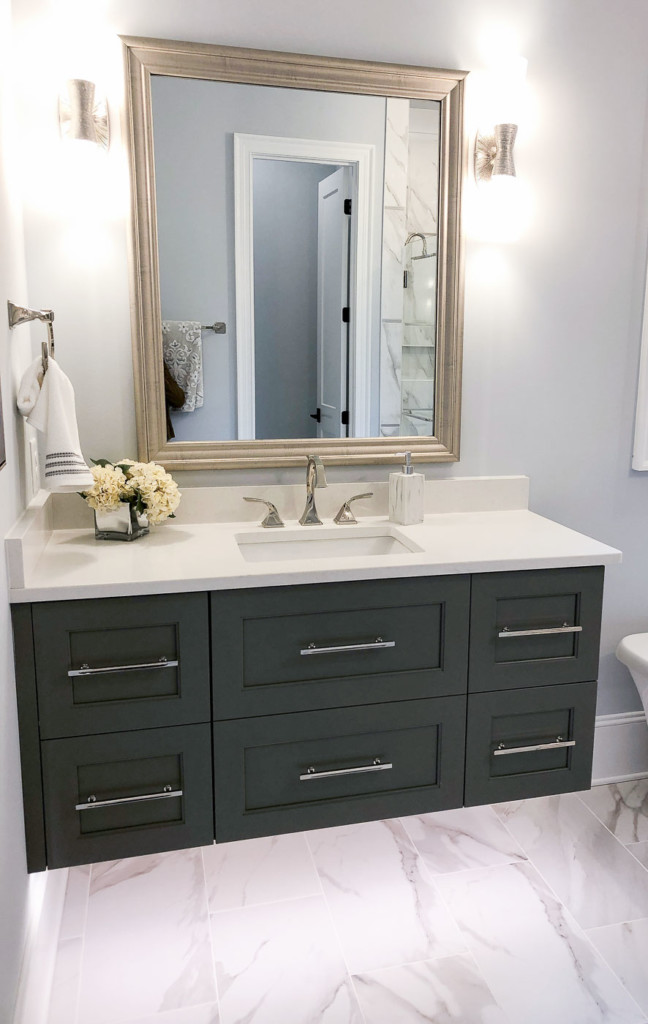
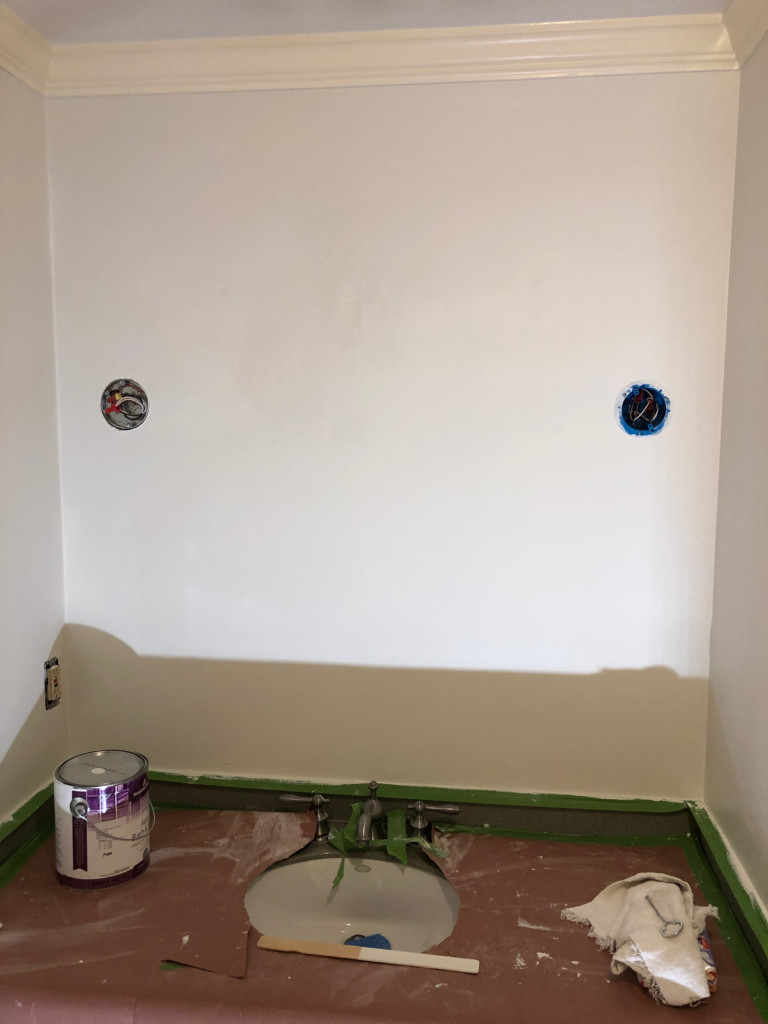
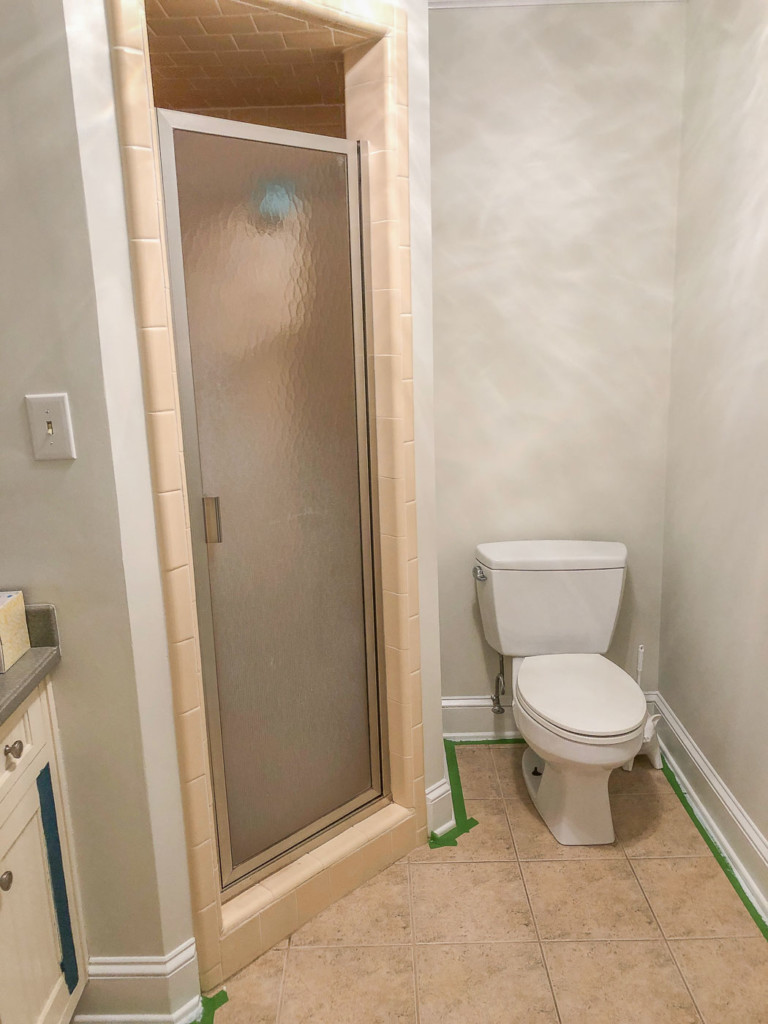
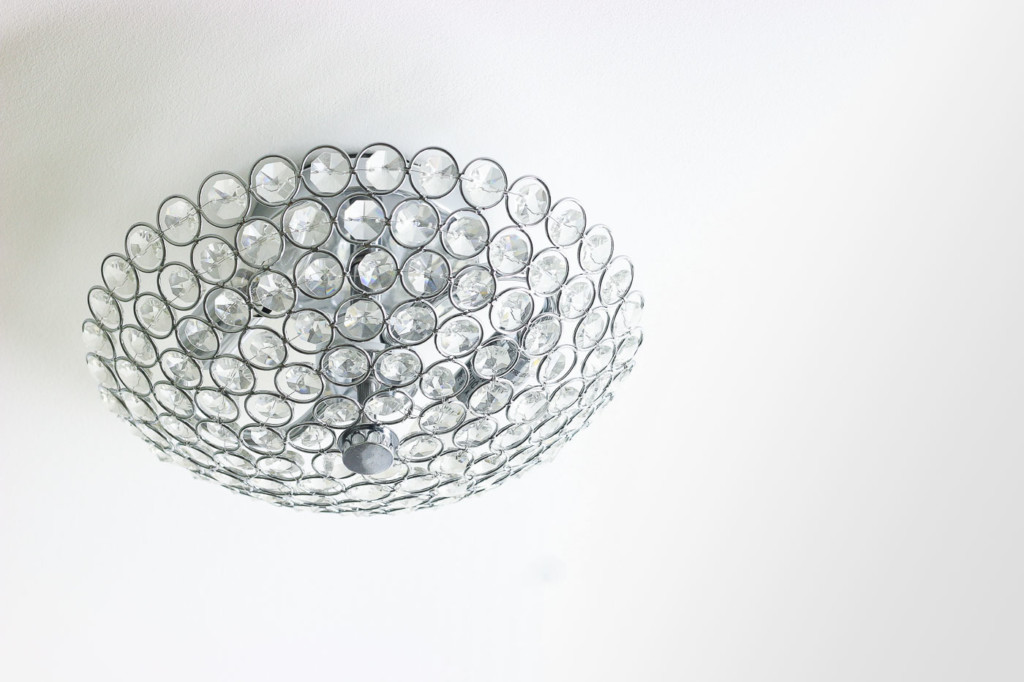
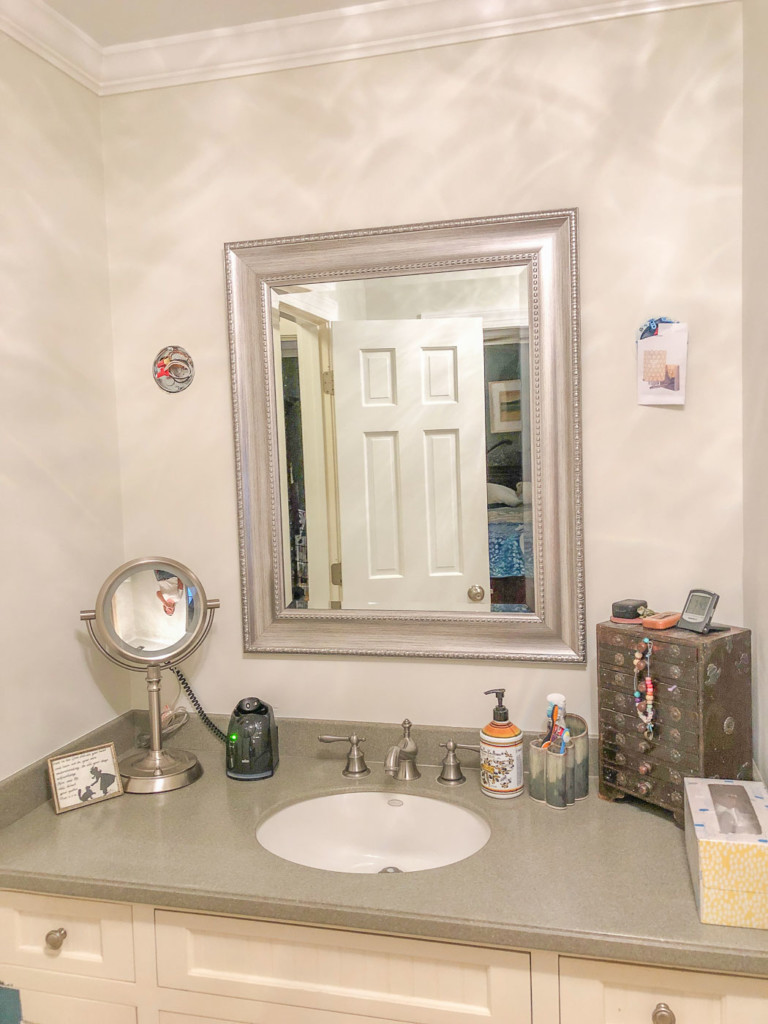
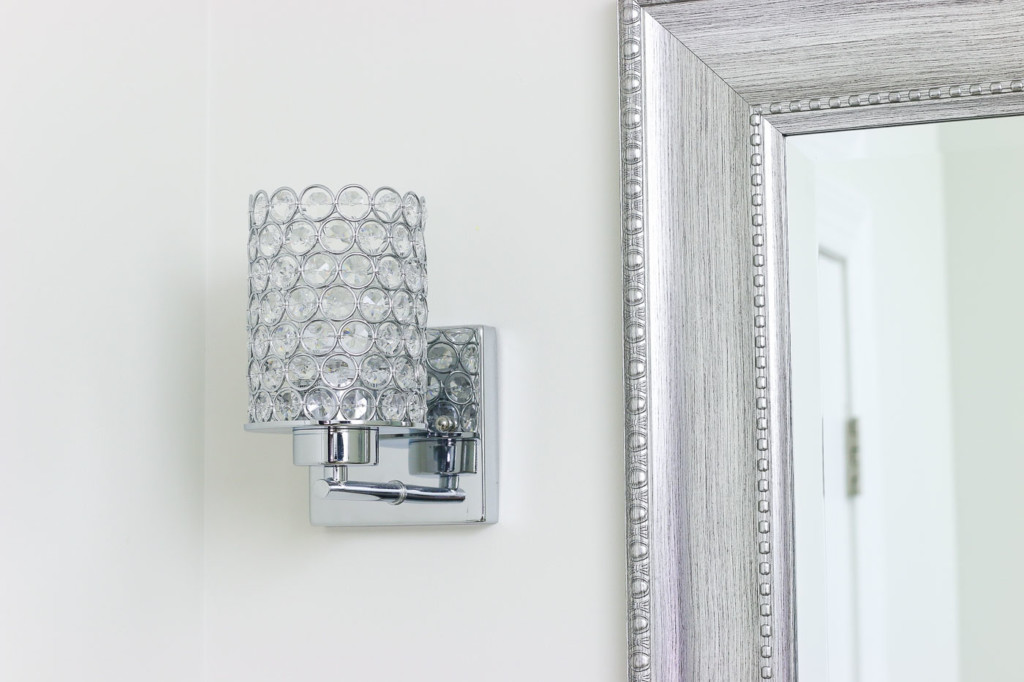
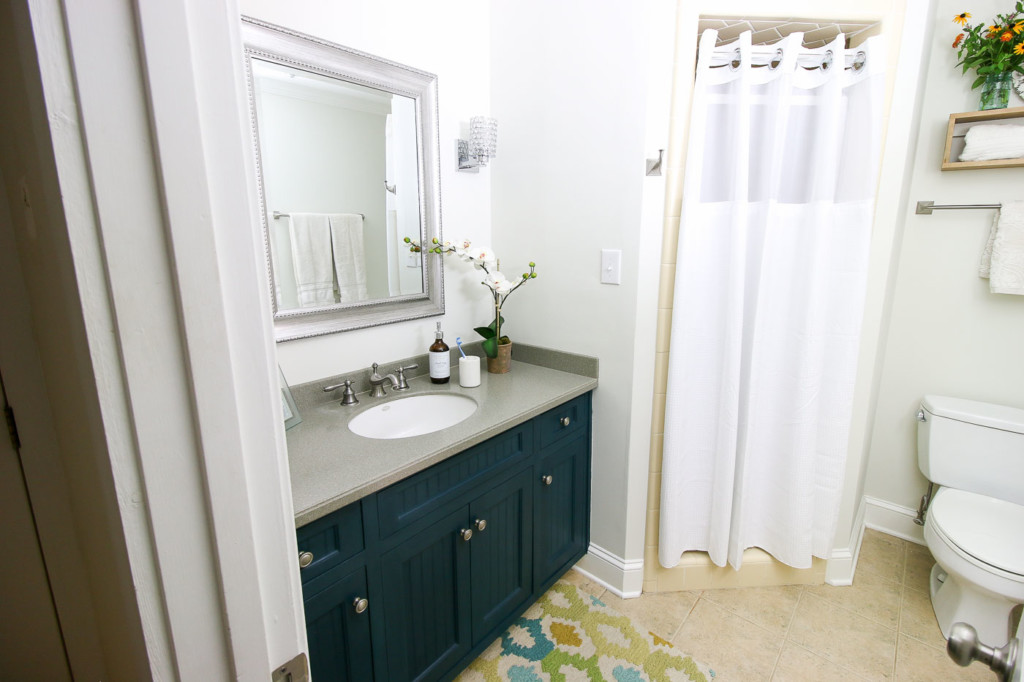
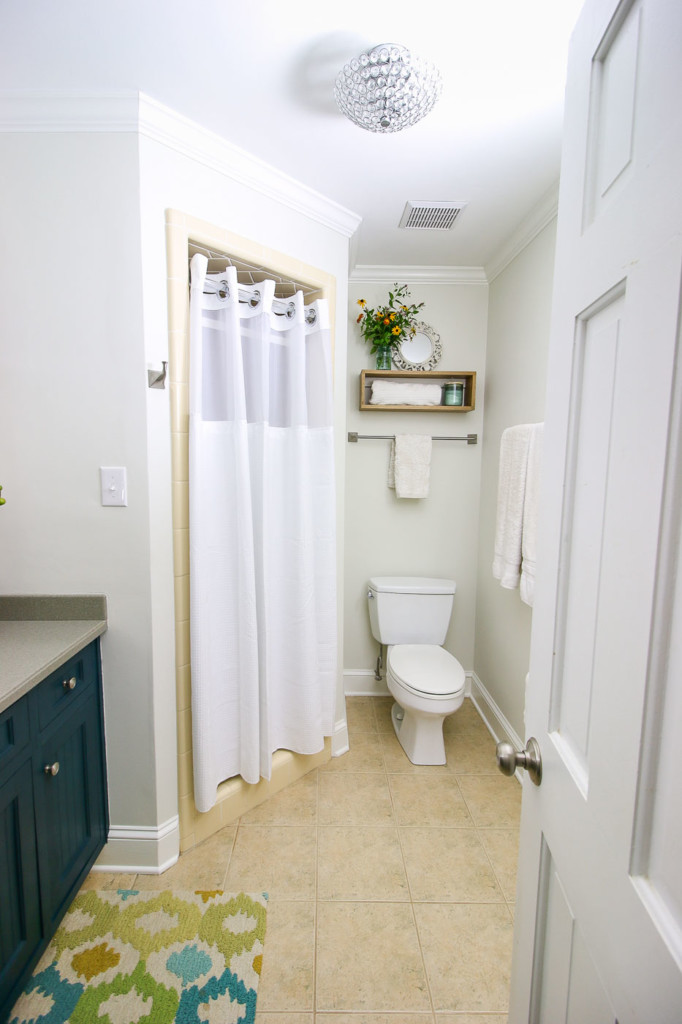
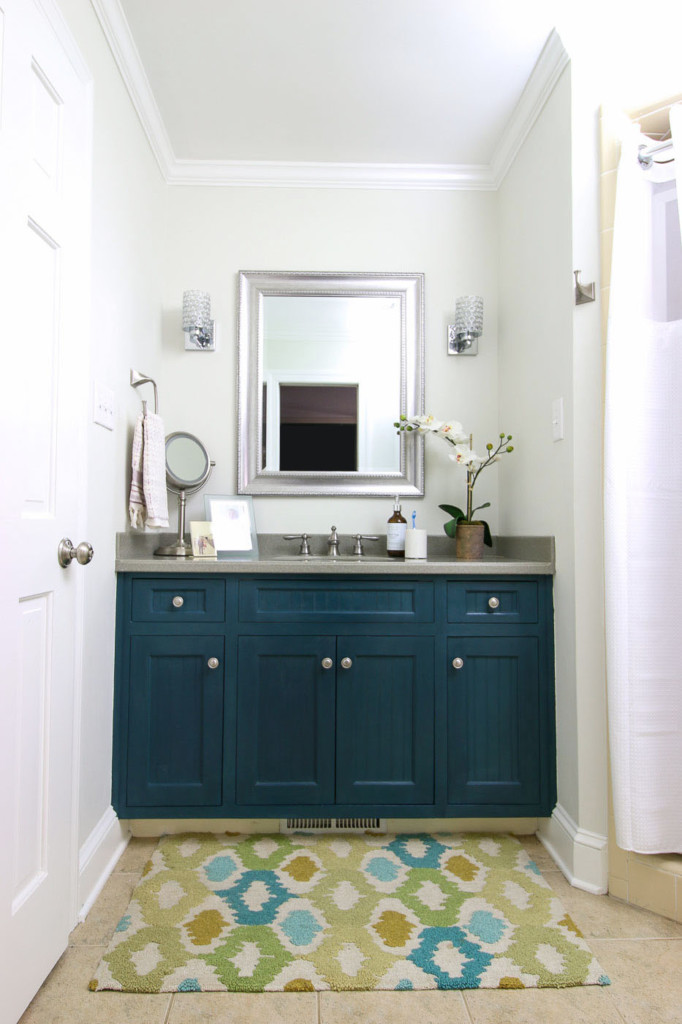
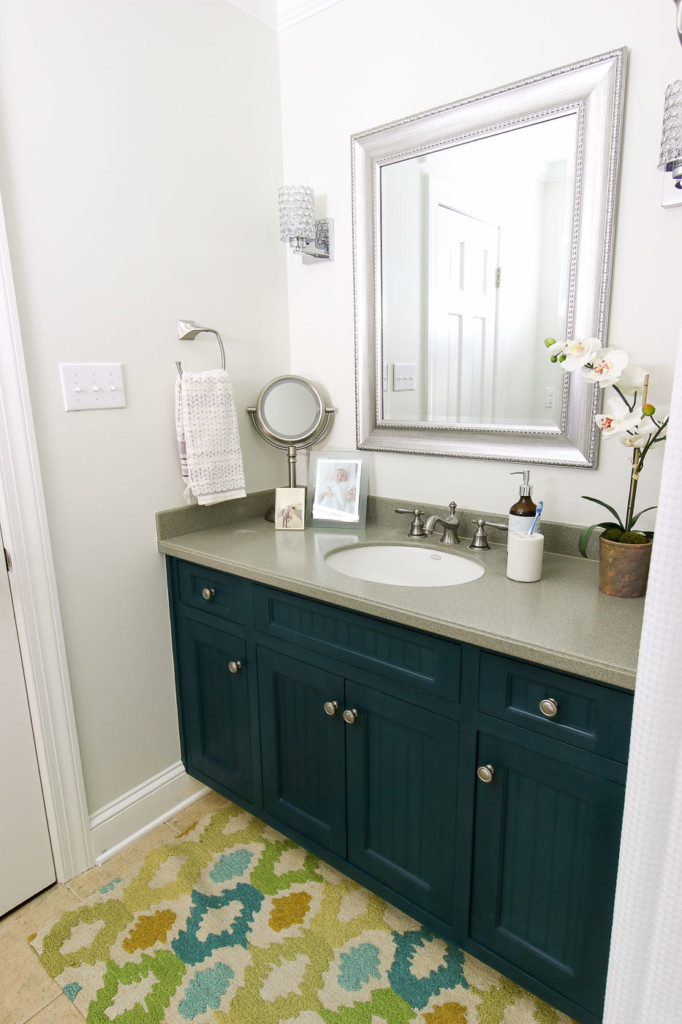
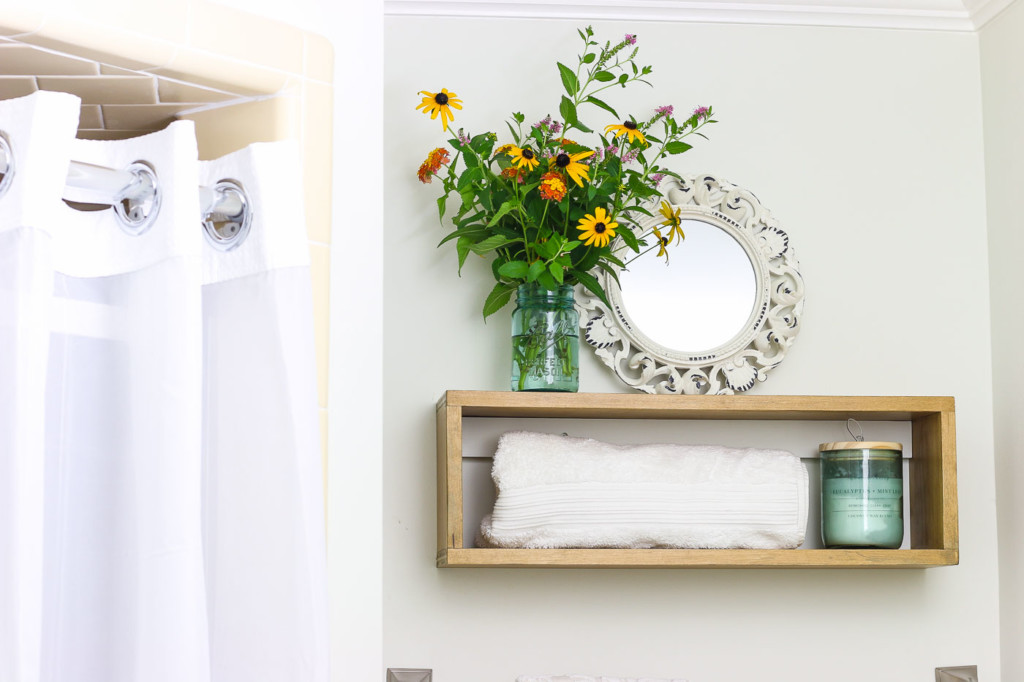
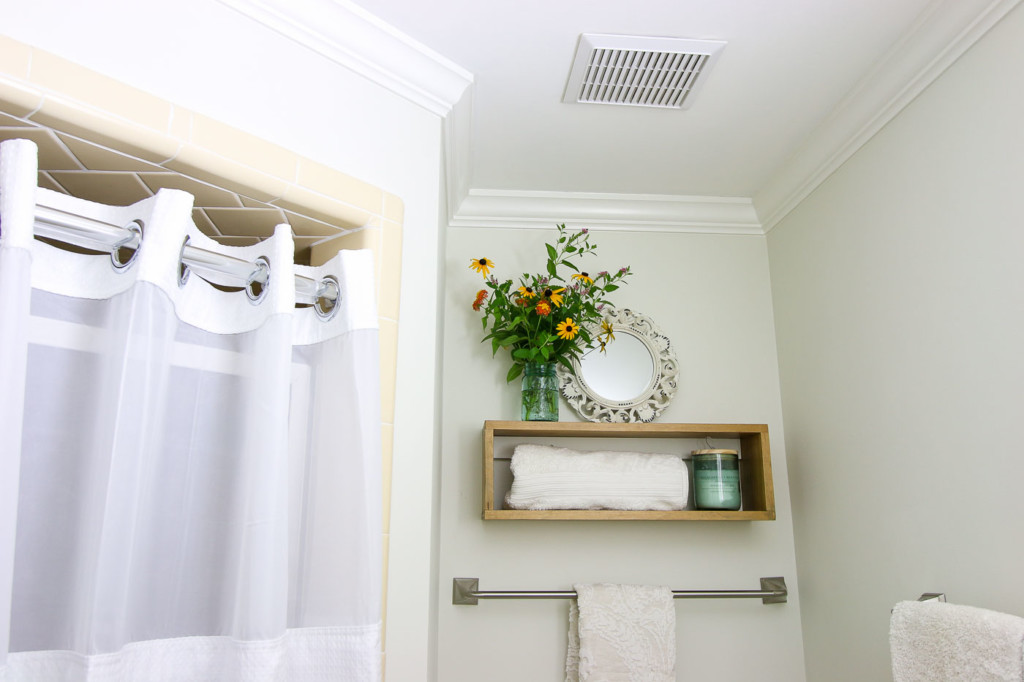
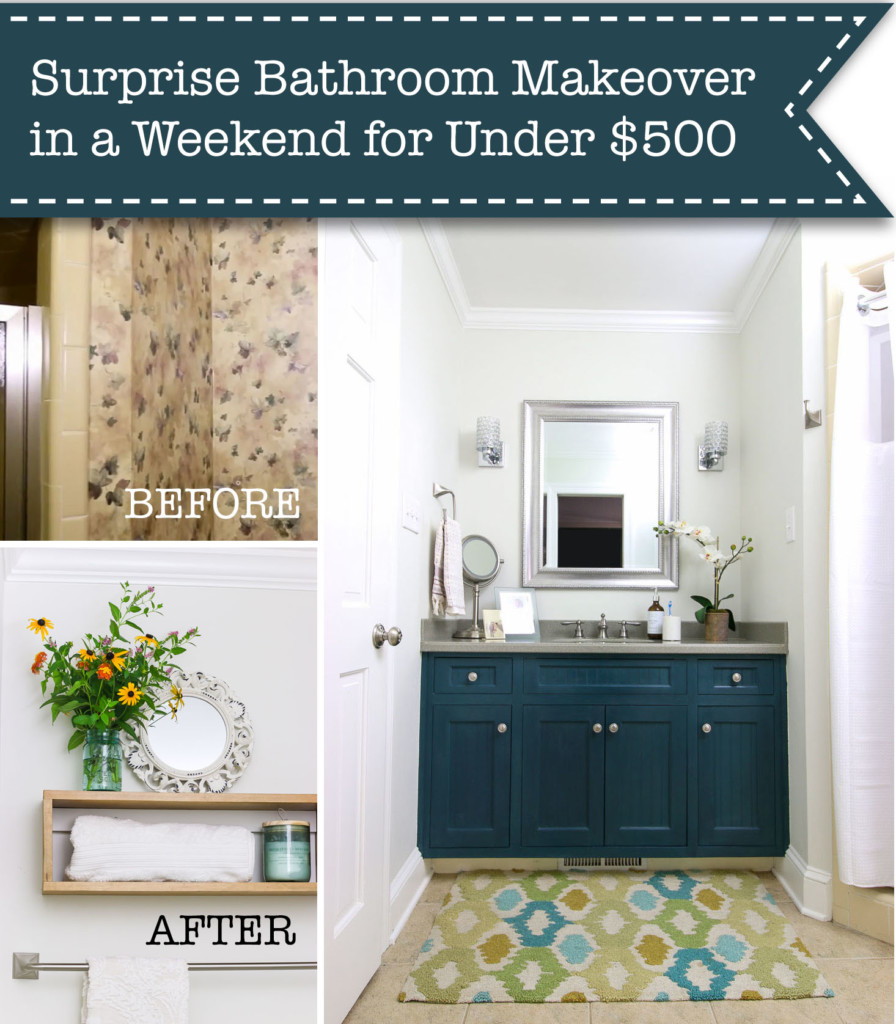 A Surprise Bathroom Makeover Under $500
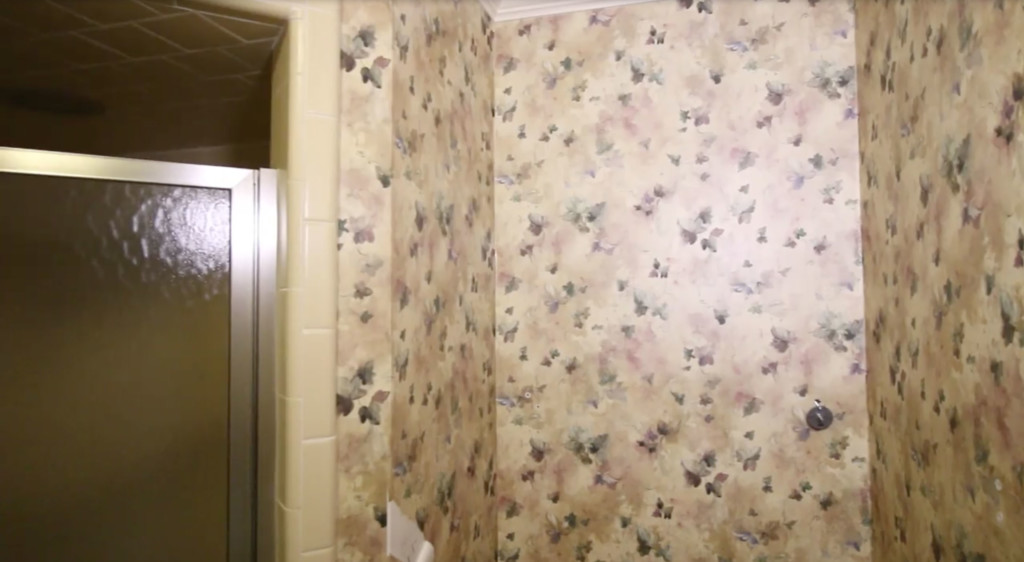


