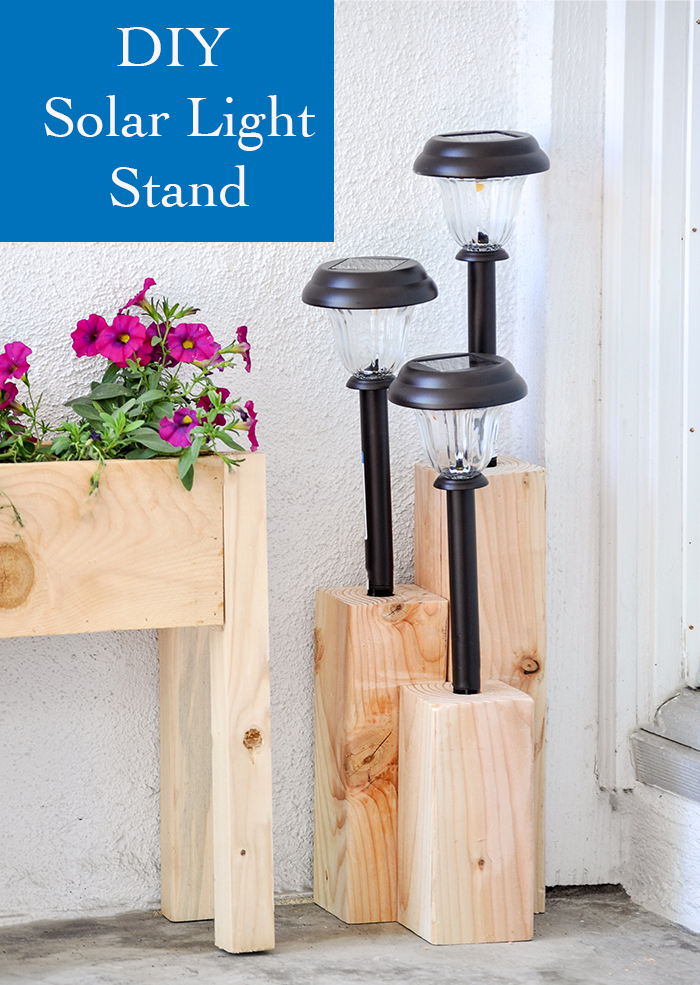
Easy Solar Light Stand
Hello, Pretty Handy Girl readers! Anika here from Anika’s DIY Life. I am back today with a super easy and quick tutorial to take simple solar lights to the next level in your outdoor decor.
As the weather is warming up, you are probably looking for fun ways to spruce up your outdoor areas. Lighting is a key element for adding magic to those warm summer nights. This easy solar light stand is the perfect addition to your front porch or backyard. Plus, it is easily customizable – you can make it as high or wide as you like.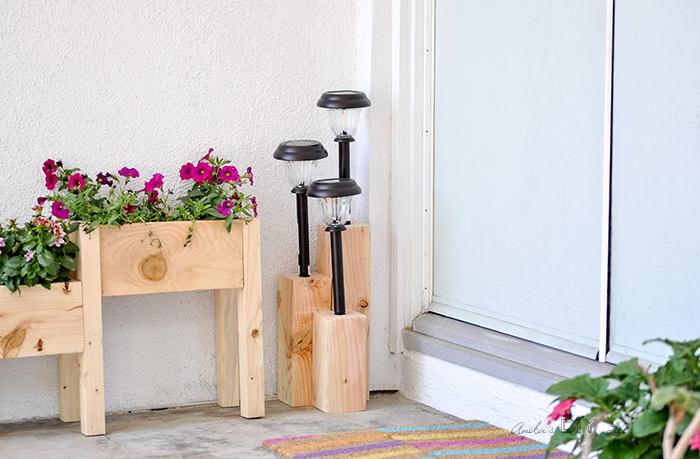
Materials:
(I’ve included affiliate links for your convenience. I earn a small percentage from a purchase using these links. There is no additional cost to you. You can read more about affiliate links here.)
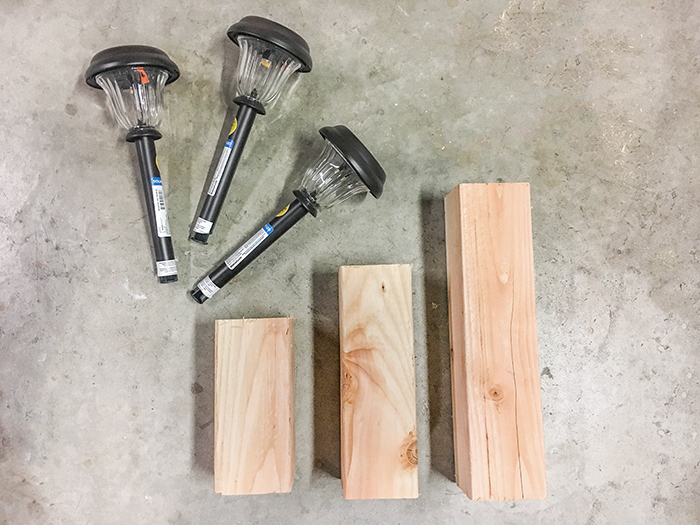
- 4″ x 4″ lumber
- LED Solar lights
- 7/8″ spade bit (measure your solar light tube to be sure)
- Wood glue
- Clamps
- Drill
Instructions:
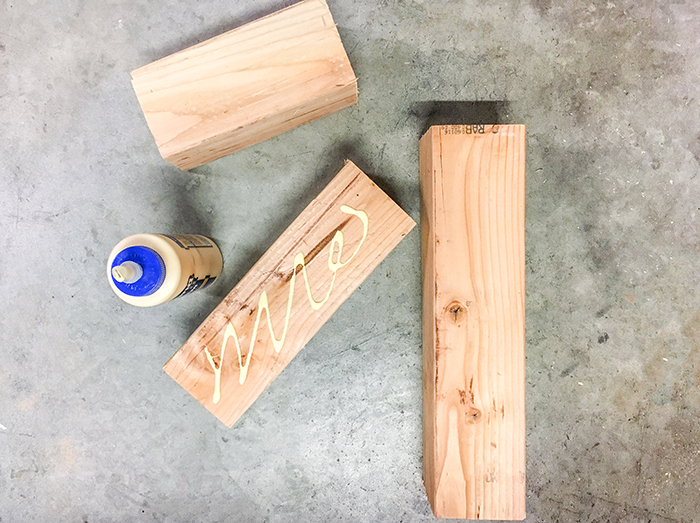
Step 1 – Cut the 4″ x 4″ lumber down to the sizes you desire and sand the edges. I used three pieces cut to 8″, 11″ and 15″.
Step 2 – Use wood glue and clamps to attach the 4″ x 4″ pieces one-by-one. Allow 12 hours of drying time between each.
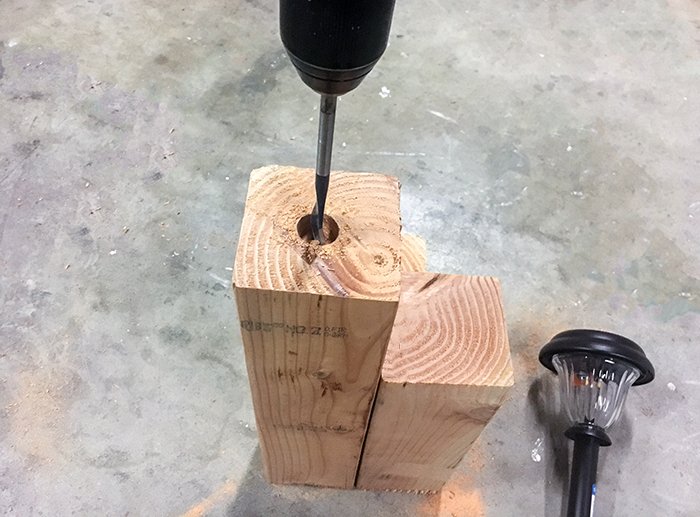
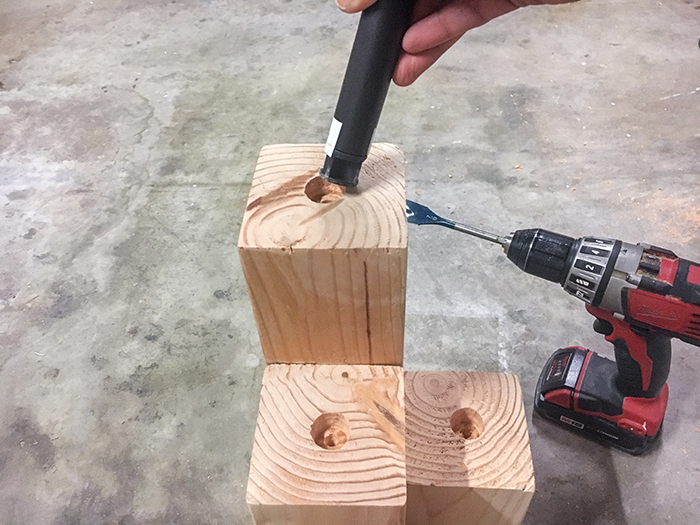
Step 3 – Drill holes into the top of each pillar. The 7/8″ spade bit worked perfectly for my solar lights. You may need larger or smaller depending on the width of your solar lights. Make sure it is a nice tight fit.
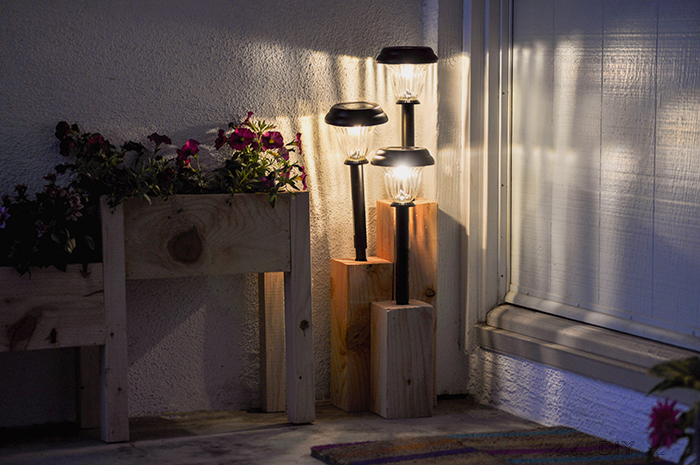
Step 4 – Fit the solar lights into each hole. You can glue them for permanency. I decided against it so it is easy to change out the lights if needed.
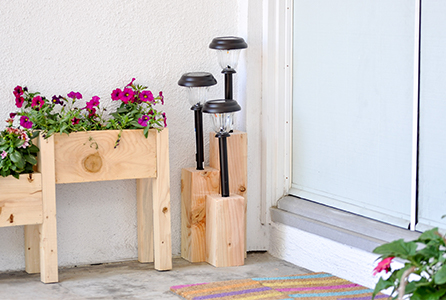
That’s it! They look perfect on my front porch next to the $10 tiered cedar planter. The front porch was very neglected until I gave it a quick makeover. Now it is fun and welcoming, especially at night.
If you love easy woodworking tutorials like this one, I have a ton of them! Come follow along at Anika’s DIY Life!
Until next time,

~ Read More of Anika’s Tutorials ~

Love your blog! Nice Solar light stand project. I am currently remodeling my RV, have it running on solar also. Just a tip for saving money at Lowes for your home improvement projects: I buy a coupon at https://myjibe.com/. I separate my purchases into $100 transactions so i can use 1 coupon per transaction ($20 off $100). This way I am saving 20% just with the coupon alone. Then i go to Raise or Paypal digital gifts and buy a lowes gift card. This can save another 10% depending on the discount at the time and I use the giftcard to pay for the purchases.
Very creative! That looks neat compared to just sticking them in the soil. The added height also gives more emphasis on the solar lighting.
This is absolutely gorgeous
Super easy idea and they look really nice. Great tip on not gluing them in just in case you want to replace them!
Thanks for Shaing 🙂
Great idea! Simple and nice!