The Painted Chairs – a Second Chance Makeover
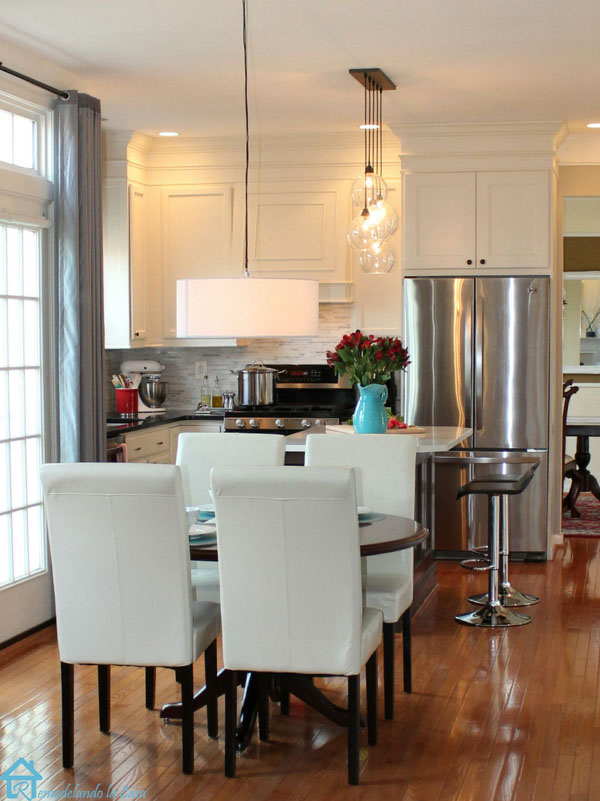
My search for some small chairs for the kitchen table area is finally over! The chairs I had before blocked the view from my kitchen to the family room and vice-versa, their backs were too high and overall they were too big for that small space.
I’d seen some pretty, small and colorful chairs from the catalog magazines I receive, but their prices weren’t that pretty. Almost $150 per chair! Craiglist was my searching place, it almost took me a year but I found them, $5 each!
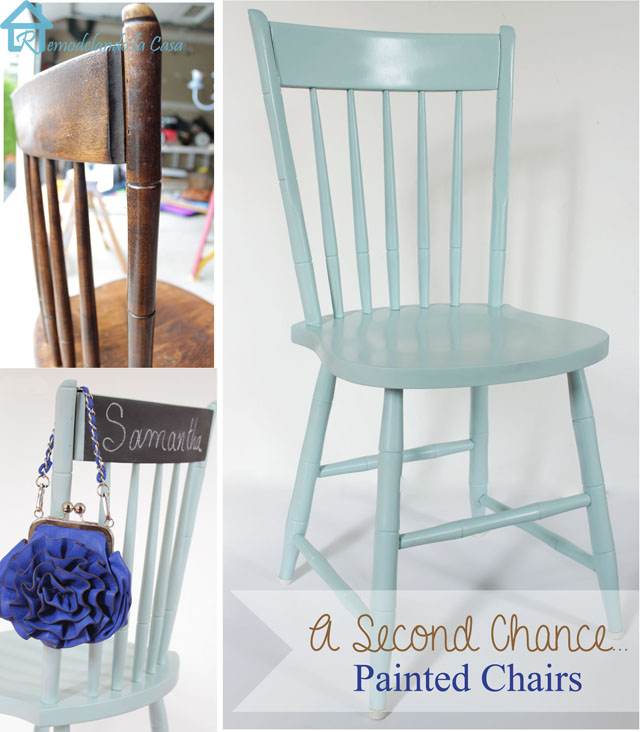
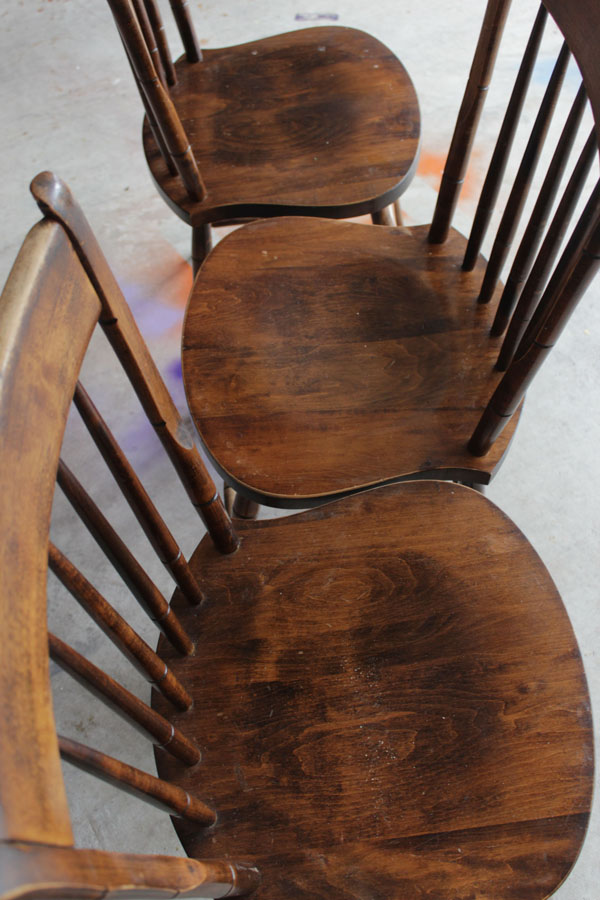
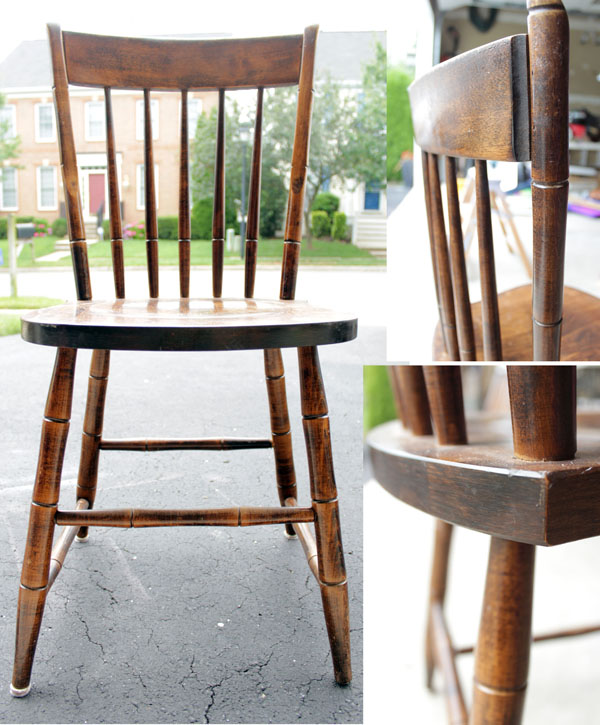
Their condition was good, no squeaky sounds, loosened parts or missing screws. Their appearance was on the drab side, they looked better in these pictures than they did in real live. At some point they had been re-stained but the job was poorly done because they felt bumpy.
I knew they deserved a second chance! And I knew just how to do that.
Materials:
- Sand paper (100 and 220 grid)
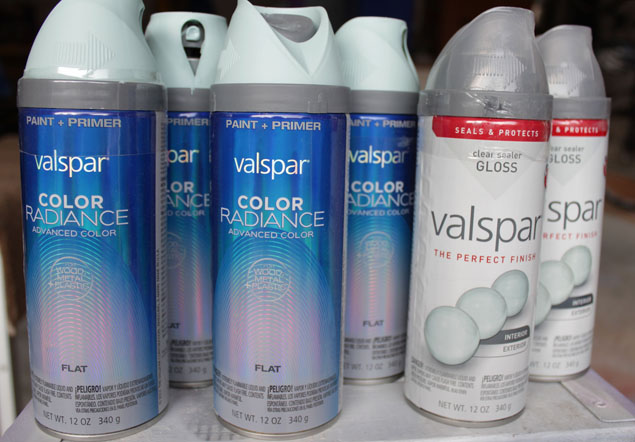
- Spray paint (Valspar Color Radiance – Paint + Primer was used for this project. Color: La Fonda Mirage (One can of spray paint per chair).
- Clear sealer gloss (One can of sealer gloss was used on two chairs).
- Tack cloth
- Painter’s tape
- Chalkboard paint
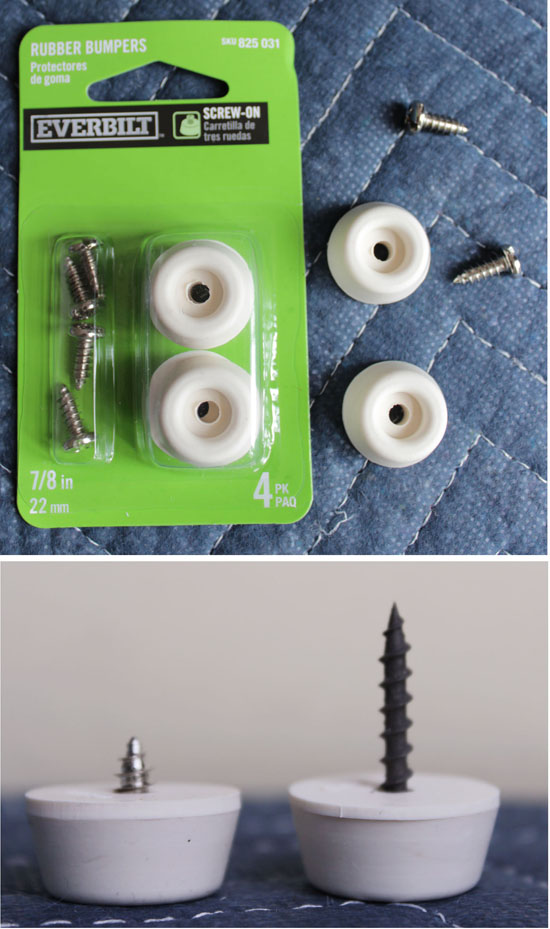
- Rubber bumpers
- Sander
- Safety glasses
- Protective mask
- Gloves
- Paint brushes
Instructions:
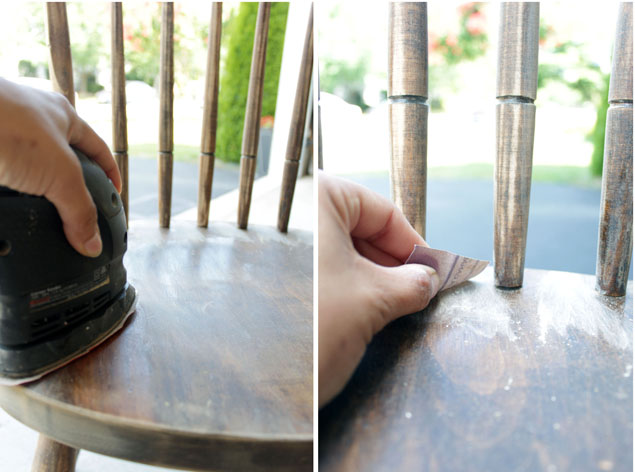
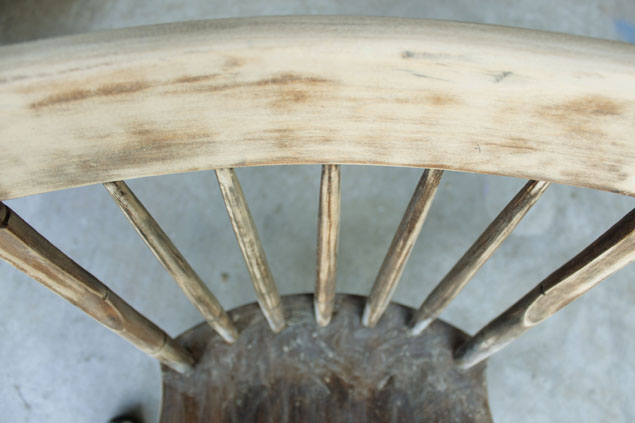
The first step is perhaps the most tedious one: Sanding. But, the glossy finish has to go, and this is a crucial step to insuring a paint job that will last. A hand sander is your best bet, it will help you go through this step really fast. For those places where the sander cannot reach, use a piece of sandpaper.
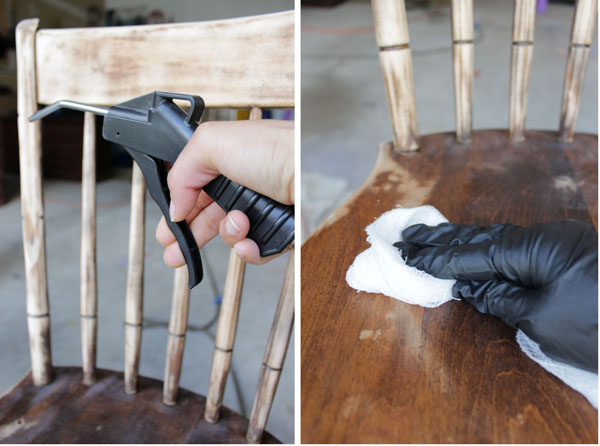
Dust the chairs well. A pneumatic air gun is a practical way to remove most of the dust particles in those hard to reach places. But a thoroughly wipe down with a tack cloth is a necessity before painting them.
The beauty of using Valspar Color Radiance Paint + Primer, is that you get to skip a step! I can honestly say, the paint coverage is really good.
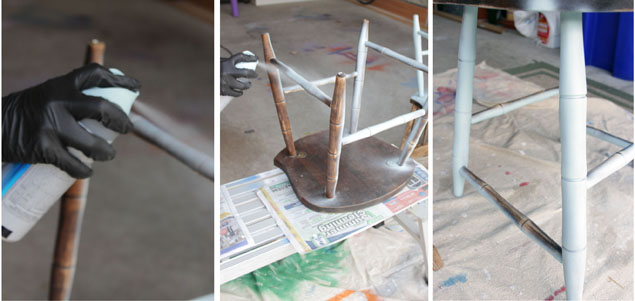
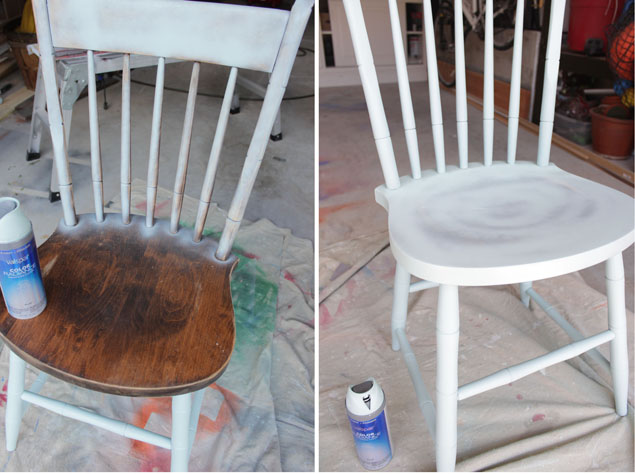
Use your safety gear… mask, gloves, safety glasses, and work in a well ventilated area, preferably outdoors. Place the chairs upside down, spray paint the legs. Then, turned the chair right side up to cover the unpainted areas.
Continue with the back of the chairs and finally the seat.
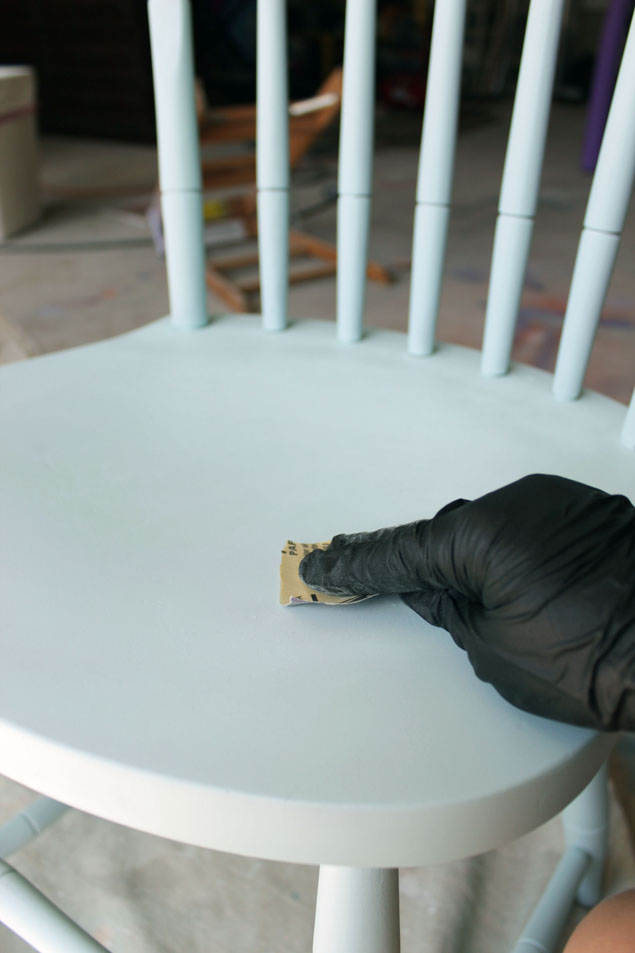
Using a 220 grid sandpaper give them a light sanding in between paint coats. This will remove any bumps and give you a smooth finished product. Wipe again with the tack cloth. Repeat with a second coat of spray paint.
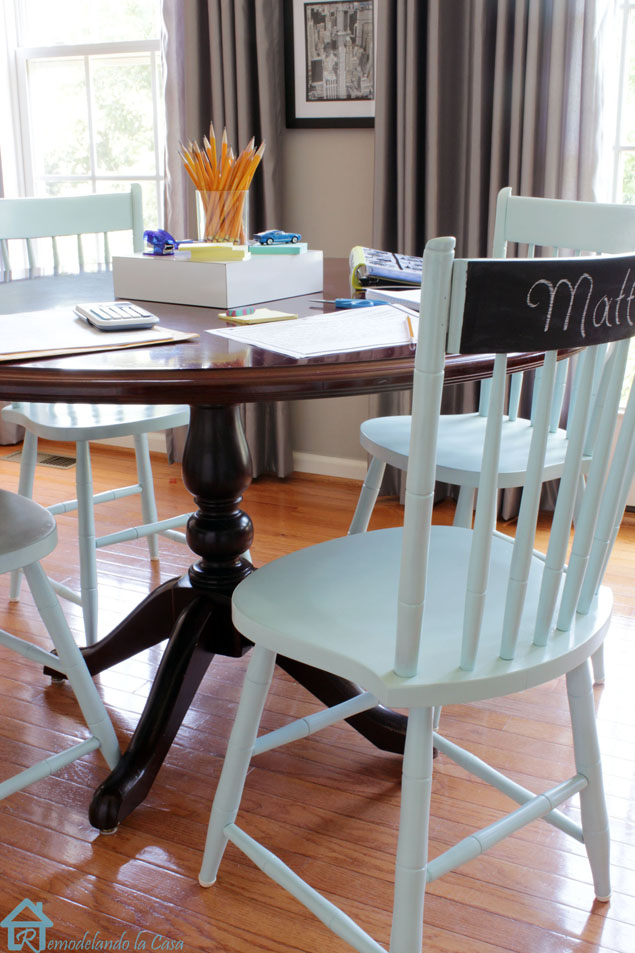
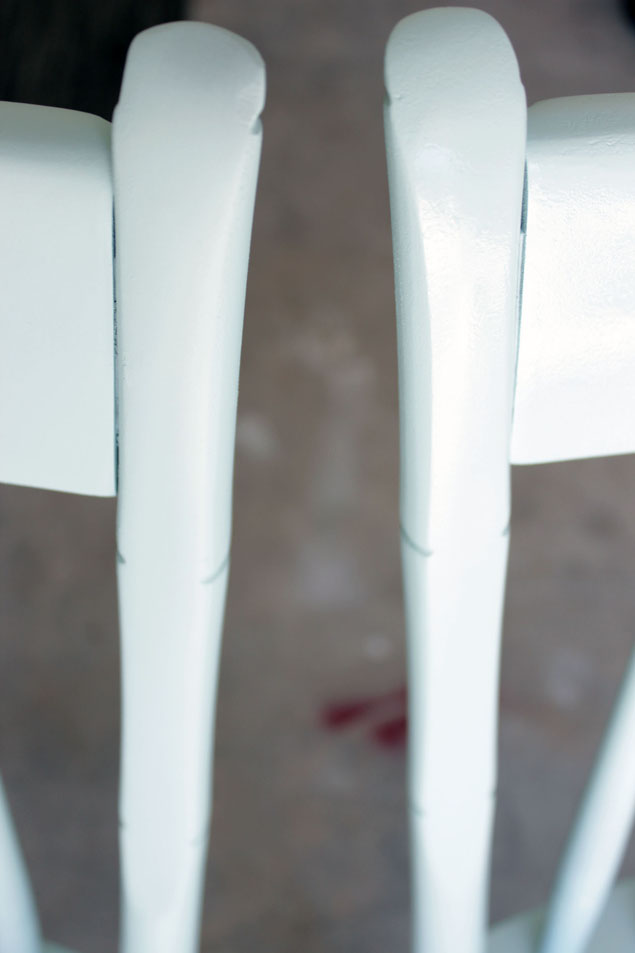
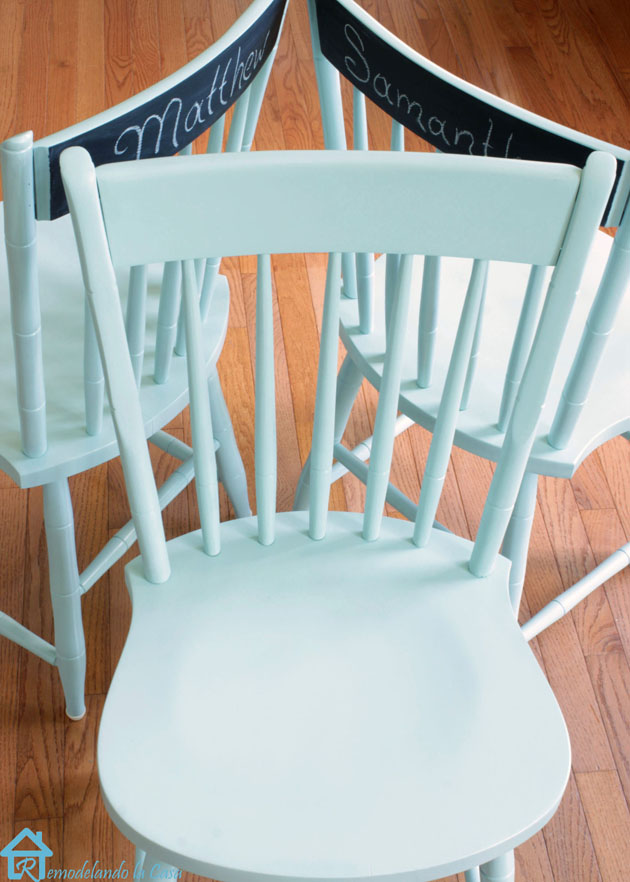
A glossy clear sealer will protect your paint and it makes a big difference in appearance, as you can see in the picture below.
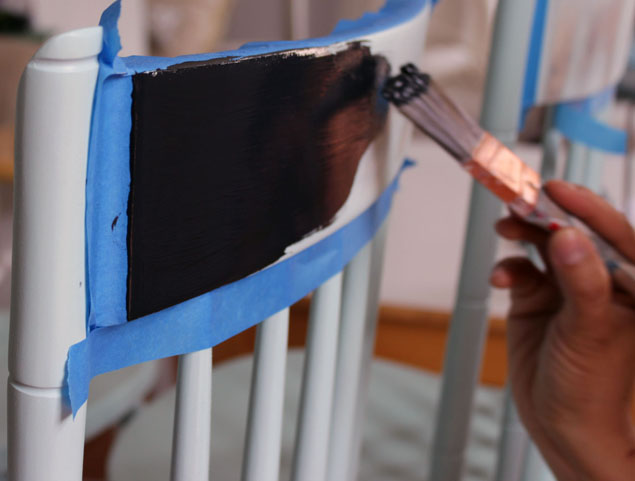
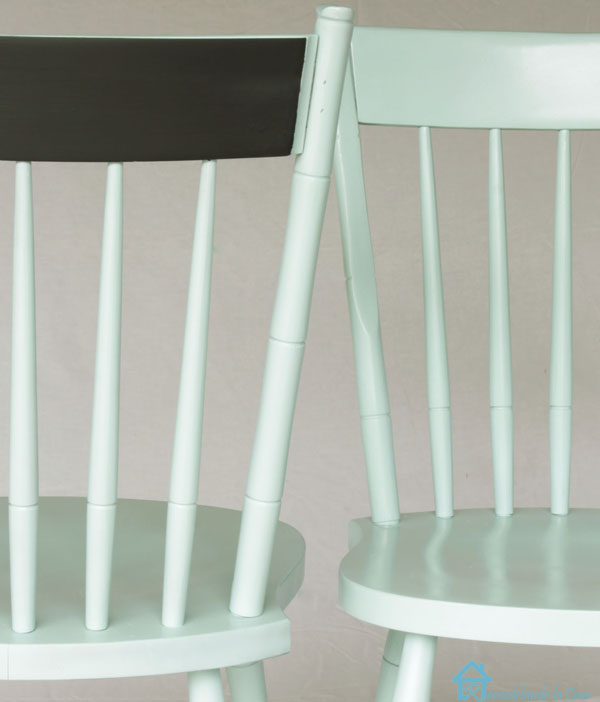
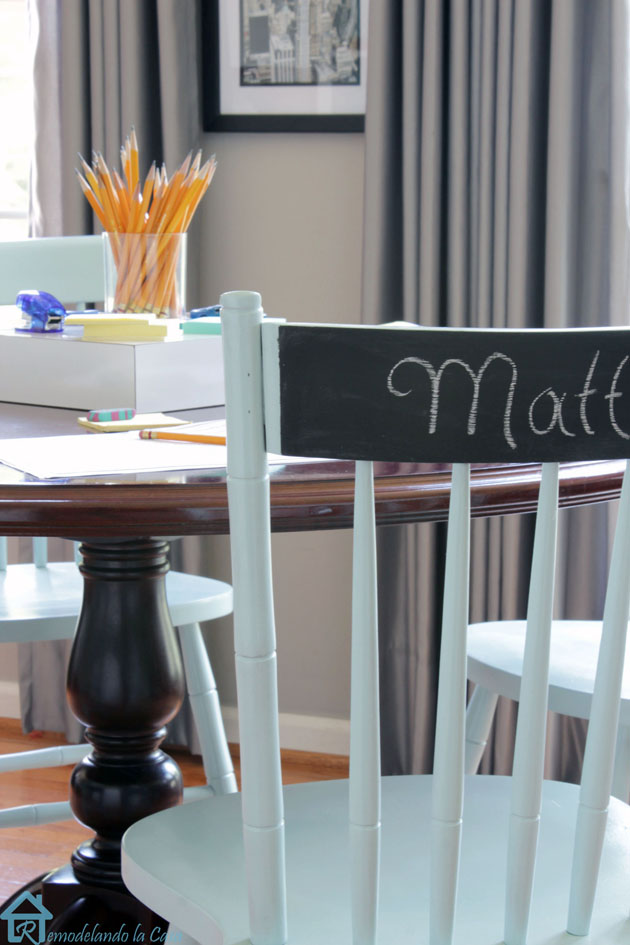
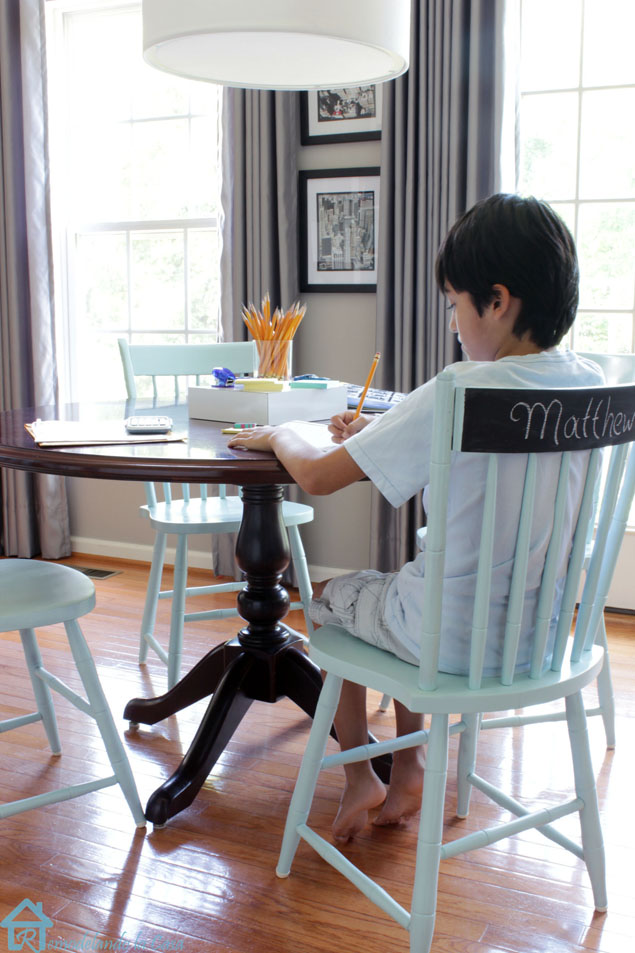
When painting your own chairs, you can customize them. I decided to paint the top part of their backs with chalkboard paint (this area was protected from the glossy clear sealer).
The chalkboard must to be cured before writing on it. Rub chalk all over the chalkboard paint. Then wipe off with a dry cloth.
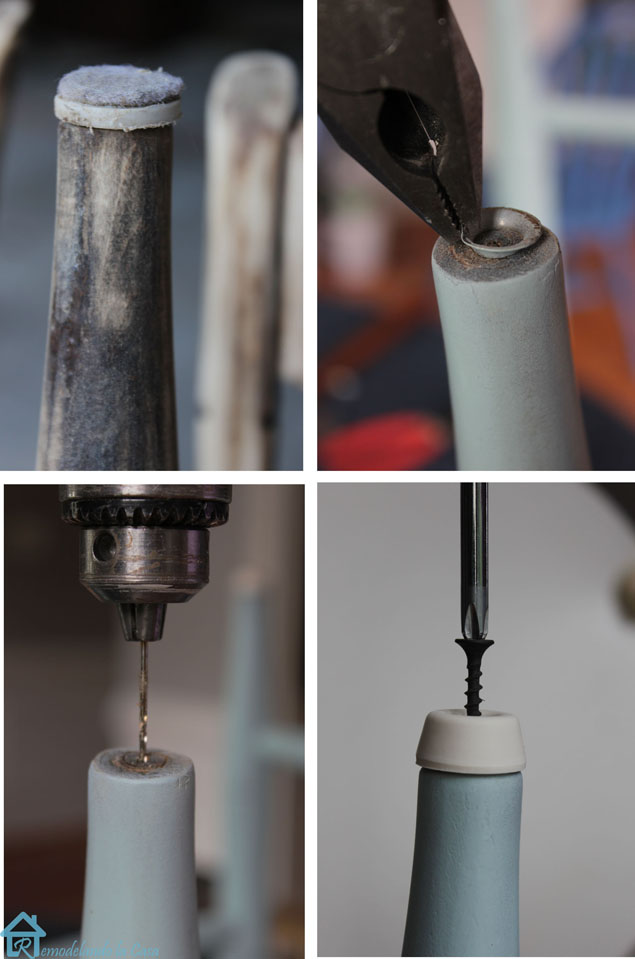
Add a set of rubber bumpers to the feet of each chair. You may need to replace with longer screws.
I think their “new shoes” look way better than the flats they had.
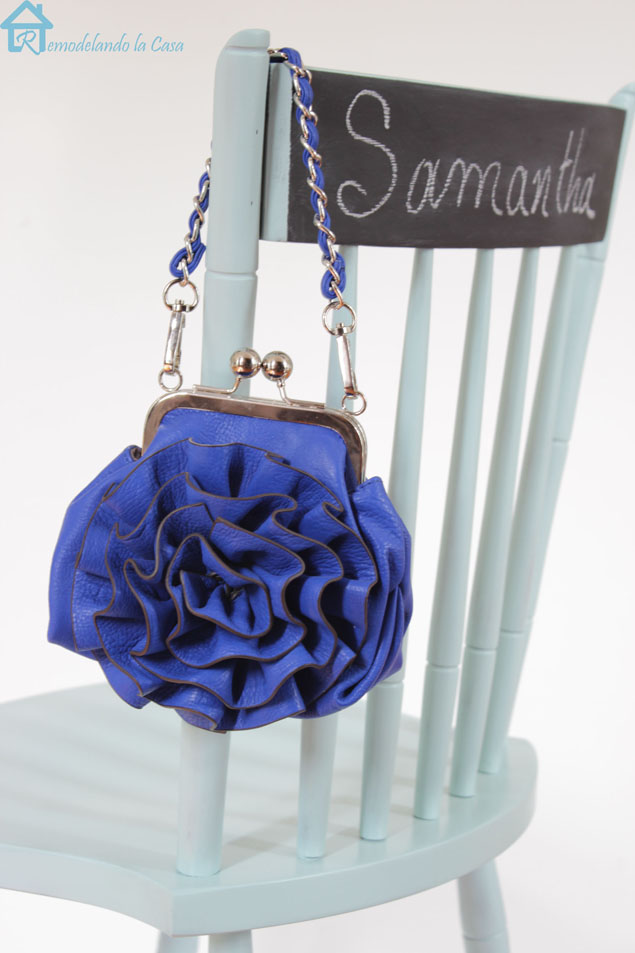
And then the chairs were ready for a photo shoot!
I’m glad I can see my boy while he does his homework! 🙂
My price for each chair was $15 (chair, paint, sealer and bumpers). Far less than the cost of new chairs! And, the old chairs are now in my dining room.
Thanks for stopping by!





Do you remember how much paint and how much sealer you used for the four chairs?
Genial. Te felicito!! Me encanta como te ha quedado y lo bien que lo explicas. Besos
I’m sooo GLAD you posted this since I’m getting ready to do these tomorrow and wasn’t sure of all the steps. I didn’t even think about the rubber “shoes.” lol These turned out great!!
Love how they turned out, especially the customized back! Do you remember approximately how much time it took you to complete all 4 chairs?
Thanks Irina! I took my time, one weekend for sanding and another one for painting them. I think you can complete the whole project in just one weekend.