How to Make a DIY Wood Wall Organizer
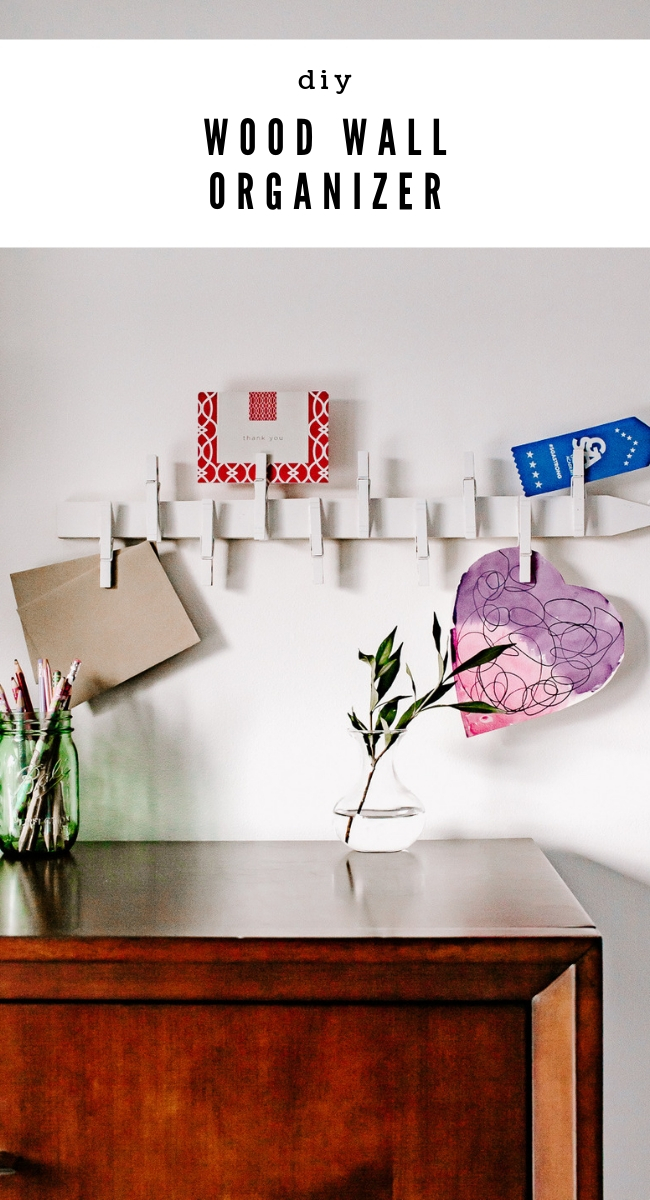
How to Make a DIY Wood Wall Organizer
Hello, Pretty Handy Girl Readers! I’m Karen and I’m the blogger behind Decor Hint and a new member of the Pretty Handy Girl contributor team. I’m so excited to be here today. Today, I’m going to show you how to make a simple DIY Wood Wall Organizer. There is something about the New Year that always motivates me to clean up and organize my home. I’m always looking for new ways to organize my things but I still want to have it look polished and well decorated. Only I’m not interested in spending a lot of money. (Which is why I tend to DIY everything!) I’ve been seeing these cute wall organizers everywhere and I thought: “I could totally make that.” So here I am with a new project! Let’s get started, shall we?
Materials:
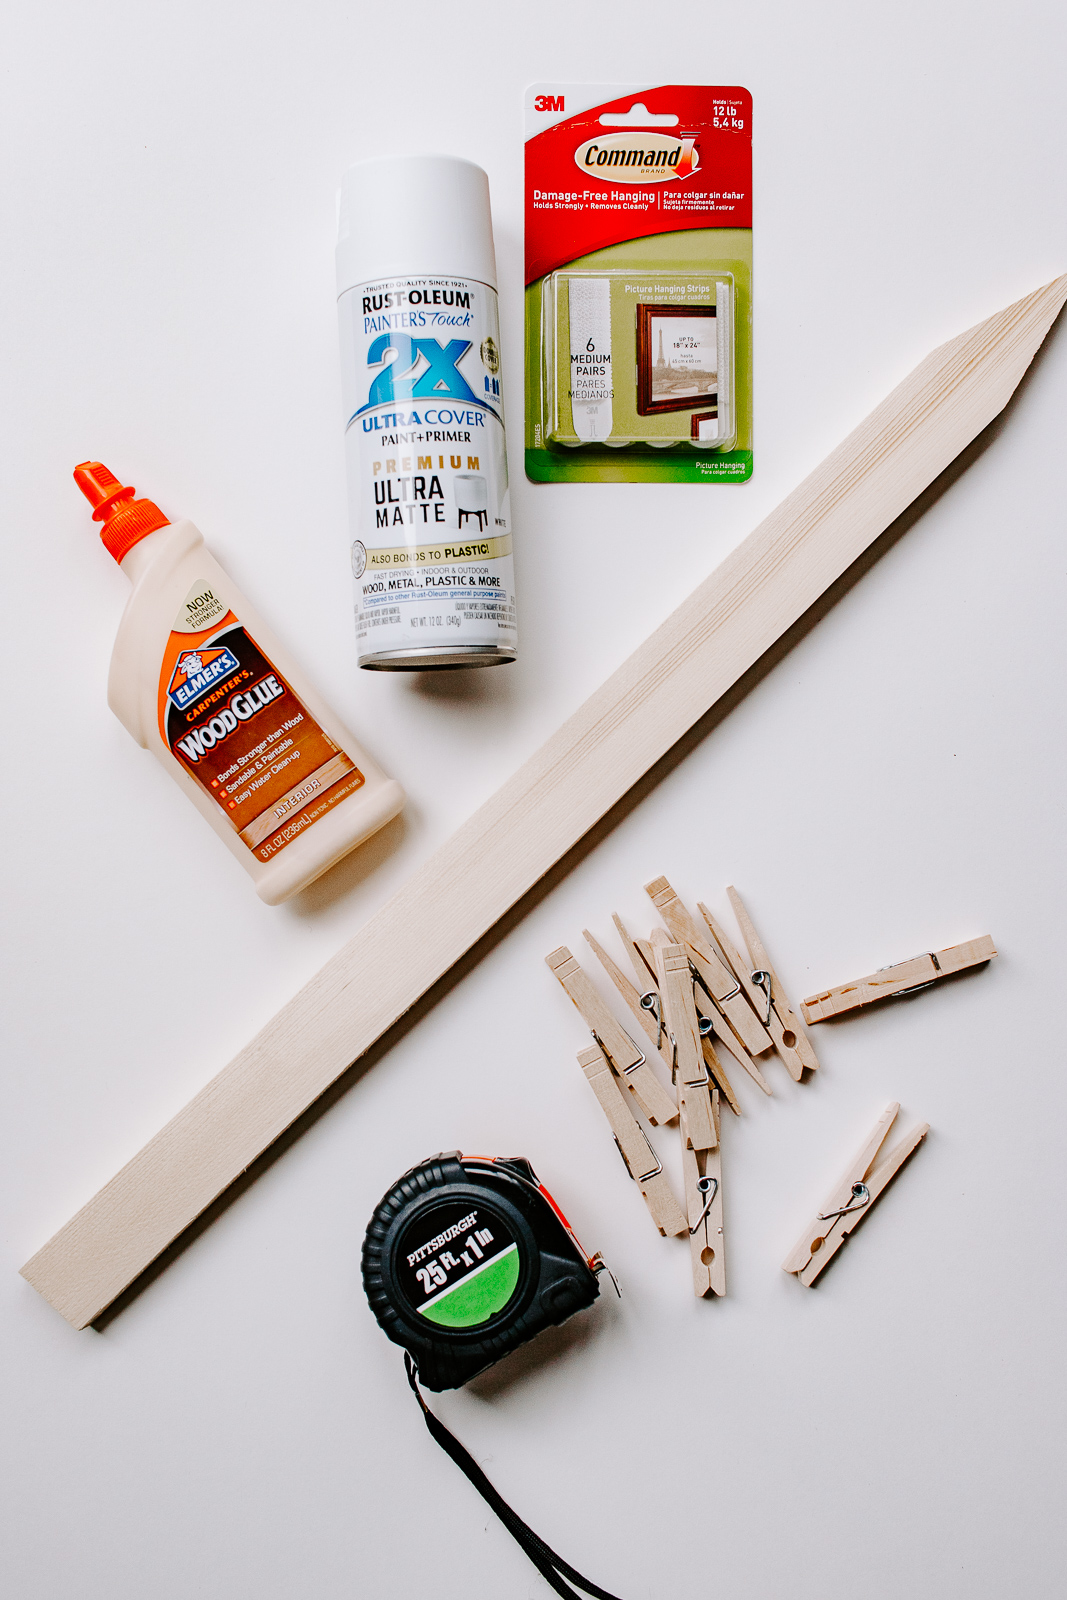
- Wood Garden Stake –
- This cost me a buck from my local hardware store! You could also use a regular piece of scrap wood and cut it down to the size you need. For dimensions, my garden stake is 2 inches wide by 24 inches long
- Wood Glue
- Wooden Clothespins
- Q-Tip
- Tape Measure
- Spray Paint (Optional)
Wood Wall Organizer Tutorial
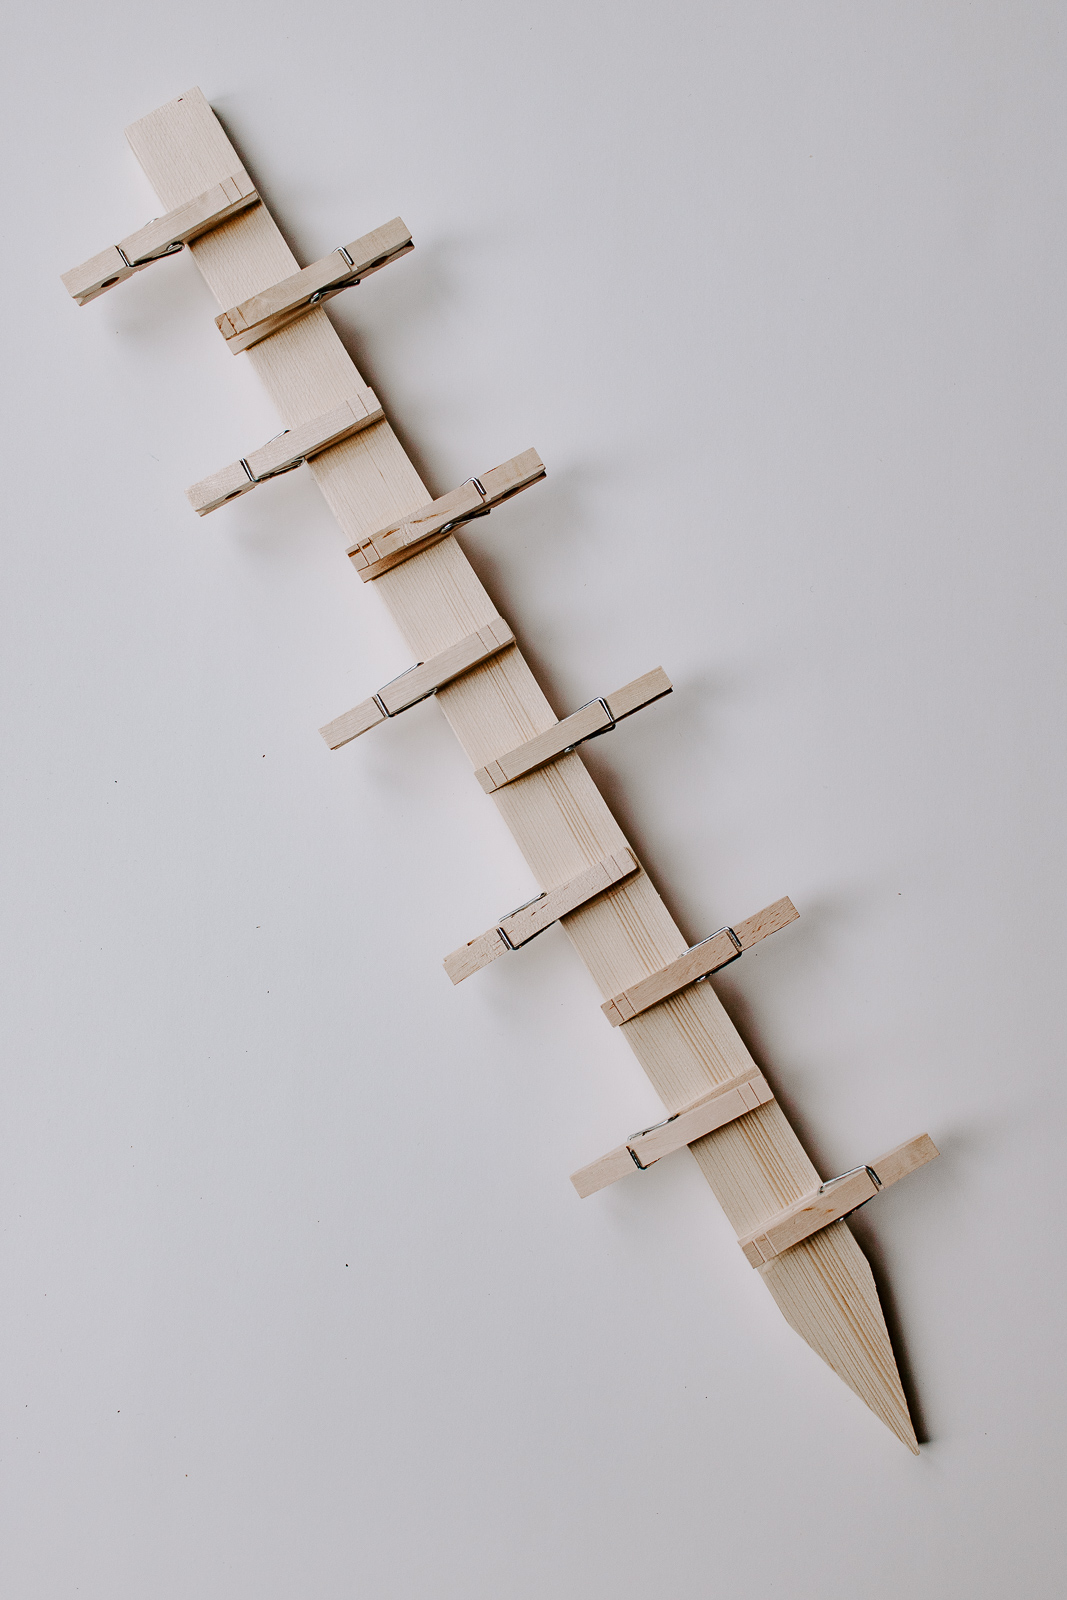
Step 1 :Take your tape measure and mark where you want your clothespins to be on your piece of wood. Two inches apart and alternated top and bottom is a good pattern.

Step 2 : Attach the clothespins to your piece of wood or garden stake using wood glue. Use your pen marks as your guide. Squeeze a little wood glue on your wood piece and a little glue on your clothespins.

Place the clothespins onto the wood piece and press firmly for a few seconds. Make sure the “mouth” part of the clothespin faces out. If excess glue squeezes out, use a Q-tip to remove the excess. Repeat this step with each clothespin. Allow to dry overnight.

Here’s what it looks like so far! Pretty cool, right?
<Step 3: Once the wood glue is dry, it’s time to paint it. Of course, if you prefer the natural look of your wall organizer, you can keep it natural. If you decide to paint it, move outdoors or to an area with good ventilation while you are spray painting. Place your wall organizer in a large cardboard box and spray paint it. This will save you from having white spray painted grass! A lesson I’ve learned many times – although mine was pink grass! My husband really loved that project! 🙂
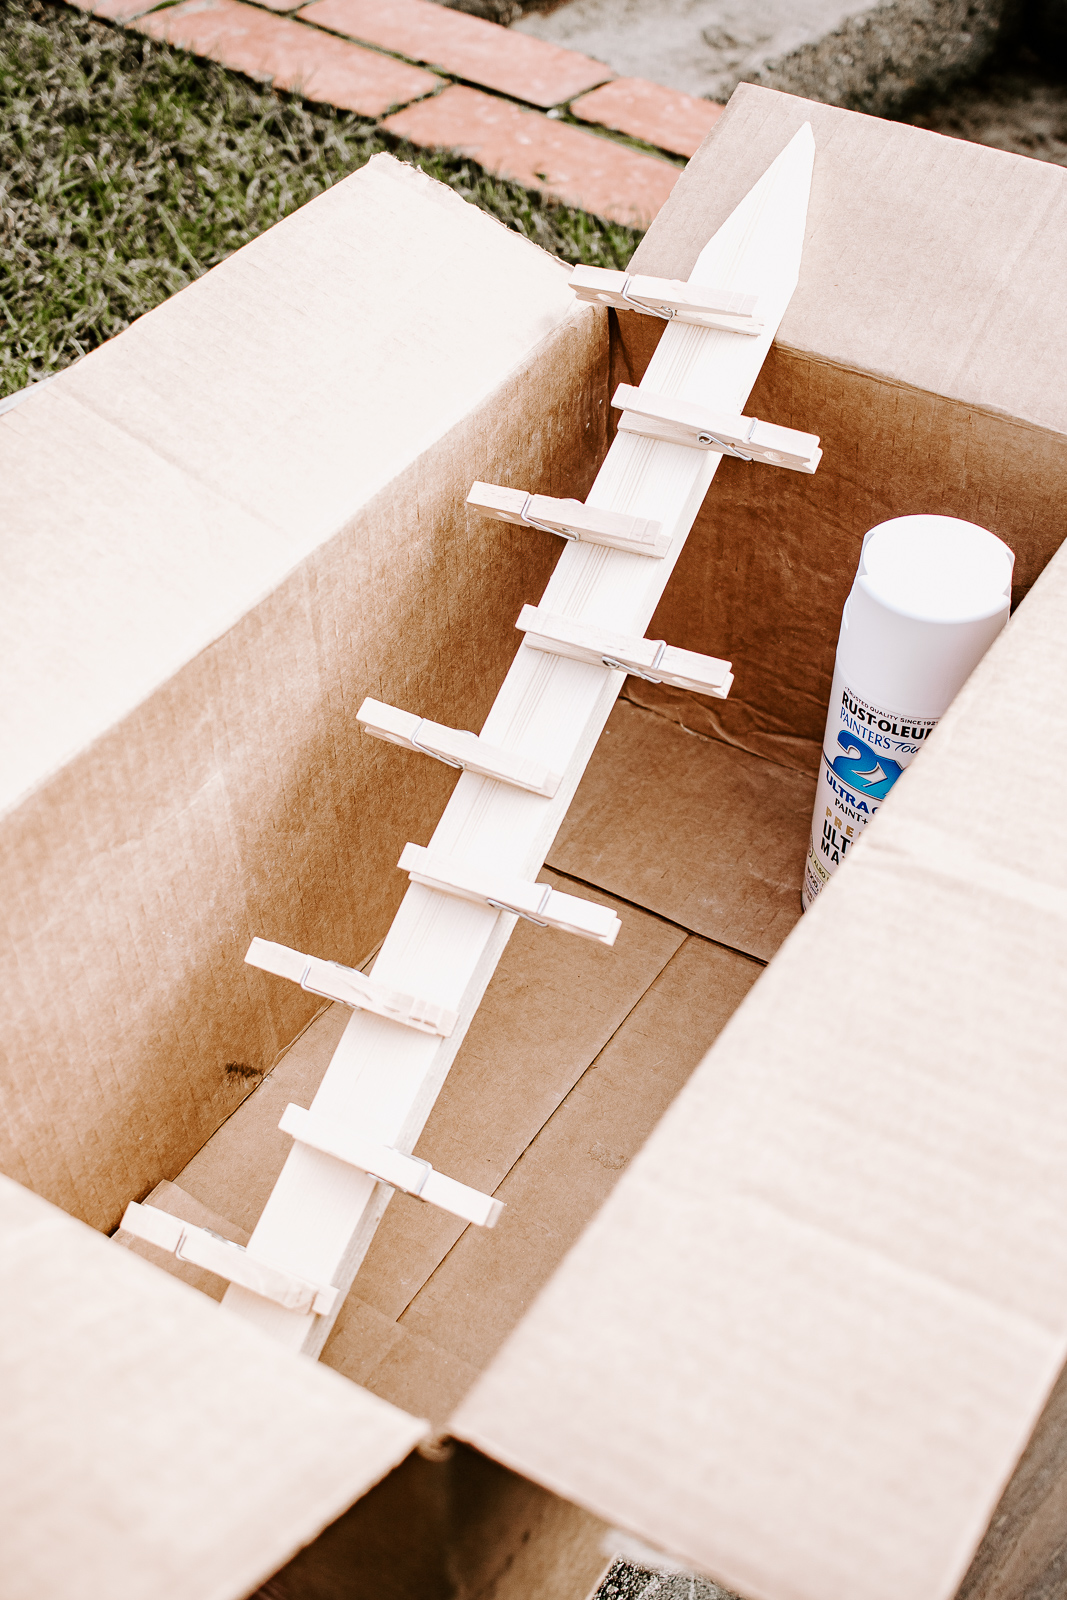
You don’t want to spray too much paint on your wall organizer at one time or it will get drippy. It’s best to spray several light coats in a sweeping motion to get smooth coverage. Allow the paint to dry overnight.

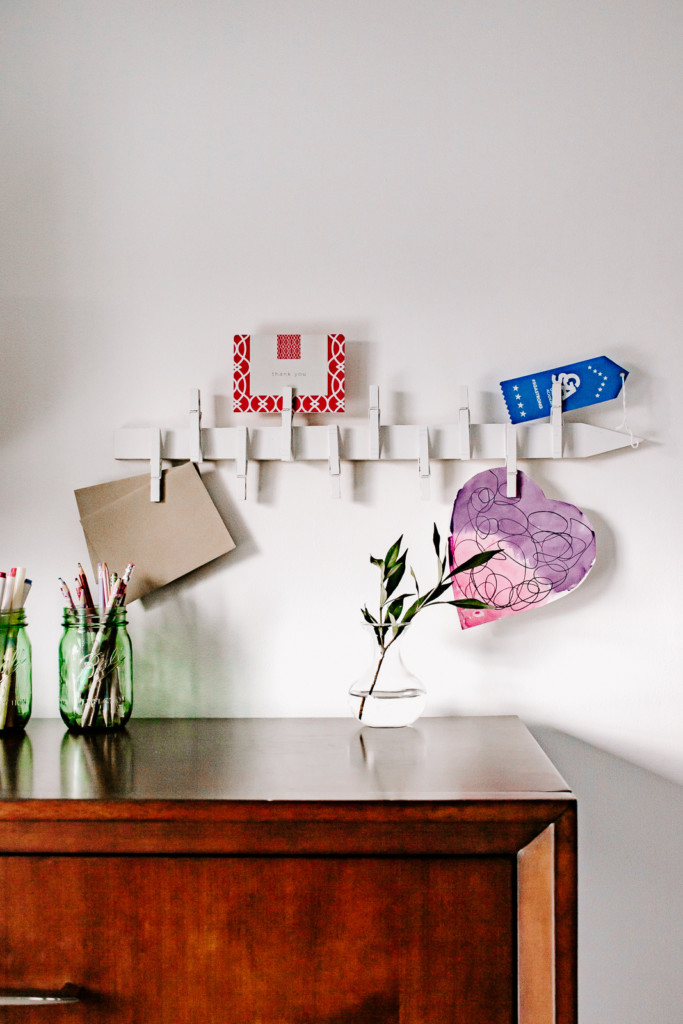
Step 4 : You’re done! Now it’s time to hang your new wall organizer! I use mine to hold and organize stationary, photos, postcards, and my kids artwork. I don’t plan on hanging anything too heavy on it so 3M velcro sticky tabs work perfectly. You could always hang your wall organizer with a good ol’ hammer and nails too if you feel you need the extra support.

And that’s it! A stylish wall organizer that was made for just a few bucks. You can’t beat that!

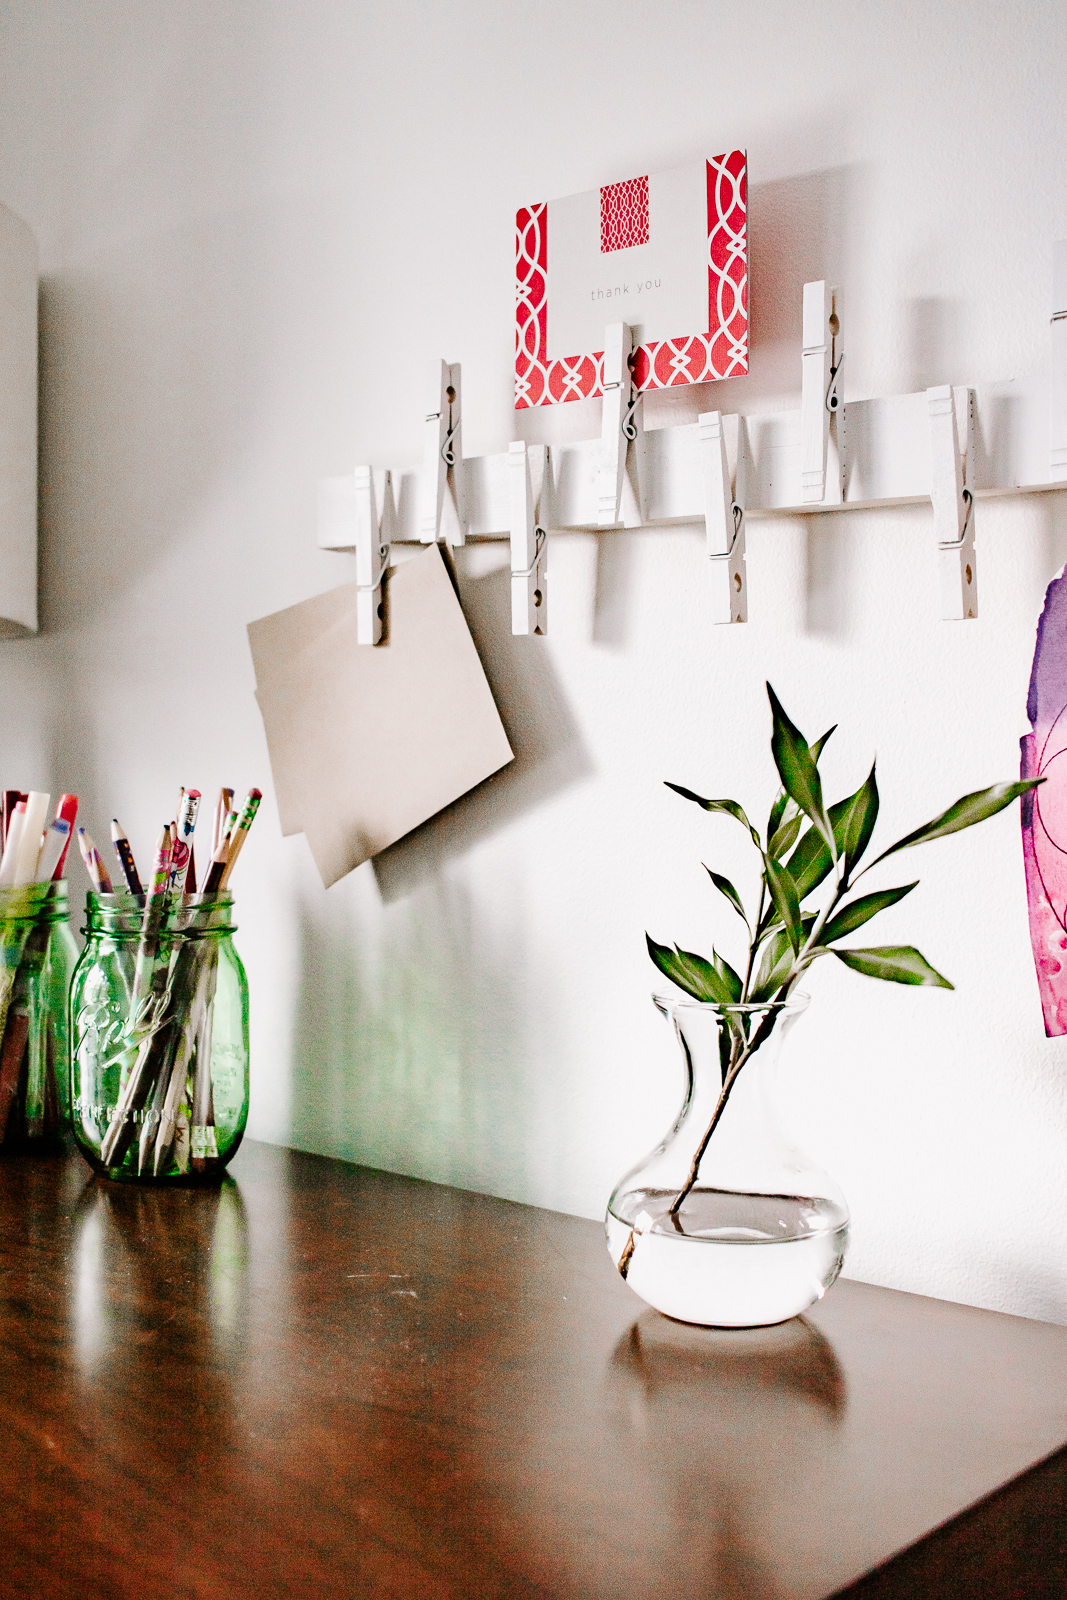
I love having a wall organizer like this that can help organize my papers. However, this isn’t just for stationary! The DIY Wood Wall Organizer could be hung in your closet to hold necklaces or ties. Or try hanging it in your laundry room to hold all those socks with the missing pairs. Make one for Christmas and use it to display all those Christmas cards from loved ones. I was even thinking this could hold spools or ribbons or washi tapes.

I hope you guys enjoyed this easy tutorial and I hope it gets you a little more organized this year! To see more of what I’m decorating and DIYing, I’d love for you to visit me at my blog, Decor Hint. I’ll be back next month with a new project for you!

~ See More of Karen’s Tutorials ~
![]()

Hello! I’m Karen, the creator of the Home Decor and DIY Blog: Decor Hint. I’m a Native of the East Coast, but I currently live in beautiful Seattle with my hubby, our two wonderful children and our spunky wheaten terrier.
You can usually find me with some sort of craft in one hand and a coffee in the other. And I’m always rearranging furniture or moving lamps from room to room. I have a passion (read: obsession) for decorating, DIY, and gardening. In short, I love making my house into a home.
Like many, I’m inspired by what I see in home decor magazines, but I’m not so inspired by the price tags. Consequently, I love finding and creating beautiful budget-friendly home decor items. In a head to head competition, I bet you’d never know the difference between the designer items and my DIY creations! Many of my DIY projects focus on sewing, crafting, upcycling and organizing. Some of my favorite projects have been making pretty wreaths, sewing my own tassel hand towels, and crafting these trendy wood bead garlands. I can’t wait to inspire you and spark your creativity through my DIY projects.
You can always connect with me on Pinterest, Twitter or Instagram.

Cute idea. I like that it’s a quick craft that really improves a situation.
Thanks Jeanne! It really does help you organize. Perfect for the New Year!