If you’ve been searching for a mattress that won’t break down and need to be thrown away after several years, you came to the right blog post. I was like you until I found what I call our DIY Latex Mattress. It’s a great option for any type of sleeper and is eco-friendly.
FYI, this is an article I released in 2014, but I added an update and I still sing the praised of our DIY Latex Mattress! If you’re in the market for a new mattress, you really need to read on.
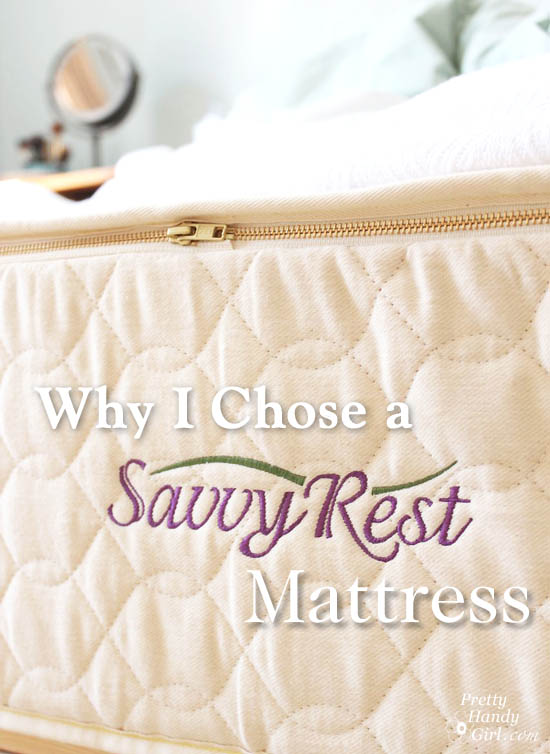
Our DIY Latex Mattress: the Savvy Rest Serenity
Disclosure:
Here’s the disclosure before you start reading. It seems like every blogger has been approached by a mattress manufacturer. I’ve received a fair amount of pitches as well in my inbox. But, I’ve declined them all. Instead, I chose to approach Savvy Rest because I REALLY wanted to share their product with you. BUT, here’s the whole truth (and nothing but the truth.) Once you learn a little more about latex mattresses, it is going to be a sleep changer for a lot of you! Savvy Rest was nice enough to consider my proposal and agreed to send me the mattress in exchange for a mention on my blog. Just so you know, I choose the brands I want to work with because I love the products. If I don’t like a product, I don’t blog about it. This is one of those products that I have recommended to my friends, family and anyone who will listen to my ravings.
Update:It’s now been over four years since we began sleeping on our Savvy Rest Serenity mattress and we are still happy with it. Recently Savvy Rest asked if I’d like to use affiliate links since I still sing the praises of their product. I’ve included affiliate links for your convenience. I earn a small percentage from a purchase using these links. There is no additional cost to you. You can read more about affiliate links here. Now that you know the whole truth, this is my opinion and my story:
Why I Love Our Savvy Rest Latex Foam Mattress:
When I shared our master bedroom plans, I told you that it all started with getting a new mattress. And, I have been dying to share the information about that mattress with you! I literally have to control myself from stopping random strangers on the street to tell them about this amazing latex mattress that I discovered. In fact, as I sit here typing this post I’m worried that it’s going to sound too much like an infomercial because of how much I love our Savvy Rest Serenity latex mattress. In a nutshell, here are the main reasons I have fallen head over heels in love with it:
- Comfort & Support: It is amazingly comfortable and supportive. We’ve been sleeping on it for a month now and my back aches are GONE!
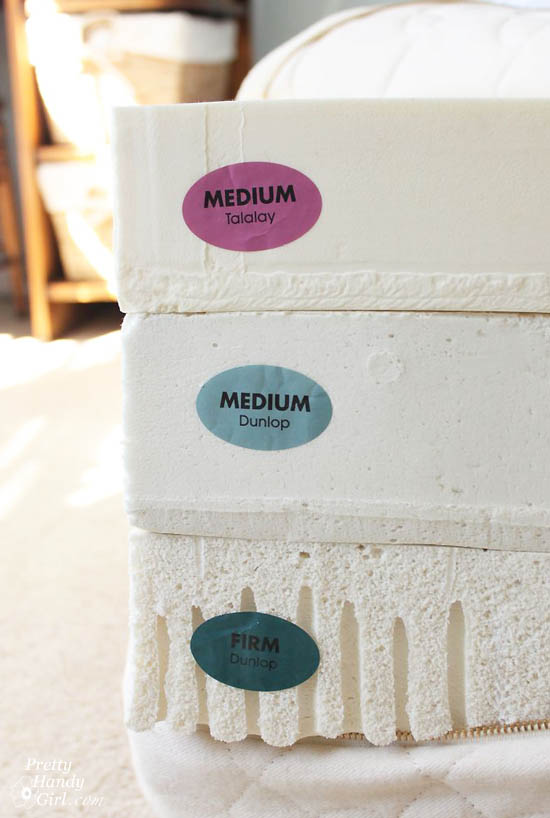
- All Organic: Made with natural materials. No chemicals, no off-gassing, no bleaching! The cover is made with natural cotton and organic wool. The interior layers are natural talalay latex and/or organic dunlop latex. I have purchased memory foam mattresses in the past and the odor was awful.
- Eco-friendly mattress: Not only are the materials natural (harvested from rubber trees in a process that doesn’t harm the tree), but this mattress will last you a lot longer than any traditional mattress (often times latex mattresses can last 20 years or more!) This means less waste going to the landfill! And you know how passionate I am about keeping things out of the landfill.
- Customization for Your Needs: It is completely customizable to your support and pressure relief needs. (As well as separate customization for your partner.)
Sounds good right? But, this isn’t your average mattress. I like to call this a DIY mattress because you literally pick three distinct latex foam layers to customize to your comfort needs. First, you choose either talalay or dunlop latex or a combination. Then you can choose between soft, medium and firm. This offers you more firmness options than you can count sheep!
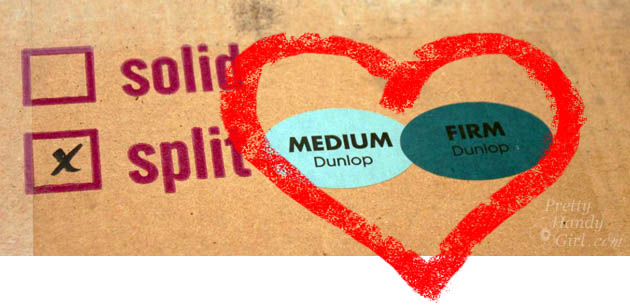
Let’s not forget about your spouse who likely has completely different comfort needs. He or she can chose their own comfort layers when you select the Savvy Rest Serenity split queen or split king mattress. This is the key to a happy marriage, is it not?!
But, I want to back up and discuss a little more about how I realized we needed a new mattress and how I decided on a Savvy Rest mattress.


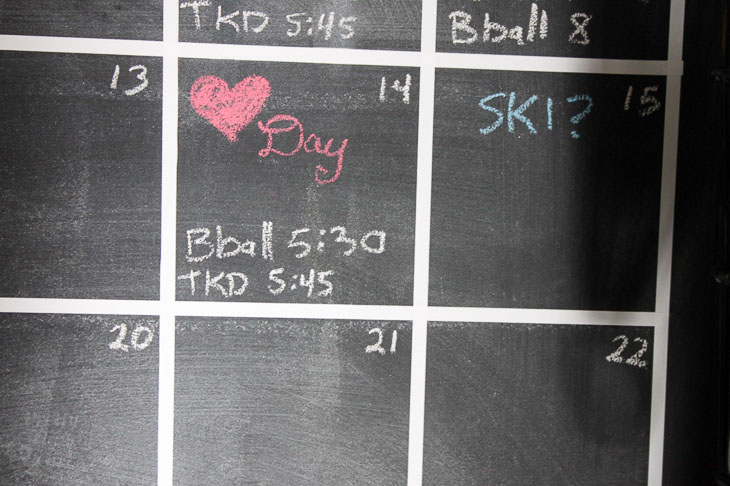
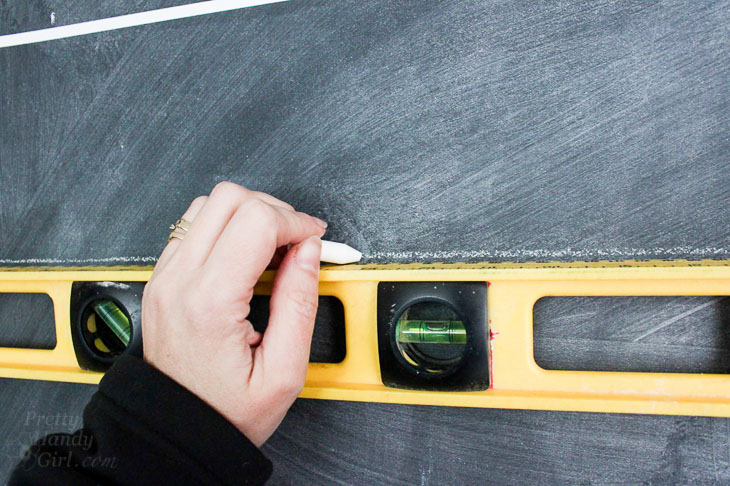
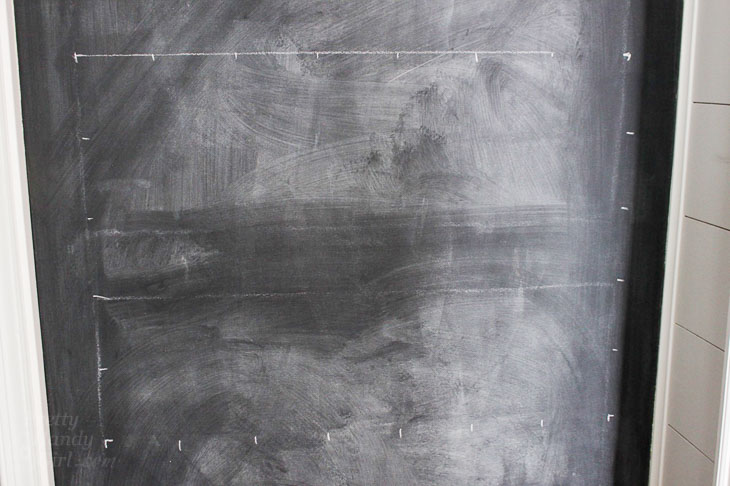
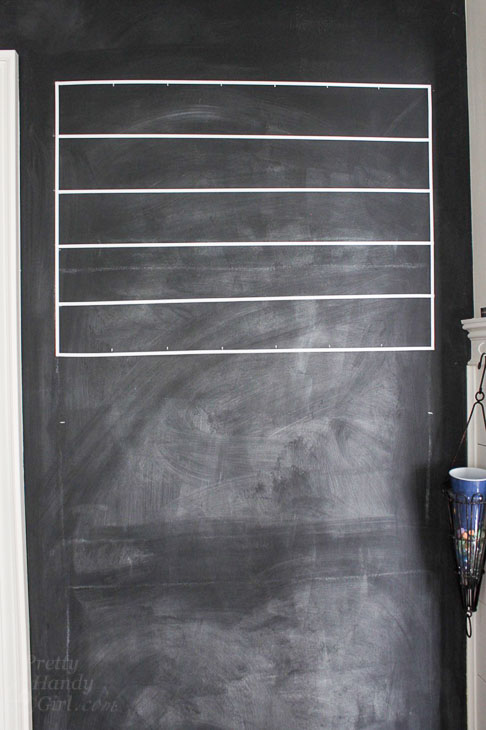
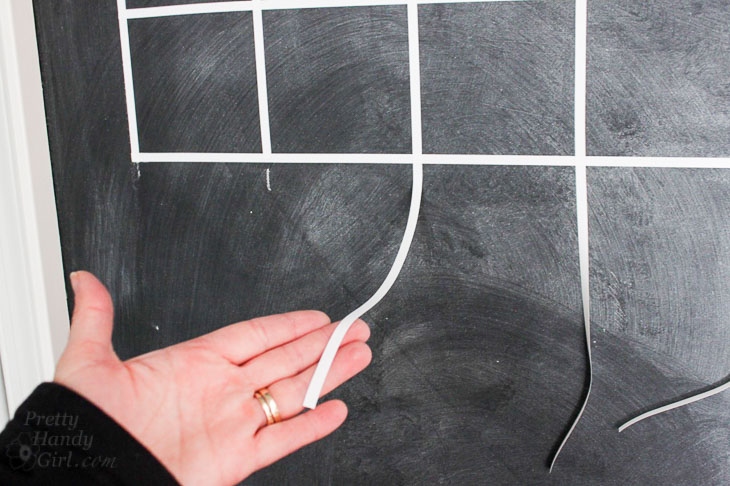
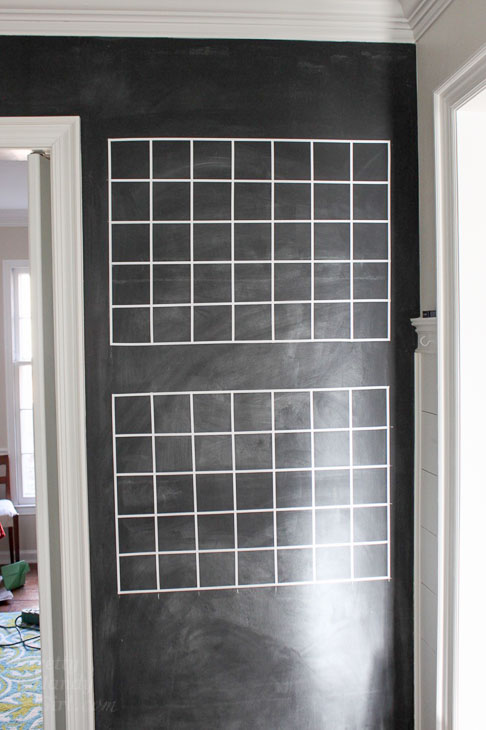
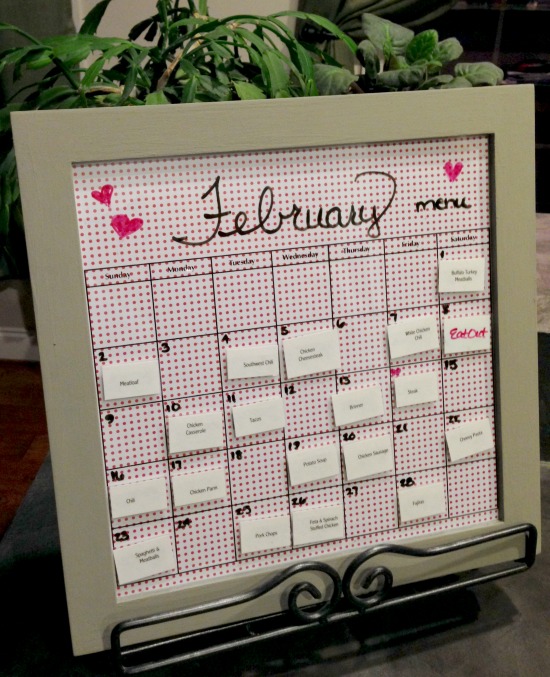
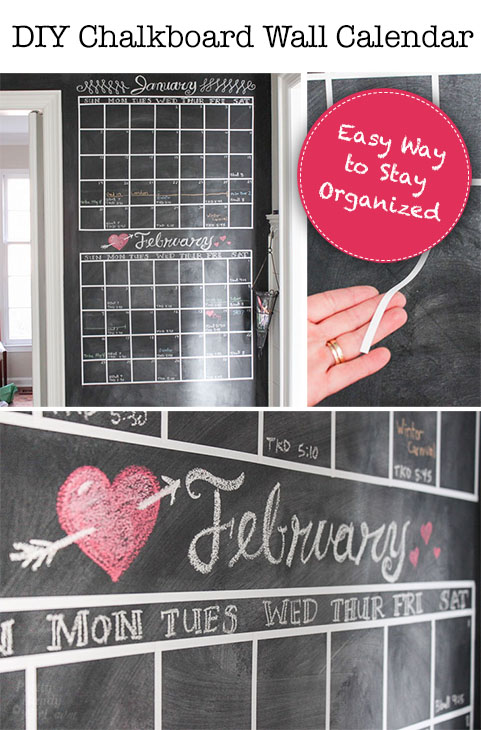 DIY Chalkboard Wall Calendar
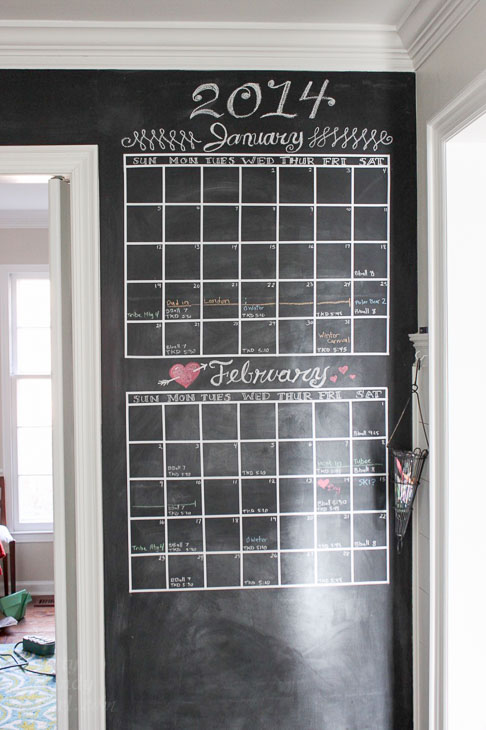


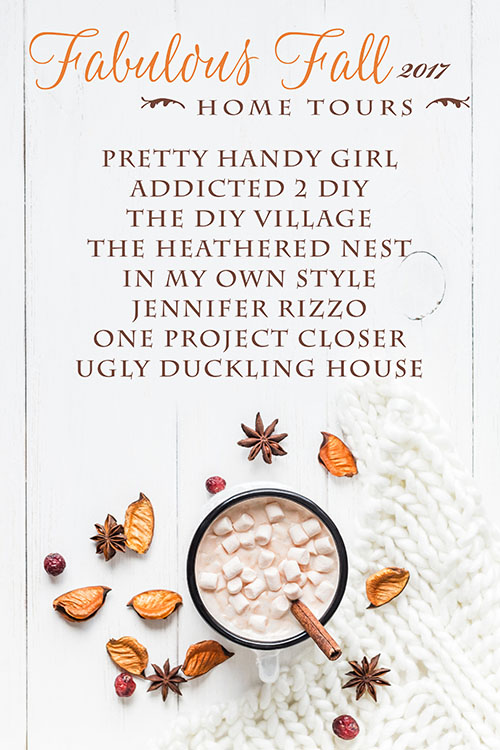
 You’ll definitely want to see inside each of their homes:
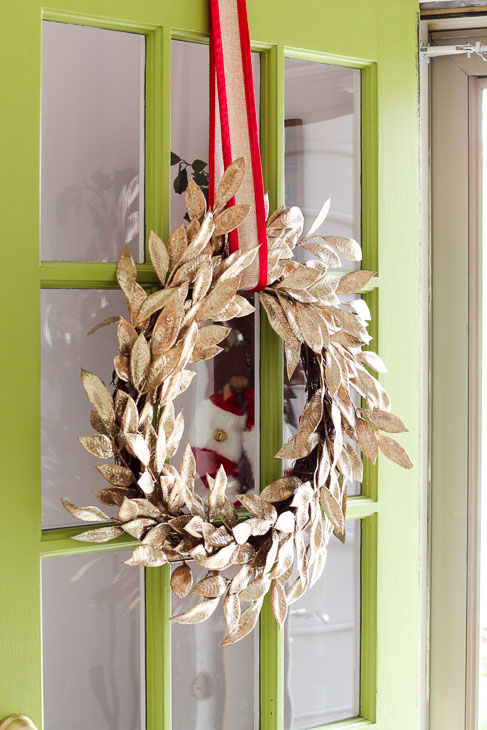
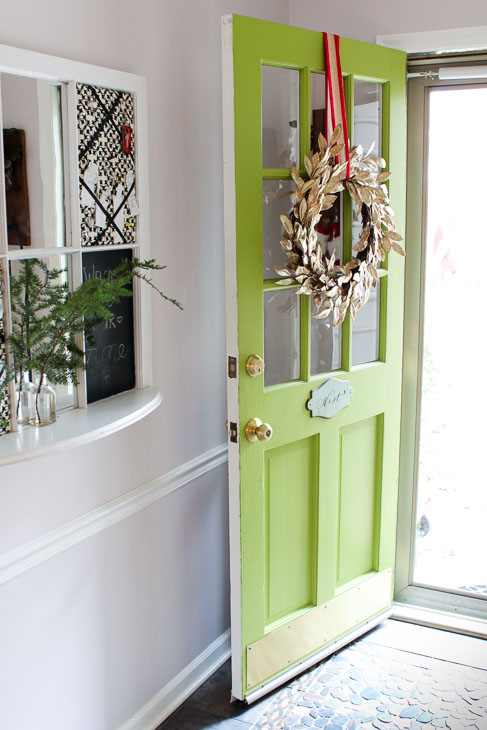


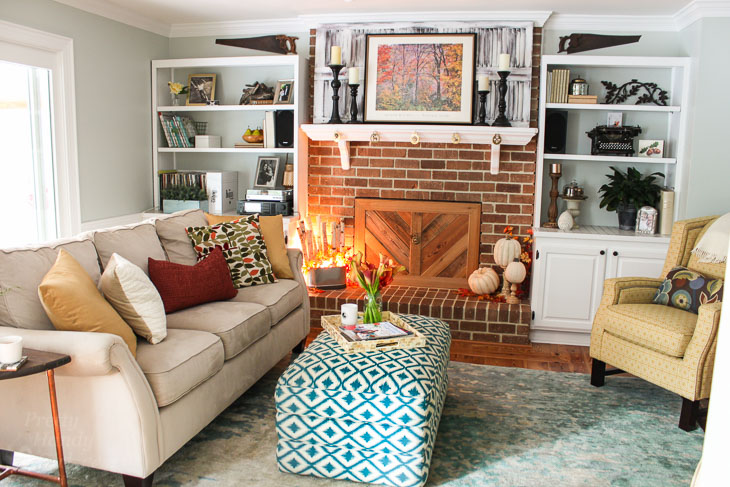
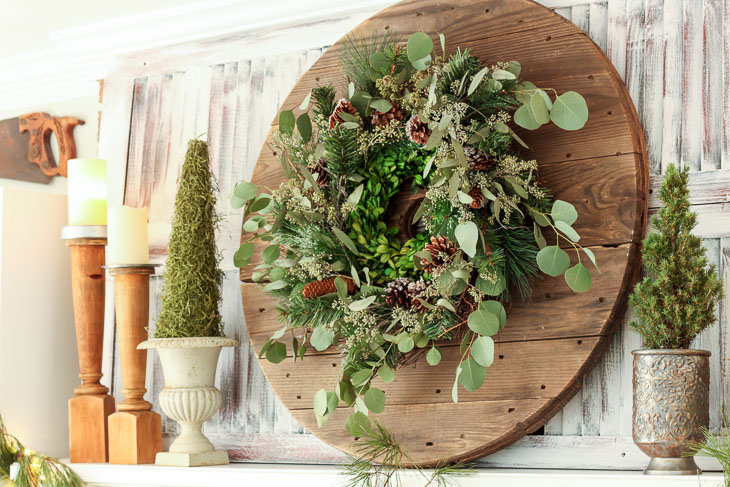
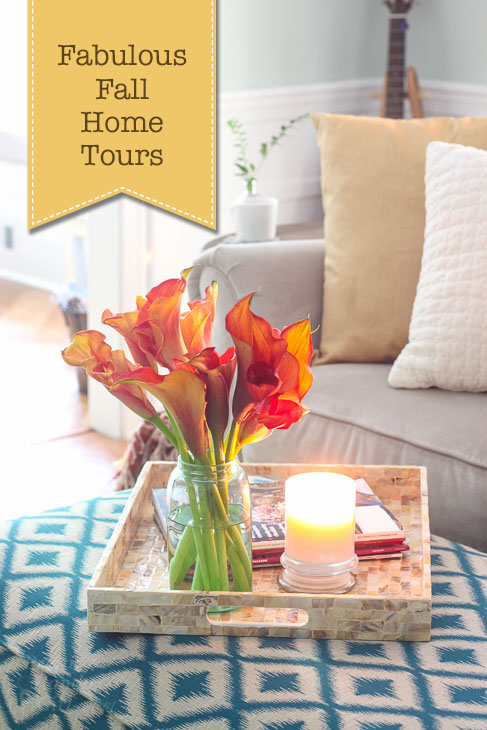 Fabulous Fall Home Tours