Video Tutorial: How to Reupholster Dining Chairs and Protect the Fabric
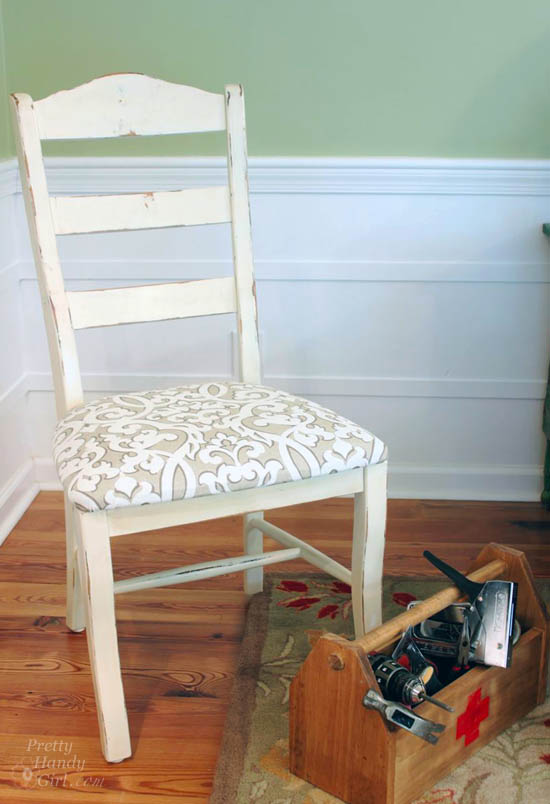
In the very beginning of this blog I showed you how to reupholser a yard sale chair. Almost four years has passed and I learned a lot since then. I hope this tutorial will be more helpful to anyone who wants to reupholster a simple dining chair. But, most of all, I want to show you how to protect your fabric seat after you put in the effort to recover them.
Let’s get this chair party started!
Materials:
- Drill with screwdriver bits
- Pliers
- 5-in-1 Painter’s tool (or thin pry bar)
- Fabric (upholstery fabric will hold up better than thin fabric)
- Staple gun
- 3/8″ staples
- Hammer
- Safety glasses
Instructions:
Turn your chair upside down and locate the seat mounting screws. Unscrew them all to release the chair seat.
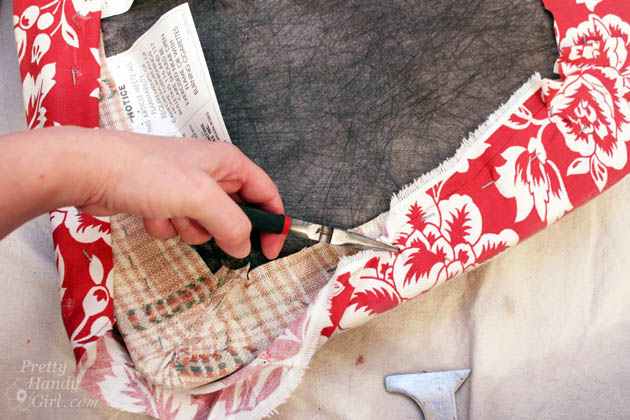
Set the chair cushion onto a flat surface. Pry up the staples with the 5-in-1 tool and/or the pliers.
Lay the old chair fabric onto your new fabric and cut out the same shape. (Try not to cringe at that disgusting seat cover. But, I’ll be sharing a tip to keep the new covers cleaner.)
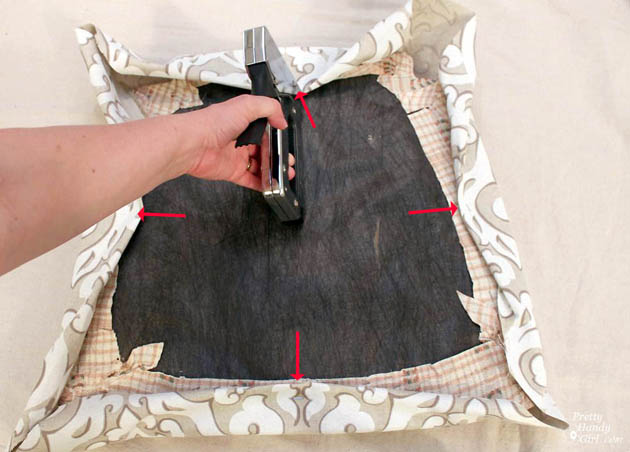
Lay the chair seat onto the new cover. The fabric should be wrong side up. Start by folding the raw edges under and staple in the middle of the front. Then pull the fabric taut and staple to the center of the back. Repeat for the left and the right sides.
Continue stapling along all the sides while pulling the fabric taut. Staple as close as possible to the corners.
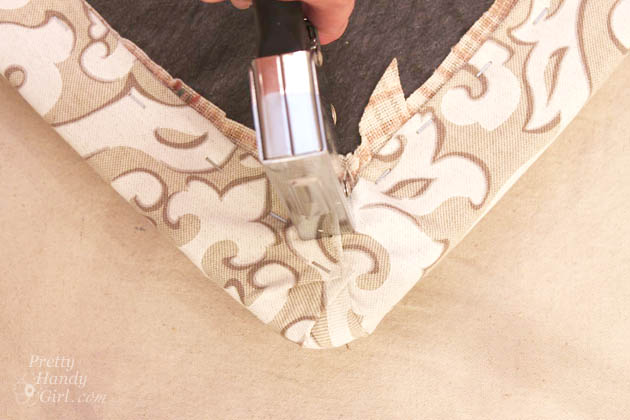
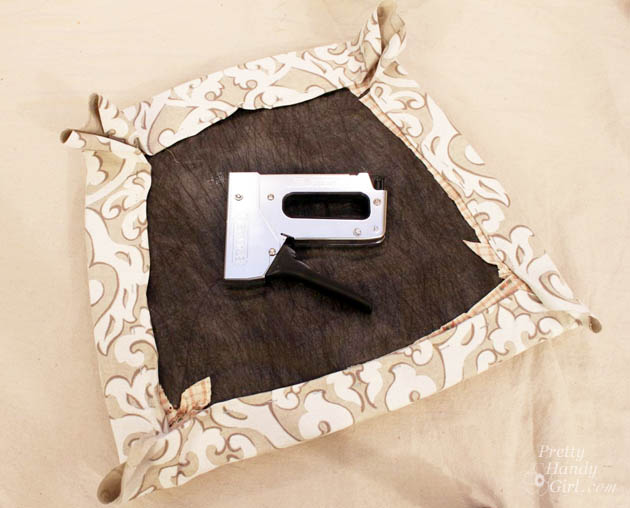
To staple the corners, fold and tuck the corners taking care to keep the pleats on the bottom so they don’t show on the top of the seat. (You can see a better example of this process in the video tutorial.)
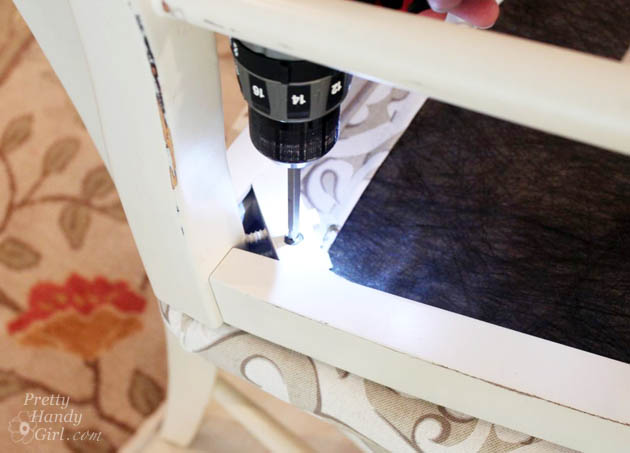
Replace the seat by driving the screws back into the bottom of the chair.
And you’re done!
Here’s the quick video tutorial showing you how easy it is to reupholster your dining chairs!
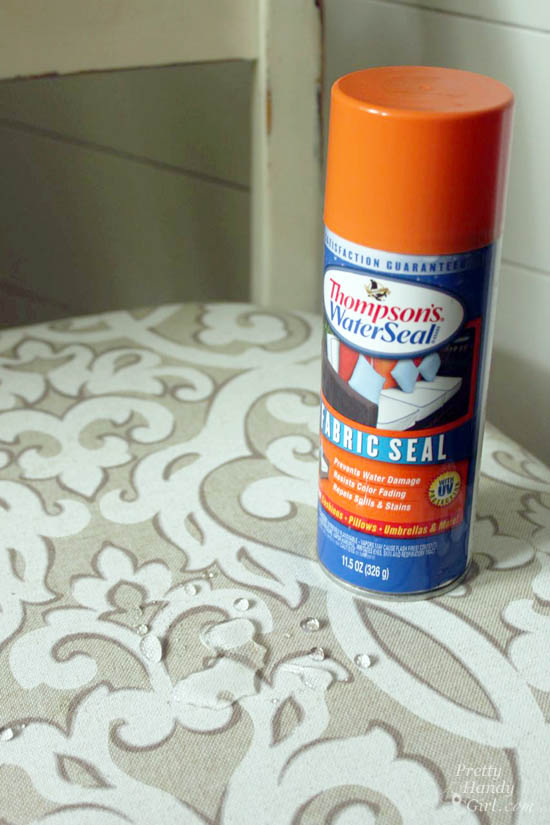
To protect the fabric on your chairs, try using Fabric Seal from Thompson’s Water Seal.
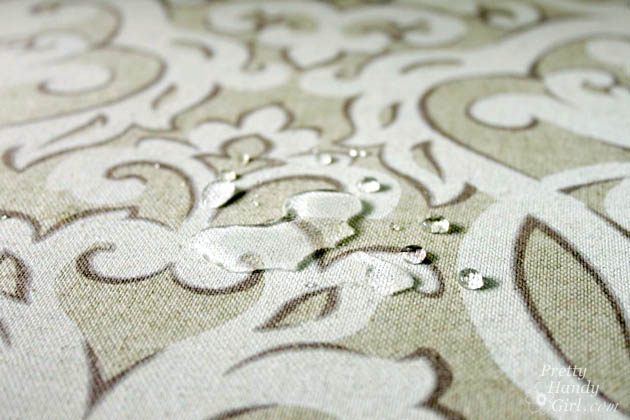
I coated all our chairs with this spray and it really did make the water bead up on the surface. 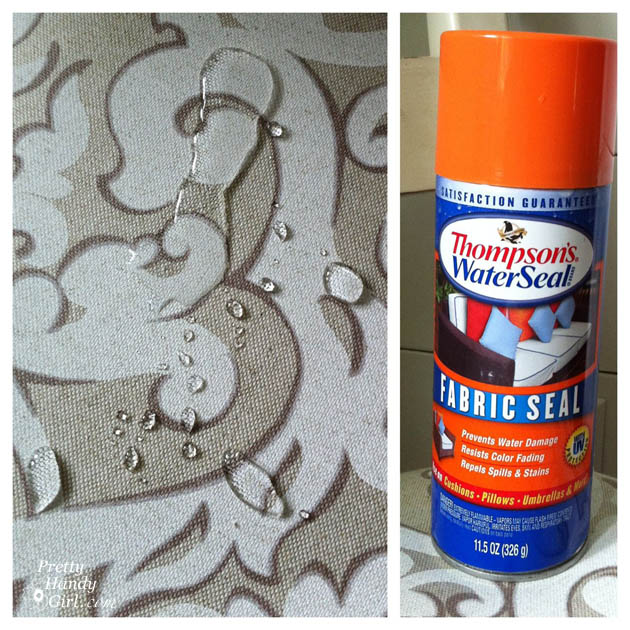
I was not paid to mention this product, in fact I used it over 6 months ago before sharing this tutorial because I wanted to test it. I’m happy to say that stains have wiped off our chairs easily. And, I tested the waterproofness after all this time and the water still beads up on top of the fabric! Try it on your own chairs. You’ll see. 😉
Disclosure: I was giving one can of Thompson’s Water Seal Fabric Seal at Haven 2013 to try, but I wasn’t required to write anything about the product. I wasn’t paid to mention it, nor told what to say. As always with my other product reviews, if I don’t like a product you won’t see it on my blog.
P.s. Congrats to Linda Beksinski who was the randomly chosen winner for a two night stay in a Tybee Island Mermaid Cottage.
Pin for later!







The fabric you used in your video is EXaCTLY the pattern I am looking for. Can you tell me where you purchased?
I’m sorry, I don’t know. It was years ago.
Where can I purchase Thompsons?
what if you need to replace the padding, etc.? Just try to match up with what was on it in the first place? Also mine have “piping” . . a cord with fabric on it. I don’t want to use that when I redo it. Do you think that will look OK? Just wondering.
Yes, just match the shape of your previous padding and probably think about adding some extra thickness (which you may need a little more fabric around the perimeter to accommodate.) Yes, no need to use piping if you don’t want to and it will look fabulous!
Brittnay,
I remember the post last year when you tried the Thompson’s WaterSeal Fabric Seal. I asked if you could do a follow-up in the future to share how it worked. Thank you so much for the information. I will be purchasing some for my home inside and out.
Blog buddy, Karen Marie Kedzuch
Karen, last time it rained hard enough for the water to get inside the porch, it was still beading up on the top. Some ice was on there for a couple of days and there were no water spots. I’ll have to mop the porch after the spring pollen. I’ll let you know how it goes (be sure to remind me if I forget ;-D)
I change mine this week, too. Thanks for the reminder to use fabric protection on the new cushions.