Planning a home renovation? Get expert tips on hiring contractors, dealing with permits, managing remodels, and handling common road blocks like asbestos, termite and water damage. Start your project with confidence!

Home Renovation Tips
Thinking about tackling a renovation project? It can be a really good idea, whether you’re hoping to refresh your space, tackle a few DIY projects, or add value to your home.
But before you grab your tools and start tearing things apart, there are a few small details you’ll want to think about first.
From setting a budget to planning ahead, a little preparation can help your renovation go much more smoothly and save you from some major headaches along the way!
Renovation 101: What to Know Before You Start
Ready to give your home a fresh new look? A renovation can be an exciting way to update your space, make it work better for your family, and even boost your home’s value.
But before the demo begins, it’s important to think through the details and have a plan in place.
From figuring out your budget to knowing what to expect along the way, a little preparation now can help you avoid surprises and make the entire process much easier!

How to Survive without a Kitchen during Renovation
So, you’ve decided to renovate your kitchen, but you’re planning to stay in your home throughout the process. One of the first things you’ll want to think about is how you’ll manage without a kitchen while the renovations are underway.
From setting up a temporary kitchen to choosing a kitchen island that can serve as a focal point, there are plenty of ways to make the process easier. Updating light fixtures is also a great way to refresh the space, but keep in mind that a kitchen renovation can take a lot of time! I’m sharing some tips to help make your kitchen remodel a little easier should you choose to take on the challenge!

How to Hire Great Contractors and the Questions You Need to Ask
As a general contractor, I’ve learned exactly what to look for when hiring great contractors. Over the years, I’ve put together a list of important questions to ask when interviewing contractors and checking references for any home remodeling project. Don’t get stuck with the wrong person for the job. Learn how to hire a trustworthy, reliable local contractor with confidence!

Asbestos Removal - Everything You Wanted to Know and More
Asbestos is a word you may hear mentioned when planning or starting a home renovation, especially in an old house. The first step is to understand what asbestos is, where it may be found, and what’s involved in the removal process. Today, we’re diving into the best way to remove asbestos—everything you need to know and more!

When and Why You Should Get a Permit
Everything you need to know about how and why to get a permit before starting any home improvements. Learn why permits matter, when you need one, and how getting the proper permits can help with long-term savings and protect you and your home.

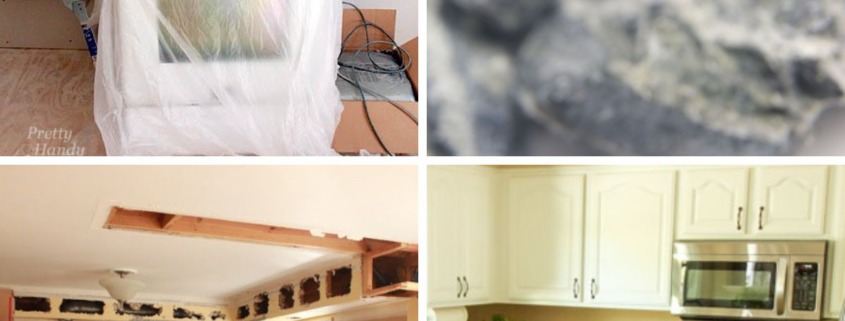
Water Leaks, Polybutylene Pipes, and Mold - What to Do
Water leaks can quickly turn into a homeowner’s nightmare, especially when they involve older polybutylene pipes and the risk of mold. If you discover a leak, having a solid plan can help you tackle the problem before it gets worse.
From addressing polybutylene plumbing to safely dealing with mold, you may need to set aside some extra time to get everything taken care of. If you’re dealing with a leak throughout your whole house, these tips will help you know what to do and how to prevent future problems.
Are You Sure You're Ready to Take on a Home Renovation?
At some point, every homeowner considers taking on a home renovation. But before you grab your hammer and start swinging, it’s important to ask yourself: Are you really ready for a renovation? Today, I’m here to help you figure out if you’re prepared to take on the project.

All About Termites and Clean Up with The Bagster Bag
Termites can cause serious damage to your home if left undetected, so it’s important to know the warning signs and how to protect your property. Don't let this little insect cause costly damage to your home.
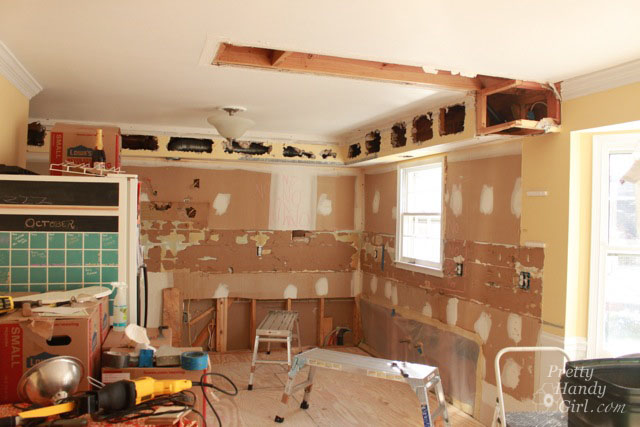
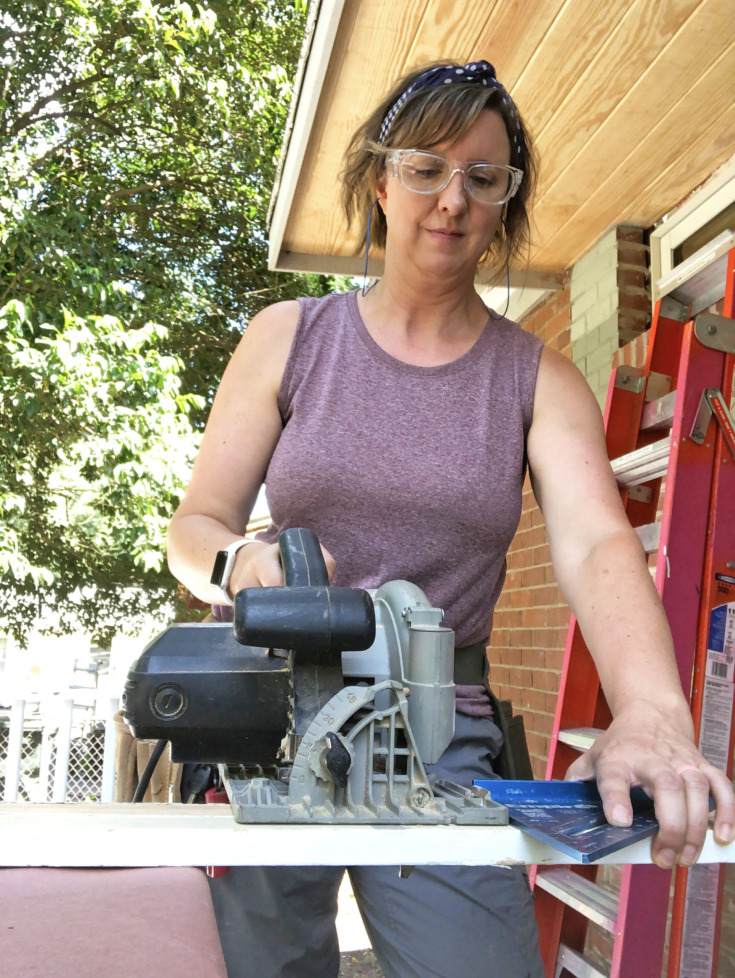
How to Remove a Soffit - Kitchen Renovation Update
Wish you could reclaim that dead space above your cabinets? Learn how to remove outdated soffits and opening up the entire space for a fresh new look. Follow along to see how to safely remove an old kitchen soffit and take one more step toward creating the kitchen of your dreams!

10 Ways to Renovate Your Kitchen on a Budget
It’s no surprise that a dated or poorly functioning kitchen can turn potential buyers away. If your kitchen needs a refresh but you’re working with a budget, I’m sharing 10 smart and budget-friendly ways to renovate your kitchen without breaking the bank!
I hope you found these renovation ideas and tips helpful! Whether you’re updating a few living areas or renovating your entire house, taking the time to plan ahead can make all the difference.
The right improvements can make your home more comfortable, functional, and beautiful while also adding to the value of your home for years to come.
PIN FOR LATER