How to Build a Rock Solid Gate
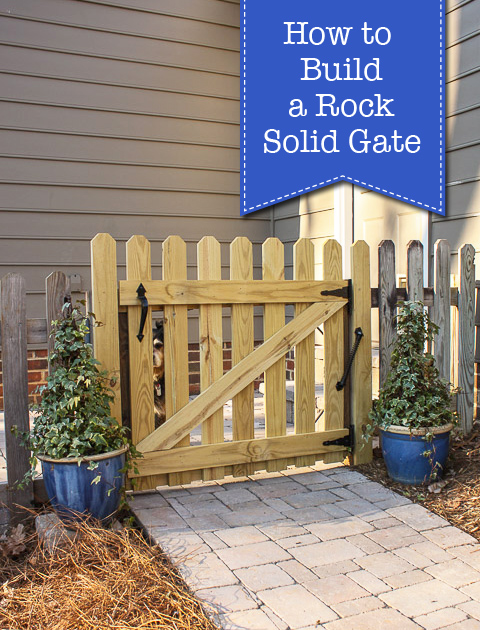
If you googled “Sad Excuse for a Gate”, this is the image that would pop up:
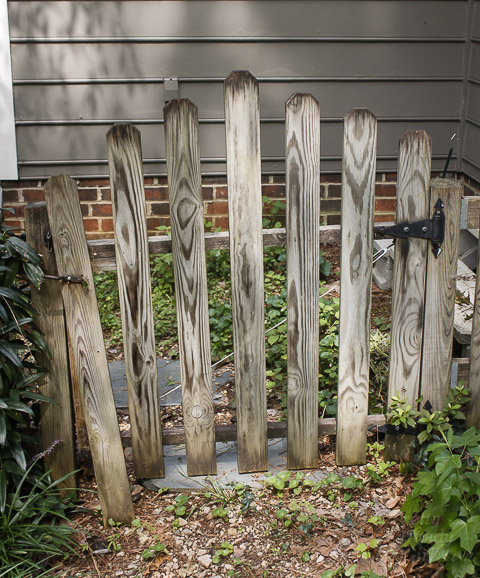
Rotted, sagging and falling apart are all words you could use to describe it.
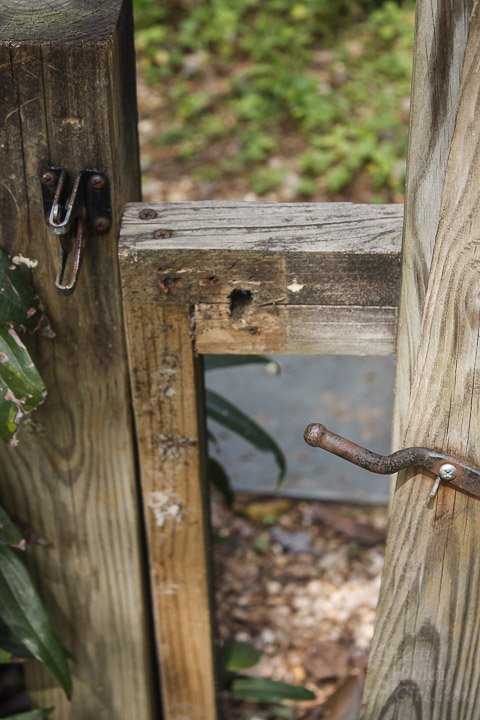
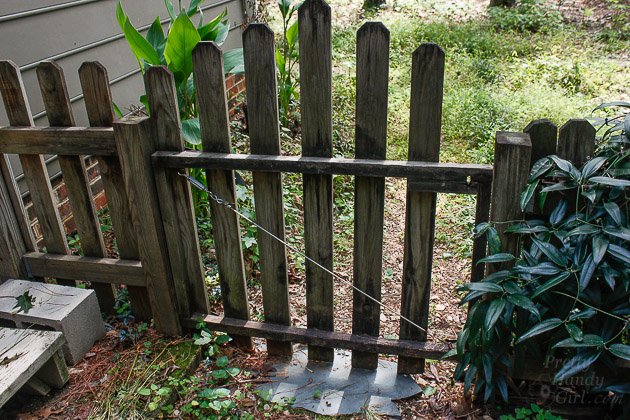
One of the main reasons this gate is in poor shape is because it wasn’t built rock solid! Building a rock solid gate requires a 2″x4″ frame, not these measly 2″x2″ pieces. The wire can only help so much with sag. This gate just wasn’t built to last.
Want to learn How to Build a Rock Solid Gate?
Let’s get building!
Materials:
(contains affiliate links)
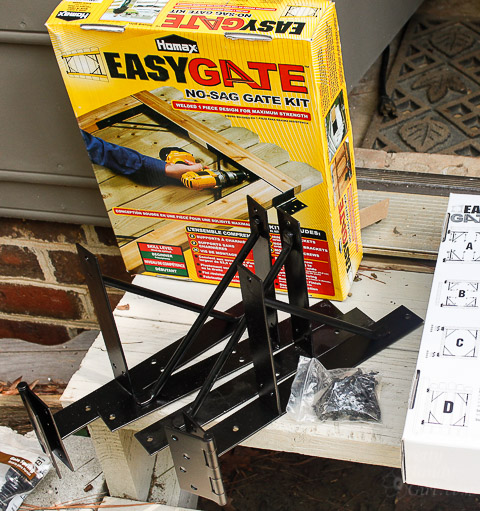
- Homax Easy Gate Kit
- 2″x4″ board(s)
- Tape measure
- Pencil
- Hammer
- Level
- String
- Shims
- Drill
- Saw
Instructions:
I’ve built several gates, but the Homax Easy Gate is the easiest way to build a Rock Solid Gate (NOT paid to say this!) The frame is custom sized to your gate by the length of the 2″x4″ boards. The hinges are integrated into the frame, making this one of the quickest and strongest gate kits I’ve ever built.
Start by removing your old gate. If the pickets are in good shape, save them for use on the new gate.
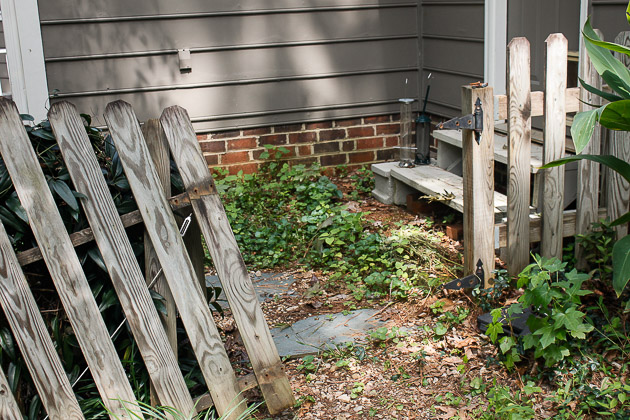
Measure the width of your opening.
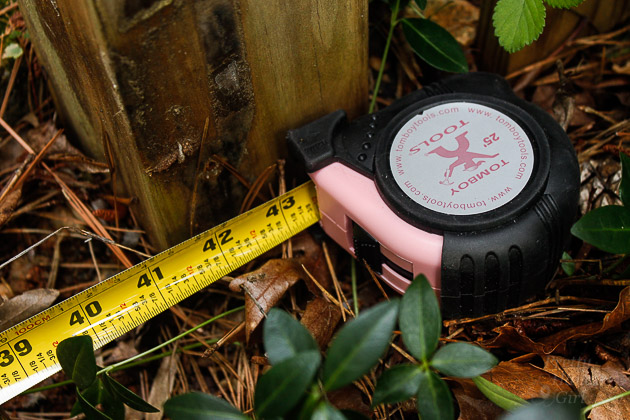
Subtract 1.5″ from the width and cut two 2″x4″ boards to this dimension.
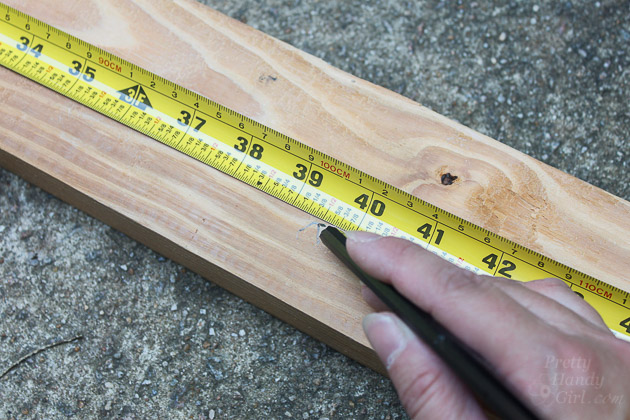
Measure the height of your adjacent fence posts.
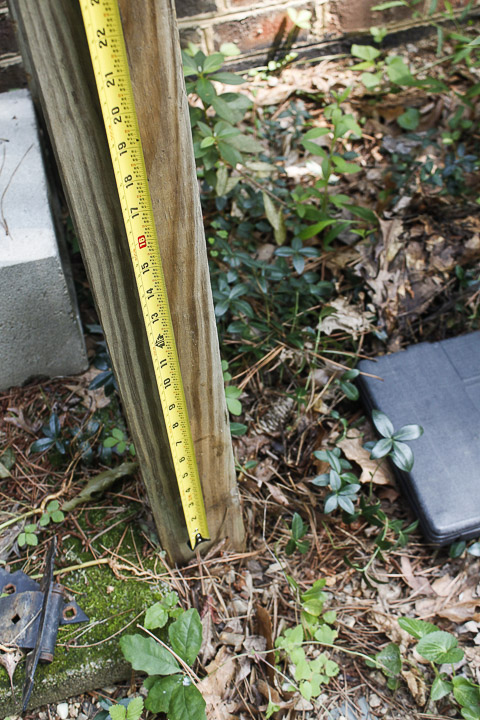
Subtract a few inches from the height measurement to allow the gate kit hinge to secure to the post. (And to keep the bottom 2″x4″ a few inches above the ground to keep it from rotting.) Cut the two 2″x4″ boards to this measurement.
Insert your cut boards into the gate kit. You may need the hammer to force some stubborn studs into place.
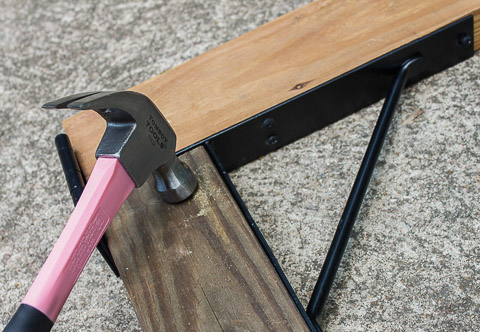
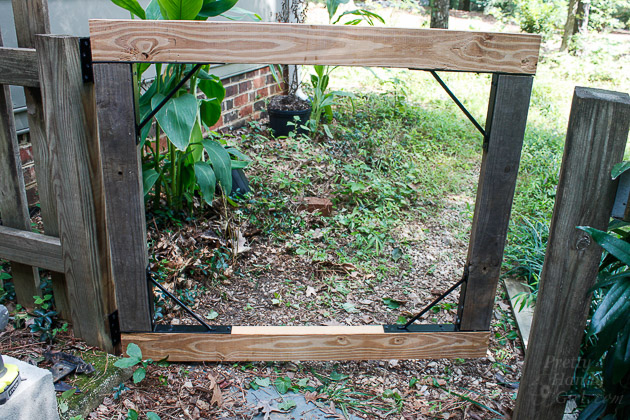
This is how the gate kit should look:
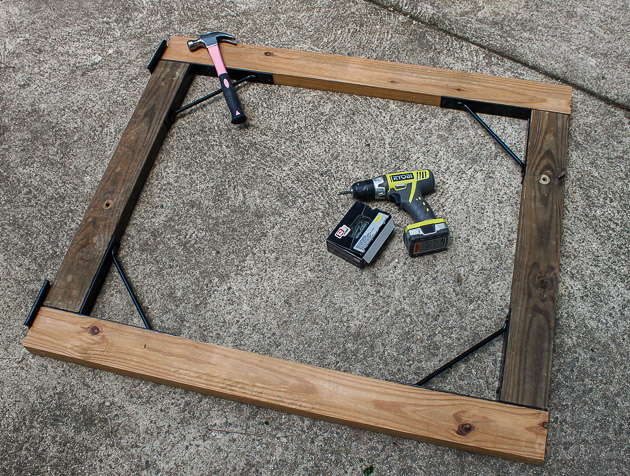
Attach the metal frame to the 2″x4″s with the provided screws.
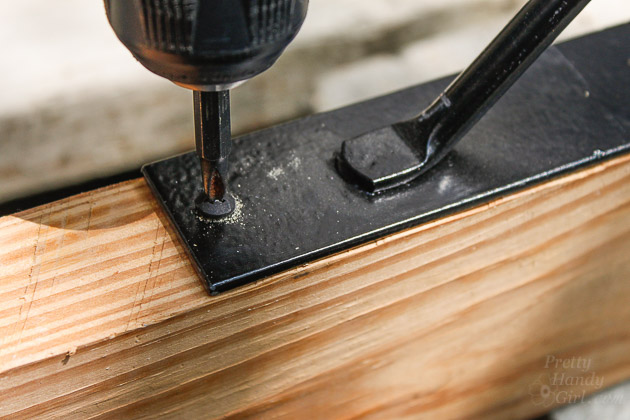
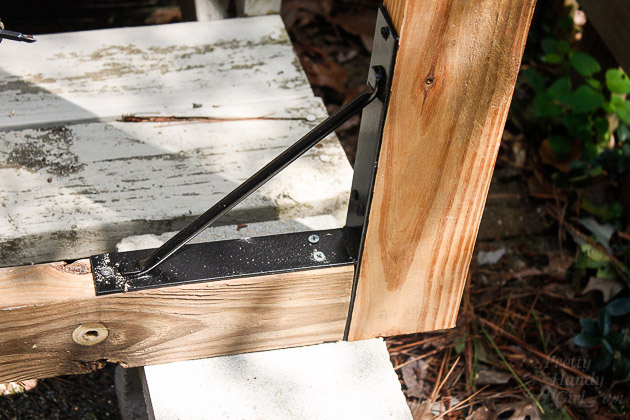
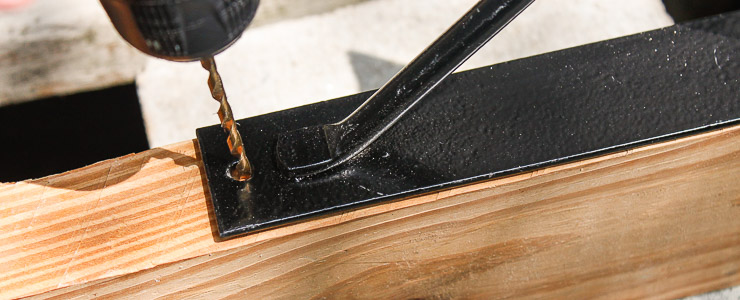
Attach the hinge securely to the sides of the 2″x4″pieces.
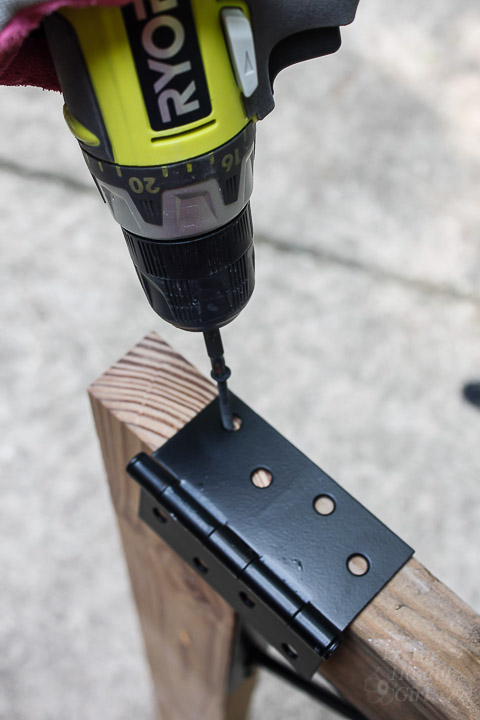
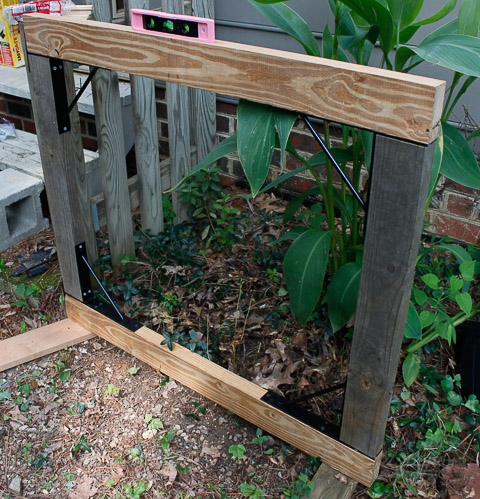
Test fit the gate frame. Level the frame with shims or scrap wood.
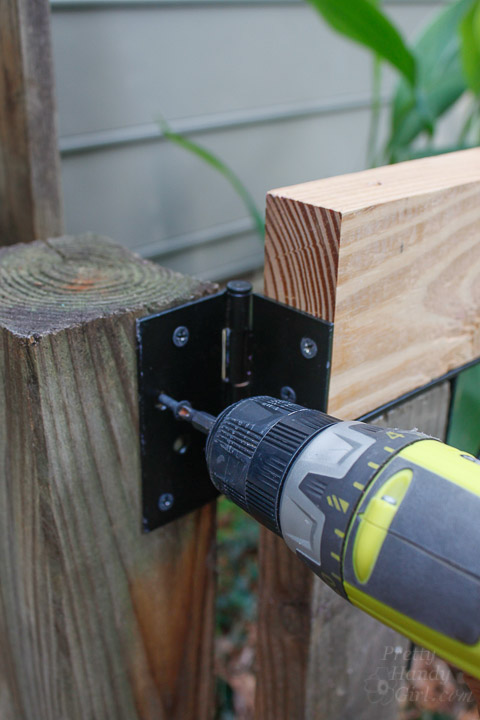
When the gate is perfectly plumb and level, attach the hinges to the fence post.
Test the gate to make sure it swings freely in the opening. A gate that isn’t plumb or level will open or close on it’s own.
Adding Pickets:
If installing a new walkway under your gate, do this before installing the pickets (ideally you want to install the walkway BEFORE building the gate.)
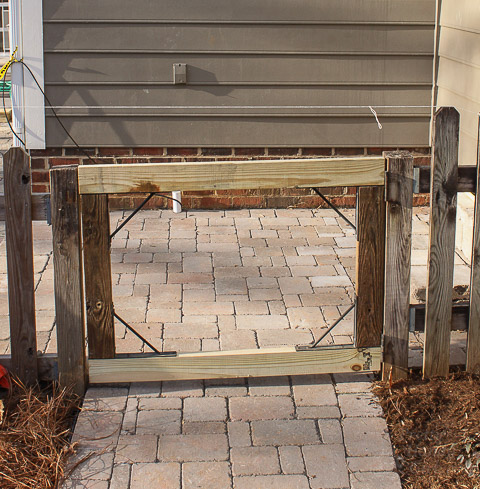
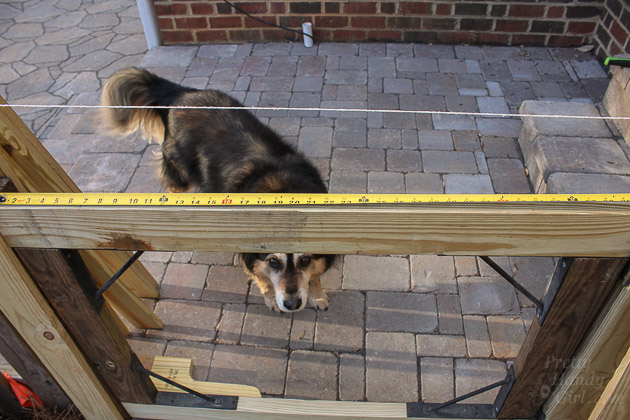
Measure the width of your gate. Figure how many pickets you want to use. (Hint: check the spacing of the adjacent fence pickets.)
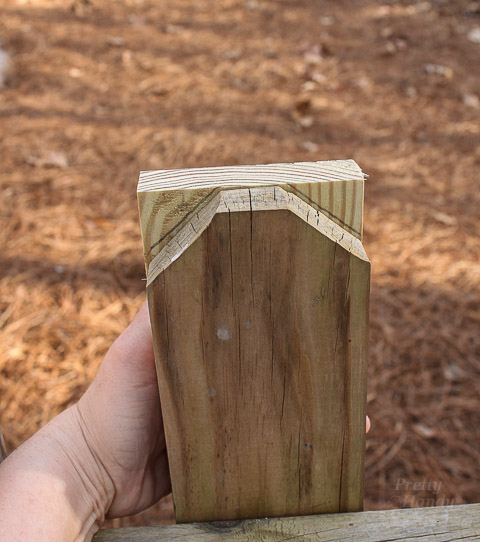
For dog earred pickets, make a template of the top profile by tracing an existing picket.
Cut all your pickets using the template.

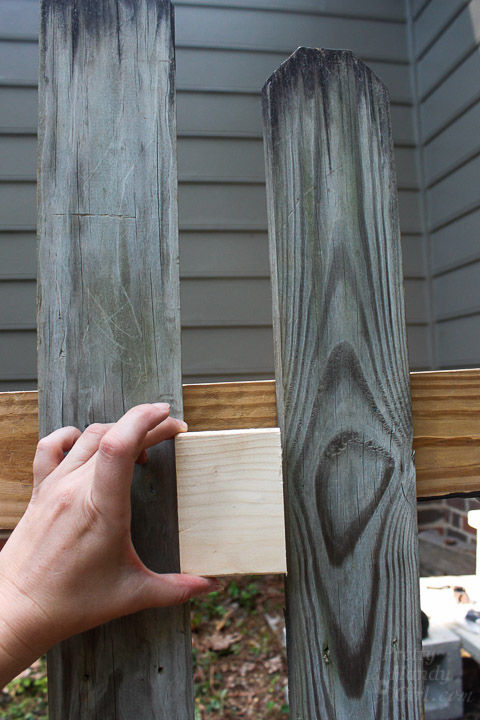
To keep the spacing the same as your fence pickets, make a scrap wood spacer. Or keep reading to learn how to space your pickets evenly.
For a smooth line of pickets, string a level line across the top of your adjacent fence pickets on the right and left of the gate opening.
Use the string as a guide for how high to hang the pickets. Find the middle of your gate. Select your middle picket and put one nail into it to hold in place.
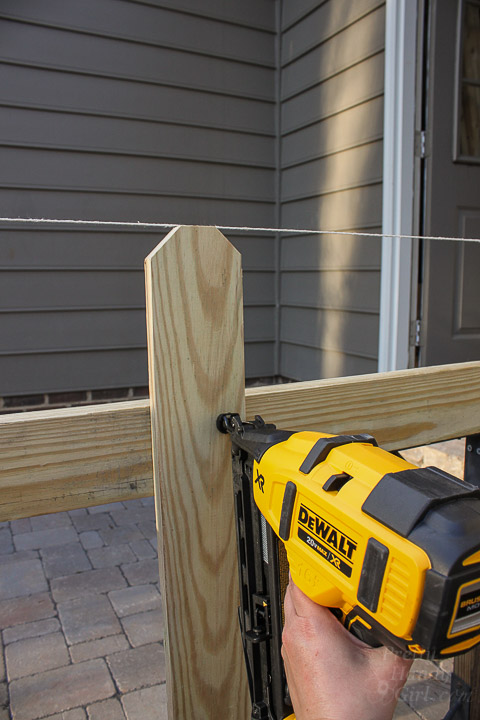
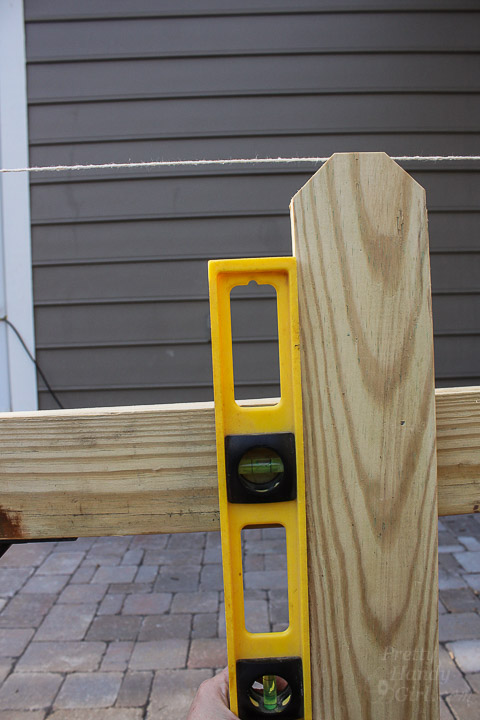
Use the level to plumb the picket before securing it with more nails.
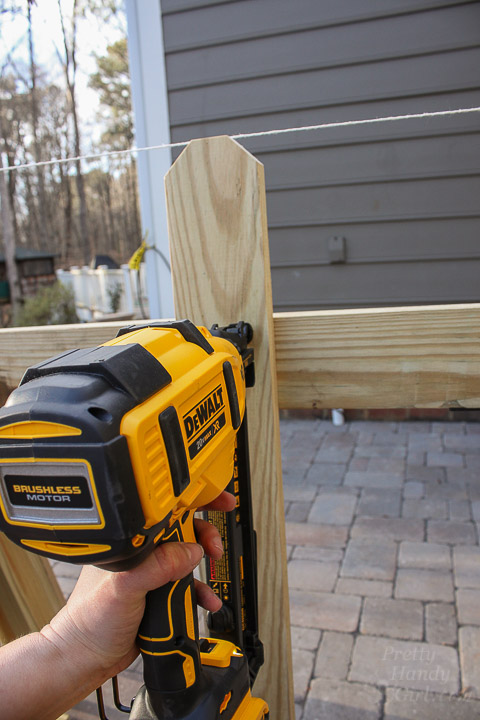
Finish securing the middle gate picket.
If you aren’t using the block spacer, you can figure out spacing now. Select the remaining pickets to be installed to one side of the center picket. Line up all the pickets on one side. Measure the distance left between pickets and divide by the (number of pickets + 1) to get your spacing measurement.
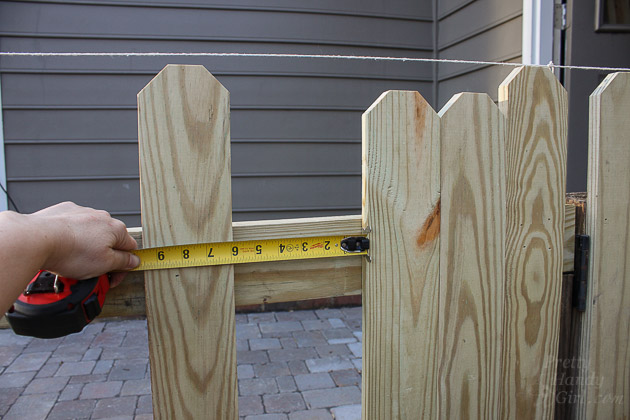
Nail the rest of your pickets making sure they line up with the string and are plumb.
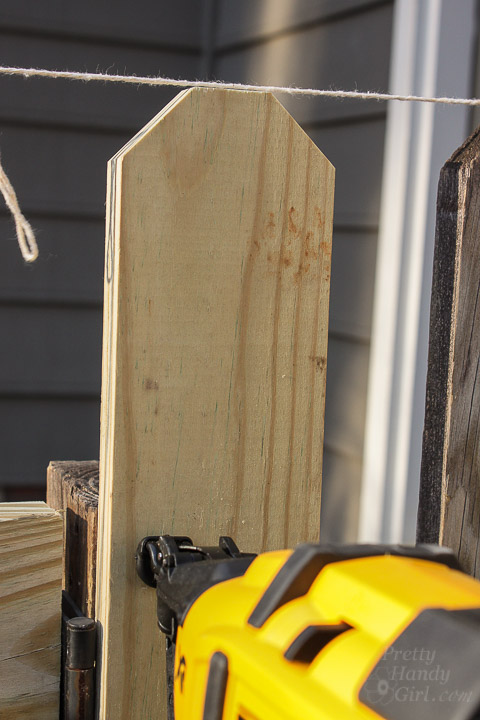
Repeat for the opposite side and now you know How to Build a Rock Solid Gate!
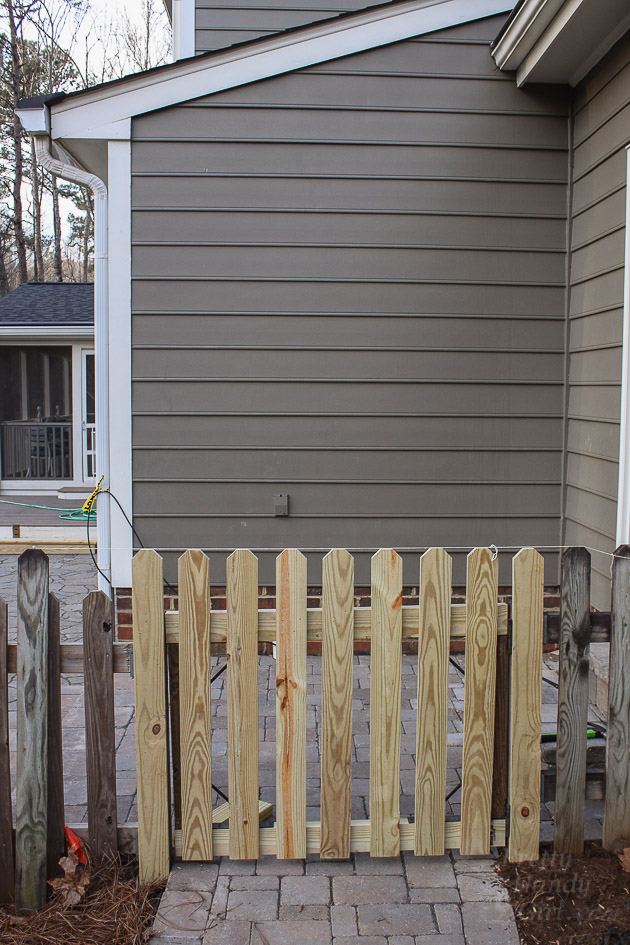
Now let’s talk about how to dress up this simple gate!
![]()



Great ideas! The gate always seems to be the biggest challenge when it comes to fence repair.
My husband owns a fence company and I have to say I’m impressed!!! Nice job 🙂
I need to build a two door gate in a 10 ft space where there is existing chain link fence. Not sure I have the talent.