DIY Gold Leaf Bottle Vases
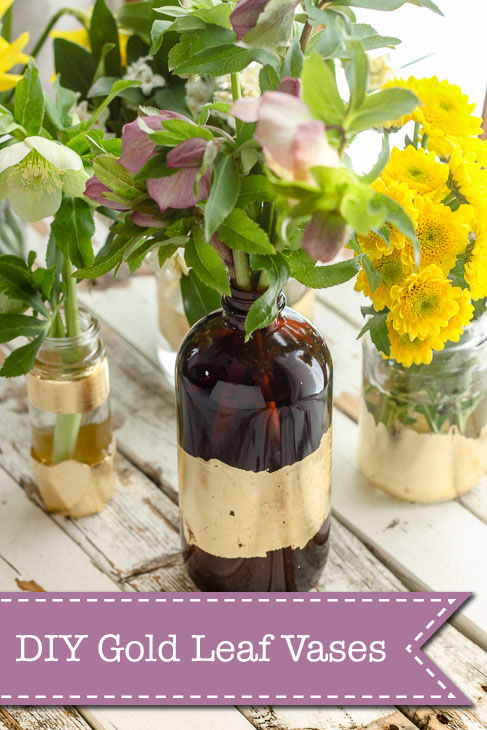
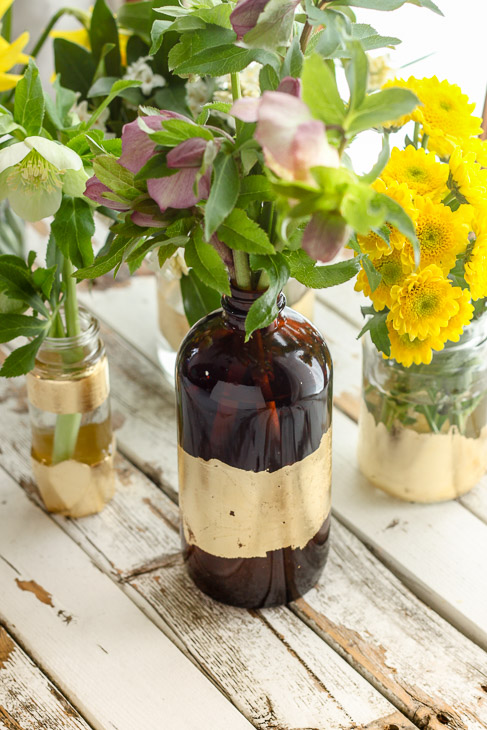
Remember when you were a child and you would pick wildflowers and present them proudly to your mom in a soda bottle? The simplicity of a fresh picked bouquet and the opulence of real gold leaf makes these DIY Gold Leaf Vases the perfect gift for anyone! I like to keep recycled bottles on hand to dress up and use for vases. Teachers, my hairdresser, a friend. . . no one is exempt from receiving a pick me up bouquet.
Make a dozen of these beautiful gold leaf vases and keep them on hand for a quick gift or to display your own horticultural achievements!
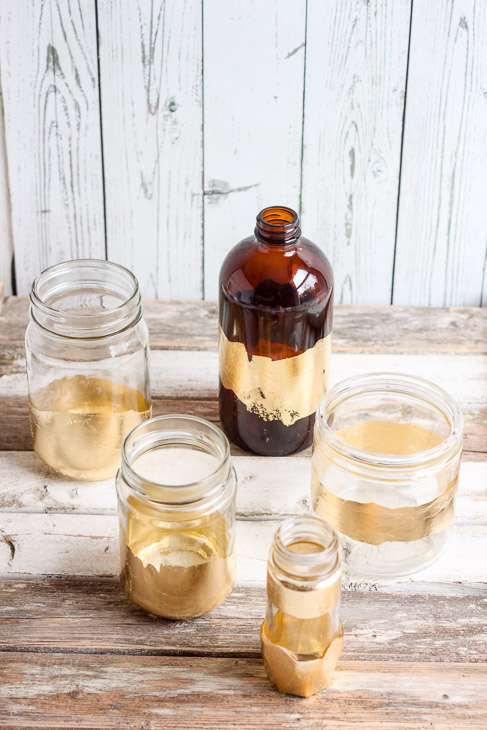
Ready to make a few DIY Gold Leaf Vases in minutes? Let’s get leafin’.
Materials:
(I’ve included affiliate links for your convenience. I earn a small percentage from a purchase using these links. There is no additional cost to you. You can read more about affiliate links here.)
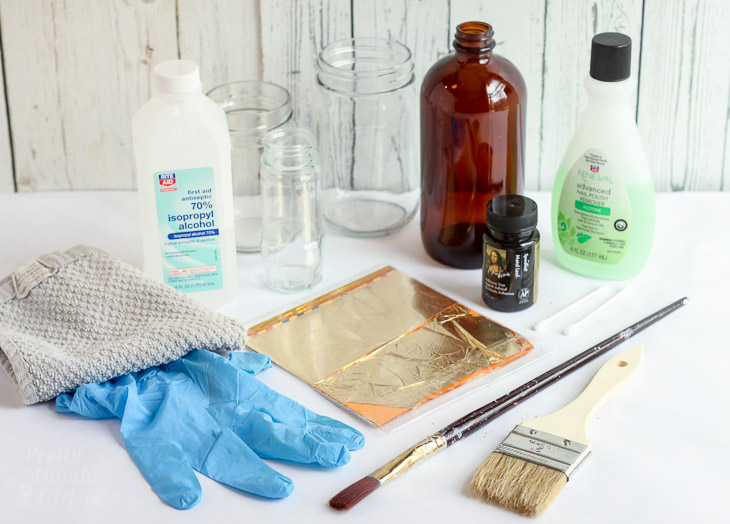
- Recycled bottles or jars
- Paint brush
- Adhesive gold leaf sizing
- Gold leaf sheets
- Rag
- Chip brush (or gold leaf brush)
Optional:
Preparing Recycled Jars and Bottles:
Clean out your bottles and jars with soap and water. Soak them to remove the labels. Any gummy label residue can be removed with Lemon Essential oil (my favorite non-toxic glue residue remover).
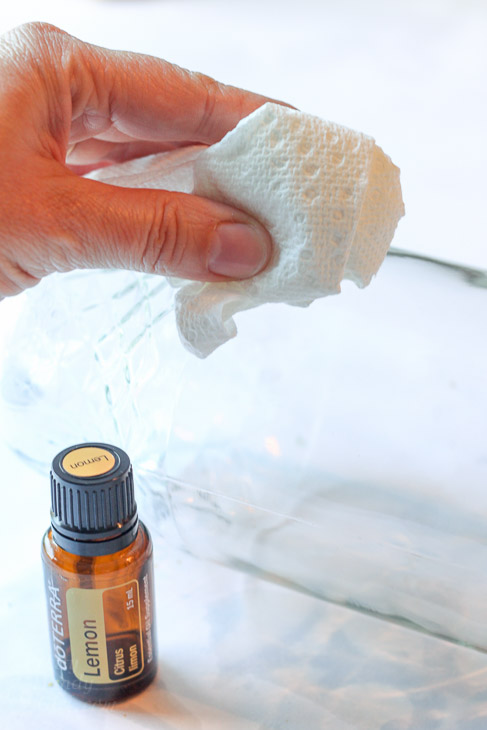
The lemon oil works faster and doesn’t leave any toxic or drying chemicals on your skin. But, if you don’t have any lemon essential oil on hand, use Goo Gone or rubbing alcohol (be sure to wear gloves or wash your hands immediately after use.)
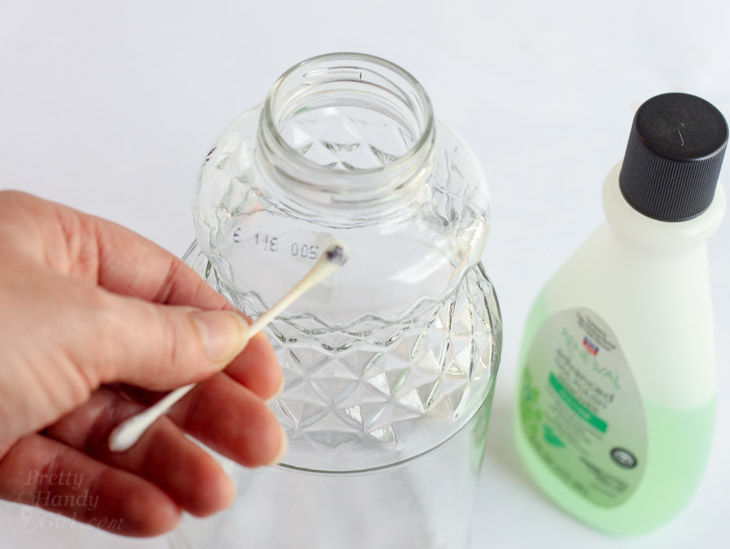
If there are any date stamps on your bottle, you can remove it with a Q-tip and Acetone based Nail Polish. I can’t help laughing every time I use this trick because I learned it from the Lego Movie! Anyone else remember the Fleece Crested Sceptre of Q-tip and The Pole-Ish Remover of Ni-Eel?
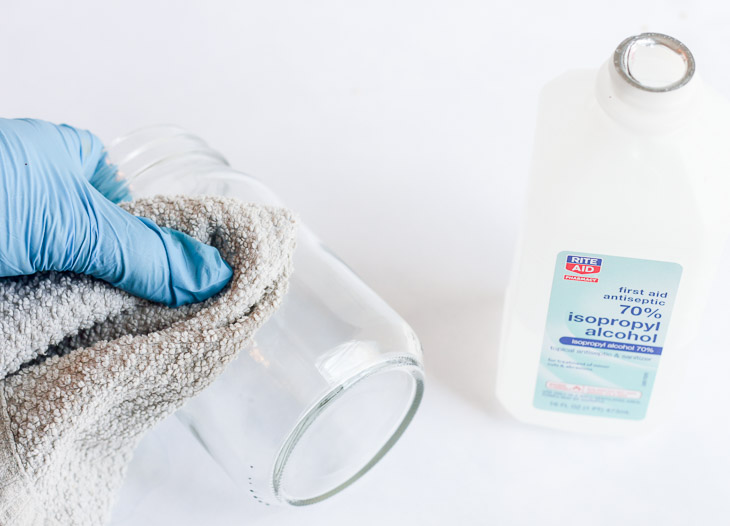
Clean your bottle or jar really well with rubbing alcohol.
Instructions:
Lay your clean glass bottle on a covered work surface (you will make a mess.)
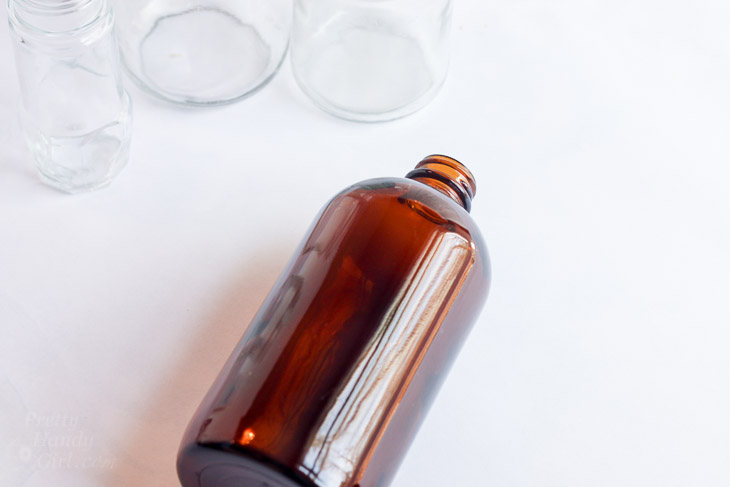
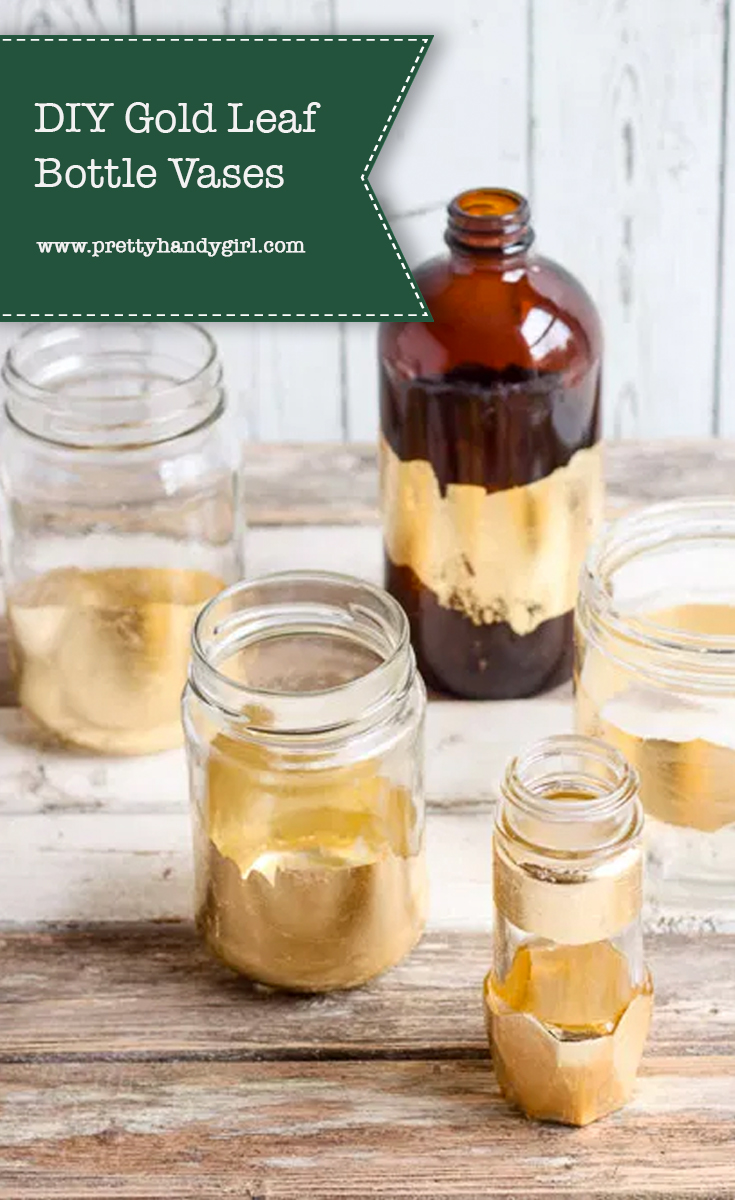
Paint the adhesive sizing onto your glass bottle. Anywhere the adhesive lays gold will stick, so decide if you want to be random or use clean lines.
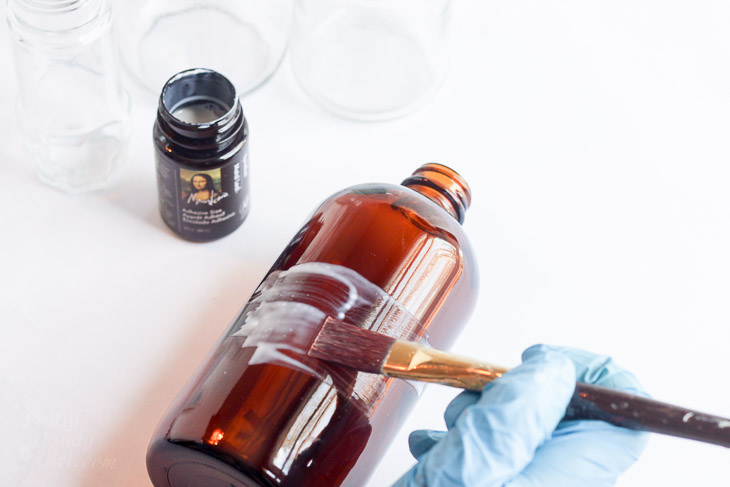
Allow the adhesive to dry (you can use a hair dryer to speed the process and prevent the adhesive from running and dripping.)
Carefully lift up pieces of the gold leaf and lay them flat on top of your glass bottle. Pat the leaf into the adhesive.
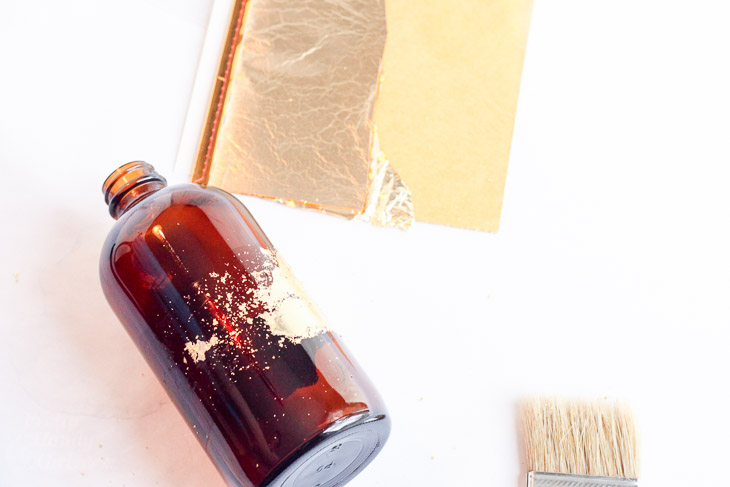
Use your brush to dust off any excess gold leaf. Continue adding gold leaf until all the adhesive is covered.
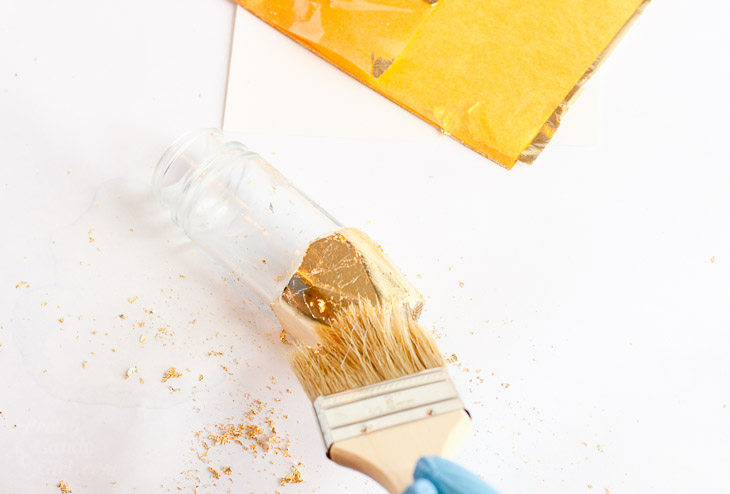
Wipe off any excess gold leaf flakes with a dry rag and you are done!
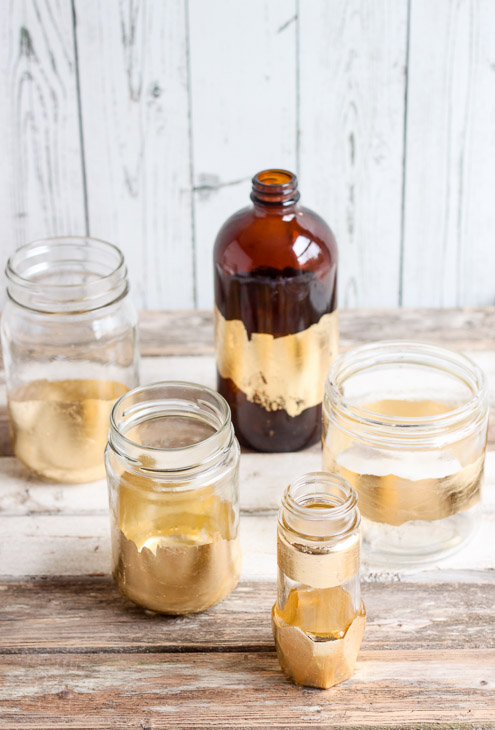
Here’s a quick video to show you how the gold leafing process works.
Fill your new gold leaf vases with flowers and enjoy!
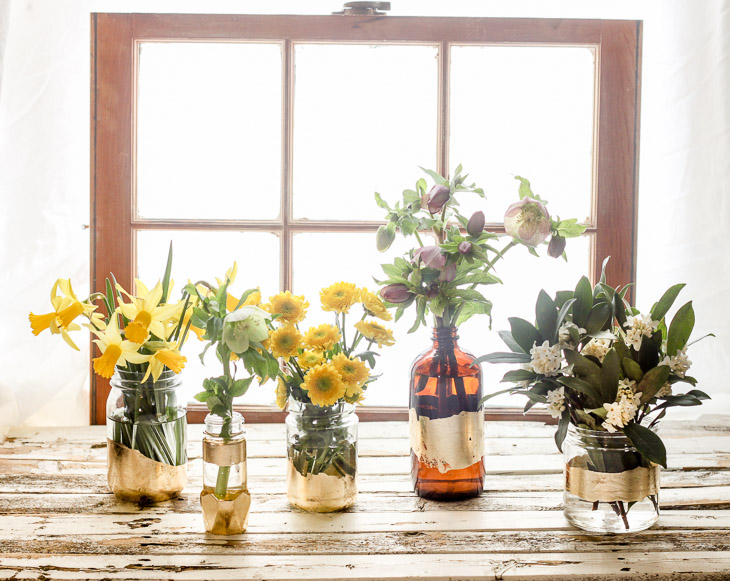
Or give them to someone special.
Leave me a comment to let me know how you like this project. Or let me know if you have another way to upcycle glass jars and bottles.
![]()
Pin for later!

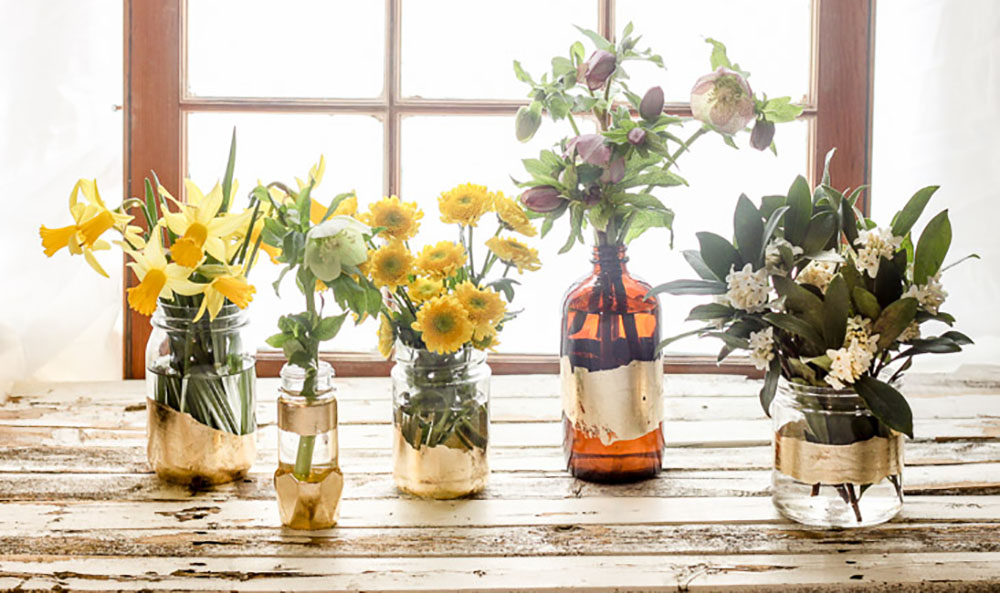
The scene of the gold leaf bottles in front of the window is so beautiful. I might save some bottles and make a great gift for my parent.
Thank Abigail. Warning, saving glass bottles can be habit forming. I have a box waiting for use. 😉
Metal leafing is one of the best inventions. It can be used on EVERYTHING! I would like to find a suitable replacement for the adhesive though…
I love the look of these bottles turned glam. I have saved a few unusual bottles & I keep wondering why, now I know! Thanks for this Brittany!
Can the gold leafing get wet? Or will that’s cause it to come off?
YES! I’ve handwashed these bottles several times and the gold leaf stays on really well. You have to scratch it really hard with a fingernail to get it to come off.