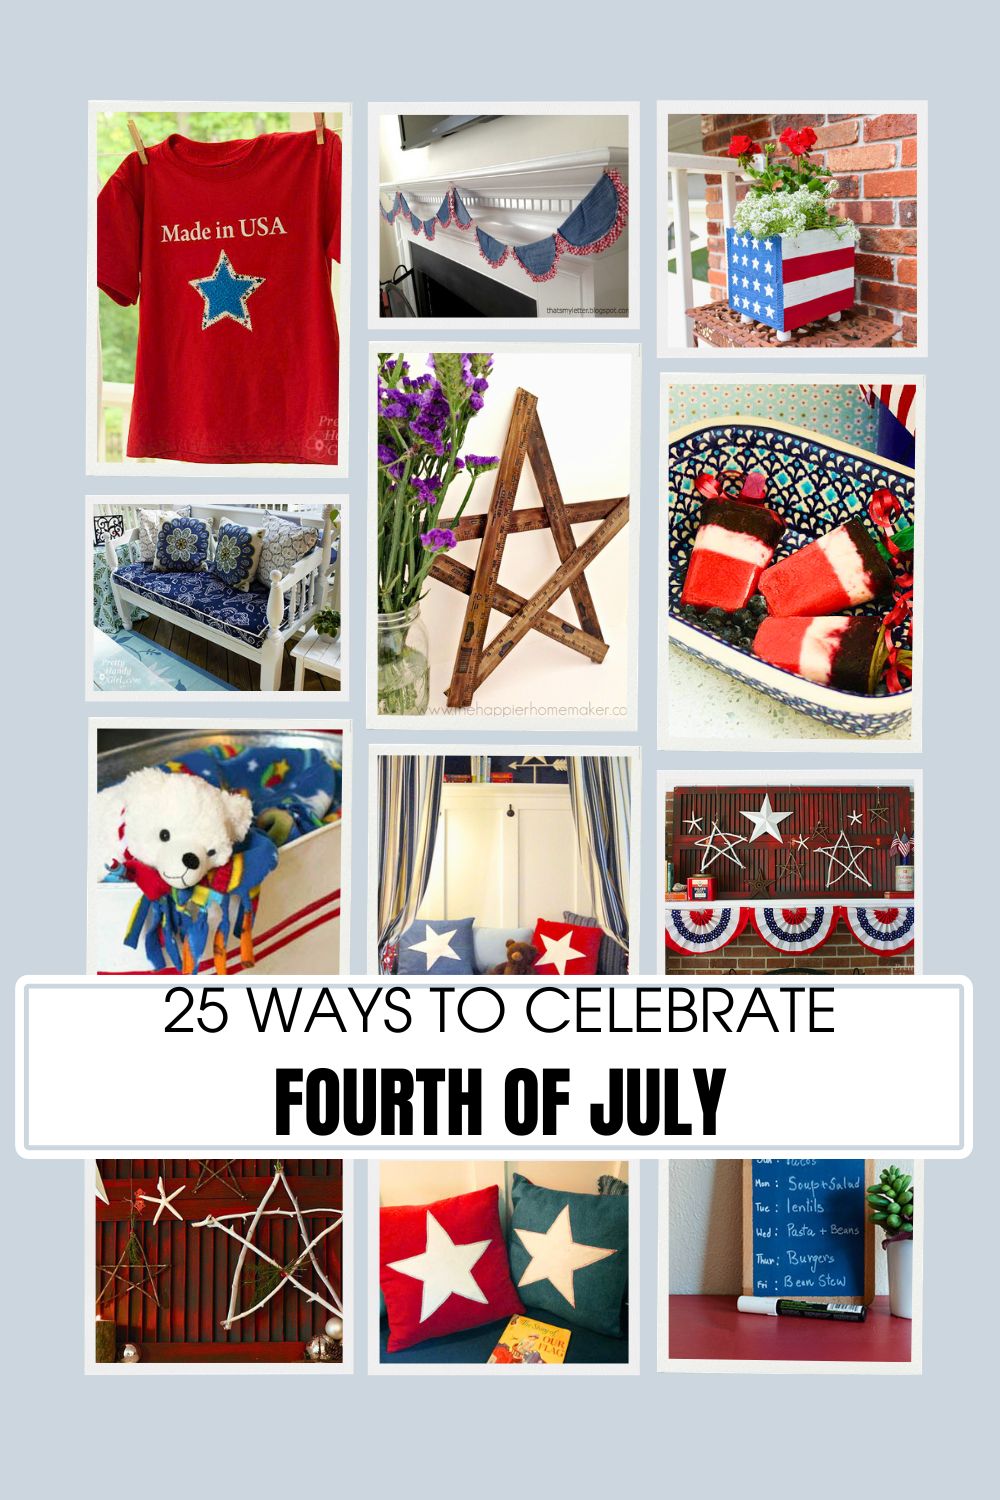
Celebrate the 4th of July in style with 25 fun red, white, and blue ideas for decor, food, crafts, parties, and patriotic family fun!
July 4th Celebration Ideas for America’s Birthday
There’s just something special about Fourth of July spectacular celebrations across large and small towns in the United States.
From backyard BBQs filled with hot dogs and summer treats to fireworks displays lighting up the night sky, free outdoor concerts, or other live performances, it’s the perfect time to gather with family and friends and make fun memories together.
Whether you’re planning a big party, or just looking for family-friendly activities or other simple ways to celebrate the nation’s history, these patriotic ideas will help you make the day extra festive and fun!
Take a look at these Fourth of July celebrations and look for a fun way to enjoy the long weekend near you!
Red, White and Blue Ideas
From backyard BBQs and live music to fireworks lighting up the sky while everyone sings the star-spangled banner, july fourth is all about celebrating our nation’s birthday with family and friends. If you’re looking for fun and festive ways to make the holiday extra memorable, these ideas are the perfect place to start!

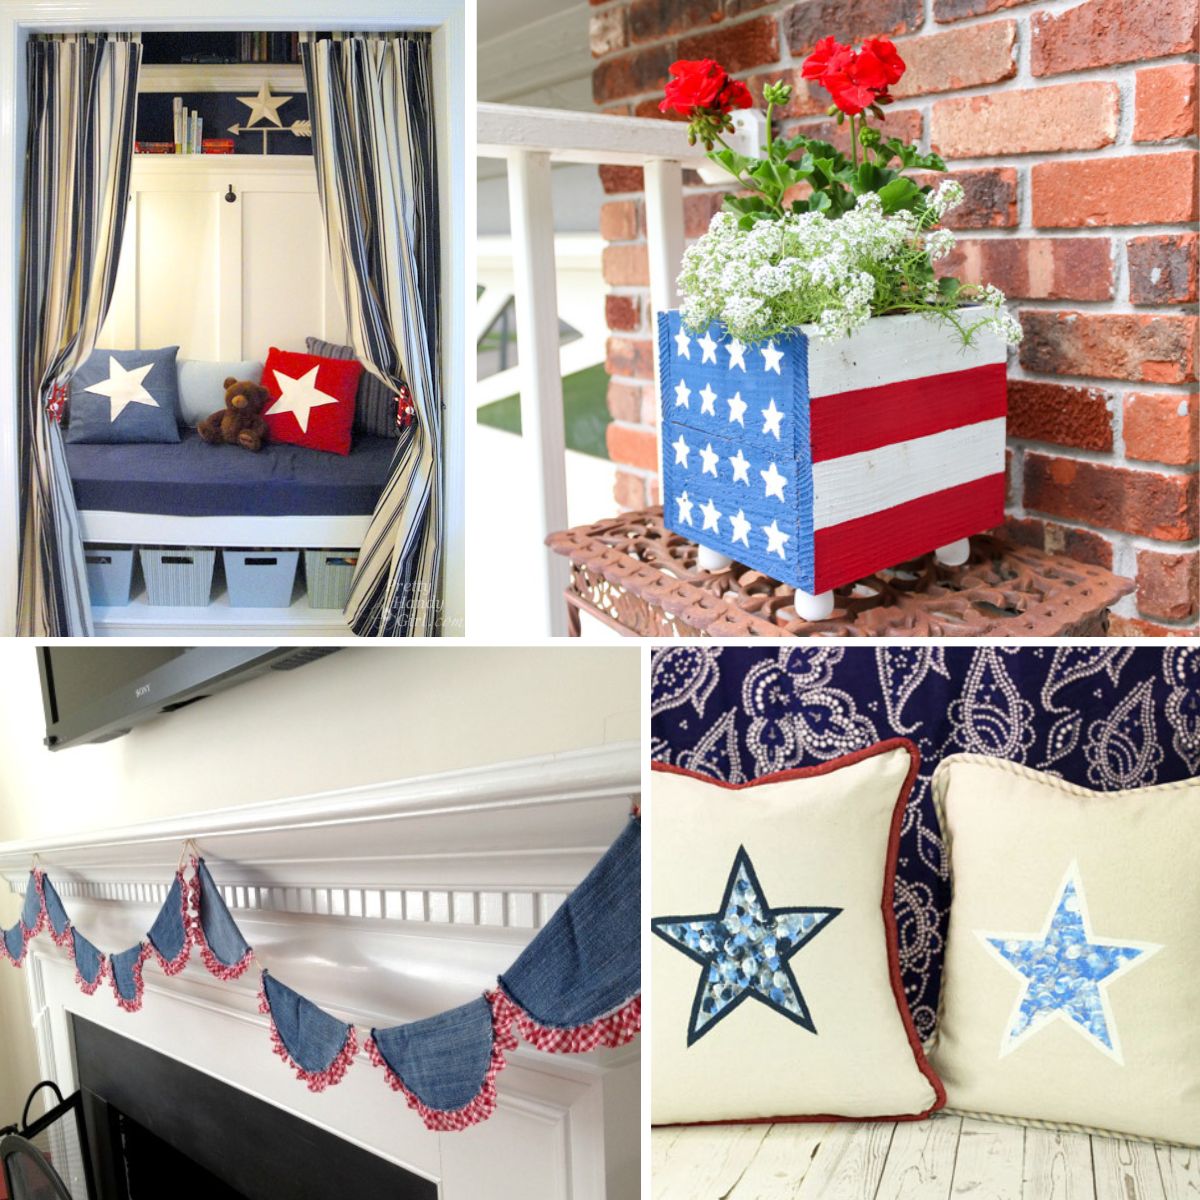
DIY American Flag Planter Box
Looking to add a patriotic touch to your summer porch or patio? This DIY American flag planter box is quick, easy, and fun to make, making it the perfect project for adding red, white, and blue charm to your outdoor space.
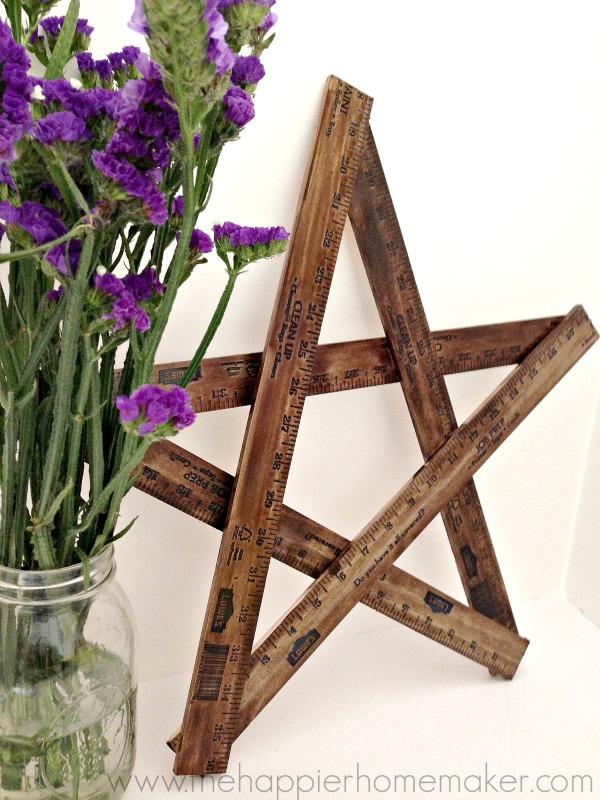
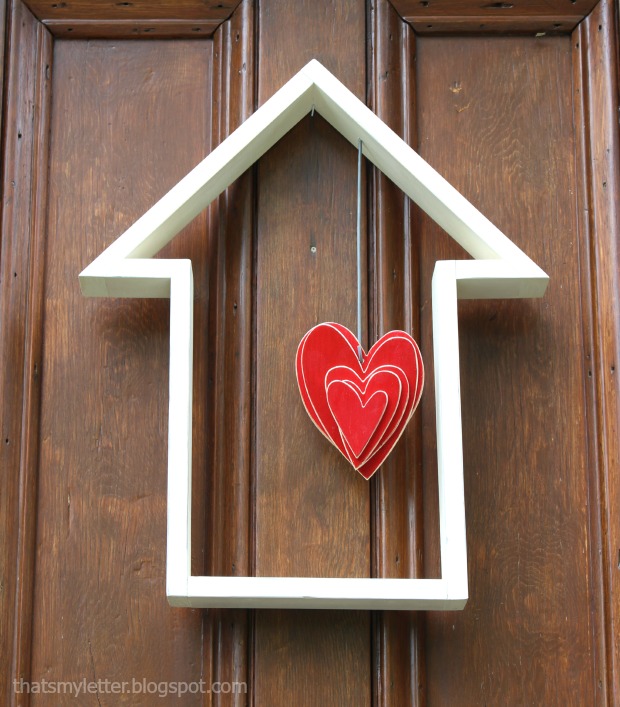
Easy DIY Yardstick Star Tutorial
I spotted a bucket of yardsticks in the paint section and instantly got inspired to make this adorable little yardstick star for my mantel! It turned out to be one of my favorite kinds of DIY projects—easy, affordable, and so cute for patriotic decor.
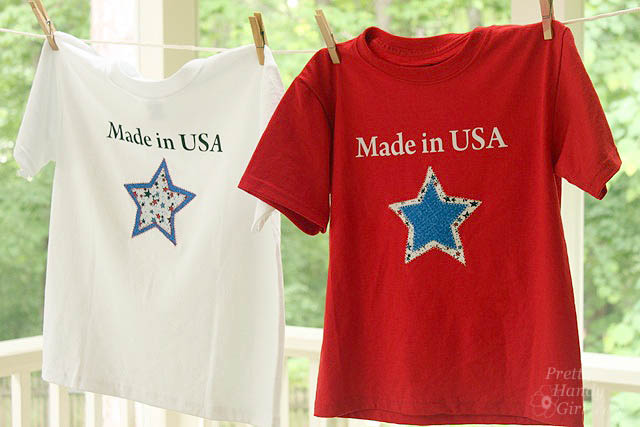
Made in USA Star Shirts with Silhouette Interfacing
Around Memorial Day and the Fourth of July, I always love making patriotic t-shirts for the boys. These “Made in the USA” shirts are perfect to wear while watching a firework display, or to show off your American spirit all summer long!
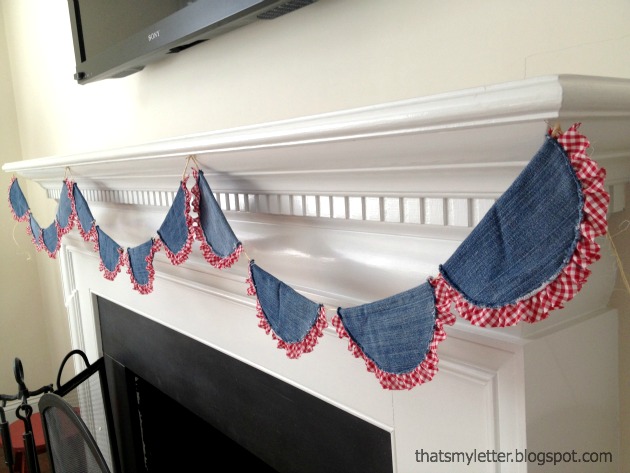
Patriotic Denim Bunting Tutorial
Nothing feels more patriotic than red, white, and blue, and this denim bunting brings it all together perfectly. The mix of blue denim with red and white gingham ruffle trim creates a charming farmhouse-style decoration and a fun way to repurpose old worn-out jeans.
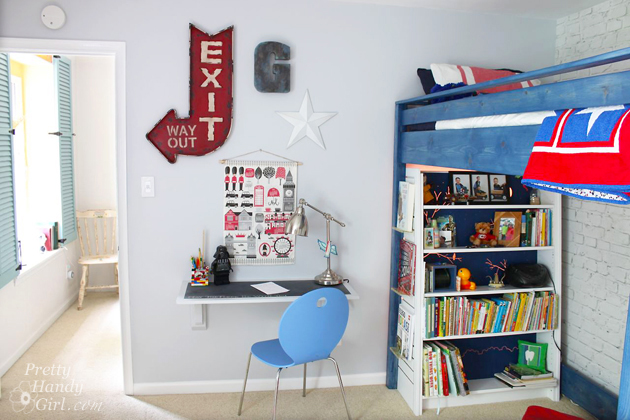
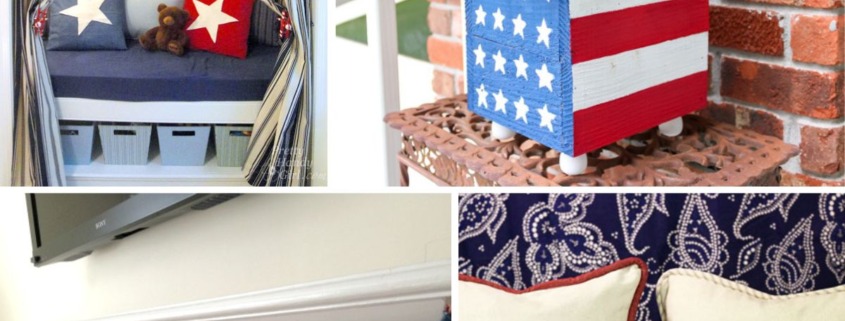
Red, White & Blue Themed Boy's Room Reveal
It feels so rewarding to finally finish this bedroom project and share the final reveal with you! The whole theme actually began four years ago when I transformed his extra closet into a cozy reading nook, and the blue, white, and red color palette still works perfectly together.
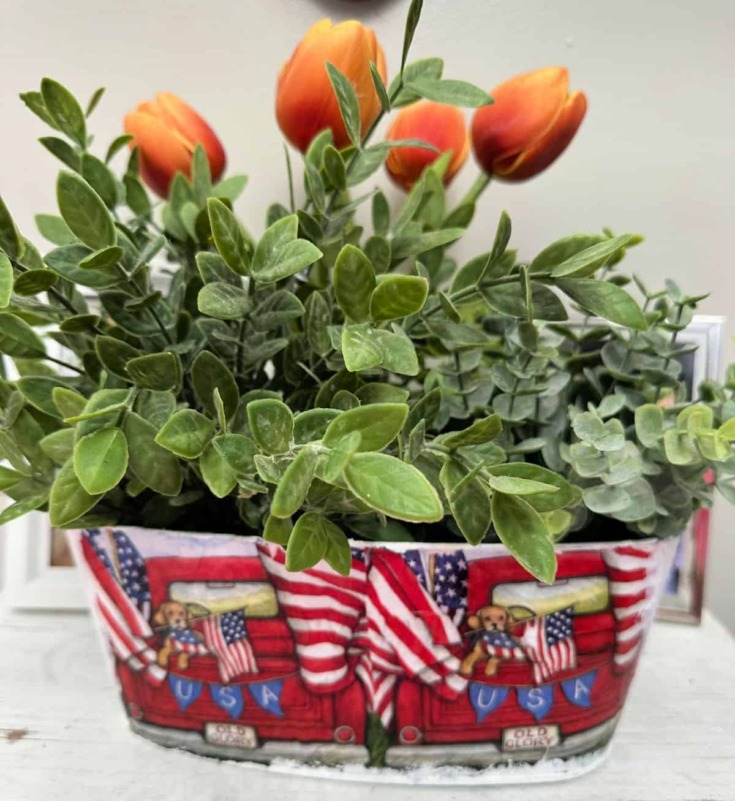
Easy DIY Dollar Store Patriotic Planters
:Turn an inexpensive dollar store planter into a patriotic showpiece with colorful napkins and decoupage. Add your favorite real or artificial flowers for a quick and budget-friendly decorating idea.
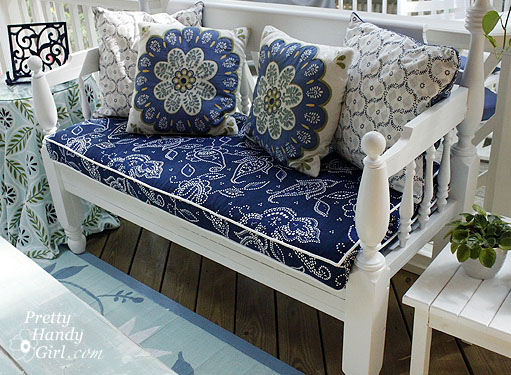
How to Sew a DIY Bench Cushion with Piping
Learn how to sew your own custom DIY bench cushion with piping using this detailed step-by-step tutorial. I’ll walk you through how to make beautiful bench cushion covers that fit your space perfectly.
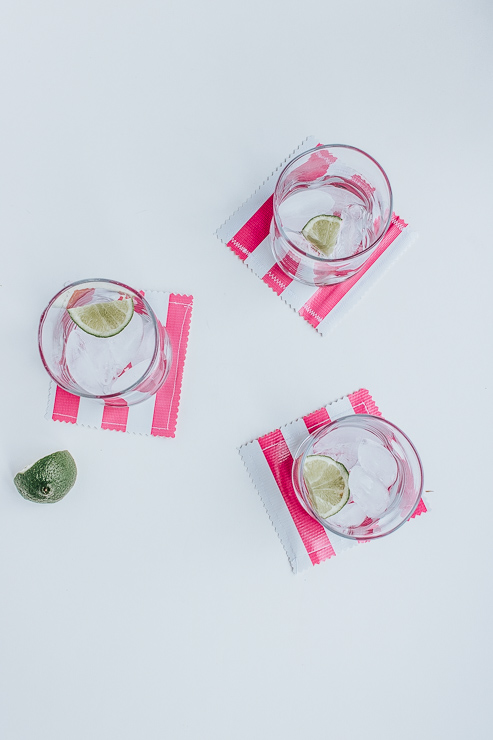
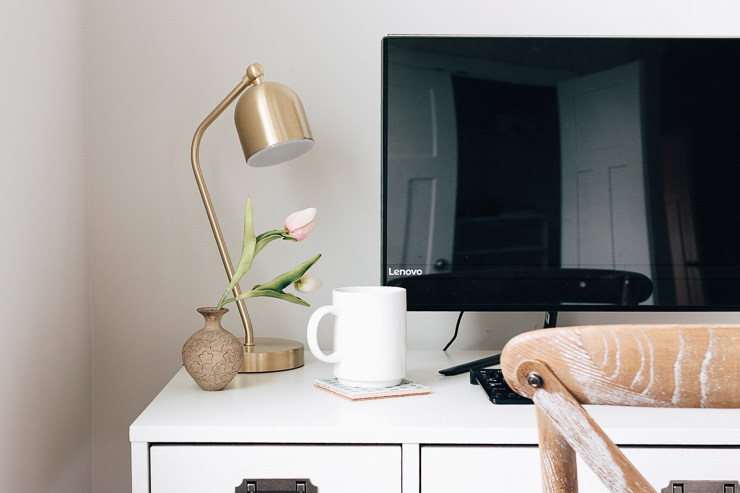
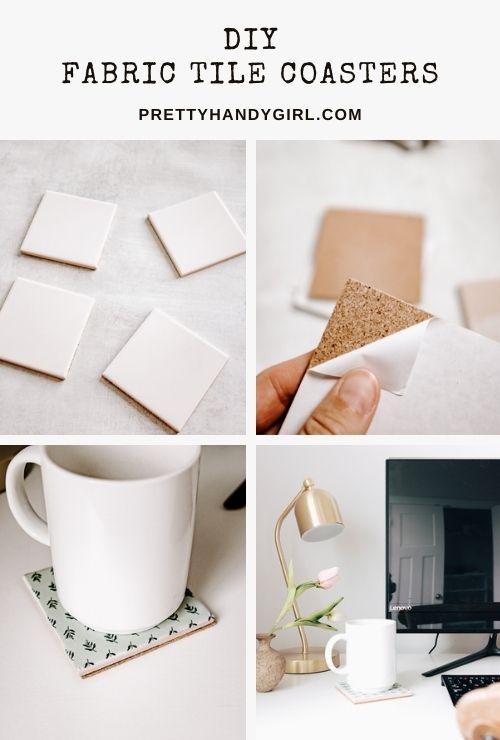
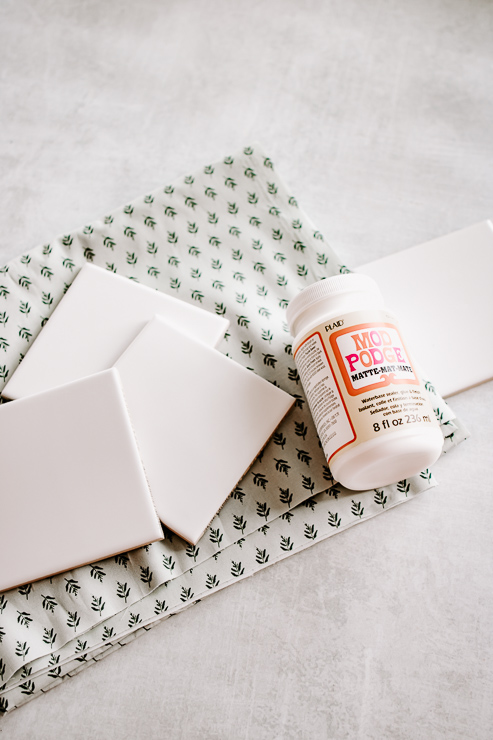
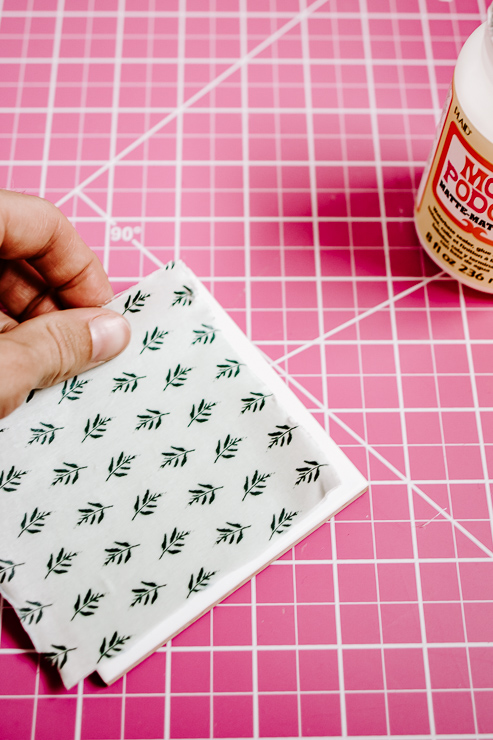
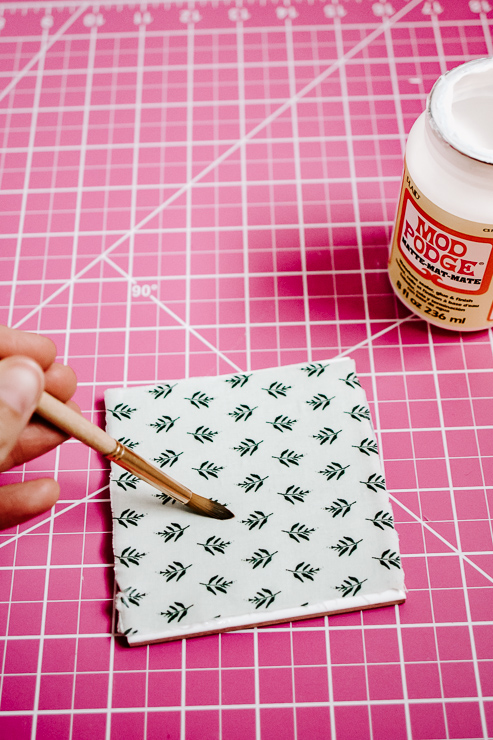
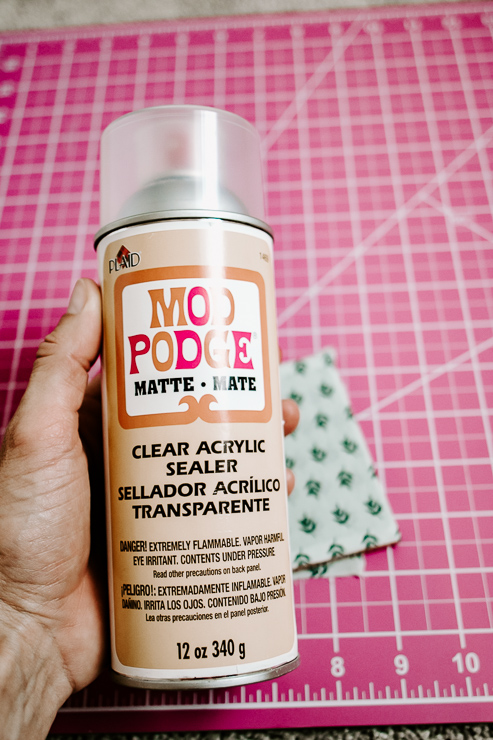
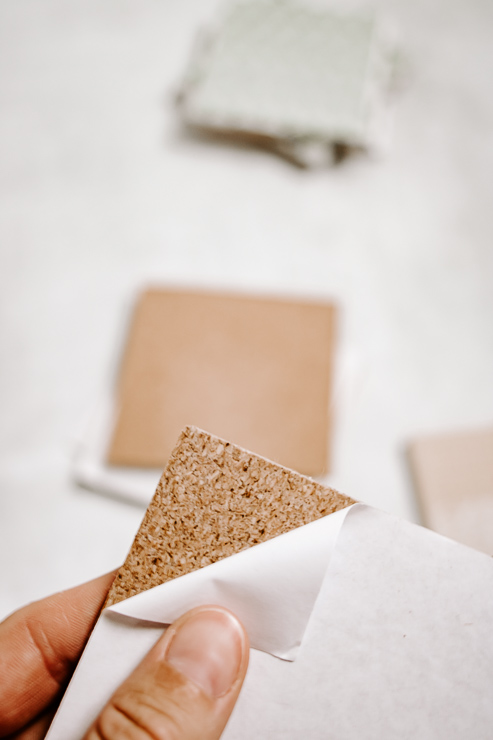
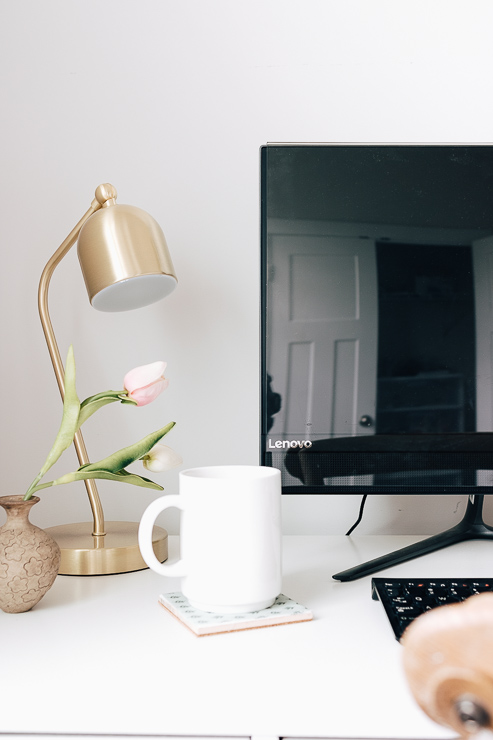
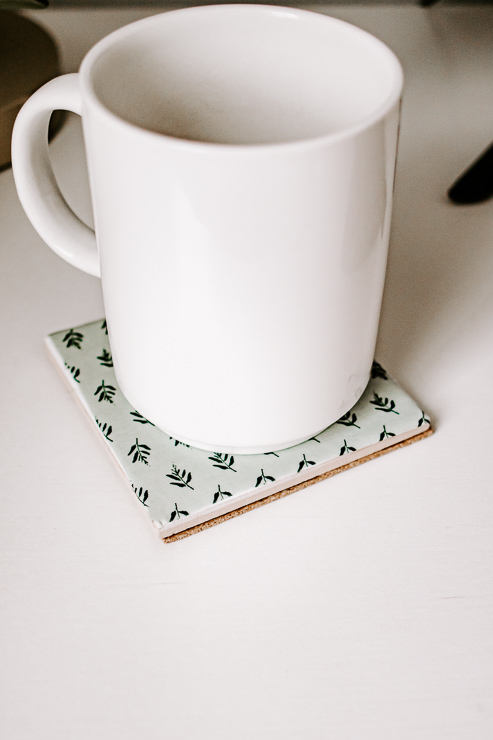
DIY Oilcloth Drink Coasters
Summer entertaining is definitely on my mind, and this fun little project is perfect for patios and outdoor spaces! These adorable DIY oilcloth drink coasters are not only cute for entertaining or gifting, but they’re also completely water resistant too.
Iron Star Red White And Blue American Flag DIY
Turn a simple iron star into a charming patriotic decoration by creating a red, white, and blue American flag design. A rusty metal star adds farmhouse character, while painter's tape makes it easy to achieve crisp, even stripes.
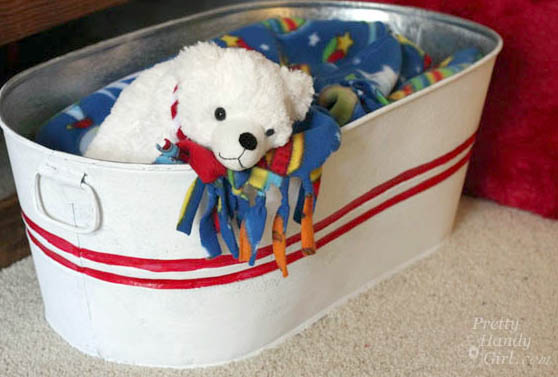
Galvanized Tub Storage Bench with Furry Upholstered Lid
This creative storage solution combines a galvanized tub with a soft furry upholstered lid for both style and function. It’s the perfect way to hide and organize all the kid clutter in a child’s bedroom while adding a fun decorative touch.
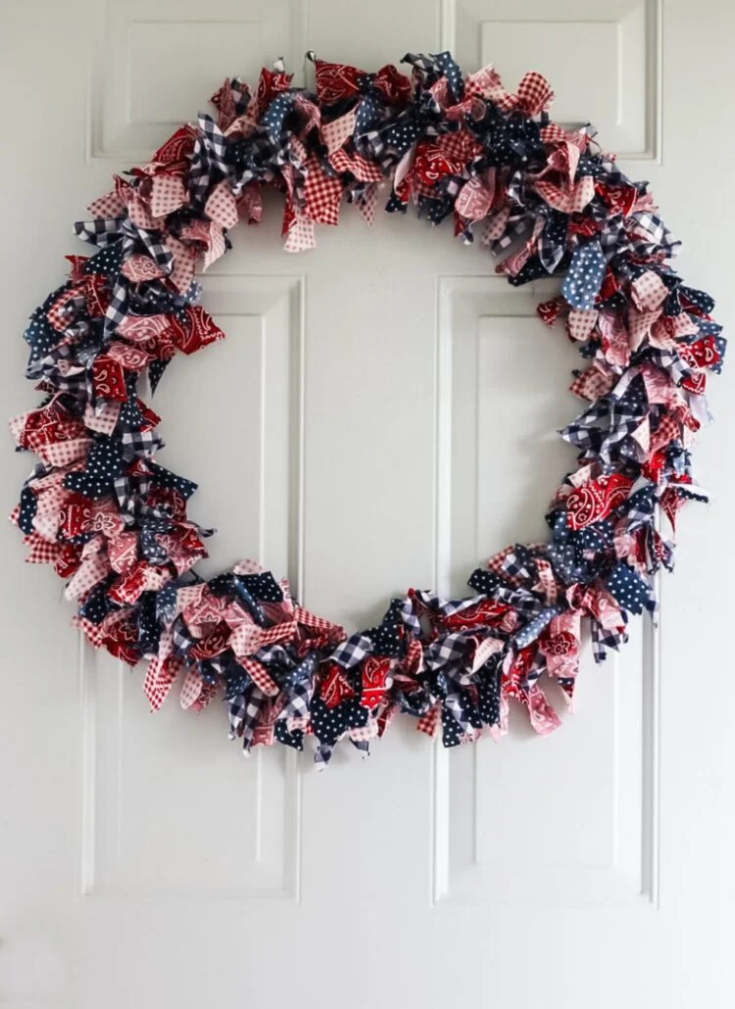
DIY Red, White, and Blue Rag Wreath
Create a beautiful patriotic rag wreath using scraps of red, white, and blue fabric. With the Fourth of July right around the corner, this easy DIY project is the perfect way to add festive charm to your front door or home décor.

Red, White & Blueberry Fruit Pops
Summertime is here and cool popsicles and ice cream are a must on a hot day. You can make festive fruit popsicles using just a few simple ingredients you may already have on hand.
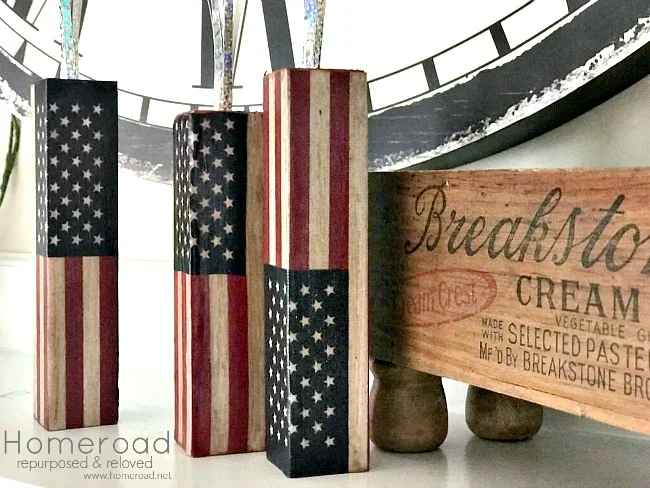
Summer Firecracker Blocks
Turn leftover oak trim pieces and mini fabric flags into charming Summer Firecracker Blocks. This easy patriotic DIY adds rustic red, white, and blue flair to your summer and Fourth of July décor.
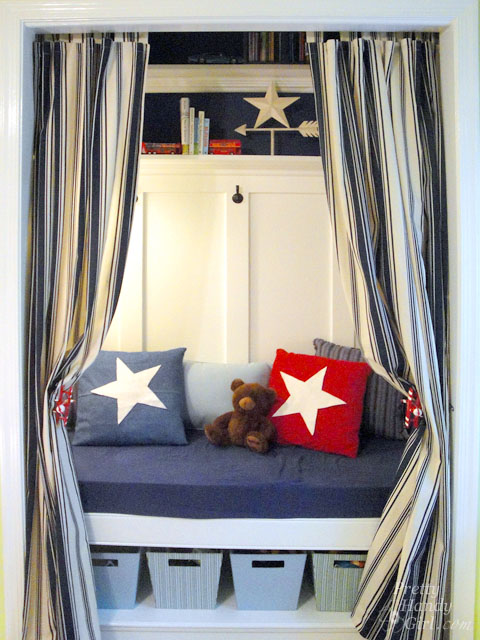
When is a Closet not a Closet? Reading Nook Transformation!
Come check out this closet reading nook transformation! I turned an unused closet into a cozy reading nook in just a weekend. Plus, this space is flexible enough that it could easily be converted into a built-in desk area down the road.
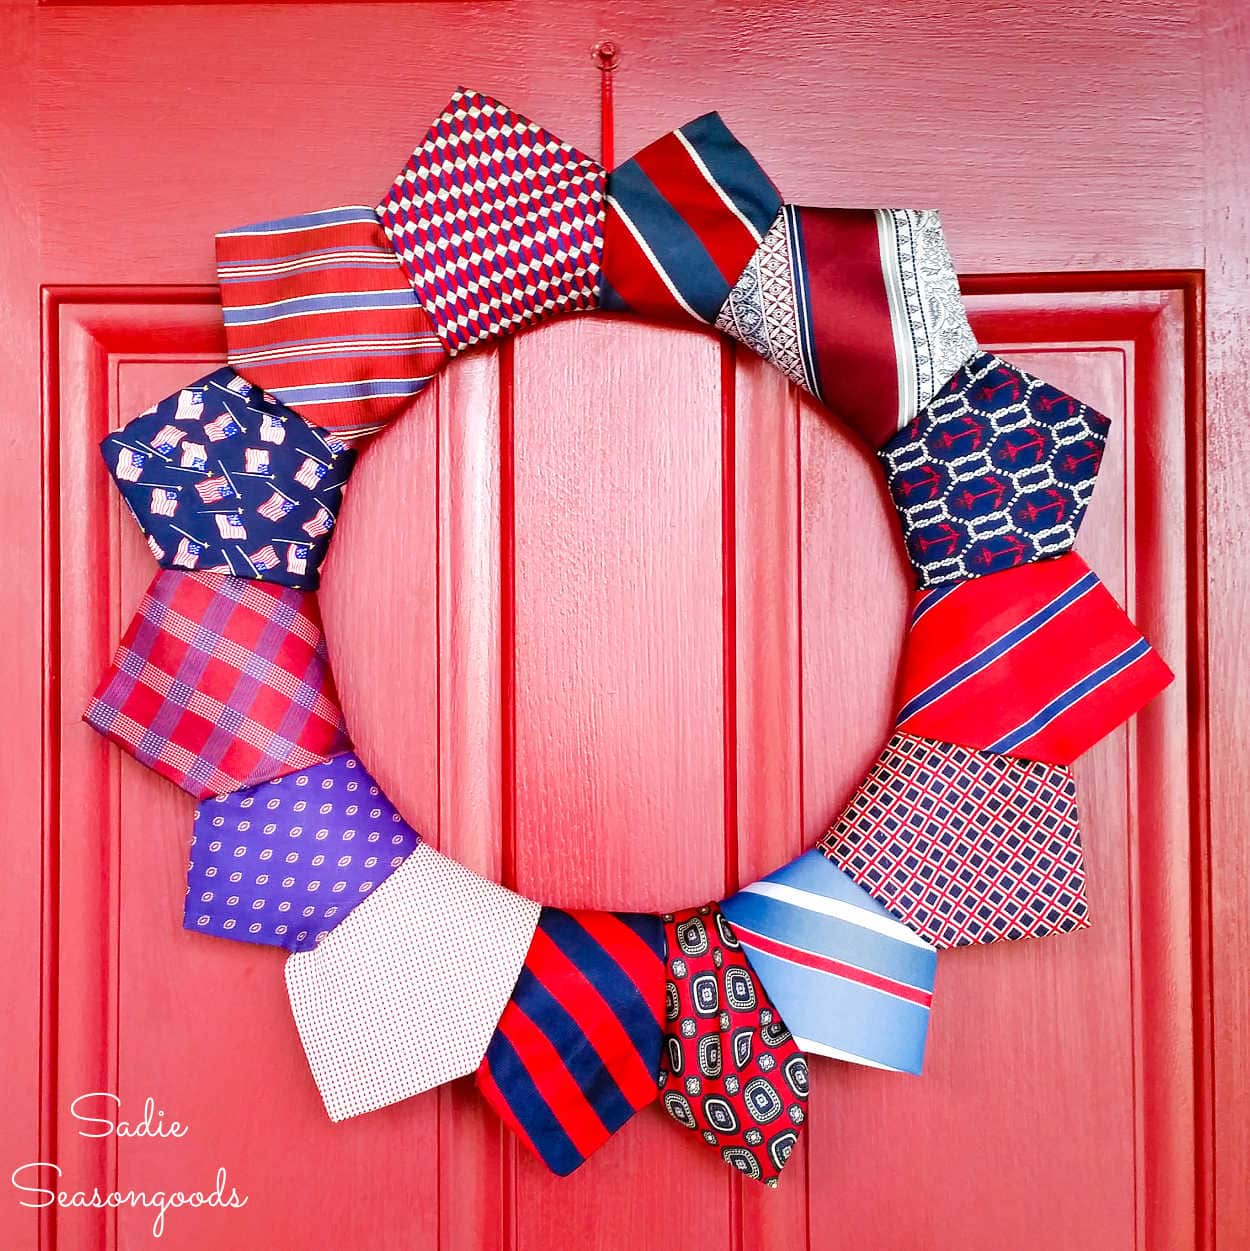
DIY Patriotic Wreath with Neckties
Give thrifted neckties a second life by turning them into a festive patriotic wreath. This easy DIY red, white, and blue decoration is perfect for the Fourth of July and works beautifully for Memorial Day too.
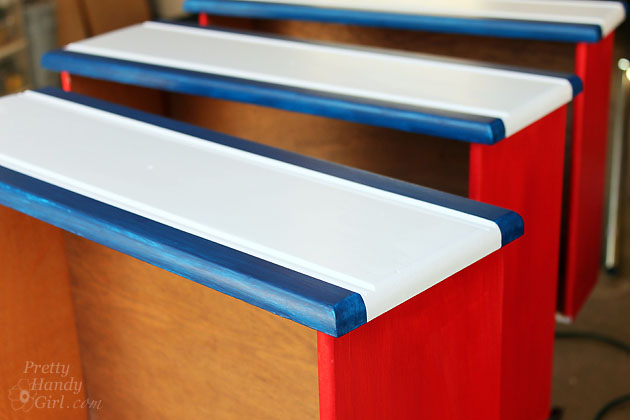
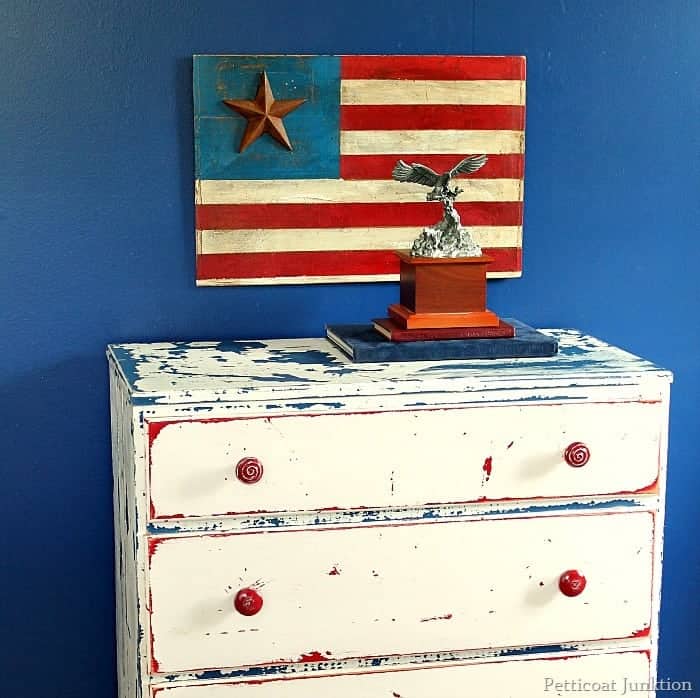
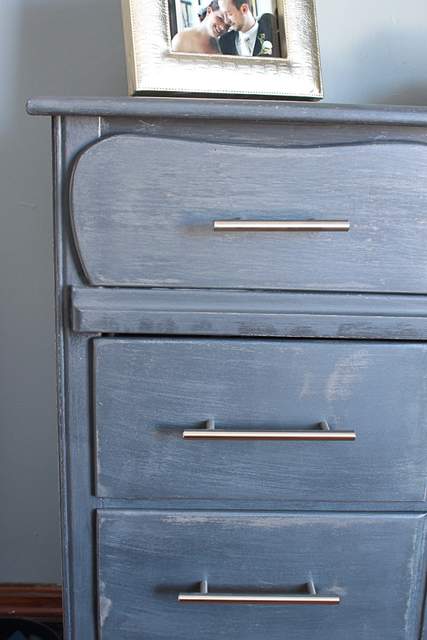
An Easy Way to Add Color to a Dresser
Adding color to dresser drawers is such an easy way to bring life to an otherwise plain piece of furniture. Finish it off with some new knobs, and your dresser can feel like a completely brand-new piece!
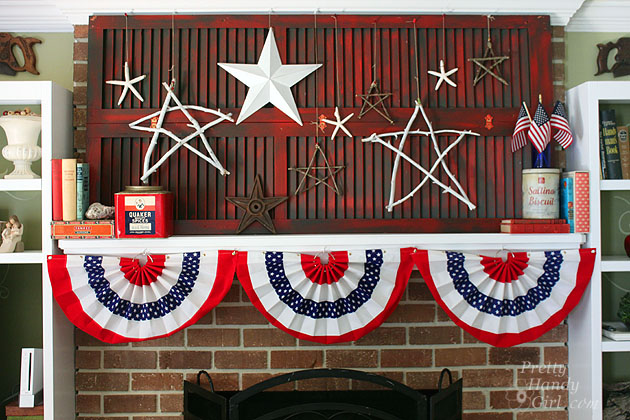
A Lazy Girl's Patriotic Summer Mantel
Let’s take this Christmas mantel and give it a total summer glow-up into a Lazy Girl’s Patriotic Summer Mantel—easy, relaxed, and full of red, white, and blue charm without all the extra effort.
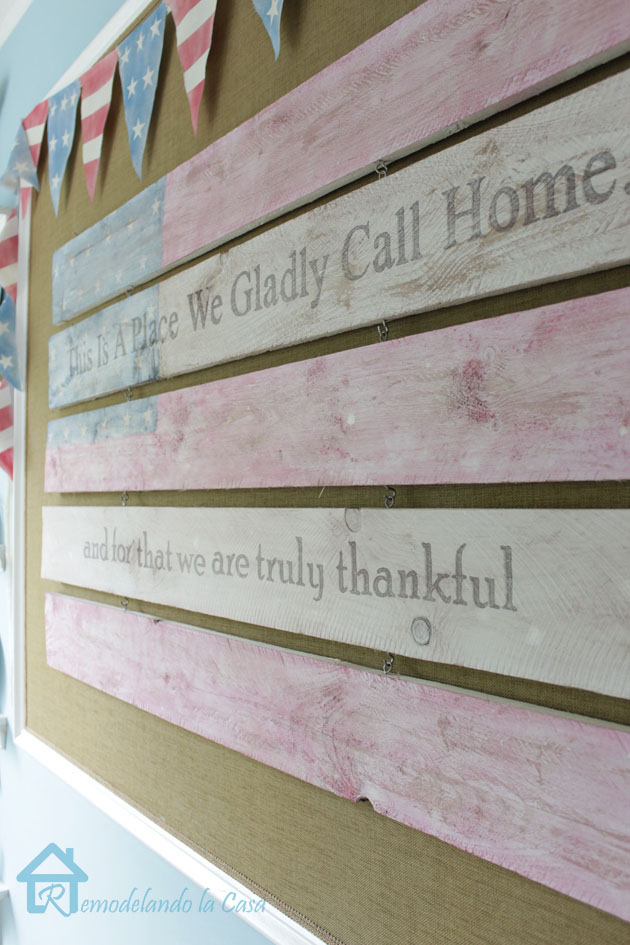
White-Washed Patriotic Flag Sign Tutorial
Learn how to create this white-washed patriotic flag sign and proudly display it in your home for a simple, timeless touch of Americana.
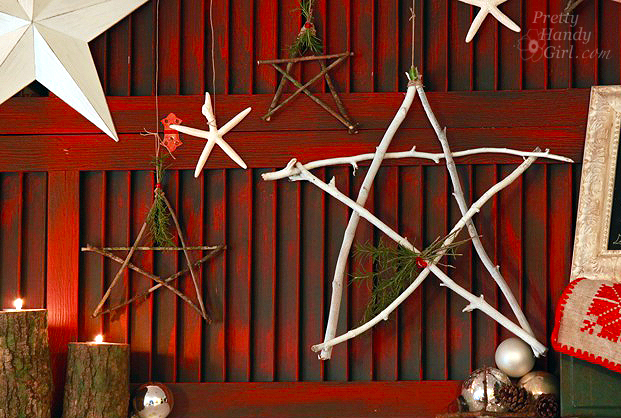
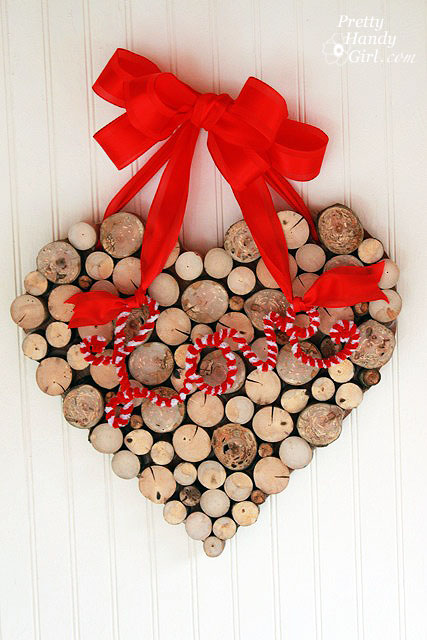
Twig Star Decorations
I love the beauty of nature and its ever-changing palette. Inspired by those colors, I brought a little bit of that natural charm indoors with these simple twig star ornaments.
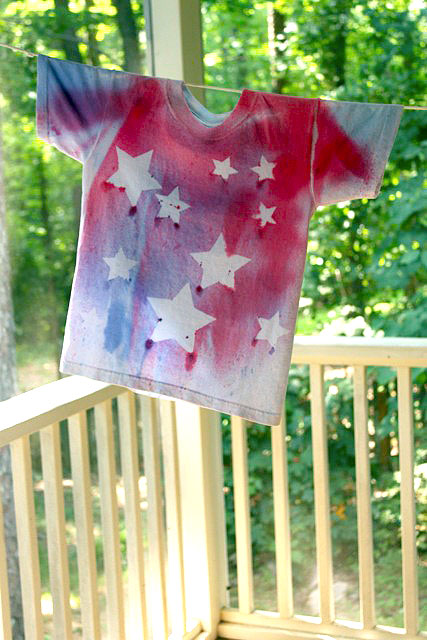
Dye Sprayed Shirts Using ScotchBlue Tape
I came up with a fun idea to let my boys design their own t-shirts using spray bottles filled with dye and ScotchBlue painter’s tape. The end results turned out so colorful, creative, and completely one-of-a-kind! Proudly wear these at your local free event to celebrate Memorial Day or 4th of July.
Finger-printed Envelope Star Pillows
Personalized finger-printed envelope star pillows are such a fun and easy gift idea to make. My boys and I had a great time creating these special pillows for their homeroom teachers.
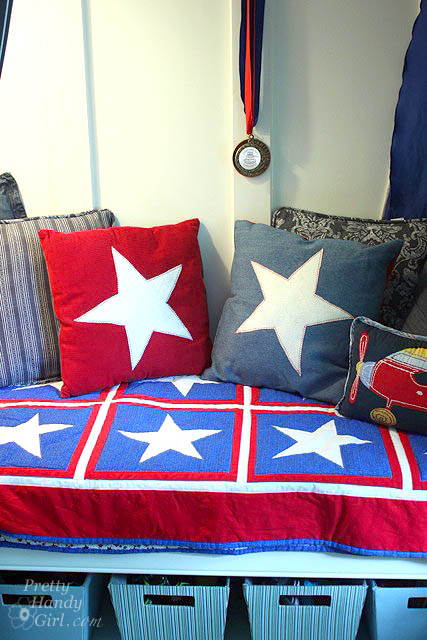
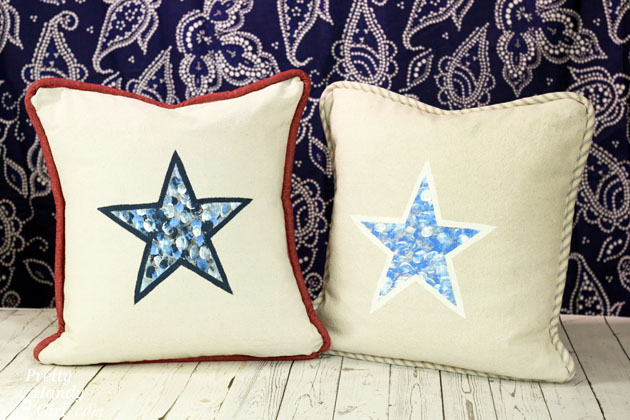
Easy DIY Patriotic Star Pillows
As Independence Day approaches, why not add a festive touch to your home with these easy-to-sew star pillows?
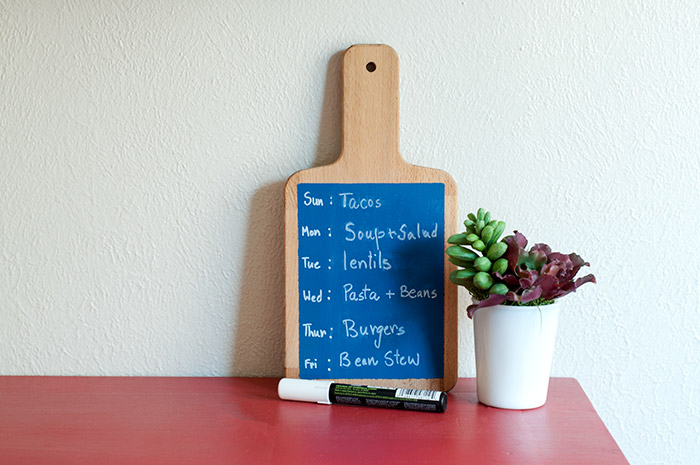
A Quick Cutting Board Makeover for Meal Planning
I wanted a weekly menu right in my kitchen where I could see it at all times.
An old IKEA cutting board turned out to be the perfect solution for creating a simple and functional meal planner!
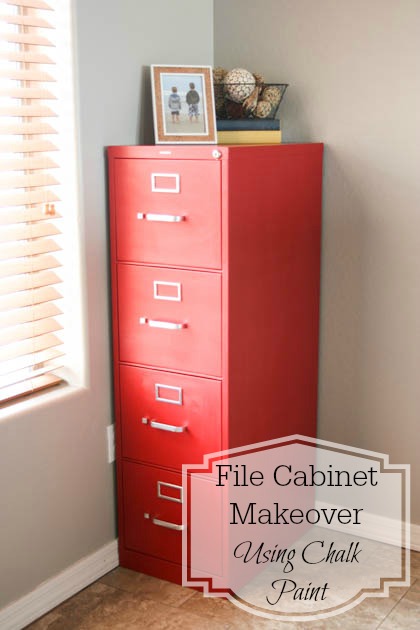
File Cabinet Makeover Using Chalk Paint
This file cabinet is one of the pieces going into that closet, but once the makeover is complete, it’ll be moved to a more prominent spot where it will be much more visible—especially if the curtains are left open.
Because of that, I knew the boring beige just wasn’t going to work, so I gave it a quick and super budget-friendly makeover!
Fool Proof Way to Update Furniture Like a Pro
I’m sharing some simple tips to help your furniture finishes look professionally done, even if you’re DIYing at home. I’ll walk you through choosing the best paint, primer, and tools for the job, plus a few quick and easy ways to refresh your furniture in just minutes!
Are you inspired to try any of these independence day celebration ideas? Let me know if you give any of them a try.
Thanks for stopping by.

PIN FOR LATER