Dye Sprayed Shirts Using ScotchBlue Tape {Video Tutorial}
How many of you are moms (raise your hands)? And how many of you moms out there have rambunctious kids home for the summer? So, y’all with your hands raised will likely recognize this:
That was my cute adorable bird salt shaker that was obviously the brunt of some serious fun my boys were having. Grrrrrr.
And so the time had come to get those boys outside. No matter that the temperature was 102F with a heat index warning. Enough is enough! There was the safety of small innocent birds to worry about.
I came up with a fun plan to let my boys make their own t-shirts with spray bottles filled with dye and some ScotchBlue painter’s tape. The results were beautiful and unique!
Materials:
(I’ve included affiliate links for your convenience. I earn a small percentage from a purchase using these links. There is no additional cost to you. You can read more about affiliate links here.)
- ScotchBlue Painter’s Tape original
- X-acto knife
- Cutting mat (or plastic cutting board)
- Print out templates
- T-shirt
- Paper grocery bag
- Clothespins
- Clothesline
- Dropcloth
- Spray bottles
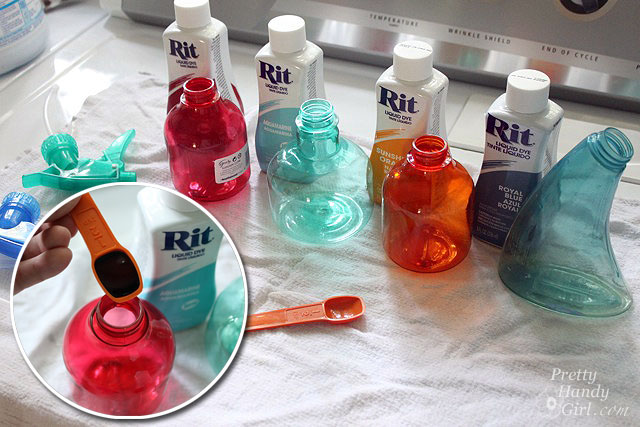
- RIT dyes
- Hot water (not boiling)
- 1 tsp. measuring spoon
- Safety eye goggles
- Rubber gloves
- White vinegar
Feel free to read the printed tutorial of this project, or take the fast track and just watch the video. I need to warn you, my boys decided to get a tad crazy silly during the taping:
Instructions:
Put down an 11″ strip of painter’s tape. Then slightly overlap (about 1/8″) another strip next to the first. Continue until you have approximately a letter-sized rectangle.
Print out your graphic to use as a template. I used one with stars (you can download my star template by clicking on this link), and one with a letter inside a circle.
Lay the graphic print on top of the tape mask rectangle. Tape the corners of the paper to hold it still during cutting. Use a very sharp x-acto knife to trace and cut through the graphic shapes. Remove any tape that you won’t be using in the mask.
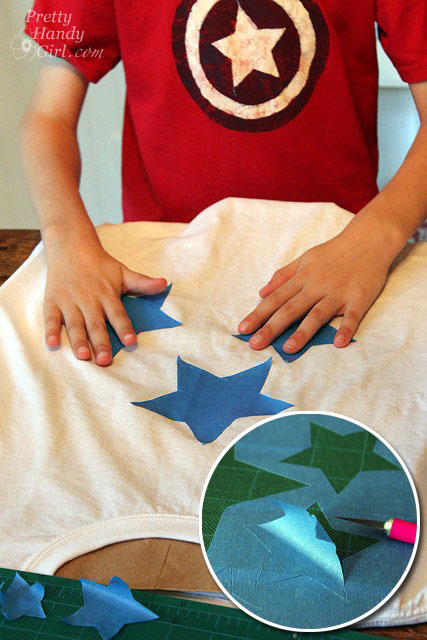 The Capt. America shirt worn above, is from I am Momma Hear Me Roar’s tutorial
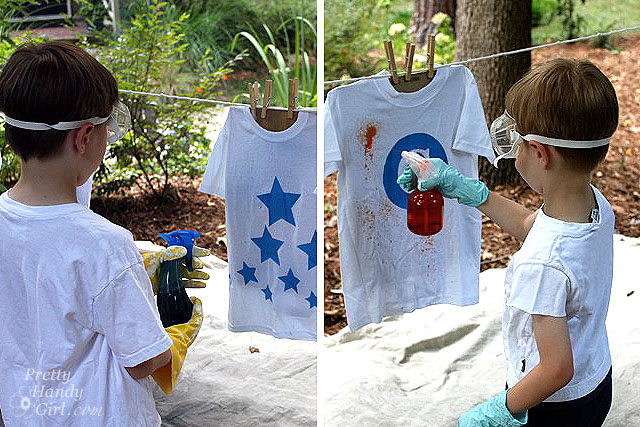
Slide the shirt over the paper grocery bag. This will keep the dye from bleeding through if the back of the shirt gets saturated (notice I didn’t mention “if the front gets saturated.”) Let your child place the tape masks on their shirts. Or assist them if you want some measure of control over the final product.
Heat a pot of water until it is hot, but not boiling. Pour 1 tsp or more of dye and 1 cup of hot water into each spray bottle. Screw on the lid and swirl the dye to mix. You may need to experiment and add more dye depending on the color intensity you desire. (Remember the shirts will always look darker when wet.) Make sure your plastic spray bottles will withstand the heat before carrying them outside (that would be a huge mistake if they melted and leaked all over your expensive carpet! Then again, if you want a new carpet, go for it!)
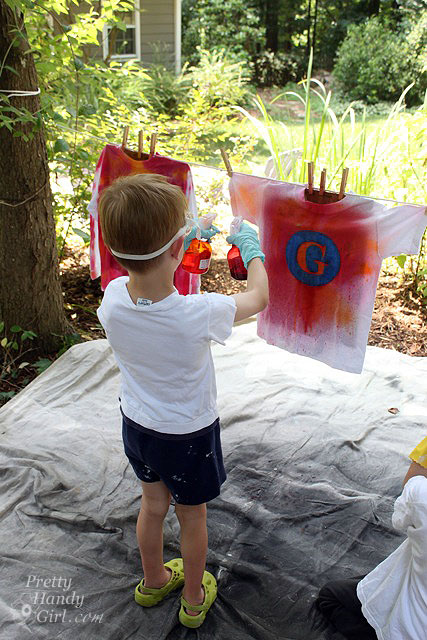
Tie the clothesline between two trees and lay out the drop cloth underneath. Use clothespins to pin the paper bags to the line. If you pin the shirts make sure to move the clothespins to spray underneath them. Outfit the kids with eye goggles, rubber gloves, and old clothes. Hand them the spray bottles and step back while they have fun!
That’s my resourceful 6 year old using two bottles at once.
They had so much fun that they even decorated the backs!
Let the shirts hang on the line until they are not dripping anymore. About 30 minutes.
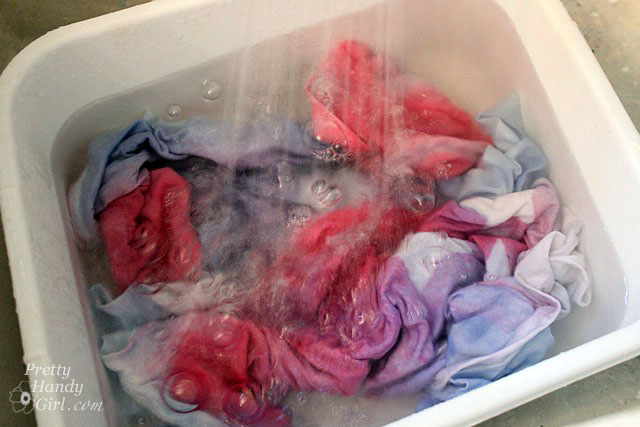
After the dye has been on the shirts for at least 30 minutes, rinse them out. I used a water and vinegar mix to help set the dyes.
Wash the shirts and dry them in the dryer. When you take them out, watch the kids grab them and put them on faster than you can say “heat wave”.
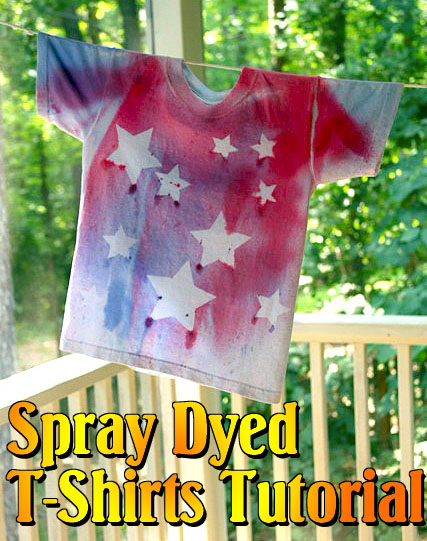
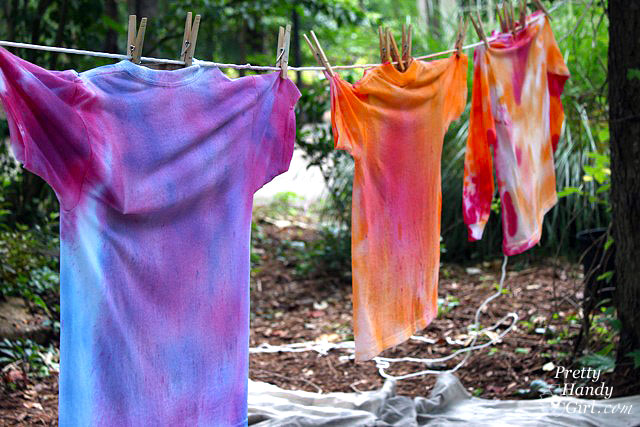
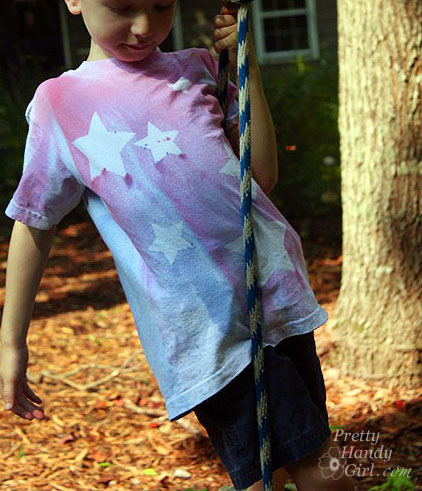
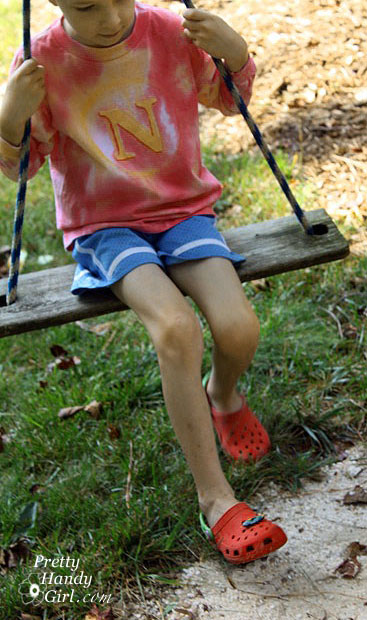
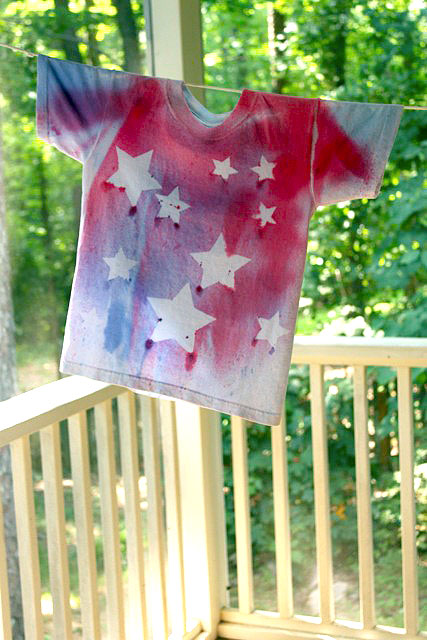
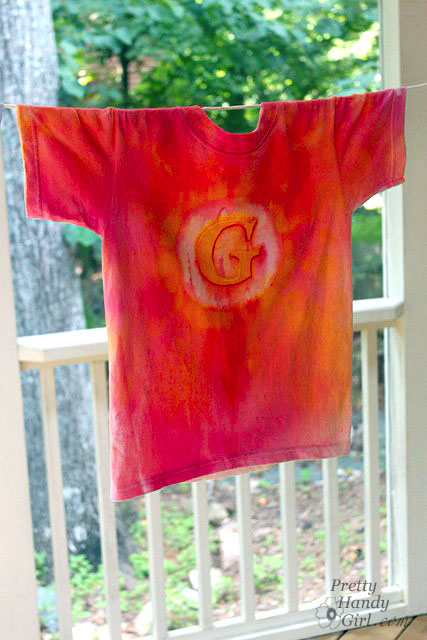
Our shirts definitely turned out lighter than they looked while wet. The red looks a little fushia, but my boys think that real men wear pink and I tend to agree ;-).
Happy Accidents:
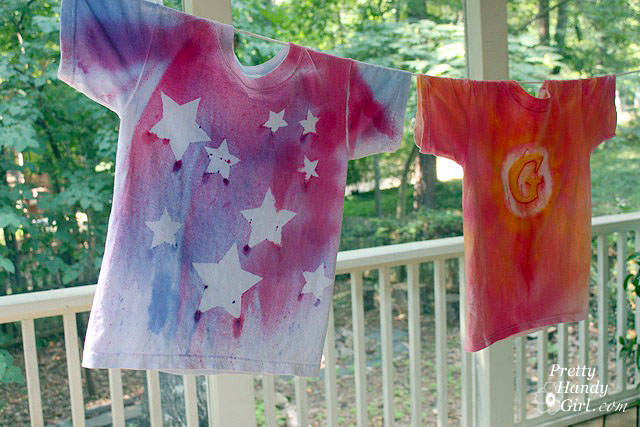
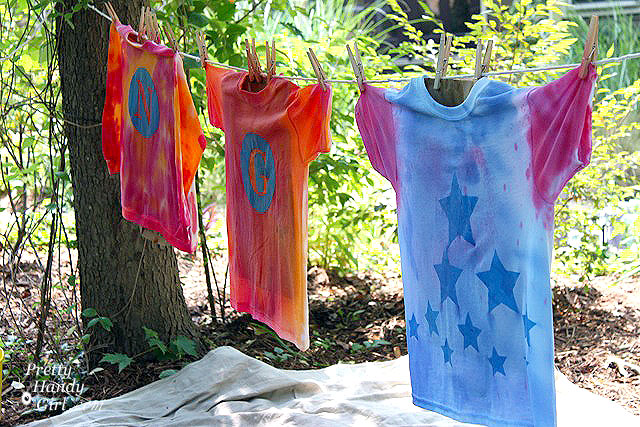
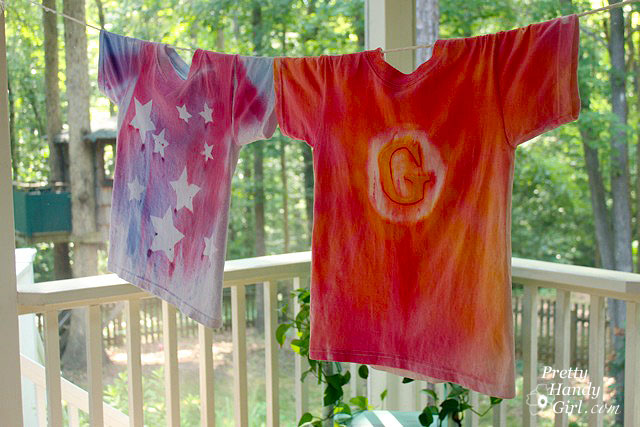
If your kids hold the spray bottle one inch away from the shirt and saturate it, the dye will bleed under the tape. I didn’t say anything because these were “their” shirts and they were having a blast. Instead, I worked with it and it made for a happy accident. See for yourself:
I am in love with the results and might just have to make one for myself now.
The star shirts would make great 4th of July or Memorial Day outfits.
And how fun to have a shirt with your monogram on it. Wearing it is bound to make your child feel like a superhero!
Hope your neck of the woods has cooled off by now.
Did you like this fun family friendly idea? ScotchBlue has more unique projects and ideas using ScotchBlue tape.
Visit the ScotchBlue Ribbons Facebook page for more fun projects.
Disclosure: This is a sponsored post for ScotchBlue. I was not told what project to do or write about. All the ideas and opinions expressed in this post are solely mine.






I am in fact thankful to the owner of this web site who has
shared this wonderful article at here.
This is a very cool project Brittany! It’s not easy to find ones that boys like :~) I did a shirt with my son 2 years ago using fabric paint and it took so long for him to finish, he actually outgrew the shirt before he could wear it! This seems so quick & easy – love it!!!
Brittany, What a super great idea to do with my grandaughters! Your boys did a splendid job and look like they enjoyed themselves too!
Love your ton’s of clever ideas!! Your my go-to person for inspriration!
Christie
do you have to use RIT dye ? … if not what other dyes could i use ?
Abby, no you don’t have to use RIT dye, but I definitely recommend it from personal experience ;-). Have fun.
It looks like your kids had a great time making these shirts! Hang in there… only a month and a half until school starts again!