I’m a serial upcycler. When I can find relatively free materials and turn them into something worth displaying, I’m thrilled! This Magnetic Chalkboard frame is one of those upcycled projects I am proud of.
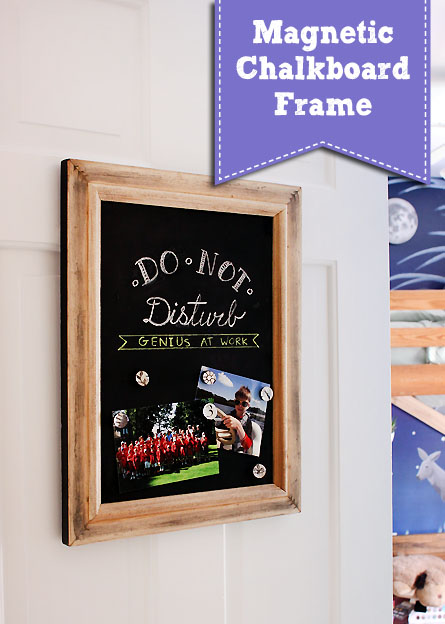
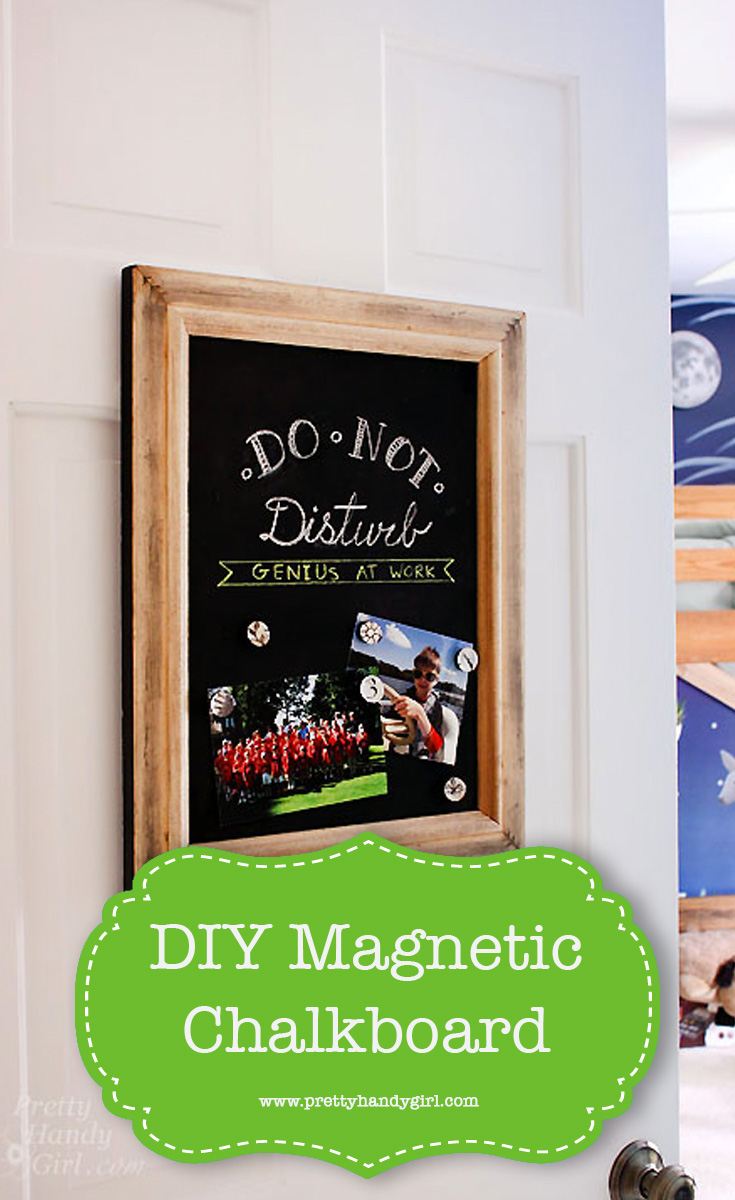
Upcycled Magnetic Chalkboard Frame
Earlier in the week, I showed you the changes I made in my oldest son’s bedroom. One of the switches I made was to replace his bedroom door because the old one had cracked after one too many slammings. Ugh, cheap hollow door.
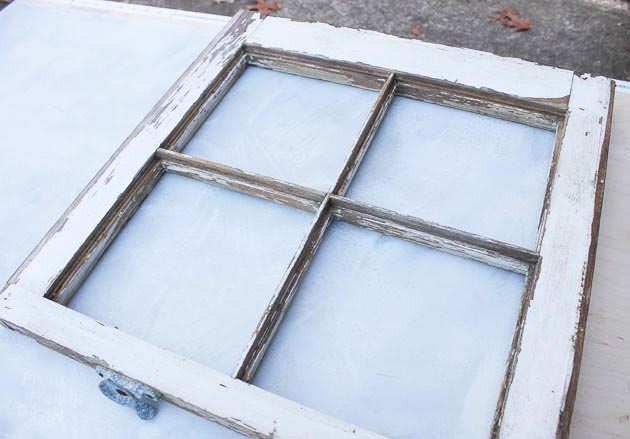
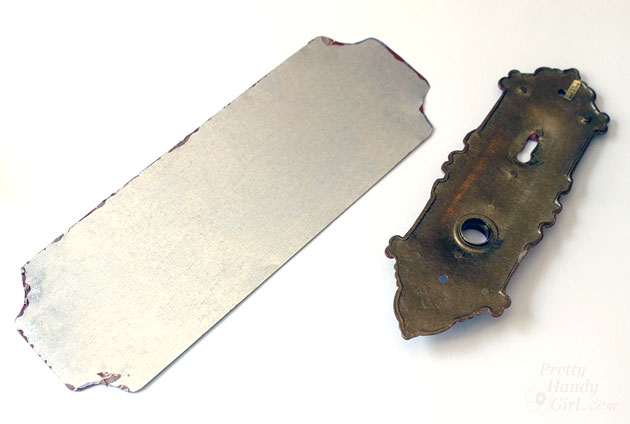
In an effort to keep my son from taping all types of signs to his new door, I found an ugly old frame and married it with some scrap metal from a junky set of shelving a neighbor was throwing away.
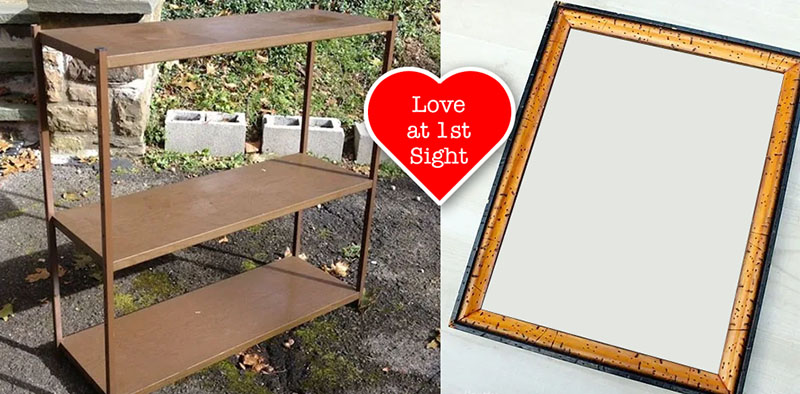
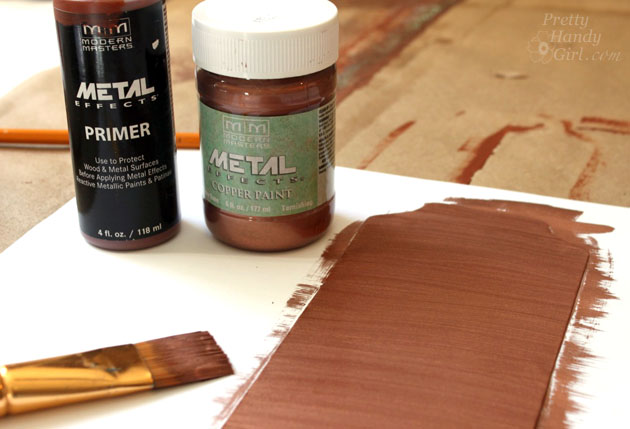
That’s not real wood, it’s metal…fake wood metal. Yuck. Wait until you see how they were transformed. You won’t believe your eyes, so watch closely how I made this Upcycled Magnetic Chalkboard Frame.
Before you leave this tutorial thinking you can’t possibly make this project because you’ll never be able to find cheap faux wood shelves, let me share with you some alternate materials you can use!
(I’ve included affiliate links for your convenience. I earn a small percentage from a purchase using these links. There is no additional cost to you. You can read more about affiliate links here.)
Magnetic Material:
- Sheet metal from the filter and HVAC aisle
- Masonite painted with magnetic paint
- Magnetic Bulletin Board
Non-Magnetic Material for Chalkboard:
Now that you have some additional material options, let’s get busy making a Magnetic Framed Chalkboard (or just a framed chalkboard).
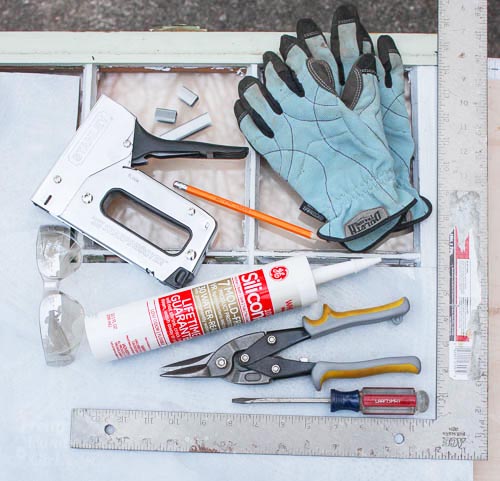
Materials:

- Old frame
- Tin snips
- Sheet metal
- molding
- Pencil
- Sanding block or sander
- Wood glue
- Wet wipe
- Clamps
- D-hooks for hanging
- Chalkboard paint
- Foam brush
- Miter Saw
Optional: You may need some Goo Gone, a scraper, and rag to eliminate any glue on the back of the frame.
Instructions:
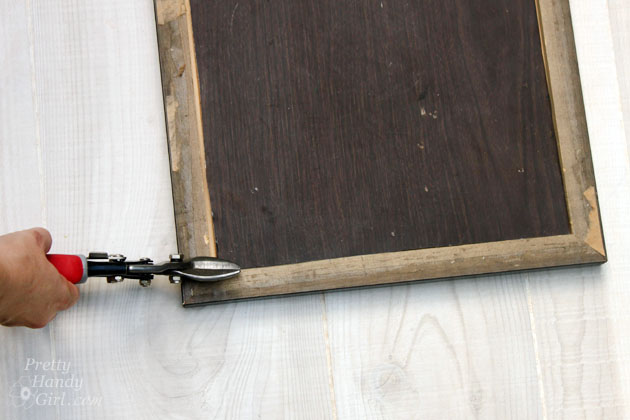
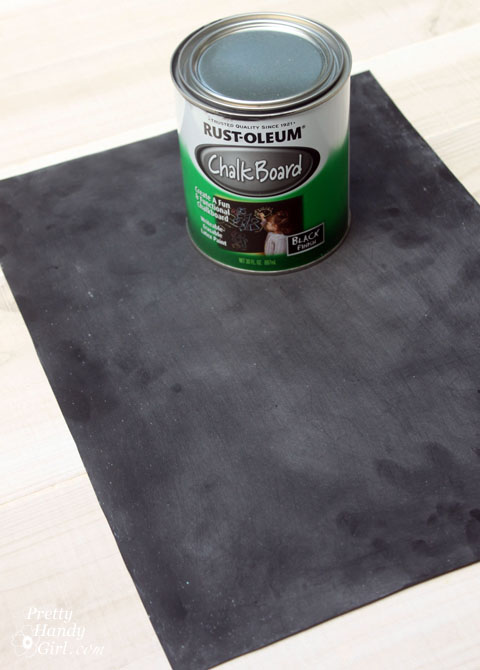
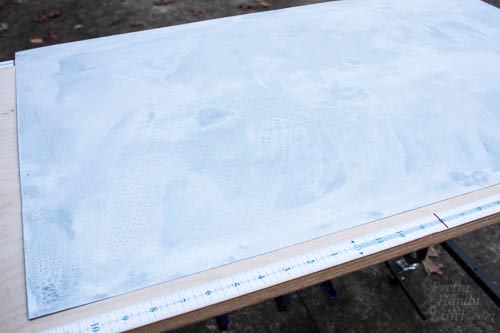
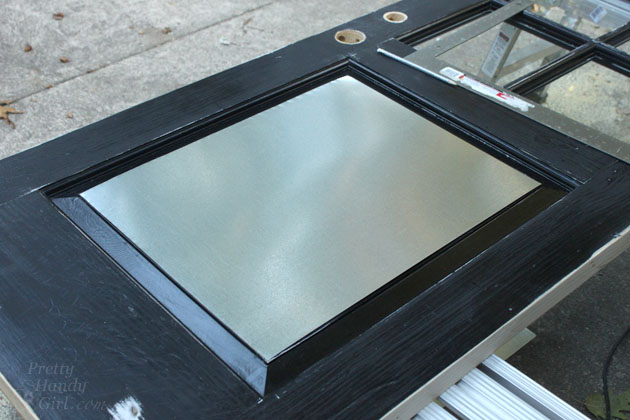
Begin by cutting your metal (or backing) to fit into the back of the frame.
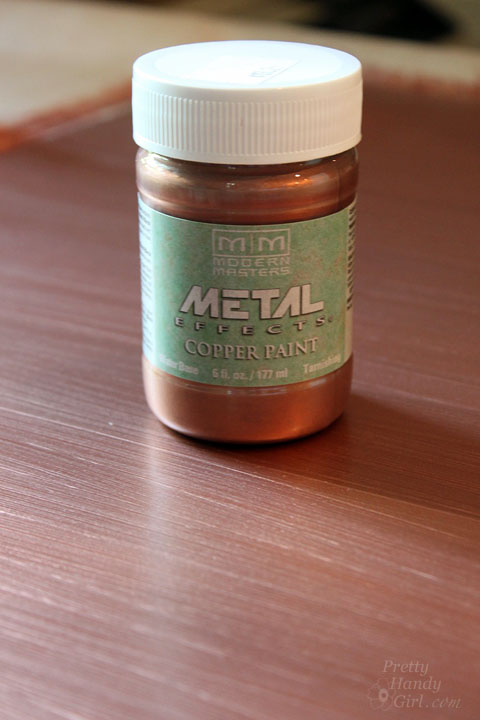
Paint one side of the metal with chalkboard paint. Let it dry. Apply a second coat of chalkboard paint. Let it dry.
While the chalkboard paint is drying, time to work on the frame.
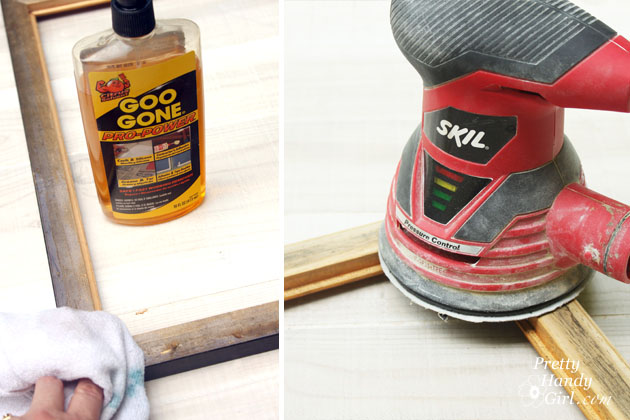
If your frame has paper on the back, peel it off and use Goo Gone, a scraper, and sander to remove any of the glue residue.
When the chalkboard paint has dried, insert it into the frame, chalkboard side up from the backside of the frame (are you seeing where I’m going with this?)
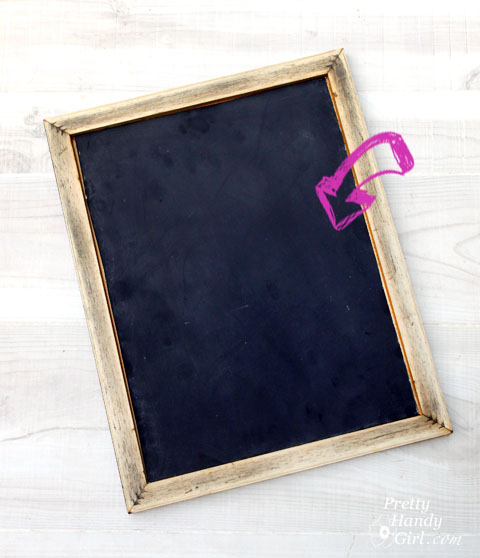
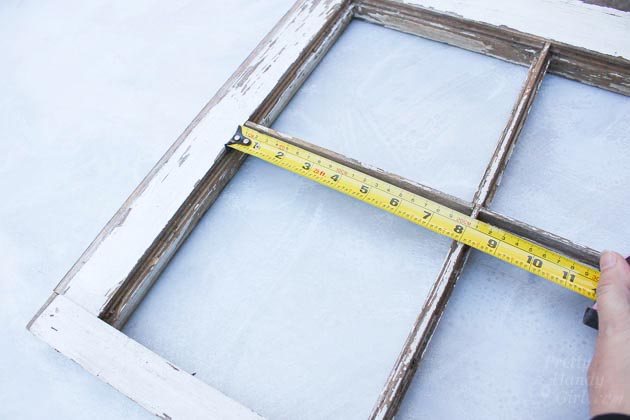
The back of the frame is much prettier than the front, but in order to hold the chalkboard in place, we need to cut some picture molding. Cut the end of your molding at a 45 degree angle. Fit it into the frame and mark where to make your second cut.

Continue fitting and cutting molding around your frame.

Once all four pieces of molding fit, you are ready to secure them.
Apply a bead of wood glue along the inside edge of the back of the frame.
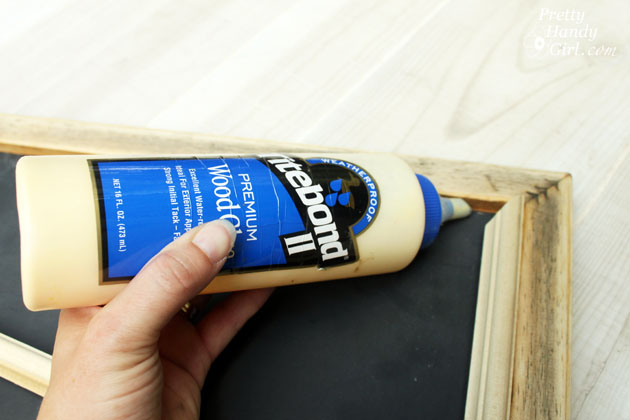
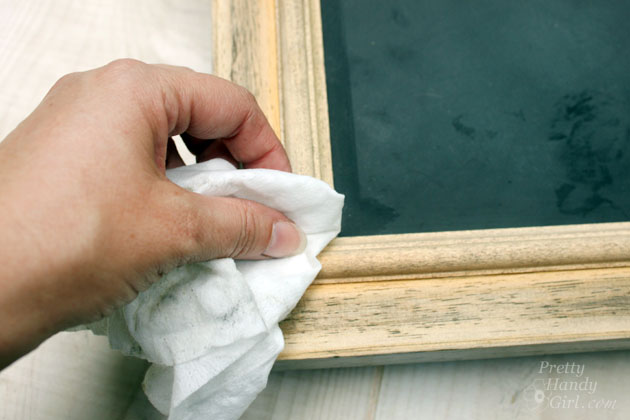
Set the molding pieces in place and wipe up any glue that squeezes out.
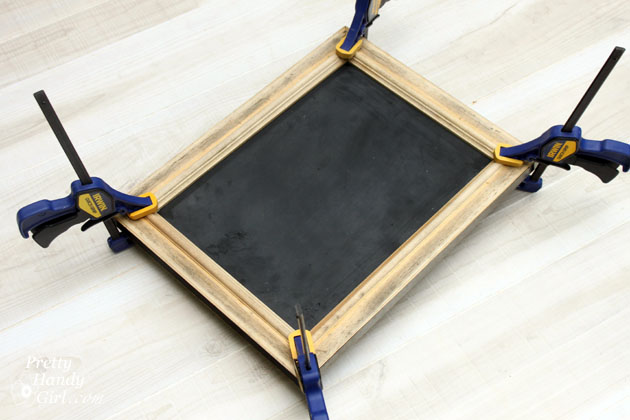
Clamp the molding pieces and the frame. Allow the glue to dry for at least an hour.
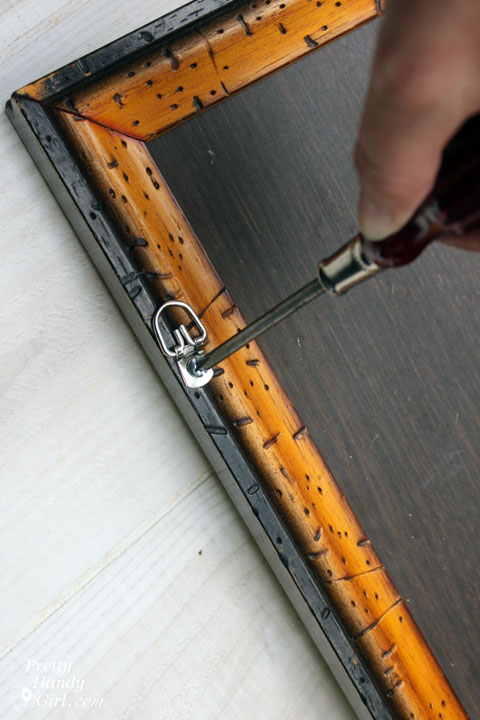
When the glue has dried. Attach two D-rings to the back of the frame.
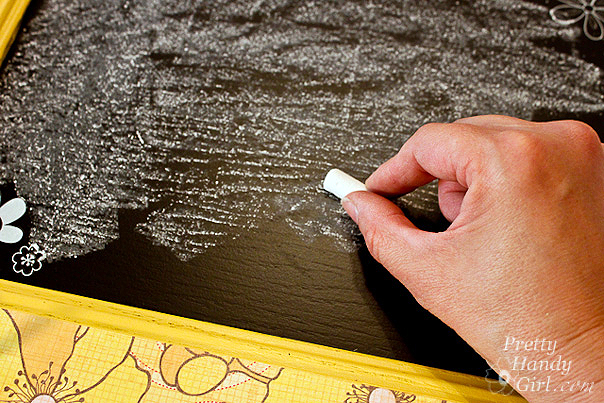
Season the chalkboard with the side of a piece of chalk. Then use a dry rag to buff it off.
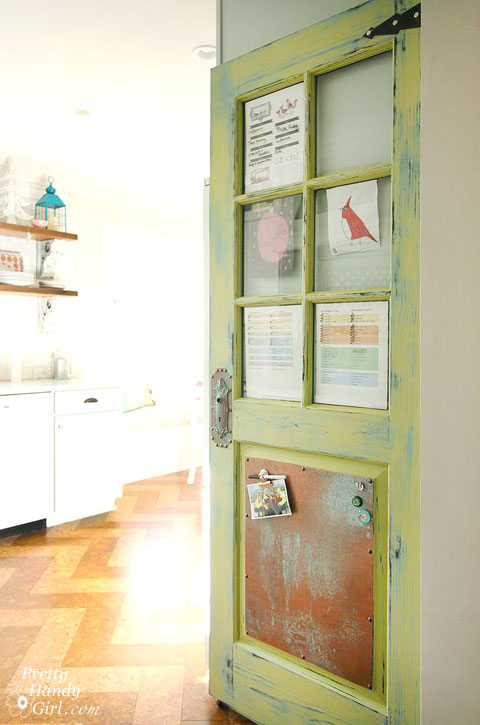
Time to hang it up! (In my case, I hung it on my son’s door.
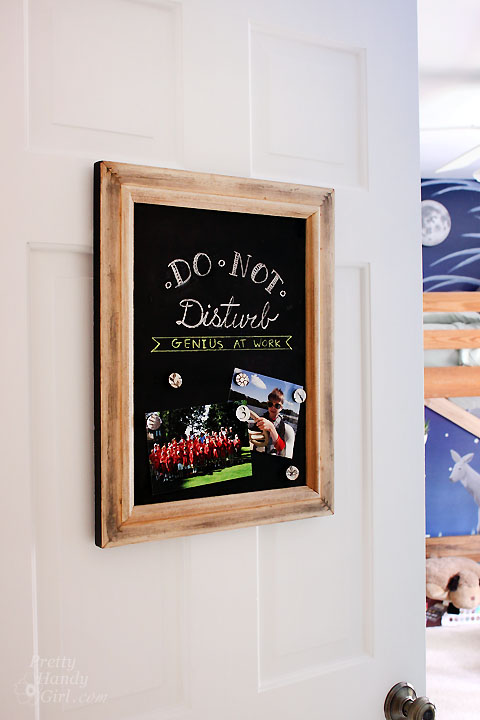
To keep the frame from bouncing any time the door is opened or closed, I put a 3M Command velcro strip between the bottom of the frame and the door.
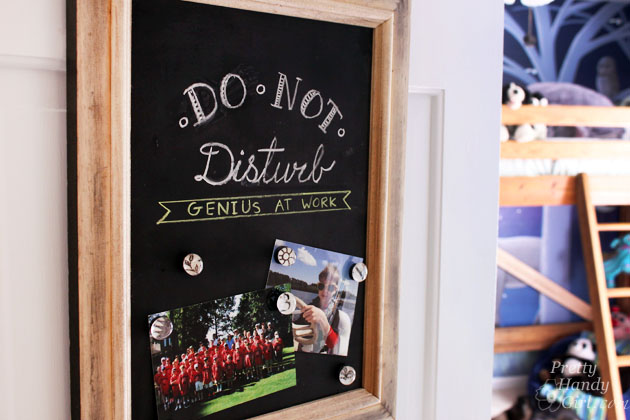
Now my son can put up pictures, messages, and more without damaging the door.
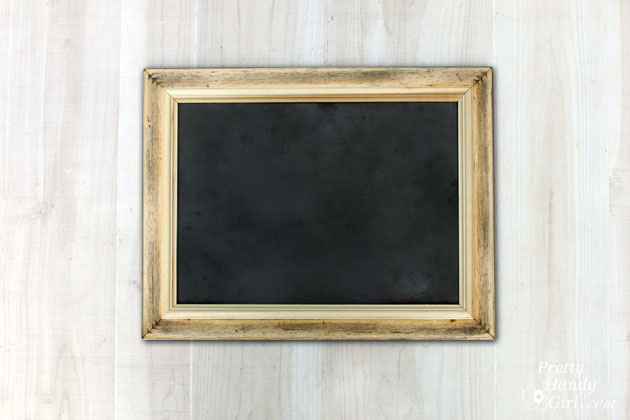
Pretty cool huh?! Would you ever guess the back of an ugly frame and metal shelves could look this beautiful?
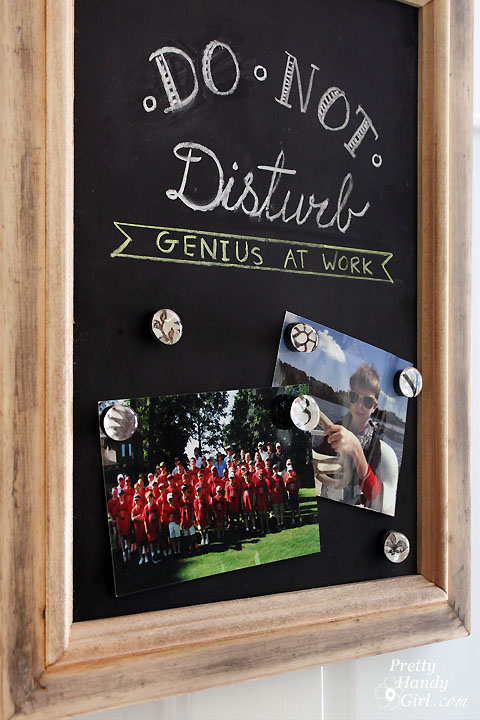
I especially like the little metal fasteners showing in the corners of the frame.
Tell me, do you have an ugly frame hanging around your house? Have you ever looked at the back and found it more beautiful than the front?
![]()
Pin for later!


