Have the kids taken over your kitchen table or island? Need somewhere to let the kids get creative? Today I am going to show you how to make a simple DIY kid’s craft table (or desk). Let’s get building.
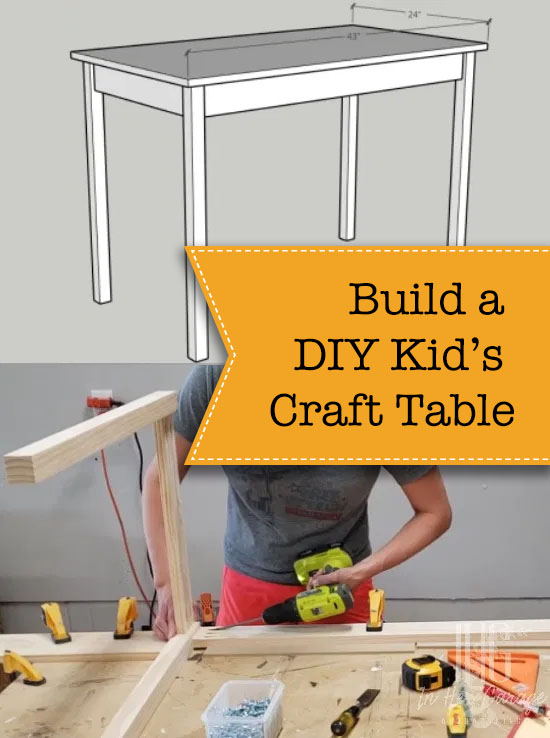
Build a DIY Kid's Craft Table

DIY Kid’s Desk and Craft Table

If your children are going to be home this fall for distance learning or you just want a spot they can call their own, then it is time to get a space ready for them!! This DIY Kid’s Craft Table is the perfect size for whatever your child will need and it is small enough to fit in a spare corner in your home. Let’s make it!

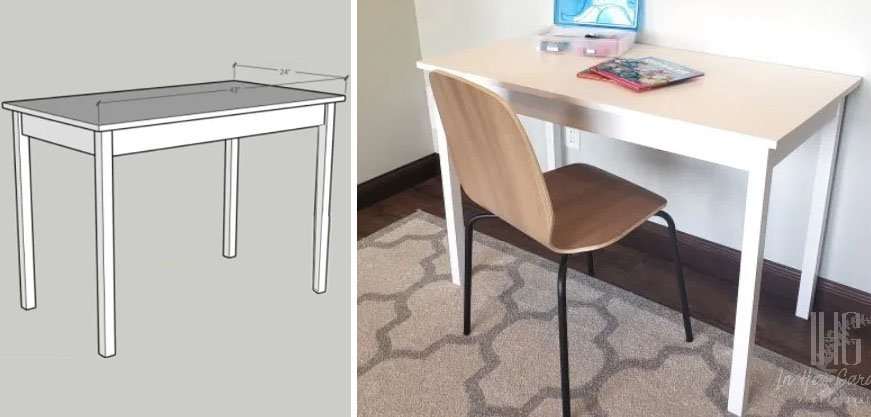
I made this particular table for a client and it measures 30”h x 43”w x 23”d but you can modify these measurements to fit your needs. Of course, the quality of lumber you use is your choice but I used clear pine from my local big box store because it paints better than using common pine boards. It may be more expensive but the boards tend to be straighter, it saves time on sanding, and I feel it yields a better-finished product. It doesn’t matter what wood you use as long as you love it.

Materials:

(I’ve included affiliate links for your convenience. I earn a small percentage from a purchase using these links. There is no additional cost to you. You can read more about affiliate links here.)

Tools:

Cut list and pocket-hole placement:

  • 4- 2×2 @ 29 ¼”
  • 2- 1×4 @ 38” (3 pocket-holes in each end)
  • 2- 1×4 @ 18” (2 pocket-holes in each end)
  • 1- 1×4 @ 19” (2 pocket-holes in each end)
  • 3/4”x 43”x 23” birch plywood

Step 1: Sand table components

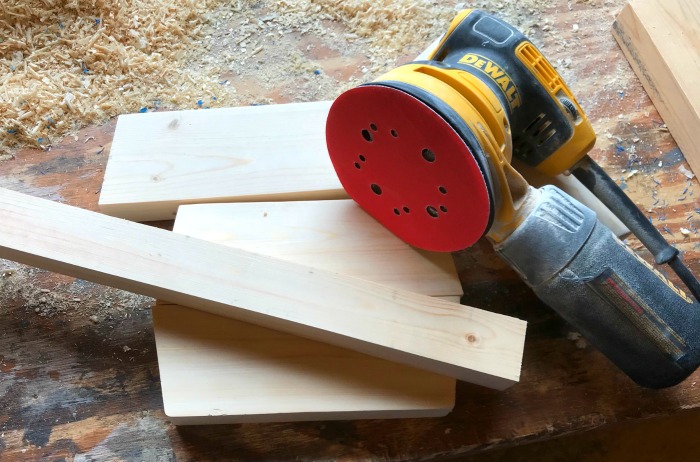
  • I know it seems odd to start with this step but trust me when I tell you it is much easier to sand these boards before they are in place. Depending on how rough your lumber is, begin using 60-80 grit sandpaper and incrementally work your way up to 220 grit sandpaper.  I chose to use clear pine found at my local big box store so I was able to start with 120 grit sandpaper, which cut down my sanding time. This makes the extra money spent, well worth it!

Step 2: Assemble both table sides

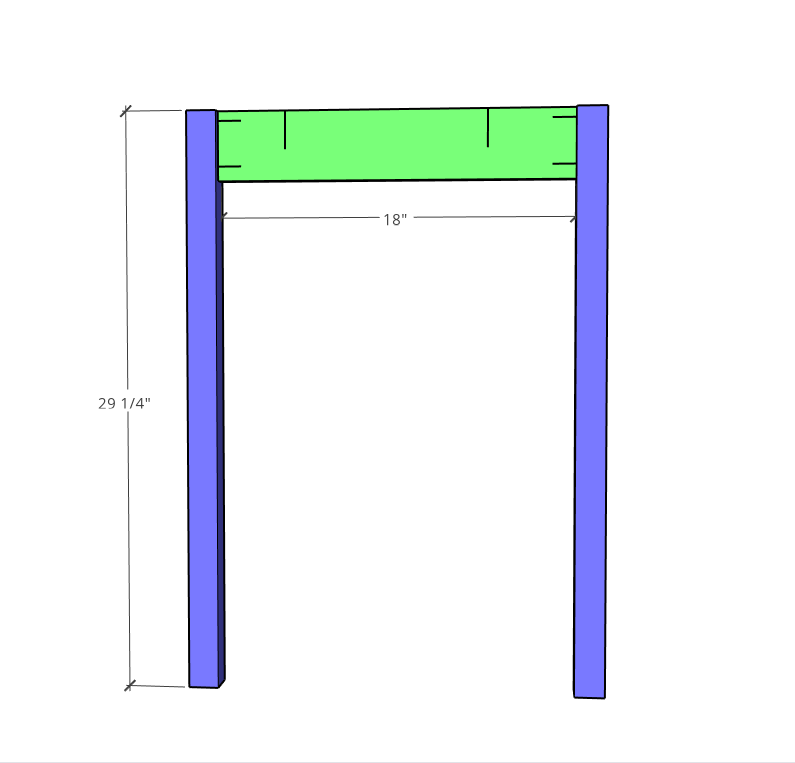
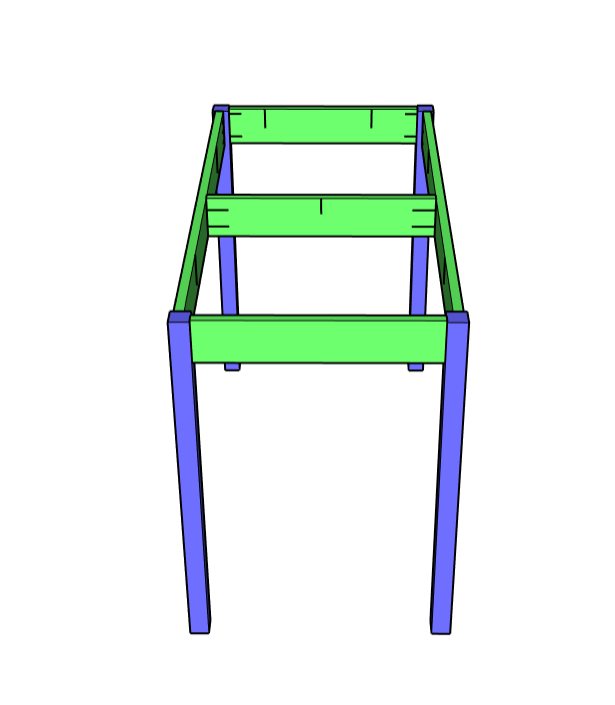
  • Sandwich one 1 x 4 x 18” (apron) board between two 2 x 2 x 29 ¼” (leg) boards. Pocket-holes should be facing up.
  • To add a little detail, place a ¼” piece of scrap beneath the 1×4 board to inset it slightly. This will create a shallow reveal looks nice and also gives you a little grace because now the three boards don’t have to be flush to the same surface perfectly.
  • Clamp the legs and apron boards together and join them using wood glue and 1 ¼” pocket screws.
  • Repeat these steps for the other side of the table.

Step 3: Attach the front and back table aprons

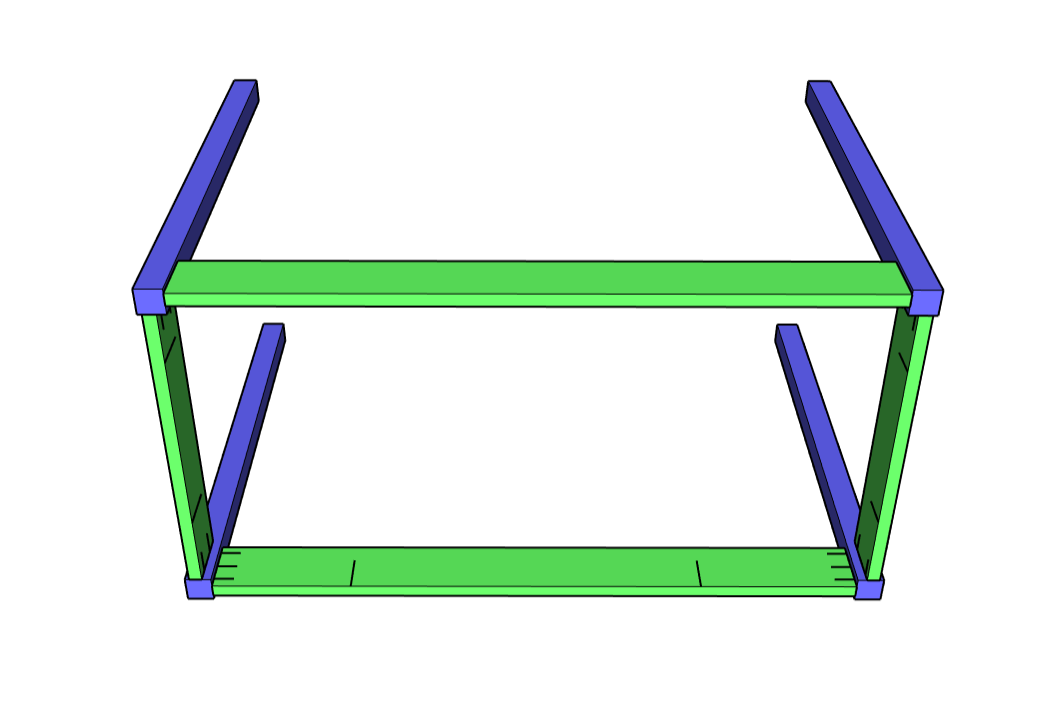
  • With both side components standing on their sides sandwich a 1 x 4 x 38” (apron) board between them, again placing a ¼” board beneath the apron to inset it slightly.
  • Align the top of the 1×4 with the top of the side components.
  • Clamp and attach using wood glue and 1 ¼” pocket screws.
  • Carefully flip the piece over and repeat the above steps to attach the second 1 x 4 x 38” apron board.

Step 4: Attach center support

  • Attach the center support using wood glue and pocket screws between the two 1 x 4 x 38” boards centered in the middle.

Step 5: Clean up

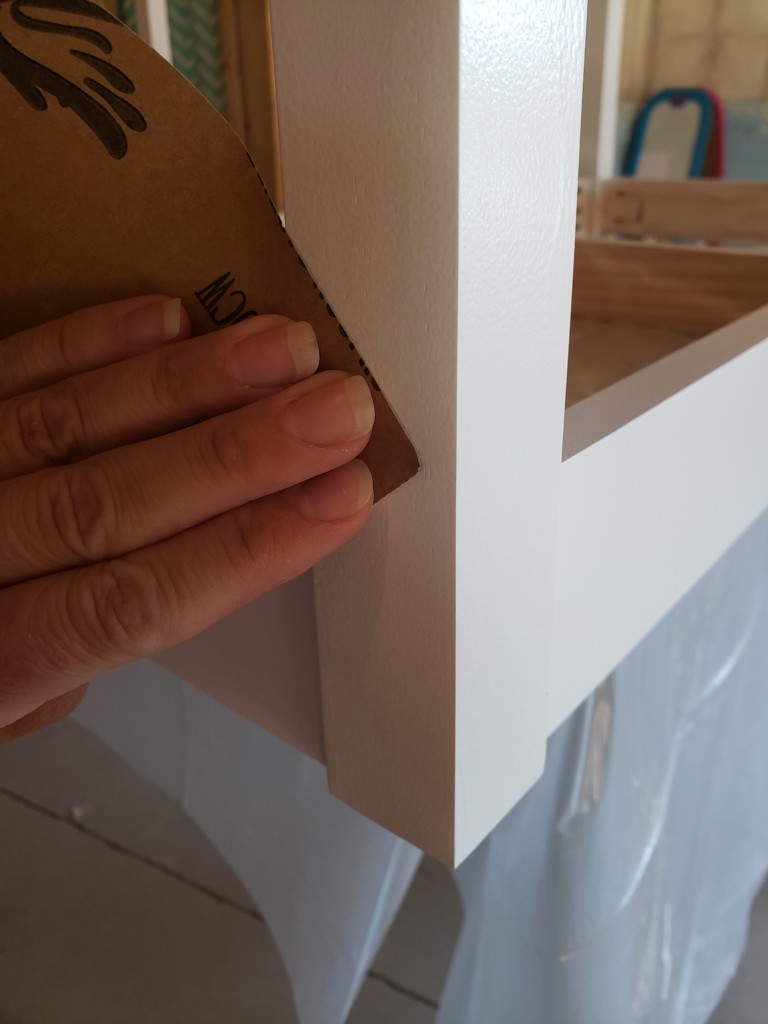
  • With a putty knife or chisel gently remove any glue squeeze out and sand smooth.

Step 6: Edge banding

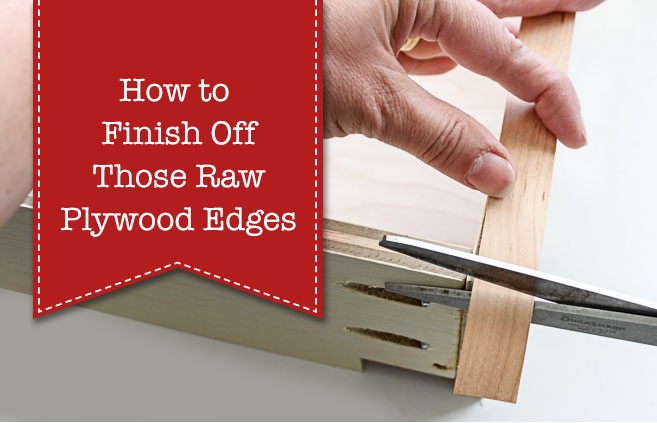
  • Once the plywood top is cut to size you will need to edge band to cover up the unsightly edges. I won’t go over all of the steps here but if you are new to edge banding please check out this tutorial on How to Finish Raw Plywood Edges.


Step 7: Finish

  • Time to paint or stain and topcoat!! My client wanted this piece painted white, so I chose a premium latex paint and used a water-based topcoat to protect the paint and prevent yellowing of the finish in the future.

Step 8: Attach the top

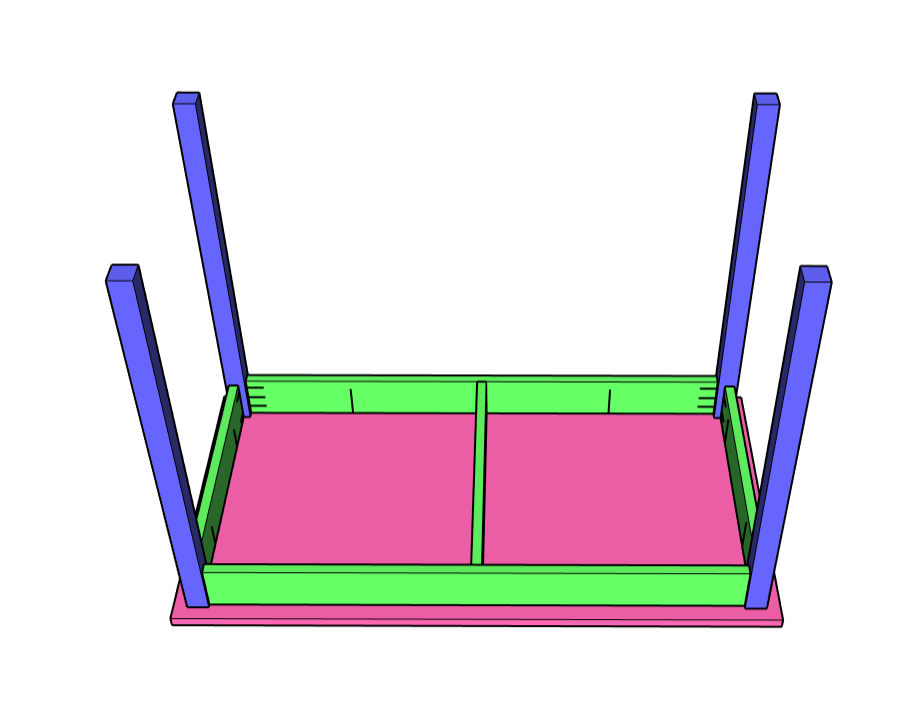
  • Place the tabletop on a flat surface (bottom side up) and center the base over the top upside down.
  • This plan allows for a 1” overhang of the top on all sides of the table base.
  • Using the pocket-holes that are shown in the diagrams below, attach the top with 1 ¼” pocket screws.

    • Note: Normally I would not recommend attaching a tabletop using pocket screws IF that top were made of solid wood because of wood’s tendency to expand and contract. However, this top is made of plywood and the amount of expansion and contraction that will happen over time is negligible and should not affect the structure of the table base.  If you are uncomfortable using pocket-holes to attach the top then feel free to attach it in some other way, such as with figure-8 fasteners or Z-clips.

Flip it over and admire your handy work!! Isn’t this DIY Kid’s Craft Table adorable?!

Check out my latest blog post about building a DIY Folding Craft/Sewing Table! This table is large enough for any craft project but folds down when you don’t need it. Perfect for anyone with a small space but large crafting ambitions!

Hi! I’m Kristen, from In Her Garage, and I am a self-taught woodworker and DIY fanatic from Minnesota where I live with my husband and our two daughters. Between being a wife, mom, and registered nurse, I try to make as much time for DIY as possible. My love for building came after our family built our current home in 2015. After we moved in, we needed furniture, and instead of spending massive amounts of money to order the items we wanted I decided that I would build them myself. I started with a buffet table plan from the fabulous Ana-white and quickly set out to remodel my entire home office.

Since then I have started a side business building furniture for the people in my community. I love hearing my clients talk about the pieces they wish they had whether it be a rustic buffet table, a one drawer side table, or a toy box and then making it a reality for them. While starting my small business it made perfect sense that I would document my building journey so I simultaneously launched the In Her Garage blog and I love sharing my plans, tips, and tricks.


I am so glad that you found me here and please feel free to connect with me on PinterestInstagram, and Facebook to see what I am working on right now.


If you enjoyed this tutorial and are looking for other cute ideas for kid’s desk or craft table check out these two fun projects. Both of these could be great projects you could do with the kids to keep the fun going.

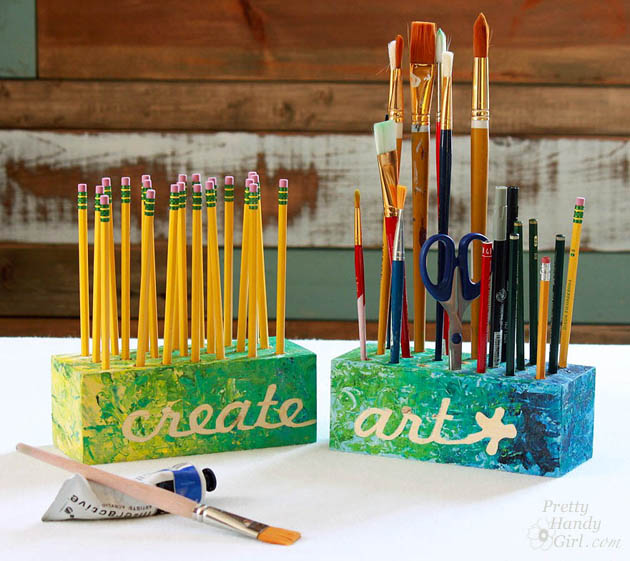
Creative Block Desk & Art Utensil Holder

create_art_block_holders_sm

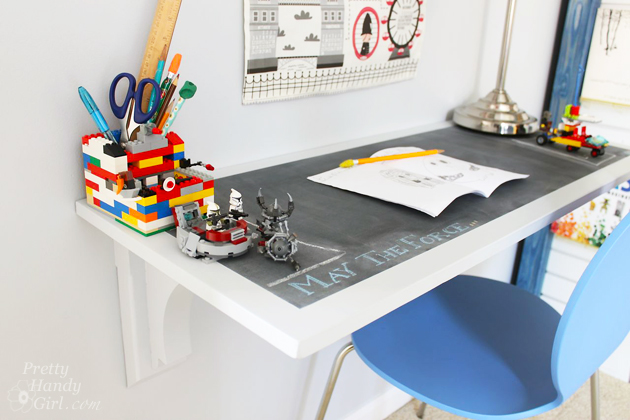
Creating a Chalkboard Desktop.

How to Make a Chalkboard Surface Desk | Pretty Handy Girl

Tired of your sponge or soap taking up valuable sink space in your kitchen? Turn thrifted or dollar store glassware into a functional DIY pedestal kitchen sponge holder that doubles as beautiful decor.

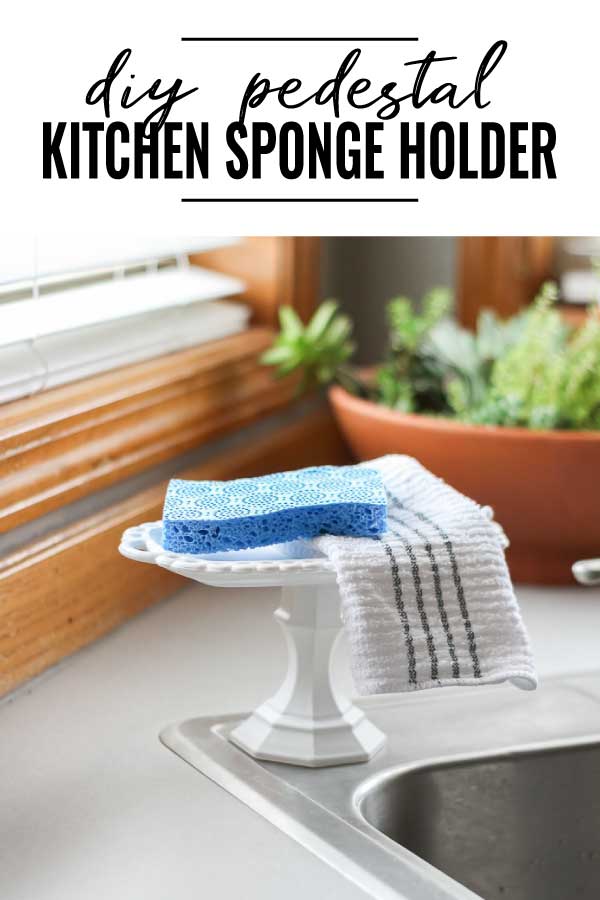
DIY Pedestal Kitchen Sponge Holder pin image
DIY Pedestal Kitchen Sponge Holder
It’s Amanda from Domestically Creative and I’m back with a new way to organize or declutter your kitchen sink space! If you are anything like me, you don’t like a lot of clutter sitting around your kitchen sink. Things like dish soap, hand soap, sponges, and dishcloths sitting around my kitchen sink drive me insane!

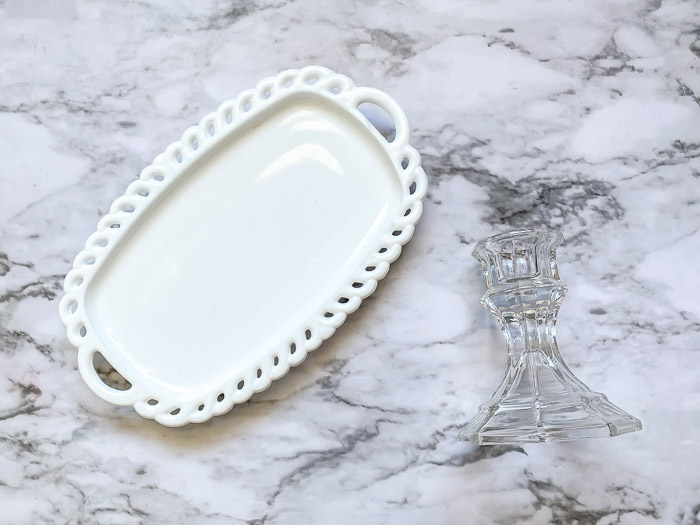
Unfortunately, you have to have them out to be easily accessible. I decided to make a pedestal sponge holder as a functional place to keep the sponge, dishcloth, and even hand soap (if you want). This holder also serves as a beautiful decor item too. It’s easy to make your own sponge holder from dollar store or thrift store items, let me show you how.
Materials:

(I’ve included affiliate links for your convenience. I earn a small percentage from a purchase using these links. There is no additional cost to you. You can read more about affiliate links here.)

Instructions:

Step 1: Prep the surfaces for paint

Clean both pieces really well with soap and water, and let them dry completely. If either piece came from a thrift store, it may be extra dirty. Consider using a mild degreaser or Murphy’s Oil Soap first. Then clean well with regular soap and water. Don’t leave any sticky or greasy spots behind because the paint will not stick in the next step.
diy pedestal sponge holder pieces before painting

Step 2: Spray paint both pieces

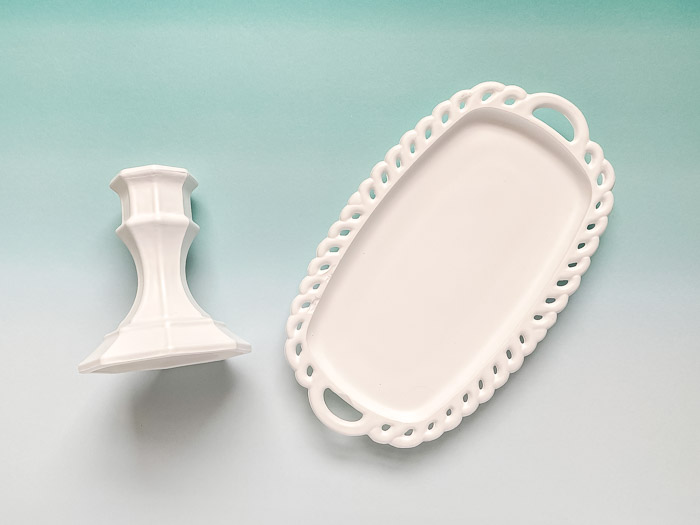
Give each piece two to three coats of white spray paint. Using a high gloss paint gives the glass pieces a Milk Glass look. 

Tips for Even Spray Painting:

  • Paint outdoors on a calm, mild day, or use a painting tent to protect the wet pieces from debris and bugs.
  • Keep the nozzle 12-15” away from the surface you are painting.
  • Spray in short, even, horizontal lines across the surface, working top to bottom. The burst of spray should start and end just slightly off the sides of the object being painted.
  • Avoid drips by doing multiple light coats, allowing the paint to dry between coats.

painted pedestal pieces

Step 3 – Attach pieces together

Before doing this step, it is very important that both pieces are completely dry and the paint is cured.

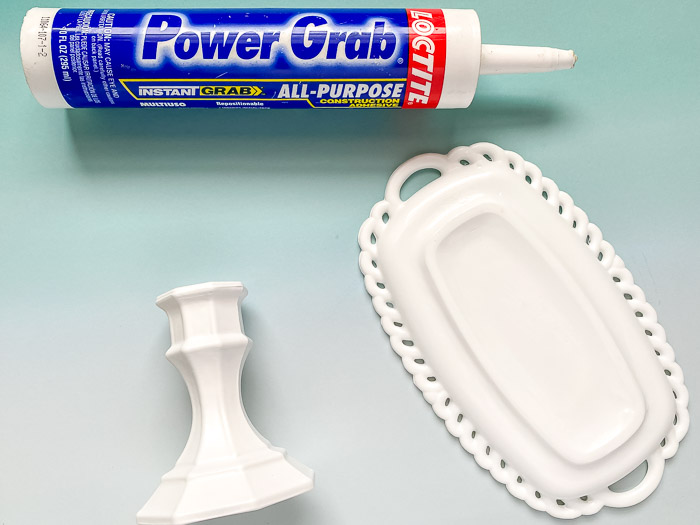
overview before attaching pedestal pieces together with construction adhesive

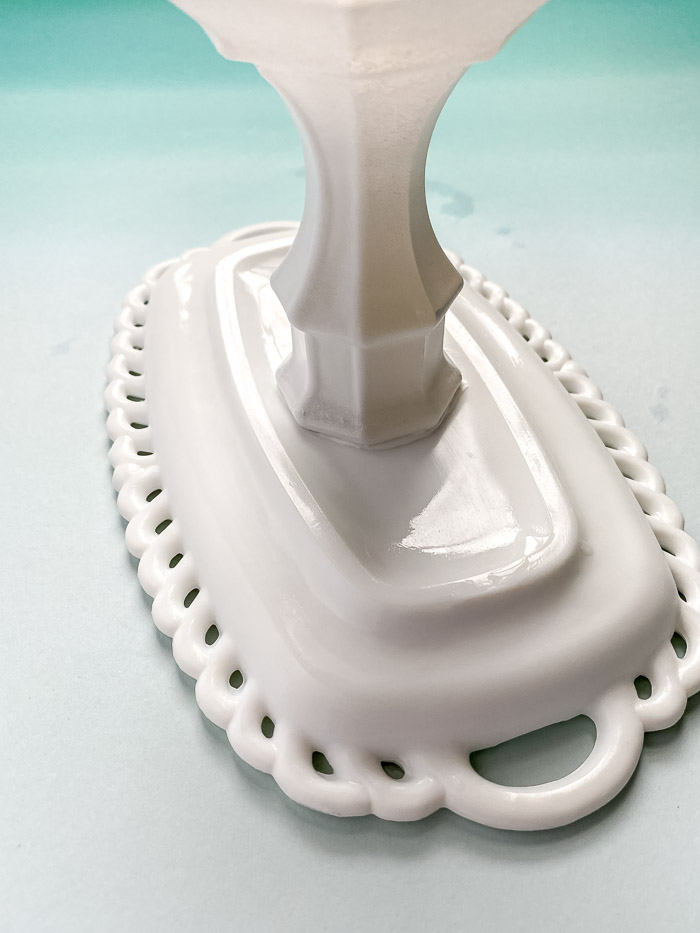
Use construction adhesive to attach the base to the top. To do this, place the plate or tray face down on a flat even surface. Using the caulk gun, add a small amount of construction adhesive to the top of the candle holder. Place the candleholder adhesive side down onto the bottom of the plate or tray.

attach the pieces together with construction adhesive

Hold a small amount of pressure on the candle holder for about a minute. Let the adhesive dry for about 24 hours before using your new DIY pedestal sponge holder.

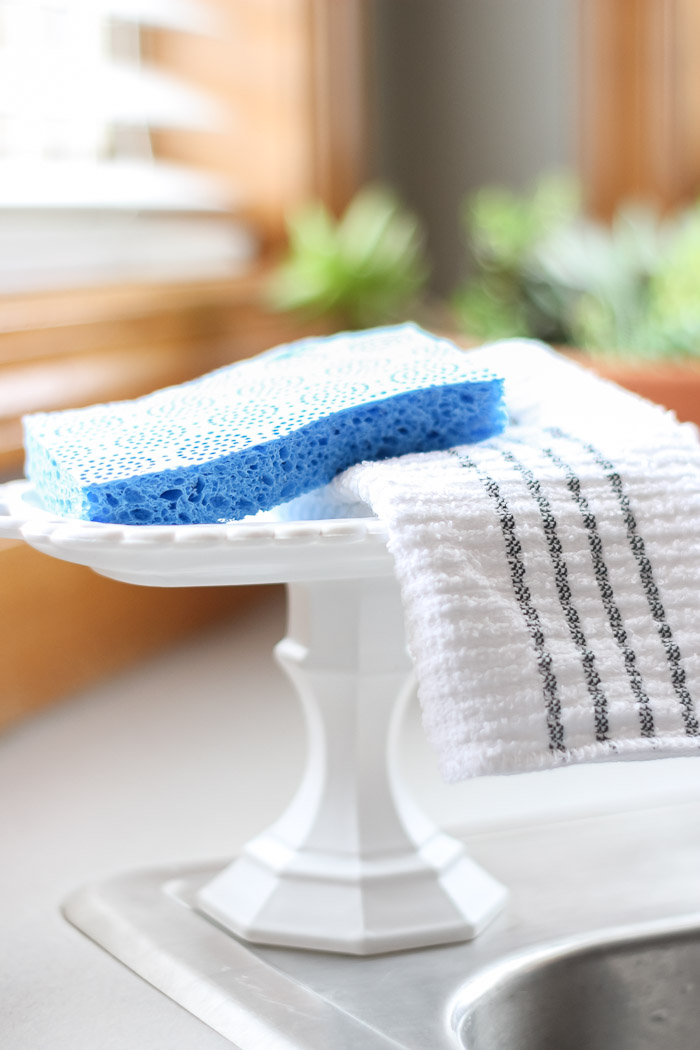
Finished pedestal sponge holder

Use your new pedestal stand to keep your sponge and dishcloth in the kitchen and clear up some of that sink space!

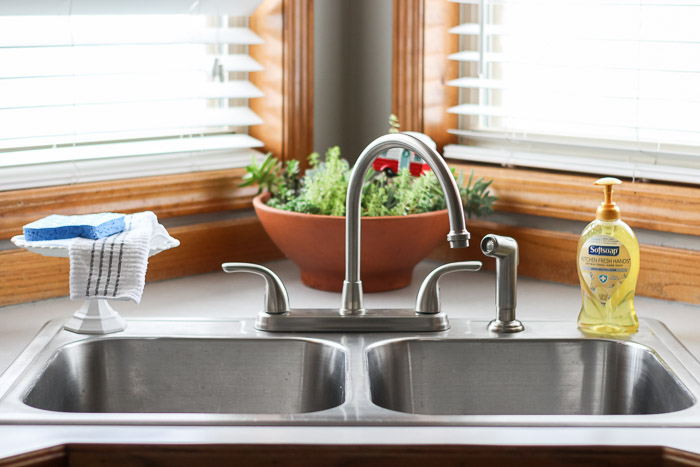
Clean and decluttered kitchen sink

You could make one of these pedestal stands for a bathroom or to hold jewelry on your dresser top! It doesn’t just have to hold sponges, the possibilities are endless. I plan to make one for our guest bath to hold a few mason jars we have cotton balls and Q-tips in. It could also serve as a place to keep soap.

Finished sponge and soap holder for the kitchen

What would you use one of these DIY Pedestal Kitchen Sponge Holder stands for in your home?

Don’t forget to pin this to save for later!

DIY Pedestal Kitchen Sponge Holder pin image

I’m Amanda, and I am the creator and voice behind the food and DIY blog, Domestically Creative. What started as a place to share updates with friends and family after we moved from Illinois to Tennessee and then to Texas, turned into a passion for finding creative and frugal ways to feed us and decorate our homes.

I have always had the “make it myself” attitude and I’m not afraid to bust out the power tools or get creative when it comes to decorating our home on a budget. You can usually find me scouring the local thrift stores, garage sales and estate sales looking for my next makeover (like this litter box cabinet), or dreaming up ways to make our new house feel more like home. My most recent project was giving my home office a much needed facelift. Some of the plans included creating a fun inspirational accent wall and adding pegboard to store my craft hoards.

I currently call Missouri home, where I live with my husband, dog, and 2 cats in a pretty dull, late 90’s split level. My husband and I both love to travel the U.S and recently purchased a small travel trailer to tag along in our journeys. In our free time together we can usually be found working together on a home project, exploring a new place, or just lounging with our pup, Delilah.

I’d love for you to connect with me on social media via Facebook, Instagram, Pinterest and Twitter!

See all of Amanda’s tutorials HERE.

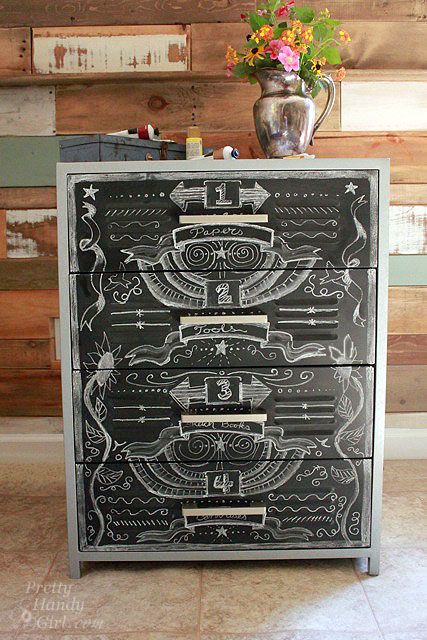
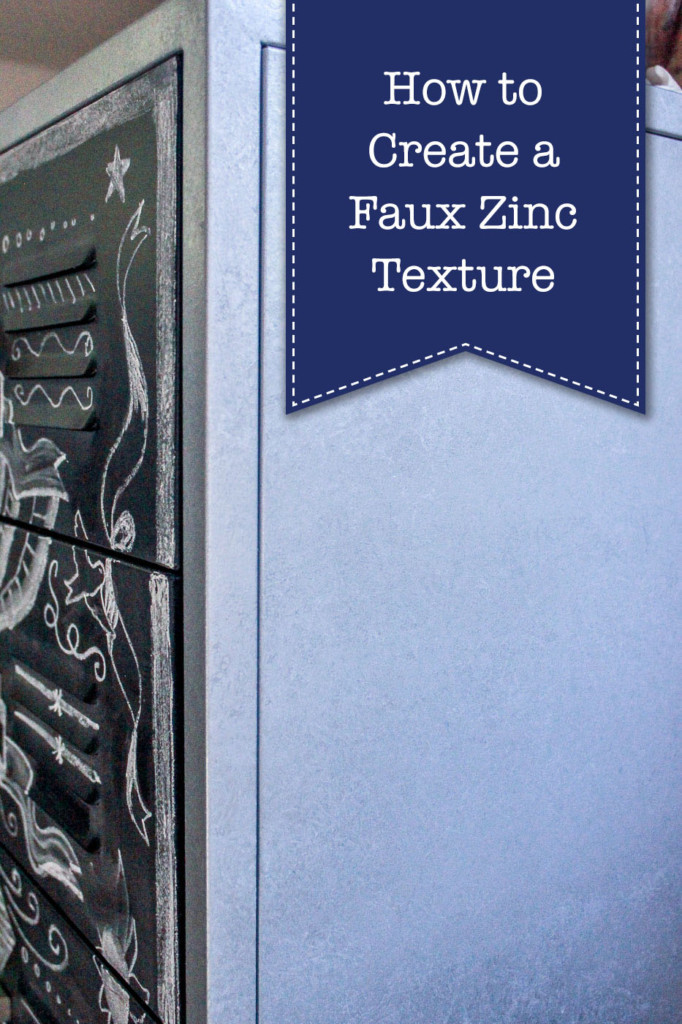
Want to give something the look of zinc metal without spending money on zinc metal? You can create the look with spray paint and this technique.

How to Create a Faux Zinc Texture (with Spray Paint)

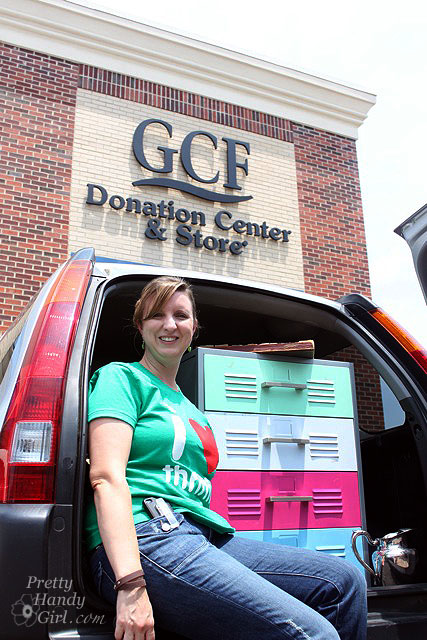
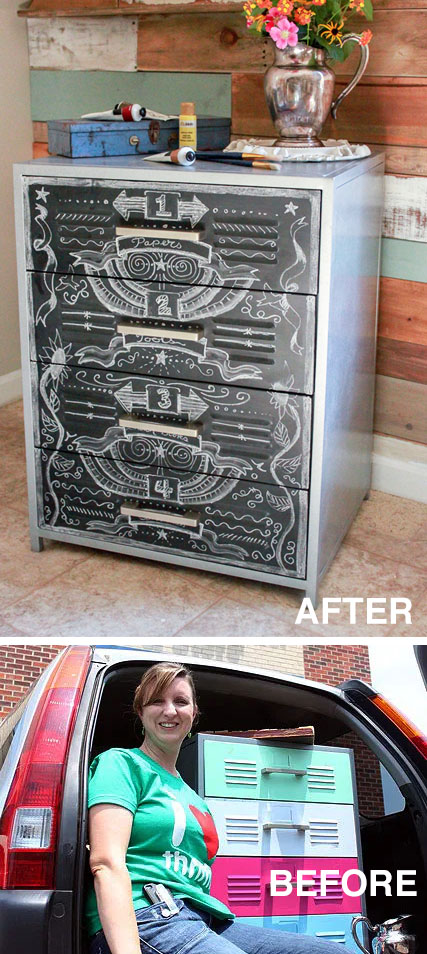
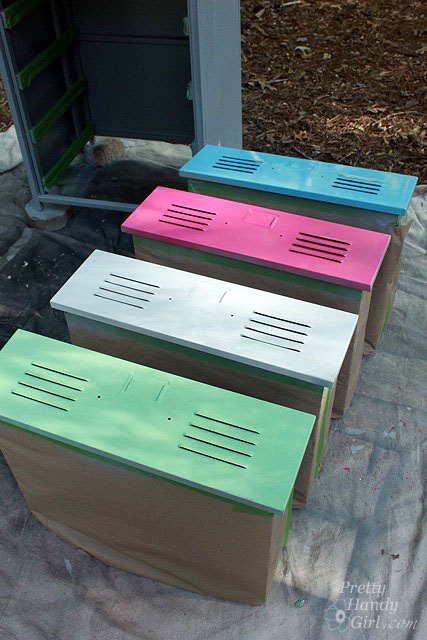
A while ago I was thrifting with a few friends and stumbled across an ugly cabinet at our local Goodwill. The metal chest had extra wide and deep storage, but the worst colors imaginable! The hot pink and mint green were disguising the true potential of the chest. Like a color-blind dog, I was able to see beyond its garish appearance. In my mind, I pictured a vintage metal cabinet with a faux zinc side and chalkboard drawer fronts.

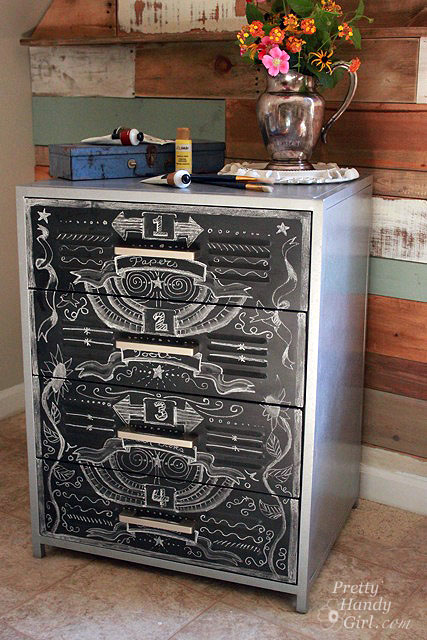
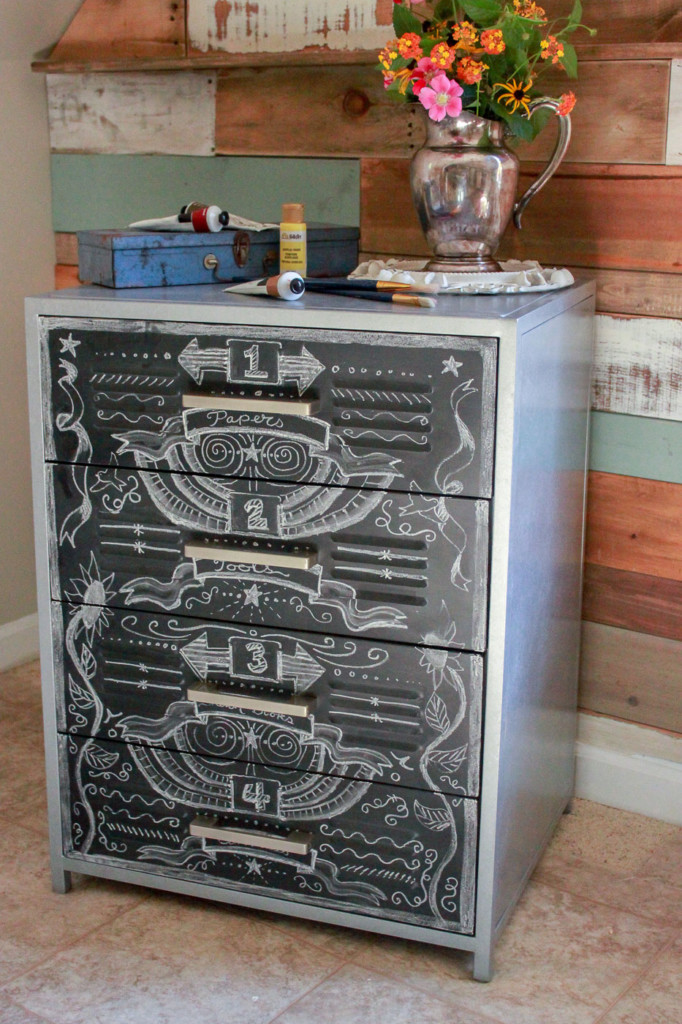
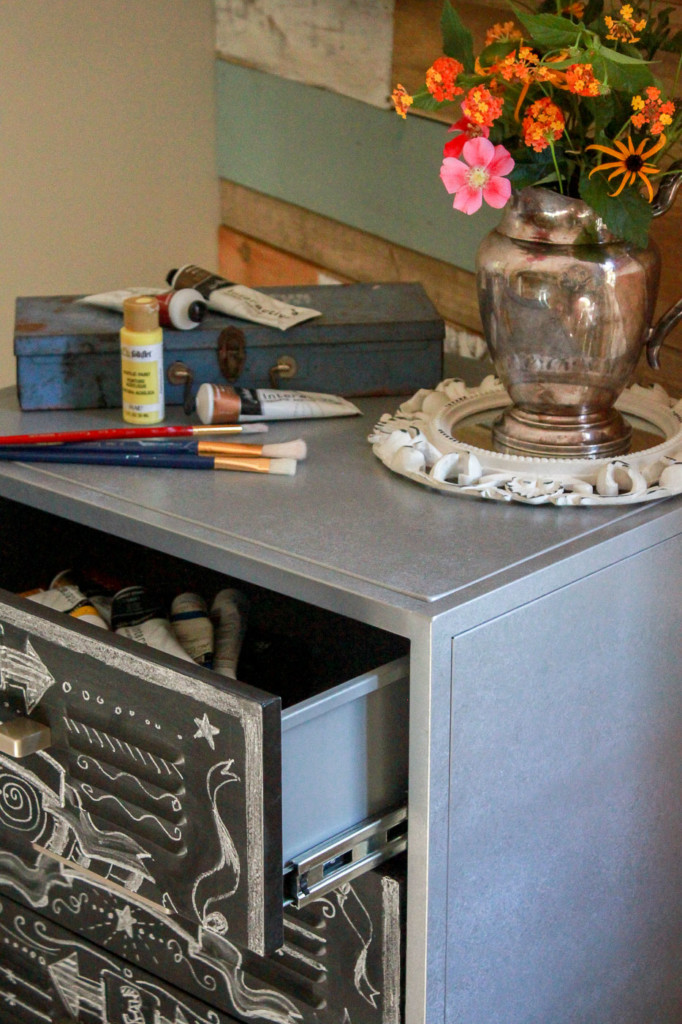
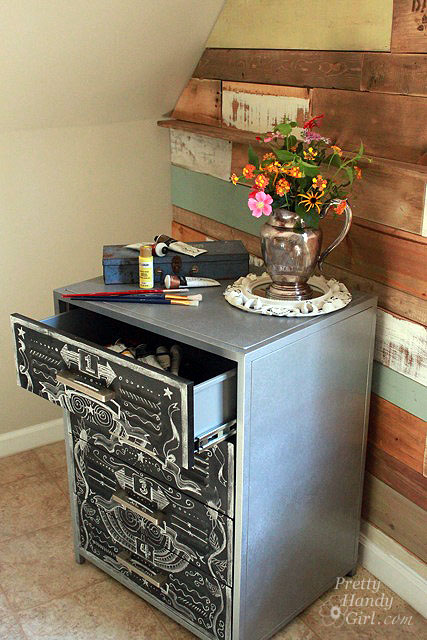
I scooped it up and brought it home. Then the poor chest sat in our garage for months and months until I had a chance to work a little spray paint magic and turned it into….this thing of beauty:

Yes, that is the same chest of drawers! You could do the same transformation. Let’s learn How to Create a Faux Zinc Texture!

Materials:

(I’ve included affiliate links for your convenience. I earn a small percentage from a purchase using these links. There is no additional cost to you. You can read more about affiliate links here.)

Instructions:

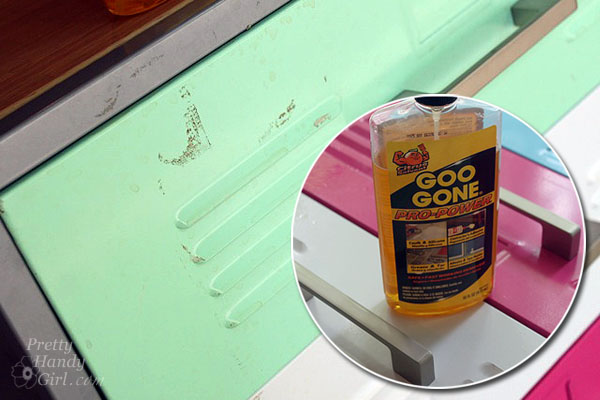
Clean off your furniture piece really well. Remove any dirt or debris (I actually had to use a little Goo Gone to get rid of some sticky residue. But, lemon essential oil will also work for this task.)

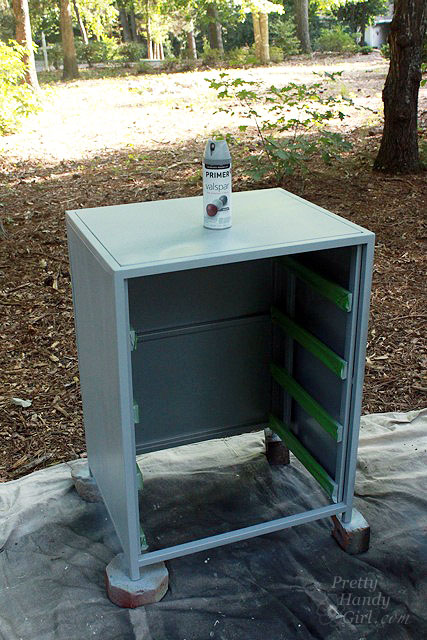
Spray paint your object with automotive primer. (I prefer the automotive primer because it sticks to metal and can withstand a lot of abuse.)

Let the primer dry.

Adding a Faux Zinc Texture:

This is the most exciting part of the tutorial. I created this technique by trial and error and I’m excited by how well this method works for creating a faux zinc texture.

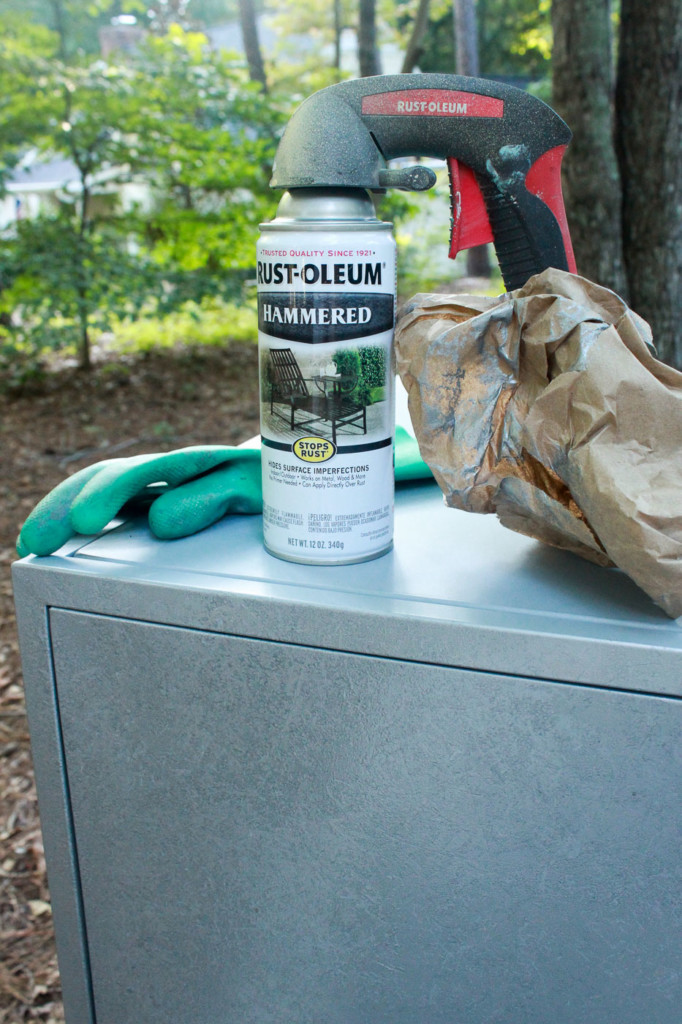
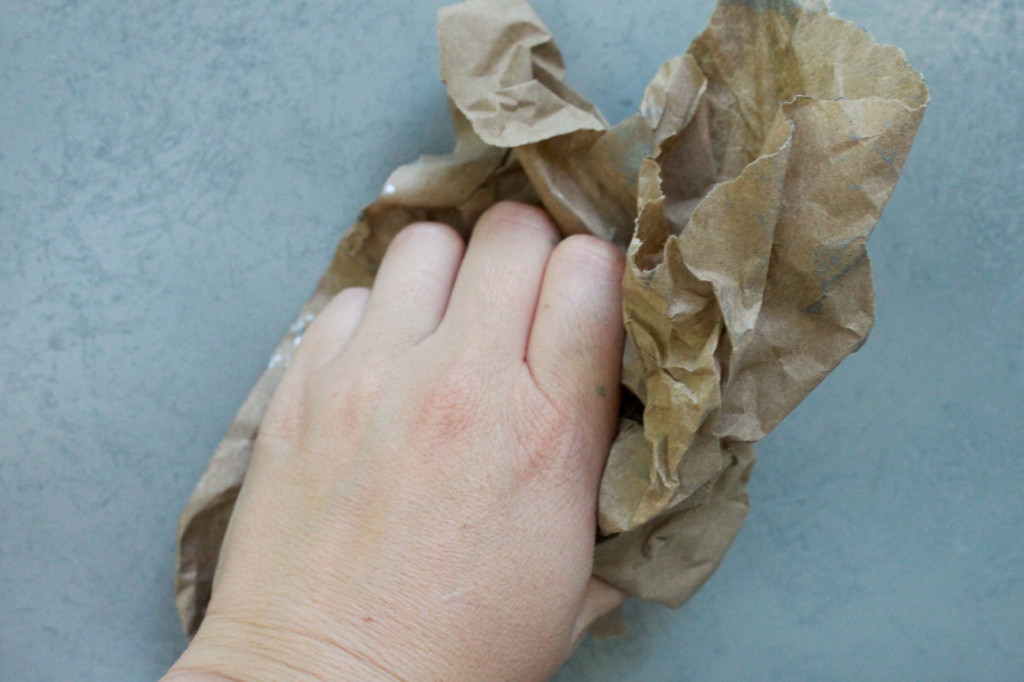
Getting a faux zinc texture is really easy. Just have some gloves on and use a crumpled up piece of craft paper. (A loose crumple works best.)

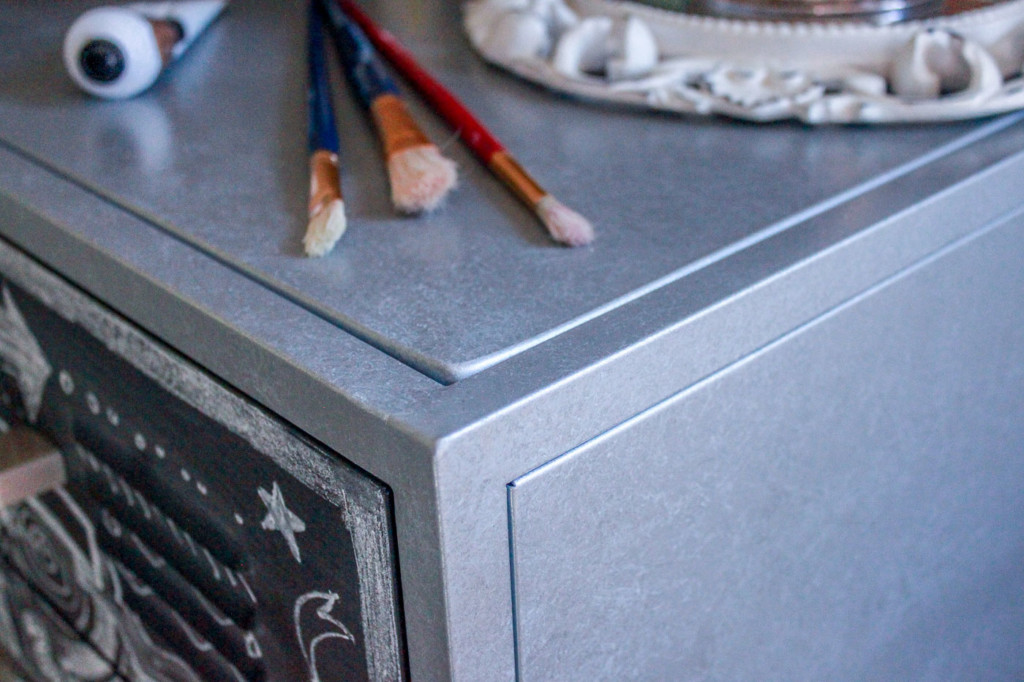
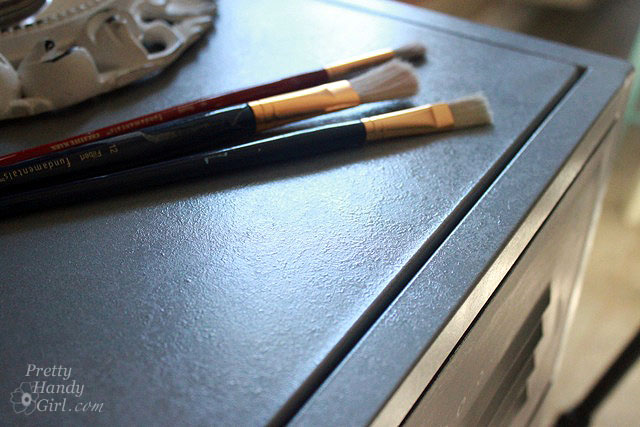
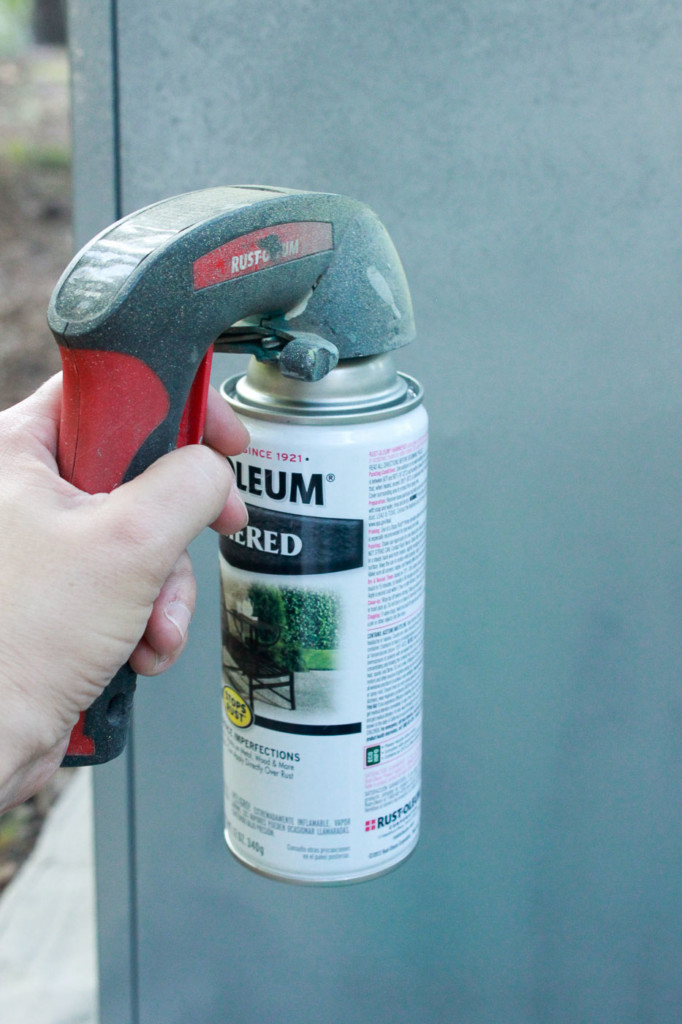
Spray paint your object with a thick coat of the hammered silver spray paint, (but not so thick that it runs). Let the paint get tacky by waiting a few seconds.

Then use the crumpled piece of craft paper to blot into the wet paint.

Work in small 1 foot sections and pounce the paper a few times. (Too much pouncing and you’ll lose the large textured pattern.)

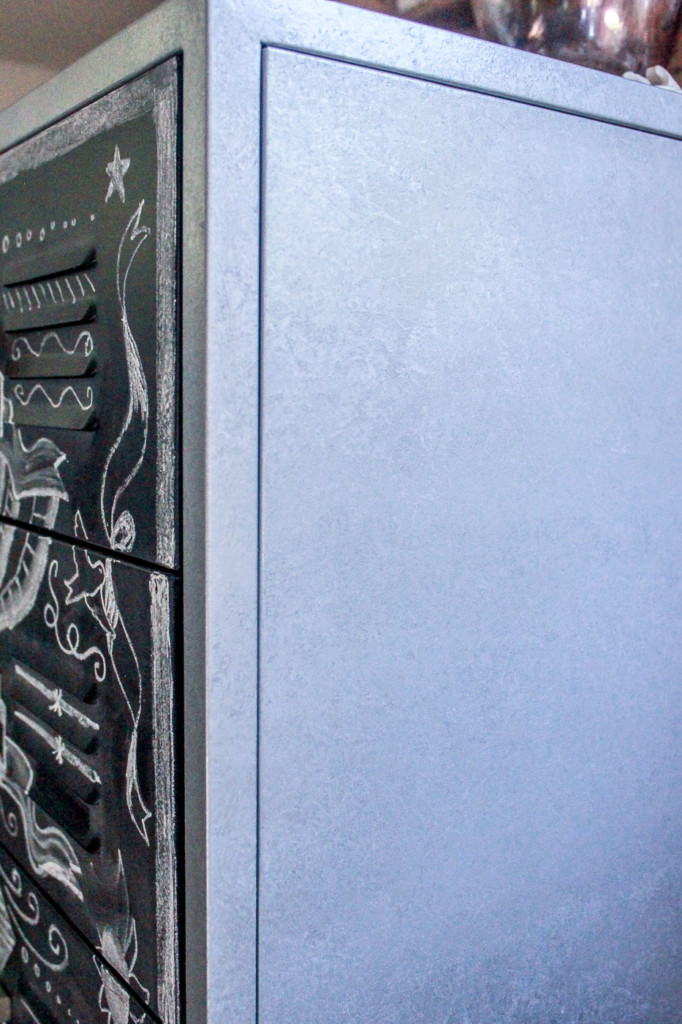
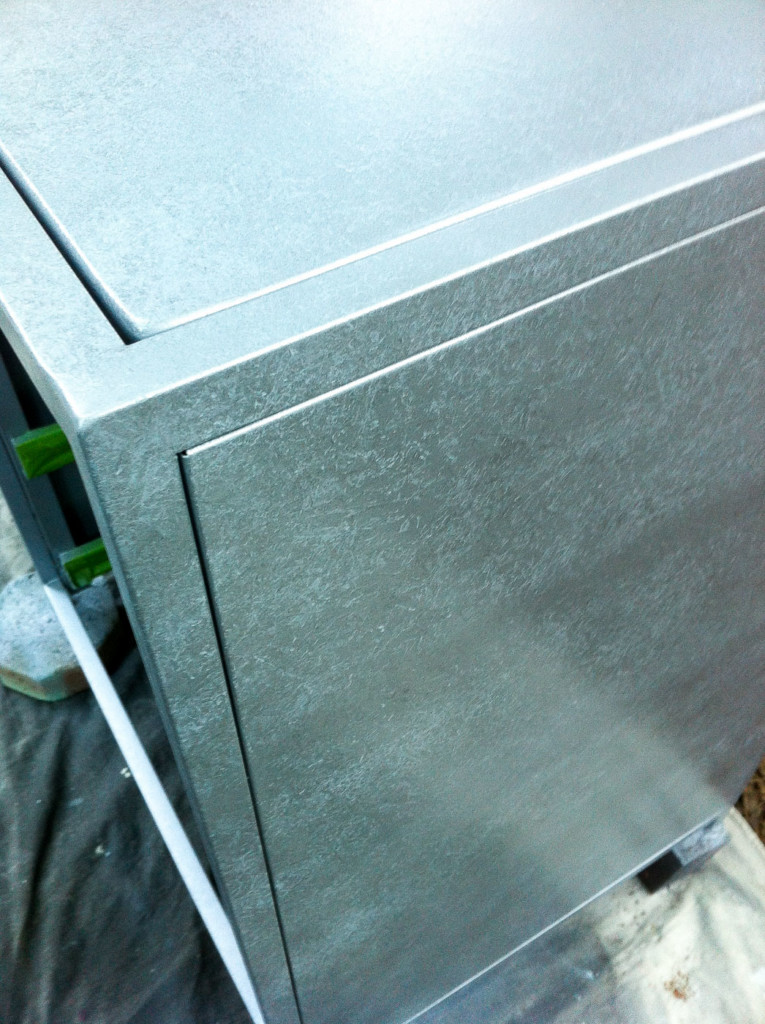
Let the paint dry thoroughly. Then enjoy your beautiful faux zinc paint job!

Chalkboard Painted Metal Drawers:

For my cabinet, I chose to paint the drawer fronts with chalkboard paint for a nice contrast.

Remove the drawers from the chest. Tape over the drawer glides and slides. Mask off the drawer sides and insides by covering the drawers with tape and craft paper, leaving only the drawer fronts exposed.

Spray paint the drawers with chalkboard paint. (Use three fine coats of paint instead of one or two heavy coats.) Set them aside to dry.

Insert the chalkboard drawers back into the cabinet frame.

Add chalkboard art to your drawer fronts.

The thrifted cabinet has a wonderful texture now and the black and zinc colors work with any color scheme.

The chalkboard drawer fronts allow the flexibility for me to store and label other items inside.

I’m so thrilled with the results! I hope you try to transform your own object, now that you know how to Create a Faux Zinc Texture.

If you use this tutorial, I’d love to hear about it. Better yet, will you send me a picture?

Share this with a friend! Pin this image:

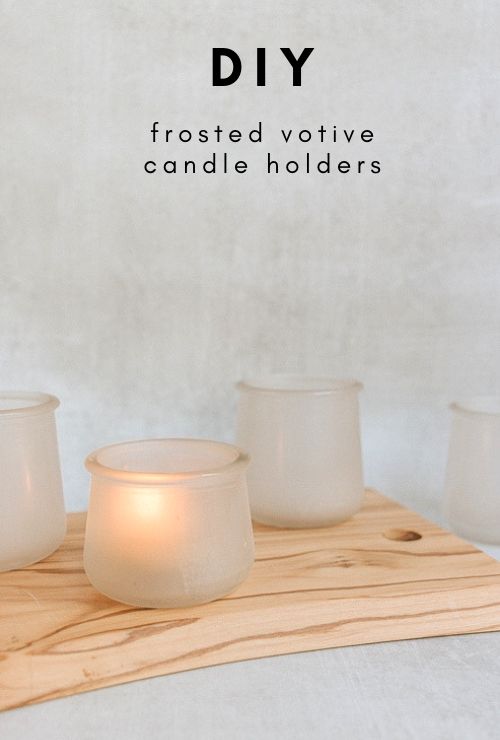
DIY Frosted Votive Candle Holders

Hi, Pretty Handy Girl Readers! I’m back today with a super simple and inexpensive project that you can use for the upcoming holiday season. Or anytime, really!  These DIY frosted votive candle holders are made from old yogurt jars (Yoplait by Oui jars).

This brand of yogurt comes in the cutest little glass jars and I’ve found so many uses for them, like my fairy jar macrame hangers and cinnamon stick candle holders.

Here’s how to make these DIY frosted votive candle holders:

Materials:

(I’ve included affiliate links for your convenience. I earn a small percentage from a purchase using these links. There is no additional cost to you. You can read more about affiliate links here.)

Instructions:

Follow these simple instructions to make these pretty votive candle holders!

Step 1: Clean your Jars

Here’s the easiest way to clean the jars. Place the jars in a bowl filled with hot, soapy water. Let them soak for a bit.

Wash jars in hot soapy water and dry

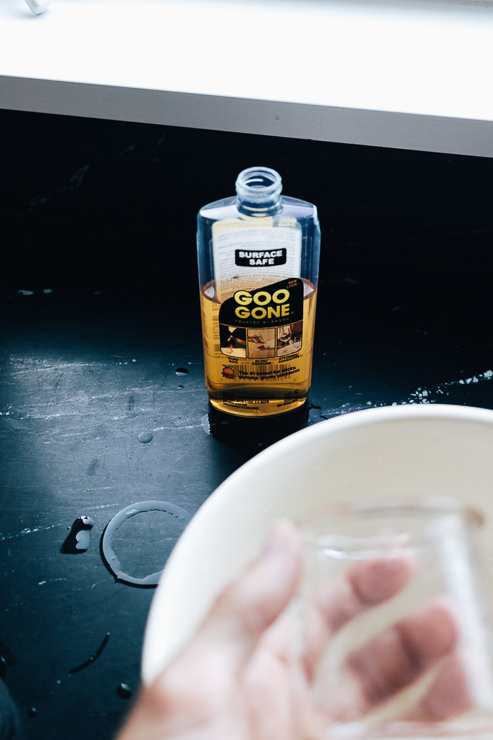
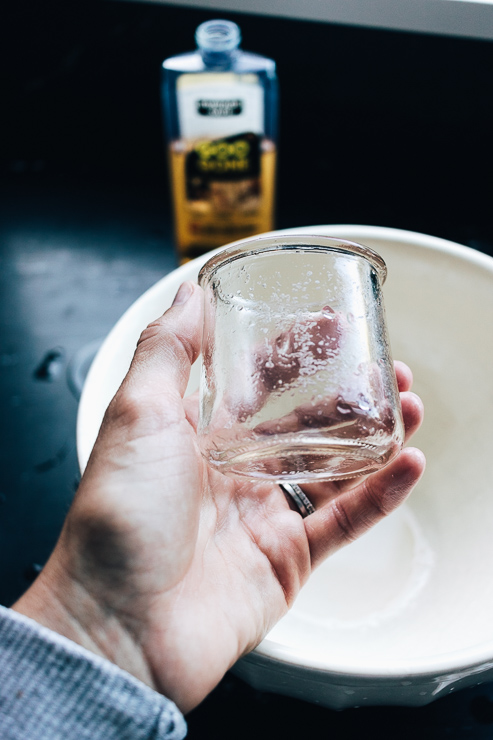
After soaking, use a tea towel to dry them and help remove most (if not all of the) sticker residue. Use Goo Gone to remove any remaining sticker residue.

You will find at this point that most of it will just rub right off. If not, put the jars in the dishwasher to get them nice and clean.

Step 2: Spray Paint your Jars

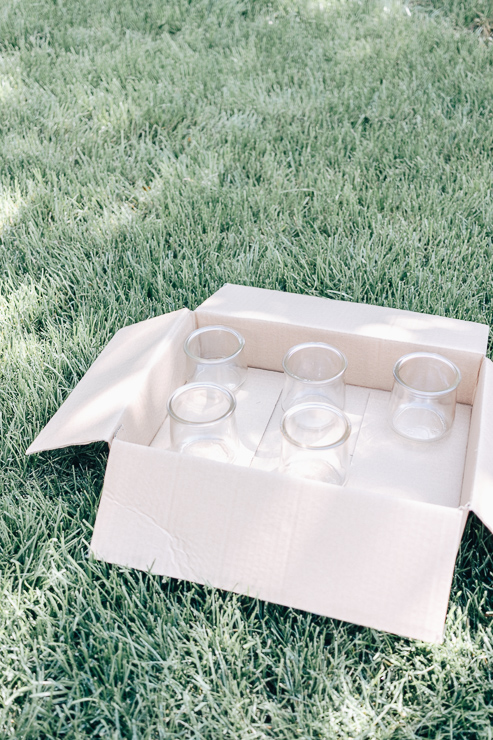
Place jars in a box to prepare for spray painting

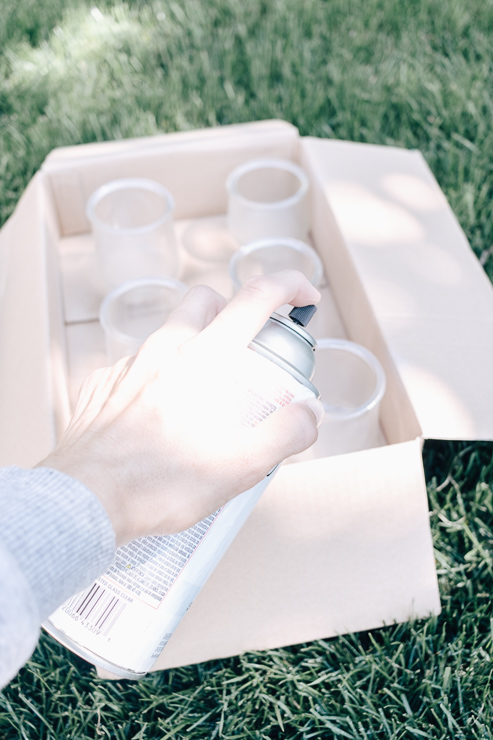
As with all spray painting and painting projects, it’s best to spray outside in a well-ventilated area (and use protective eyewear and a mask).

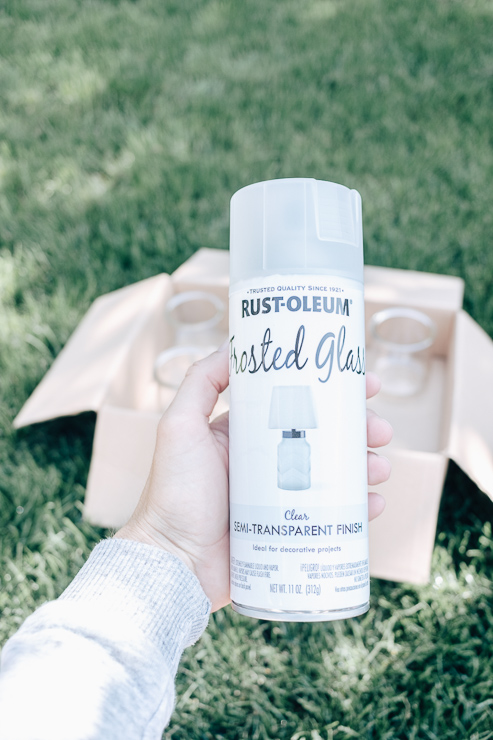
Spray your jars using light and even coats to avoid drips and runs in your paint. It’s best to go easy and commit to building up the paint over time. This spray paint dries in just 5-10 minutes! You will be able to tell where you might need more spray paint after giving it time to dry. Spray your jars with 2 coats for the best coverage.

I spray painted both the inside and outside of my jars, but that might not be necessary depending on the look you want.

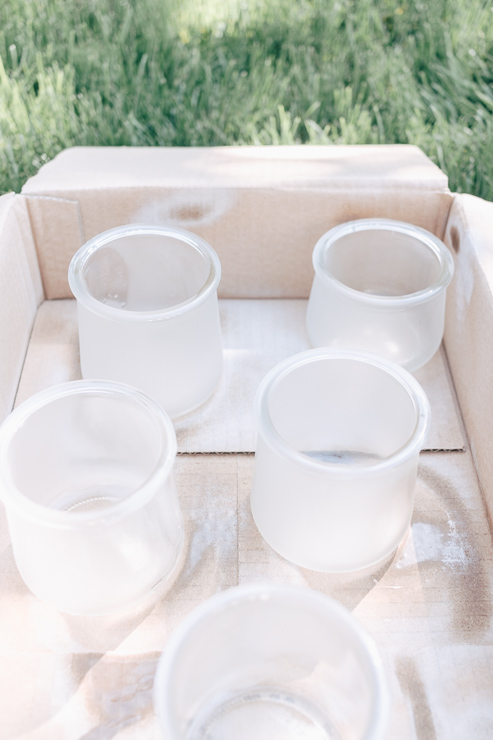
Jars become more frosted looking as they dry (2)

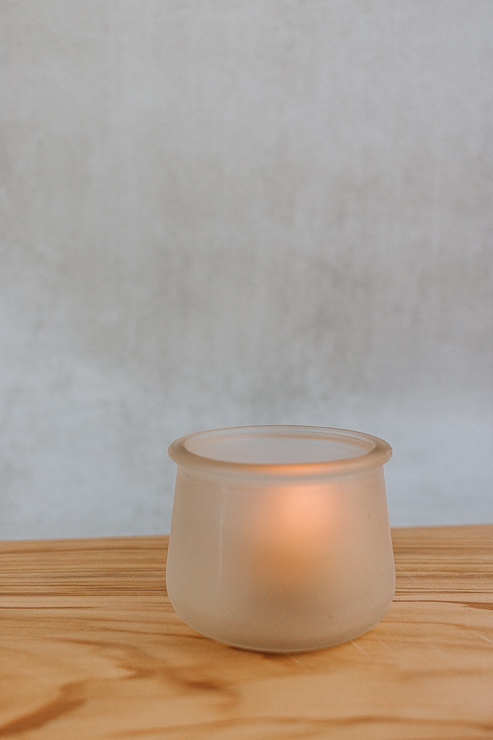
As this paint dries, it becomes more opaque and frosted looking. It’s really cool to watch the paint magic happening before your eyes!

Completed Frosted Votive Candle Holders

Step 3: Enjoy your Jars!

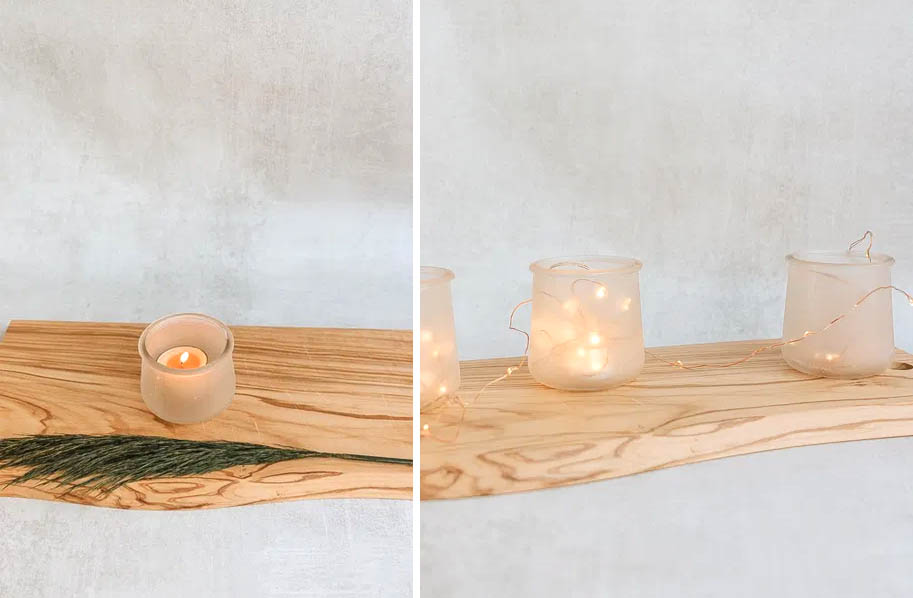
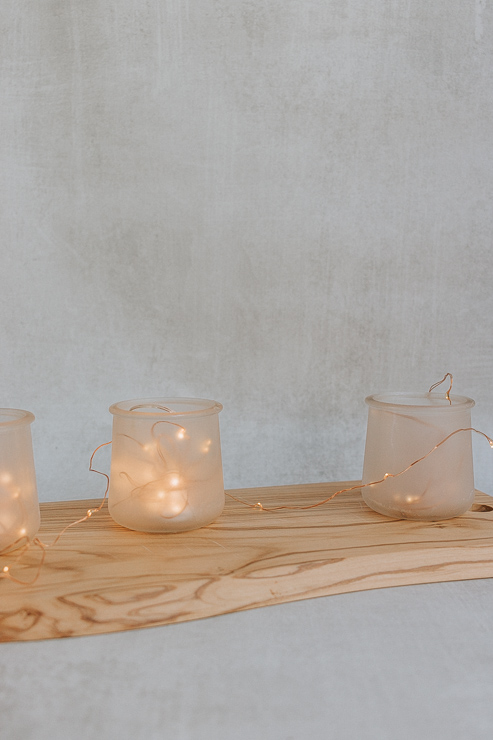
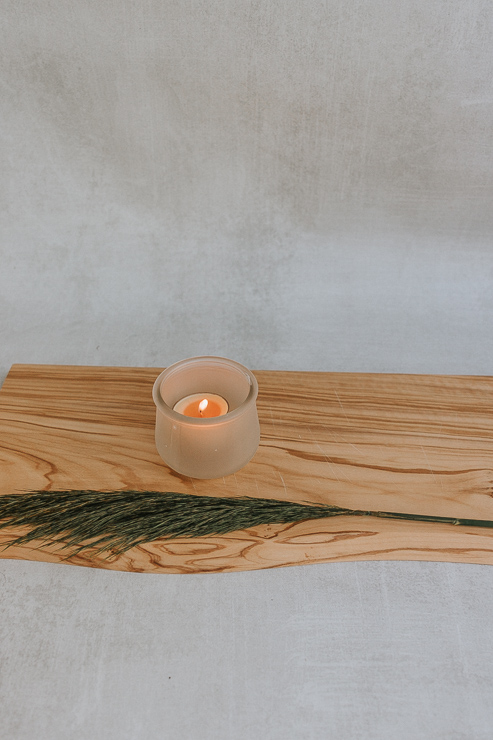
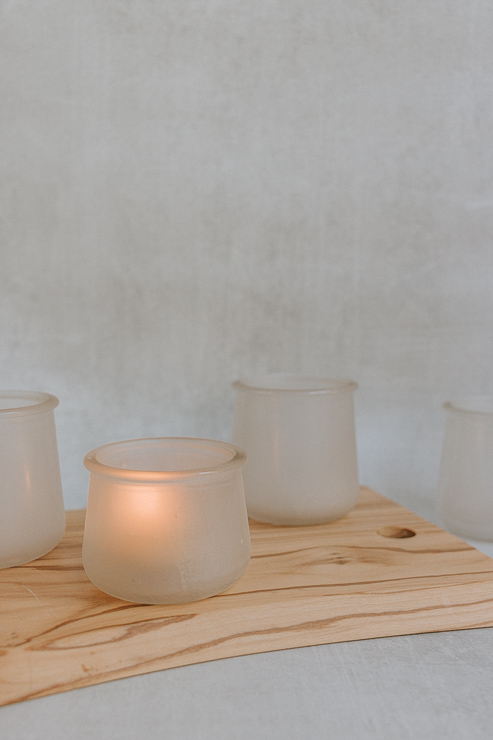
Once your jars are fully dry, you can decorate with them! I love these frosted jars with tea light candles. But you could also use fairy lights for a unique look.

Frosted Candle Holders hold fairy lights too

Buy tea candles in bulk from stores like Amazon or IKEA. You can also pick up seasonal candles from places like Target if you wanted a nice Fall or Holiday scent.

DIY Frosted Votive Candle Holders (1)

Another idea?

I’m a huge fan of the flameless candles, as long as they are realistic and cast a warm glow (not a fake orangey one!) You can buy flameless tea light candles just about anywhere these days. If you want my personal opinion, Pottery Barn and Luminara make pretty realistic ones and the light is very warm and pretty. Amazon is chock full of options for flameless tea lights.

If you are planning a holiday get together or a party (even a wedding), these candles will be the perfect finishing touch for your tables and decor. Bonus: they are so inexpensive and easy to make.

I hope you guys have fun with this one! And I hope Yoplait never stops making this yogurt because I love these little jars!

For even more ideas, check out these festive votive candle holders right here on Pretty Handy Girl!

See you all next month!  Thanks for reading!

karen signature

~ See More of Karen’s Tutorials ~


karen from decor hintHello!  I’m Karen, the creator of the Home Decor and DIY Blog: Decor Hint. I’m a Native of the East Coast, but I currently live in beautiful Seattle with my hubby, our two wonderful children, and our spunky wheaten terrier.

You can usually find me with some sort of craft in one hand and a coffee in the other. And I’m always rearranging furniture or moving lamps from room to room. I have a passion (read: obsession) for decorating, DIY, and gardening. In short, I love making my house into a home.

Like many, I’m inspired by what I see in home decor magazines, but I’m not so inspired by the price tags.  Consequently, I love finding and creating beautiful budget-friendly home decor items. In a head to head competition, I bet you’d never know the difference between the designer items and my DIY creations!  Many of my DIY projects focus on sewing, crafting, upcycling and organizing. Some of my favorite projects have been making pretty wreaths, sewing my own tassel hand towels, and crafting these trendy wood bead garlands. I can’t wait to inspire you and spark your creativity through my DIY projects.

You can always connect with me on Pinterest, Twitter or Instagram.

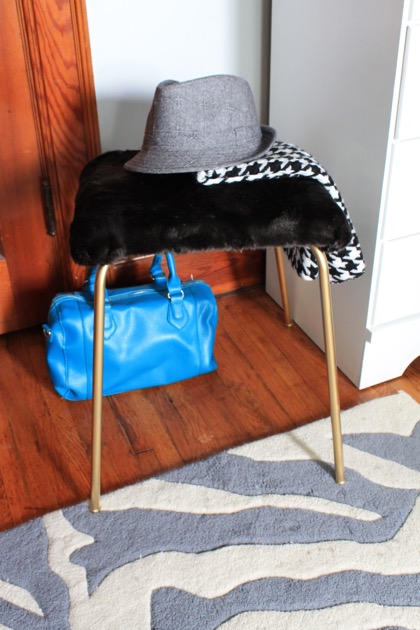
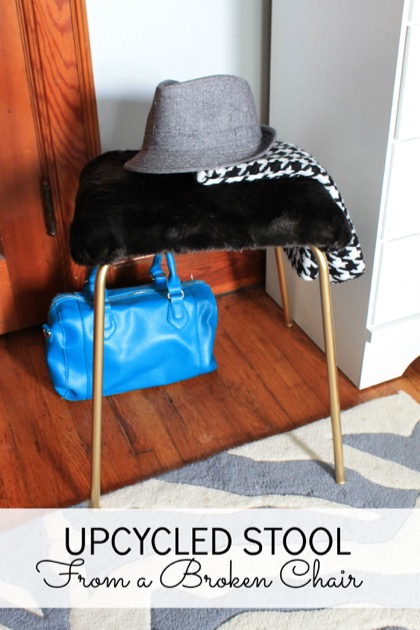
Turn a Chair into a Stool

Upcycled Stool from a Chair

I love this upcyled project from Jessica! Today’s Rockstar is probably familiar to you because she performs as a monthly contributor on Pretty Handy Girl. Jessica is here with the tutorial to Upcycle a Stool from a Chair.

JessicaBioPic

When Jessica isn’t performing here on Pretty Handy Girl or playing with her adorable new baby, she is blogging at Decor Adventures. Jessica and her husband have been renovating their old home since they bought it in 2010. Jessica is right at home behind the power tools and can create the most amazing transformations! I can honestly say that Jessica and I have been blogging friends since we both started blogging in 2010. Rockstar DIY Series

I hear the sound of a reciprocating saw! Jessica is storming the stage now!

page_break_2

We all have unused furniture around our house right? Whether it’s a table that no longer fits in your room; or a chair you’ve grown tired of; or maybe something that’s broken and you can’t bring yourself to throw it out. Well now you don’t have to, you can turn some of those old pieces into something new with just a few supplies and some DIY skills.

Turn a Chair into a Stool

For the longest time we had a set of these wooden chairs in our house. Although three of them are in great shape, one was broken and couldn’t be used anymore. Instead of getting rid of it, I decided to turn it into a fun and functional stool. Here is a quick tutorial on how to turn a broken chair into a stool.

Materials

  • Broken chair
  • Pencil
  • Reciprocating saw
  • Safety glasses
  • Sanding block
  • Spray paint
  • 1-inch foam
  • Spray adhesive
  • Scissors
  • Fabric
  • Hot glue gun and glue sticks

Instructions

For this project, you’re going to cut off the back of the chair to reuse the seat and legs. All chairs are different, so you can cut or even dis-assemble the chair to your liking. Mark the chair with a pencil where you will cut it.

Upcycled Stool fro a Chair

Read more