How to Install Window Trim & Casing

After installing a new casement window in our kitchen,I chose to install a beautiful decorative window moulding. Today I’m going to show you how easy it is to Install Trim and Casing Moulding!

How to Install Window Trim & Casing

How to Install Trim and Casing Moulding

I’m excited to be sharing more tutorials from the kitchen renovation. I hope you’ll excuse me as we jump back and forth in the renovation process. I’ve been trying to get the most relevant tutorials to you as soon as I can. Speaking of relevant, I understand there are a lot of under-dressed windows out there that need trim or could use a little more “WOW Factor”!  Is that your  case—ment? (Sorry, I couldn’t resist.)
Let’s go over the details for installing window trim and casing on a casement window. Have no fear if you have a double hung window or other, these techniques will work for those windows too.

Replacement vs. New Construction Windows:

handyman_installing_window

But, let’s back up for a minute. I wanted to share with you a little snafu that happened with our casement window. When I ordered it, the guy taking the order asked me a few questions and somewhere there was a translation breakdown. He thought I needed a replacement window because I was replacing an existing window. What he didn’t realize is that I was increasing the size of the window opening and therefore needed a new construction window. In the end, I was stuck with the replacement window, but my handman and I used as many weather-stripping, caulking, and water barrier techniques we could think of to keep it water tight.

This is what you need to know when ordering a new window: If you are removing the old and putting in a new window into the same frame, you can order a replacement window. If you are expanding or changing the size of your window opening (or you want to start with a full window replacement that you can flash on the exterior and add insulation around the rough opening) you will order a new construction window.

But, let’s learn how to install trim and casing moulding on a window.

Materials:

(I’ve included affiliate links for your convenience. I earn a small percentage from a purchase using these links. There is no additional cost to you. You can read more about affiliate links here.)

Instructions for Installing Trim, Casing and Moulding on a Window:

The window has been installed. Use this opportunity to use an expanding foam to seal around the window frame while it’s exposed. This will cut down on drafts. Allow the foam to cure and trim off any excess that would interfere with the casing installation.

How to Frame and Install Window Casing and Trim by Pretty Handy Girl

Find the center of your actual window (not the rough opening) and make a pencil mark under the window. Use this mark as your guide for the stool and the window trim.

How to Frame and Install Window Casing and Trim by Pretty Handy Girl

First measure and cut the window stool. You can use a jigsaw, coping saw or hand saw to cut out the edges of the stool so it fits snug against the window and has a reveal over the sides of the window. Take into consideration the width of the window casing and trim on each side and add an inch for the stool to extend beyond the trim. (see photo below to visualize the end product.)

How to Frame and Install Window Casing and Trim by Pretty Handy Girl

With your stool dry fit in place, check the level of the stool and use wood shims to level if necessary.

How to Frame and Install Window Casing and Trim by Pretty Handy Girl

Add a bead of construction glue and set the stool on top. Secure the stool moulding to the window sill with nails.

How to Frame and Install Window Casing and Trim by Pretty Handy Girl

Safety note: When using a finish nailer be sure to wear eye protection and hearing protection. Don’t worry, you’ll look totally cool in your snazzy safety gear. It’s better than the missing eyeball look.

3M_Tekk_protection_with_finish_nailer

You may need to build out the window frame by cutting a 2×2″ board for the top of the window. Level the top with shims and secure it with finish nails.

How to Frame and Install Window Casing and Trim by Pretty Handy Girl

Cut two more pieces of 2×2 for the sides. Make sure you have the same reveal on the window for each side (refer back to your center mark.)

How to Frame and Install Window Casing and Trim by Pretty Handy Girl

Make sure the sides are plumb. Secure the sides with finish nails and break the shims off by scoring them with a utility knife and breaking them with your hand. (You don’t have to sing the Kung Fu Fighting song when doing this, but I do.)

How to Frame and Install Window Casing and Trim by Pretty Handy Girl

Time to add the side pieces of casing and backer board. The backer board is not necessary, but I like to beef up the trim on my doors and windows. It’s an easy process, and makes your home look more custom and less builder-grade.

Decide what amount reveal you want showing on the window stop. Mark this depth on the 2×2″ window stops. Typically 1/8″ to 1/4″ is used.

How to Frame and Install Window Casing and Trim by Pretty Handy Girl

Measure and cut your window casing to meet the 1/8″ reveal. Be sure you have a consistent reveal from top to bottom and then secure the window casing with finish nails.

How to Frame and Install Window Casing and Trim by Pretty Handy Girl

Measure and cut the backer band to the same height. Set it tight against the casing and secure with finish nails.

How to Frame and Install Window Casing and Trim by Pretty Handy Girl

Your window should look like this at this point with the two side pieces of casing installed.

How to Frame and Install Window Casing and Trim by Pretty Handy Girl

Cut the 1″ x 6″ board to fit even with the outside edges of the casing and backer band. Attach it above the window with more finish nails.

How to Frame and Install Window Casing and Trim by Pretty Handy Girl

Cut the small cove and the small base trim pieces to fit across the top and bottom of the 1″ x 6″ board. The ends should be mitered where they meet the edges. Cut, two pieces at a 45 degree angle to act as a return for the moulding. Here’s a closer look:

How to Frame and Install Window Casing and Trim by Pretty Handy Girl

Before securing the returns, add a dab of glue to hold it in place. Then use painter’s tape to hold the returns while they dry.  After the glue dries, secure the returns with a finish nail in the center of each.

How to Frame and Install Window Casing and Trim by Pretty Handy Girl

Now the window trim and moulding is finished and it’s time to putty all of the nail holes with wood putty.

How to Frame and Install Window Casing and Trim by Pretty Handy Girl

Caulk all the seams where the trim pieces meet each other and the wall and window.

If you need a tutorial for how to caulk like a pro, I’ve got you covered!How to Caulk Like a ProAfter the wood putty has dried, sand it smooth using a sanding sponge.

Wipe off any sanding dust off with a damp rag. Prime and paint your window.

And you’ll never see the seams!

How to Frame and Install Window Casing and Trim by Pretty Handy Girl

Congratulations, you just learned how to install trim and casing moulding.
How to Frame and Install Window Casing and Trim by Pretty Handy Girl

The depth of our sill, it’s just enough to set a vase onto. You may note I decided to forgo the traditional apron, and ended up using pencil edge marble tiles instead.

How to Frame and Install Window Casing and Trim by Pretty Handy Girl

That seemed relatively easy, don’t you think? Trimming out a window is a personal affair, so be sure to experiment and get creative with your trim moulding. Remember, it’s your house, you can dress it up the way you want!

Here is another great trim tutorials:

How to Install Window Trim by Remodelando la Casa

PHGFancySignPin this image to save for later!

How to Frame and Install Window Casing and Trim by Pretty Handy Girl

Upcycled Magnetic Chalkboard Frame | Pretty Handy Girl

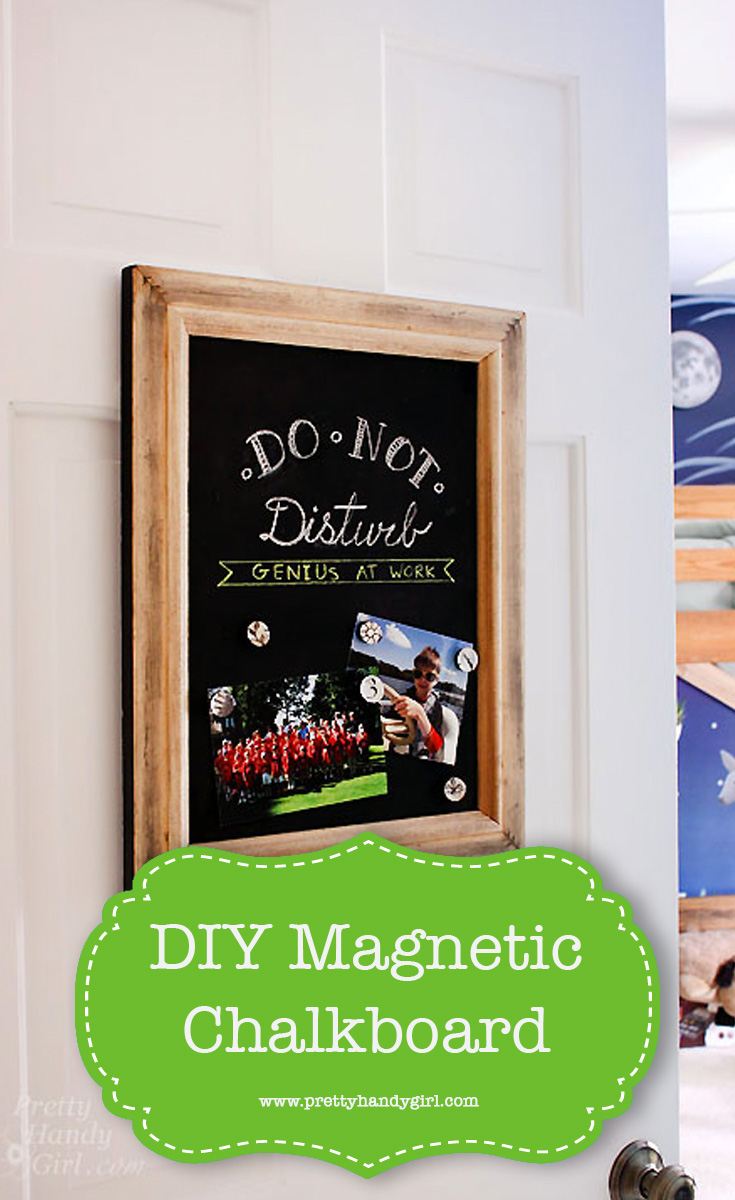
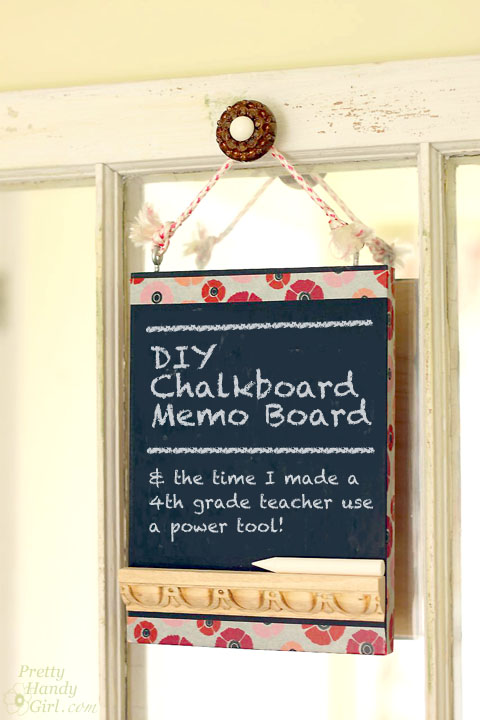
I’m a serial upcycler. When I can find relatively free materials and turn them into something worth displaying, I’m thrilled! This Magnetic Chalkboard frame is one of those upcycled projects I am proud of.
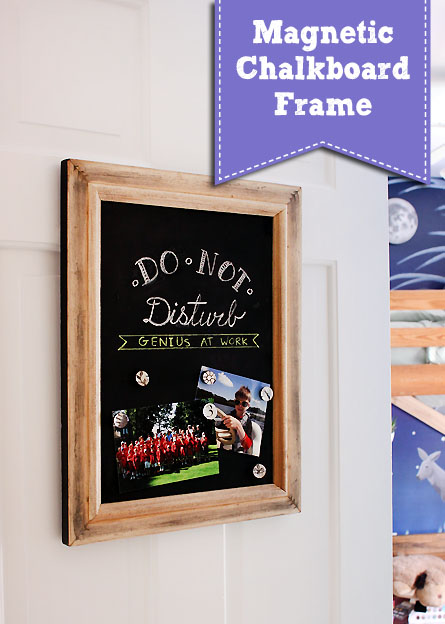
Upcycled Magnetic Chalkboard Frame | Pretty Handy Girl

Upcycled Magnetic Chalkboard Frame

Earlier in the week, I showed you the changes I made in my oldest son’s bedroom. One of the switches I made was to replace his bedroom door because the old one had cracked after one too many slammings. Ugh, cheap hollow door.

In an effort to keep my son from taping all types of signs to his new door, I found an ugly old frame and married it with some scrap metal from a junky set of shelving a neighbor was throwing away.
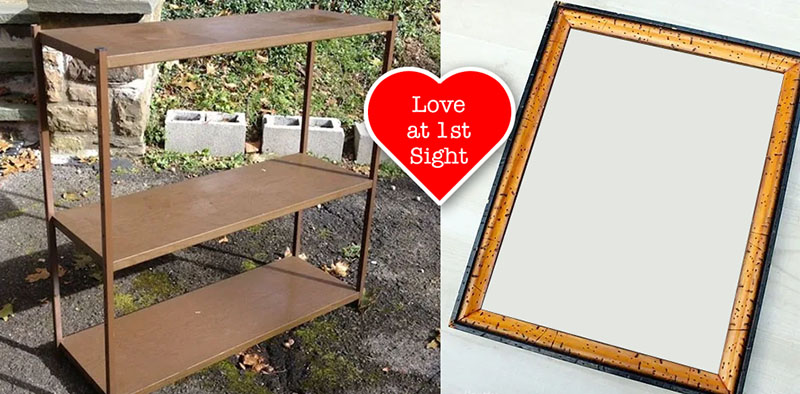
bookcase in love with ugly frame

That’s not real wood, it’s metal…fake wood metal. Yuck. Wait until you see how they were transformed. You won’t believe your eyes, so watch closely how I made this Upcycled Magnetic Chalkboard Frame.

Before you leave this tutorial thinking you can’t possibly make this project because you’ll never be able to find cheap faux wood shelves, let me share with you some alternate materials you can use!

(I’ve included affiliate links for your convenience. I earn a small percentage from a purchase using these links. There is no additional cost to you. You can read more about affiliate links here.)

Magnetic Material:

Non-Magnetic Material for Chalkboard:

Now that you have some additional material options, let’s get busy making a Magnetic Framed Chalkboard (or just a framed chalkboard).

Materials:
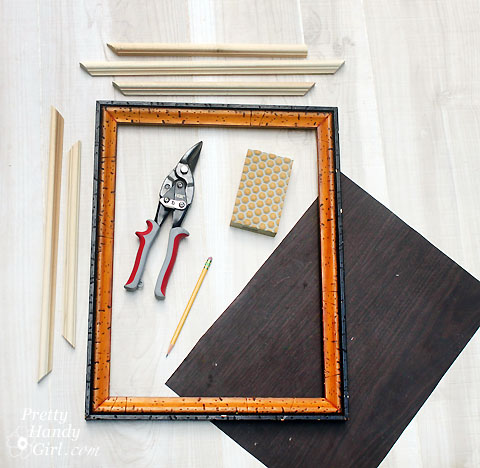
Upcycled Magnetic Chalkboard Frame | Pretty Handy Girl

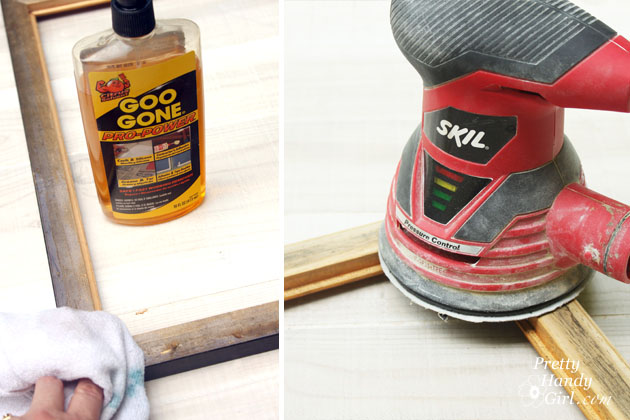
Optional: You may need some Goo Gone, a scraper, and rag to eliminate any glue on the back of the frame.

Instructions:

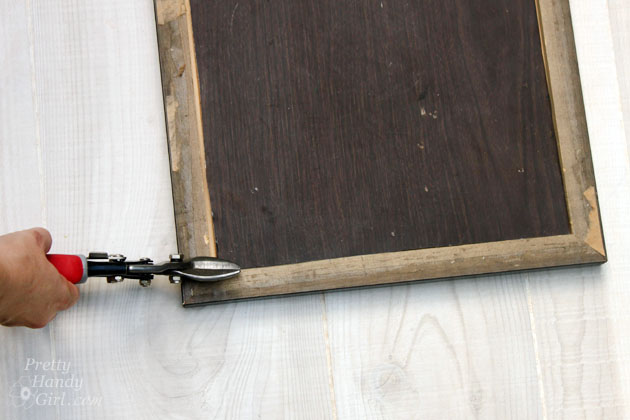
Begin by cutting your metal (or backing) to fit into the back of the frame.

Upcycled Magnetic Chalkboard Frame | Pretty Handy Girl

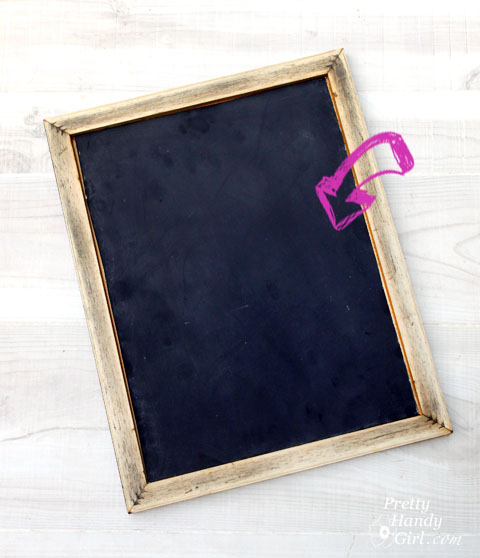
Paint one side of the metal with chalkboard paint. Let it dry. Apply a second coat of chalkboard paint. Let it dry.
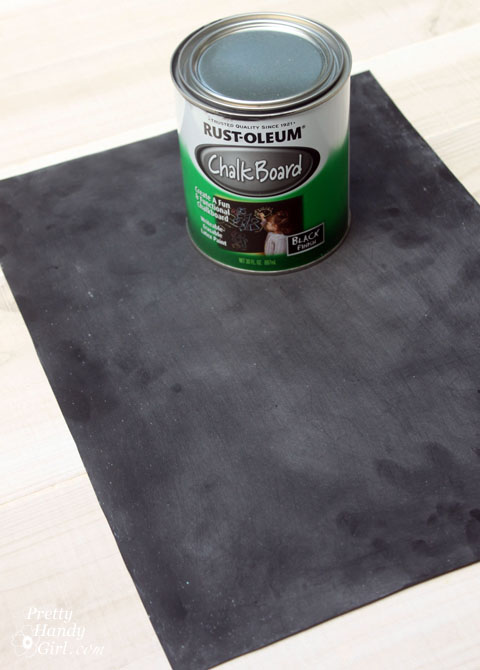
Upcycled Magnetic Chalkboard Frame | Pretty Handy Girl

While the chalkboard paint is drying, time to work on the frame.

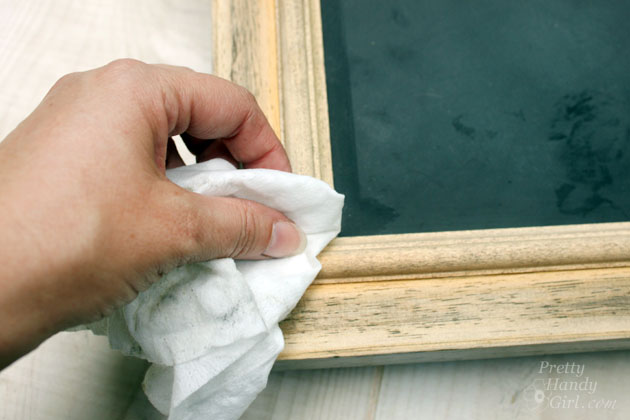
If your frame has paper on the back, peel it off and use Goo Gone, a scraper, and sander to remove any of the glue residue.

Upcycled Magnetic Chalkboard Frame | Pretty Handy Girl


When the chalkboard paint has dried, insert it into the frame, chalkboard side up from the backside of the frame (are you seeing where I’m going with this?)

Upcycled Magnetic Chalkboard Frame | Pretty Handy Girl

The back of the frame is much prettier than the front, but in order to hold the chalkboard in place, we need to cut some picture molding. Cut the end of your molding at a 45 degree angle. Fit it into the frame and mark where to make your second cut.

Upcycled Magnetic Chalkboard Frame | Pretty Handy Girl

Continue fitting and cutting molding around your frame.

Upcycled Magnetic Chalkboard Frame | Pretty Handy Girl

Once all four pieces of molding fit, you are ready to secure them.
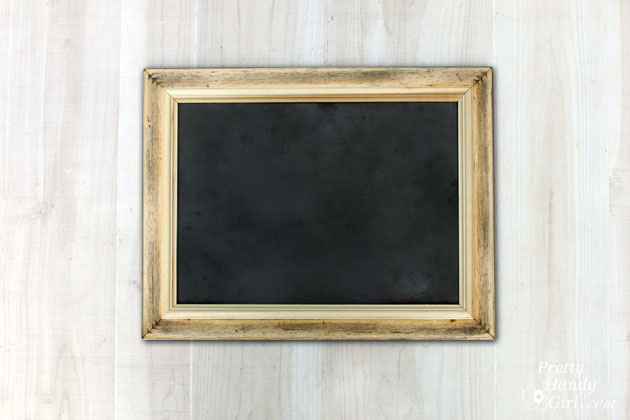
Upcycled Magnetic Chalkboard Frame | Pretty Handy Girl

Apply a bead of wood glue along the inside edge of the back of the frame.
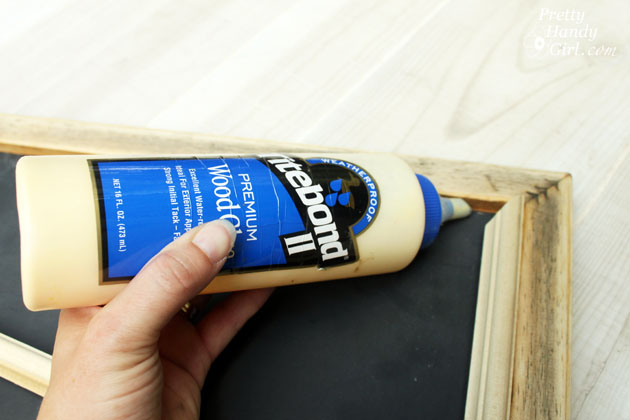
Upcycled Magnetic Chalkboard Frame | Pretty Handy Girl

Set the molding pieces in place and wipe up any glue that squeezes out.

Upcycled Magnetic Chalkboard Frame | Pretty Handy Girl

Clamp the molding pieces and the frame. Allow the glue to dry for at least an hour.
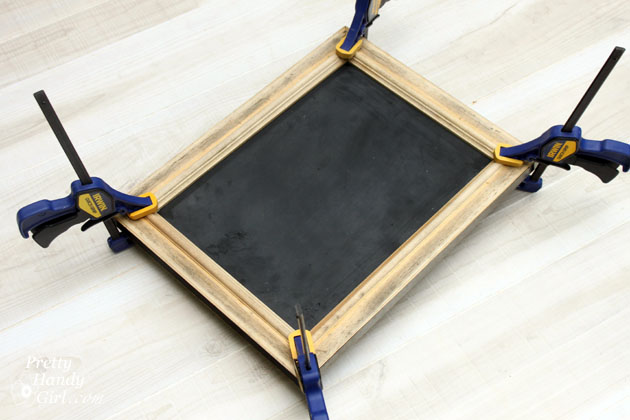
Upcycled Magnetic Chalkboard Frame | Pretty Handy Girl

When the glue has dried. Attach two D-rings to the back of the frame.
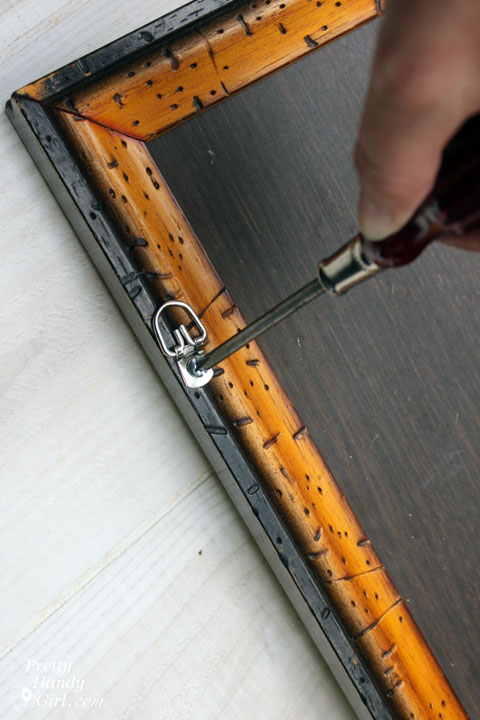
Upcycled Magnetic Chalkboard Frame | Pretty Handy Girl

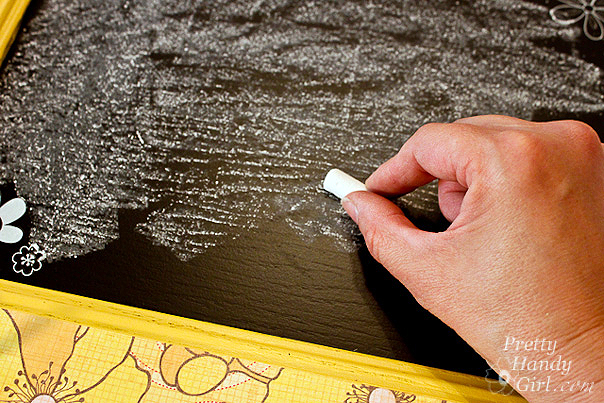
Season the chalkboard with the side of a piece of chalk. Then use a dry rag to buff it off.
Time to hang it up! (In my case, I hung it on my son’s door.
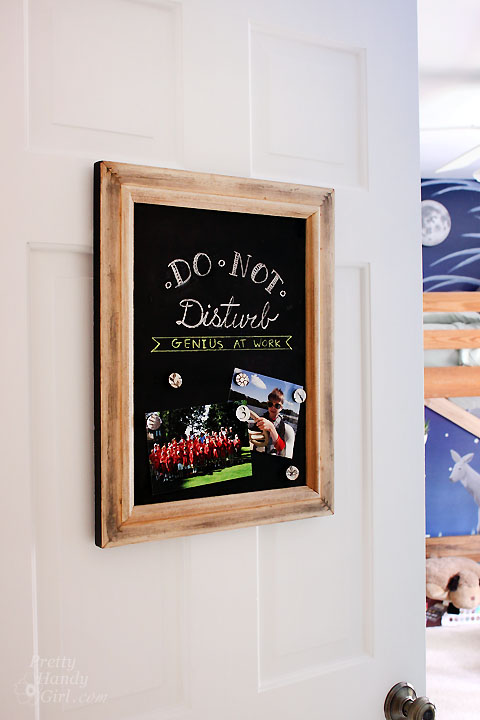
Upcycled Magnetic Chalkboard Frame | Pretty Handy Girl

To keep the frame from bouncing any time the door is opened or closed, I put a 3M Command velcro strip between the bottom of the frame and the door.

Now my son can put up pictures, messages, and more without damaging the door.
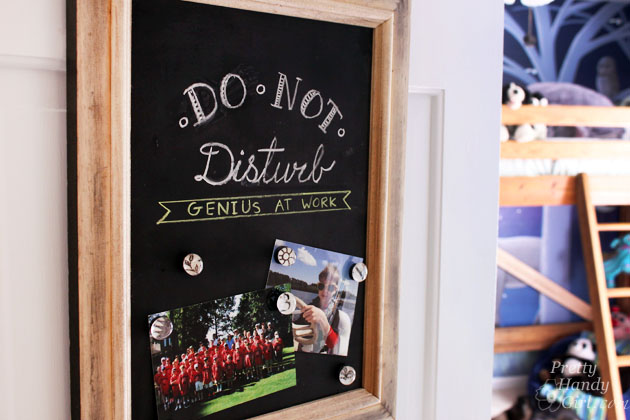
Upcycled Magnetic Chalkboard Frame | Pretty Handy Girl

Pretty cool huh?! Would you ever guess the back of an ugly frame and metal shelves could look this beautiful?
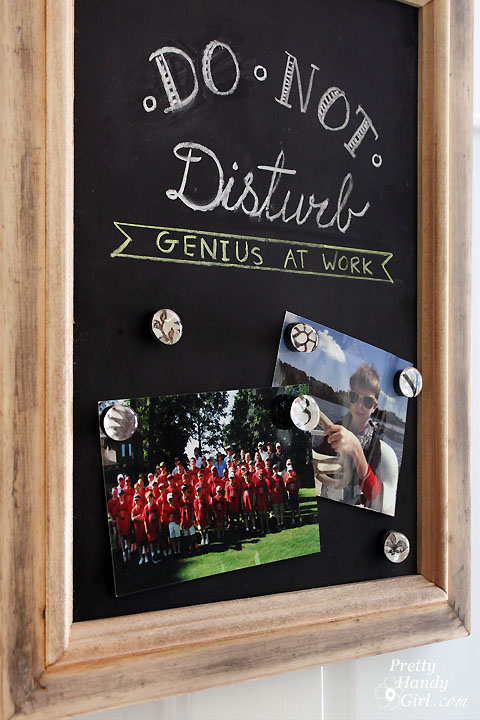
Upcycled Magnetic Chalkboard Frame | Pretty Handy Girl

I especially like the little metal fasteners showing in the corners of the frame.

Tell me, do you have an ugly frame hanging around your house? Have you ever looked at the back and found it more beautiful than the front?

PHGFancySign


Pin for later!

8. Complete with "L" brackets on corners. Add gifts and deliver!

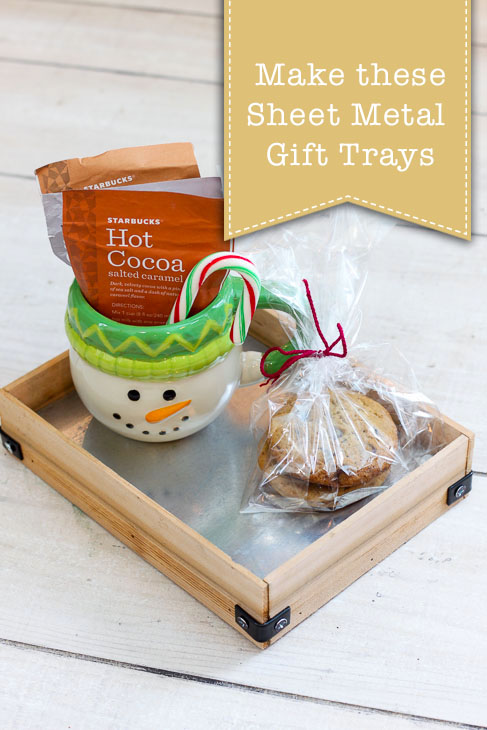
DIY Sheet Metal Gift TraysDIY Sheet Metal Gift Trays

The holidays are fast approaching and it’s time to start thinking about gift giving ideas! Gift trays are a great way deliver gifts to your friends, neighbors or teachers. The best part of a gift tray is it can be reused for anything they want and nothing goes to waste! Follow along with this tutorial to see how to make these DIY Sheet Metal Gift Trays.

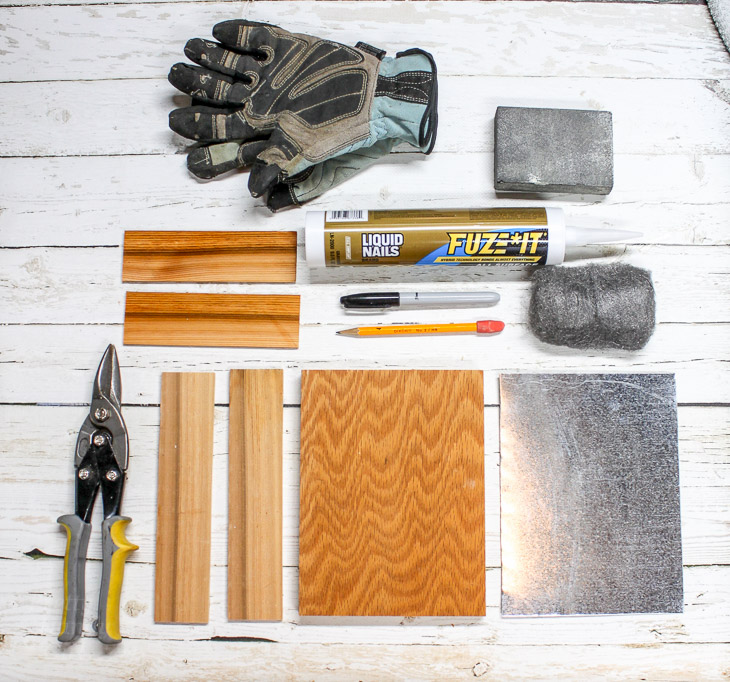
Materials:

(I’ve included affiliate links for your convenience. I earn a small percentage from a purchase using these links. There is no additional cost to you. You can read more about affiliate links here.)

Materials: Sheet Metal Gift Tray

  • 1/2″ or 3/4″ Plywood scrap wood
  • 2″ pieces of lathe or scrap moulding
  • [amazon_textlink asin=’B000W49NPC’ text=’Sheet metal scrap’ template=’ProductLink’ store=’prett-wp-001-20′ marketplace=’US’ link_id=’4f103892-cbe2-11e7-a00c-3fda84932599′] (large enough to cover plywood base)
  • [amazon_textlink asin=’B00009OYFY’ text=’Sheet metal snips’ template=’ProductLink’ store=’prett-wp-001-20′ marketplace=’US’ link_id=’56db011a-cbe2-11e7-88c9-230adf5bdb2c’]
  • [amazon_textlink asin=’B000S7ZSTS’ text=’Construction adhesive’ template=’ProductLink’ store=’prett-wp-001-20′ marketplace=’US’ link_id=’65c9549d-cbe2-11e7-8619-39ed35fc6585′]
  • [amazon_textlink asin=’B000DZF2Q4′ text=’Caulk gun’ template=’ProductLink’ store=’prett-wp-001-20′ marketplace=’US’ link_id=’6d3fe28c-cbe2-11e7-bb25-e144f3be5a89′]
  • [amazon_textlink asin=’B00125NQBC’ text=’Sandpaper’ template=’ProductLink’ store=’prett-wp-001-20′ marketplace=’US’ link_id=’7f0ff979-cbe2-11e7-b34f-fb2f071c5869′]
  • [amazon_textlink asin=’B001JYVDSE’ text=’Steel wool’ template=’ProductLink’ store=’prett-wp-001-20′ marketplace=’US’ link_id=’8e654c5e-cbe2-11e7-b495-0ffc93a9294c’]
  • [amazon_textlink asin=’B01I7DNOYA’ text=’Gloves’ template=’ProductLink’ store=’prett-wp-001-20′ marketplace=’US’ link_id=’b09e21ba-cbe2-11e7-91af-d908a698cd02′]
  • Drill
  • Pencil or Marker
  • 4 – [amazon_textlink asin=’B01N6NID4X’ text=’L brackets’ template=’ProductLink’ store=’prett-wp-001-20′ marketplace=’US’ link_id=’de9d5670-cbe2-11e7-84b2-2f143e838863′] and 1/2″ wood screws
  • [amazon_textlink asin=’B001PNH8D8′ text=’Brad nails ‘ template=’ProductLink’ store=’prett-wp-001-20′ marketplace=’US’ link_id=’0337c2d4-cbe3-11e7-b1d7-3dfa06c67bf1′]Nail gun

Instructions:

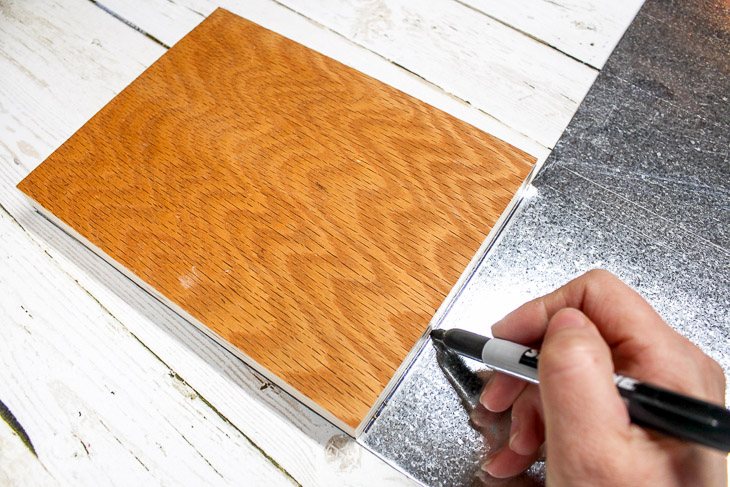
Cut your piece of plywood to the desired size for the tray base. Lay the plywood base on top of the sheet metal and trace with a permanent marker. Use tin snips to cut the metal to size.

1. Cut base and mark sheet metal size.

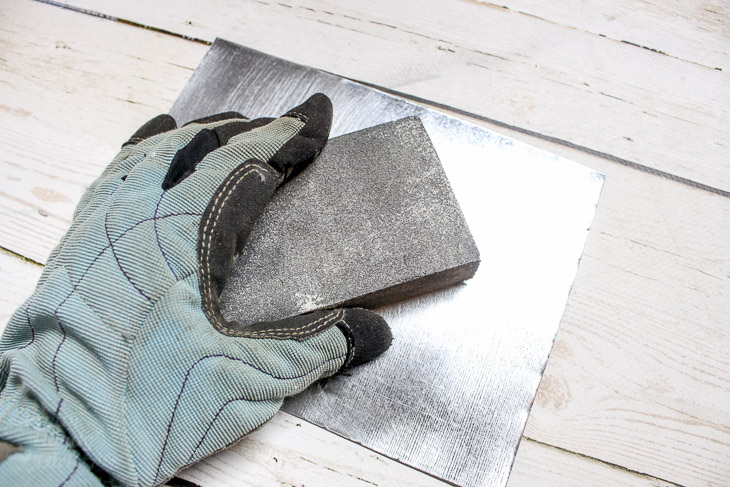
Put on your safety gloves and use the sanding block to remove some of the shine from the sheet metal. Smooth over any sharp edges.

2. Sand Sheet metal edges and base.

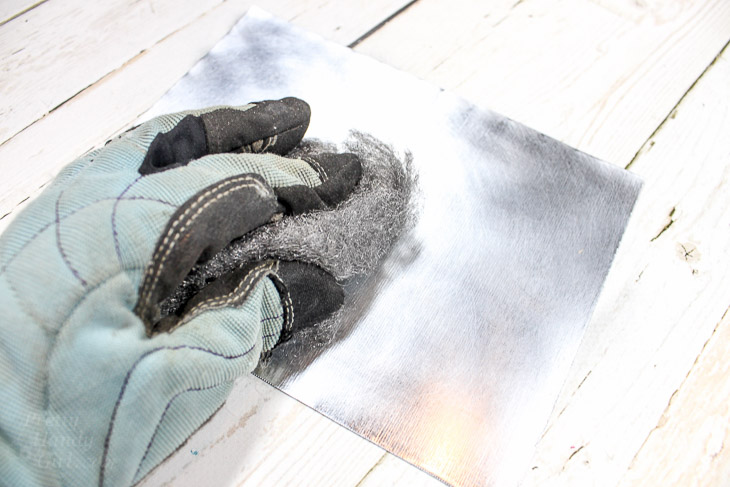
Rub the steel wool over the entire sheet metal piece to give it a soft polished finish.

4. Use steel wool to dull sheet metal surface.

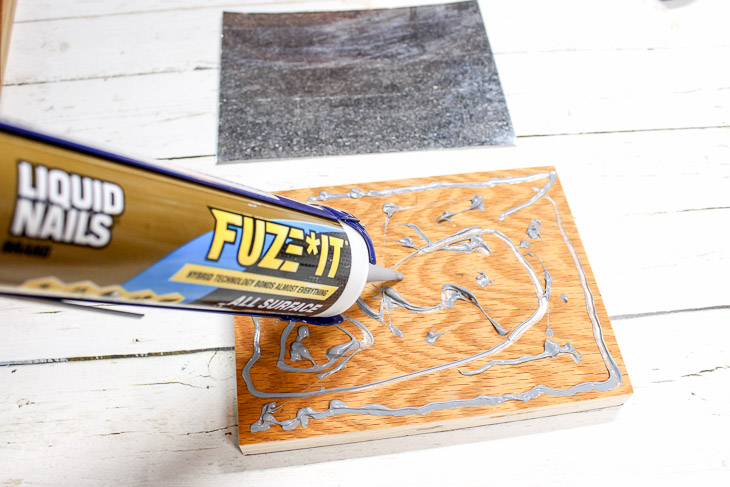
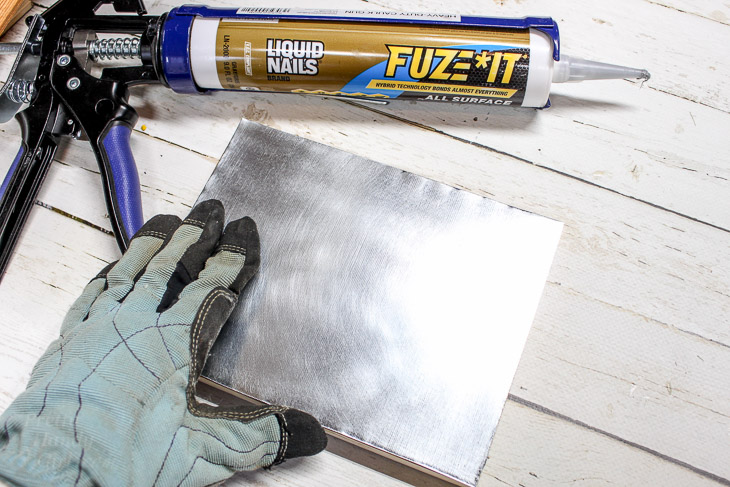
Load a tube of construction adhesive into your caulk gun. Apply a fair amount of adhesive to the plywood. Glue the sheet metal to the top of the plywood.

5. Add Construction Adhesive to wood base

Press the sheet metal down evenly on top of the adhesive. Wipe off any excess if needed with a paper towel.

6. Press sheet metal on top of wood base.

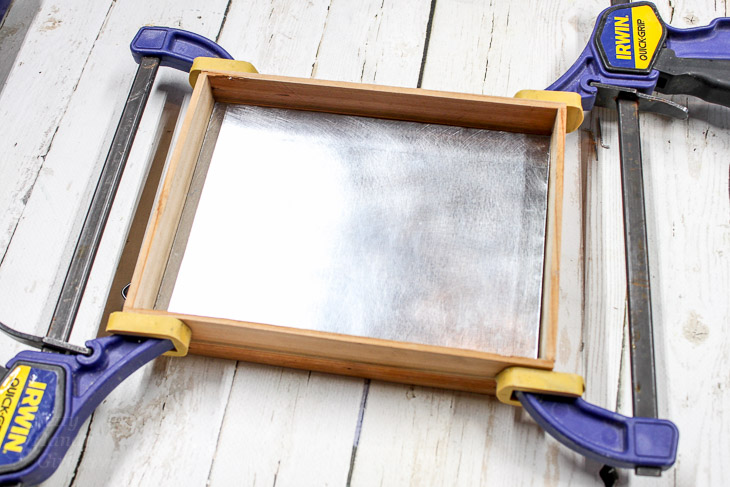
Cut the 2″ pieces of lathe or scrap moulding to the length of the two shorter sides. Next, measure and cut two pieces of lathe for the long ends. (Be sure to allow extra length to overlap the short pieces of lathe/moulding.  Use the construction adhesive and brads to secure the lathe to the sides of the plywood. Clamp the sides until the adhesive cures.

8. Clamp sides while glue cures.

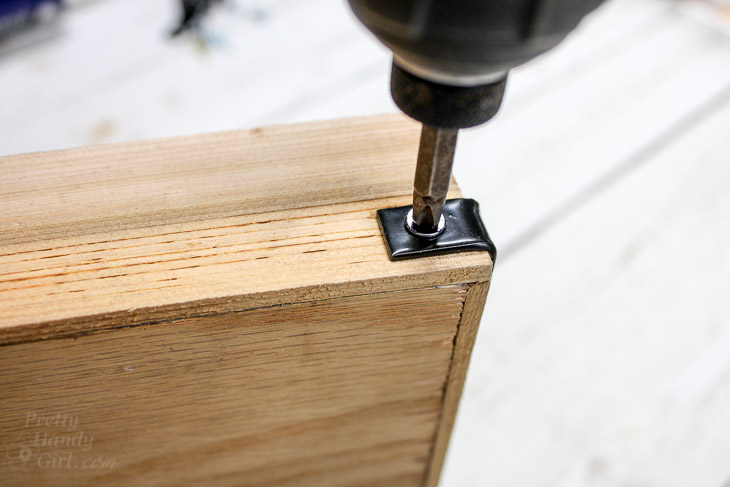
Once the adhesive is cured, remove your clamps. Attach the L brackets on the lower half of each corner using 1/2″ wood screws. The L brackets will reinforce the sides and add an industrial look.

9. Add corner brackets for extra support and decoration.

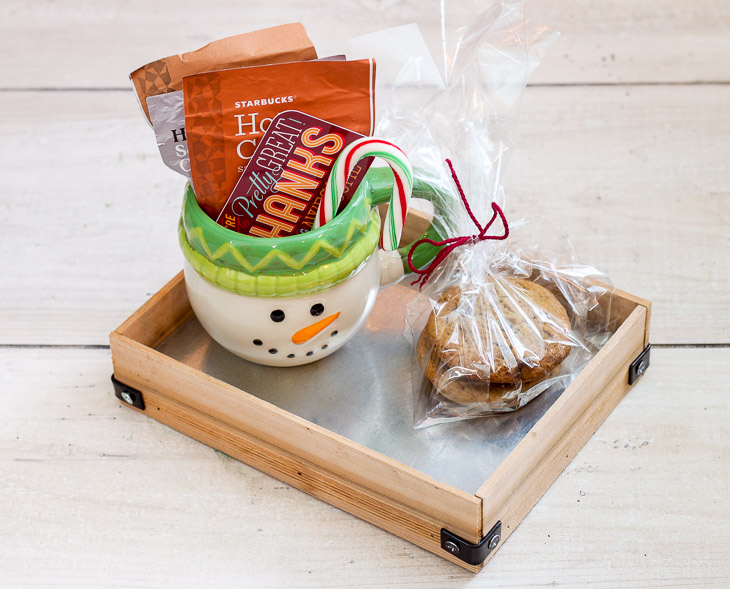
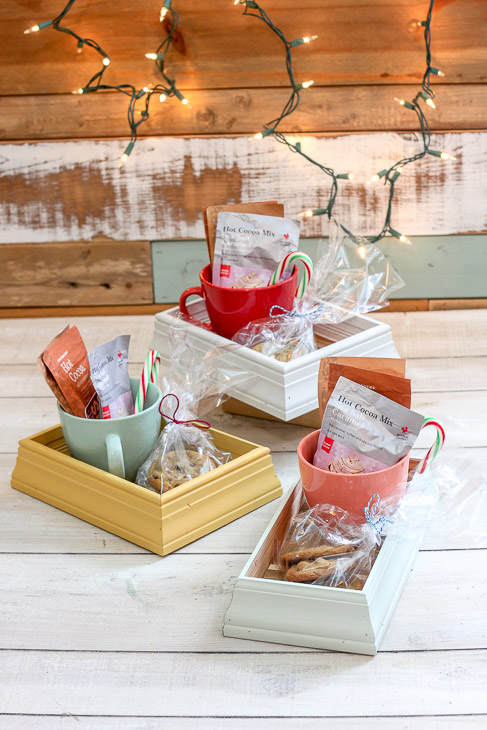
There you have it! These DIY Sheet Metal Gift Trays are easy to make, look great, and are an extra special and environmentally-friendly way to give gifts!
10. Add gifts and deliver!

I hope you love this project. Do you have other ideas for quick gift giving? Please share!

Want some more gift giving inspiration?

DIY Scrap Moulding Trays

scrap-moulding-trays

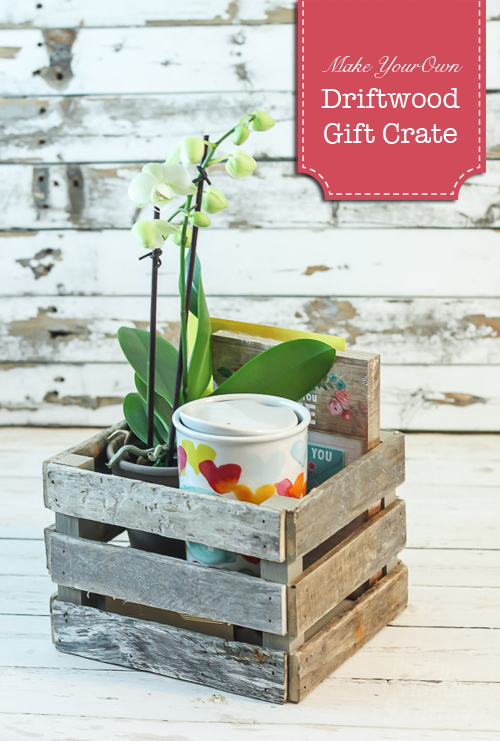
Make a Driftwood Gift Crate

Make a Driftwood Gift Crate | Pretty Handy Girl

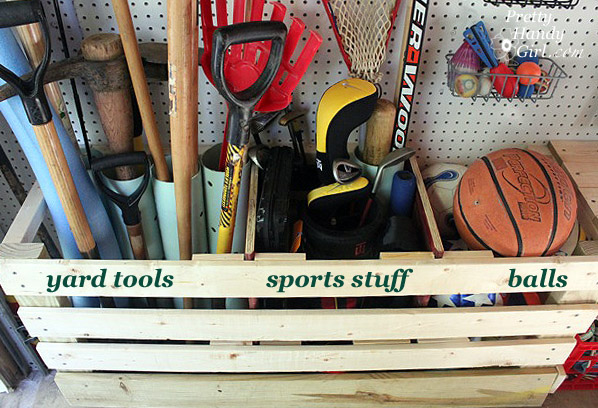
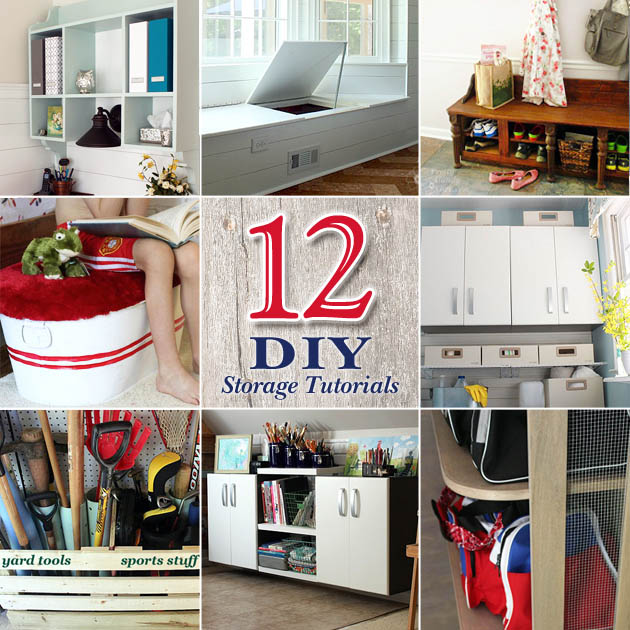
12 DIY Home Storage Tutorials | Pretty Handy Girl

It’s January and you know what that means! Time to clean and purge the house of all the excess stuff. Last year I was too busy with projects to purge, so this year I’m taking advantage of some warmer days to clean out our home. I hope you’ll excuse me while I’m in clutter busting HELL mode. In the meantime you might enjoy these 12 DIY Storage Projects to help you organize your home (and hide clutter.)

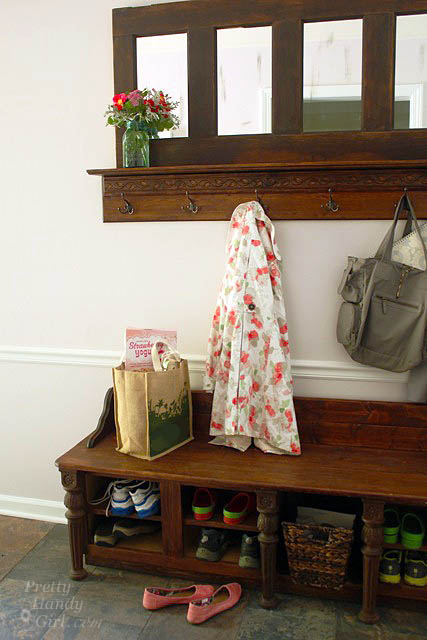
mudroom_shoe_storage_bench
Make a Coat Rack from an Old Door
 and Make a Shoe Storage Bench with Kitchen Cabinets

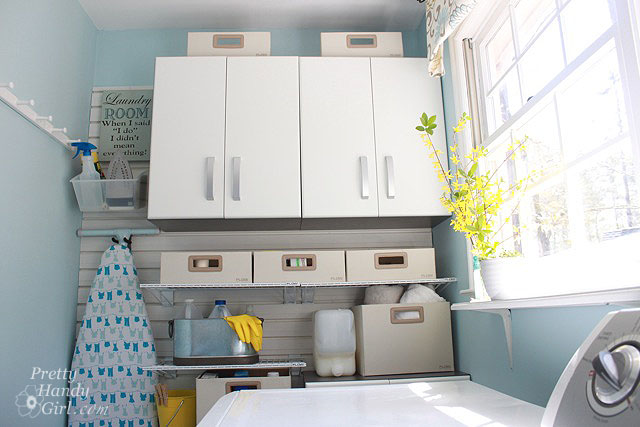
full_flow_wall_above_washerLaundry Room Storage using Flow Wall Read more

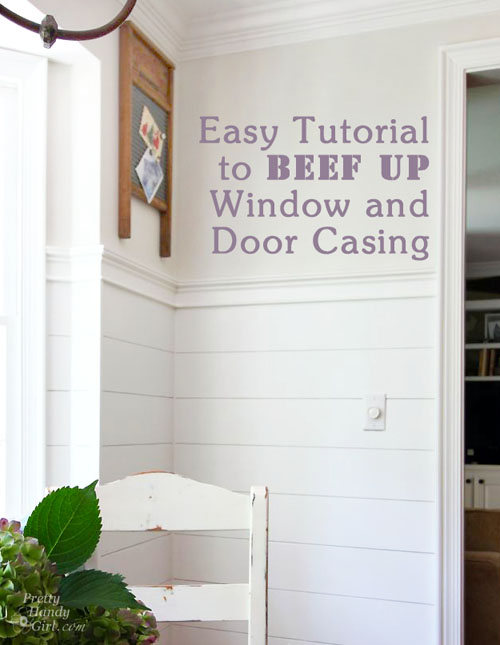
Beef Up Door and Window Casing with Back Band | Pretty Handy Girl

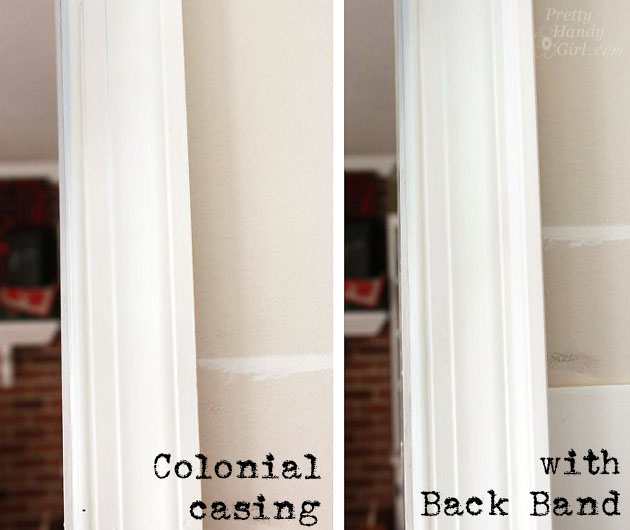
Want an easy way to add more architectural interest to your standard colonial door and window framing? Adding an extra piece of moulding, called back band, can add that extra boost of architectural interest.

Add Architectural Interest to Casing | Pretty Handy Girl

And the good news is that you can do this to your existing trim moulding. No need to remove or start fresh! The only thing you will need is paint on hand to paint the moulding after you BEEF it UP! In essence, We’re gonna PUMP it UP!

Materials:

  • Back band moulding
  • Finish nailer
  • 2″ finish nails
  • Caulk
  • Paint
  • Miter saw or  hand saw with miter box

Instructions:

There’s really not much to this tutorial. Line up the back band against your existing door or window frame. Measure or mark the back band where you need to cut your miter. Read more