Upcycled Magnetic Chalkboard Frame | Pretty Handy Girl

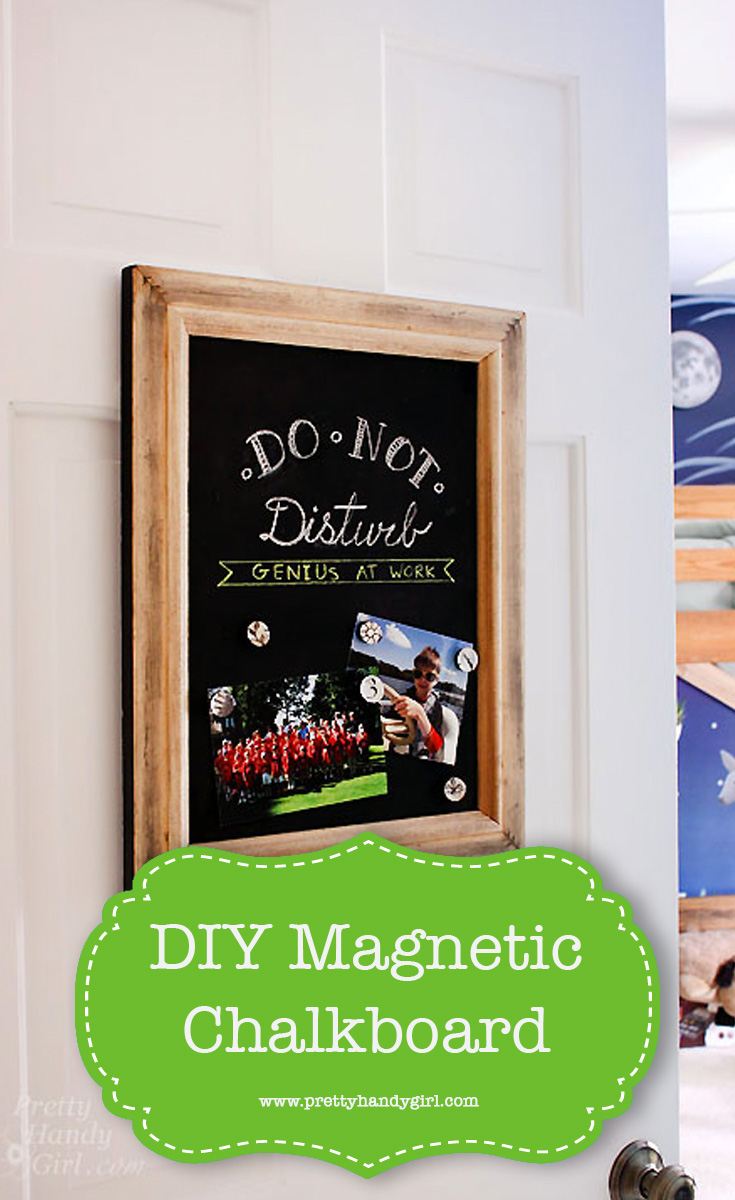
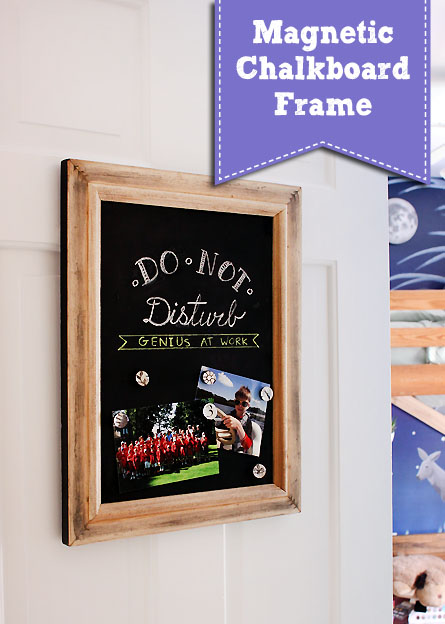
I’m a serial upcycler. When I can find relatively free materials and turn them into something worth displaying, I’m thrilled! This Magnetic Chalkboard frame is one of those upcycled projects I am proud of.
Upcycled Magnetic Chalkboard Frame | Pretty Handy Girl

Upcycled Magnetic Chalkboard Frame

Earlier in the week, I showed you the changes I made in my oldest son’s bedroom. One of the switches I made was to replace his bedroom door because the old one had cracked after one too many slammings. Ugh, cheap hollow door.

In an effort to keep my son from taping all types of signs to his new door, I found an ugly old frame and married it with some scrap metal from a junky set of shelving a neighbor was throwing away.
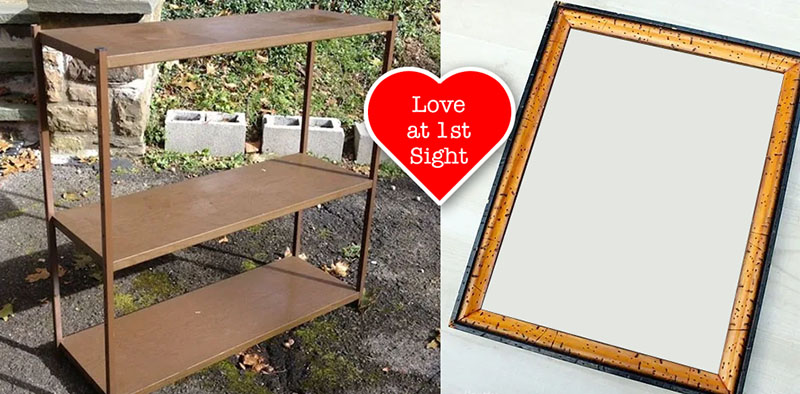
bookcase in love with ugly frame

That’s not real wood, it’s metal…fake wood metal. Yuck. Wait until you see how they were transformed. You won’t believe your eyes, so watch closely how I made this Upcycled Magnetic Chalkboard Frame.

Before you leave this tutorial thinking you can’t possibly make this project because you’ll never be able to find cheap faux wood shelves, let me share with you some alternate materials you can use!

(I’ve included affiliate links for your convenience. I earn a small percentage from a purchase using these links. There is no additional cost to you. You can read more about affiliate links here.)

Magnetic Material:

Non-Magnetic Material for Chalkboard:

Now that you have some additional material options, let’s get busy making a Magnetic Framed Chalkboard (or just a framed chalkboard).

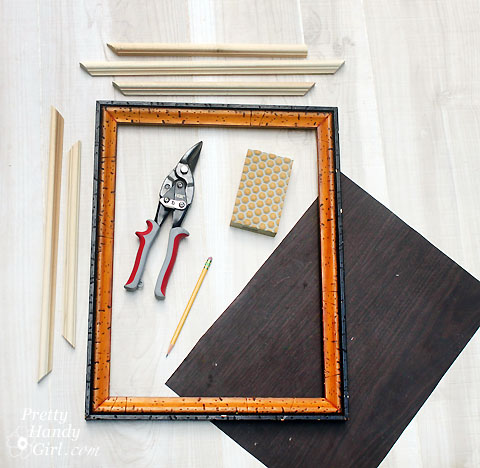
Materials:
Upcycled Magnetic Chalkboard Frame | Pretty Handy Girl

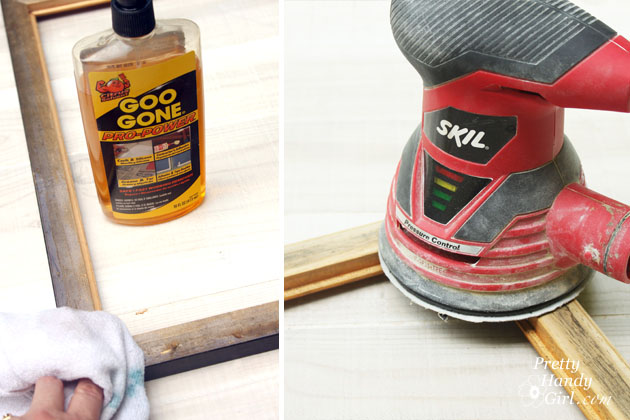
Optional: You may need some Goo Gone, a scraper, and rag to eliminate any glue on the back of the frame.

Instructions:

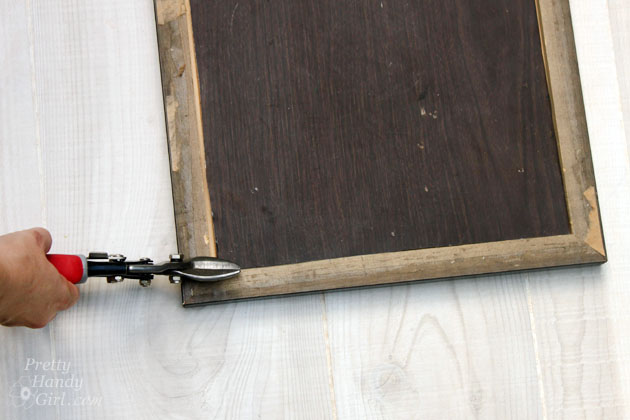
Begin by cutting your metal (or backing) to fit into the back of the frame.

Upcycled Magnetic Chalkboard Frame | Pretty Handy Girl

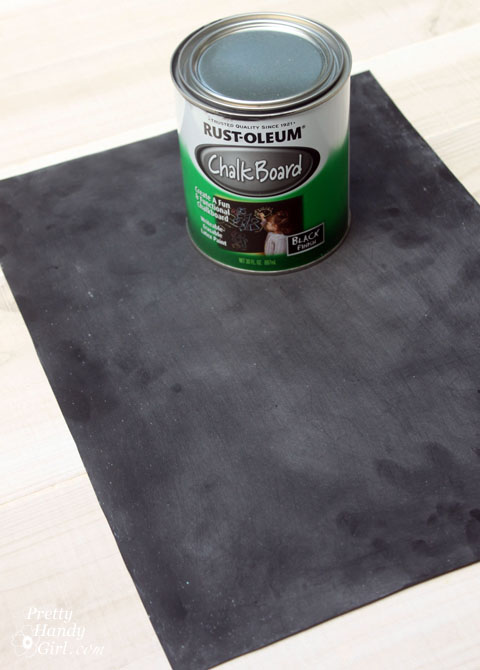
Paint one side of the metal with chalkboard paint. Let it dry. Apply a second coat of chalkboard paint. Let it dry.
Upcycled Magnetic Chalkboard Frame | Pretty Handy Girl

While the chalkboard paint is drying, time to work on the frame.

If your frame has paper on the back, peel it off and use Goo Gone, a scraper, and sander to remove any of the glue residue.

Upcycled Magnetic Chalkboard Frame | Pretty Handy Girl


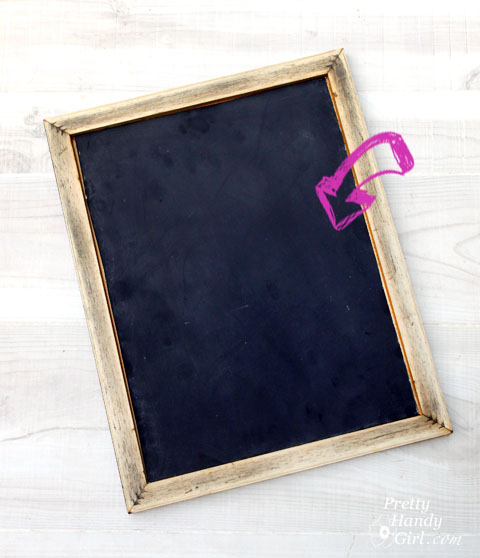
When the chalkboard paint has dried, insert it into the frame, chalkboard side up from the backside of the frame (are you seeing where I’m going with this?)

Upcycled Magnetic Chalkboard Frame | Pretty Handy Girl

The back of the frame is much prettier than the front, but in order to hold the chalkboard in place, we need to cut some picture molding. Cut the end of your molding at a 45 degree angle. Fit it into the frame and mark where to make your second cut.

Upcycled Magnetic Chalkboard Frame | Pretty Handy Girl

Continue fitting and cutting molding around your frame.

Upcycled Magnetic Chalkboard Frame | Pretty Handy Girl

Once all four pieces of molding fit, you are ready to secure them.
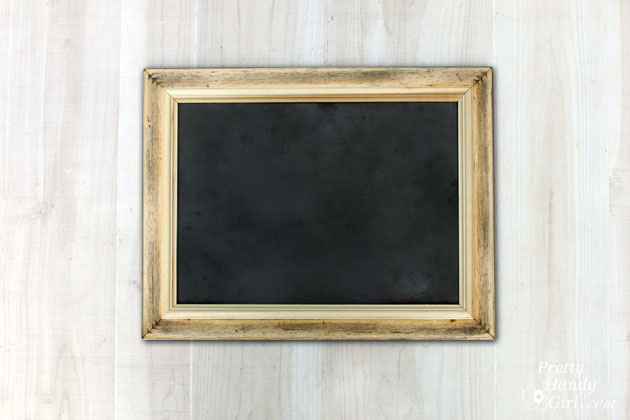
Upcycled Magnetic Chalkboard Frame | Pretty Handy Girl

Apply a bead of wood glue along the inside edge of the back of the frame.
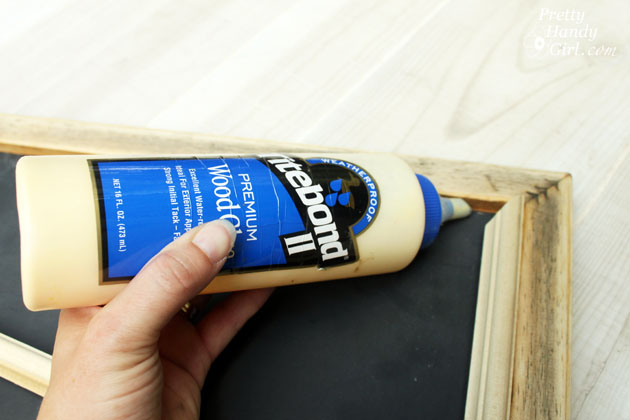
Upcycled Magnetic Chalkboard Frame | Pretty Handy Girl

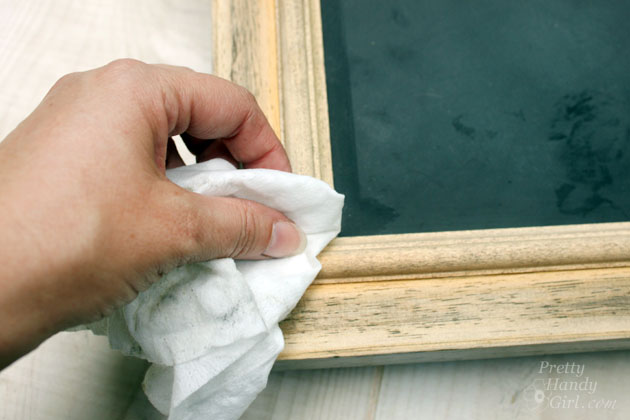
Set the molding pieces in place and wipe up any glue that squeezes out.

Upcycled Magnetic Chalkboard Frame | Pretty Handy Girl

Clamp the molding pieces and the frame. Allow the glue to dry for at least an hour.
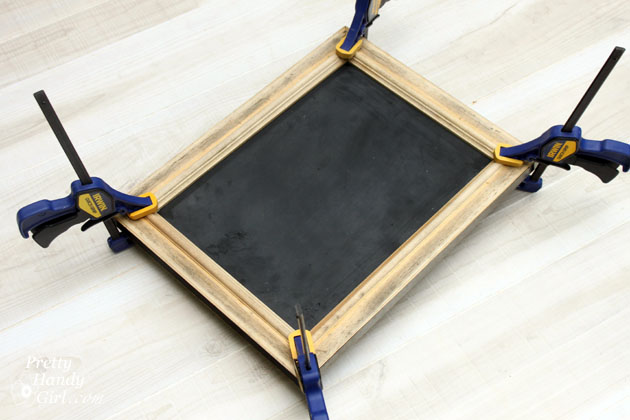
Upcycled Magnetic Chalkboard Frame | Pretty Handy Girl

When the glue has dried. Attach two D-rings to the back of the frame.
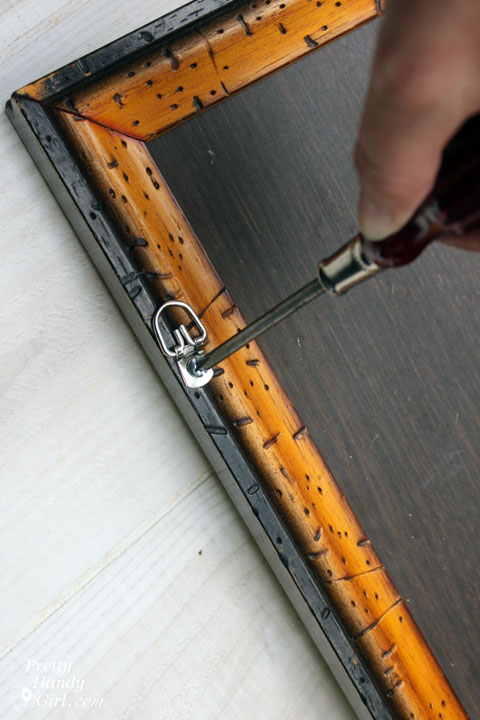
Upcycled Magnetic Chalkboard Frame | Pretty Handy Girl

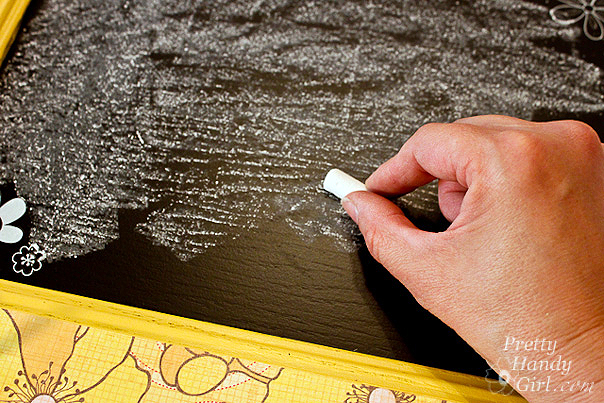
Season the chalkboard with the side of a piece of chalk. Then use a dry rag to buff it off.
Time to hang it up! (In my case, I hung it on my son’s door.
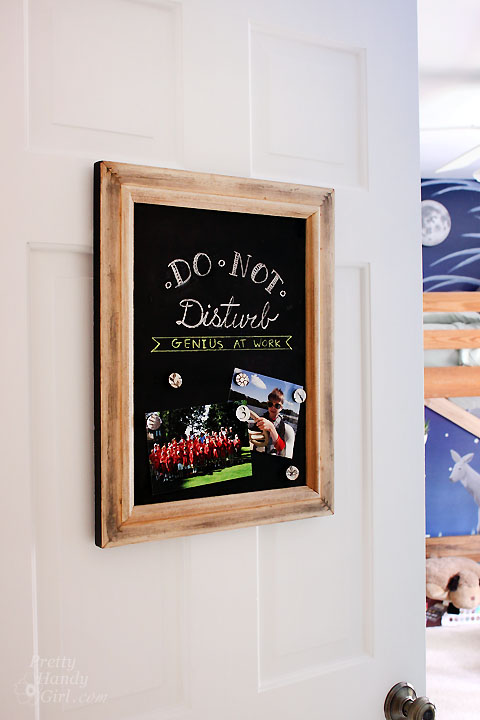
Upcycled Magnetic Chalkboard Frame | Pretty Handy Girl

To keep the frame from bouncing any time the door is opened or closed, I put a 3M Command velcro strip between the bottom of the frame and the door.

Now my son can put up pictures, messages, and more without damaging the door.
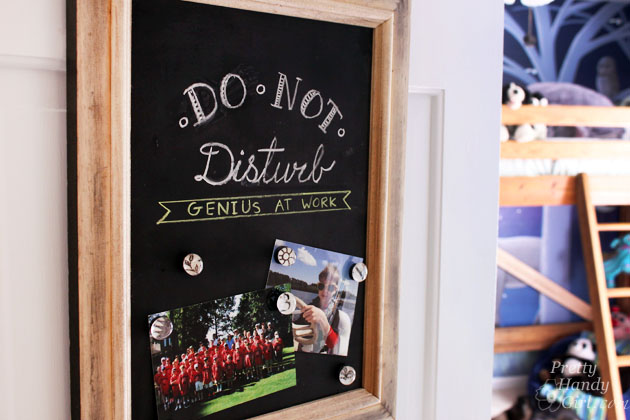
Upcycled Magnetic Chalkboard Frame | Pretty Handy Girl

Pretty cool huh?! Would you ever guess the back of an ugly frame and metal shelves could look this beautiful?
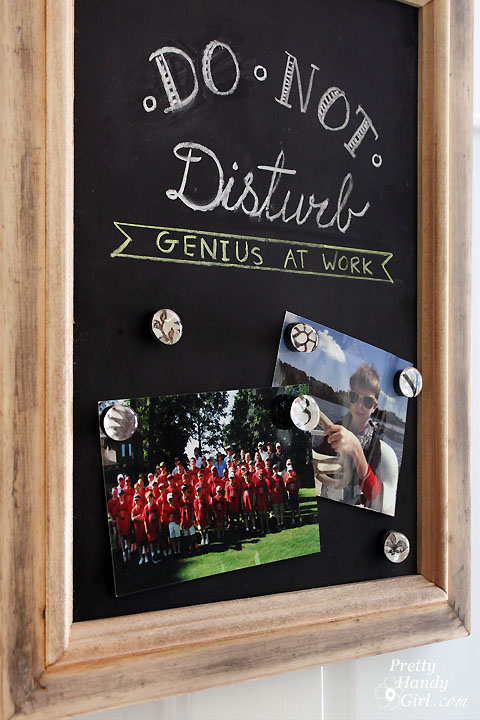
Upcycled Magnetic Chalkboard Frame | Pretty Handy Girl

I especially like the little metal fasteners showing in the corners of the frame.

Tell me, do you have an ugly frame hanging around your house? Have you ever looked at the back and found it more beautiful than the front?

PHGFancySign


Pin for later!

Spring is here and there are countless flowers awakening from the cold winter slumber. When it happens you can pick some blooms and turn them into easy gift ideas. Today I’ll show you how to make easy pounded flower art.

easy_pounded_Flower_Gift_ideasjpg

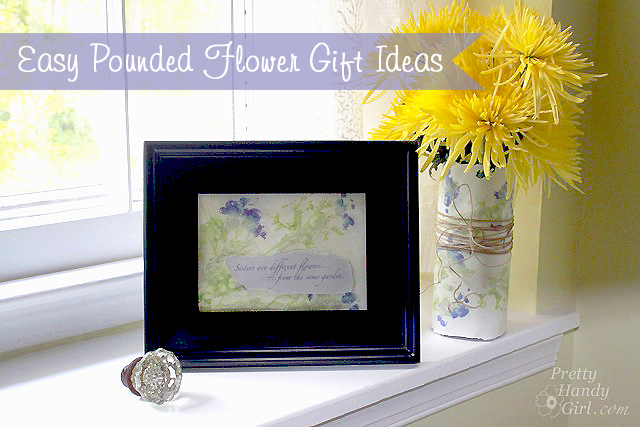
Easy Pounded Flower Gift Ideas

The results can be used for a framed quote, a paper-wrapped vase, notecards, and much more! I’d go so far to say, the results are close to high end (and expensive) handmade pressed flower paper.

Ready to make some beautiful pounded flower paper? I am (because I could also use an activity to get a little frustration out 😉.)

Materials:

(I’ve included affiliate links for your convenience. I earn a small percentage from a purchase using these links. There is no additional cost to you. You can read more about affiliate links here.)

materials

Instructions:

First, you’ll want to collect some flowers. Smaller colorful flowers work best. But, you can collect larger ones and experiment.

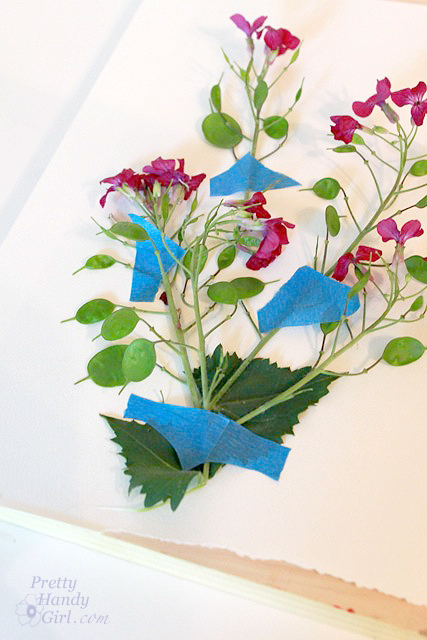
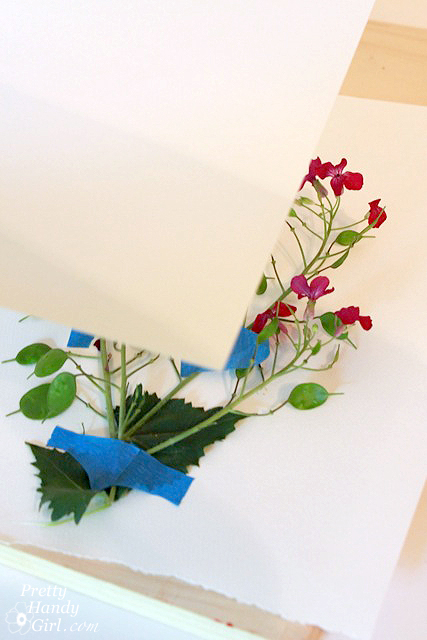
Lay one sheet of paper on top of the block of wood. Arrange your flowers on top of the paper and tape down any strands that don’t cooperate. (The flowers I picked are from a money plant that grows in our woods.)

tape_flower_into_shape

Lay a second sheet of paper on top of the flowers.

cover_flower_with_2nd_paper

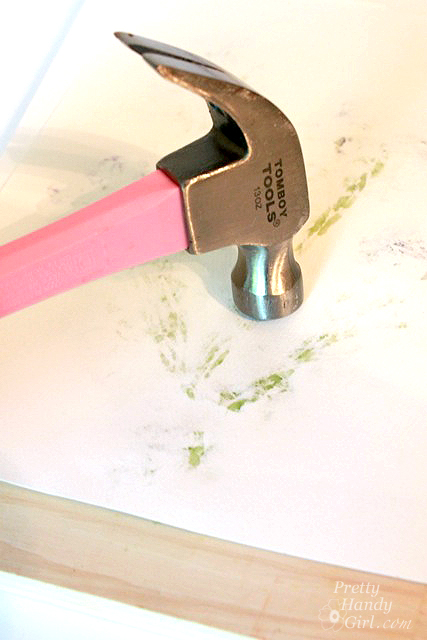
Pound the hammer around the paper until you have squished all of the flowers beneath. (This doubles as a stress relief exercise, trust me!)
hammer_paper_and_flowers

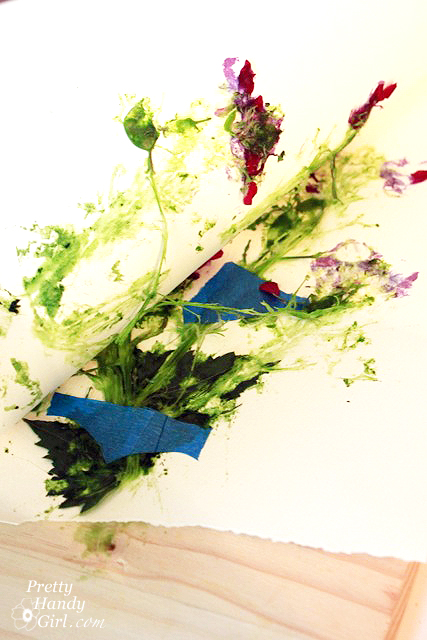
Peel apart the papers and you’ll have a pulpy mess.

pull_apart_papers

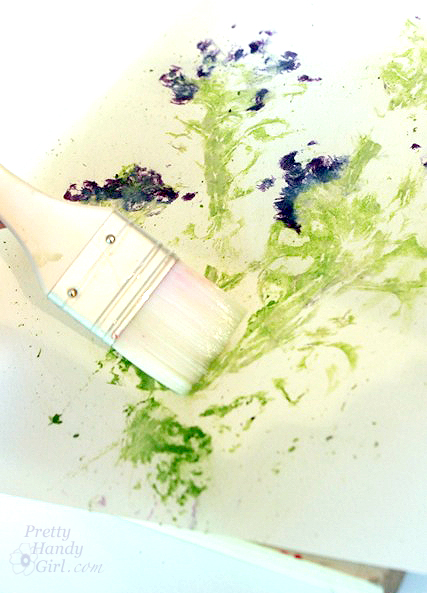
Remove the flowers and wipe off the excess bits and pieces with a clean chip brush.

wipe_off_flower_guts

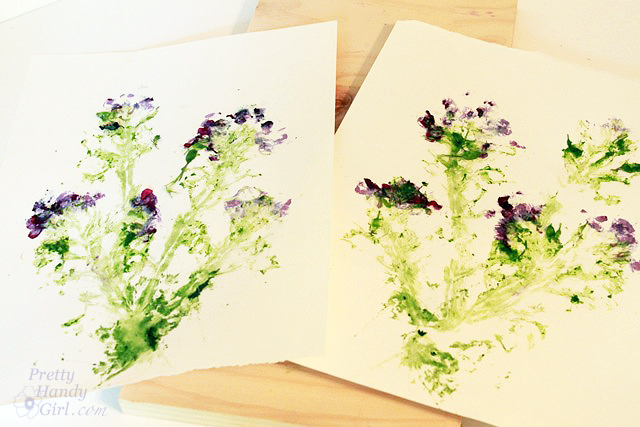
Look at that! You got two prints that are a mirror image.

duplicate_pounded_flower_prints

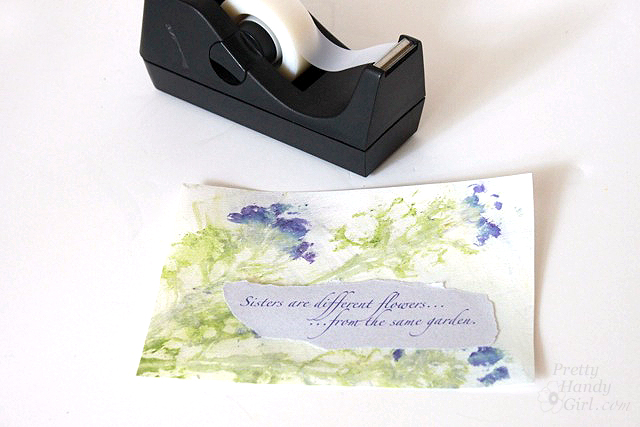
Print out a quote or type a message on coordinating paper and tear around it. Tape it onto flower paper.

tape_phrase_onto_paper

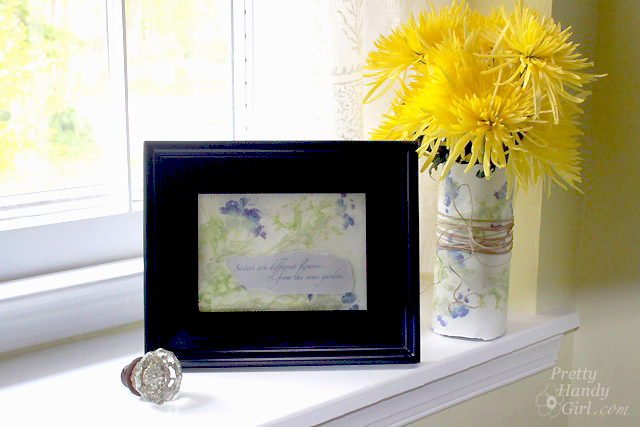
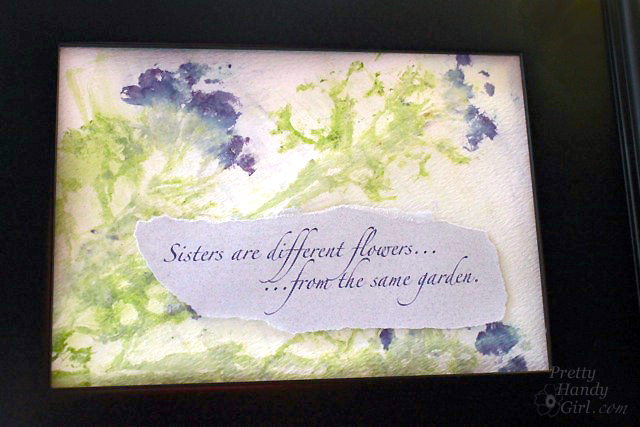
Put your verse artwork into a frame for a sweet gift to your sister, your mother, or a friend.

close_up_phrase_flower_art

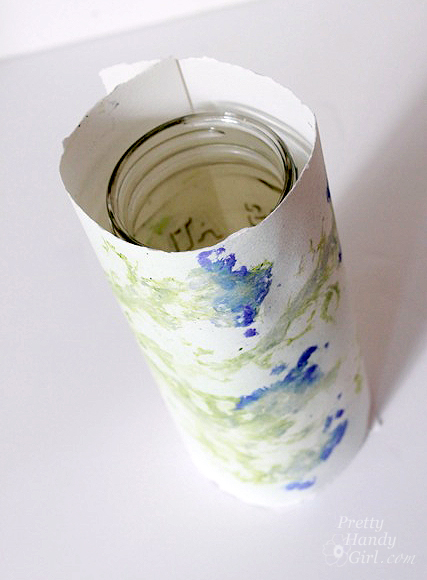
Take the other sheet and wrap it around a can, mason jar, or vase.

roll_paper_around_mason_jar

Wrap some twine around the paper to hold it in place. Add water to the vase and pop some fresh flowers in it.

close_up_pounded_flower_vase

Quick and easy gift idea, right?! Give a vase to brighten someone’s day. The best part of this gift is it only cost a pound! (Get it? Like a British £? I know, I have a corny sense of humor. You can blame it on my Dad, it runs on his side of the family.)

Maybe I’ve also been hammering a little too much lately. Leave me a comment if you have any corny jokes to share!

pounded_Flower_art

Do you have any creative ideas for using this pretty flower paper? I set some up for the kids and they had a blast pounding flowers.

PHGFancySign

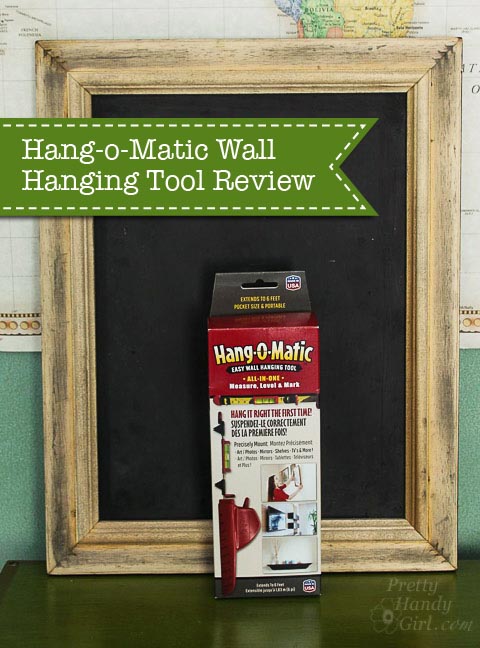
Hang-O-Matic Wall Hanging Tool Review | Pretty Handy Girl

This is one of the multitude of gadgets that gets sent to me for review. Most don’t make it to the light of the blog. But, this little gadget has proved useful in my toolbox. Stick around to learn how you too can Hang Art easily using Hang-o-Matic. And why I gave this little tool a second chance.

The creators of Hang-o-matic sent me this tool to try out. The first one I received was defective. The moveable clip was loose and wouldn’t stay put. I explained to the creators that I didn’t like the tool because the point wouldn’t stay where it was set. Apparently there had been some production issues and they shipped me a second one. I was doubtful, but after trying the tool a handful of times, I have to admit it is the perfect tool when you are hanging art, decor, or mirrors that have two hooks.

Instructions for Hanging Art Easily using Hang-o-Matic:

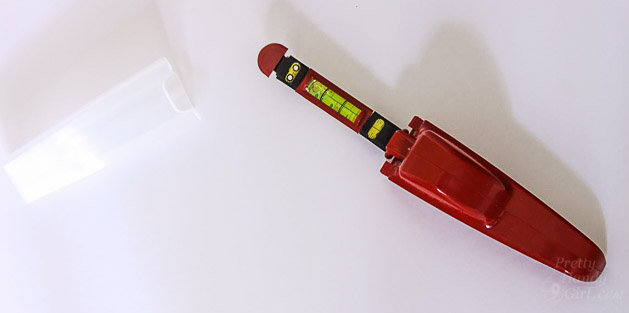
Remove the cover from the ruler/level section.

Hang-O-Matic Wall Hanging Tool Review | Pretty Handy Girl

Mark the height you want to hang your art with a pencil. Read more

plywood frames title

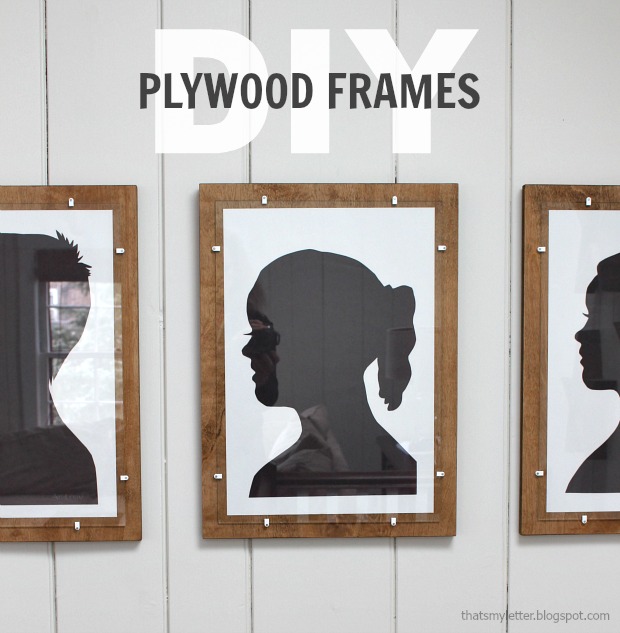
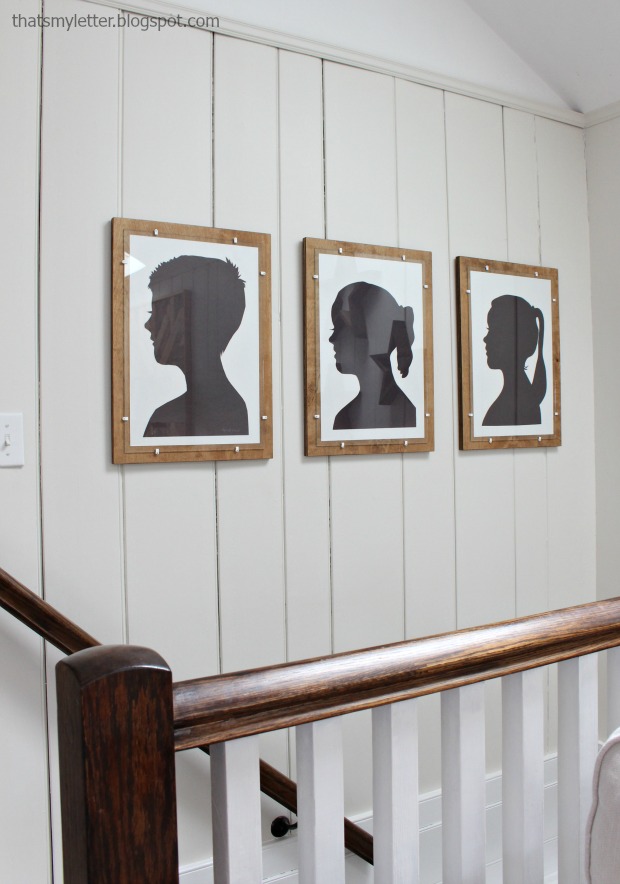
They say necessity is the motherhood of invention. Today’s project post on DIY Plywood Frames with Glass fits well with that saying.  Jaime at That’s My Letter here sharing how I took scrap plywood and made it into frames for my kids’ silhouettes.  Custom framing is not cheap and sometimes you have odd-sized pictures or artwork that just won’t work in a typical store bought frame.  This DIY plywood frame is a great solution for those situations.

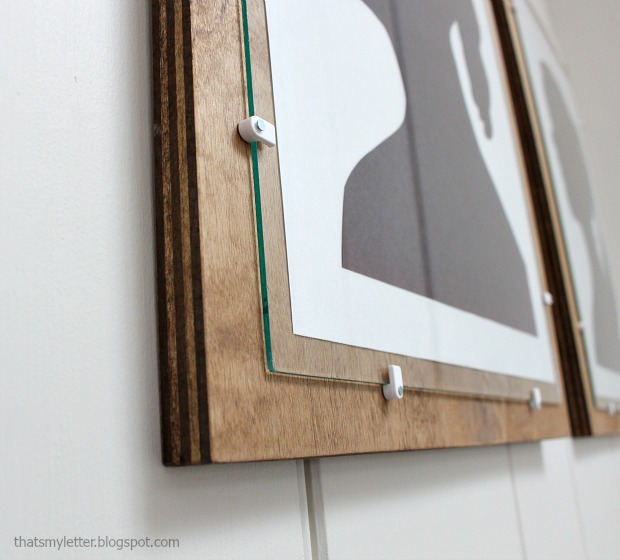
There are tons of DIY wood frame ideas out there, but the difficulty lies in actually getting glass into the frame especially if you don’t have a router.  (To be honest I do have a router, but hate using it!)  The solution to this problem is to place the glass on the surface and to do that I had to find clips to hold the glass in place.  My first thought was mirror clips but they are rather large and deep, typical framing glass is 1/8″ thick and the mirror clips are meant to hold mirrors which are slightly thicker.

plywood frame 1

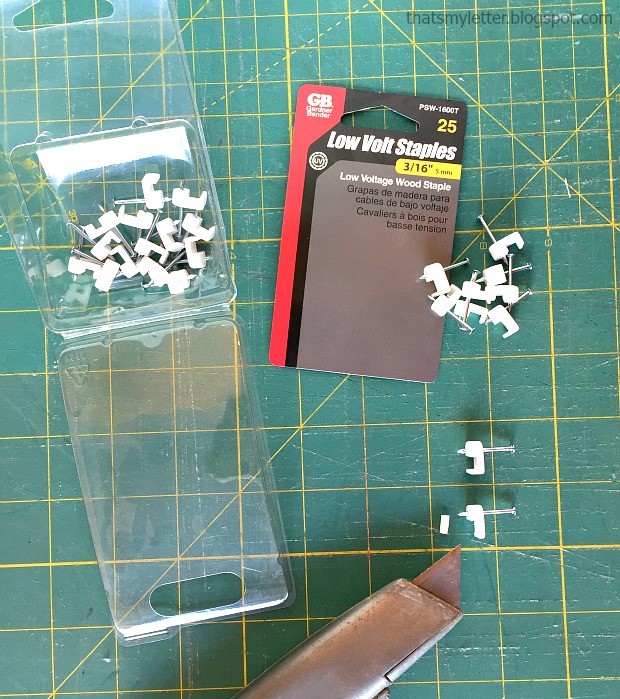
So after much perusing of the electrical aisle I decided to try low volt staples.  They aren’t clear like mirror clips but they are smaller and have the proper depth for frame glass. The only issue is the small lip edge that’s meant to hold electrical wires in place:

plywood frame hardware

No problem.  The low volt staples are plastic and I was able to easily slice off the lip edge with my utility knife!  I think they come in black too if you don’t like white. You could spray paint them any fun color to highlight your artwork being framed.

plywood frames 2

I ordered the glass in the size I needed (I paid $18 for all 3 pieces) and had the scrap plywood on hand.  The low volt staples are $2 for 25 staples, so this entire project cost me just about $20.  The joy on my kids’ faces when seeing their Kindergarten silhouettes hung was priceless.  Below are step-by-step instructions to make plywood frames with glass.

Materials:

  • 3/4″ plywood (cut 1 1/2″ larger than artwork on all sides)
  • 1/8″ clear glass (cut 1/2″ larger than artwork on all sides)
  • 3/16″ low volt plastic staples
  • wood stain
  • 3/4″ wood screws
  • picture hanging wire
  • utility knife
  • double stick tape
  • measuring tape & pencil
  • drill
  • 1/8″ drill bit
  • hammer

Instructions:

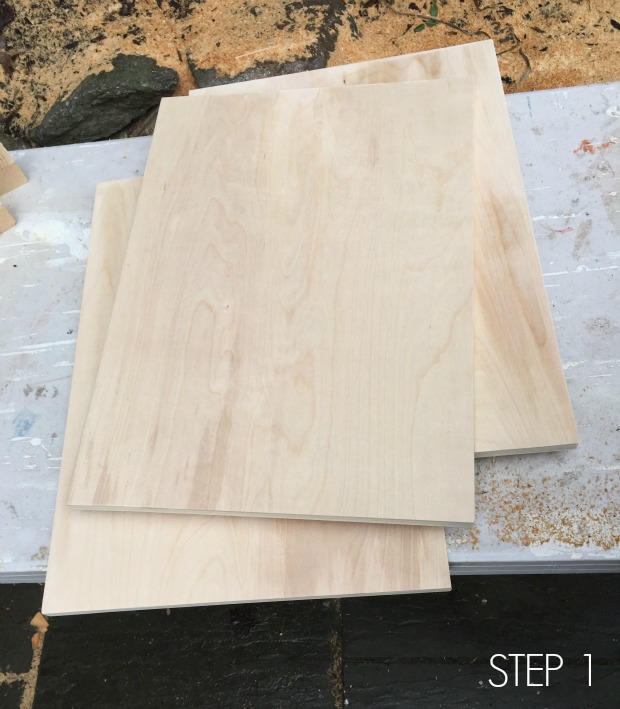
Step 1: Cut 3/4″ plywood to size.  Add 1 1/2″ on all sides of artwork to create frame similar to my version above.  Sand edges smooth.

plywood frame step 1

Step 2: Stain frame.  (I used Minwax Early American.)  Let dry thoroughly. Read more

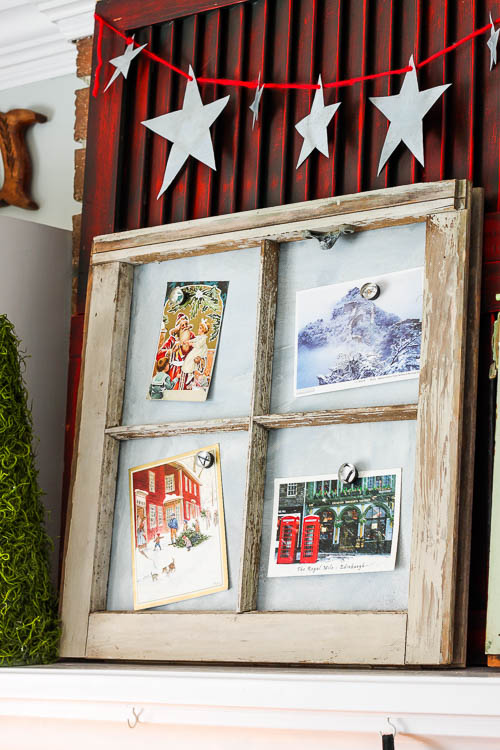
Rustic Metal Magnetic Window Frame | Pretty Handy Girl

Galvanized Metal Magnetic Windows | Pretty Handy Girl

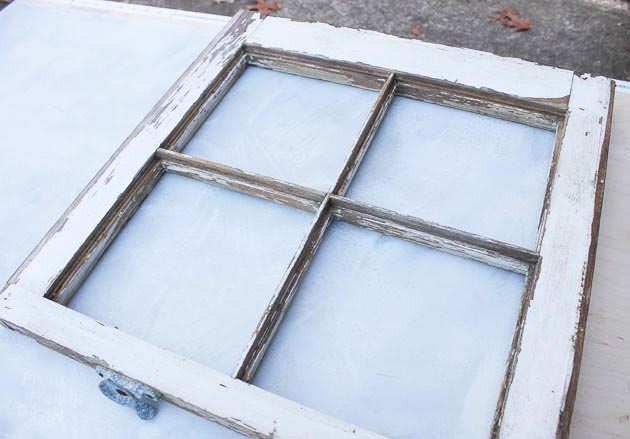
I was really inspired by Laura Putnam’s new book: DIY Rustic Modern Metal Crafts. I love the look of aged galvanized metal and knew that our home needed more of it. Today I’ll share with you a tutorial to create your own Rustic Metal Magnetic Window Frame, inspired by Laura’s Vintage Window Memo Board. But, you’ll definitely want to get a copy of Laura’s book to learn how to make 34 more storage and decor items using galvanized metal!

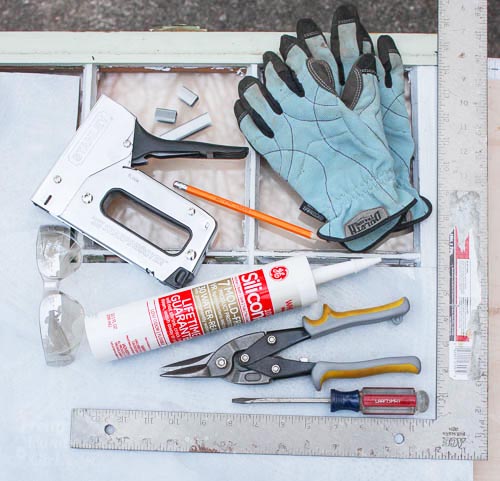
Materials:
(contains affiliate links)

Galvanized Metal Magnetic Windows | Pretty Handy Girl

Optional: Silicone Caulk (for more secure metal)

Instructions:

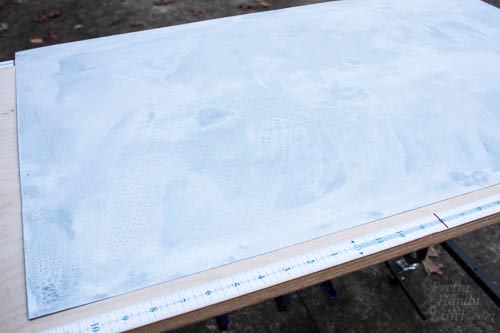
Ready to make your own Rustic Metal Magnetic Window Frame? If you have newer galvanized metal, you can easily add an aged patina to metal following this tutorial. Prepare ahead of time, because it might take up to 8 hours to get the look you want. The sheet you see below was left overnight in the solution to get a nice white patina.

aged-galvanized-sheet-metal

Remove the glass panes from your old window.

old-window-pane

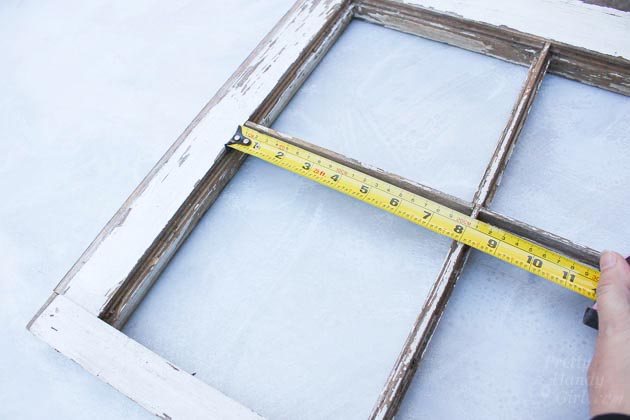
Measure the size of each pane.

measure-window-panes

Transfer your measurements onto the galvanized metal sheet. Read more