Upcycled Magnetic Chalkboard Frame | Pretty Handy Girl

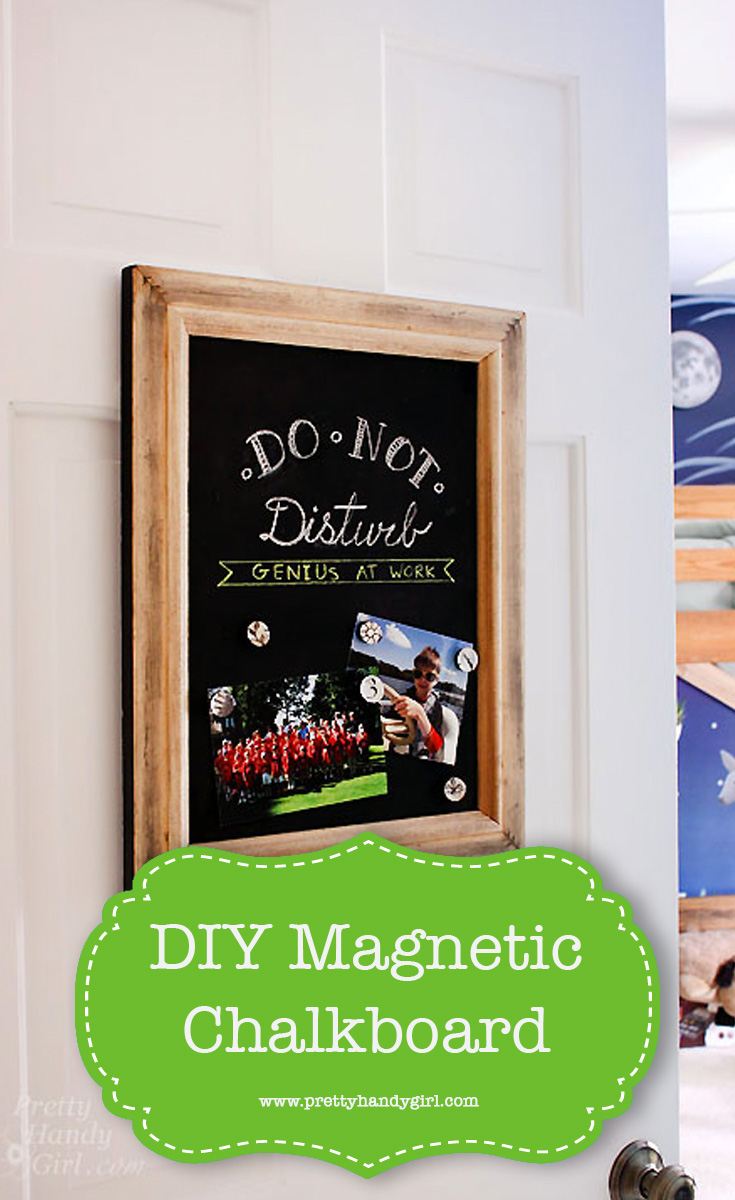
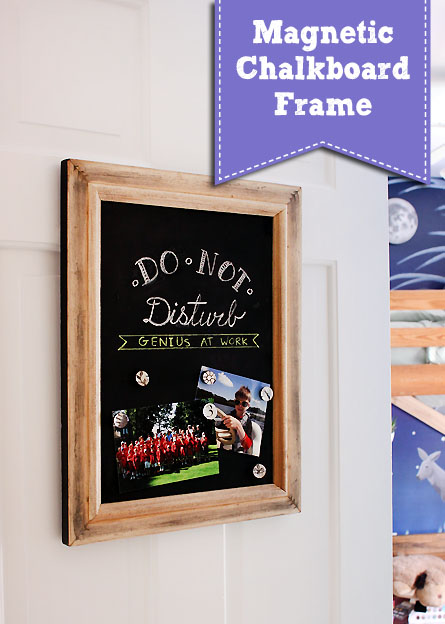
I’m a serial upcycler. When I can find relatively free materials and turn them into something worth displaying, I’m thrilled! This Magnetic Chalkboard frame is one of those upcycled projects I am proud of.
Upcycled Magnetic Chalkboard Frame | Pretty Handy Girl

Upcycled Magnetic Chalkboard Frame

Earlier in the week, I showed you the changes I made in my oldest son’s bedroom. One of the switches I made was to replace his bedroom door because the old one had cracked after one too many slammings. Ugh, cheap hollow door.

In an effort to keep my son from taping all types of signs to his new door, I found an ugly old frame and married it with some scrap metal from a junky set of shelving a neighbor was throwing away.
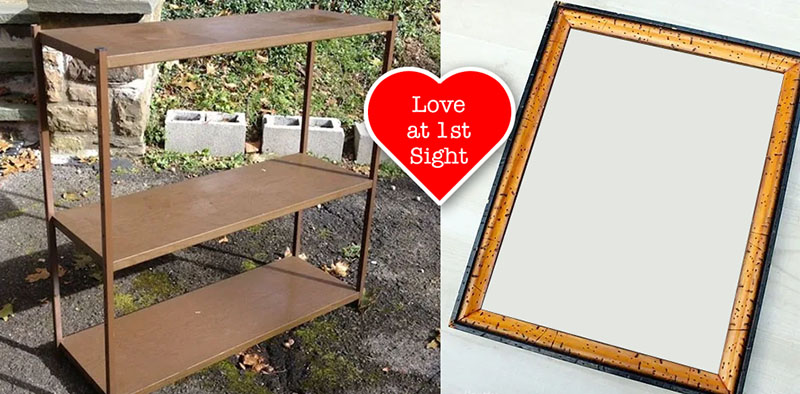
bookcase in love with ugly frame

That’s not real wood, it’s metal…fake wood metal. Yuck. Wait until you see how they were transformed. You won’t believe your eyes, so watch closely how I made this Upcycled Magnetic Chalkboard Frame.

Before you leave this tutorial thinking you can’t possibly make this project because you’ll never be able to find cheap faux wood shelves, let me share with you some alternate materials you can use!

(I’ve included affiliate links for your convenience. I earn a small percentage from a purchase using these links. There is no additional cost to you. You can read more about affiliate links here.)

Magnetic Material:

Non-Magnetic Material for Chalkboard:

Now that you have some additional material options, let’s get busy making a Magnetic Framed Chalkboard (or just a framed chalkboard).

Materials:
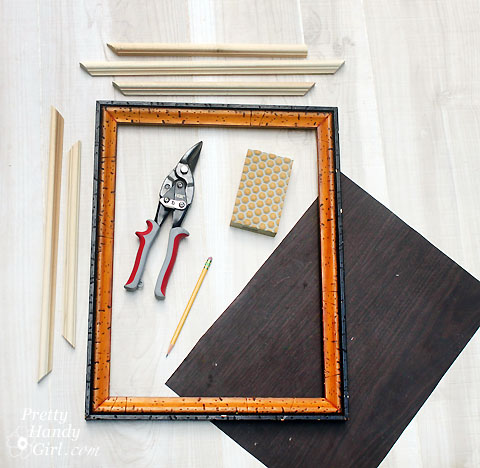
Upcycled Magnetic Chalkboard Frame | Pretty Handy Girl

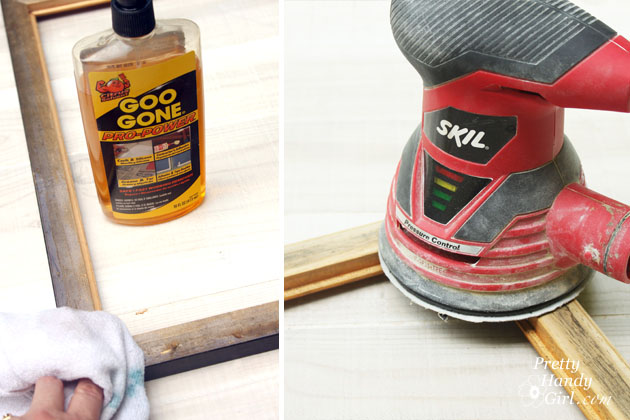
Optional: You may need some Goo Gone, a scraper, and rag to eliminate any glue on the back of the frame.

Instructions:

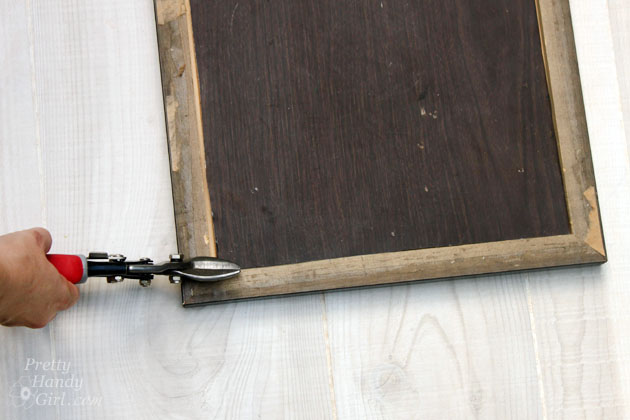
Begin by cutting your metal (or backing) to fit into the back of the frame.

Upcycled Magnetic Chalkboard Frame | Pretty Handy Girl

Paint one side of the metal with chalkboard paint. Let it dry. Apply a second coat of chalkboard paint. Let it dry.
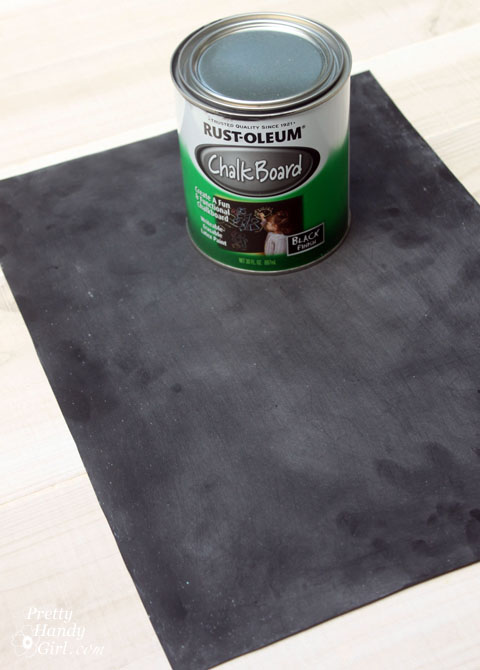
Upcycled Magnetic Chalkboard Frame | Pretty Handy Girl

While the chalkboard paint is drying, time to work on the frame.

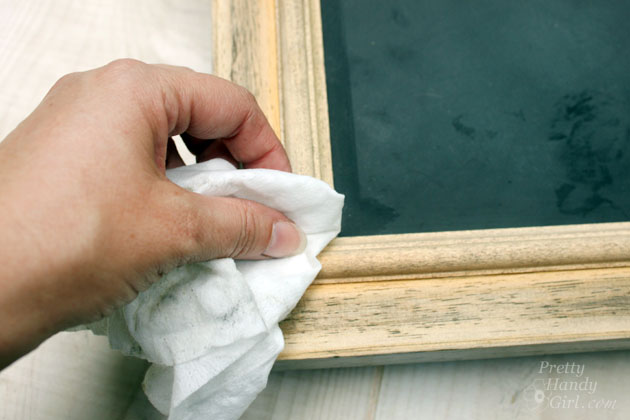
If your frame has paper on the back, peel it off and use Goo Gone, a scraper, and sander to remove any of the glue residue.

Upcycled Magnetic Chalkboard Frame | Pretty Handy Girl


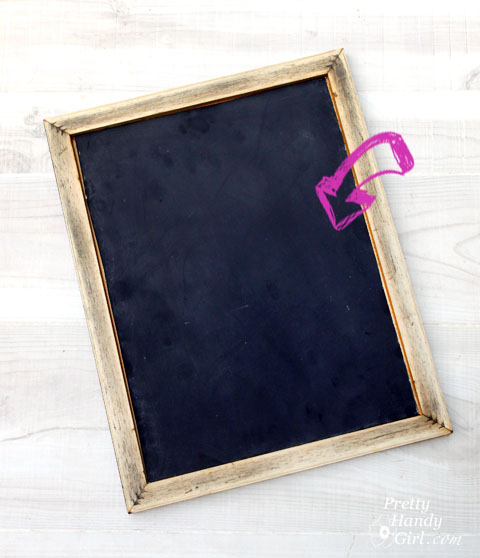
When the chalkboard paint has dried, insert it into the frame, chalkboard side up from the backside of the frame (are you seeing where I’m going with this?)

Upcycled Magnetic Chalkboard Frame | Pretty Handy Girl

The back of the frame is much prettier than the front, but in order to hold the chalkboard in place, we need to cut some picture molding. Cut the end of your molding at a 45 degree angle. Fit it into the frame and mark where to make your second cut.

Upcycled Magnetic Chalkboard Frame | Pretty Handy Girl

Continue fitting and cutting molding around your frame.

Upcycled Magnetic Chalkboard Frame | Pretty Handy Girl

Once all four pieces of molding fit, you are ready to secure them.
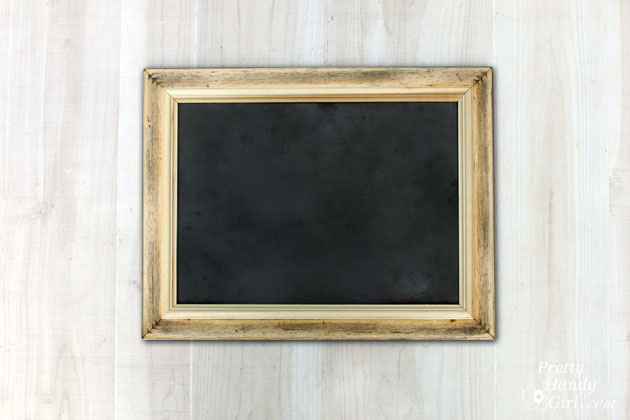
Upcycled Magnetic Chalkboard Frame | Pretty Handy Girl

Apply a bead of wood glue along the inside edge of the back of the frame.
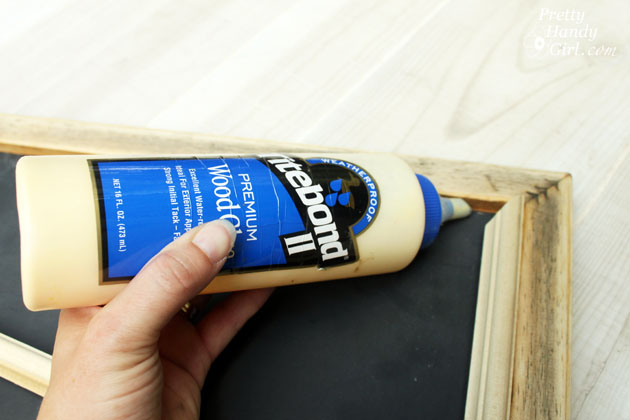
Upcycled Magnetic Chalkboard Frame | Pretty Handy Girl

Set the molding pieces in place and wipe up any glue that squeezes out.

Upcycled Magnetic Chalkboard Frame | Pretty Handy Girl

Clamp the molding pieces and the frame. Allow the glue to dry for at least an hour.
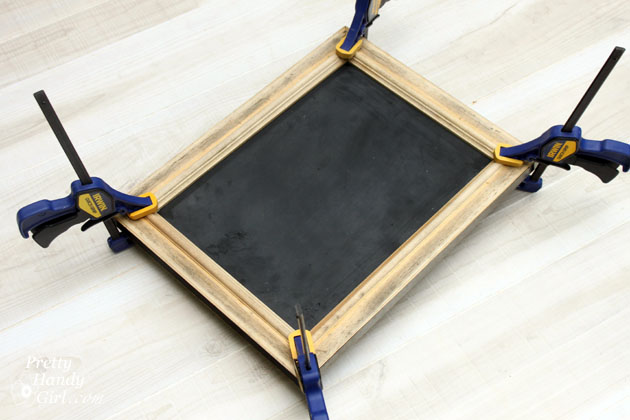
Upcycled Magnetic Chalkboard Frame | Pretty Handy Girl

When the glue has dried. Attach two D-rings to the back of the frame.
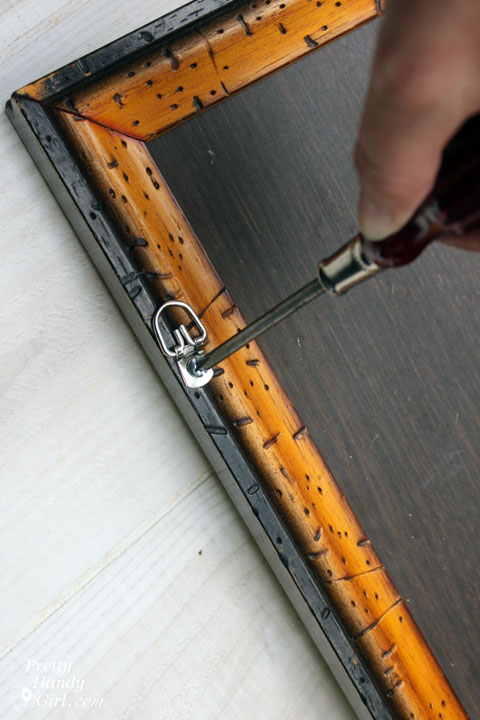
Upcycled Magnetic Chalkboard Frame | Pretty Handy Girl

Season the chalkboard with the side of a piece of chalk. Then use a dry rag to buff it off.
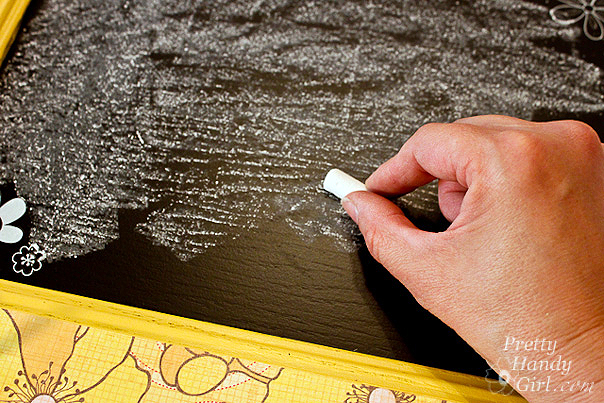
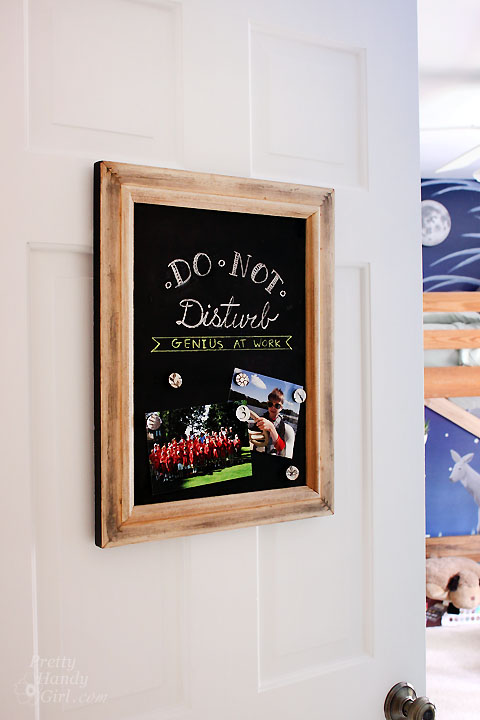
Time to hang it up! (In my case, I hung it on my son’s door.
Upcycled Magnetic Chalkboard Frame | Pretty Handy Girl

To keep the frame from bouncing any time the door is opened or closed, I put a 3M Command velcro strip between the bottom of the frame and the door.

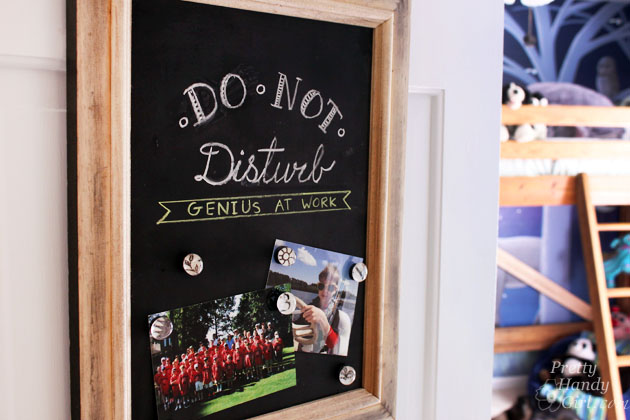
Now my son can put up pictures, messages, and more without damaging the door.
Upcycled Magnetic Chalkboard Frame | Pretty Handy Girl

Pretty cool huh?! Would you ever guess the back of an ugly frame and metal shelves could look this beautiful?
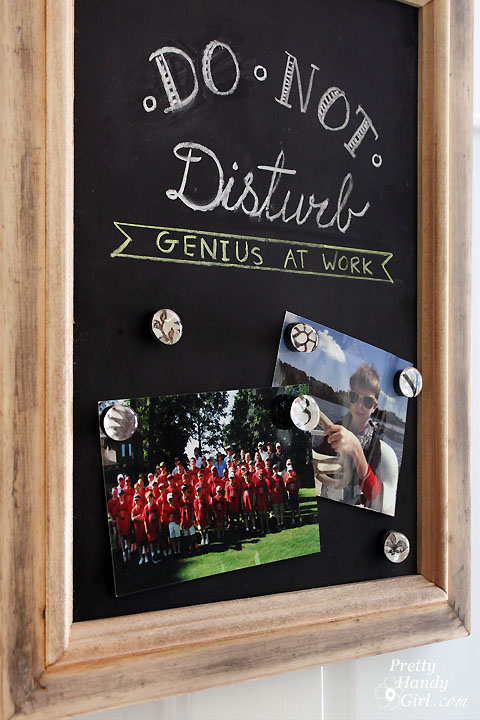
Upcycled Magnetic Chalkboard Frame | Pretty Handy Girl

I especially like the little metal fasteners showing in the corners of the frame.

Tell me, do you have an ugly frame hanging around your house? Have you ever looked at the back and found it more beautiful than the front?

PHGFancySign


Pin for later!
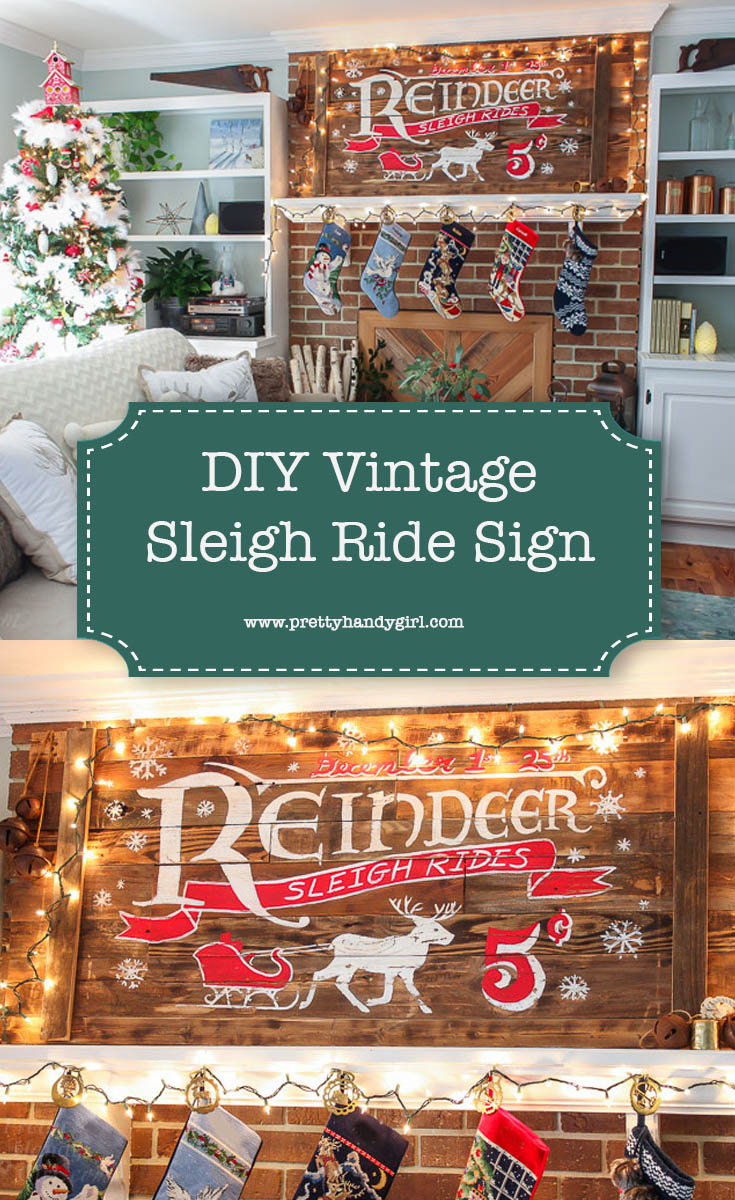
How to Make a Vintage Rustic Sleigh Ride Sign | Pretty Handy Girl How cool! You can use this technique to make or transfer any sign graphic.

How to Make a Vintage Rustic Sleigh Ride Sign | Pretty Handy Girl How cool! You can use this technique to make or transfer any sign graphic.

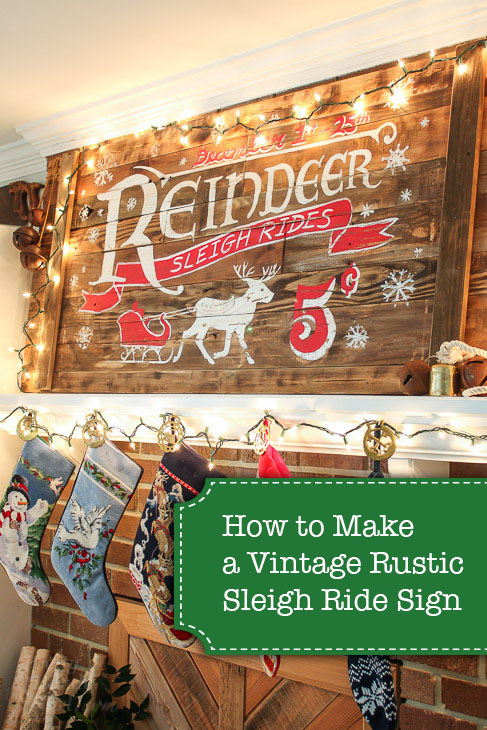
How to Make a Vintage Rustic Sleigh Ride Sign:

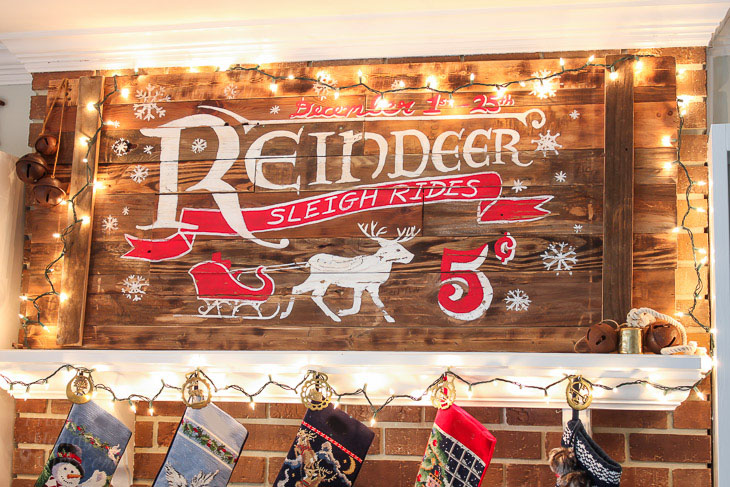
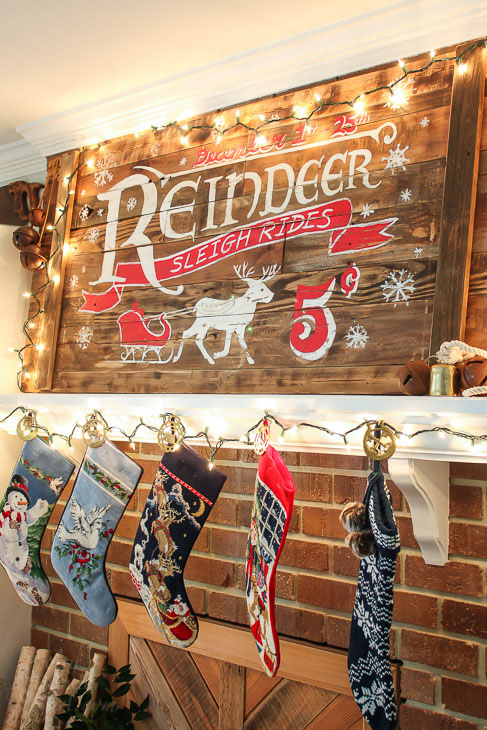
You guys, I’m super excited about this Vintage Rustic Sleigh Ride Sign I made using scraps from my workshop. This sign turned out 200 times better than I imagined in my head. I knew I had to share the tutorial with you so you can make your own vintage signs for any holiday! Let’s get this party started.

Sign:

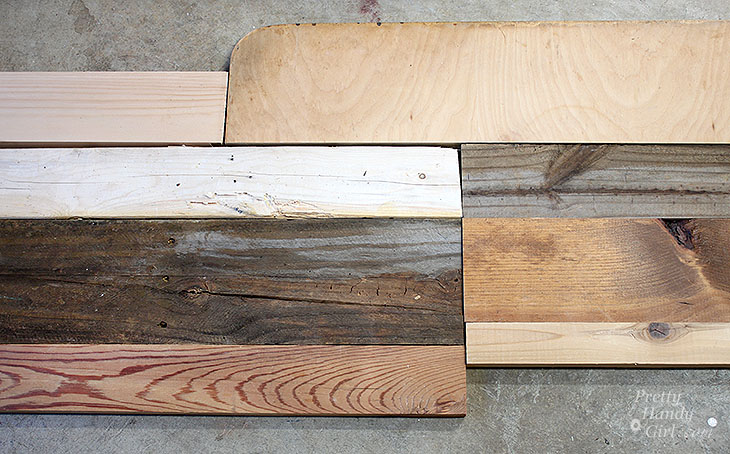
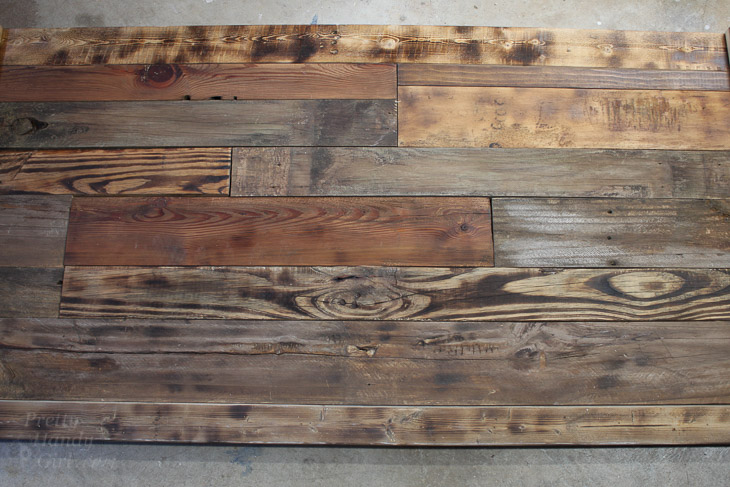
First I suggest measuring the space where you want to hang your sign (it would suck to build it too large or too small.) Begin laying out your scrap wood. It’s best to line up the same width boards along each row. If you need to, you can rip down scraps on a table saw.

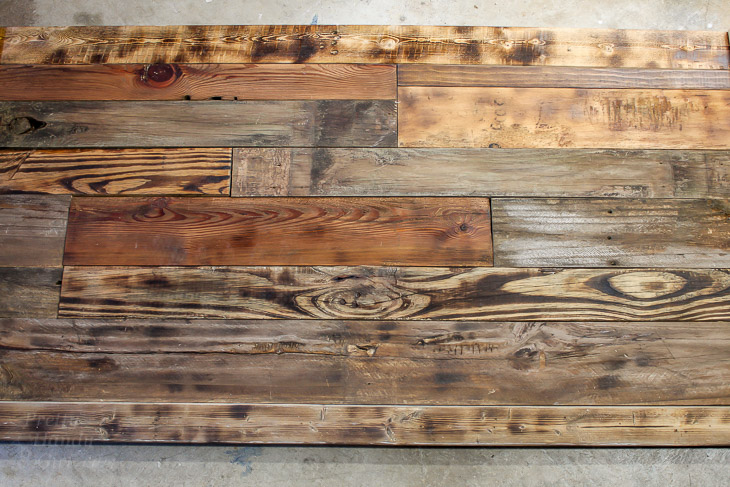
scrap-layouts

Once you have the scraps laid out, add any stain or paint if you desire. I added a combination of glaze, stain and burned some boards to give them a similar color value but still let them look unique.

scrap-wood-assembled-2

Supports:

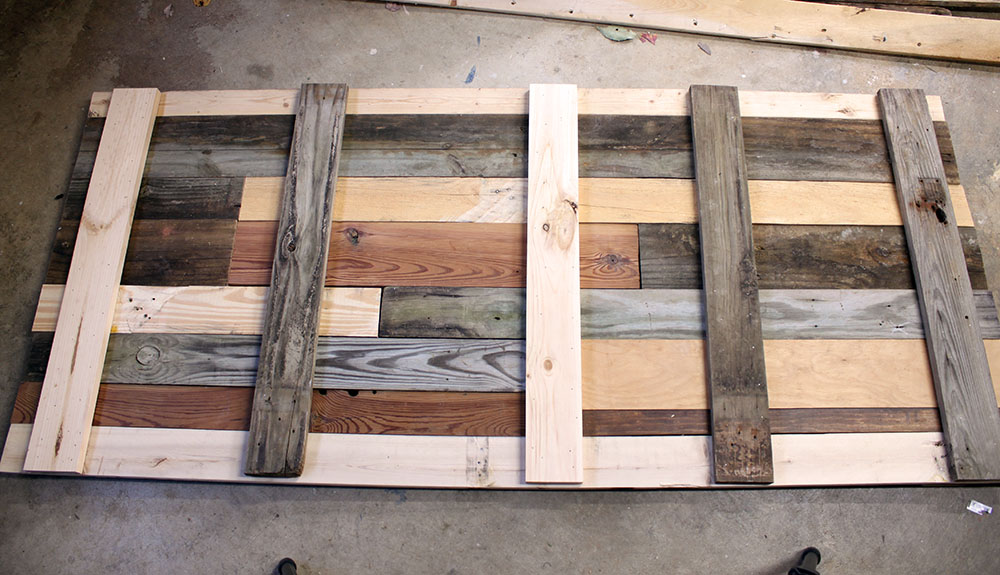
The key to building a sign with lots of scrap wood is to space your supports well. Each board should have two vertical support pieces on the back, unless the board is really short. You might be able to get away with just one support for those shorties.

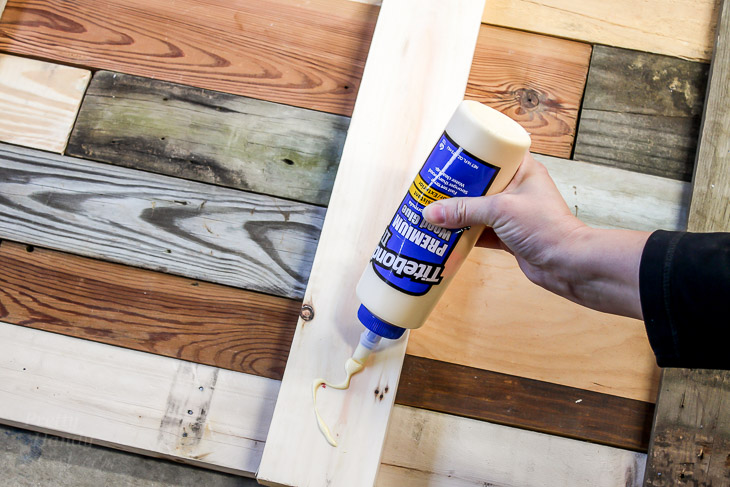
Cut 1″ x 4″ boards to the height of your sign. Flip the scraps over and glue each support board.

add-back-support-boards-wood-glue-4

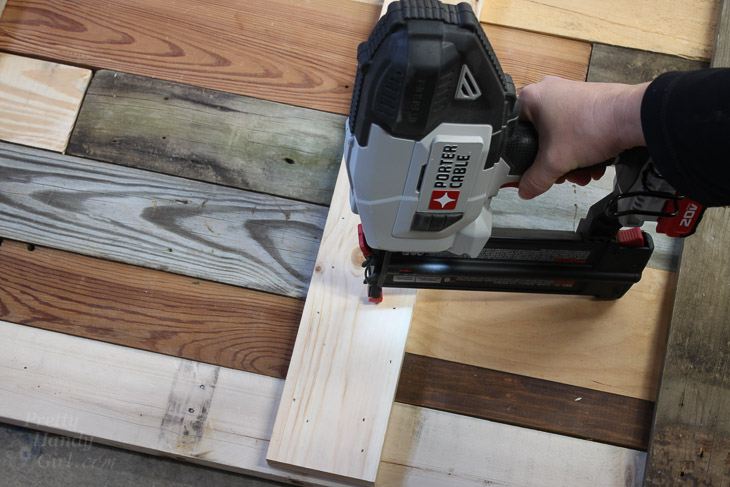
Nail each support board 3-4 times to each scrap.

secure-supports-finish-supports-6

I ended up using 5 supports for my sign.

scrap-wood-sign-support

Allow the glue to dry. Flip your sign over and make sure the scrap boards are well secured.

scrap-woods-layout-2

Transferring the Image:

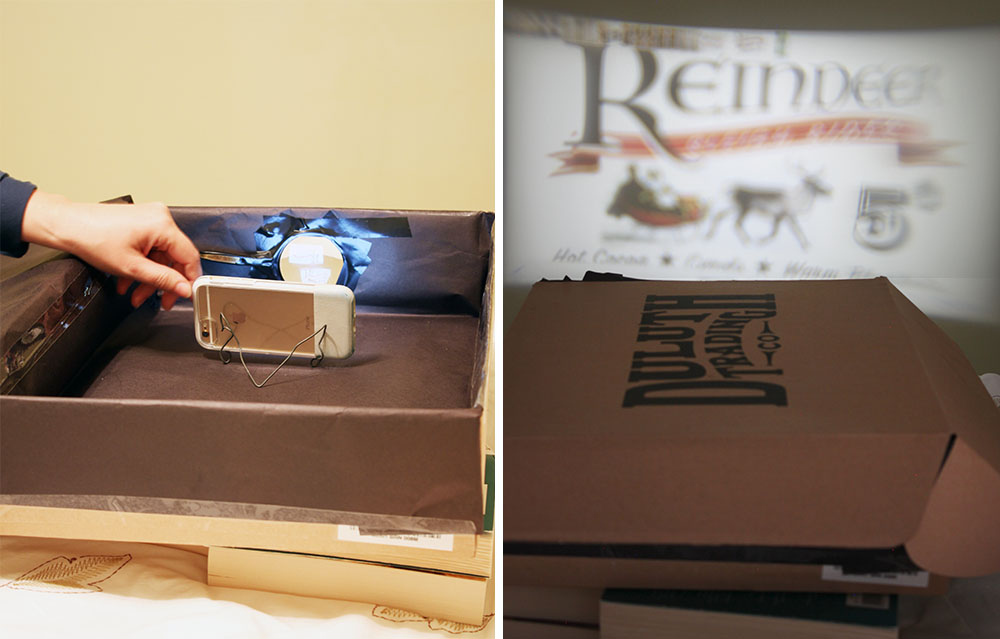
Now it’s time to have some fun. I made a shoebox projector by following the directions in this video:

I created a basic sketch for the sign. (You are welcome to use this image, but please use for personal use only. Do not resell products with this image on it. And please be sure to credit and link back to this post if you use my image and blog about it.)

How to Make a Vintage Rustic Sleigh Ride Sign | Pretty Handy Girl How cool! You can use this technique to make or transfer any sign graphic.

For your convenience, this image has already been flipped and reversed for projecting it in the shoebox projector.How to Make a Vintage Rustic Sleigh Ride Sign | Pretty Handy Girl How cool! You can use this technique to make or transfer any sign graphic.

Send the image to your phone. Insert the phone into the shoebox. (The brightness has to be turned all the way up and you might want to change the display setting to stay lit longer.) Turn the lights out. Move the shoe box back and forth until you have the image sized as large as you want. Then move your phone forward and back to focus.

shoebox-projector

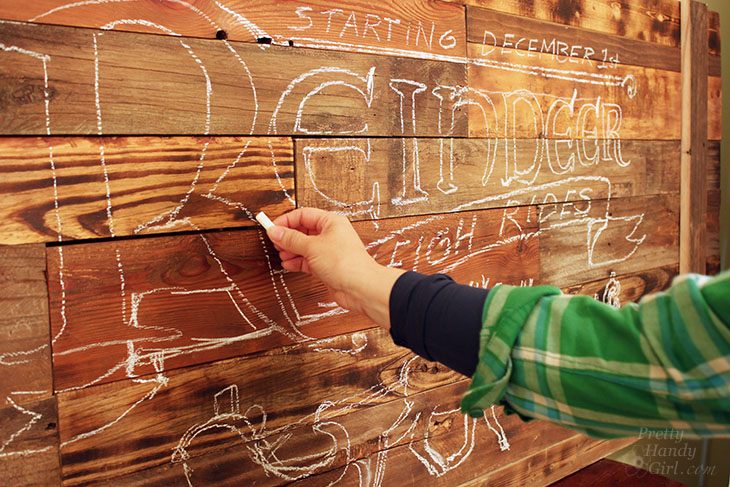
I will say that my image isn’t as clear as I expected, but my magnifying glass is old and scratched up. However, it gave me enough information to trace my image. Use chalk to trace around the design.

chalk-outline-sign-image

Painting Your Sign:

Now you’re ready to paint your sign. It’s not hard at all, think of it like coloring in the lines of a coloring book. Here’s my video tutorial to help you learn all my tips and tricks while painting signs:

All done? Great! Hang your “new” Vintage Rustic Sleigh Ride Sign with pride.

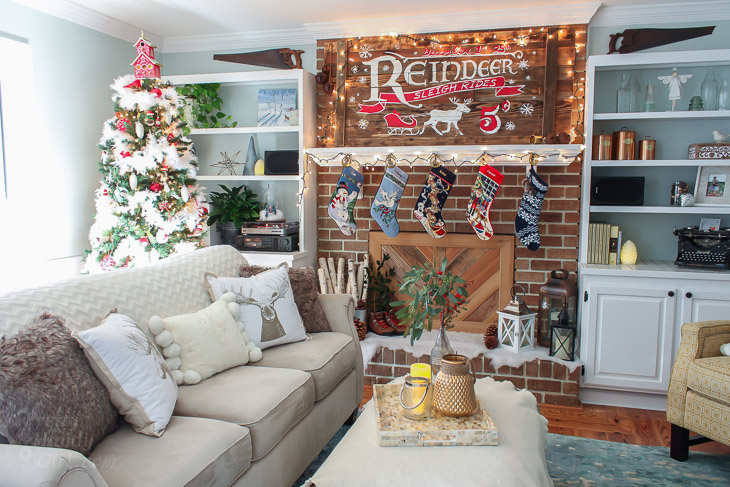
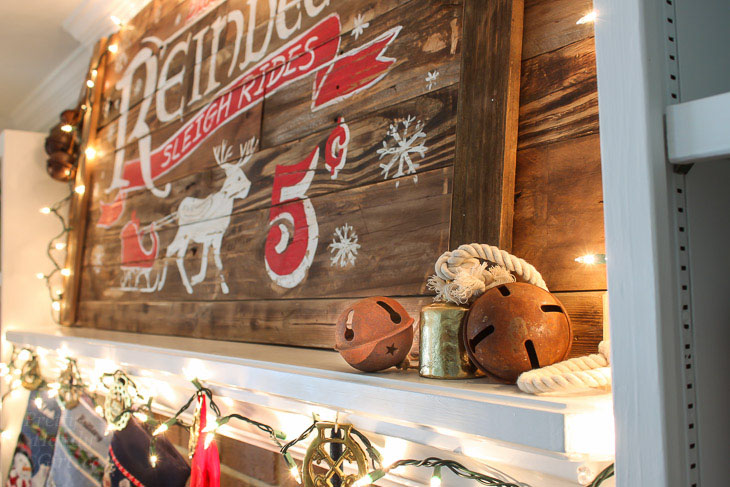
Holiday Home Tour 2016 | Pretty Handy Girl

I won’t let on that you just made it. Let’s let everyone think we scored this fun sleigh ride sign at an antique shop. 😉

Holiday Home Tour 2016 | Pretty Handy Girl

Holiday Home Tour 2016 | Pretty Handy Girl

Where are you going to hang your vintage rustic sign? I think I’m going to make another one for our kitchen. Maybe a market sign with a pig silhouette?

Holiday Home Tour 2016 | Pretty Handy Girl

Hope you are enjoying the holidays!

PHGFancySign


Pin for later!
Add vintage charm to your holiday home with this DIY Reindeer Sleigh Sign | Pretty Handy Girl #DIYholiday #holidayhome #holidaysign

Metal Number Sign | Pretty Handy Girl

Metal Number Sign | Pretty Handy Girl

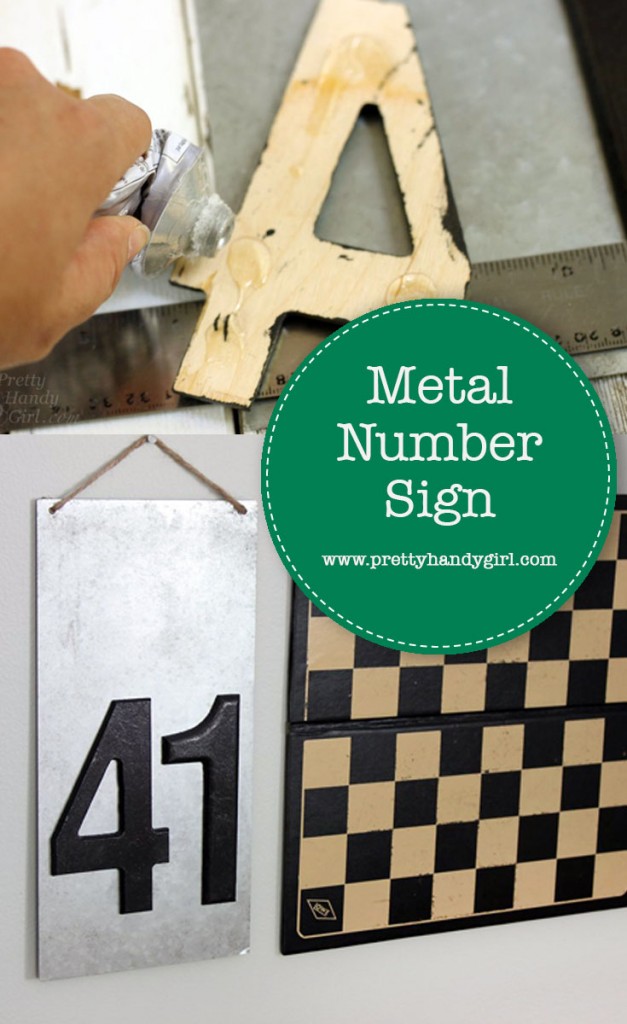
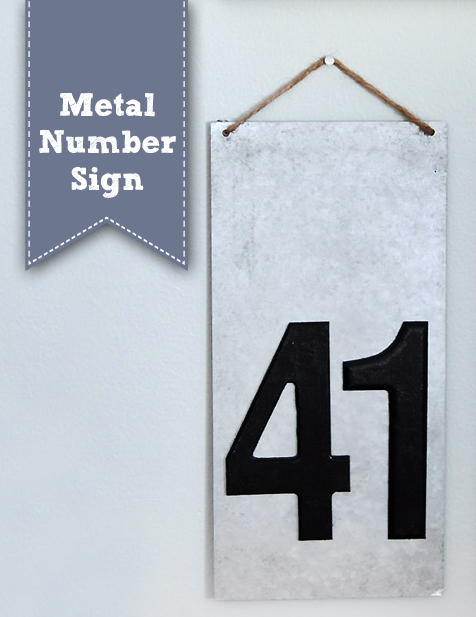
Want a quick and easy way to display a favorite number? Create a metal number art sign for your wall; for wedding tables; to commemorate your favorite athlete, etc.

Materials:

Metal Number Sign | Pretty Handy Girl

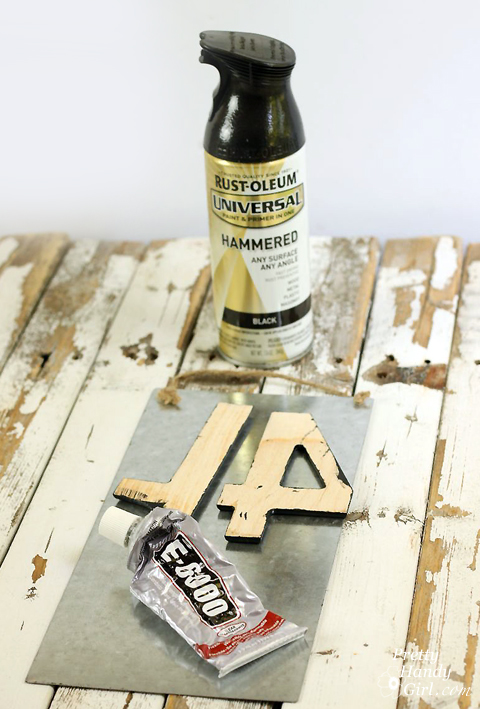
  • Metal sign (found at Michael’s)
  • Spray Paint
  • Numbers
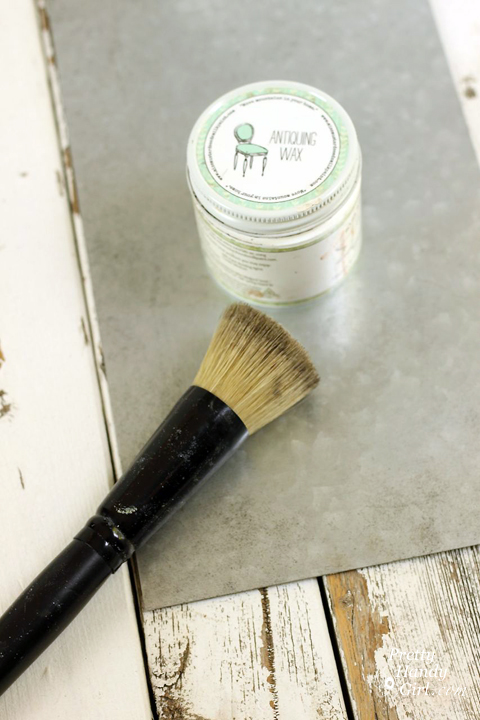
  • Antiquing Wax
  • Wax brush
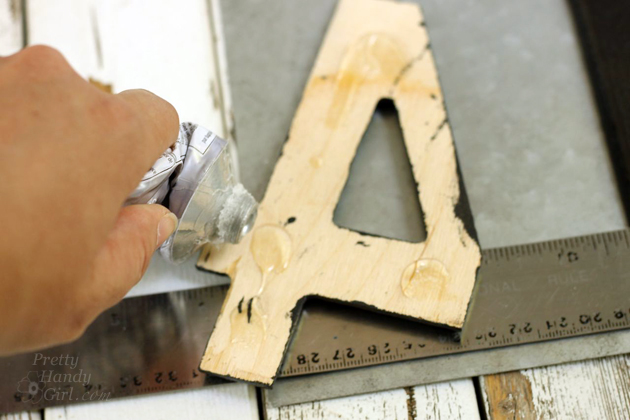
  • E-6000 glue
  • Ruler

(Note: You can make your own metal sign by cutting sheet metal and drilling holes into the top. Add some rope to hang it from. I just took the quick route and bought mine.)

Instructions:

Spray paint your numbers any color you like. While the numbers are drying, add some age to the metal sign by pouncing some antiquing wax to the edges.

Metal Number Sign | Pretty Handy Girl

Add glue to the back of the numbers.

Metal Number Sign | Pretty Handy Girl

Center them and line them up using a ruler to help keep them even.

Metal Number Sign | Pretty Handy Girl

Allow the glue to harden and hang your metal number sign anywhere you please.

Metal Number Sign | Pretty Handy Girl

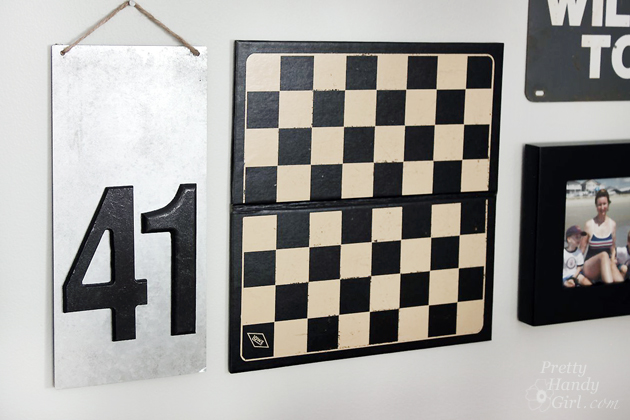
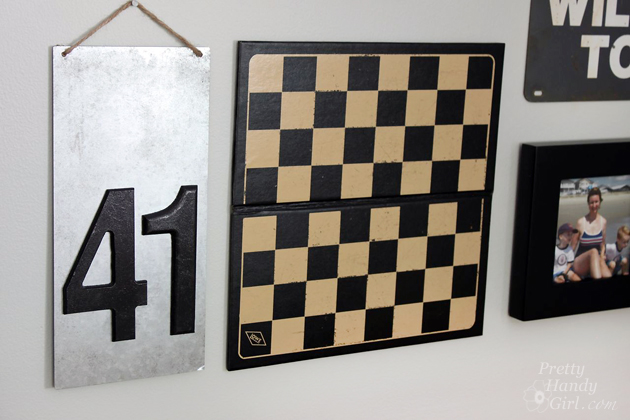
Can anyone guess the significance of #41 on our wall? I’ll save you some time, it’s not my age.

PHGFancySign


Pin for later!
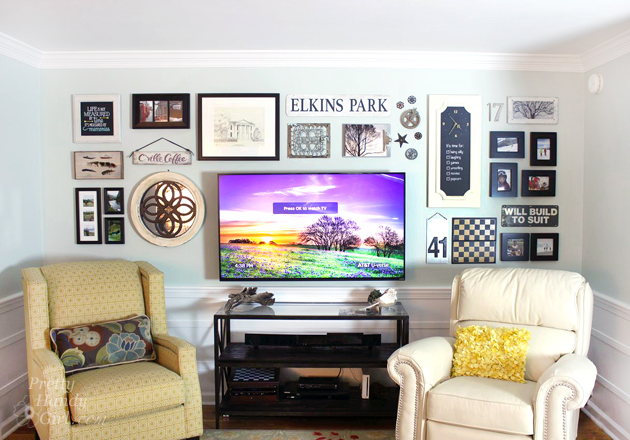
Tips for Creating a Gallery Wall | Pretty Handy Girl

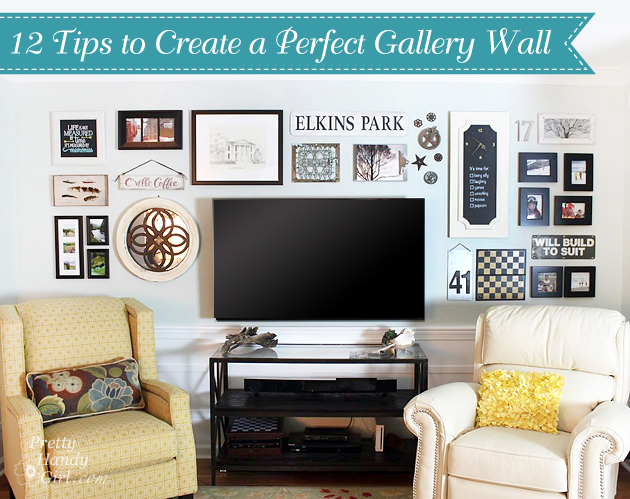
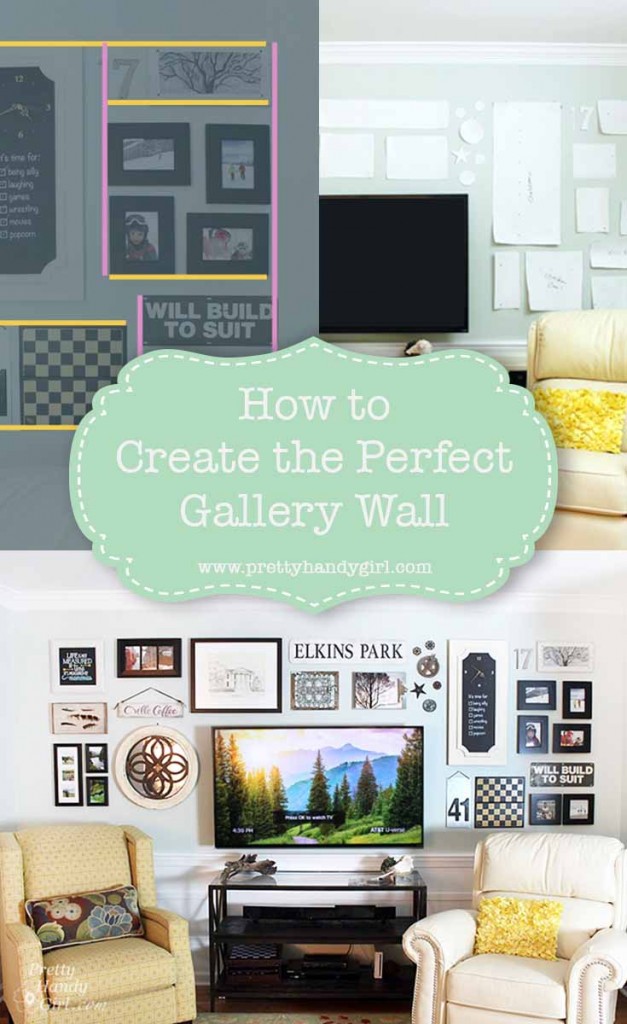
12 Tips to Create the Perfect Gallery Wall | Pretty Handy Girl

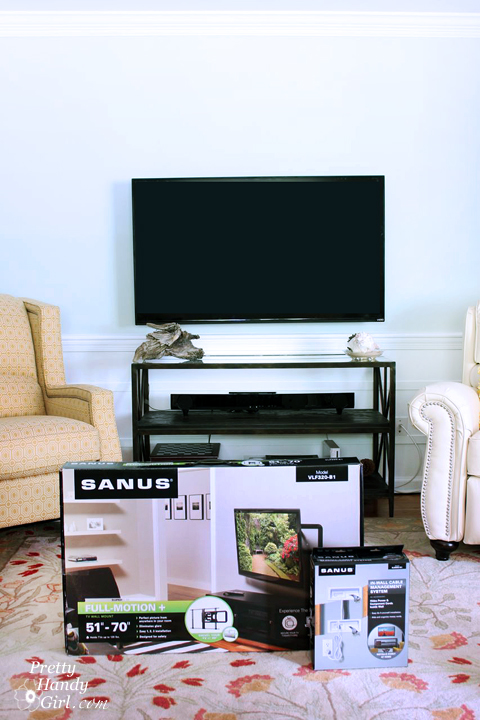
When you Don’t Love It, a room in your home can become a place to avoid. Last week I hung our TV on the wall in our living room, but was cringing because that big fat TV was screaming “Look at me! Look at me!” It was killing the cozy vibe I wanted to create in our room. This is the place that my family likes to chillax. It’s the room where wrestling matches happen and the room where we curl up by the fire. We watch movies and sports in this spot.  But, frankly, I didn’t love it. When I looked in the living room all I could see was a giant black elephant in the room.

Tips for Creating a Gallery Wall | Pretty Handy Girl

I agreed to let Pretty Handsome Guy pick out a big flat screen TV. But, I secretly devised a plan to keep me happy and let Handsome Guy have his big honkin’ TV.

Tips for Creating a Gallery Wall | Pretty Handy Girl

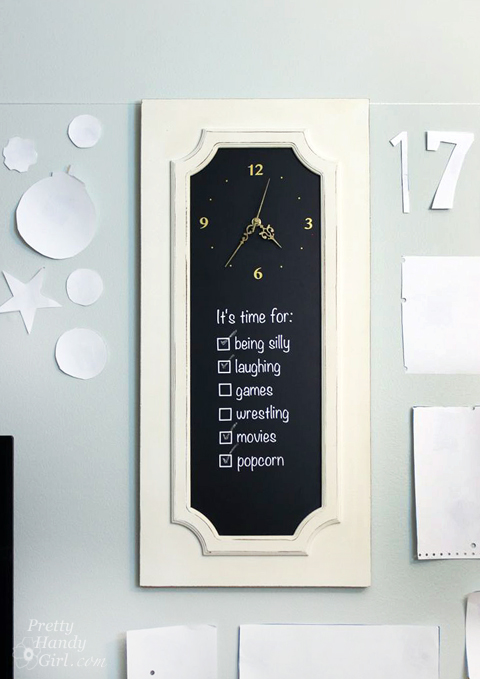
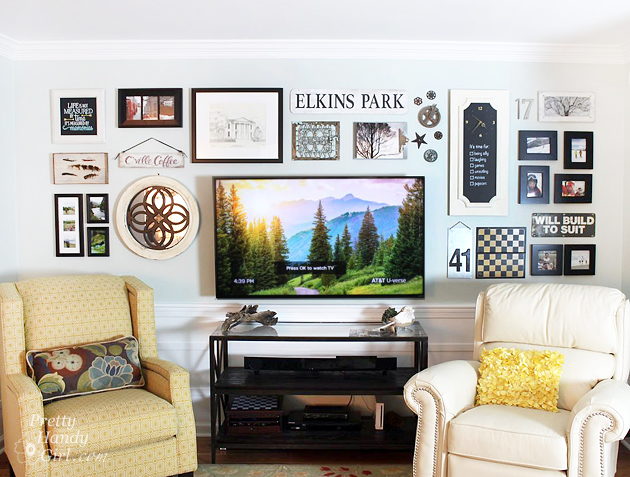
And I Created a Perfect Gallery Wall around the TV to de-emphasize its size and dominance in the room.

15 Tips for Creating the Perfect Gallery Wall:

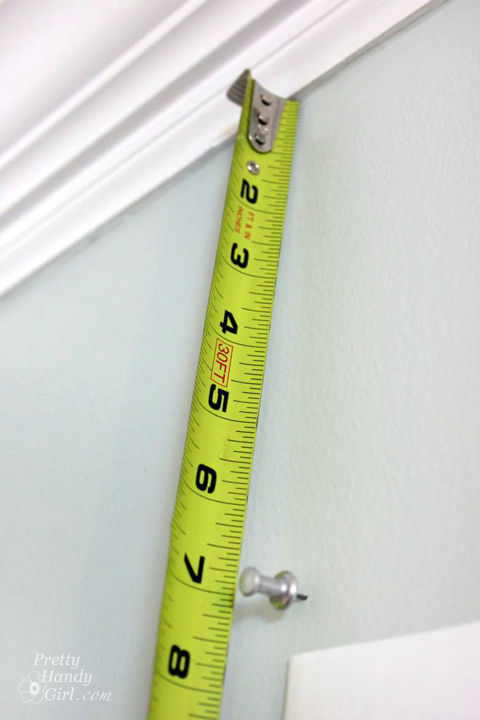
#1 Start with a Level Line

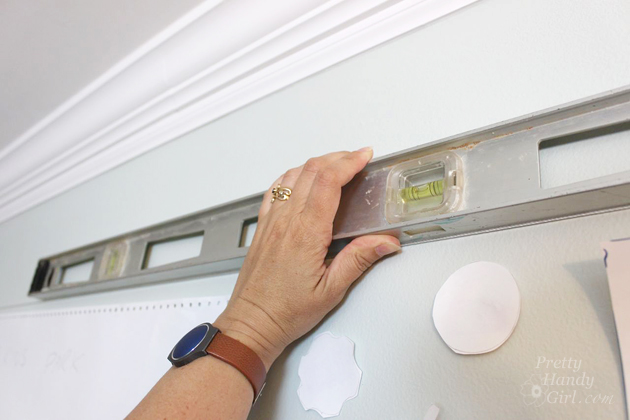
Determine the area you want to install your gallery wall. Measure down from your crown molding or ceiling to the top of the gallery area.

Tips for Creating a Gallery Wall | Pretty Handy Girl

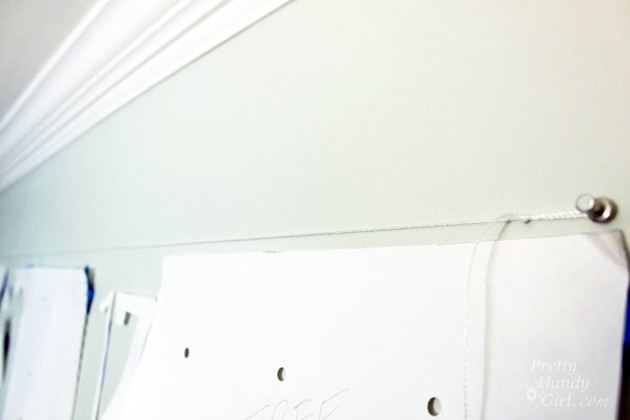
Insert a thumbtack or pin at that height. Run a piece of string from the thumbtack along the width of your gallery wall space. (It helps to have a friend hold the free end of the string, but you can use a piece of painter’s tape to hold it temporarily.)

Level the string and secure the opposite end with a thumbtack.

Tips for Creating a Gallery Wall | Pretty Handy Girl

Tips for Creating a Gallery Wall | Pretty Handy Girl

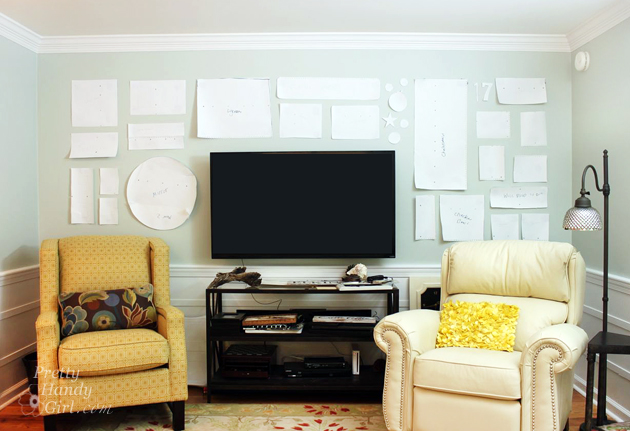
#2 Create Paper Templates

Pull together all your frames and art. Create a paper template for each object. (Craft paper, butcher block paper or old dot matrix printer paper works perfect for this task.)

Tips for Creating a Gallery Wall | Pretty Handy Girl

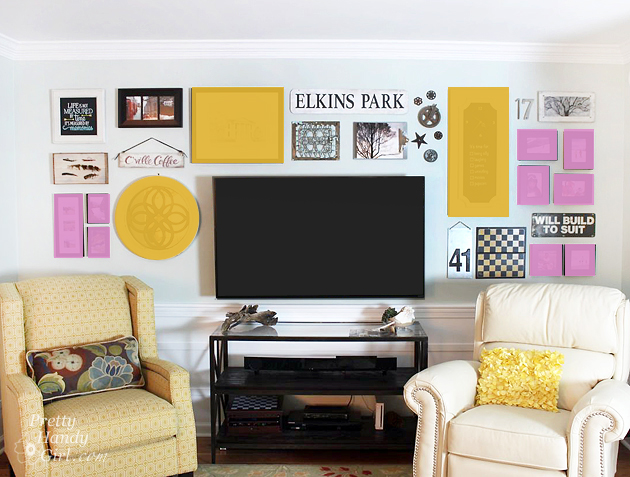
Use painter’s tape to secure the templates to the wall. Step back and look at the wall from across the room. Take a picture of the wall with your mobile device and look at the picture to see if you see any issues. Or face away from the wall and look at it in the mirror to look at the arrangement from another angle. Play with the templates until you Love It! I will be honest with you, this process takes a while. In the long run, you’ll love your gallery wall if you live with the arrangement for a few days before the final installation.

Tips for Creating a Gallery Wall | Pretty Handy Girl

#3 Pick a Color Palette

Choosing a color palette of 2-3 colors will help you create a cohesive look and make it easy to create a visually pleasing gallery wall. The easiest palette to work with is black and white, because you can use black, white and a variety of grays.

Tips for Creating a Gallery Wall | Pretty Handy Girl

You can also add a bold color to the mix and know that everything works with black and white!

Tips for Creating a Gallery Wall | Pretty Handy Girl

#4 Use a Variety of Shapes and Sizes

For more visual interest, use a variety of shapes and sizes. Gallery walls that use the same frame for the entire collection can look stunning and orderly. But, for a more organic and eclectic gallery wall, feel free to play with many shapes and sizes. Your color palette of 2-3 colors will keep it looking unified.

Tips for Creating a Gallery Wall | Pretty Handy Girl

#5 Balance Larger and Smaller Objects

When working with several shapes and sizes, it’s important to balance your arrangement. Space larger items away from each other and preferably on opposite sides. Pay attention to collections of smaller objects as well. Your wall would look unbalanced if all the large objects were on one side and all the small art on the other.

Tips for Creating a Gallery Wall | Pretty Handy Girl

While spacing the object templates, use the trick in #2 by taking a photo or using a mirror while playing with placement.

#6 Use Consistent Spacing and Align Edges

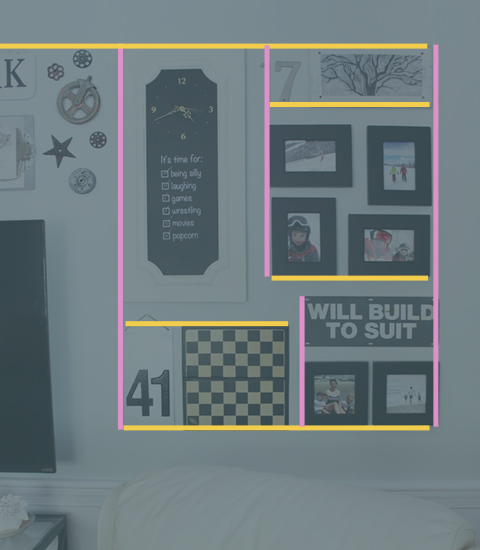
Use consistent spacing between your art. Smaller collections can visually work as one large object if you space them closer together. But, use a larger space outside the collection that equal to the rest. Try to align horizontal or vertical edges with adjacent art. They don’t have to be hung in a uniform grid, but creating a shared horizontal or vertical line can help create a pleasing installation.

Tips for Creating a Gallery Wall | Pretty Handy Girl

#7 Group Like Objects

As mentioned in #6, you can group smaller objects together to fill a larger space. Use objects of the same color, material or shape together as a collection.

Tips for Creating a Gallery Wall | Pretty Handy Girl

#8 Mix Textures

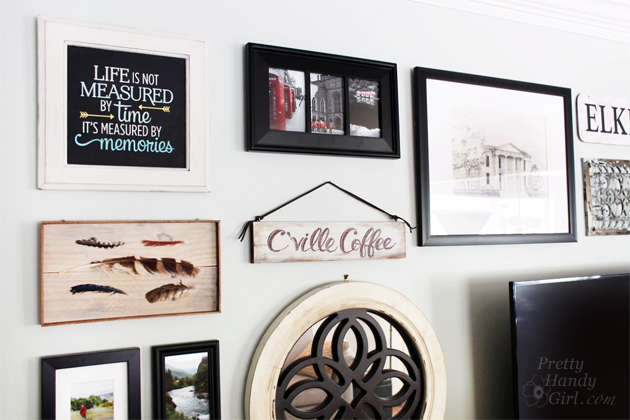
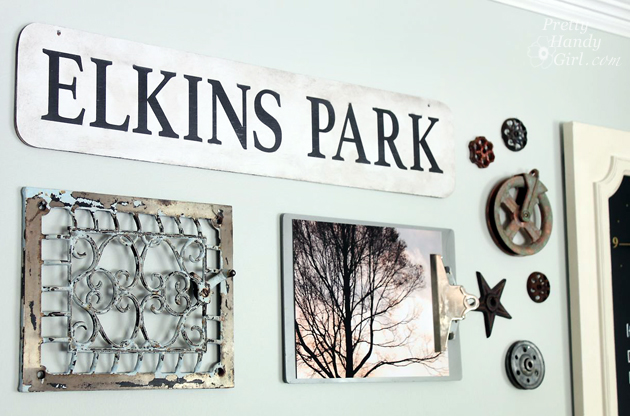
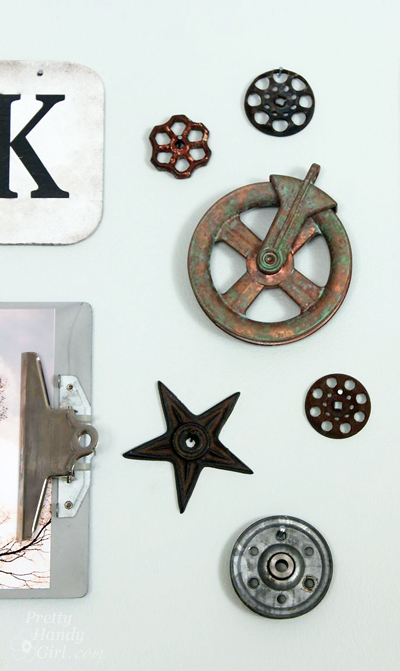
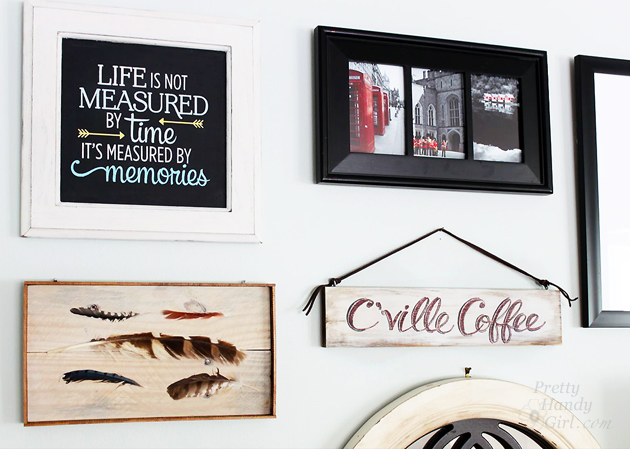
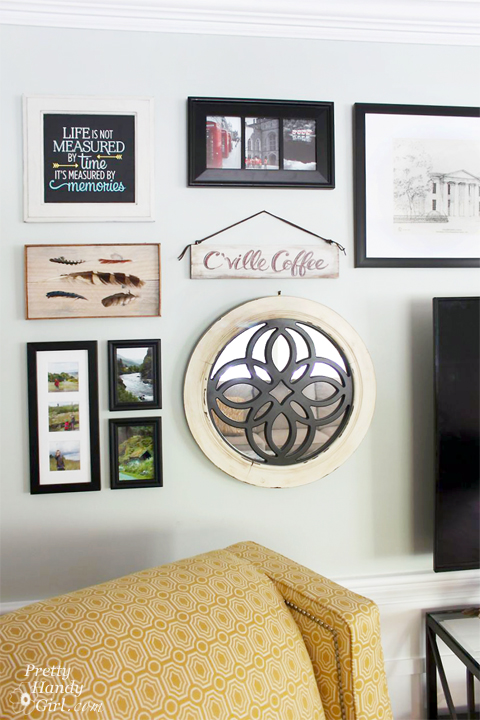
For lots of visual interest, introduce several different materials and textures into your gallery wall. Break up black frames with wooden art, metal signs and even natural elements like feathers, branches, found objects, etc. The sky wall is the limit (ha, ha). Have fun using your imagination.

Tips for Creating a Gallery Wall | Pretty Handy Girl

#9 Use Good Wall Anchors, Hangers, and Bumpers

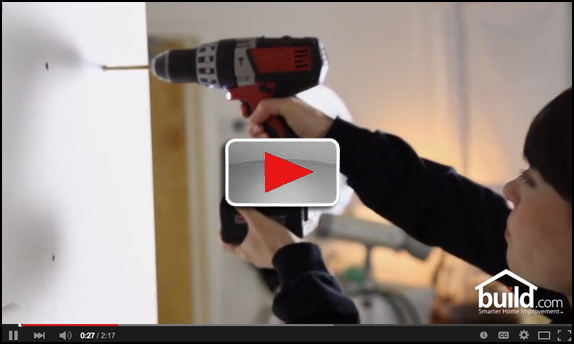
While hanging artwork, be sure to use picture hangers or anchors strong enough to hold your artwork. It’s so important to use a hanging hook or anchor that is designed to hold more than your art weighs. Watch the video on “Testing Drywall Anchors” to see why this is so important:

video-screen-shot-buildcom

Way to go Build.com for performing this test!

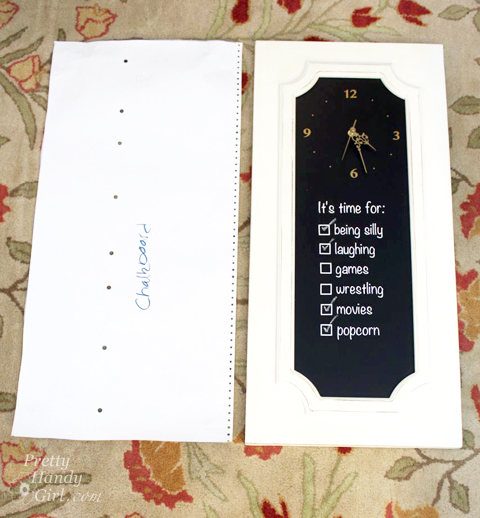
#10 Mark Hanging Hardware on Templates

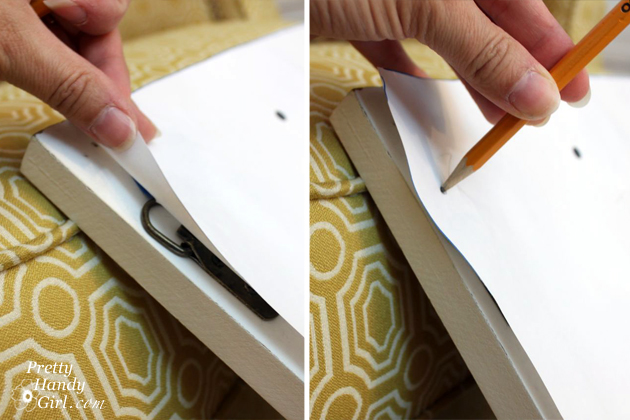
This trick will save you time and save your walls from turning into swiss cheese! Set your template on the back of your art (the back side should be up) and poke a hole with a pencil where the hanging hooks, holes or wires are. Hang your template back on the wall.

Tips for Creating a Gallery Wall | Pretty Handy Girl

#11 Hanging Your Art Perfectly

Ready to hang your art perfectly the first time? Grab your picture hanging hardware, nails and a hammer.

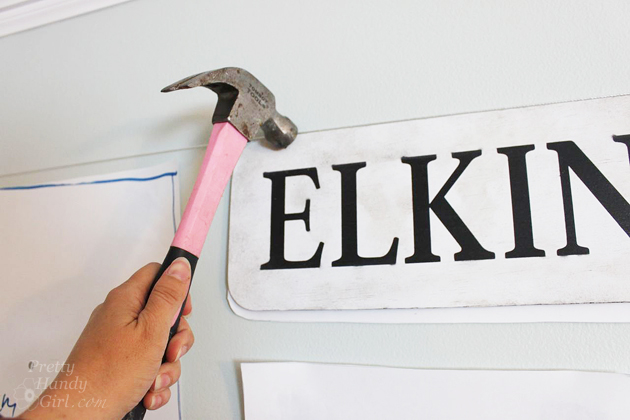
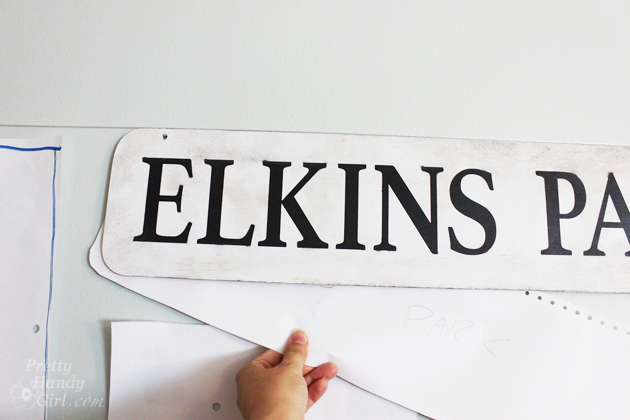
Make sure that each template is level. For art that has visible holes, line up the art on top of the template. Hammer the nail or hook through the hole.

Tips for Creating a Gallery Wall | Pretty Handy Girl

Then simply pull and rip the template off the wall from beneath the art.

Tips for Creating a Gallery Wall | Pretty Handy Girl

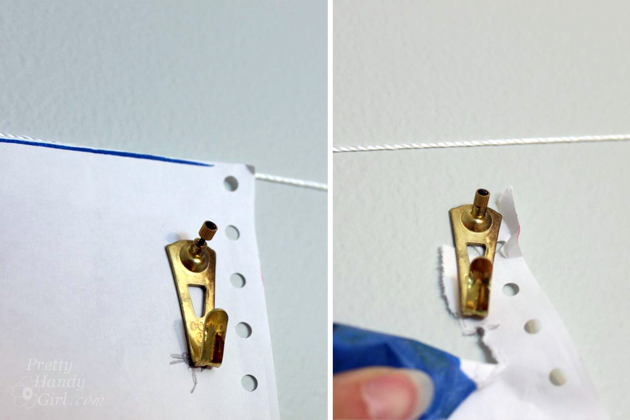
For hanging hardware that is hidden. Hammer your picture hardware through the template lining up the hook or nail with the hole you poked through in tip #10.

Tips for Creating a Gallery Wall | Pretty Handy Girl

Tear the template off after you have your hangers installed. Hang your art on the hooks perfectly the first time!

Tips for Creating a Gallery Wall | Pretty Handy Girl

#12 Make it Personal

Make your gallery wall a reflection of you! Use vacation photos, messages and art that has meaning to you and your family.

Tips for Creating a Gallery Wall | Pretty Handy Girl

I smile every time I walk into our living room. It is filled with memories and art that makes me happy.

Tips for Creating a Gallery Wall | Pretty Handy Girl

PHGFancySign

Disclosure: Thank you to Build.com for sponsoring today’s post and inspiring me to discover my #LoveItMoment 

Pin for later!
Chalkboard Arrow Sign (Mystery Thrift Off) | Pretty Handy Girl

Chalkboard Arrow Sign (Mystery Thrift Off) | Pretty Handy Girl

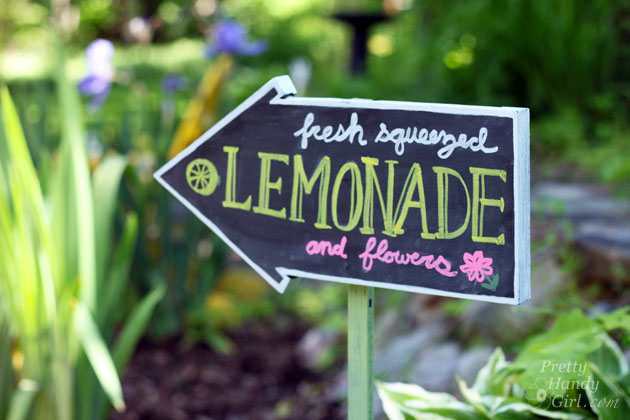
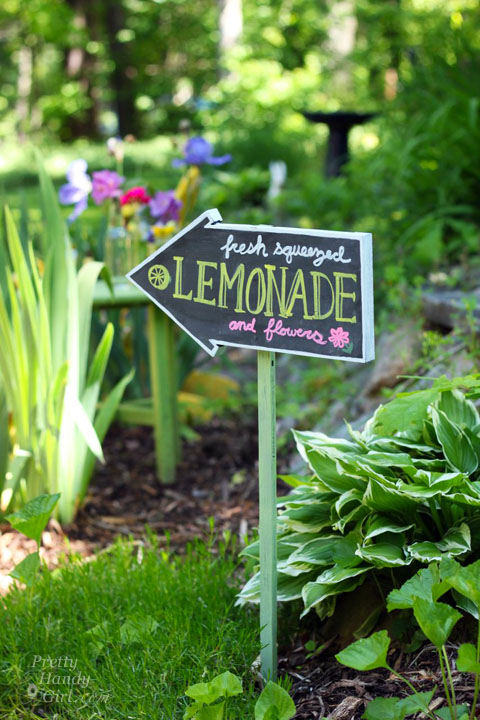
Are you having a yard sale, a lemonade stand or an open house? This Chalkboard Arrow Sign is an easy DIY project that will bring more attention to your event.

But, let me back up to explain exactly how this Chalkboard Arrow Sign came to be. Have you been following #TheMysteryThriftOff challenge? This is the brainchild of Lindsey from Better After. She chose a handful of people to take part in this challenge. After scouring her local thrift shops for ugly and hopeless items, she shipped off the chosen items to those of us in the challenge. I signed up—because frankly—I love a challenge. And, I love saving ugly items from the landfill. This week she’ll be revealing all the Mystery Thrift Off participants transformations and you can vote on your favorite!

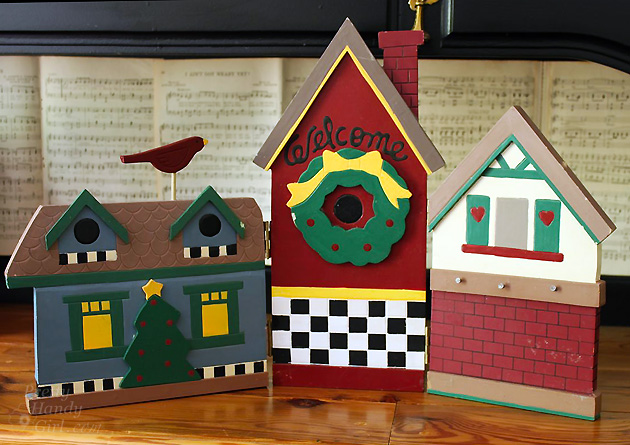
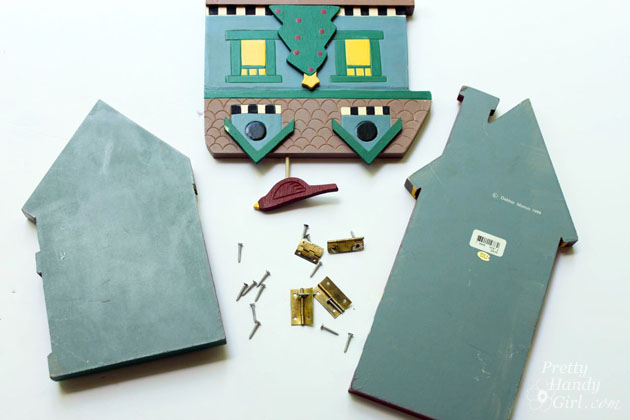
But, when the box arrived from Lindsey, I was terrified to open it up! I mean what if she had sent me a ceramic scabies bear!  Yikes. You can imagine my relief when I opened the box to reveal this dated Christmas village.
Chalkboard Arrow Sign (Mystery Thrift Off) | Pretty Handy Girl

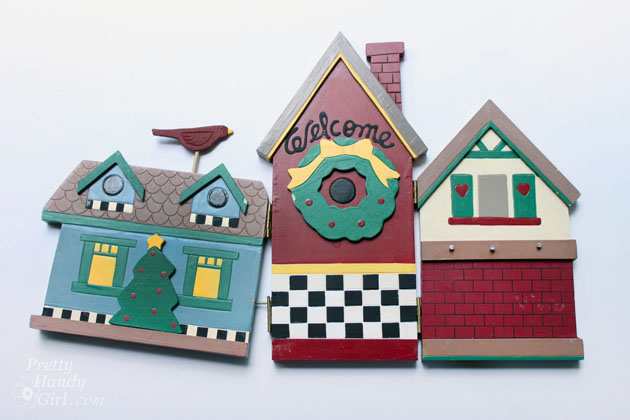
Not too bad looking is it.? Truth be told, it was falling apart and the colors were hunter green, colonial blue, mauve and fleshy tan.

Chalkboard Arrow Sign (Mystery Thrift Off) | Pretty Handy Girl

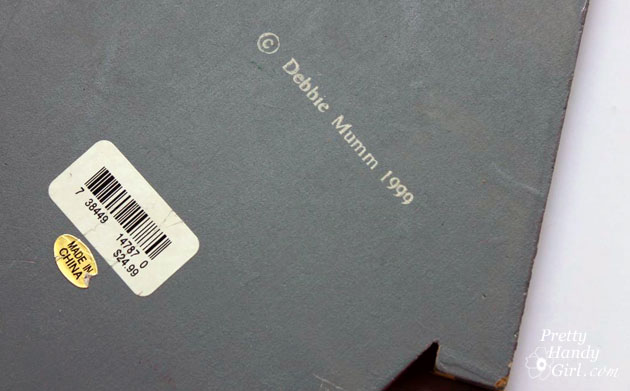
I flipped it over to reveal that this was the fine art of Ms. Debbie Mumm in 1999. And someone paid $24.99 for it! I certainly hope Lindsey didn’t spend that much. I think 1999 is calling and they want their village back.
Chalkboard Arrow Sign (Mystery Thrift Off) | Pretty Handy Girl

I’ll quickly show you how I transformed this village and then we’ll get to the tutorial for how you can make your own Chalkboard Arrow Sign.

The hinges were easy removed from between the houses. I kept them for another project.

Chalkboard Arrow Sign (Mystery Thrift Off) | Pretty Handy Girl

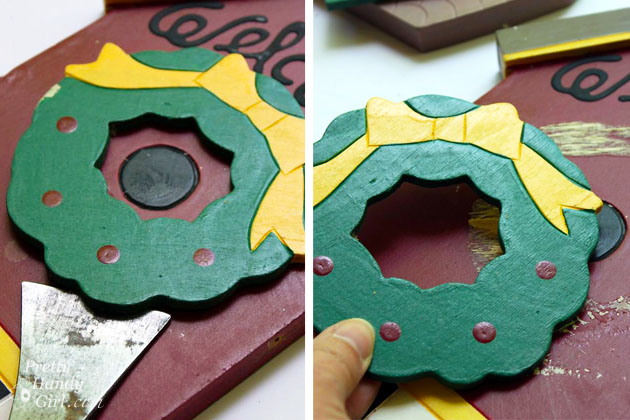
The wooden embellishments were popped off with a pry bar.

Chalkboard Arrow Sign (Mystery Thrift Off) | Pretty Handy Girl

I also saved these embellishments for a future project.

Chalkboard Arrow Sign (Mystery Thrift Off) | Pretty Handy Girl

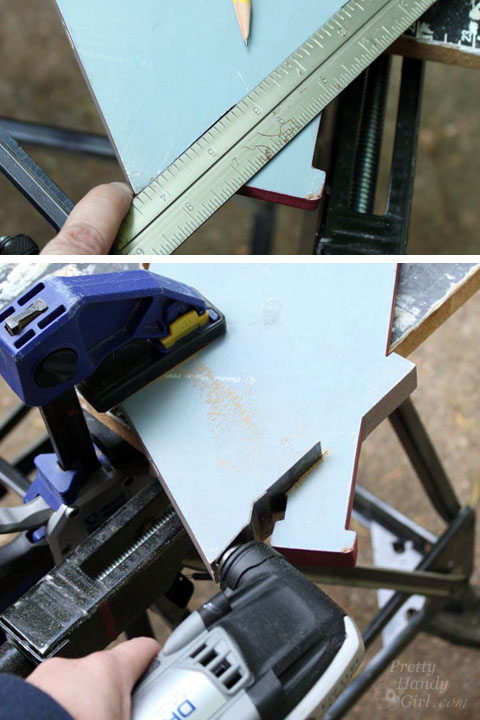
To create the arrow shape, I chose the middle tall building and cut off the chimney with my Dremel Multi-max.

Chalkboard Arrow Sign (Mystery Thrift Off) | Pretty Handy Girl

Here’s where you can pick up the tutorial. 🙂

Materials:

  • 9″ x 14″ piece of smooth plywood, masonite or wood board
  • Jigsaw
  • Sander
  • Valspar Gray Spray Primer
  • Chalkboard paint
  • Foam roller
  • Chalk Ink
  • 1″ x 1″ square garden stake (look in the garden section of Lowe’s)
  • Finish Nails
  • Wood glue

Instructions:

Print out the Chalkboard Arrow Template. It should fit on a legal sheet of paper. Cut out the template and transfer the shape to your wood.

Use a jigsaw to cut out the shape. Sand any rough edges from your plywood. Read more