How to Add Panels to Flat Hollow Core Door | Pretty Handy Girl

How to Add Panels to Flat Hollow Core Door | Pretty Handy Girl

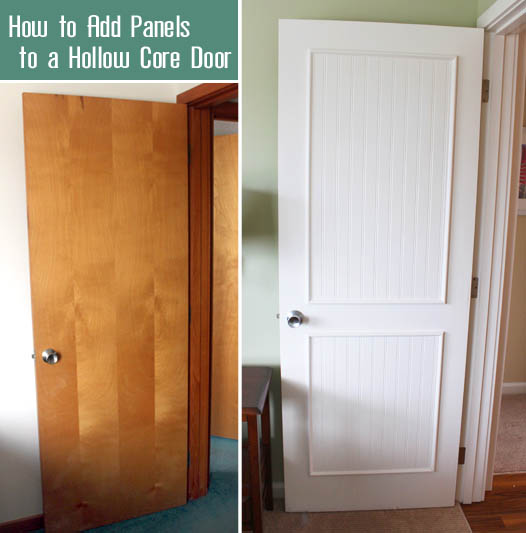
When my sister brought me on to the Topsail Beach condo renovation, she had a laundry list of DIY projects she wanted me to complete. One of them was dressing up the hollow flat doors with moulding panels. She showed me a pin that led to One Life to Love’s DIY beadboard panel doors. After seeing the photo, I knew it would be a great DIY upgrade to make. But, we decided to use real beadboard (instead of beadboard wallpaper) because it had to hold up to the stress of being a rental.

To Begin:

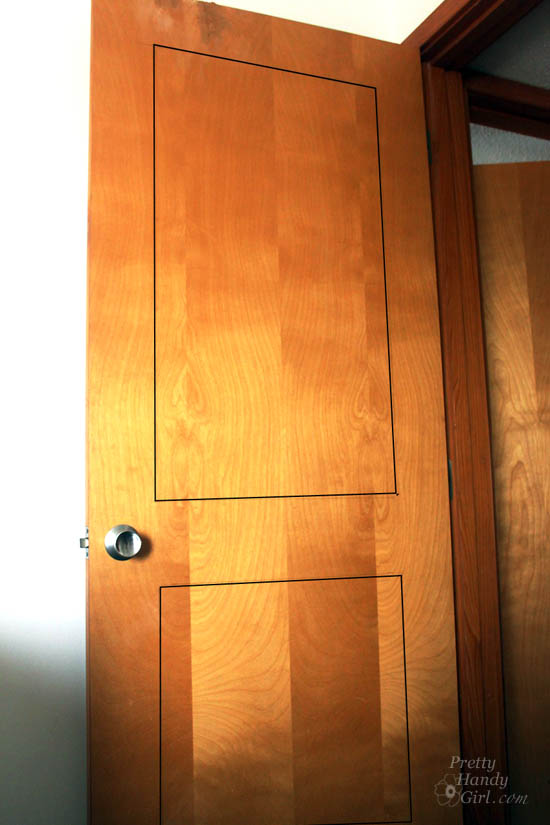
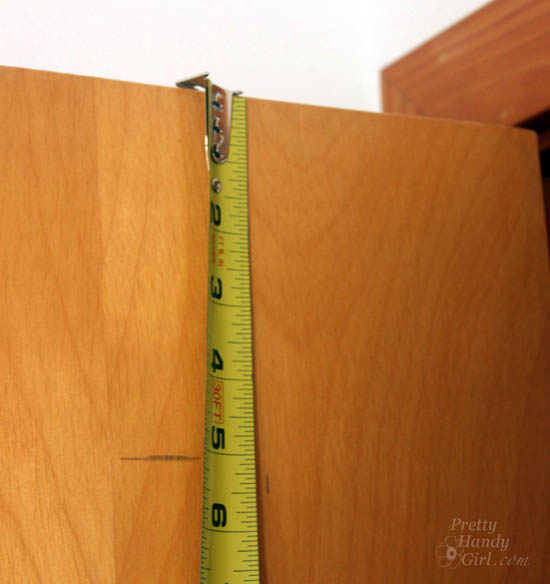
Start by measuring and marking the doors to determine the size of your panels.

How to Add Panels to Flat Hollow Core Door | Pretty Handy Girl

Draw lines 5″ in from the top and two sides of your door.  Draw the bottom line  6″ up from the bottom. Finally, leave 5″ between the top and bottom panels.

How to Add Panels to Flat Hollow Core Door | Pretty Handy Girl

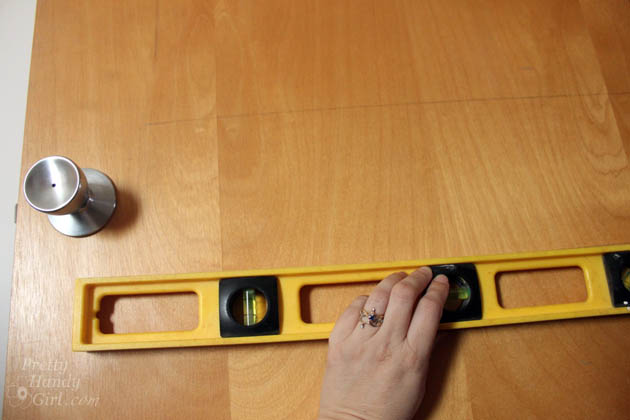
When marking your doors, use a pencil and level to draw your lines.

How to Add Panels to Flat Hollow Core Door | Pretty Handy Girl

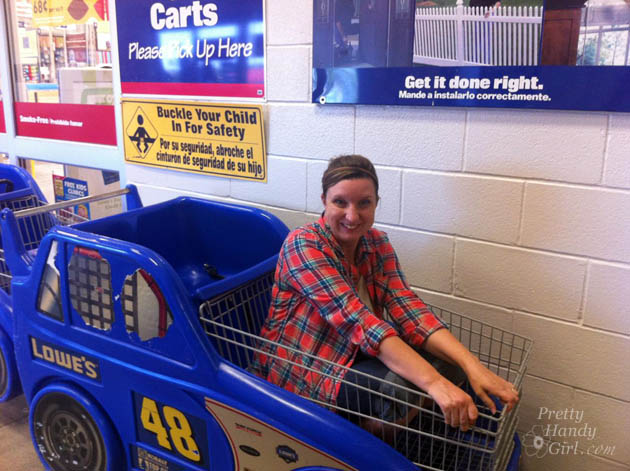
After we had our panel measurements, Caitlin and I headed to Lowe’s. But, she refused to push me in the cart (party pooper!)

DIY Add Molding Panels Flat Door

We pulled some 4′ x 8′ beadboard panels and took them to the lumber cutting area. We gave the Lowe’s employer our measurements and asked him to cut the boards for us. While he cut our beadboard, Caitlin and I gathered the rest of our supplies.

Materials: Read more

How I Re-Built My Own Kitchen (after a leak) | Pretty Handy Girl

2013 Could be called the year of the kitchen renovation in our house. Or the year that nearly killed me. Or the luckiest year of our lives. I’m still debating the title. What I do know is that, I decided to take on my biggest DIY project to date. I re-built my own kitchen from bare studs and subfloor.

It started one morning as I was confronted with a foul odor. It’s only describable as that odor that usually lives in the high school gym locker room. I thought my 9 year old son’s feet were starting to stink. Unfortunately a stinky pair of shoes wasn’t the culprit, it turned out to be a very minor leak that turned into a very big kitchen renovation. We persevered through 45 days without a washer and dryer and many months without a kitchen. But, it was like being a contestant in Survivor. I lasted the year of construction; the set backs and sore muscles; and in the end I was rewarded with a brand new kitchen!

Today, I walk into our beautiful kitchen and I know it was all worth it! It was worth all the sweat equity, the daily Advil doses, and the tree falling on the house. If you want to reminisce with me as I recap my kitchen renovation of 2013, here’s your ticket to all the tutorials and posts: Read more

Boy's Red, White & Blue Themed Room | Pretty Handy Girl

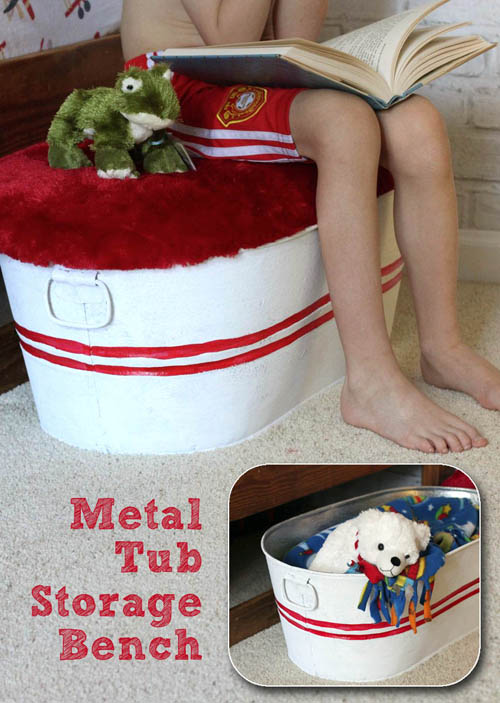
Galvanized Tub Storage Bench for Kids | Pretty Handy Girl

Every month Lowe’s challenges me to create another unique project to share with you. This month’s challenge was creative storage ideas. Have kids? This is a unique storage solution using a galvanized tub and a furry upholstered lid. It’s the perfect place to store and corral all that kid clutter in your child’s bedroom. The storage tub doubles as a bench and a step stool. Don’t be deterred if you don’t have children, the storage bench could be used for magazine storage and much more!

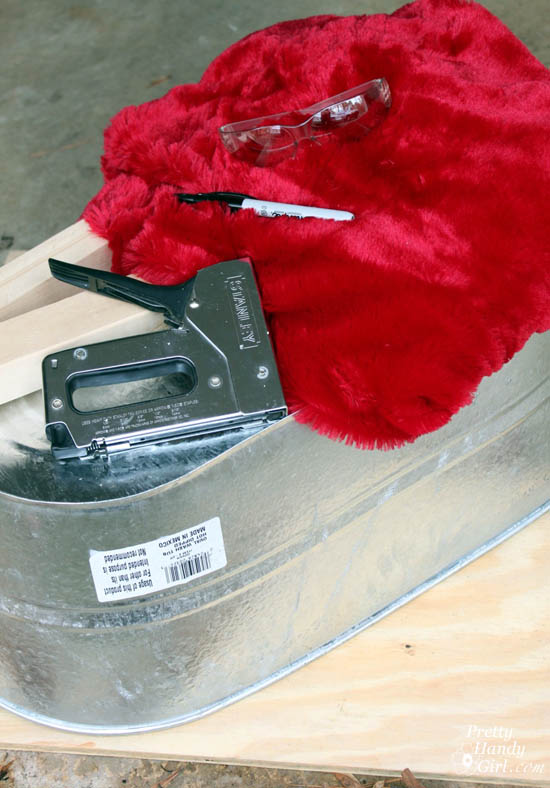
Grab these materials and tools and follow along with me (and my 13 year old assistant.)

Creating the Galvanized Storage Bench and Lid

(I’ve included affiliate links for your convenience. I earn a small percentage from a purchase using these links. There is no additional cost to you. You can read more about affiliate links here.)

Materials for the Galvanized Storage Tub and Lid:

Galvanized Tub Storage Bench for Kids | Pretty Handy Girl


Instructions:

Turn the galvanized tub upside down on the plywood. Use the sharpie to mark approximately 1/2 – 1″ out from the edge of the tub. Read more

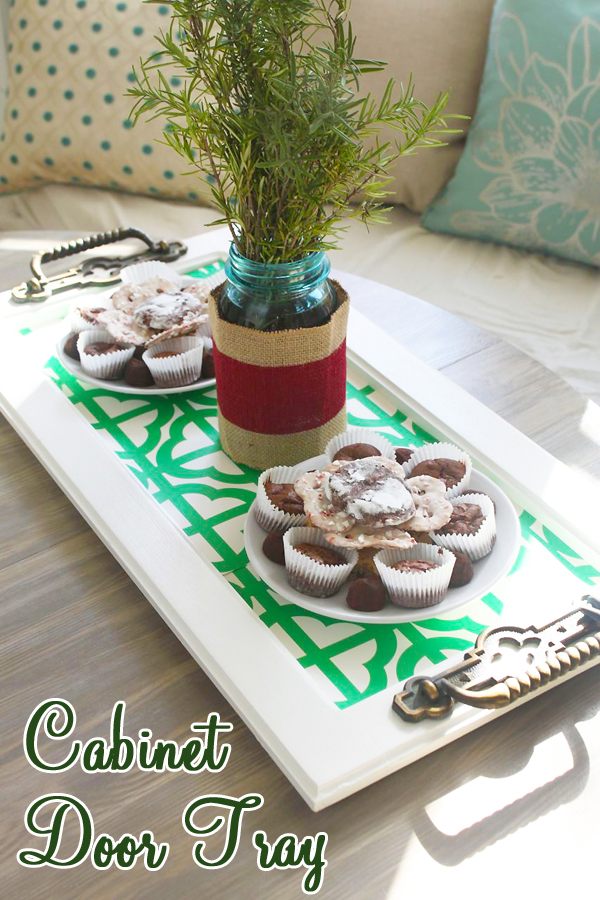
Make a Tray from a Cabinet Door | Pretty Handy Girl

Make a Tray from a Cabinet Door | Pretty Handy Girl

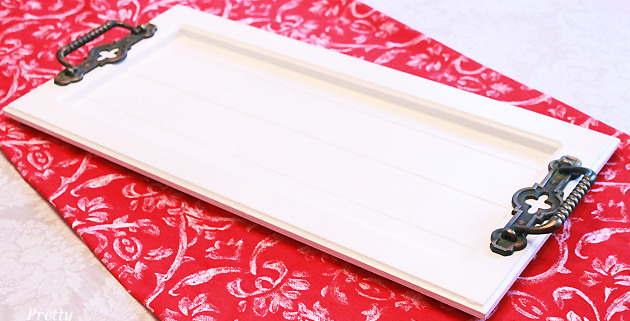
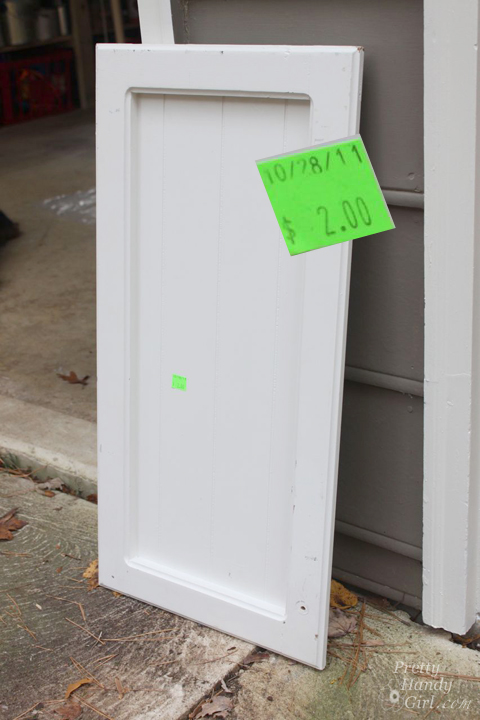
One of my favorite places to thrift shop is the Habitat ReStore. I mean, where else can you find cool $2 cabinet doors?

Make a Tray from a Cabinet Door | Pretty Handy Girl

This fine cast off door is just screaming to be upcycled into a beautiful tray. Especially when the same thrifting adventure yielded VERY COOL door hardware! Simply combine the two and you have yourself a unique serving tray to give as a gift (or keep for yourself.)

Make a Tray from a Cabinet Door | Pretty Handy Girl

Materials:

  • Cabinet door
  • Door handle or cabinet handle
  • Wood putty
  • Putty knife
  • Ruler
  • Pencil
  • Drill
  • Drill bits
  • Screwdriver bit
  • Rubber bumpers

Optional: Rub n’ Buff Gold Leaf

The steps are super simple. Read more

Rustic Wood Cake Stand | Pretty Handy Girl

Rustic Wood Cake Stand | Pretty Handy Girl

Day two has arrived and I have ANOTHER fabulous Très Frugal DIY gift idea for you. Honestly, this is one of my favorites. And I owe it all to this little picture from my Instagram friend, Kennesha. She blogs over at Restoration House and has an amazing sense of style!

After seeing her rustic cake stand that she wanted to DIY, my creative wheels began to burn rubber.

I simply picked up a few wood discs and a furniture leg to create a unique cake stand. Here’s the tutorial:

Rustic Wood Cake Stand | Pretty Handy Girl

Materials:

  • 15″ Wood Disc from Lowe’s
  • 5″ and 7″ Wood plaques (from Michaels)
  • Turned furniture leg (from Lowe’s)
  • E-6000 glue (or wood glue)
  • 1 – 2.5″ wood screw
  • 3M Sandpaper block
  • Drill
  • Drill bit slightly smaller than the screw
  • Drill bit slightly smaller than the furniture leg bolt
  • Philips head screwdriver bit
  • Food safe sealer (Behandla cutting board sealer found at IKEA)

Optional: Paint & Glazes (all available at Lowe’s):

  • Valspar 6006-1A Woodrow Wilson Putty
  • Valspar 6007-2A Arid Plains
  • Valspar 6005-1A Asiago
  • Valspar clear mixing glaze
  • Dry brush paint brush
  • Paint brush

Not optional: Cake or Cupcakes!!!! (kidding of course) Read more