
After installing a new casement window in our kitchen,I chose to install a beautiful decorative window moulding. Today I’m going to show you how easy it is to Install Trim and Casing Moulding!

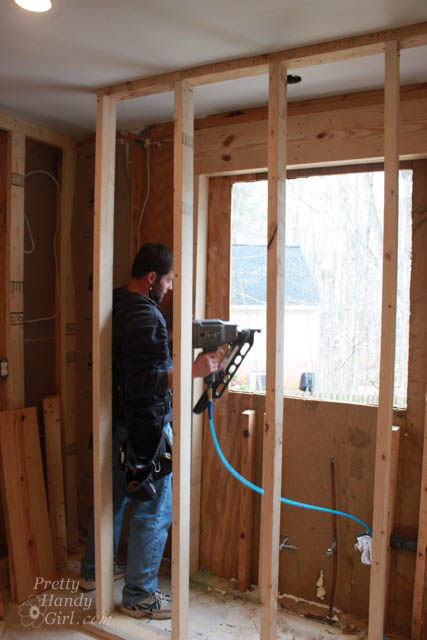 But, let’s back up for a minute. I wanted to share with you a little snafu that happened with our casement window. When I ordered it, the guy taking the order asked me a few questions and somewhere there was a translation breakdown. He thought I needed a replacement window because I was replacing an existing window. What he didn’t realize is that I was increasing the size of the window opening and therefore needed a new construction window. In the end, I was stuck with the replacement window, but my handman and I used as many weather-stripping, caulking, and water barrier techniques we could think of to keep it water tight.
This is what you need to know when ordering a new window: If you are removing the old and putting in a new window into the same frame, you can order a replacement window. If you are expanding or changing the size of your window opening (or you want to start with a full window replacement that you can flash on the exterior and add insulation around the rough opening) you will order a new construction window.
But, let’s learn how to install trim and casing moulding on a window.
Materials:
(I’ve included affiliate links for your convenience. I earn a small percentage from a purchase using these links. There is no additional cost to you. You can read more about affiliate links here.)
But, let’s back up for a minute. I wanted to share with you a little snafu that happened with our casement window. When I ordered it, the guy taking the order asked me a few questions and somewhere there was a translation breakdown. He thought I needed a replacement window because I was replacing an existing window. What he didn’t realize is that I was increasing the size of the window opening and therefore needed a new construction window. In the end, I was stuck with the replacement window, but my handman and I used as many weather-stripping, caulking, and water barrier techniques we could think of to keep it water tight.
This is what you need to know when ordering a new window: If you are removing the old and putting in a new window into the same frame, you can order a replacement window. If you are expanding or changing the size of your window opening (or you want to start with a full window replacement that you can flash on the exterior and add insulation around the rough opening) you will order a new construction window.
But, let’s learn how to install trim and casing moulding on a window.
Materials:
(I’ve included affiliate links for your convenience. I earn a small percentage from a purchase using these links. There is no additional cost to you. You can read more about affiliate links here.)
 Find the center of your actual window (not the rough opening) and make a pencil mark under the window. Use this mark as your guide for the stool and the window trim.
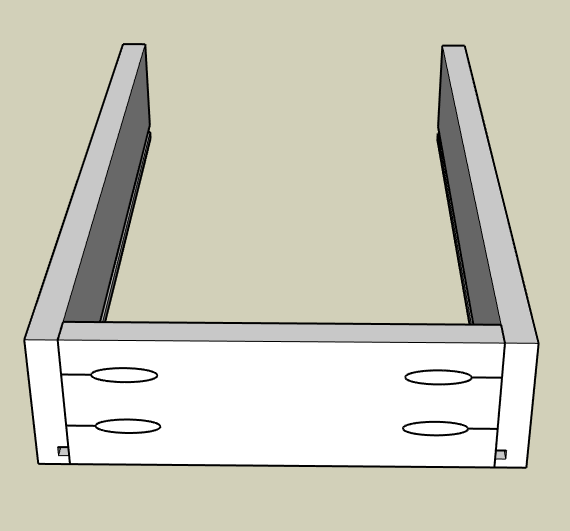
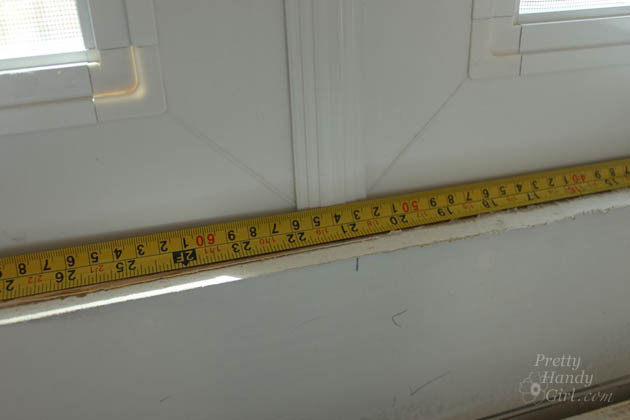 First measure and cut the window stool. You can use a jigsaw, coping saw or hand saw to cut out the edges of the stool so it fits snug against the window and has a reveal over the sides of the window. Take into consideration the width of the window casing and trim on each side and add an inch for the stool to extend beyond the trim. (see photo below to visualize the end product.)
 With your stool dry fit in place, check the level of the stool and use wood shims to level if necessary.
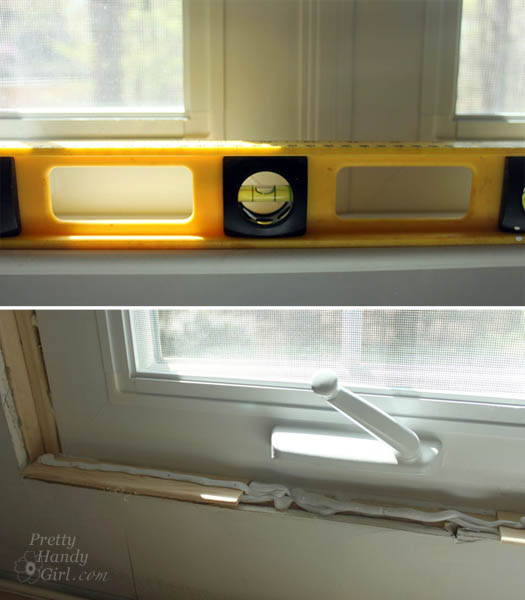 Add a bead of construction glue and set the stool on top. Secure the stool moulding to the window sill with nails.
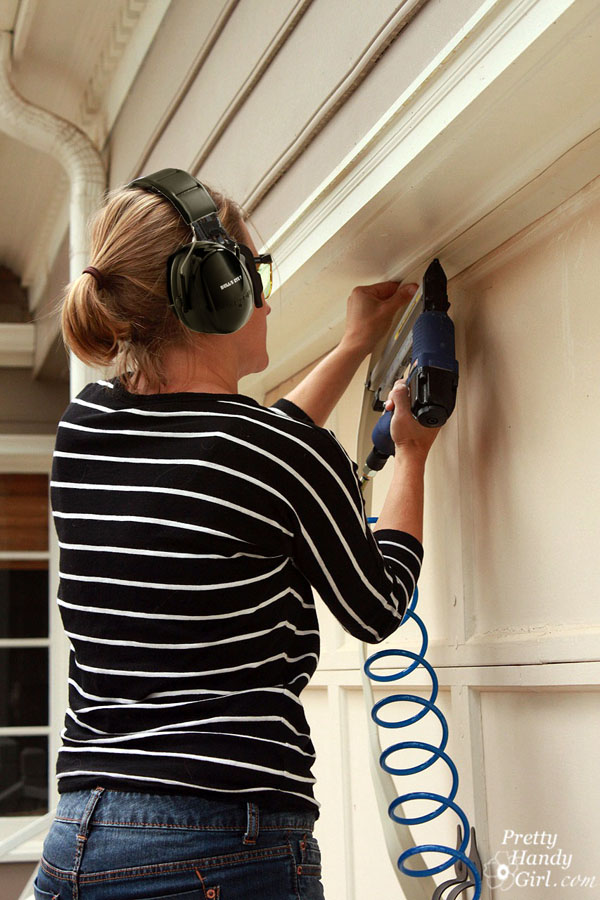
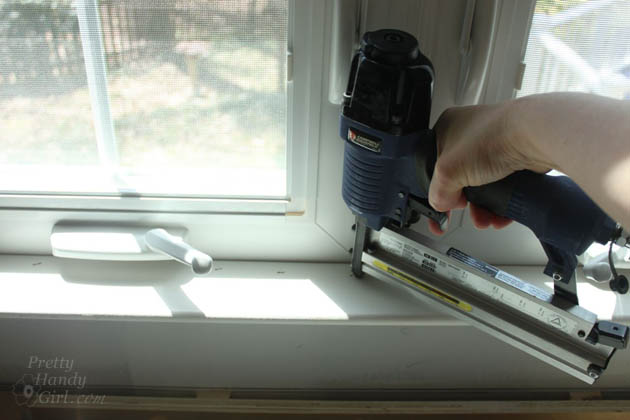 Safety note: When using a finish nailer be sure to wear eye protection and hearing protection. Don’t worry, you’ll look totally cool in your snazzy safety gear. It’s better than the missing eyeball look.
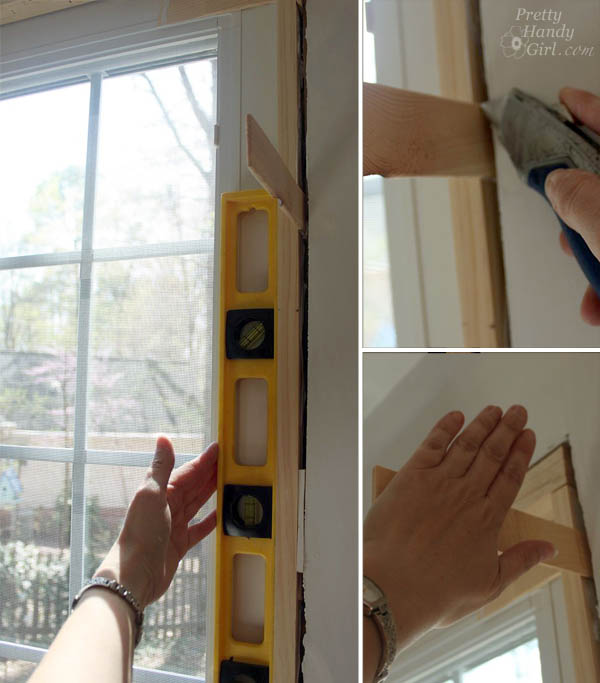
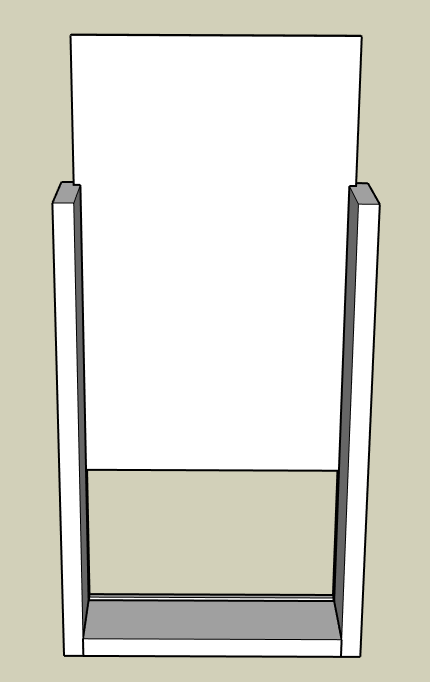
 Cut two more pieces of 2×2 for the sides. Make sure you have the same reveal on the window for each side (refer back to your center mark.)
 Make sure the sides are plumb. Secure the sides with finish nails and break the shims off by scoring them with a utility knife and breaking them with your hand. (You don’t have to sing the Kung Fu Fighting song when doing this, but I do.)
 Time to add the side pieces of casing and backer board. The backer board is not necessary, but I like to beef up the trim on my doors and windows. It’s an easy process, and makes your home look more custom and less builder-grade.
Decide what amount reveal you want showing on the window stop. Mark this depth on the 2×2″ window stops. Typically 1/8″ to 1/4″ is used.
Time to add the side pieces of casing and backer board. The backer board is not necessary, but I like to beef up the trim on my doors and windows. It’s an easy process, and makes your home look more custom and less builder-grade.
Decide what amount reveal you want showing on the window stop. Mark this depth on the 2×2″ window stops. Typically 1/8″ to 1/4″ is used.
 Measure and cut the backer band to the same height. Set it tight against the casing and secure with finish nails.
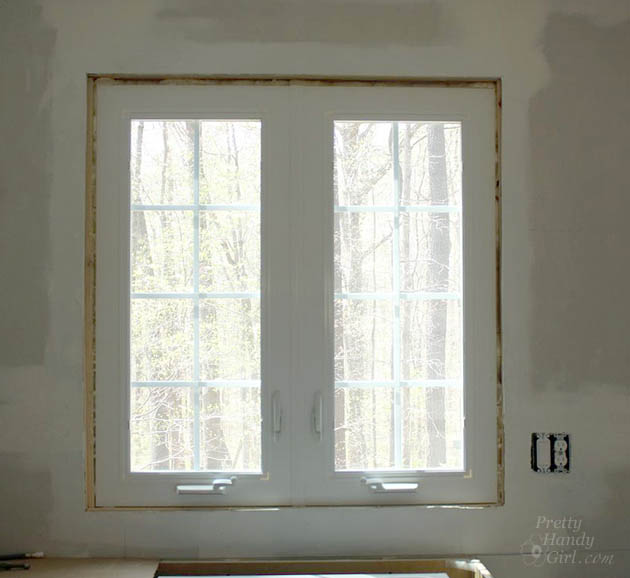
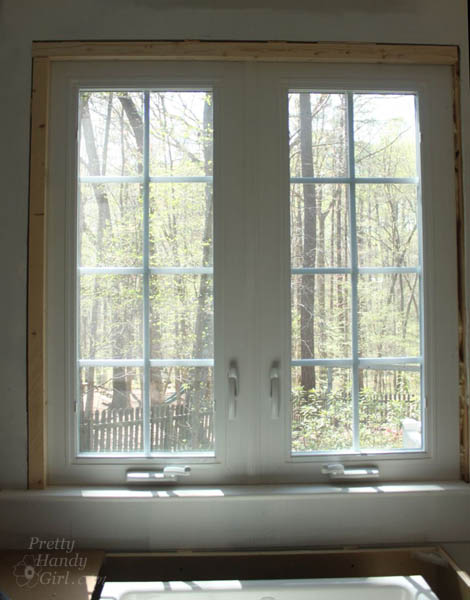
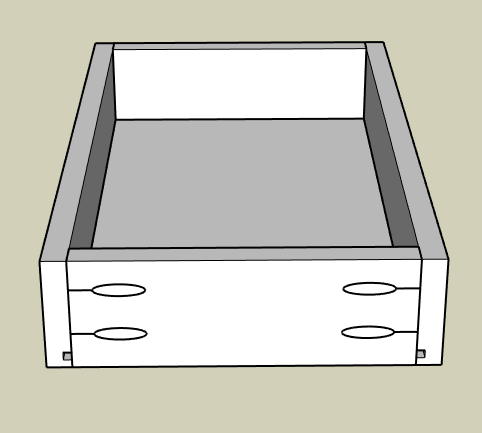
 Your window should look like this at this point with the two side pieces of casing installed.
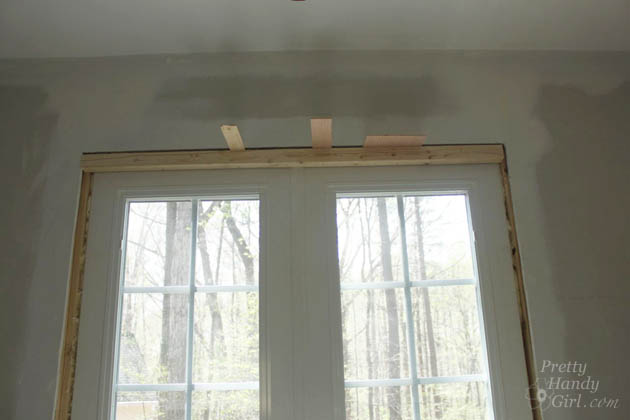
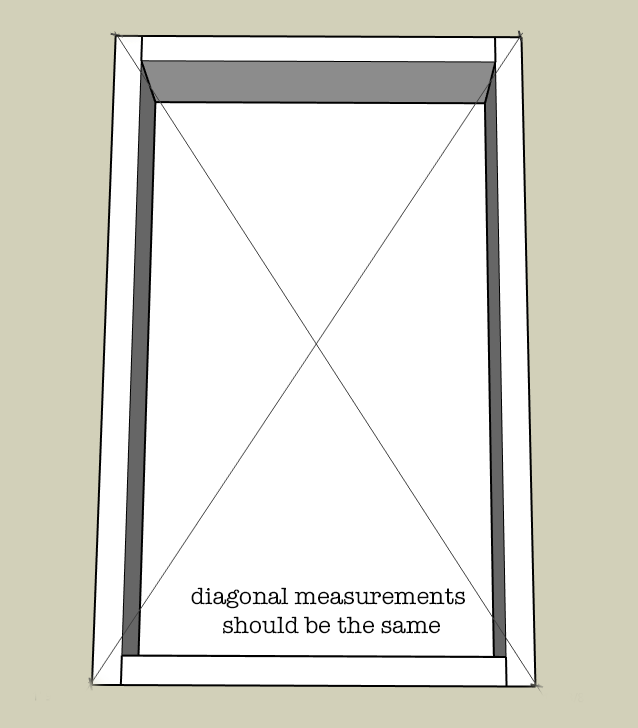
 Cut the 1″ x 6″ board to fit even with the outside edges of the casing and backer band. Attach it above the window with more finish nails.
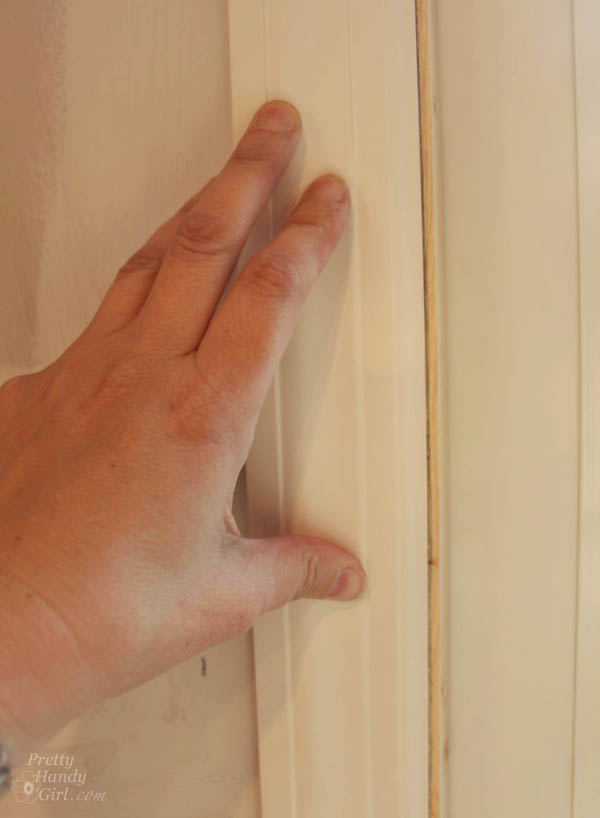
 Cut the small cove and the small base trim pieces to fit across the top and bottom of the 1″ x 6″ board. The ends should be mitered where they meet the edges. Cut, two pieces at a 45 degree angle to act as a return for the moulding. Here’s a closer look:
 Before securing the returns, add a dab of glue to hold it in place. Then use painter’s tape to hold the returns while they dry. After the glue dries, secure the returns with a finish nail in the center of each.
 Now the window trim and moulding is finished and it’s time to putty all of the nail holes with wood putty.
 Caulk all the seams where the trim pieces meet each other and the wall and window.
If you need a tutorial for how to caulk like a pro, I’ve got you covered!
Caulk all the seams where the trim pieces meet each other and the wall and window.
If you need a tutorial for how to caulk like a pro, I’ve got you covered! After the wood putty has dried, sand it smooth using a sanding sponge.
Wipe off any sanding dust off with a damp rag. Prime and paint your window.
And you’ll never see the seams!
After the wood putty has dried, sand it smooth using a sanding sponge.
Wipe off any sanding dust off with a damp rag. Prime and paint your window.
And you’ll never see the seams!
 Congratulations, you just learned how to install trim and casing moulding.
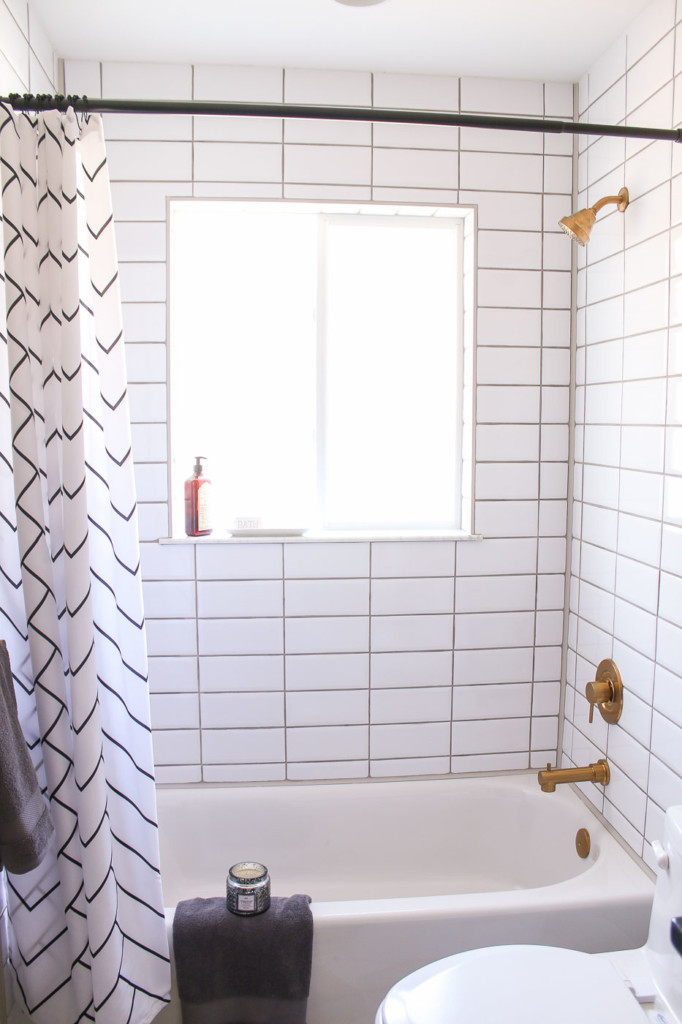
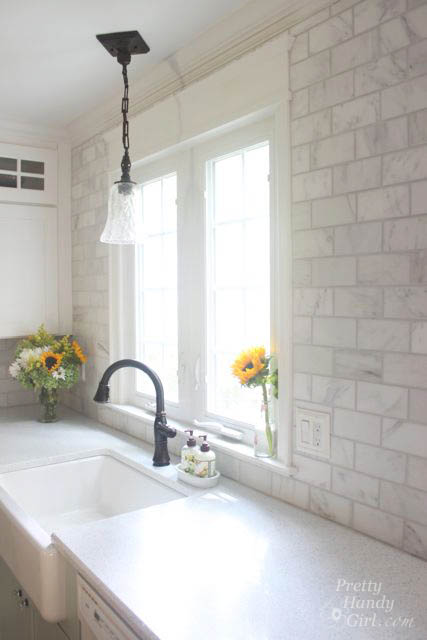
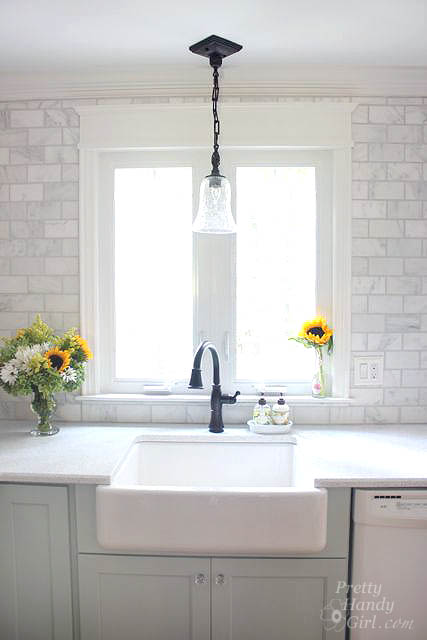 The depth of our sill, it’s just enough to set a vase onto. You may note I decided to forgo the traditional apron, and ended up using pencil edge marble tiles instead.

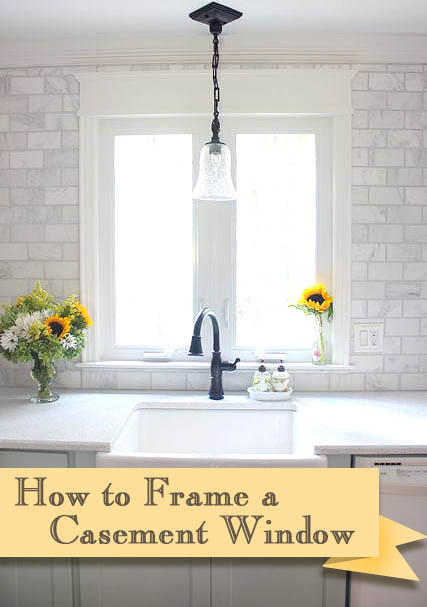
How to Install Trim and Casing Moulding
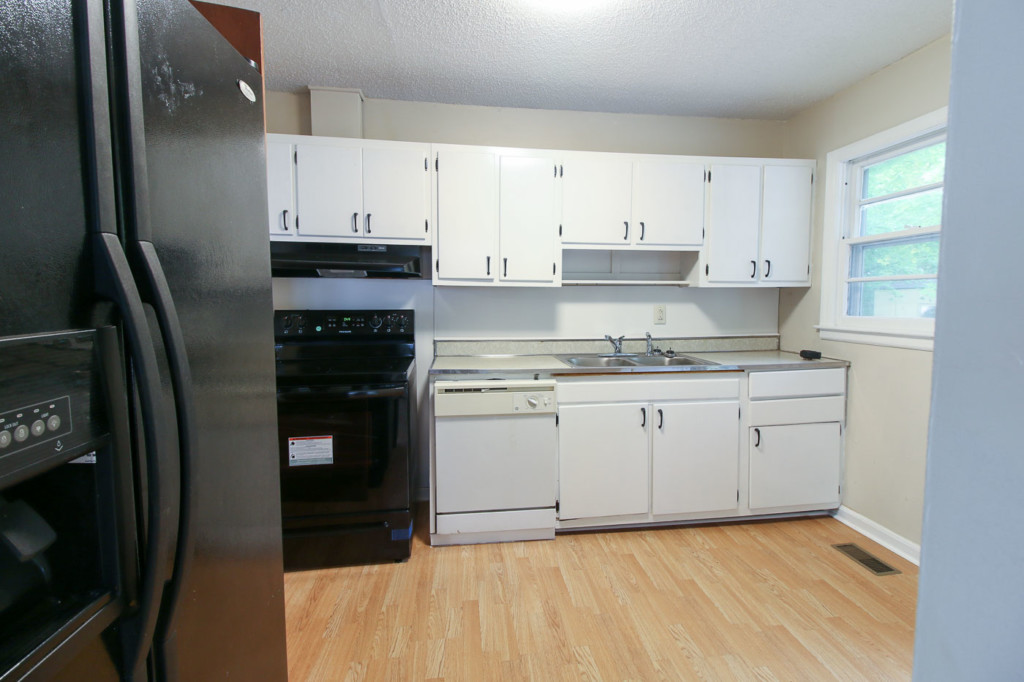
I’m excited to be sharing more tutorials from the kitchen renovation. I hope you’ll excuse me as we jump back and forth in the renovation process. I’ve been trying to get the most relevant tutorials to you as soon as I can. Speaking of relevant, I understand there are a lot of under-dressed windows out there that need trim or could use a little more “WOW Factor”! Is that your case—ment? (Sorry, I couldn’t resist.) Let’s go over the details for installing window trim and casing on a casement window. Have no fear if you have a double hung window or other, these techniques will work for those windows too. Replacement vs. New Construction Windows:
But, let’s back up for a minute. I wanted to share with you a little snafu that happened with our casement window. When I ordered it, the guy taking the order asked me a few questions and somewhere there was a translation breakdown. He thought I needed a replacement window because I was replacing an existing window. What he didn’t realize is that I was increasing the size of the window opening and therefore needed a new construction window. In the end, I was stuck with the replacement window, but my handman and I used as many weather-stripping, caulking, and water barrier techniques we could think of to keep it water tight.
This is what you need to know when ordering a new window: If you are removing the old and putting in a new window into the same frame, you can order a replacement window. If you are expanding or changing the size of your window opening (or you want to start with a full window replacement that you can flash on the exterior and add insulation around the rough opening) you will order a new construction window.
But, let’s learn how to install trim and casing moulding on a window.
Materials:
(I’ve included affiliate links for your convenience. I earn a small percentage from a purchase using these links. There is no additional cost to you. You can read more about affiliate links here.)
- 2×2″ boards
- 1×6″ board
- Window casing
- Back band moulding
- Door stop moulding (mini baseboard)
- Small crown or cove moulding
- Stool Moulding
- Jigsaw (coping saw or hand saw)
- Shims
- Utility knife
- Construction glue
- Paintable Caulk
- Caulk gun
- 3M Advanced AbrasivesSanding block
- ScotchBlue™ Painter’s Tape
- Finish nailer
- Finish nails
- Primer
- 3M Wood Filler
- Putty Knife
- Paint
- Eye Protection
- Ear Plugs
Instructions for Installing Trim, Casing and Moulding on a Window:
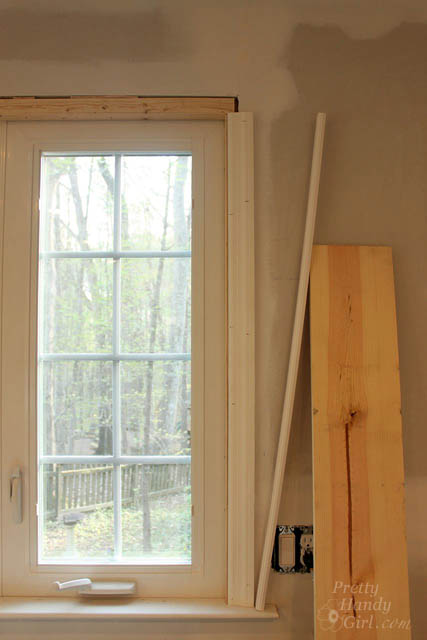
The window has been installed. Use this opportunity to use an expanding foam to seal around the window frame while it’s exposed. This will cut down on drafts. Allow the foam to cure and trim off any excess that would interfere with the casing installation.
Find the center of your actual window (not the rough opening) and make a pencil mark under the window. Use this mark as your guide for the stool and the window trim.
First measure and cut the window stool. You can use a jigsaw, coping saw or hand saw to cut out the edges of the stool so it fits snug against the window and has a reveal over the sides of the window. Take into consideration the width of the window casing and trim on each side and add an inch for the stool to extend beyond the trim. (see photo below to visualize the end product.)
With your stool dry fit in place, check the level of the stool and use wood shims to level if necessary.
Add a bead of construction glue and set the stool on top. Secure the stool moulding to the window sill with nails.
Safety note: When using a finish nailer be sure to wear eye protection and hearing protection. Don’t worry, you’ll look totally cool in your snazzy safety gear. It’s better than the missing eyeball look.
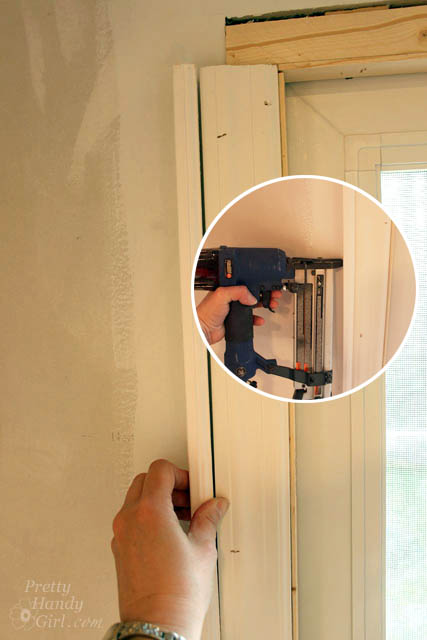
Cut two more pieces of 2×2 for the sides. Make sure you have the same reveal on the window for each side (refer back to your center mark.)
Make sure the sides are plumb. Secure the sides with finish nails and break the shims off by scoring them with a utility knife and breaking them with your hand. (You don’t have to sing the Kung Fu Fighting song when doing this, but I do.)
Time to add the side pieces of casing and backer board. The backer board is not necessary, but I like to beef up the trim on my doors and windows. It’s an easy process, and makes your home look more custom and less builder-grade.
Decide what amount reveal you want showing on the window stop. Mark this depth on the 2×2″ window stops. Typically 1/8″ to 1/4″ is used.
Measure and cut the backer band to the same height. Set it tight against the casing and secure with finish nails.
Your window should look like this at this point with the two side pieces of casing installed.
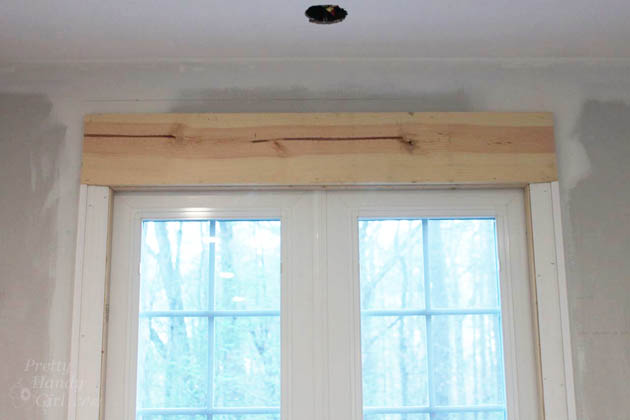
Cut the 1″ x 6″ board to fit even with the outside edges of the casing and backer band. Attach it above the window with more finish nails.
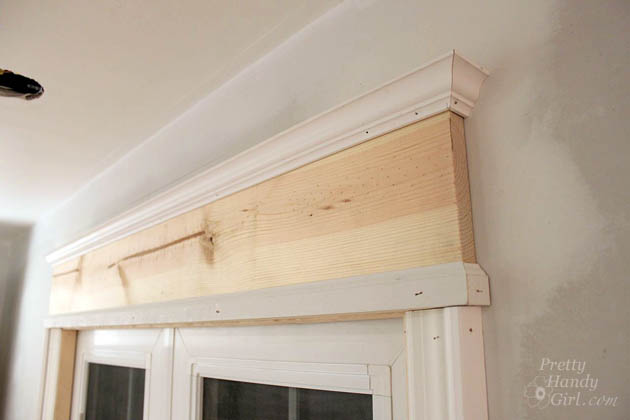
Cut the small cove and the small base trim pieces to fit across the top and bottom of the 1″ x 6″ board. The ends should be mitered where they meet the edges. Cut, two pieces at a 45 degree angle to act as a return for the moulding. Here’s a closer look:
Before securing the returns, add a dab of glue to hold it in place. Then use painter’s tape to hold the returns while they dry. After the glue dries, secure the returns with a finish nail in the center of each.
Now the window trim and moulding is finished and it’s time to putty all of the nail holes with wood putty.
Caulk all the seams where the trim pieces meet each other and the wall and window.
If you need a tutorial for how to caulk like a pro, I’ve got you covered!After the wood putty has dried, sand it smooth using a sanding sponge.
Wipe off any sanding dust off with a damp rag. Prime and paint your window.
And you’ll never see the seams!
Congratulations, you just learned how to install trim and casing moulding.
The depth of our sill, it’s just enough to set a vase onto. You may note I decided to forgo the traditional apron, and ended up using pencil edge marble tiles instead.
That seemed relatively easy, don’t you think? Trimming out a window is a personal affair, so be sure to experiment and get creative with your trim moulding. Remember, it’s your house, you can dress it up the way you want!
Here is another great trim tutorials:
How to Install Window Trim by Remodelando la Casa
More Window Resources:
How to Install a New Construction Window How to Add Privacy Film to Any Window How to Clean Your Windows Like a Pro Things to Consider When Choosing New Windows Stop! Don’t Replace Your Windows Before Reading This Pin this image to save for later!


