DIY-Painted-Pool-Sign

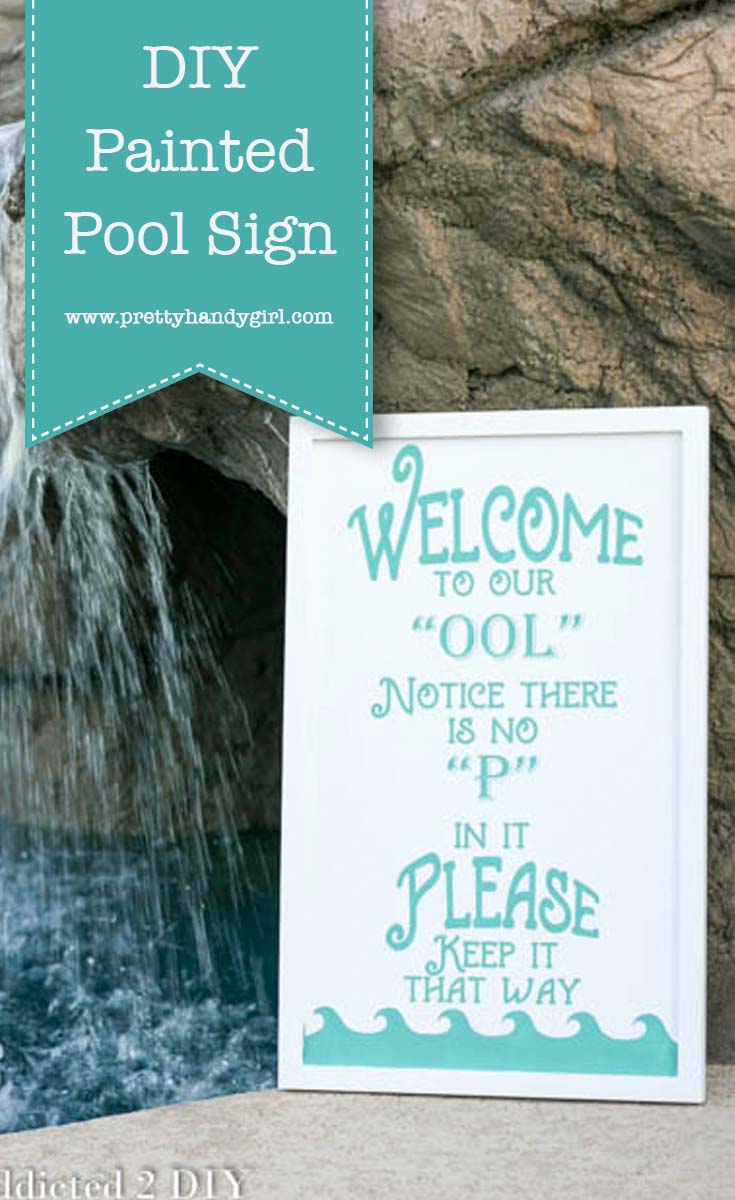
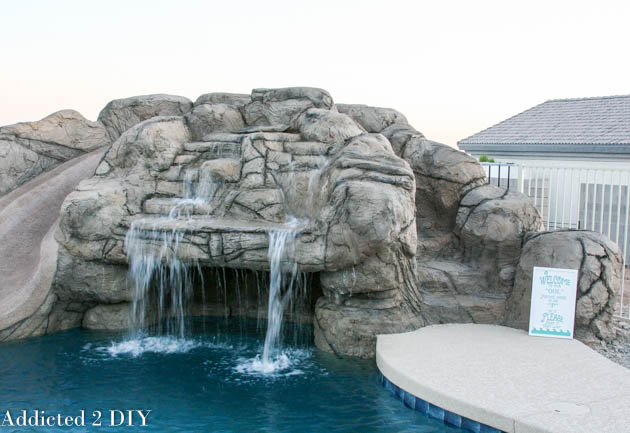
Hey everyone!  Katie again from Addicted 2 DIY.  It’s hard to believe, but it’s been two months now since we finished building our dream pool.  If you’ve ever wondered what you can learn (and save) by contracting your pool out yourself, I’ve got all of the handy details on my blog.  Now that we have our own pool to make fun family memories in, I thought a fun sign would be a great addition.  I designed this sign based off of one we had by our pool when I was a kid.  According to my mom, this one looks way nicer.  She wouldn’t lie to me, right?

To help you make your own sign, I’m also including the free SVG file I created for you to download.  Please use it for personal use only.

Here’s what you’ll need for your own sign:

  •  1×2 plywood project board (2’x4′)
  • 3 – 3/4″ x 3′ square poplar dowels
  • 1 1/2″ brad nails
  • brad nailer
  • wood glue
  • 220 grit sandpaper
  • orbital sander
  • 24″ clamps
  • wood filler
  • paint colors of your choice
  • paint roller and/or paintbrush
  • adhesive vinyl
  • transfer paper
  • electronic cutting machine (I have a Silhouette CAMEO)
  • Welcome to Our OOL SVG file

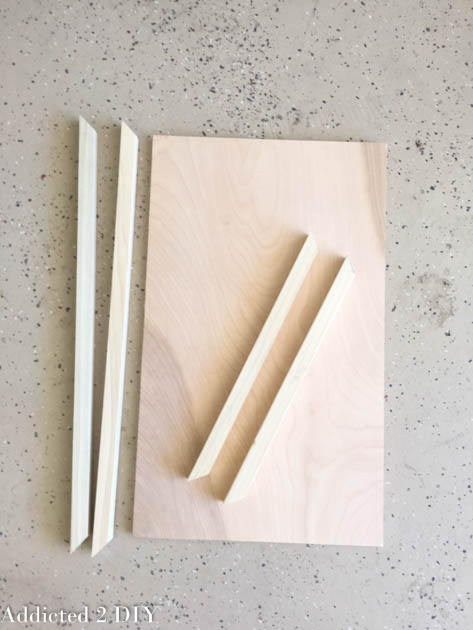
Start by cutting your plywood down to 12″ x 20″.  If you don’t have the ability to do this, you can always ask the helpful employees at the home improvement store.  Cut the square dowels on a 45 degree angle to frame the plywood.  The inside measurements should be 12″ and 20″.

supplies-for-wood-sign

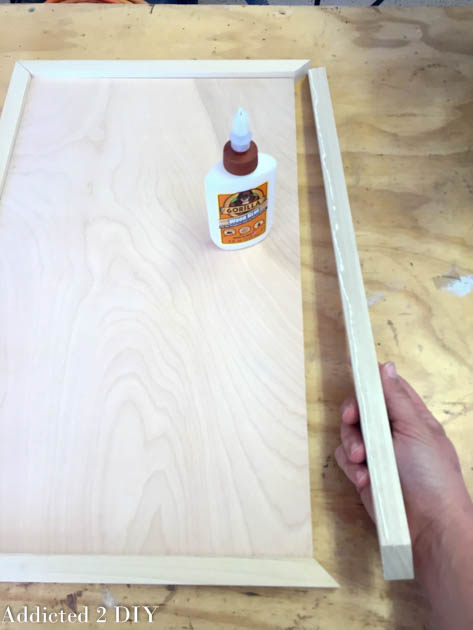
Frame the plywood with the dowels using wood glue.

add-trim-to-sign

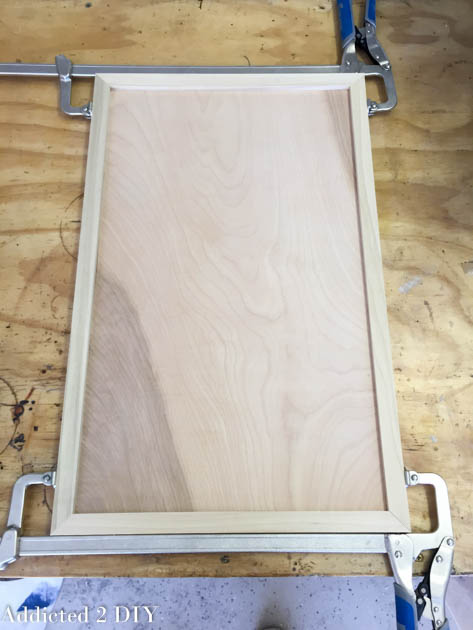
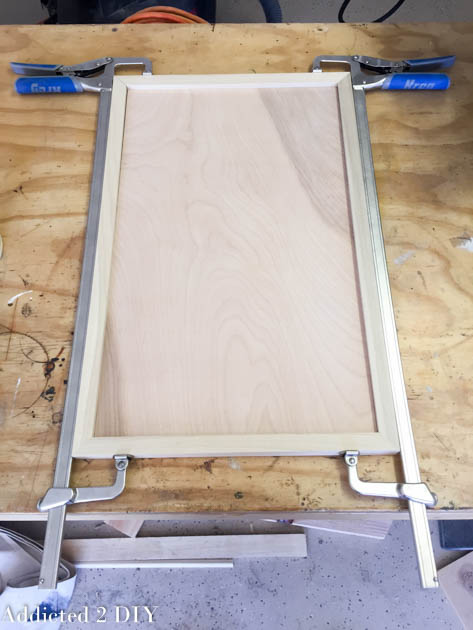
Clamp the edges…

build-wood-sign clamp-trim-to-plywood

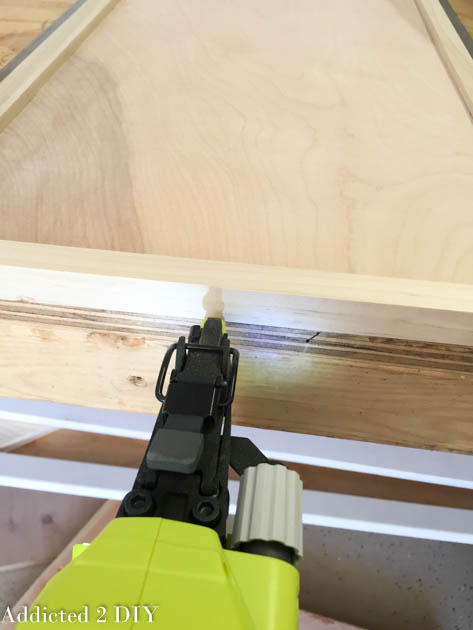
…and nail them to the plywood with your brad nailer.

nail-trim-to-plywood

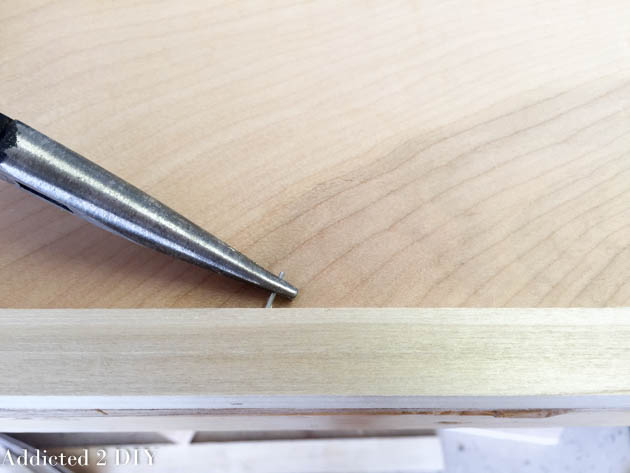
Since the plywood is only 1/2″ thick, you’ll have to be careful not to nail the trim too high.  I had one nail go astray, but I was able to get it out with needle-nose pliers.  It’s nothing a little wood filler can’t fix later on.

remove-nail-from-wood-trim

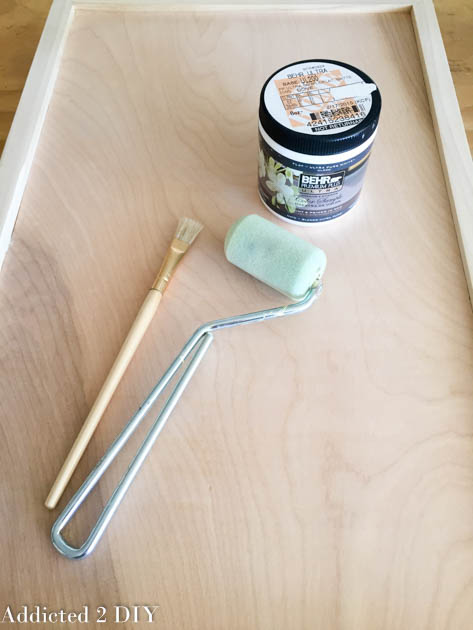
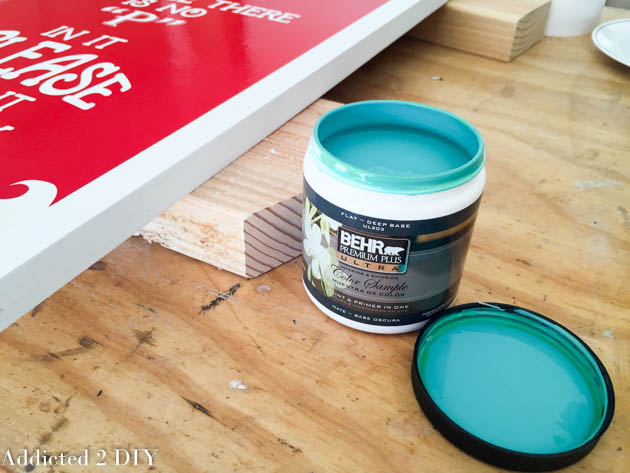
When your entire piece is assembled, sand it with 220 grit sandpaper to get rid of any rough spots.  Paint the entire sign, front and back, with your base color.  I love using sample size jars of paint for projects like this.

painting-wood-sign

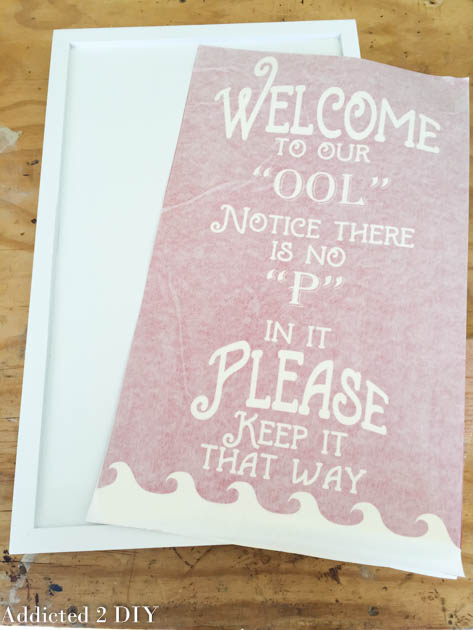
Cut your message out on an electronic cutting machine.  Weed out the vinyl design and cover it with transfer tape.

vinyl-for-wood-sign

Peel the backing off of the vinyl and carefully center it over the plywood face.  Smooth it with a scraping tool (or credit card.) Carefully peel off the transfer paper.
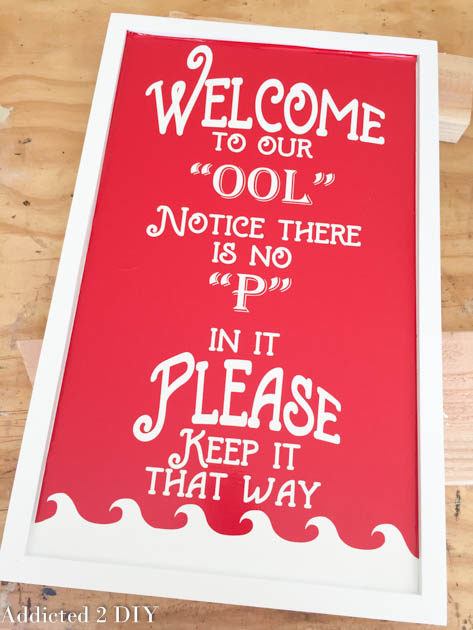
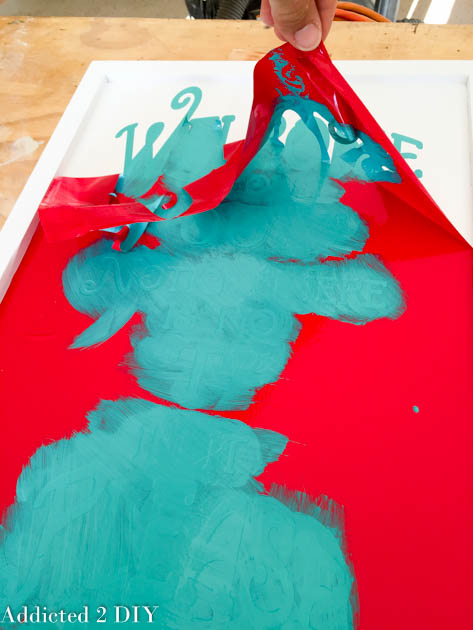
put-vinyl-on-wood-signGrab your second paint color and stencil the design with a paint brush or roller.  You can mask off the frame of the sign with painter’s tape or paper to protect it from any paint mishaps.  I opted to go slow and carefully paint inside the frame.

paint-for-wood-sign

Once your design is completely stenciled, carefully peel the vinyl off of the face of the sign.

stencil-swimming-pool-sign

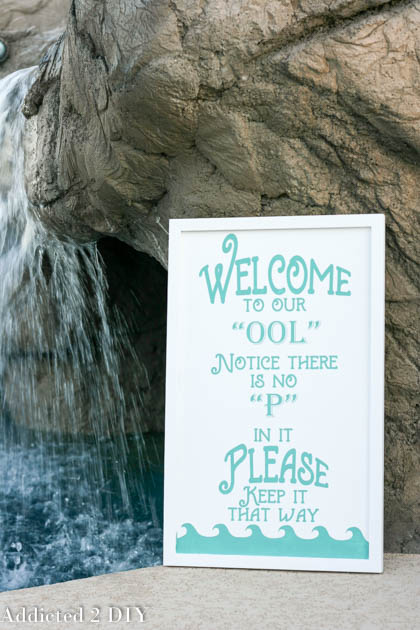
You can leave your sign as it, or distress it a bit.  Whatever you like!  I love distressing things, but I decided that I really liked a cleaner look for this sign.

sign-for-pool

swimming-pool-sign

I’m so happy with how it turned out!  I’m no graphic designer, so I spent several hours coming up with a design that was just right, but it was well worth it.  My kids think it’s hilarious!  Let’s just hope everyone that comes and visits us will follow the rules!  I’m thinking it will look great somewhere near our grotto/water slide.  Once we get that area landscaped, I’ll give it a more permanent location.  Now that this sign is done, I kind of want to make another one for the waterfall that says “Mt. Wannahockaloogie” from Finding Nemo.  We have a “Nemo” mosaic inside the grotto, so it would tie in perfectly.  I may be the only one that gets it, but that’s okay.

Katies-sign

~learn more about Katie~


Pin for later!
DIY Pool Sign | Pretty Handy Girl

Bali Dream Deck for Thompsons Water Seal | Pretty Handy Girl

Bali Dream Deck for Thompsons Water Seal | Pretty Handy Girl

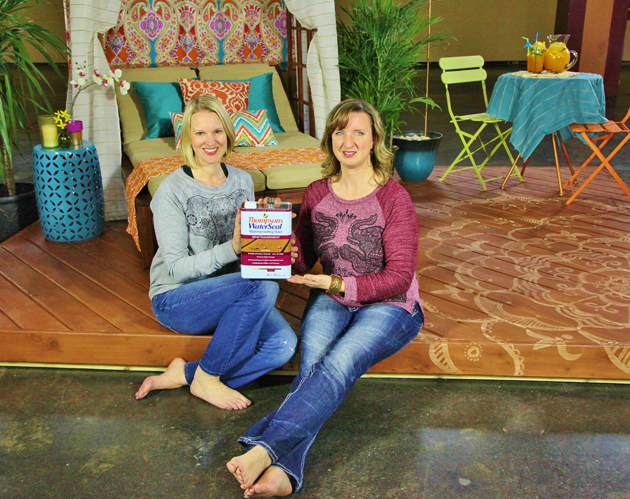
Last month while most of the US was under heavy blankets of snow and ice, I flew to Dallas. I was hoping to find warm temperatures and lots of sun. And if I couldn’t find any, I’d create my own with my sister, Caitlin’s help. Thompson’s WaterSeal asked me to design a dream deck and told me to bring an assistant. Normally I work alone, but when I need help with design and décor I know I can always count on Caitlin. Some of you may remember when Caitlin and I worked together on renovating this beach condo. Caitlin is the talented designer behind Symmetry Designs.

Bali Dream Deck for Thompsons Water Seal | Pretty Handy Girl

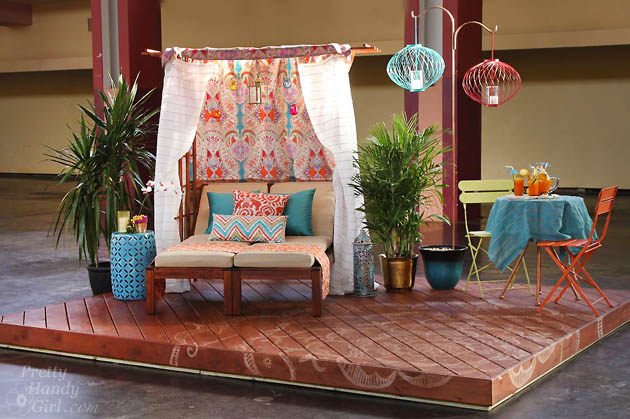
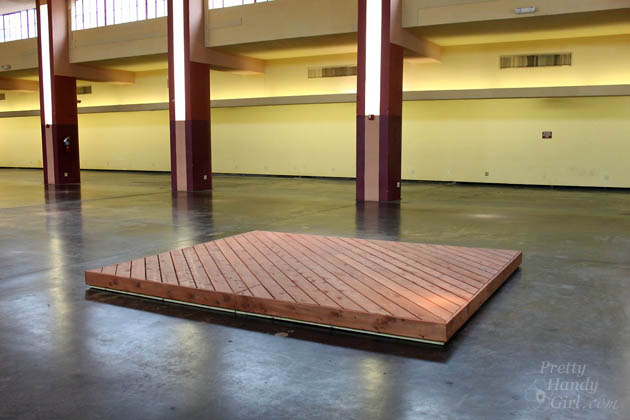
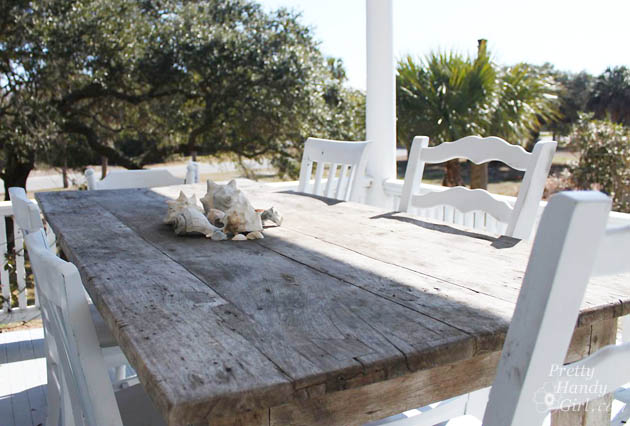
When we arrived, the weather was mild, but we were still craving some warm sunshine. We decided to create a Bali getaway destination on our Thompson’s WaterSeal Deck. We started with a clean slate deck pre-stained with Thompson’s WaterSeal Semi-Transparent Water Proofing Stain in a beautiful Acorn Brown color.

Bali Dream Deck for Thompsons Water Seal | Pretty Handy Girl

Joining us were Beckie from Infarrantly Creative with her assistant Erin and Ashley & Jamin from The Handmade Home. They also had a blank slate deck to design.

Bali Dream Deck for Thompsons Water Seal | Pretty Handy Girl

The first thing Caitlin and I did was paint a giant white mandala “tattoo” on our deckRead more

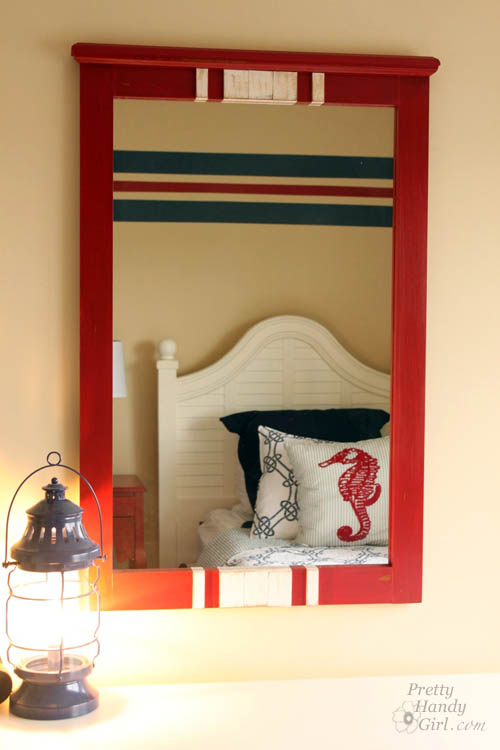
Racing Stripe Mirror Makeover | Pretty Handy Girl

Racing Stripe Mirror Makeover | Pretty Handy Girl

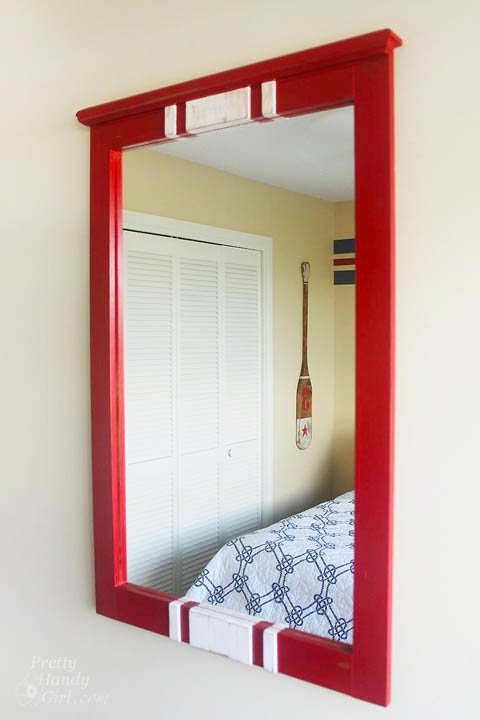
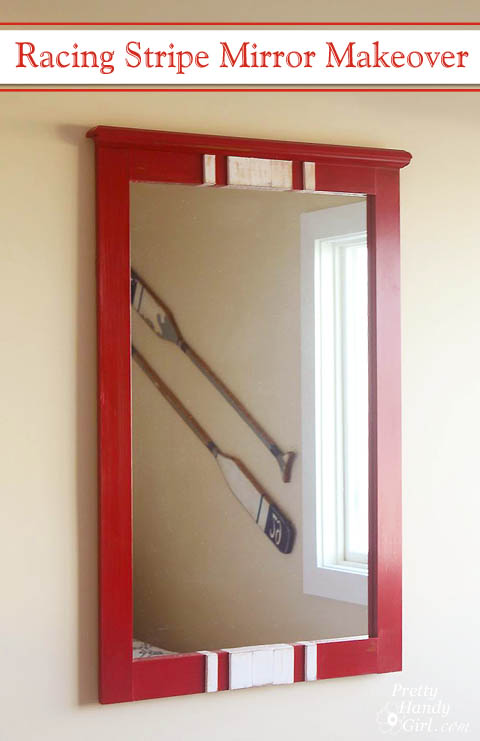
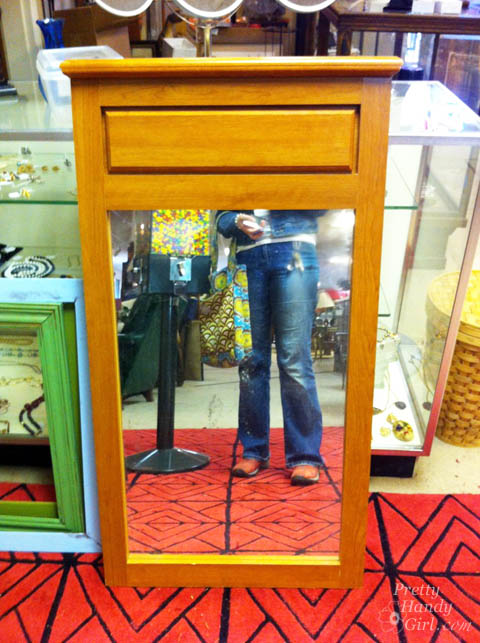
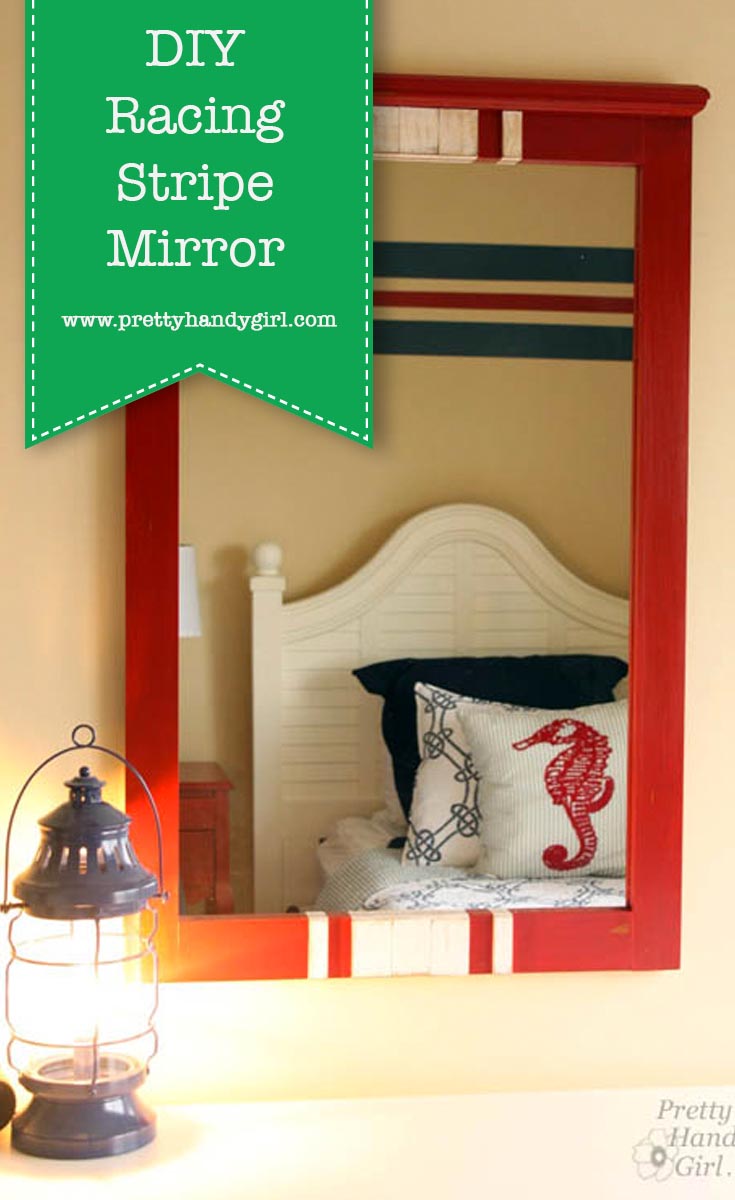
While my sister and I were renovating the Topsail Beach condo we had a strict budget. Finding a large mirror for less than $15 was challenging until I found this mirror with potential. I know my sister was doubtful, but I had a vision. Some red milk paint, lattice and glue would make this racing stripe makeover complete!

Racing Stripe Mirror Makeover | Pretty Handy Girl

To transform the mirror, I disassembled the top and cut off the panel portion using my Dremel MultiMax. I salvaged the top crown moulding and re-attached it to the new top of the mirror with glue and finish nails.

Then it was time to add stripes.

Materials (some links are Amazon affiliate links):

Instructions:

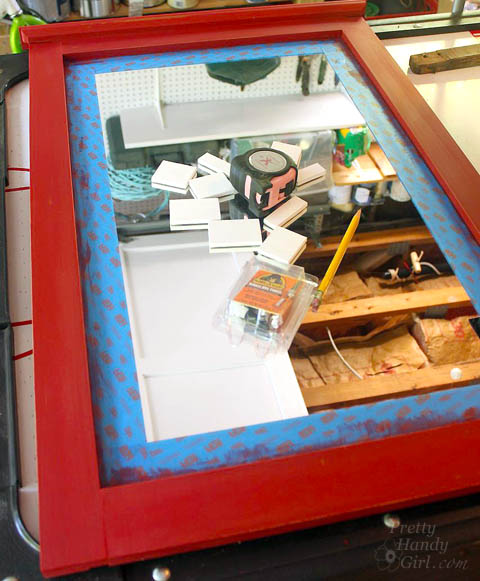
Tape off the edge of the mirror where it meets the frame. Paint two coats of Miss Mustard Seed Tricycle red paint onto the frame. (See this post for painting with milk paint.)

Racing Stripe Mirror Makeover | Pretty Handy Girl

After the paint dries, wax it or leave it unfinished. Mark the center of the frame at the top and bottom of the mirror.

Racing Stripe Mirror Makeover | Pretty Handy Girl

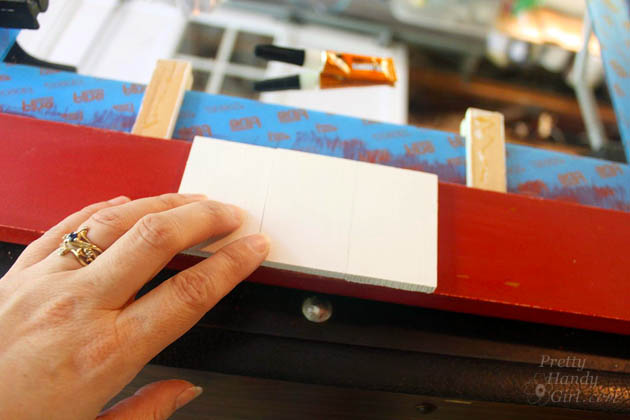
Cut pieces of lattice to fit the mirror frame width. (I used three pieces of lattice and cut a fourth piece in half for the outer stripes.) Pre-paint the lattice pieces ironstone (white) and let dry.

Wet the frame and the back of the lattice. Apply a small amount of Gorilla Glue to the backs of the lattice.

Racing Stripe Mirror Makeover | Pretty Handy Girl

Line up the center lattice piece with the pencil mark. Attach it and the other two pieces beside the middle lattice.

Racing Stripe Mirror Makeover | Pretty Handy Girl

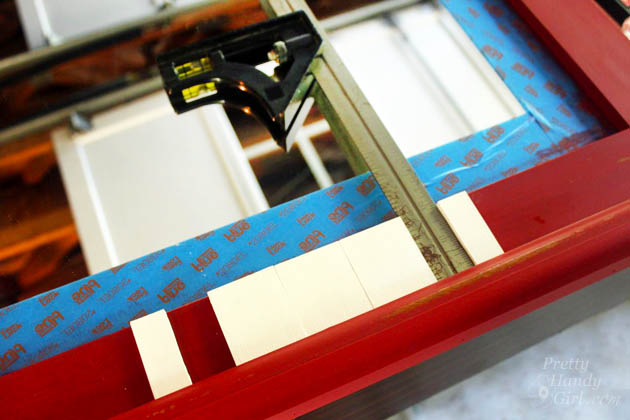
Use a ruler to create a space between the middle stripe and the outer small lattice piece. Glue the outer pieces in place.

Racing Stripe Mirror Makeover | Pretty Handy Girl

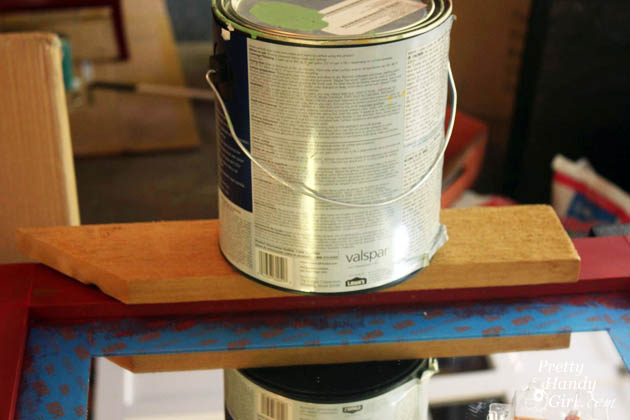
Set a weight (or paint can) on top of a scrap board and the lattice pieces while the glue dries.

Racing Stripe Mirror Makeover | Pretty Handy Girl

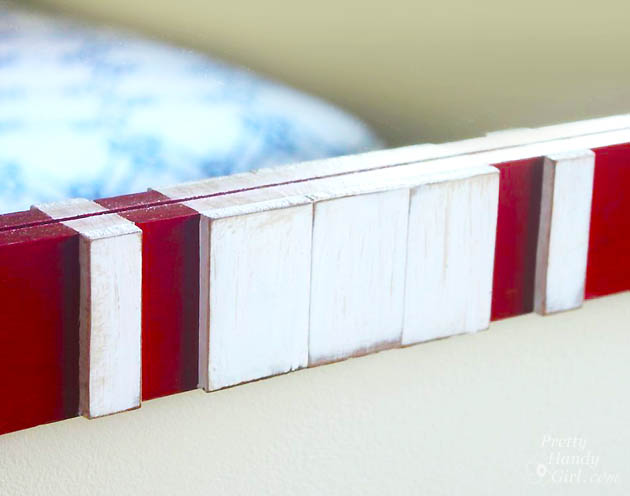
Remove the weight. Paint the top and bottom edge of the mirror frame white to create the illusion that the stripe continues around the frame edges. Distress the lattice pieces with sandpaper if you want a rustic look.

Racing Stripe Mirror Makeover | Pretty Handy Girl

Hang your mirror on the wall and admire! Not bad for $15, two coats of paint, and some scrap lattice!

Some red milk paint, lattice and glue transform this $15 find into a charming racing stripe mirror perfect for a boys' room! | thrift store makeover | DIY mirror | mirror tutorial | #prettyhandygirl #DIY #tutorial

The mirror hangs happily in the twin bedroom at the Topsail Beach Condo. Click here to see the rest of the condo!

Some red milk paint, lattice and glue transform this $15 find into a charming racing stripe mirror perfect for a boys' room! | thrift store makeover | DIY mirror | mirror tutorial | #prettyhandygirl #DIY #tutorial

Hope you never turn down a $15 mirror again ;-).

PHGFancySign


Pin for later!
 

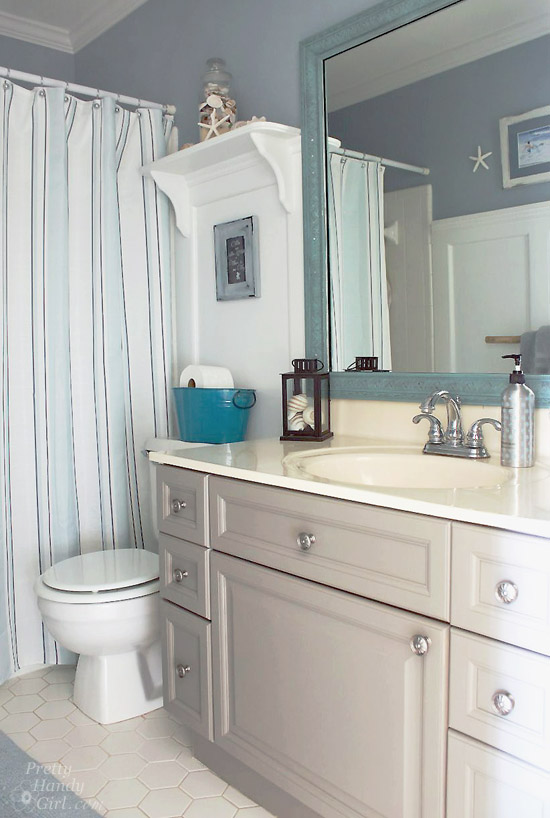
Seaside Theme Bathroom Refresh #LowesCreator | Pretty Handy Girl

Seaside Theme Bathroom Refresh #LowesCreator | Pretty Handy Girl

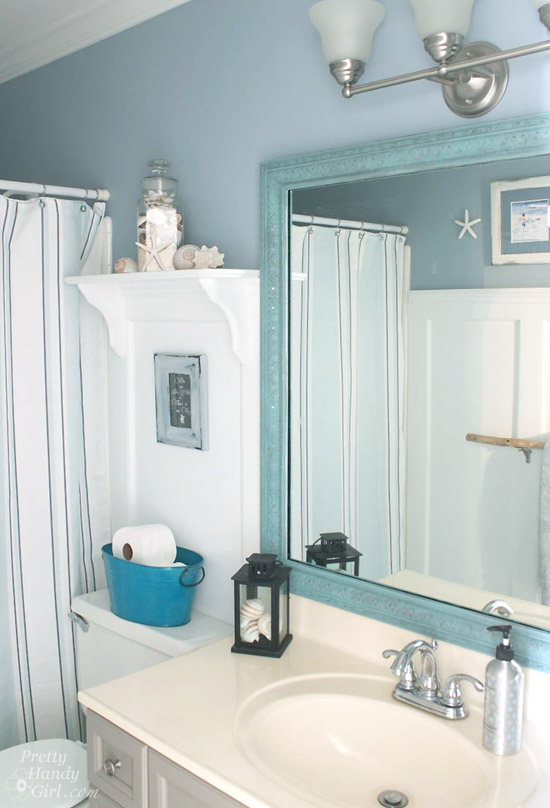
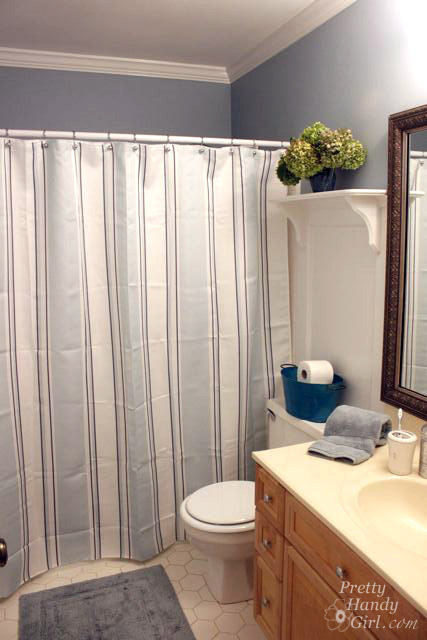
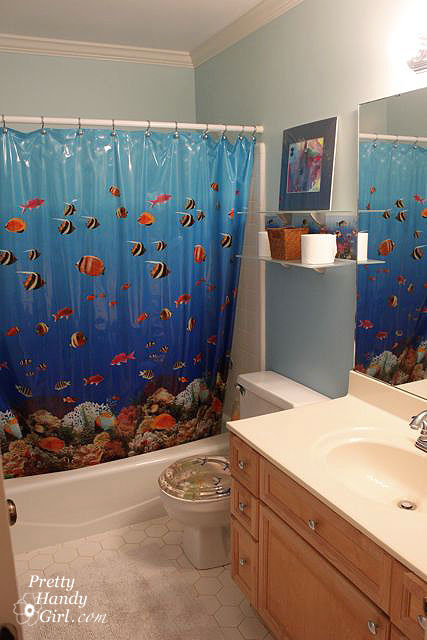
You know those projects that you complete 80% of the room and think to yourself, “This is good for now. I’ll do the rest in a day or two.” Yup, the boy’s bathroom was one such 80 percenter. I finally took the time to finish the last 20 percent of this bathroom makeover by giving it a refresh with some paint and new knobs.

The bathroom used to look like this:

Seaside Theme Bathroom Refresh #LowesCreator | Pretty Handy Girl

But, before that, it looked like this:

I find it comical that I took an underwater themed bathroom and gave it a seaside retreat feel. I guess you could say I pulled this big whopper from within the ocean and laid it out on the beach. LOL.

Let’s break it down now. Here’s how to paint a bathroom vanity so it will withstand the abuse of two young boys: Read more

Whitecaps Tybee Island Home Tour | pretty handy girl

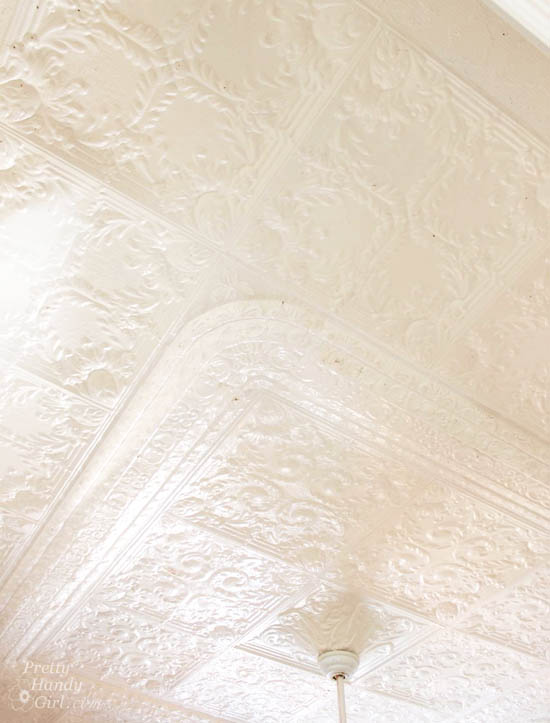
First let me say, I truly saved the best for last on this Tybee Mermaid Cottage house tour. Whitecaps is one of the old Officer’s homes and it is dripping with details. From ornate coffered ceilings to gorgeous furniture and antiques. We are excited to share this Tybee Whitecaps Tour.

White Caps Tybee Island House Tour | Pretty Handy Girl

And with a front porch that looks out over the sea, you can not find a more relaxing place to sit and sip coffee.

White Caps Tybee Island House Tour | Pretty Handy Girl

The tour of Whitecaps begins…now!

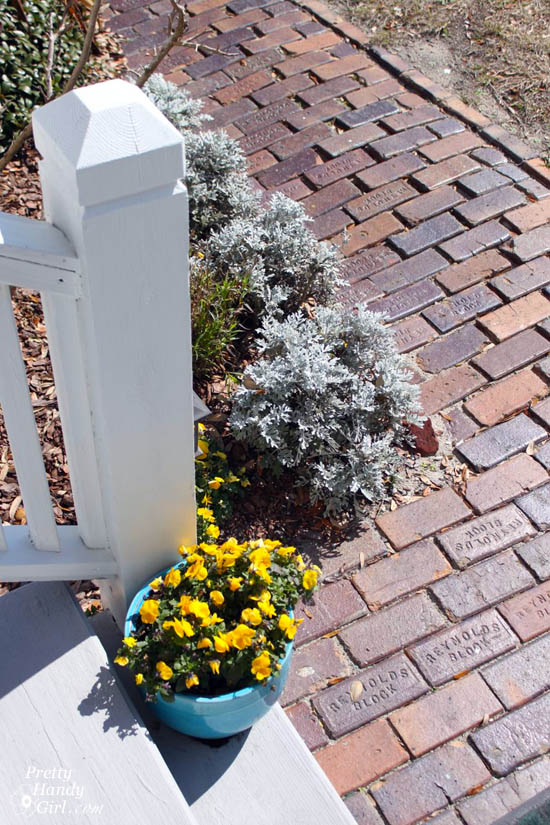
When you walk up to this beautiful house, it’s impossible to overlook the gorgeous original brick sidewalk leading to the front entrance.

White Caps Tybee Island House Tour | Pretty Handy Girl

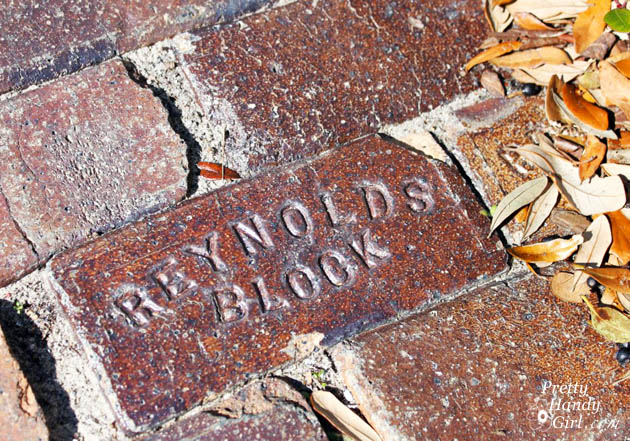
Old Reynolds Block bricks pave the path. Each brick is glazed and some are stamped. Beautiful colors make up the varied color palette. A quick internet search led me to the origin of Reynolds Block. They were made by the Tennessee Paving Brick Company of Robbins, Tennessee.

White Caps Tybee Island House Tour | Pretty Handy Girl

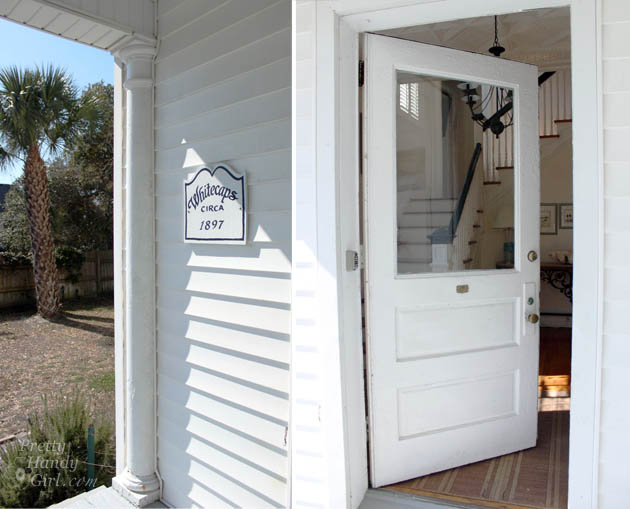
Whitecaps was built circa 1897 for the officers during the Spanish-American war.

White Caps Tybee Island House Tour | Pretty Handy Girl

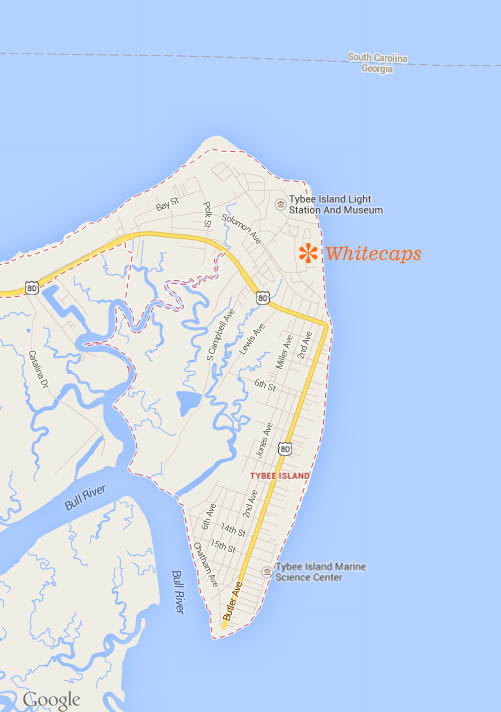
It is situated on the Northern end of Tybee Island in the old Ft. Screven community.

whitecaps-map

The front door opens into the most amazing and breath taking foyer! Read more