Modified King Size Farmhouse Bed with Storage Drawers | Pretty Handy Girl

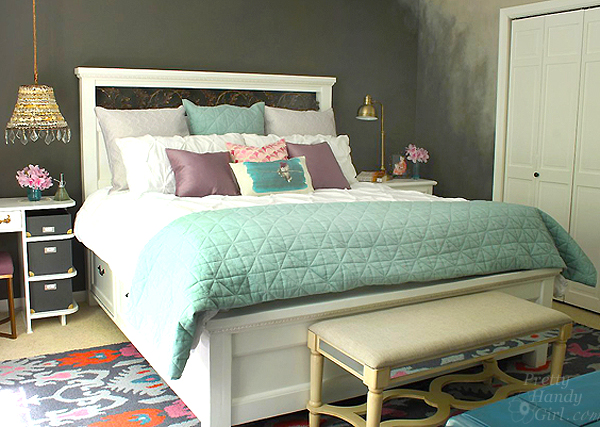
The master bedroom is almost finished. If you’ve been following along, I decided to give our bedroom a makeover when we upgraded our mattress to a king size. That decision has resulted in a few “give a mouse a cookie” decisions. Every time we needed a new mattress, we discussed whether it was time to upgrade to a king. Each time we decided to stick with our queen. Besides the savings, I was attached to our oak leaf sleigh bed. The wrought iron leaves are my favorite part of the bed.

MasterBed1

Farmhouse King Size Bed with Storage

This time as the mattress buying decision loomed, I did extensive research and discovered Savvy Rest’s Serenity latex layered mattress. Who knew that this DIY mattress would last us for decades! (You have to read about this mattress, it will probably be the last mattress you ever buy!) Given the length of time we’d be sleeping on it, we decided it was finally time to make the switch and move up to a king. But, I have to admit, I was sad about saying goodbye to the oak leaves. A few sleepless nights later and I had formulated a brilliant plan of how I could use my beloved oak leaves in the new bed:

Modified King Size Farmhouse Bed with Storage Drawers | Pretty Handy Girl

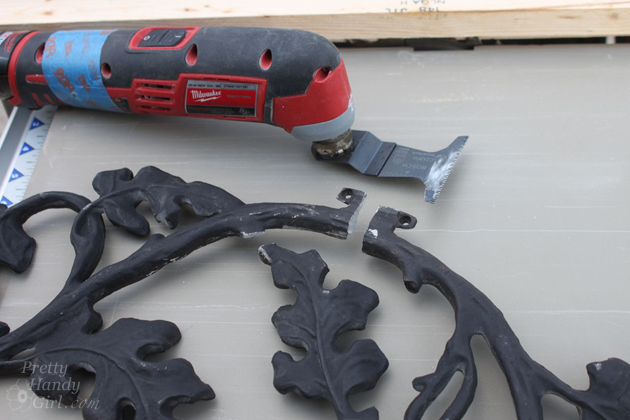
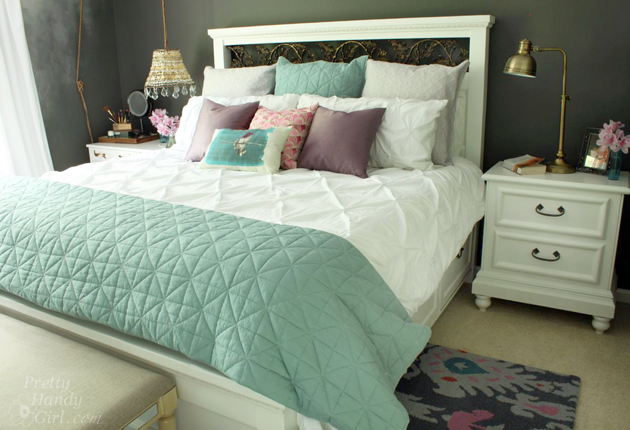
I ended up altering Ana White’s Queen size farmhouse bed with storage drawers plans by sizing it for a king-sized mattress. Plus, I altered the headboard design to incorporate my beloved oak leaf wrought iron.

Ana’s plans are great, so I’m going to send you to her site to download the basic plans. Then, I’ll give you the details and show you the modifications I made.

Modified King Size Farmhouse Bed with Storage Drawers | Pretty Handy Girl

Building the King Size Farmhouse Storage Bed: Read more

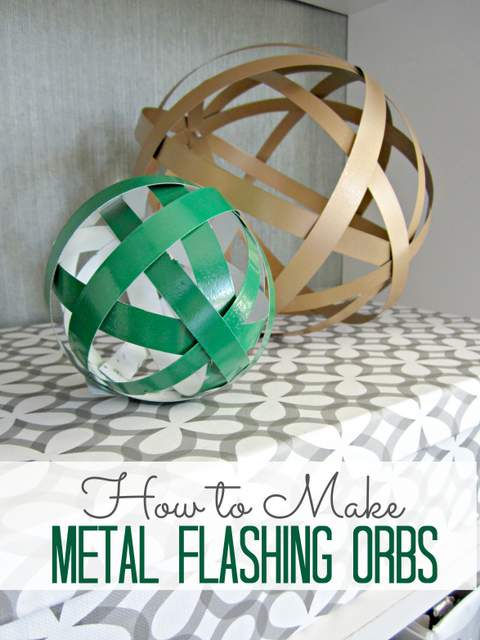
Metal-Flashing-Orbs

Metal-Flashing-Orbs

Happy July friends! It’s Jessica from Decor Adventures. I hope you are enjoying all things summer and have a close friend or relative with a pool, if you don’t have one yourself. It is super hot here and I’m glad my sister finally opened hers. Otherwise, to stay cool I hang out in our basement where my craft area is set up. I have an easy project for you this month, it’s how to make metal flashing orbs for your home.

I’ve seen these orbs used in all types of home decor items: from pendant lights to garden decorations. I always thought it would be easy to DIY your own. Here is how to make decorative orbs from metal flashing in five easy steps.

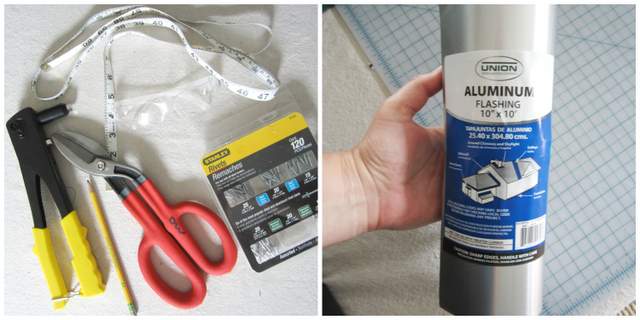
Materials:

Metal-Flashing-Orbs

  • Metal flashing
  • Tin snips
  • Rivet gun
  • Rivets
  • Ruler
  • Gloves
  • Pencil
  • Safety eye glasses
  • Drill and drill bits
  • Clamp
  • Clothespins
  • Glue gun and glue sticks
  • Optional – Spray paint and respirator if you will be painting your metal


Instructions: Read more

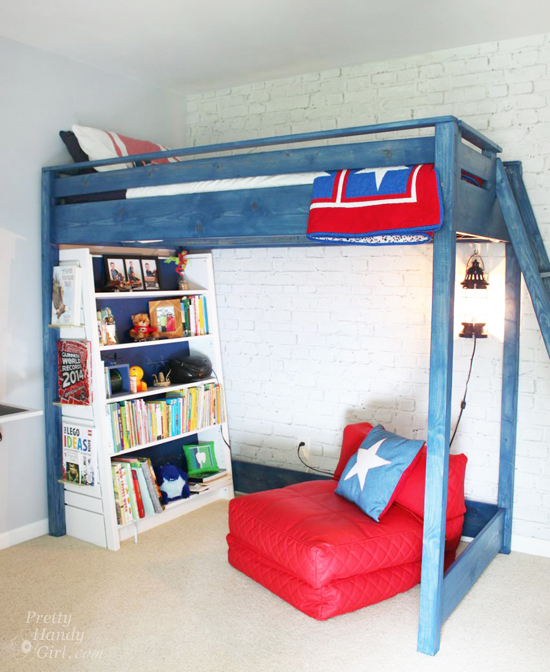
Boy's Red, White & Blue Themed Room | Pretty Handy Girl

Boy's Red, White & Blue Themed Room | Pretty Handy Girl

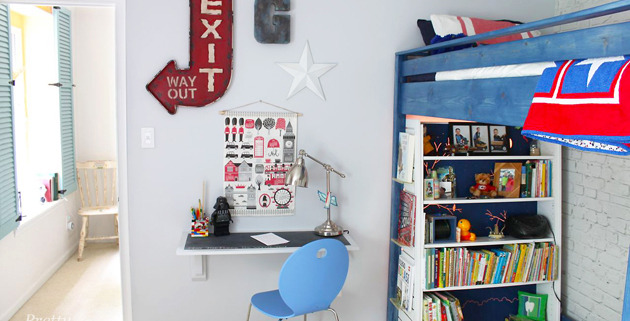
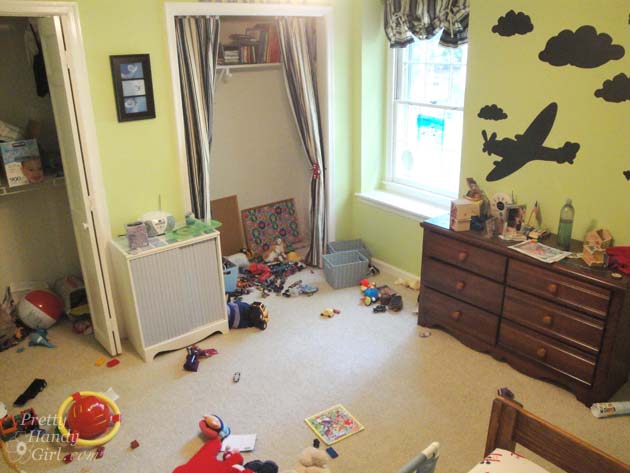
Happy Friday!!! I finally finished my son’s room makeover. Poor kid has been asking for over two years when I was going to work on his room.

Boy's Room Before | Pretty Handy Girl

It feels so good to be done and be able to share the final reveal with you. The theme started four years ago when I converted his extra closet into a reading nook. The blue, white and red work beautifully together.  Read more

Wall-Mounted Desk Tutorial | Pretty Handy Girl

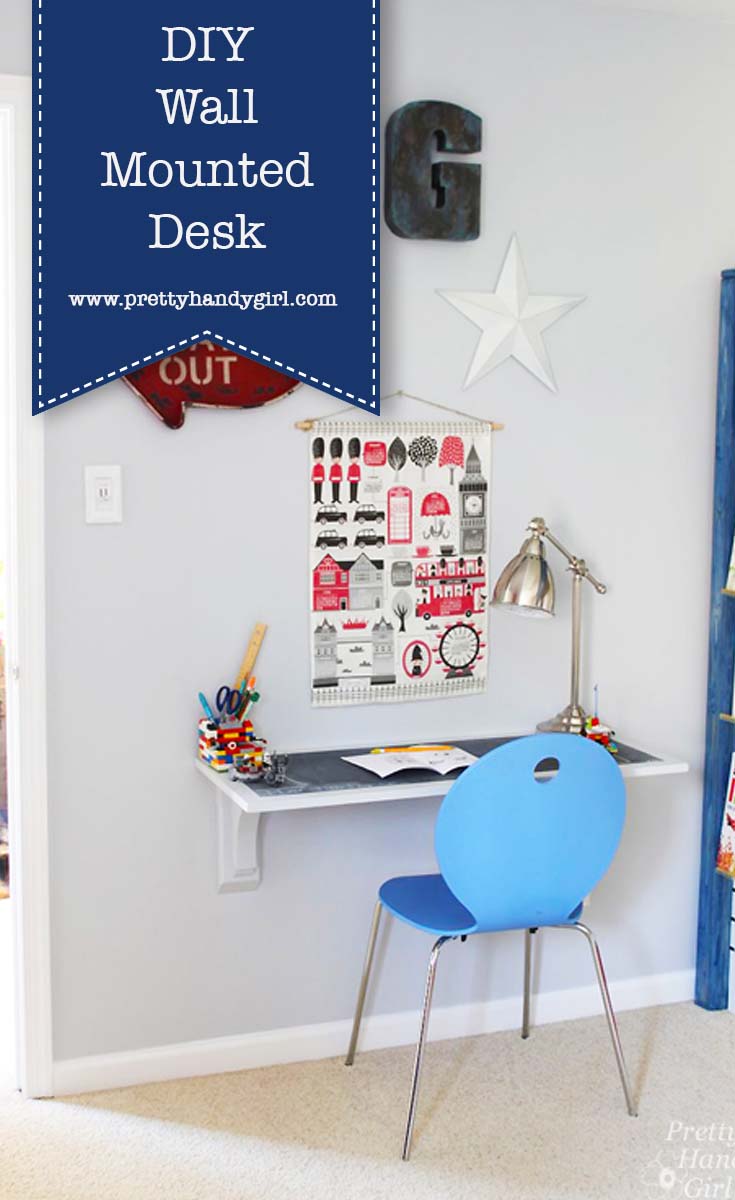
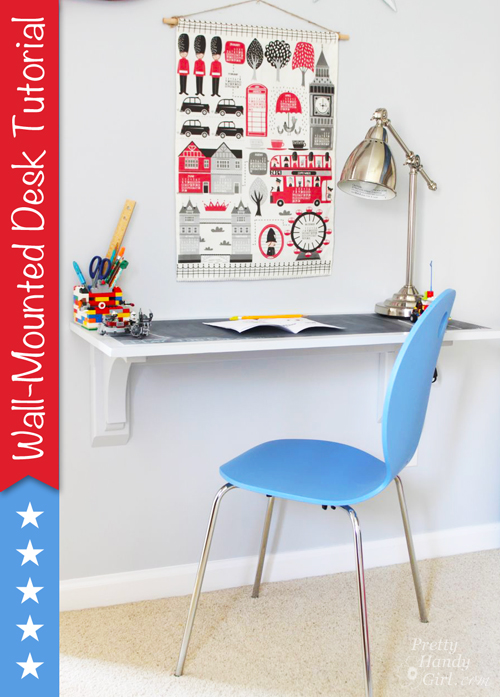
Need a desk but lack floor space or the funds to buy a desk? This Wall-Mounted Desk tutorial will meet your needs! Plus, you can customize the length to meet your needs.
Wall-Mounted Desk Tutorial | Pretty Handy Girl

Wall Mounted Desk Tutorial

Hey, I hope you had a fabulous weekend! Was it productive? Full of DIY activities? Well, I’m back with a tutorial for building a wall-mounted desk. The great thing about a desk that is wall-mounted is it can be small or large and it won’t take up any floor space! This gives a nice clean look and makes the room feel larger. Plus, the materials will almost certainly cost less than buying a desk.

My son is starting to have more homework in school. (I didn’t realize that first grade was the new 3rd grade!) I figured soon enough he’s going to need a spot to sit and work on homework. Plus, he’s an avid Lego builder and this makes a great surface for him to build on.

Materials:

  • Finish grade plywood (my desktop is 16″ x 40″)
  • Painter’s Tape
  • 1 – 2″ x 4″ x 93″
  • 2 – 9.5″ x 9.5″ bird’s mouth brackets
  • 4 – 3″ cabinet mounting screws
  • Paint
  • Paint brush
  • Drill
  • Drill bits
  • Level
  • Pencil

Instructions: 

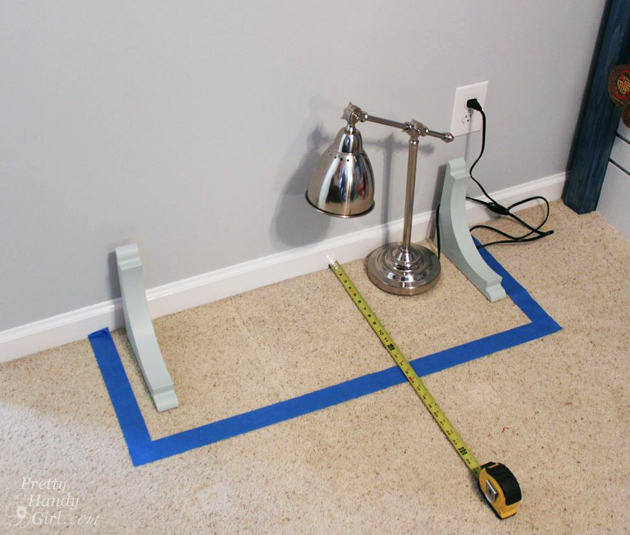
Begin by assessing where you want to mount your desk. For better perspective, you can outline the desk area with painter’s tape on the floor.
Wall-Mounted Desk Tutorial | Pretty Handy Girl

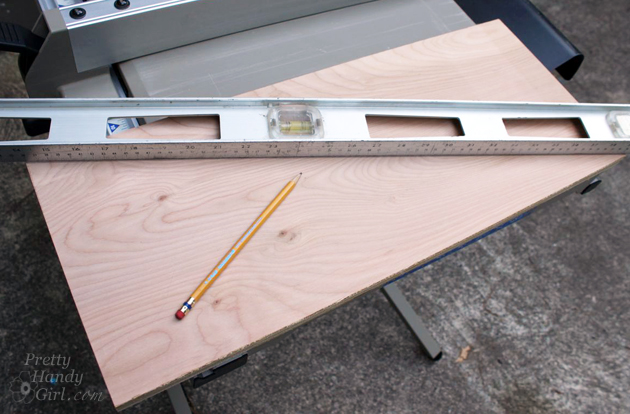
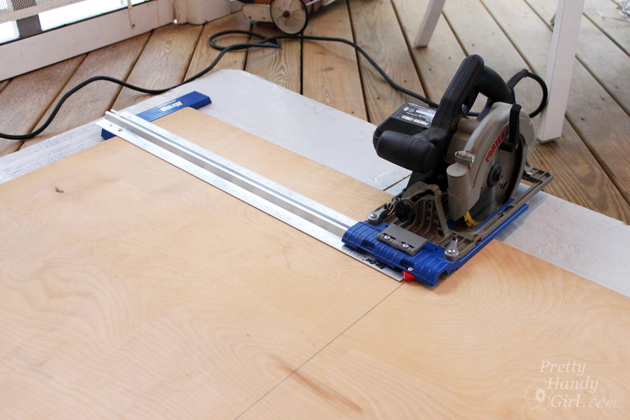
Cut your finish grade plywood to size. Using the Kreg Rip Saw with my miter saw is much easier than hauling out the table saw and getting as assistant to help lift the plywood. If you put a piece of rigid foam insulation underneath, you can cut almost anywhere! Just set your saw blade depth slightly below the plywood.
Wall-Mounted Desk Tutorial | Pretty Handy Girl

Cut your 2″x4″ stud 4″ narrower than the length of your desk top surface. (My desktop is 40″ long, therefore my mounting stud is 36″ long.)  Locate the studs in your wall. Mark their location.

Wall-Mounted Desk Tutorial | Pretty Handy Girl

Pre-drill holes in the mounting board at the stud locations. Use a small bit slightly narrower than your screws. Then use a larger bit the width of your screw head to create a countersink hole. Drive the cabinet mounting screws into one end of the mounting board and into the stud. Use a level to make sure your mounting board is level, then drive the additional mounting screws into the other studs.
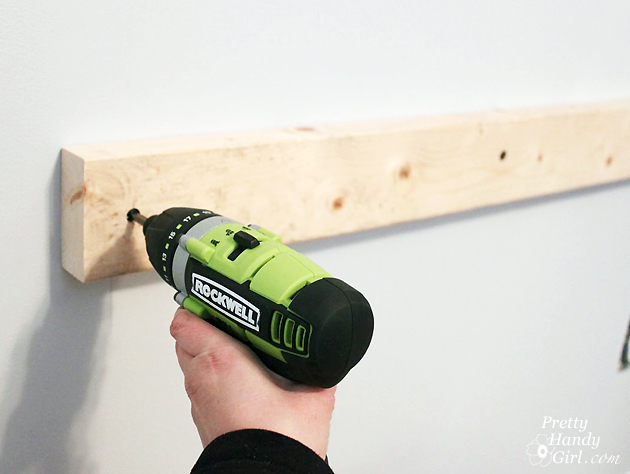
Wall-Mounted Desk Tutorial | Pretty Handy Girl

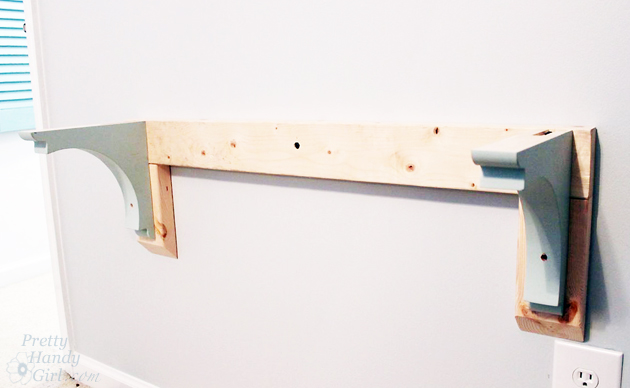
Cut two pieces of 2″x4″ at 8″ long. These will create the supports for the shelf brackets. For a clean look, bevel the end at a 45 degree angle when you cut them. Attach the 2″ x 4″ pieces below each end of the mounting board as shown below.
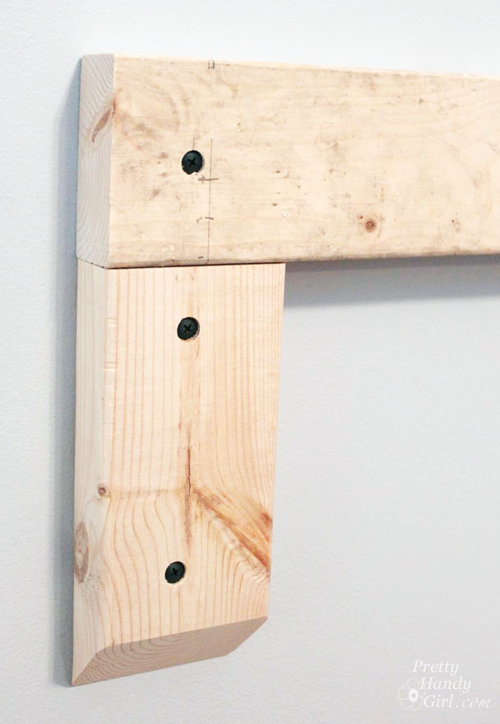
Wall-Mounted Desk Tutorial | Pretty Handy Girl

Your mounting boards should look like this:
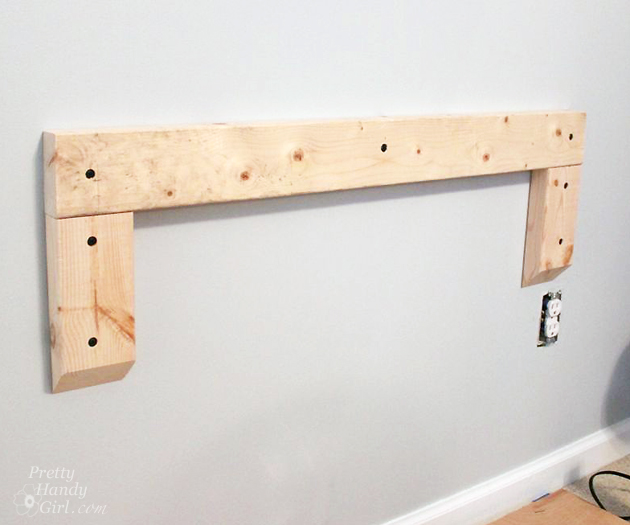
Wall-Mounted Desk Tutorial | Pretty Handy Girl

Set two small screws into the shelf bracket keyholes. Line the bracket up with the top of the mounting board and center it on the vertical supports already attached to the wall. Make a pencil mark where the screws need to be set.
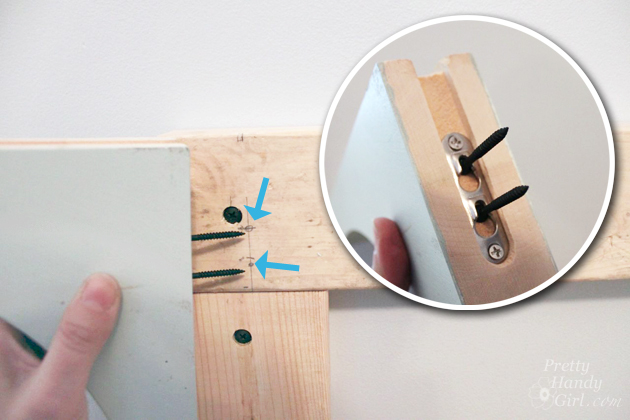
Wall-Mounted Desk Tutorial | Pretty Handy Girl

Use the pencil to mark the depth of the keyholes on the screws so you know how deep to drive the screws into the bracket support.
Wall-Mounted Desk Tutorial | Pretty Handy Girl

Attach the small screws to the vertical support where the pencil marks were and drive them to the point where you marked on each screw.

Slip the bracket onto the screws.

For added support, pre-drill one hole through the top of the bracket and into the mounting board. Pre-drill a second hole through the bird’s eye bracket at the narrowest point.
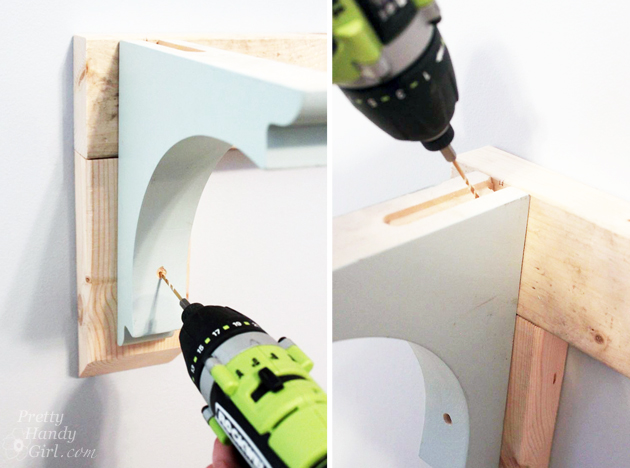
Wall-Mounted Desk Tutorial | Pretty Handy Girl

Drive screws into the two pre-drilled holes to further secure the shelf brackets to the mounting boards.
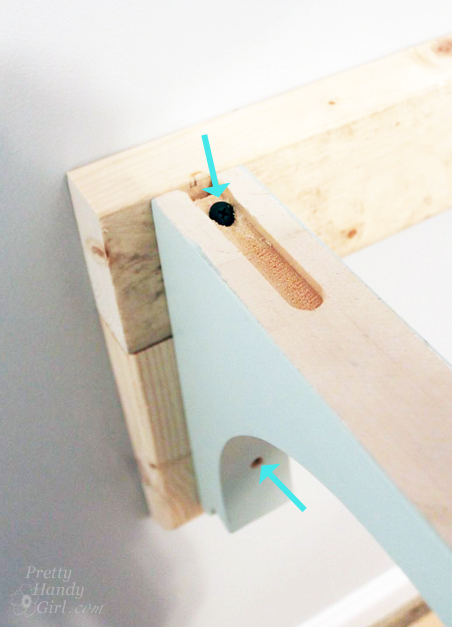
Wall-Mounted Desk Tutorial | Pretty Handy Girl

Repeat for the second bracket.

Wall-Mounted Desk Tutorial | Pretty Handy Girl

Lay your desktop surface on top of the brackets. You can either drive small screws through the top of the desk and into the mounting board. Or drive a small screw up through the underside of the bracket and into the desktop. I prefer the latter because you won’t have to wood putty the desk surface.

Wall-Mounted Desk Tutorial | Pretty Handy Girl

Wood putty all your holes. Allow the putty to dry and sand the putty smooth. Paint your brackets, mounting boards, and desktop. I chose to paint my desktop beforehand with a chalkboard surface.
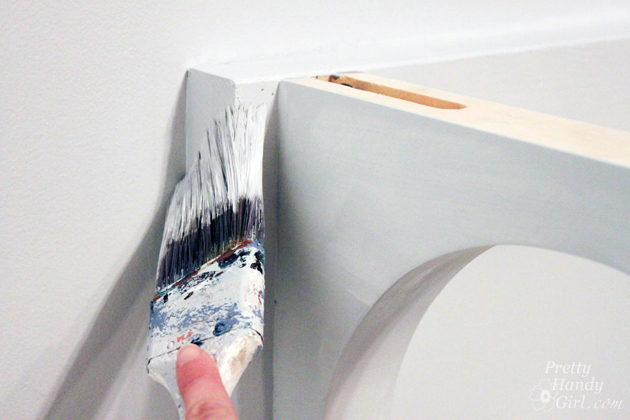
Wall-Mounted Desk Tutorial | Pretty Handy Girl

Let the paint dry. If you want to protect the desk surface, you may choose to paint a few coats of polycrylic on top.
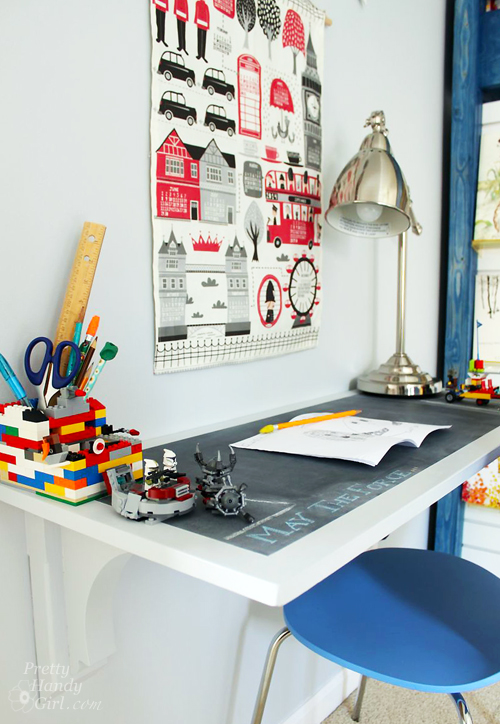
Wall-Mounted Desk Tutorial | Pretty Handy Girl

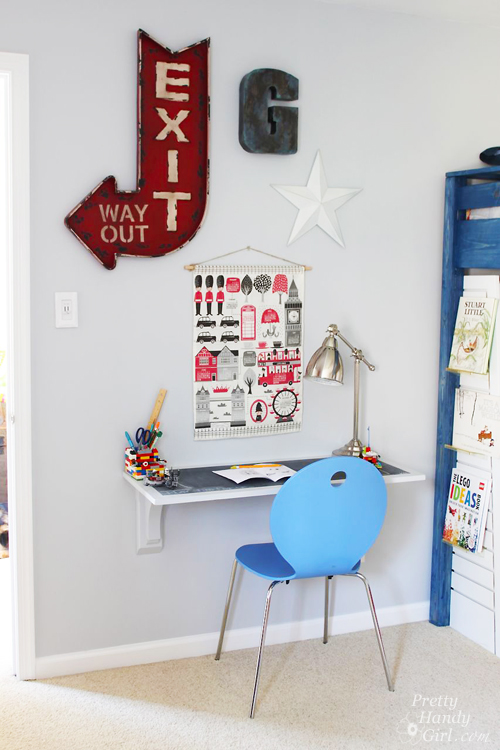
And my son has a spot to do homework, legos, or create a little book.

Wall-Mounted Desk Tutorial | Pretty Handy Girl

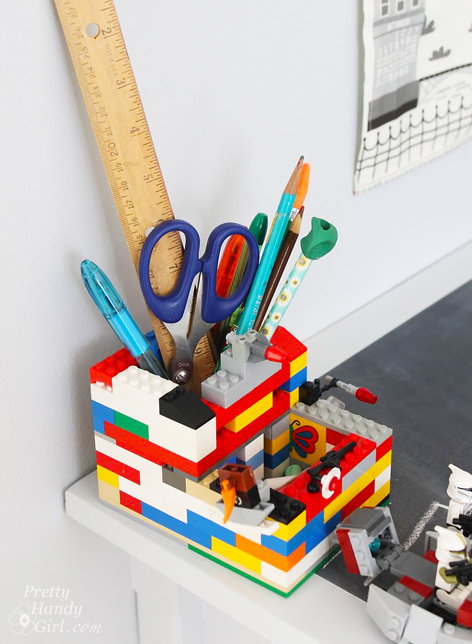
Don’t you just love his lego pencil holder he created?! I think he needs to start an Etsy store ;-).
Lego Pencil Holder | Pretty Handy Girl

I had fun decorating the wall with some vintage signs and an adorable London themed tea towel calendar from Spoonflower. Making tea towel calendars every year in November/December has been a tradition I started over a year ago. We anxiously await the release of the newest calendar designs on Spoonflower.
Wall-Mounted Desk Tutorial | Pretty Handy Girl

Source List:

I hope you found this tutorial helpful. It was an easy solution for my son’s room. Best of all, you can expand the width, but if you do add more brackets.

PHGFancySignPin for later!

DIY Wall Mounted Desk

If you liked this tutorial, you might also like this inexpensive desktop for $40!

How to Make a Chalkboard Surface Desk | Pretty Handy Girl

How to Make a Chalkboard Surface Desk | Pretty Handy Girl

As part of the makeover of my son’s bedroom, I wanted to create a fun chalkboard desk surface for him to write and build legos on. The idea of a chalkboard coated surface came to me when I remembered how much he liked the mini-chalkboard decals that used to be on his room wall.

Creating a chalkboard surface on any desk or flat surface couldn’t be easier with the right tools. Here’s how you can create your own chalkboard desk!

Materials:

  • 3M fine grit sanding block
  • Valspar High-Hiding Primer tinted gray
  • Rustoleum chalkboard paint
  • 2″ paint brush
  • Foam brush
  • Small craft paintbrush
  • Desk surface (I used pre-cut finish grade plywood)
  • ScotchBlue painter’s Tape
  • General Finishes Water-based sealer (or satin Minwax Polycrylic)

Instructions:

Begin by lightly sanding your desktop with the sanding block. Wipe any dust off with a damp rag.

Paint one coat of primer on your desktop surface. (A little note about my primer: I asked the Lowe’s paint department to tint it as dark as they could with black colorant. This helps when you are painting over the primer with a dark color.)

How to Make a Chalkboard Surface Desk | Pretty Handy Girl

After the primer has dried, create a border on your desktop with painter’s tape. Press the edges down firmly with your fingers. Paint one coat of chalkboard paint with the paint brush. Brush the paint in one direction. Let that layer dry. Repeat with a second coat brushing across the original strokes (i.e. vertical then horizontal.) Read more