How to replace decorative trim on furniture.

How to replace decorative trim on furniture.

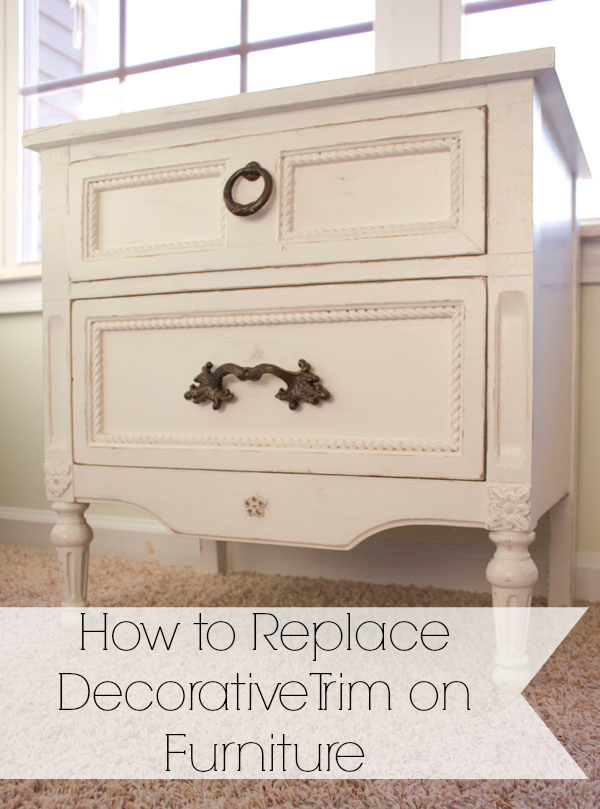
I found a cute nightstand at an antique mall a while back.  As usual it sat in the garage for some a few years time and then I decided it was time to re-finish the piece.How to replace decorative trim on furniture.

The nightstand had been painted multiple times and needed some paint stripping.

How to replace decorative trim on furniture.

Rather than use any chemicals I opted for a heat gun and it worked great … How to replace decorative trim on furniture.

…until I got to the delicate trim on the front of the nightstand drawers.  Every time I would try to get the paint off it would gouge the trim.  I knew that I had two options: try and repair the damage or replace the trim with new trim that wasn’t caked with 40 years of paint.  I had a few trial runs with various trims and various cutting methods but rather than dwell on wasted time I’ll just tell you all about what worked best for me!

Materials: Read more

DIY Room Divider King Headboard

I’m still working on my bedroom re-do, it’s been a long process but it is slowly coming to an end with the decorative part.

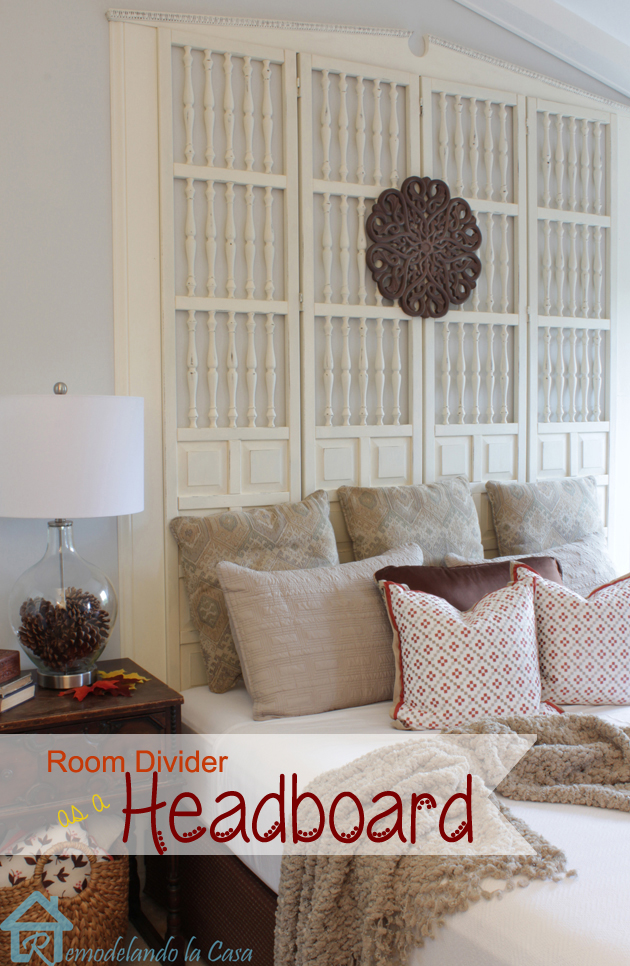
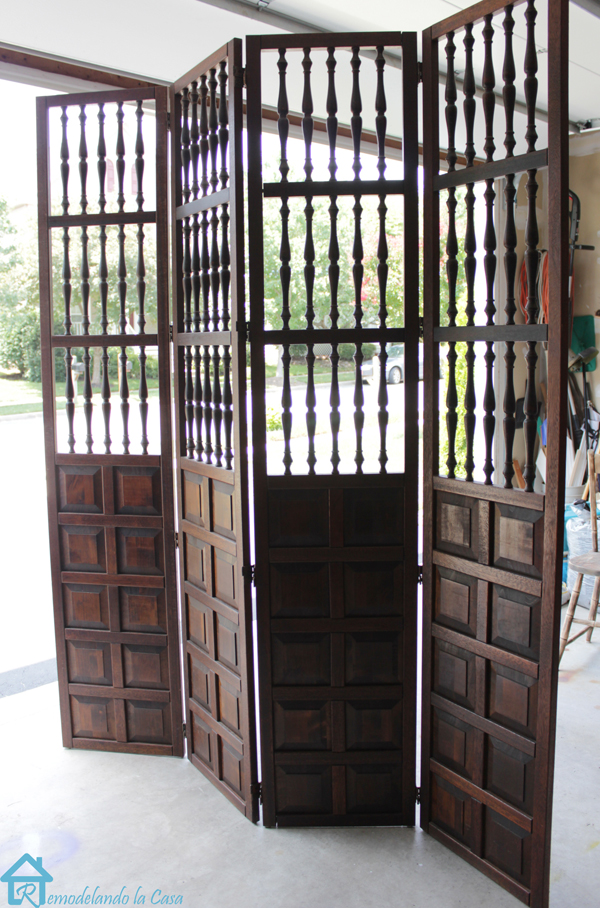
After painting the room, my big question was how to make the bed or that whole wall where my bed is going to be located, the focal point in the room.  At first I was thinking about installing wall paper with a nice design, then I thought about using a stencil since its a more economical choice. A painted stencil would also be easier to change later on.  Then, I received a stroke of luck! I scored a cabinet in the FREE section of Craiglist! When picking it up, the owner asked me if I also wanted this room divider:

DIY Room Divider King Headboard

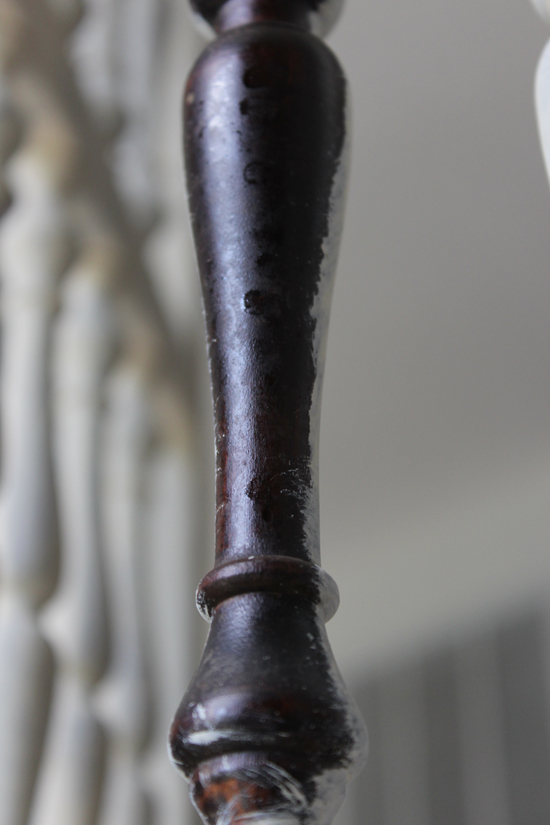
“Of course!” I said and run out of there before he had time to change his mind!  That thing is super heavy! It looked really nice after a good cleaning, up close not that much, something was sprayed on it 🙁 there were lots of spots all around.

DIY Room Divider King Headboard

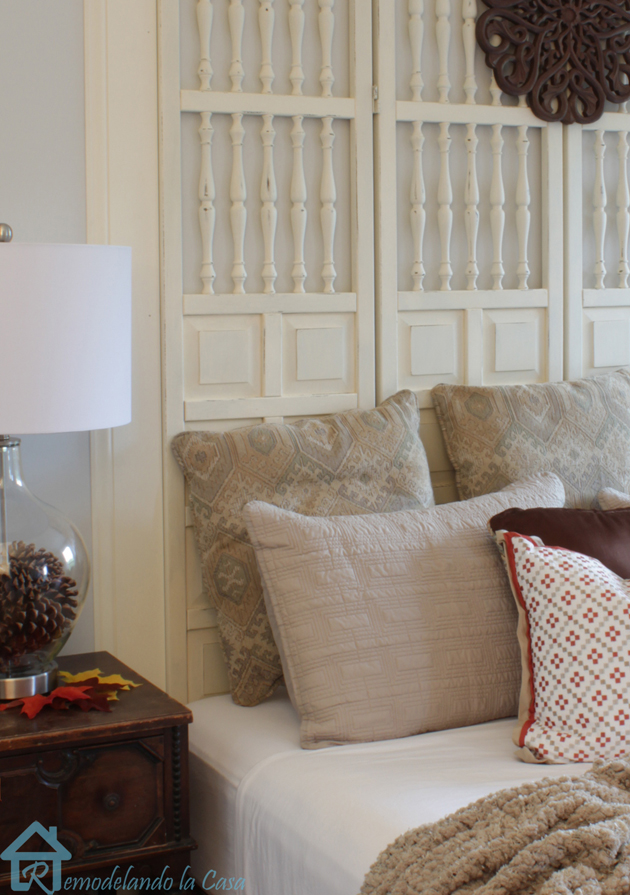
That’s why I decided to paint it and use it as my bedroom’s headboard.

The materials and tools you will need: Read more

coffee_serving_tray_map

Whether you are looking for a quick and easy gift idea or want to make this for yourself, this DIY State Capital Rustic Tray was fun to make and easy to create!
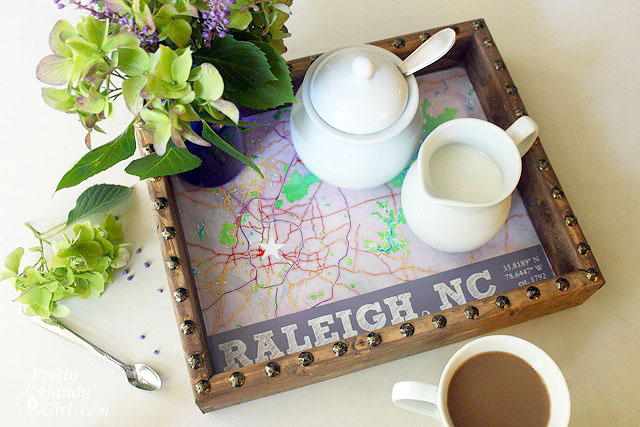
coffee_serving_tray_map

DIY State Capital Rustic Tray

Are you proud of your hometown? Want to create a personalized gift tray for someone you love. Today I have a special project you’re going to love!
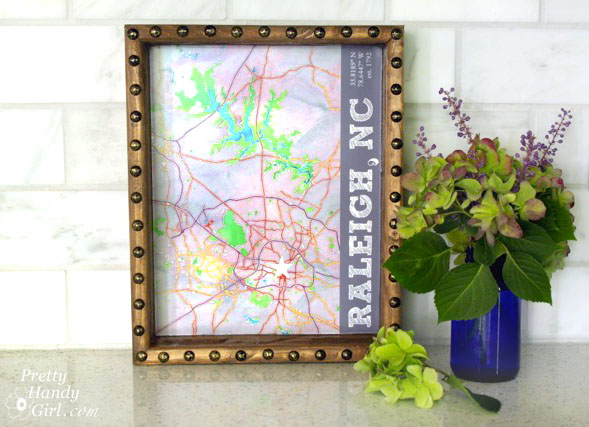
City_map_shadow_box

Materials:

(I’ve included affiliate links for your convenience. I earn a small percentage from a purchase using these links. There is no additional cost to you. You can read more about affiliate links here.)
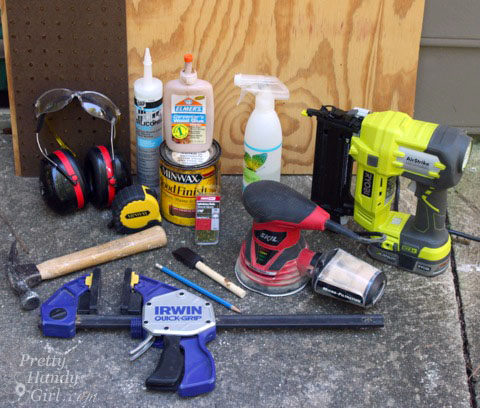
Optional: Scrap of pegboard

Instructions to Make DIY State Capital Rustic Tray:

Visit Maps.Stamen.com that turns maps into works of art! Simply enter your city, state or favorite location and watch as it instantly turns into a watercolor drawing! When you have the view you want, download the graphic to your computer.

If you wish, you can play with the hue and saturation of your image in your photo editing software.

raleigh_watercolor_map

For fun and more graphic interest, I added “Raleigh, NC” (using Sketch Block font) and the global coordinates for my capital city. Plus, the date Raleigh was founded. (All available at Wikipedia.)

raleigh_nc_graphic_map

Print your map onto paper and use the x-acto knife and metal ruler to cut out the map.
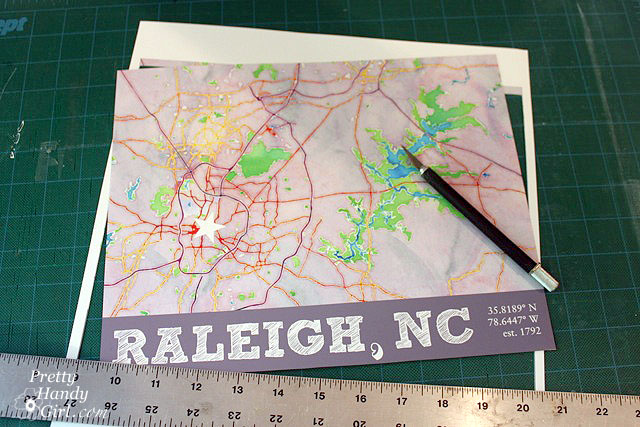
print_out_raleigh_map

Cut out a piece of plywood (or board) the same dimension as your map. (I used a circular saw and the Kreg Rip Cut, but you can use a table saw, jig saw, or have Lowe’s cut a board for you.) Sand the board to remove any splinters.
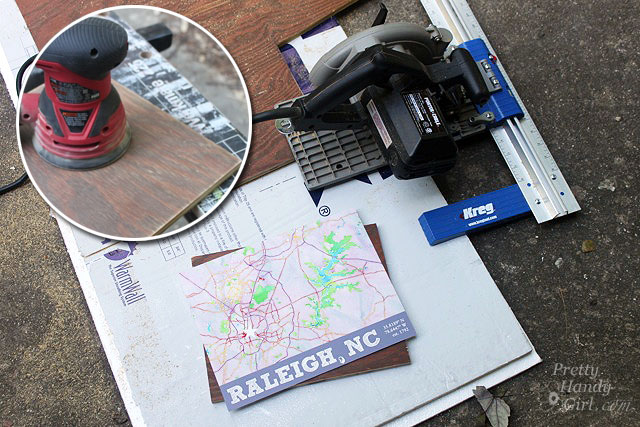
kreg_rip_cut_sand_base

Check your map printout against the base and trim the map if needed.
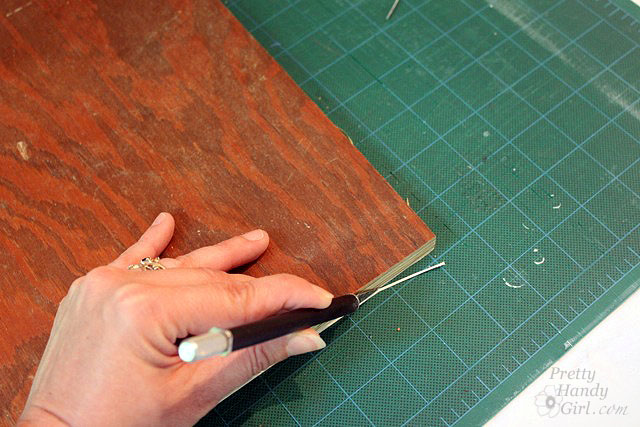
trim_map_to_base

Cut one end of a 1×3″ board at a 45 degree angle using the miter saw. (Never used a miter saw before? Watch this video tutorial to learn how to use a miter saw.)
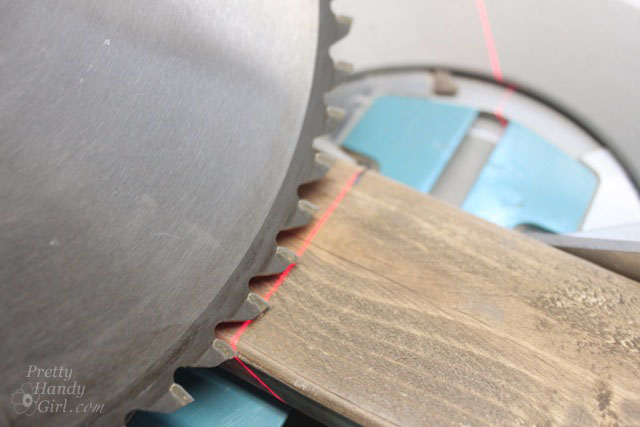
cut_mitered_45_end

Line the board up against the plywood base. (Line up the inside of the 45 degree angle at one corner.) Make a mark where the other corner meets the 1×3.
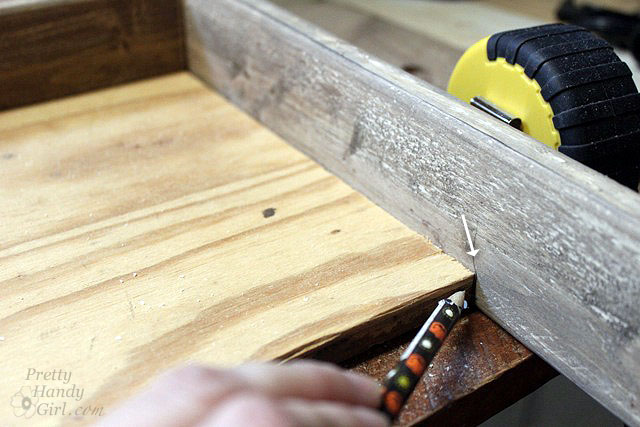
mark_wood_side

Cut the 1×3 at an opposing 45 degree angle, lining up the saw with your inside angle mark. Continue marking and cutting your 1×3 boards to create the sides of your tray.

miter_cut_ends

Dry fit the sides against the base. Make any adjustments to get a tight fit. Run a line of wood glue along the ends of the 1×3’s.
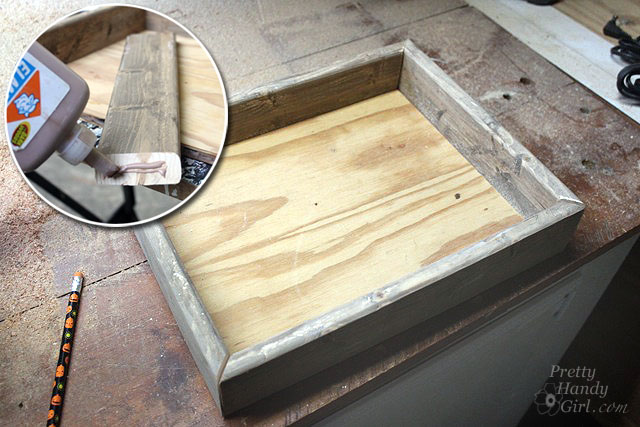
glue_corners

Run a bead of glue along the sides of the base piece.
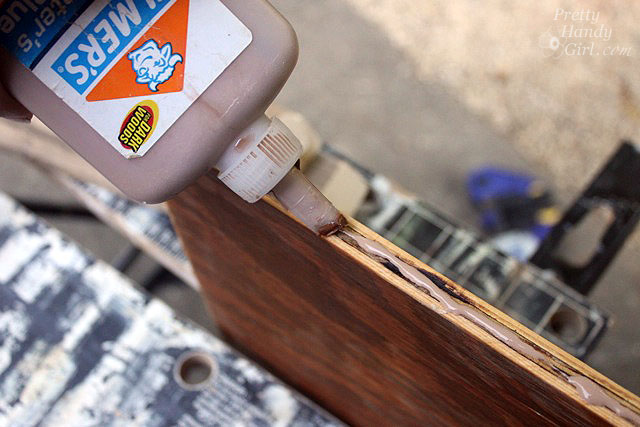
glue_tray_base_perimeter

Clamp the tray together making sure the base is flush with the bottom and all the sides meet.
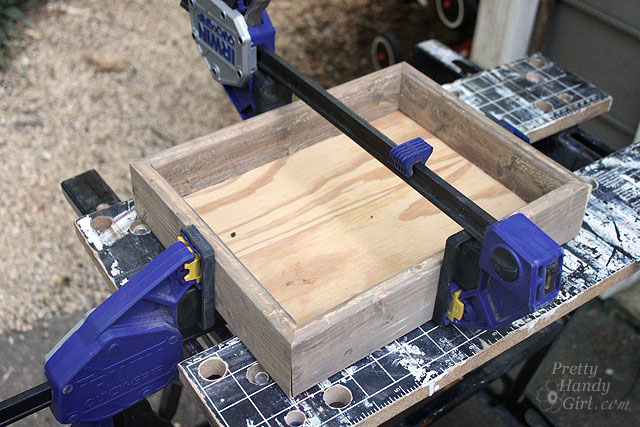
clamp_box_frame

Use the finish nailer to shoot 1.25″ finish nails into the corners of the tray. Then secure the base to the sides by shooting more nails through the sides into the base.
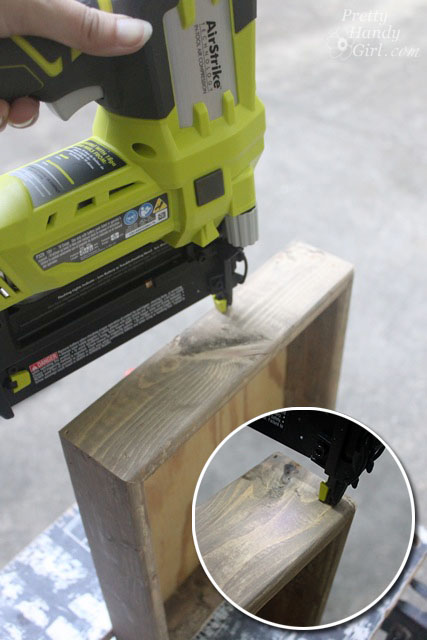
secure_tray_trim_nails

Stain the tray and base with a foam brush. Wipe off any excess with a dry rag or paper towels.
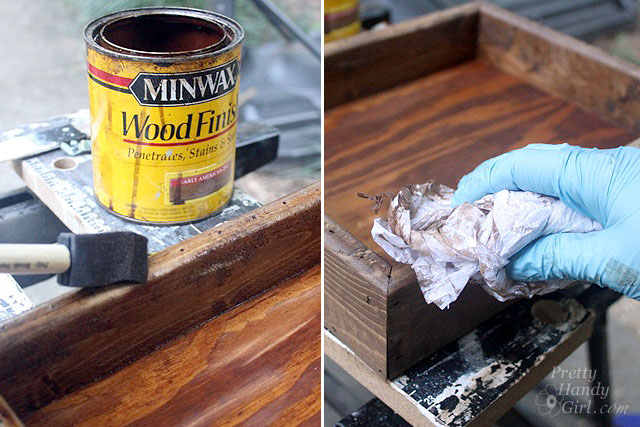
stain_tray_wipe_off

After the tray dries, use the pegboard scrap to mark even spots along the tray edge for the nailhead trim. Hammer nail heads into the edges of the tray. (If the wood is hard, you might have to pre-drill holes.)
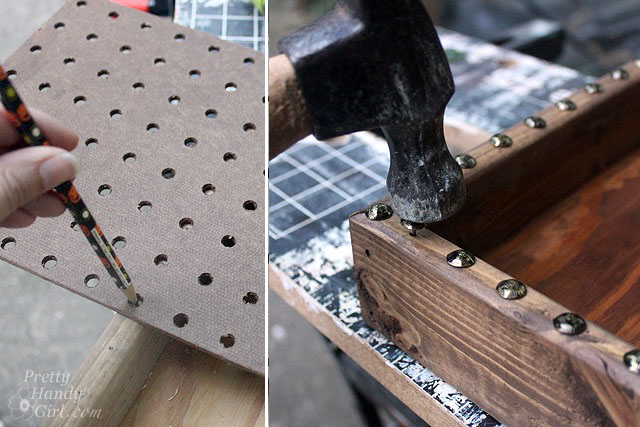
space_hammer_nailhead_tacks

Test fit your glass to make sure it fits in the bottom of the frame. Clean off the glass with window cleaner. Wipe off any lint.

wipe_glass_clean

Set your map print on the bottom of the tray. Lay the glass on top of the map.
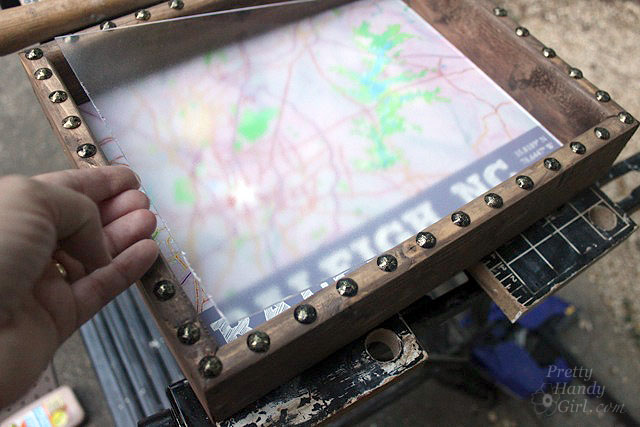
drop_glass_inside_frame

Run a line of clear caulk along the edge of the glass. Wipe the caulk with a wet wipe to smooth and remove excess caulk.

caulk_around_glass

Let the caulk set and then feel free to fill your tray! I use my tray in the kitchen to neatly hold our coffee supplies.

coffee_serving_tray_map

But, you could also add D-rings to the back of the tray and hang it as art!

City_map_shadow_box

I’m curious, where are you from? Or where do you call home? Don’t you think this would make a fabulous present for someone who is proud of their hometown?


PHGFancySign


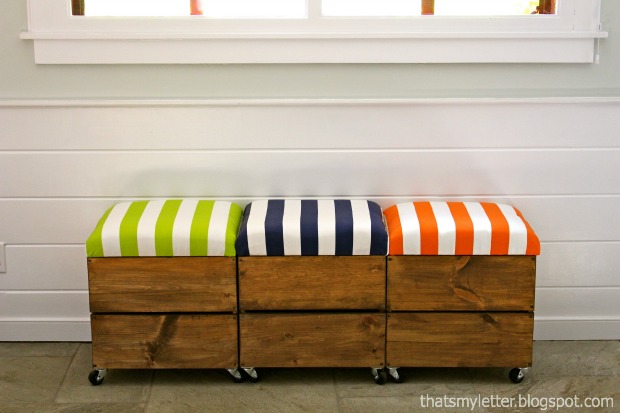
Everyone can always use more hidden storage! What’s better than getting organized with more storage? How about combining it with additional seating!  Jaime here from That’s My Letter sharing with you this easy tutorial for how to build a rolling storage seat.

rolling storage stool final

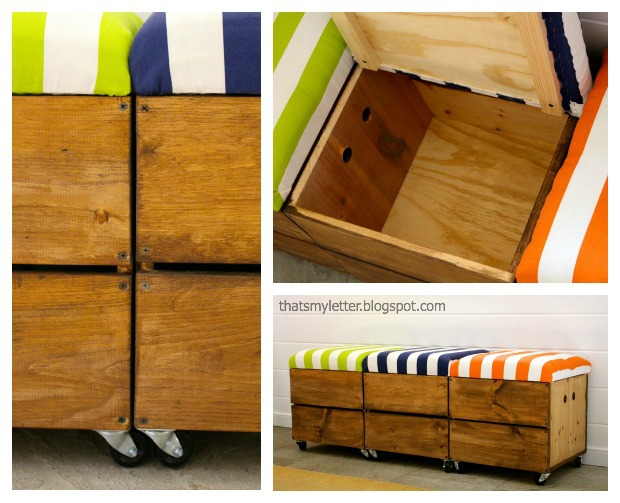
Of course I couldn’t stop myself at just one seat, I had to make three – they’re just that fast and easy!  The finished size is a generous stool at 19″w x 18″ d x 20″h.

rolling storage stools 2

Lift up that cushioned top and you’ve got tons of storage space:
rolling storage stools 3

To make the rolling storage stool you’ll need the following supplies: Read more

How to Build a Custom Wood Range Hood by Pretty Handy Girl

Have you seen the beautiful custom range hoods on my Pinterest board? From the beginning of our kitchen planning sessions, I knew I wanted to put in a custom wood range hood. But, finding a tutorial to build one was tough. The one that helped me the most was Cristina’s how to build a range hood tutorial.

build custom range hood

I knew when I built our hood that I’d need to take detailed notes and photos to help you accomplish your own project. I hope this tutorial helps you build your own range hood!

Build Custom Range Hood Materials: Read more