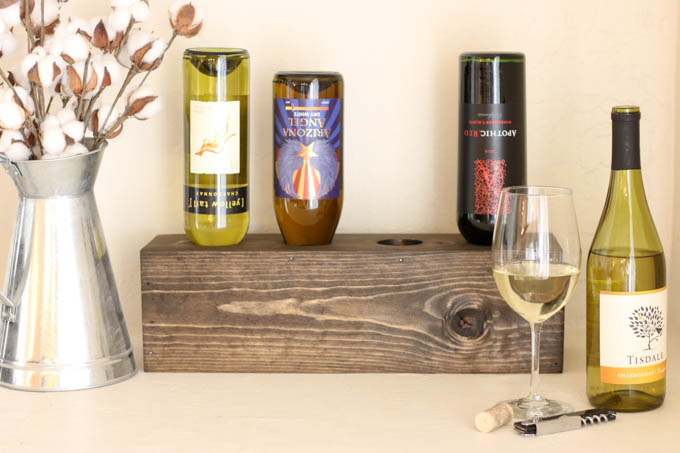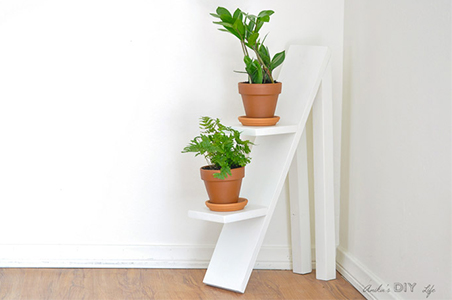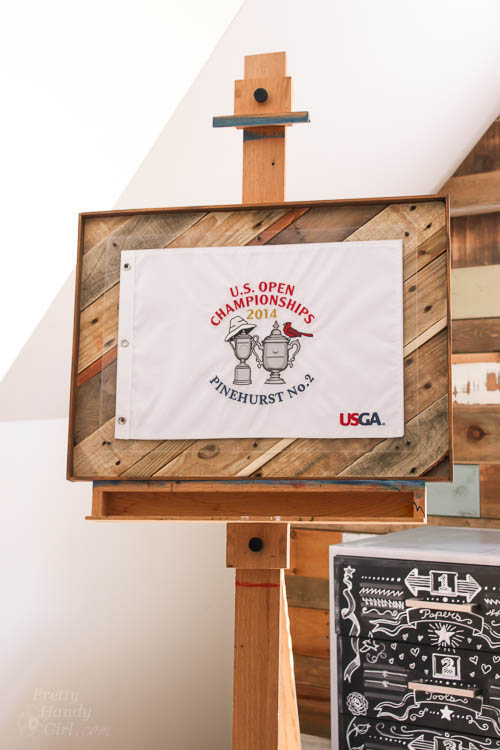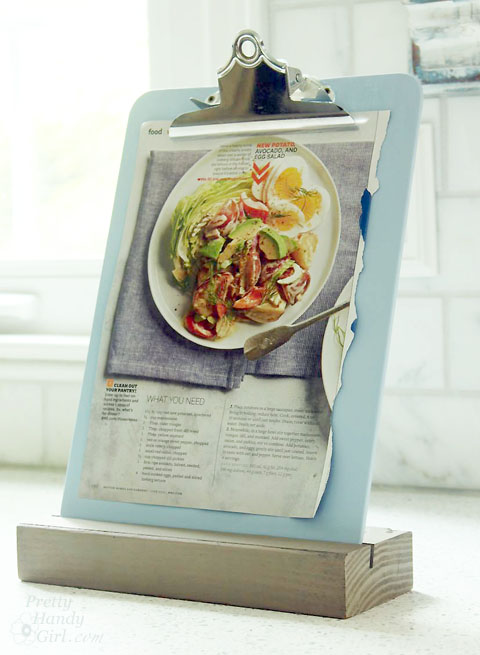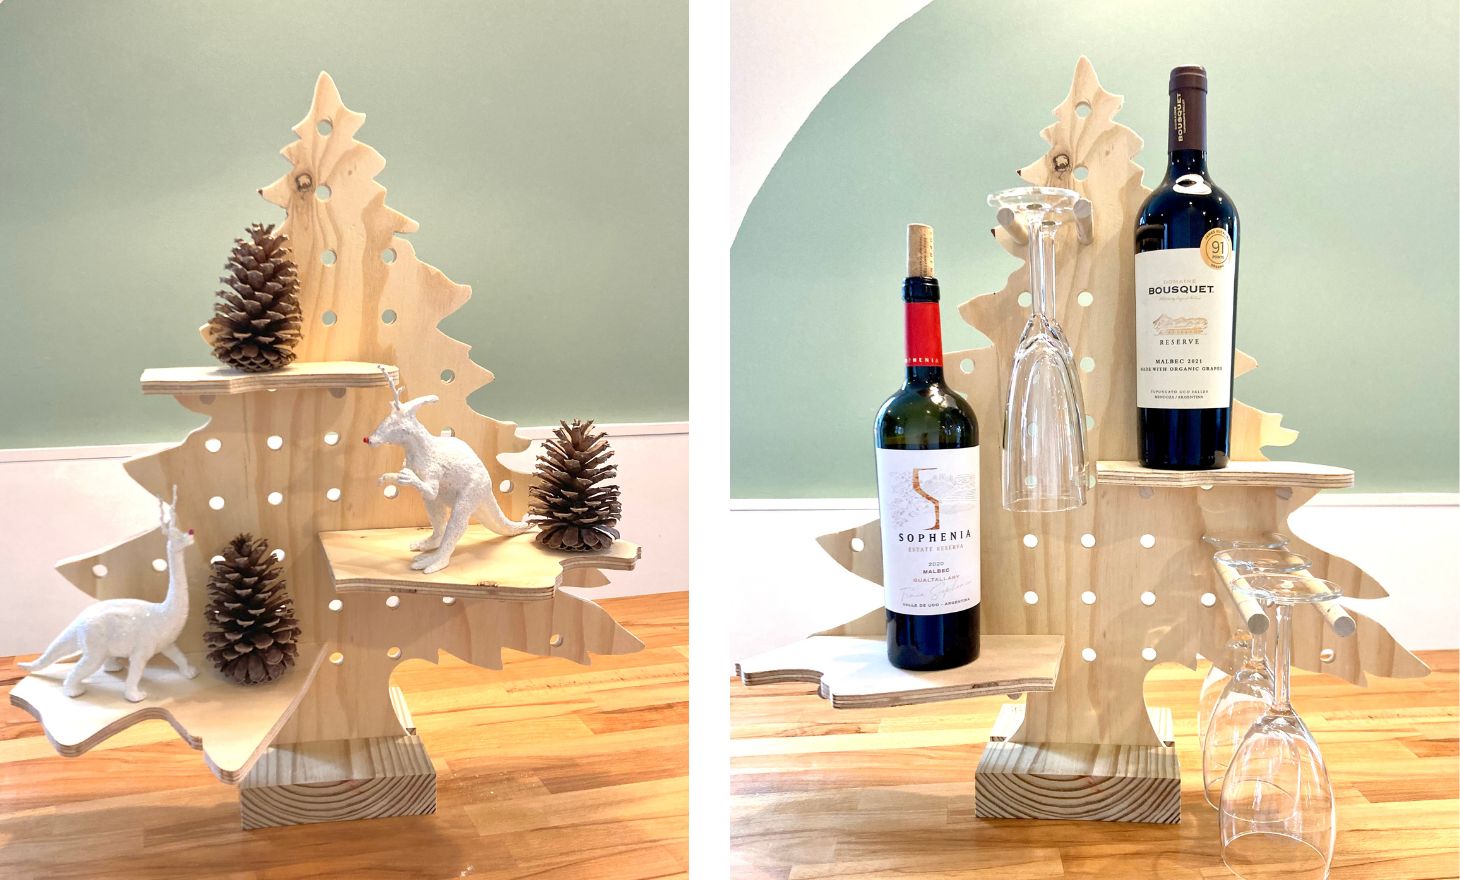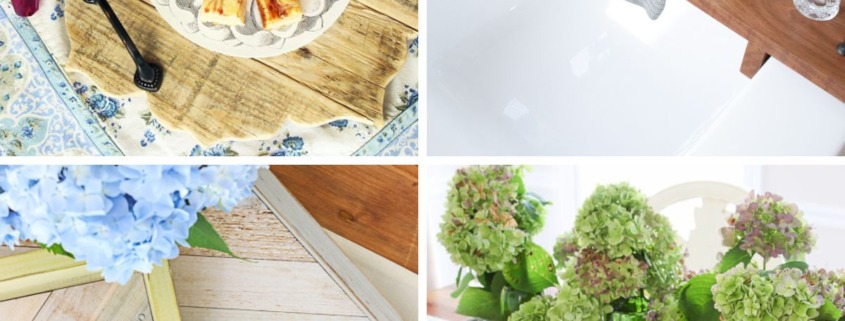
Store-bought gifts can feel impersonal. These gift trays and crates turn simple supplies into showstopping gifts people will actually love.

DIY Gift Trays and Crates
The best gifts are the ones people never expect to receive and never want to give away.
A handmade tray or crate hits differently than something pulled off a store shelf.
You can see it in how people react when they unwrap something built by hand instead of bought in bulk.
The beauty of DIY gift trays and crates is that they work for anyone on your list. A rustic wooden caddy becomes the perfect kitchen organizer for your sister.
A vintage-style produce crate transforms into a centerpiece your mom shows off at every dinner party. A scalloped planter box gives your friend the decorative piece they have been hunting for but could never find.
These creative gift ideas combine function with a personal touch in ways that make them truly memorable.
The 21 projects ahead prove you don’t need a professional workshop or advanced skills to make gifts that feel expensive, thoughtful, and completely one-of-a-kind.
CLASSIC SERVING TRAYS THAT ELEVATE ANY SPACE
These serving trays blend function with style, giving you practical pieces that look beautiful whether they are holding coffee mugs, organizing cosmetics, or sitting empty as decorative accents.
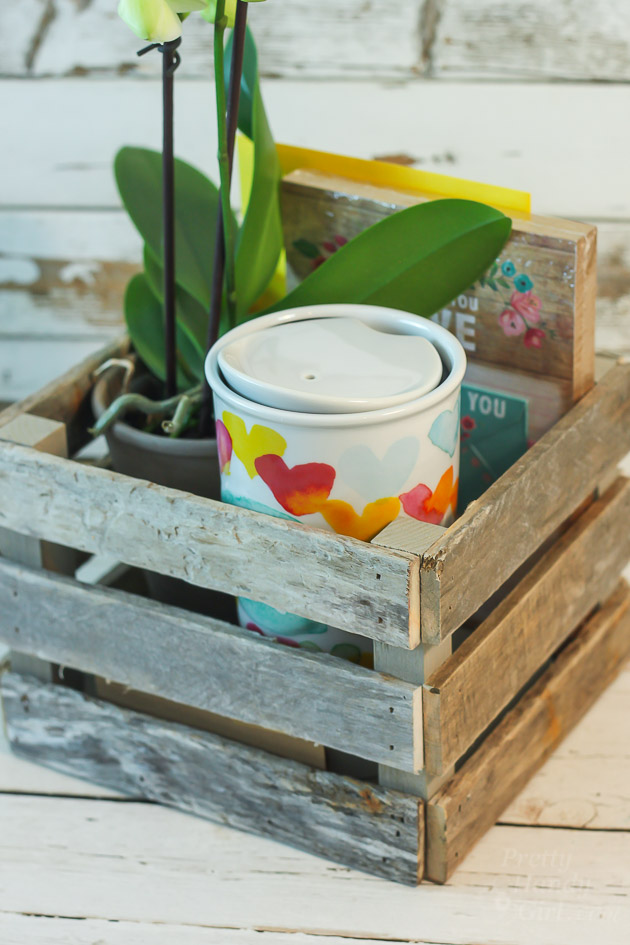
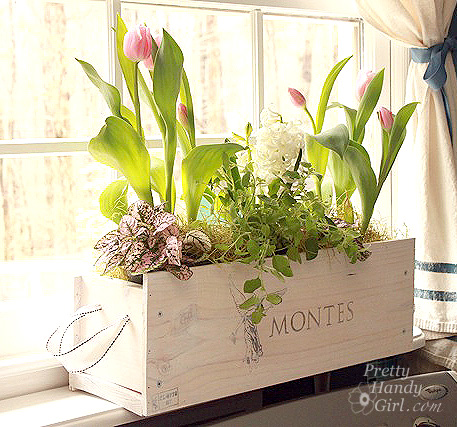
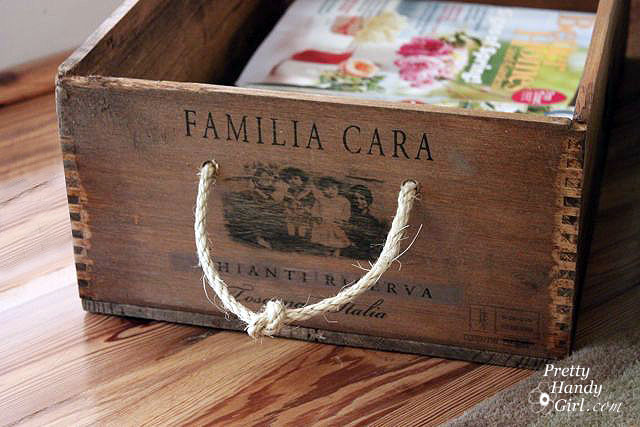
Vintage Produce Crate Centerpiece (No Power Tools)
Most people assume anything handmade and beautiful requires a garage full of tools, but this vintage-style produce crate proves that assumption wrong immediately.
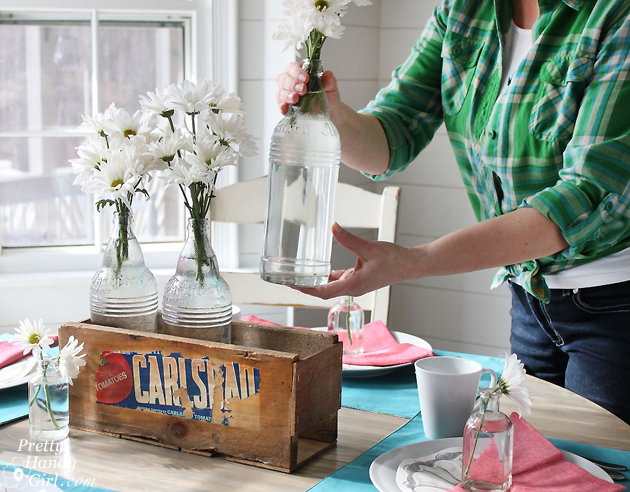
The crate works as a centerpiece filled with seasonal items, a gift basket base that makes even small items look curated, or standalone home decor that adds farmhouse warmth to any room.
This is the perfect gift for a family member who appreciates rustic charm.
Full Tutorial for the Vintage Produce Crate Centerpiece
DIY Tray Gift Box
Gift wrapping is forgettable, but a gift that comes inside a handmade tray becomes part of the present itself.
This quick DIY tray flips the script on traditional gift presentation.
The shallow tray design with finished edges is a great idea for jewelry, small items, or collections of favorite things like candles and bath products.

The tray becomes a jewelry organizer, a catch-all for keys and sunglasses, or a decorative piece on a dresser. Every time they use it, they remember the gift and the person who made it.
Adding a handwritten note tucked inside provides the finishing touches that make this personal gift truly special.
Full Tutorial for the DIY Gift Tray
Rustic Pallet Serving Tray
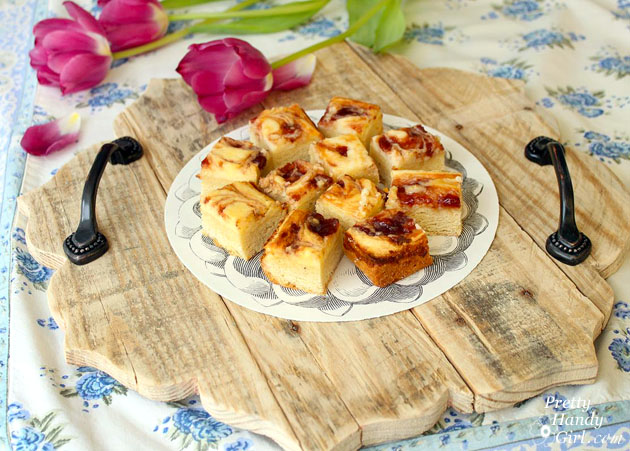
Pallet wood carries history in every grain and imperfection, which is exactly why it makes such compelling serving trays.
The raw, weathered character of reclaimed pallet wood cannot be faked with new lumber. Each board brings its own color variations, nail holes, and wear patterns that tell a story.
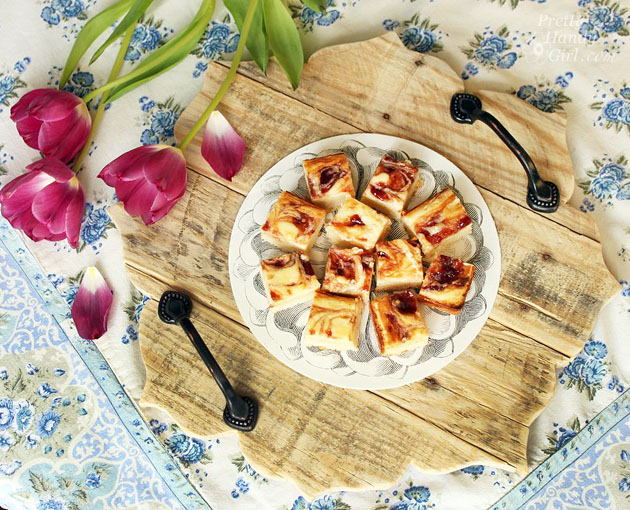
The material cost is basically zero if you source pallets for free, which means you can experiment with different sizes and handle styles.
This creative gift idea offers a better way to create meaningful presents that showcase your craftsmanship.
Full tutorial for rustic pallet serving tray
DIY Farmhouse Style Serving Tray
Farmhouse style refuses to fade because it balances simplicity with warmth in a way that feels both timeless and current.
This serving tray captures that aesthetic through clean lines, neutral finishes, and subtle details that elevate basic construction into something that looks like it came from a high-end home goods store.
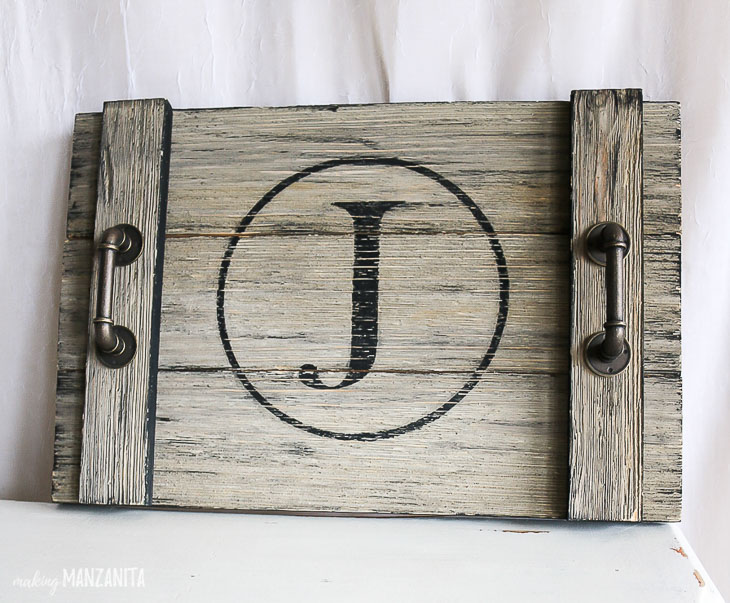
This is a great option when you want to create something versatile and timeless.
Full tutorial for farmhouse style serving tray
Painted Trays with Scrapbook Paper Lining
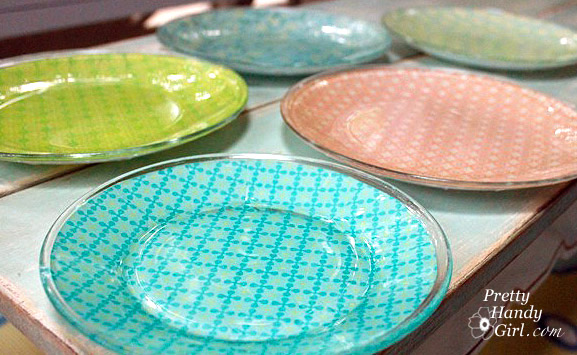
Paint transforms wood but scrapbook paper lining transforms the entire character of a tray from simple to striking.
The magic happens when you line the tray bottom with patterned scrapbook paper sealed under a protective coating. This technique adds color, pattern, and personality without requiring artistic skills or expensive materials.
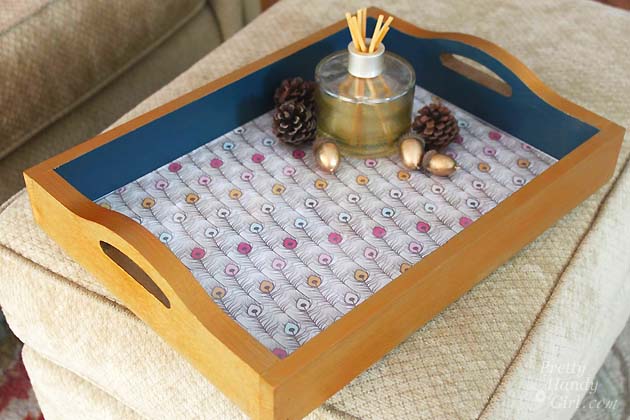
This approach is a good idea for adding that personal touch that makes your gift stand out.
You can match the tray to specific room colors, seasons, or even upcoming events. A coastal-themed paper for a beach house gift.
A fall pattern for an autumn birthday. Holiday designs that make seasonal decor feel custom instead of generic. The paper does the heavy lifting while the tray itself stays simple and buildable.
Full tutorial for painted tray with scrapbook paper lining
BATH AND RELAXATION TRAYS
Bath trays turn ordinary soaking time into an experience worth planning for, while wooden bath accessories add spa-like luxury to everyday routines.
These projects focus on comfort, function, and creating spaces that encourage people to actually slow down and enjoy self-care moments instead of rushing through them.
Include bath salts made with essential oils, face masks and other beauty products to customize this DIY gift.
DIY Wooden Bath Tray with Phone Holder
Most bath trays offer a place to set a wine glass and call it luxury, but this design acknowledges how people actually use their bath time.

A phone holder built into the tray means you can watch shows, listen to podcasts, or follow along with guided meditations without balancing your device on the tub edge or holding it with wet hands.
Full tutorial for wooden bath tray with phone holder
Rustic Wood Bathtub Tray
The rustic bath tray strips away unnecessary details and focuses entirely on beautiful wood and essential function.
This design celebrates the natural character of wood grain, knots, and color variation rather than covering them with paint or heavy finishes.
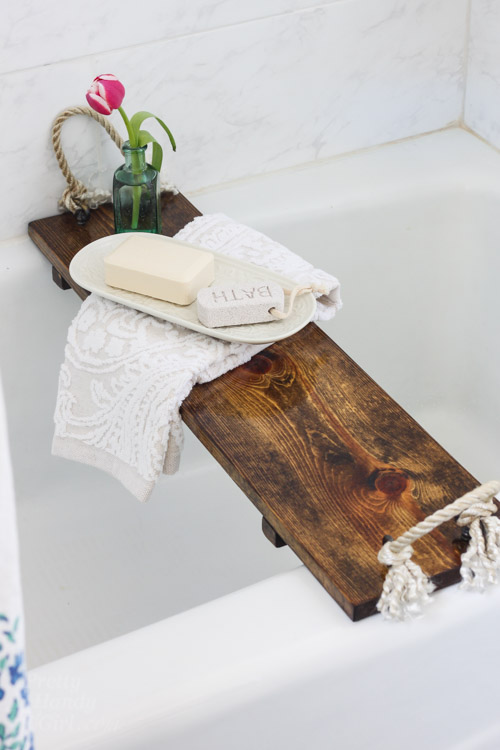
The result is an organic, spa-like accessory that brings warmth to modern bathrooms and enhances the already-cozy feel of traditional spaces.
Handle options for rustic trays include rope threaded through drilled holes, leather straps attached with vintage screws, or simple hand-holds routed into the wood itself.
Full tutorial for rustic wood bathtub tray
SPECIALTY TRAYS FOR SPECIFIC USES
These trays solve specific problems and serve unique purposes that generic trays cannot address. Each design targets a particular need while maintaining the gift-worthy appearance that makes people excited to receive and display them.
DIY Sheet Metal Gift Trays
Sheet metal introduces industrial edge and reflective shine that wood alone cannot achieve.
These trays combine wood frames with inset sheet metal bases, creating a material contrast that looks expensive and architecturally interesting.
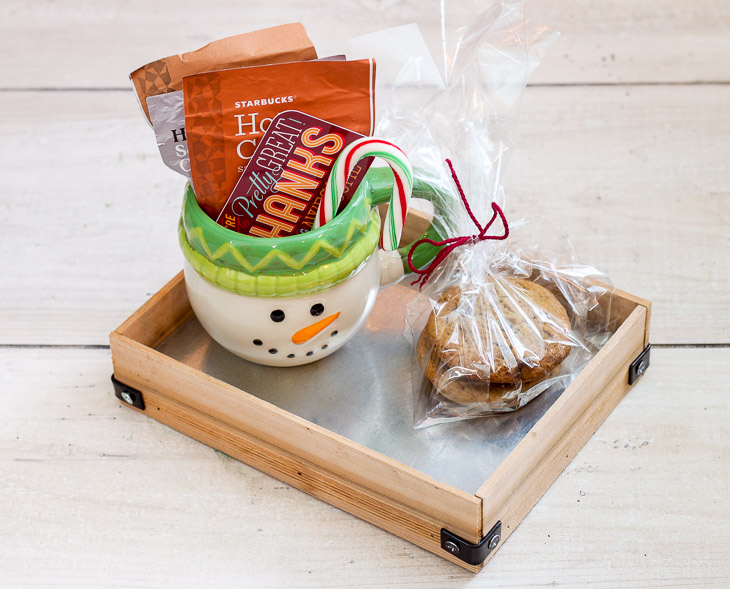
Metal finish options let you dial in the exact look you want. Galvanized steel gives you that classic silver industrial appearance.
Copper or brass sheets add warm metallic tones that complement wood beautifully. Aged or patina finishes create vintage industrial character without the actual aging time.
These trays scale from small catchalls for entryway keys to large serving trays for outdoor entertaining. This is a great option for creating durable, modern gifts.
Full tutorial for DIY sheet metal gift trays
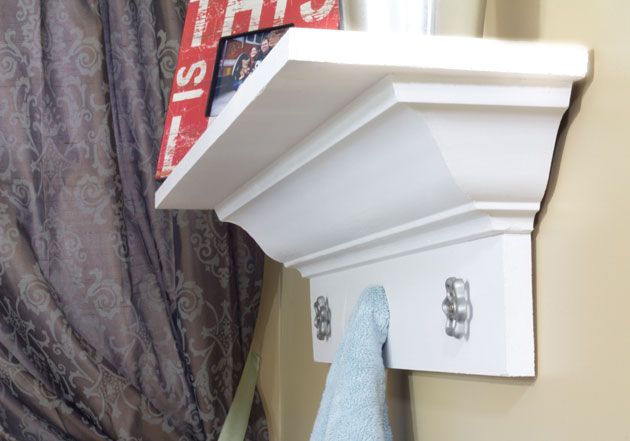
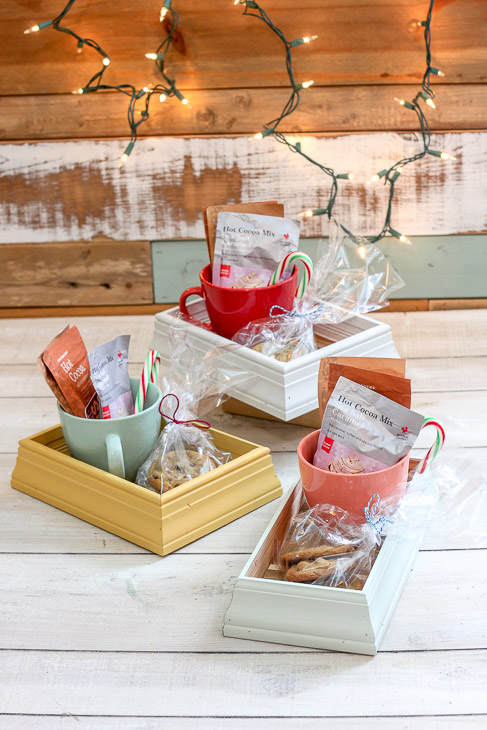
DIY Scrap Moulding Trays
Leftover trim and moulding pieces become stunning trays when you stop seeing them as scraps and start seeing them as free materials with built-in decorative details.
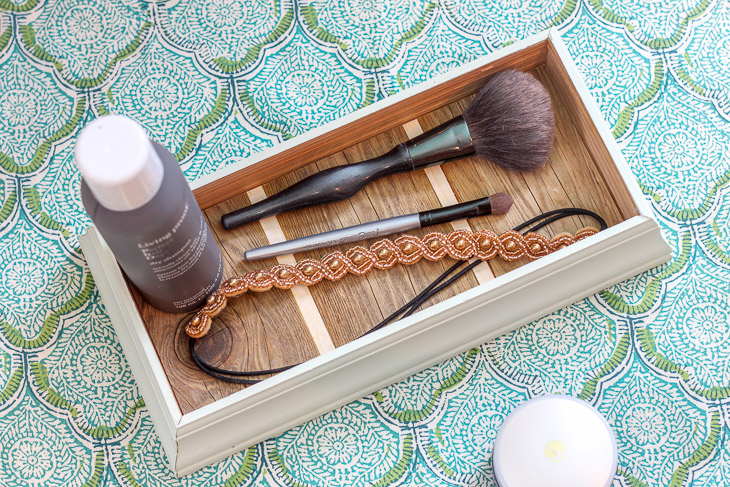
Crown moulding, baseboards, and decorative trim carry design elements that craftspeople spent years perfecting.
When you repurpose these pieces into tray frames and accents, you get professional-grade details without the cost or skill required to create them from scratch.
A simple tray made from basic lumber suddenly looks custom and high-end when you add a crown moulding edge or decorative corner blocks.
This is a great way to essentially shop your scrap bin for free decorative elements that elevate basic builds into gift-worthy pieces.
These trays work particularly well as gifts for people who appreciate vintage or traditional decor.
Full tutorial for scrap moulding trays
DIY Cupcake Tray Carrier
Transporting cupcakes without ruining the frosting is the challenge every baker faces, and this tray solves it completely.
The carrier combines a sturdy tray base with built-in cupcake wells that hold each cupcake securely in place during transport.
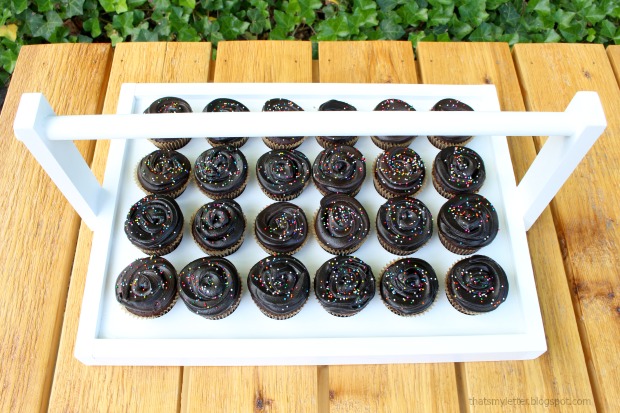
No more sliding, tipping, or frosting disasters when you are bringing treats to parties, bake sales, or family gatherings.
This is the perfect gift for a family member who loves to bake.
Full tutorial for DIY Cupcake tray carrier
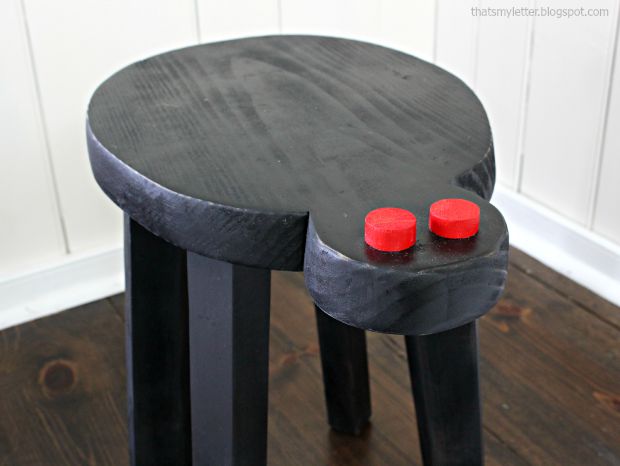
Wood Cut-Out Tray
Decorative cut-outs transform a tray from purely functional into a piece of art you can actually use.
This design incorporates shaped cut-outs in the tray handles, base, or sides that add visual interest and personalization without requiring advanced woodworking skills.
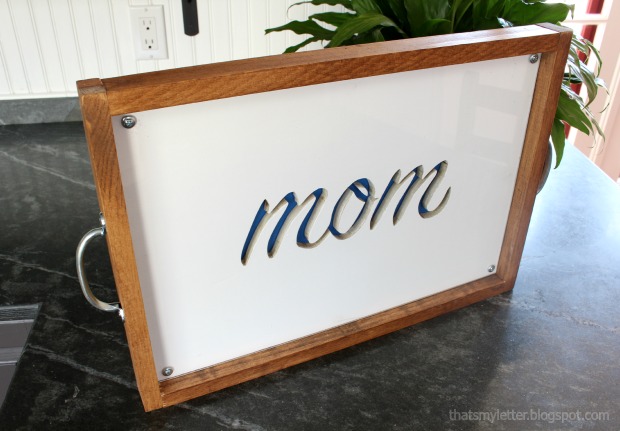
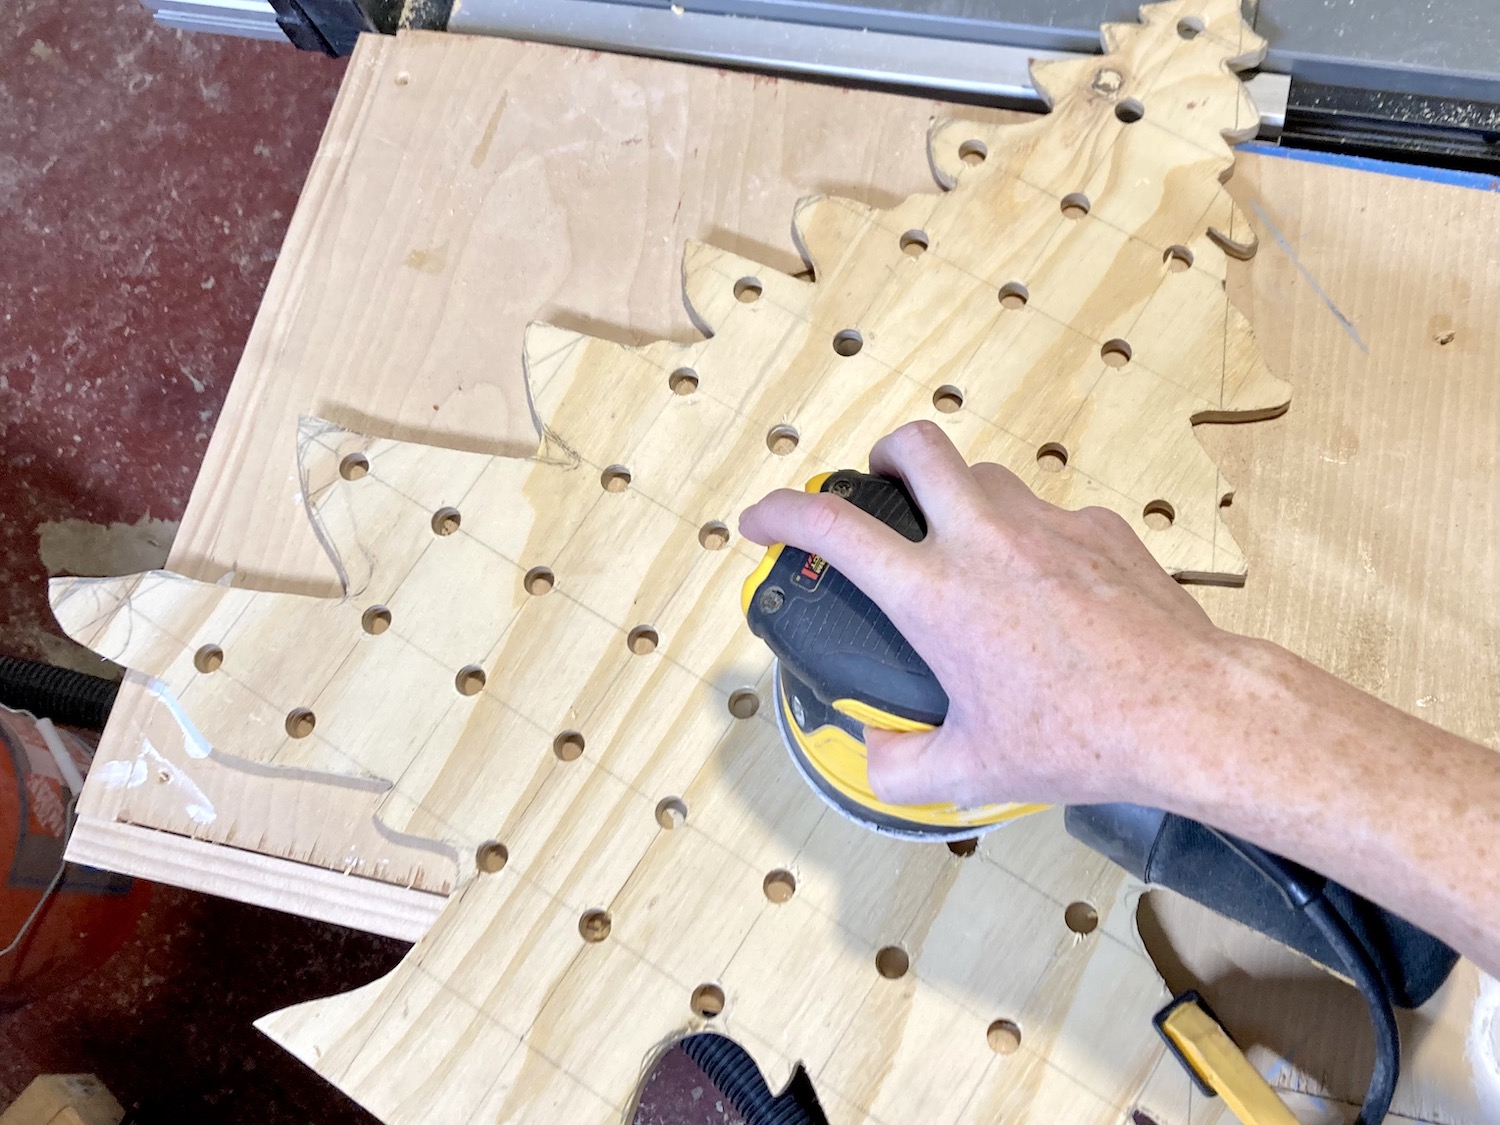
The cut-outs can be simple geometric shapes, nature-inspired silhouettes like leaves or trees, monogram letters, or symbolic shapes that carry meaning for the recipient.
The cut-out approach lets you customize trays for specific people or occasions in ways that paint or stain alone cannot achieve.
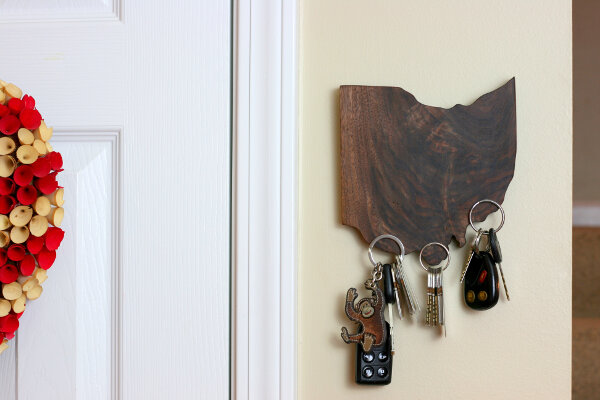
A tray with heart cut-outs for a wedding gift. Star shapes for a baby nursery. A home state silhouette for someone who moved away. Paw prints for a pet lover. The shape choice makes the gift feel personal and intentional rather than generic.
Full tutorial for wood cut-out tray
DIY Tray from Cabinet Door
Unused cabinet doors already have the structure, finish, and professional details that tray builds require, which makes them perfect starting points.
Repurposing a cabinet door into a tray gives you a head start on construction while delivering results that look custom and finished.
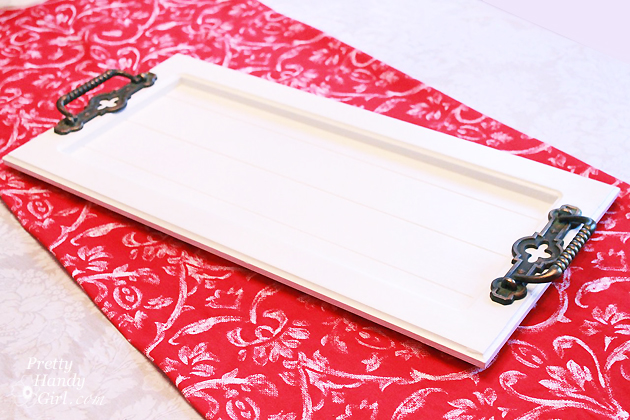
This approach works brilliantly with vintage cabinet doors from salvage yards or leftover doors from kitchen renovations that would otherwise get tossed. This is a good idea that provides a better way to create unique gifts.
You are getting it by repurposing rather than purchasing.
Full tutorial for DIY tray from a cabinet door
State-Shaped Rustic Tray
Geography becomes personal when you cut it into the shape of a place someone loves and turn it into functional art.
State-shaped trays (or country, province, or any meaningful geographic outline) create immediate emotional connection for people who identify strongly with a location.

These trays work as gifts for people who moved away from home, couples who met in a specific place, college students missing their home state, or anyone who displays regional pride.
The shape recognition is instant and the sentiment is built into the design before you add a single finish detail.
This step-by-step guide approach makes the project accessible even for beginners.
When someone unwraps a tray cut in the outline of their home state with a heart marking their hometown, the thought behind the gift is impossible to miss.
Full tutorial for a state-shaped rustic tray
BOXES, CRATES, AND DECORATIVE CONTAINERS
These projects shift from flat trays to three-dimensional containers that hold more, organize better, and create different decorative opportunities.
Each design balances aesthetic appeal with genuine storage function that makes them useful in daily life rather than just pretty to look at.
Scalloped Planter Box Centerpiece
Scalloped edges add feminine, vintage charm that straight geometric lines cannot deliver.
This planter box uses decorative scalloped edge detail along the top rim, creating curves and visual rhythm that soften the overall look and reference vintage garden containers.
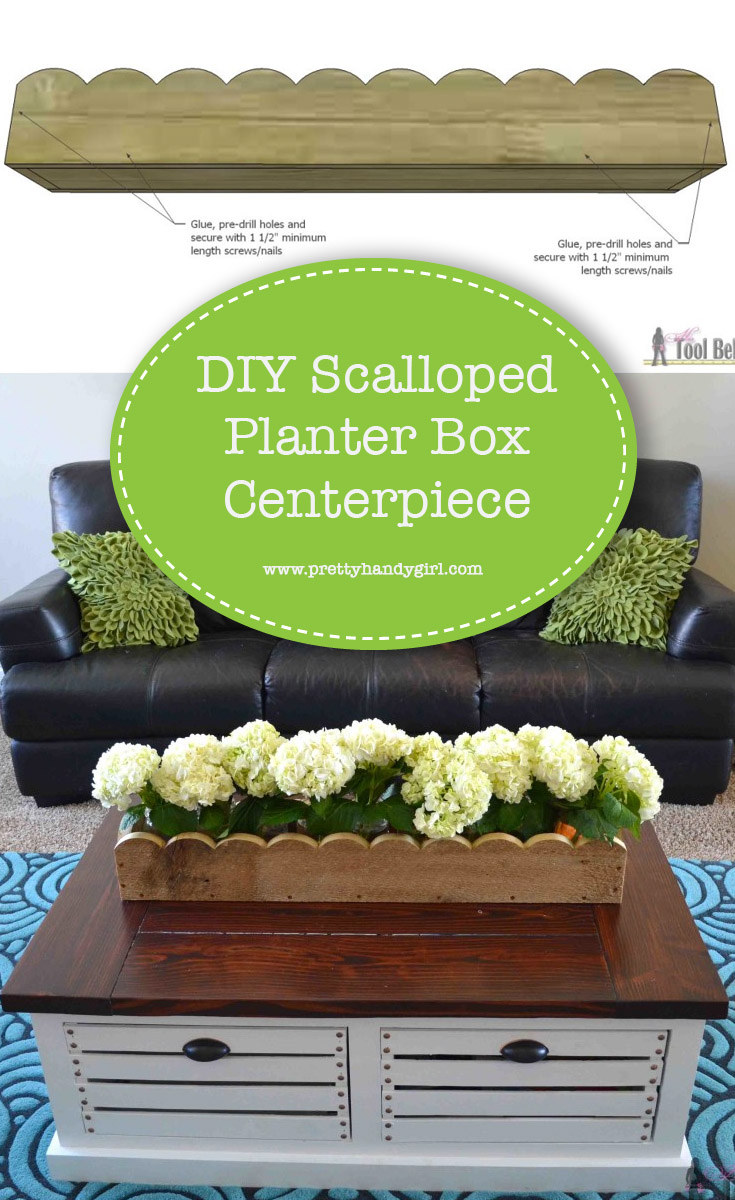
The scallops can be subtle gentle waves or dramatic deep curves depending on your aesthetic preference and skill level.
This creative gift idea works beautifully for home decor enthusiasts.
The scalloped design works beautifully as a centerpiece filled with seasonal items, potted plants, or collections of candles and decorative objects.
Full tutorial for scalloped planter box centerpiece
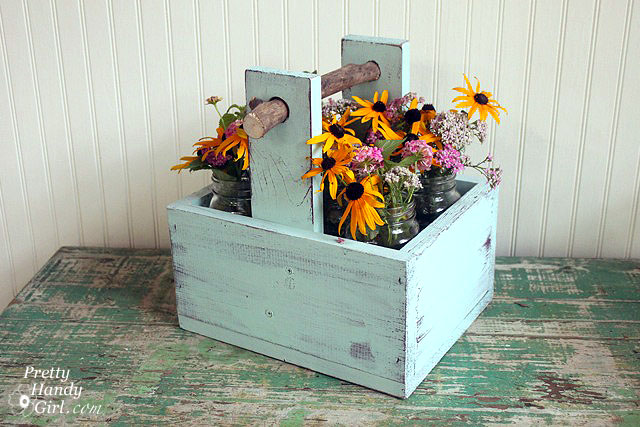
Rustic Wooden Caddy with Branch Handle
Natural branch handles turn ordinary wooden caddies into organic, found-object art that looks like something from an artisan market.
The transformative detail is the handle made from an actual tree branch that you select, prepare, and attach as the carrying grip.
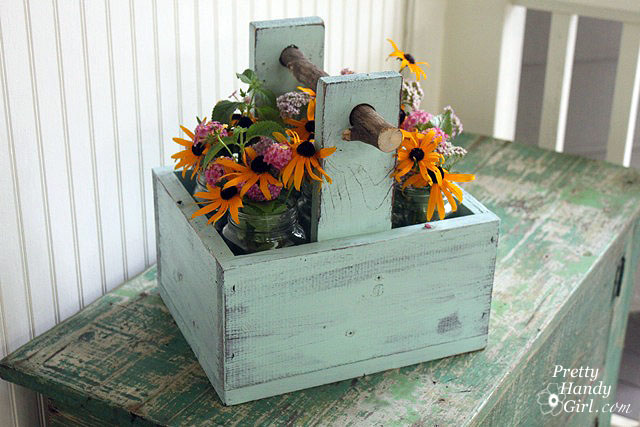
This makes a wonderful vessel to fill with fun goodies and attach a gift tag for the finishing touches.
Full tutorial for rustic wooden caddy
Driftwood Gift Crate
Driftwood carries the ocean with it regardless of where it ends up, which makes driftwood crates evocative gifts that transport people to coastal memories.
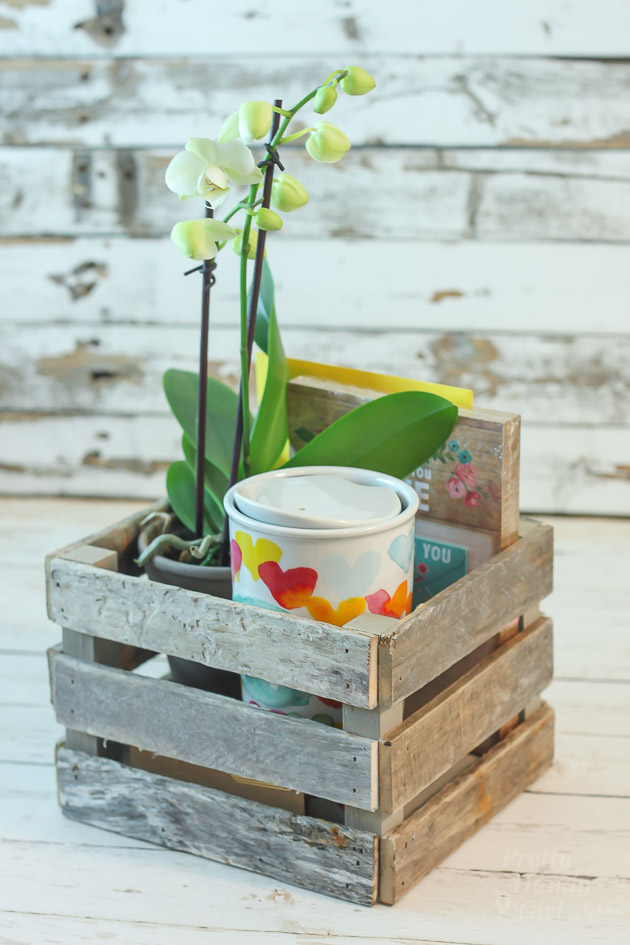
The crate becomes part of the gift that can be used as a planter for succulents, or standalone decor that adds coastal vibes to any room.
The driftwood tells its own story, and the crate carries that narrative into functional daily use. This is a great option for coastal-loving friends and family.
Full tutorial for driftwood gift crate
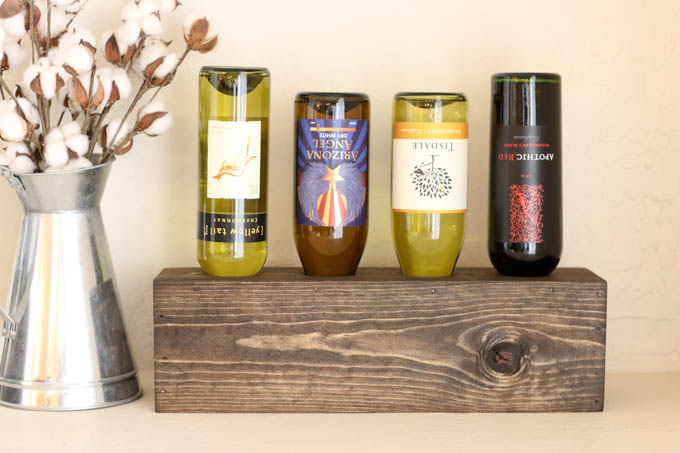
Trough Centerpiece
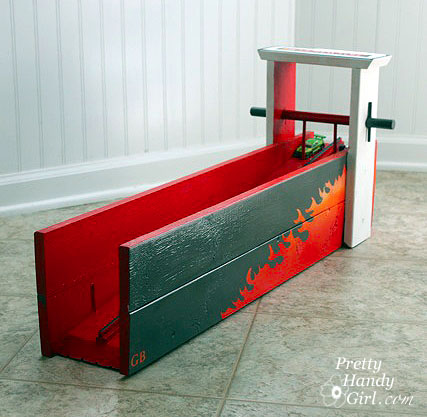
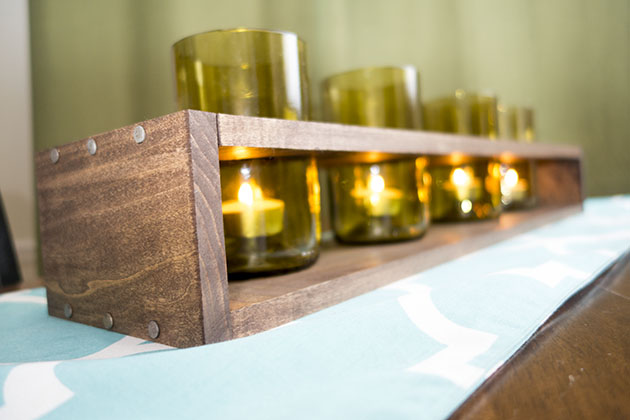
Long, low troughs create dramatic tablescapes that command attention while leaving room for conversation across the table.
The trough shape (elongated and shallow rather than tall and compact) works perfectly for dining table centerpieces because it runs the length of the table without blocking sightlines between people sitting across from each other.
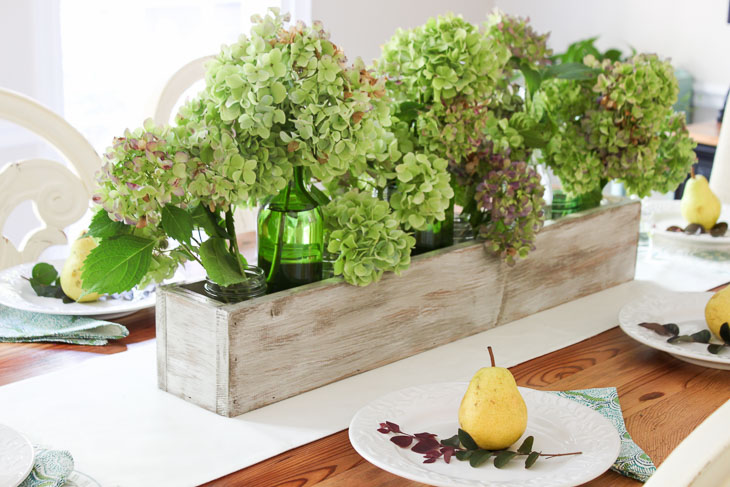
Fill it with seasonal greenery, candles, ornaments, or similar items and you have instant table decor that looks professionally styled. This is the perfect way to create impressive home decor that functions beautifully.
A six-foot dining table needs a centerpiece around four feet long to look balanced. Smaller tables work with shorter troughs.
Full tutorial for trough centerpiece
SPECIALIZED AND UNIQUE PROJECTS
These final projects solve particular problems or create distinctive decorative moments.
Each one demonstrates how the basic tray and crate building skills adapt to wildly different purposes.
DIY Snowflake Christmas Trivets
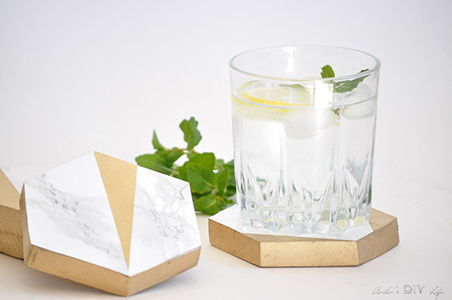
Trivets protect surfaces from heat damage, but decorative trivets double as seasonal art that earns display space year after year.
These snowflake-shaped trivets combine practical function with holiday charm that makes them perfect hostess gifts, teacher appreciation presents, or additions to your own seasonal table settings.
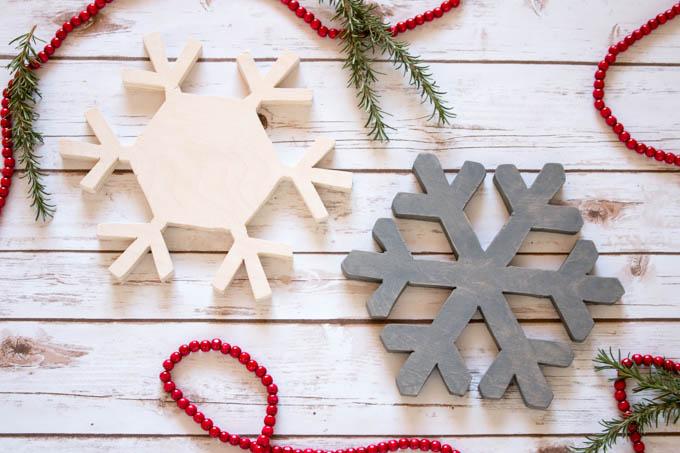
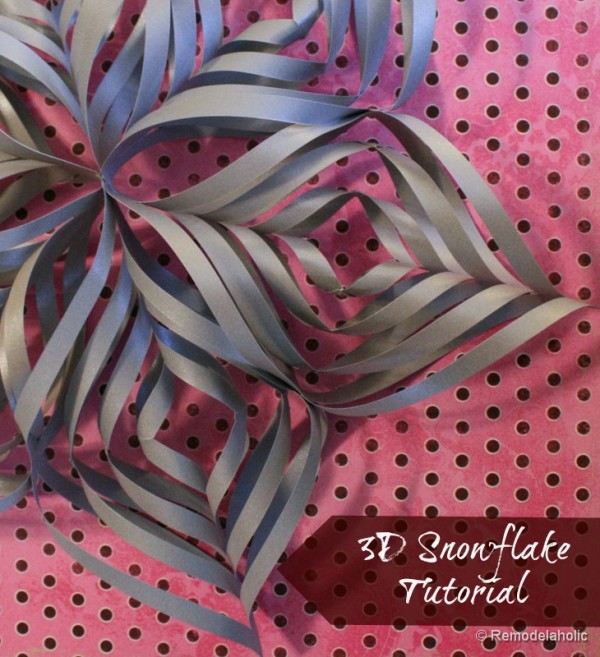
The snowflake pattern can be cut from solid wood, assembled from individual wood pieces arranged in geometric snowflake shapes, or created using slats arranged in radiating patterns that echo snow crystal structures.
Package them in a wooden crate lined with tissue paper and add a handwritten note for the ultimate presentation.
Full tutorial for snowflake Christmas trivets
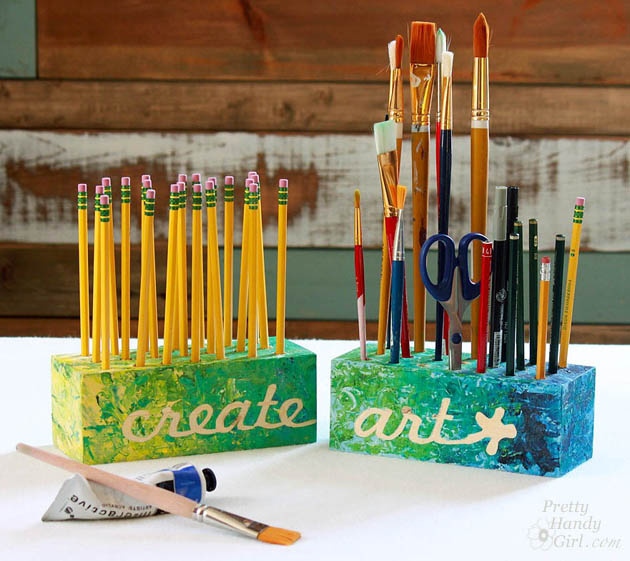
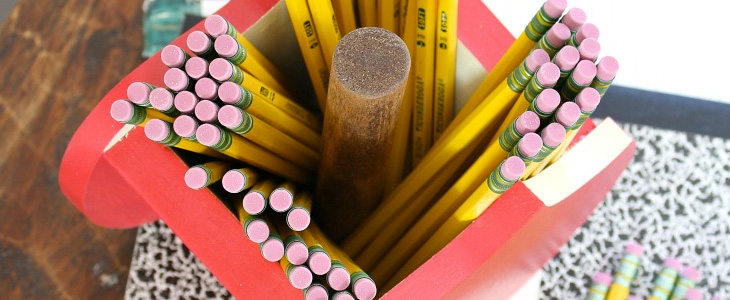
DIY Apple Pencil Holder
This specialized pencil holder creates dedicated storage for pencils and other writing tools and small desk accessories.
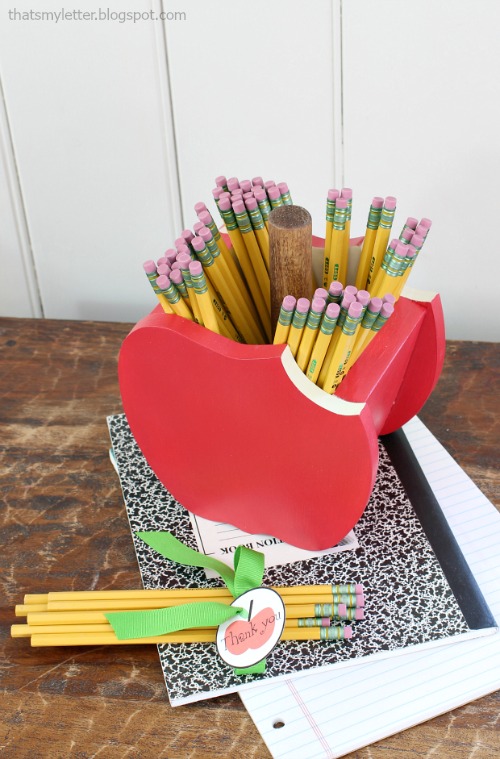
A cute mug filled with pens would make a nice gift, but this specialized holder is a better way to organize.
The gift works perfectly for artists, designers, students, teachers, or anyone who wants to organize their desk.
Full tutorial for DIY apple pencil holder
DIY Scrap Wood Caddy
Scrap bins hold potential, not trash, and this caddy project proves it by transforming leftover pieces into practical organization.
The scrap wood approach means you build the entire caddy from materials you already have from other projects, reducing waste while creating something useful.

The caddy serves countless uses depending on compartment sizing. Kitchen utensil organizer. Craft supply carrier. Garden tool caddy.
Hardware sorter. Mail and key organizer. Fill it with a gift card for the holiday season, small items and fun goodies to create a personal gift that showcases your creativity.
Full tutorial for DIY scrap wood caddy
These 20+ projects prove that gift-worthy trays and crates come from creativity and effort rather than expensive materials or professional shops.
That intention shows in every detail, and people feel it when they receive gifts made by hand rather than pulled off a shelf.
PIN FOR LATER