
Professional painters have the right tools and right equipment to get a professional finish. Having worked with a lot of painting pros and having painted every room in our home at least once if not twice. You could say that over the years I’ve learned a few tricks of the trade and have acquired quite a few painting tools. But, only a handful are the best painting tools that get pulled out for every painting job. These are my Top 15 Must Have Painting Tools!
(I’ve included affiliate links for your convenience. I earn a small percentage from a purchase using these links. There is no additional cost to you. You can read more about affiliate links here.)
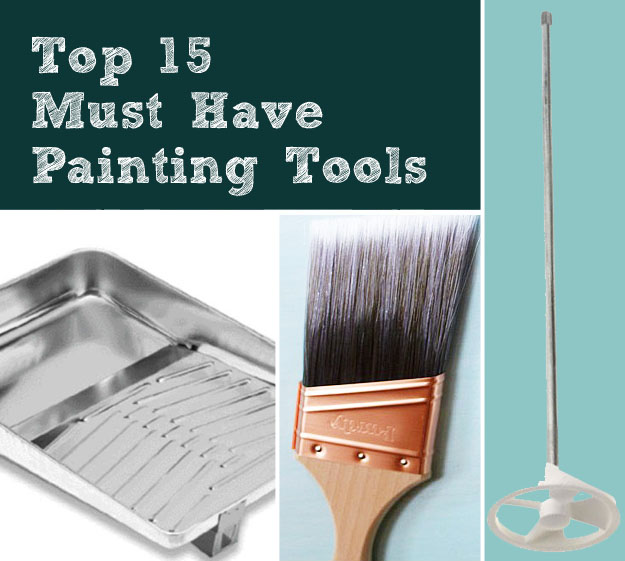
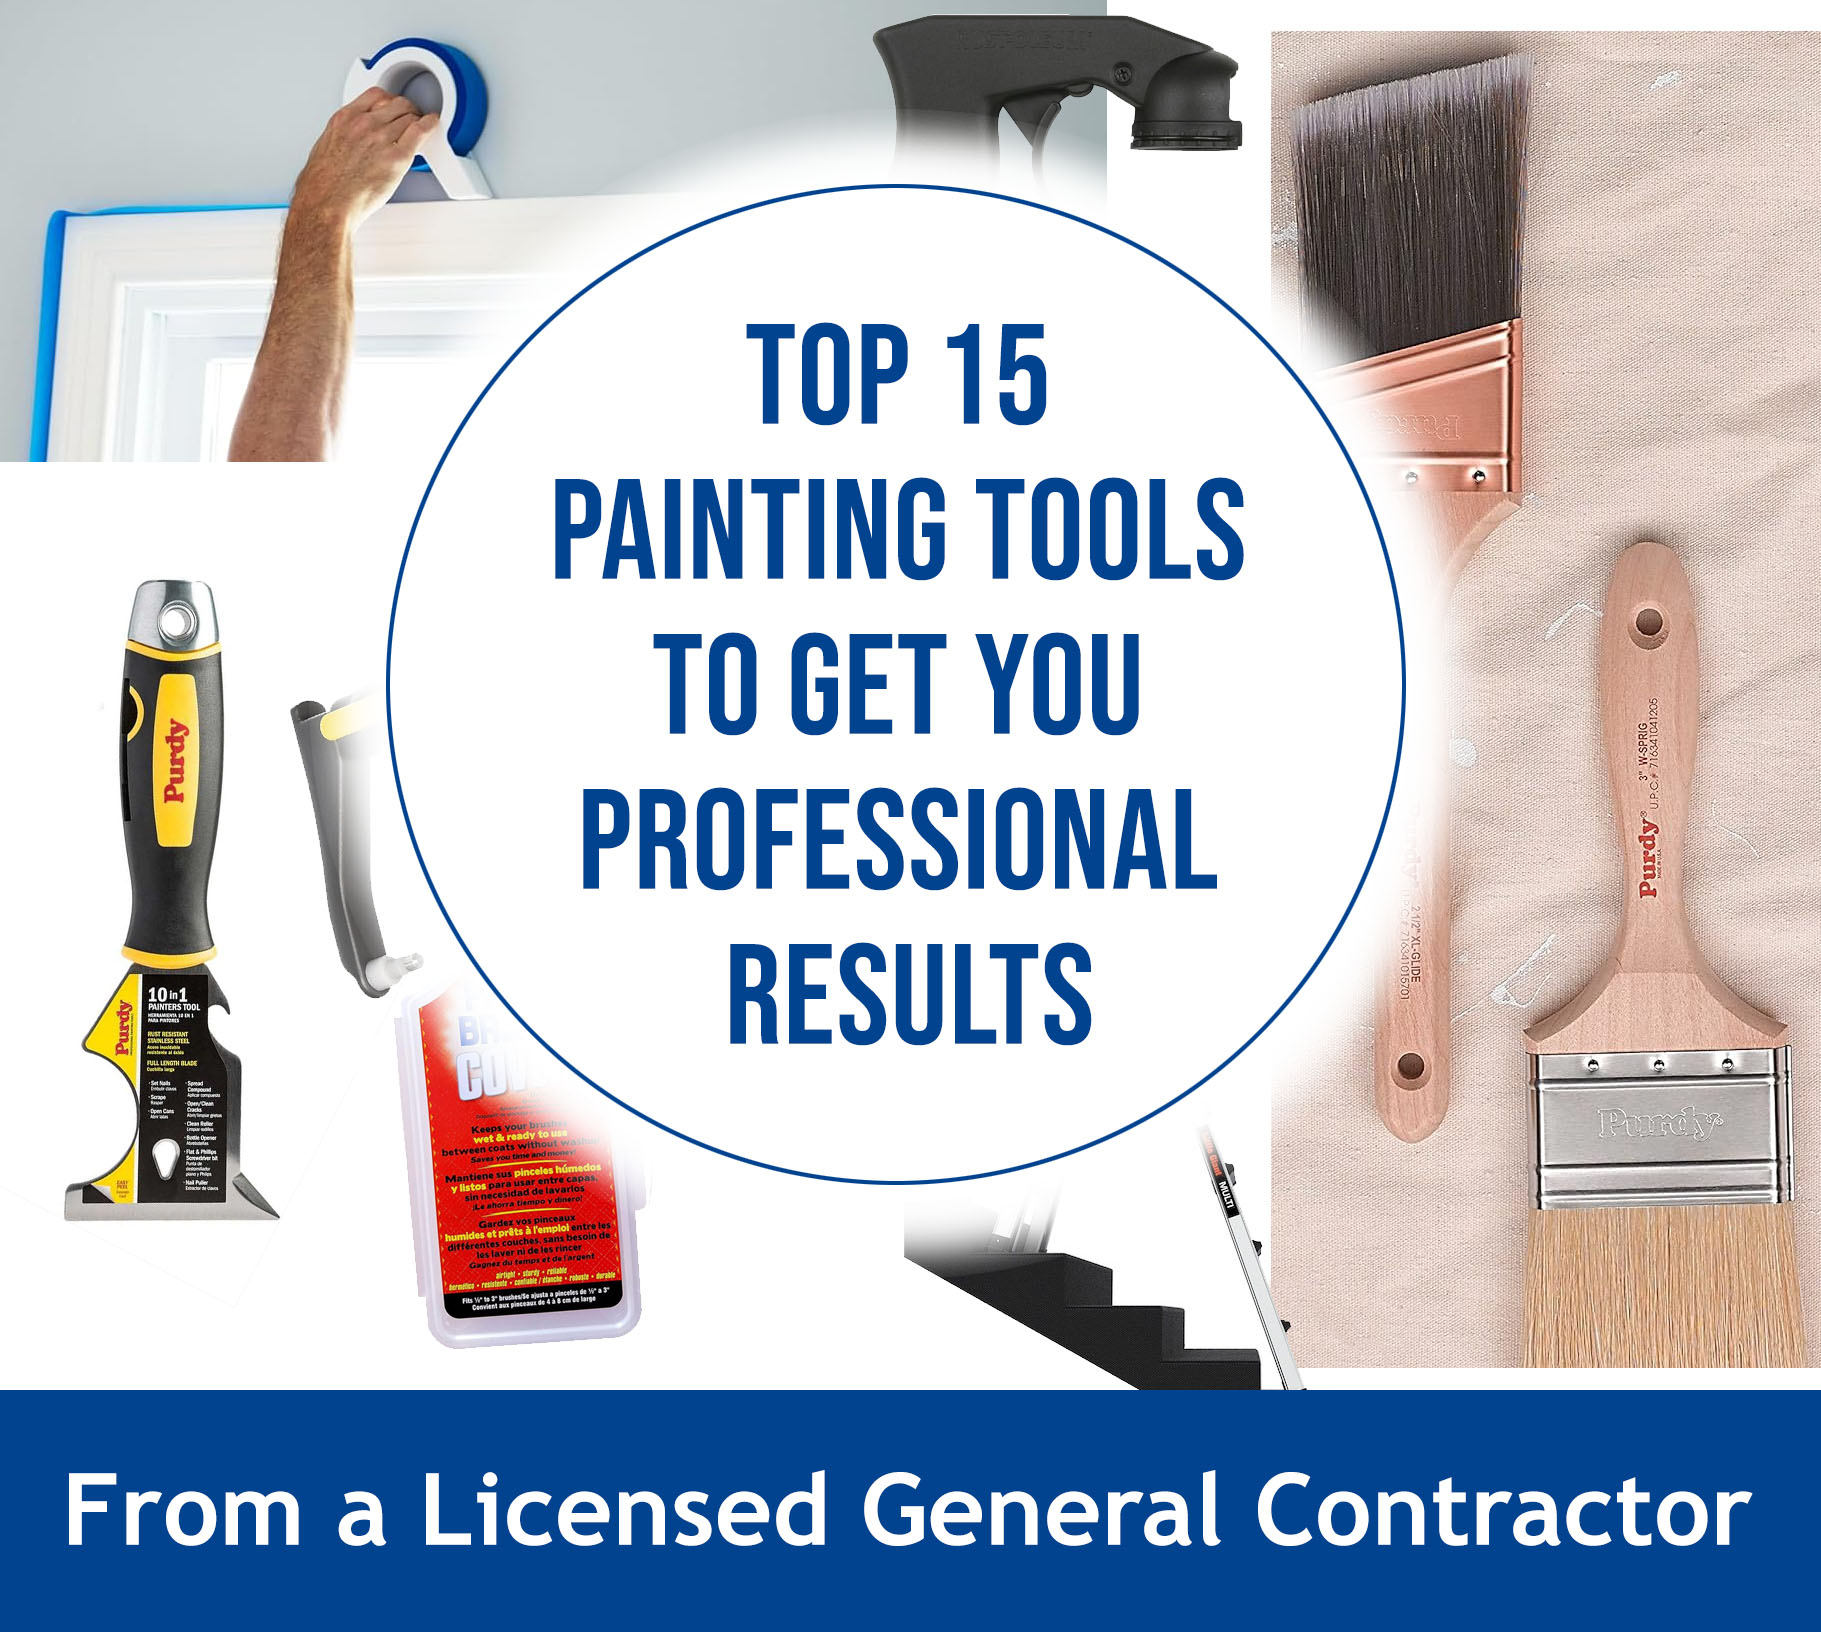
Top 15 Must Have Painting Tools
1. ScotchBlue Tape:
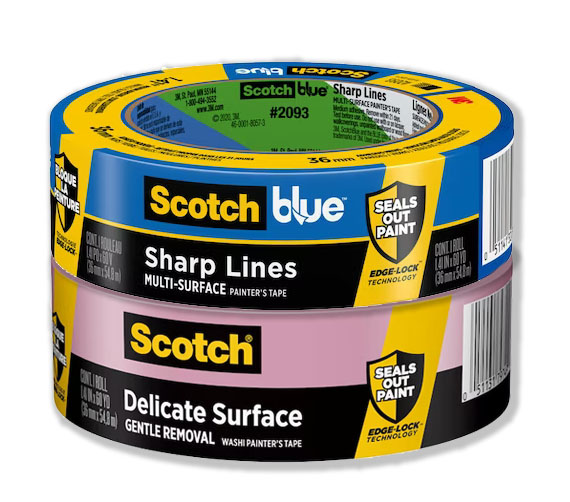
Painter’s tape is a necessity for clean edges. I’ve been using ScotchBlue for years and I can tell you that the painter’s tape you used 5 years ago has changed. ScotchBlue is constantly researching and developing better painting products every year. We always have a supply of ScotchBlue in my tape drawer and we definitely go through it!
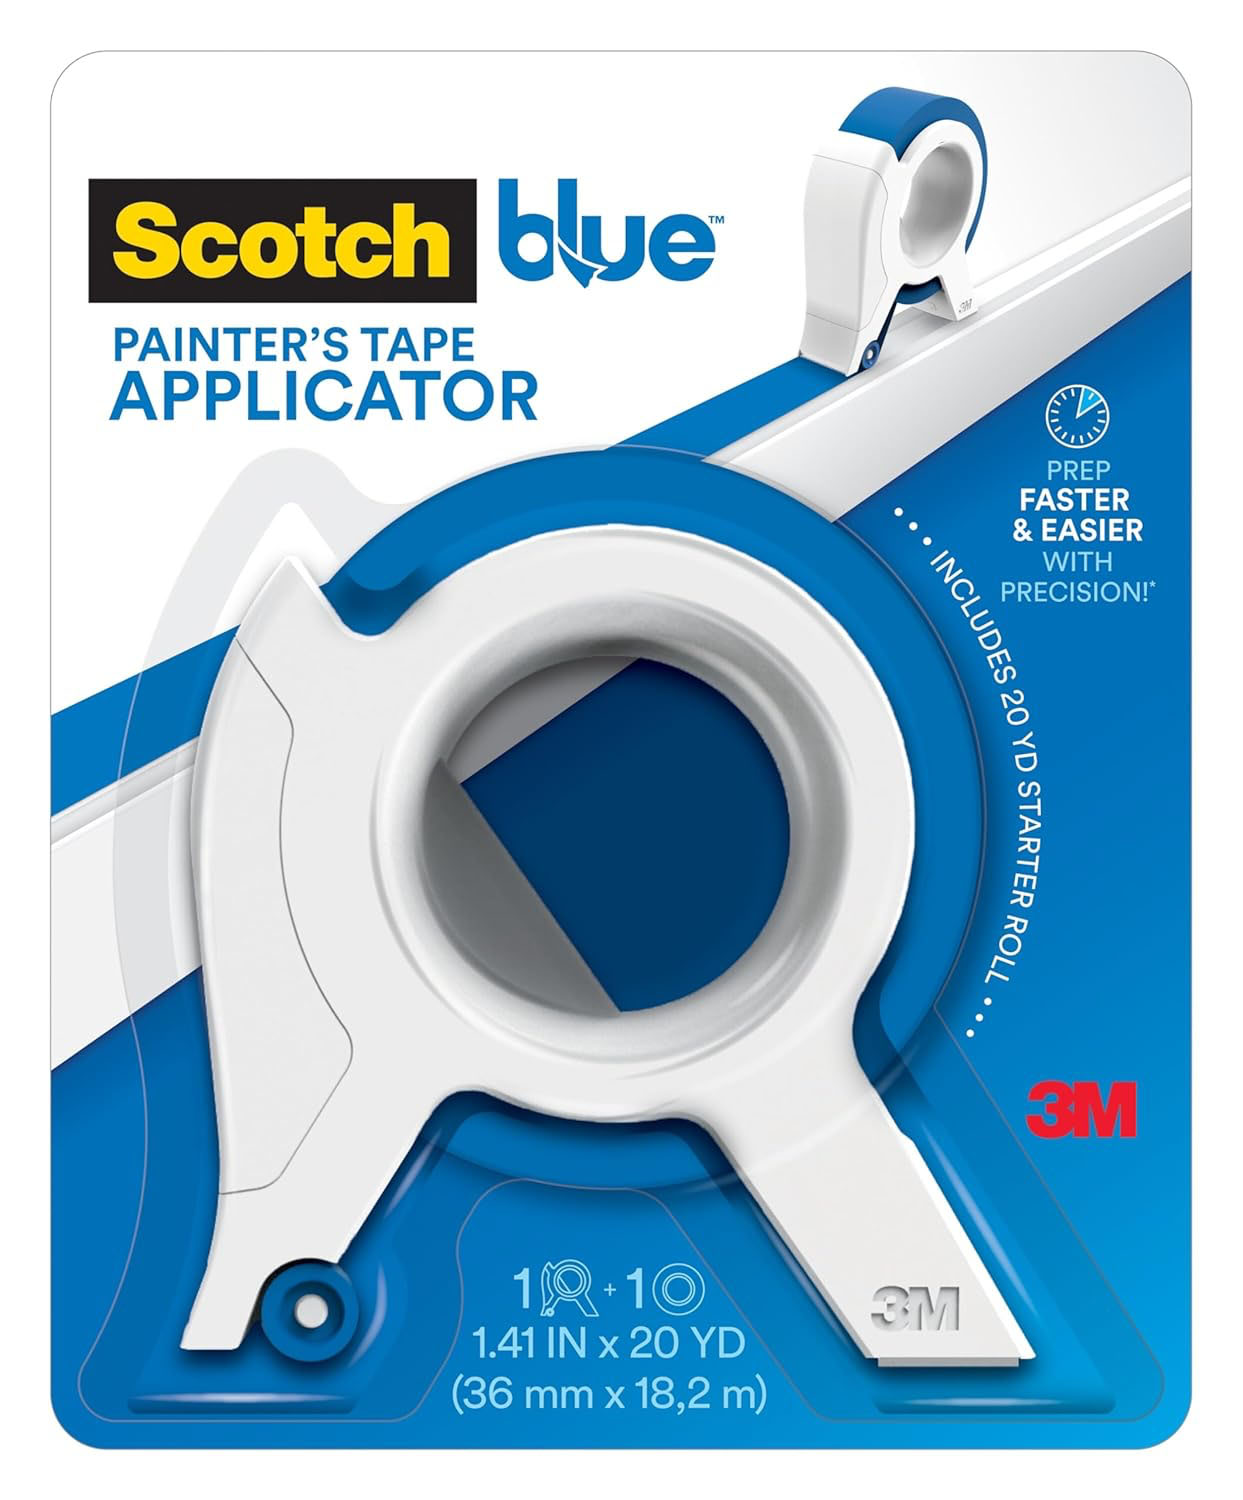
I used to be a taper and taped off every room we painted. (Now, I’ve gotten much better at cutting in with just a brush.) But, there are still spots that I choose to tape (like the baseboards where the tape will protect freshly painted baseboards when using a roller on the walls. This painter tape applicator really shaves time off the taping tasks.
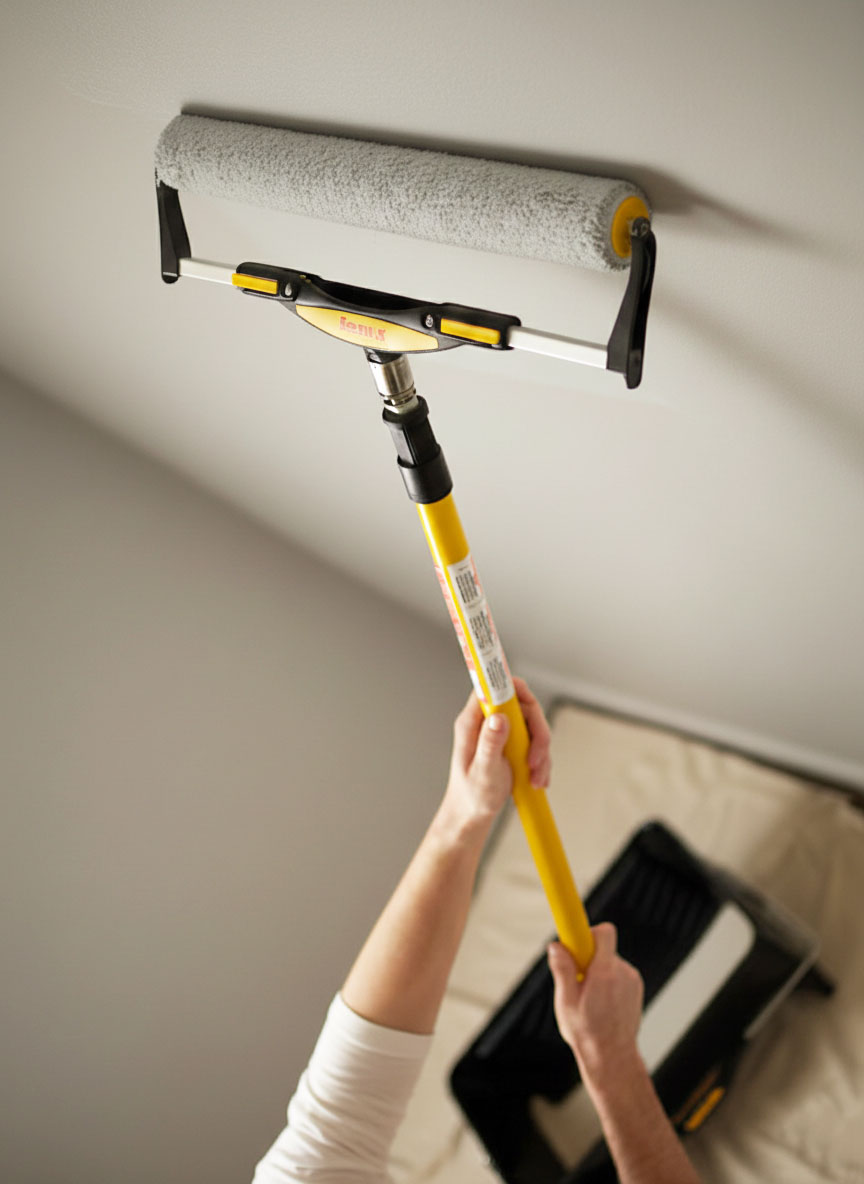
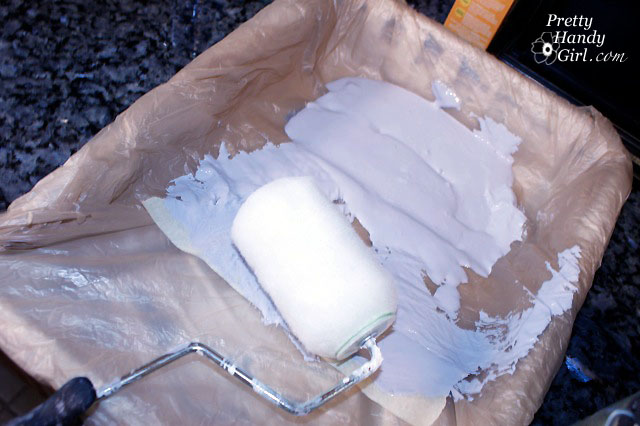
3. Wide Roller, Pole, and Paint Tray:
A few years ago, a painting pro showed me how she paints a interior room in no time by using an 18″ roller cover and a short painter’s pole. This one swap to a longer roller has saved me so much time when painting walls!
Don’t forget: When you switch to wide rollers, you’ll need a bigger paint tray. And don’t forget the roller covers.
Another Time Saving Painting Tip:
To save time on clean up, line your paint tray with a plastic grocery bag or kitchen trash bag (fits the bigger paint tray) for easy clean up and for protecting the tray from numerous layers of paint. Alternatively you could purchase plastic tray liners, but these cost more money and take up more space in the trash.
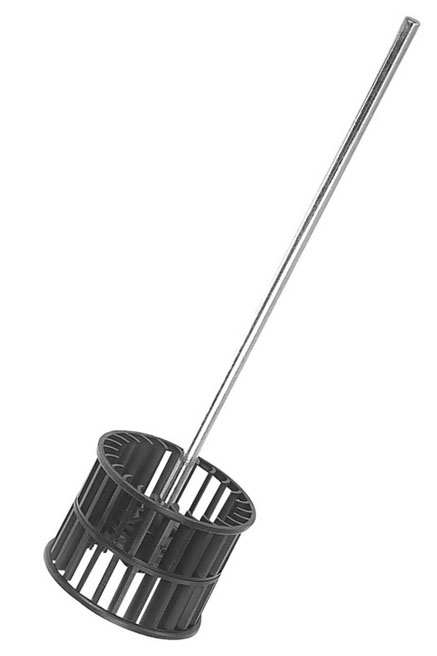
4. Paint Mixing Drill Attachment:
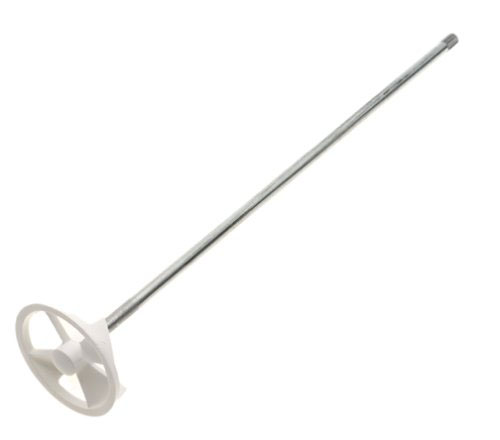
I jumped at buying this paint stirrer drill attachment just to have an excuse to pull out my drill for another project! Honestly, unless you like the slow process of thoroughly mixing old paint or blending colors, you’ll want one of these for your own. You can use it on water-based paints, oil-based paints, and stains. And, it makes your paint super smooth and creamy. Mmmmm.

Having a handy paint pail to hold paint for painting trim while balancing on a ladder just makes sense (unless you like step aerobics.) This handheld paint pail has a magnet inside that will keep your paint brush from being completely submersed. It’s lightweight and easy to hold in one hand while you brush with the other.
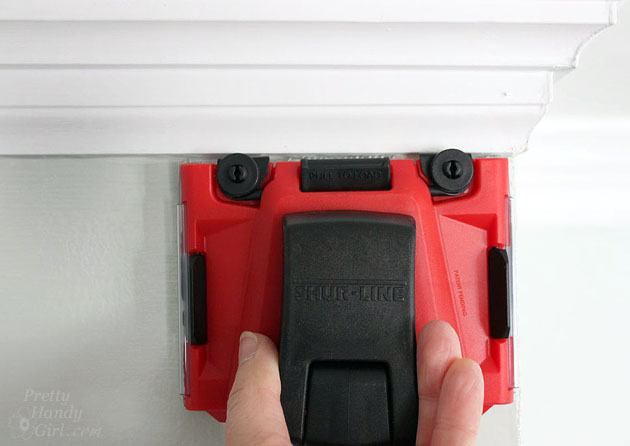
I’ve tried so many edging gadgets that I could build a wing on my garage just for paint gadgets. I always come back to this basic edger, that had a minor upgrade recently making it easier to load paint. You can read more about why I love this edger so much and why it’s even easier to use now. This Shurline Edger is a simple tool that does a great job with a clean edge on inner corners…
…outer corners and around objects. The bristled pad is removable for easy cleaning. If you opt to buy a different edger, make sure it has a hole to accept an extension pole.
7. Extension Pole:
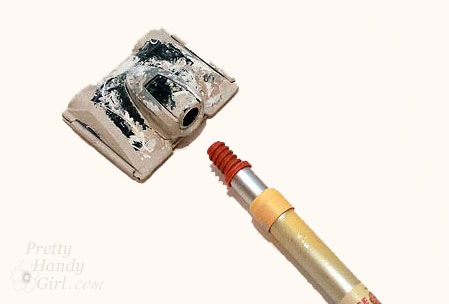
An extension pole is a necessity for high walls and high ceilings in general. The extension pole can screw into most paint rollers and edgers that have a hole for the extension pole. Buy one today, your neck will thank you but your chiropractor will miss you.
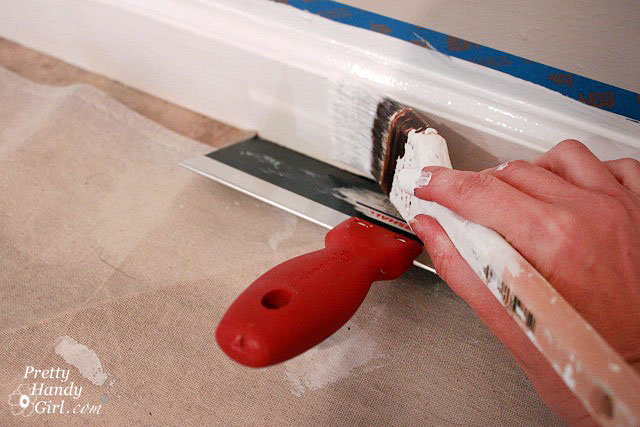
Painting trim is the final step in painting a room. At this point you see the light at the end of the tunnel and are ready to be done. I gave up taping off the carpet and flooring and use a drywall taping knife as a painting guard instead. It was quick and easy to use. Simply push it under the baseboard, paint and wipe off the blade once in a while.
9: Two Step Stool with Tall Handle:

Unless you are 6’4″, like my brother, you’ll likely need a step stool for painting crown molding and the top of the wall. I have a Cosco brand that has a long handle for grasping at that moment that you realize you leaned too far to one side. (Not that that ever happened to me.)
10. Lined Drop Cloths:
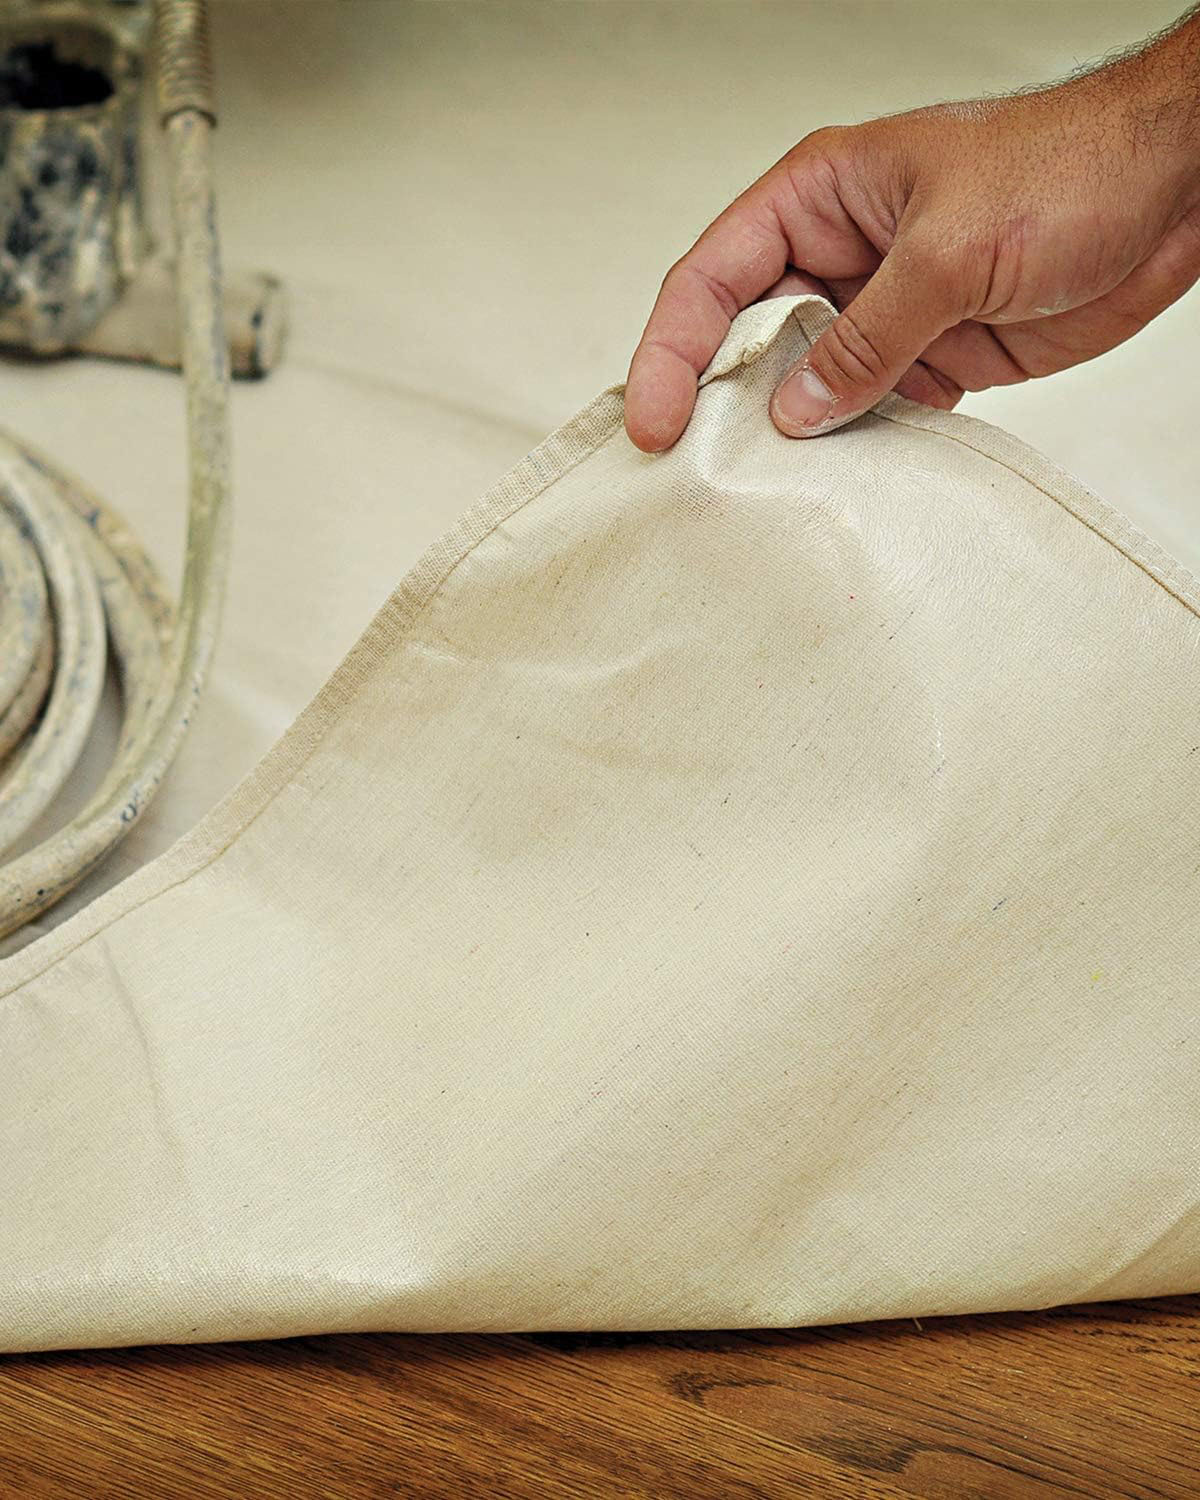
Have you ever had paint drips? No? Liar!! Have you ever stepped in and tipped over an entire gallon of paint? Ummm, yes, I did do that once. A waterproof drop cloth is my newest painting BFF. Not only does it protect your floors from spills, but it won’t slip! It’s re-usable and folds up, taking minimal space in storage. Pick up a couple of these Lined Drop Cloths that are environmentally-friendly and will save your floors.
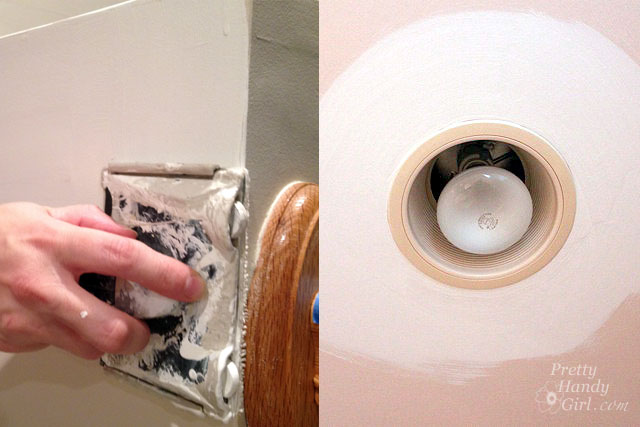
11. Rustoleum Spray Paint Handle:
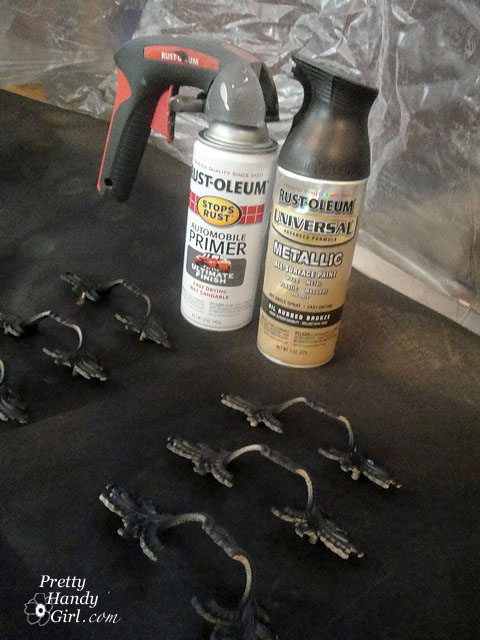
Ever have trigger finger? No, not the itchy kind. The kind that cramps up after spray painting a fleet of furniture. That’s the same moment you realize you forgot to wear gloves. Only now it looks like you are wearing a black glove — but you’re not — it’s paint. The Rust-oleum Spray Handle solves both of these problems and is the best thing since spray paint! It fits on almost all spray paint cans except the ones with the built-in-trigger top like shown on the right above.
12. Good Quality Brushes:
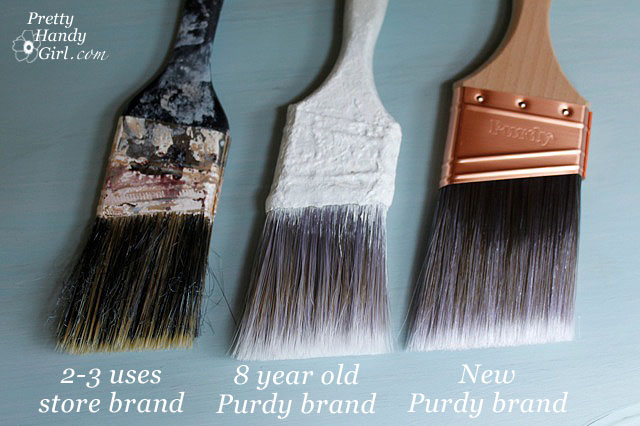
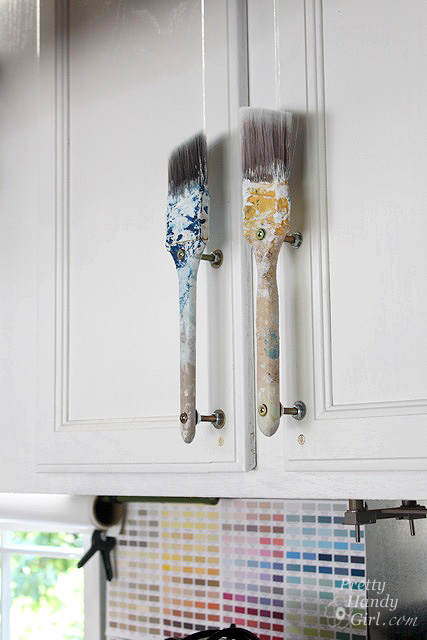
My love affair with Purdy brushes may be considered a little extreme. I love them so much that I immortalized two as cabinet handles in my garage:
A good brush makes all the difference in how your painting project turns out. Ever struggle with edging? Maybe try using the best painting brushes your money can buy. Sure, they cost a little more, but they hold their shape and if you clean them right, you will never have to buy new ones! One 2.5″ and a 1″ brush are all you really need.
13. The Paintbrush Cover:

The Paint Brush Cover is the newest addition to my painting tool box. When I get interrupted while painting with a phone call, it is so quick and simple to set the brush in the cover and seal it up. The Paint Brush Cover is like tupperware for your paint brushes. And if you are going to spend money on good brushes, you better make sure that you don’t let the paint dry out in them!
I was truly pleased when after a week with pneumonia, I returned to the room I had to abandon painting, to find that the brush I had stored in the Paint Brush Cover was still wet and the paint was ready to use! I was one happy DIYer!

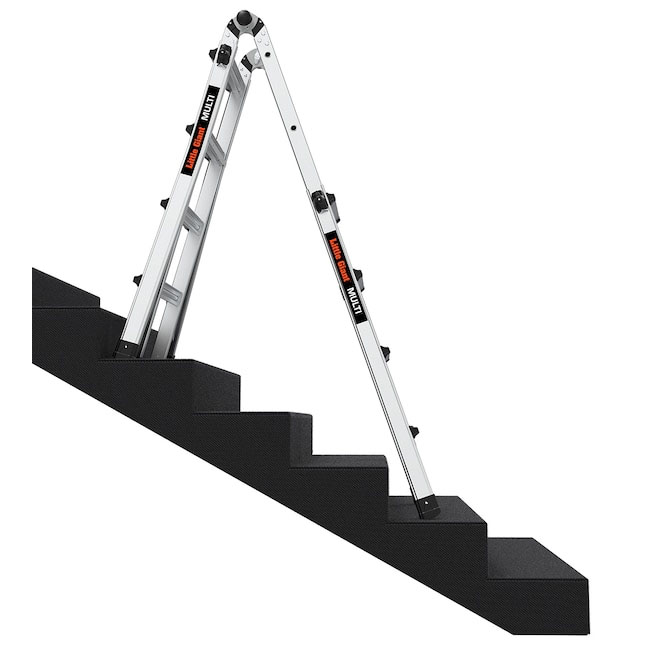
14: Telescoping Multi-Position Ladder:
I rarely hire a professional painter, for that reason I’ve gotten myself into some tight spots while painting. But, none are more awkward than painting over stairs. The edger on a pole works okay, but inevitably I’ll bump the ceiling or the wall that wasn’t supposed to be painted. Having a ladder that expands and can adjust to different angles is crucial for accessing hard to reach spaces. Little Giant Ladders have perfected the multi-position ladder.
15. Painter’s Tool
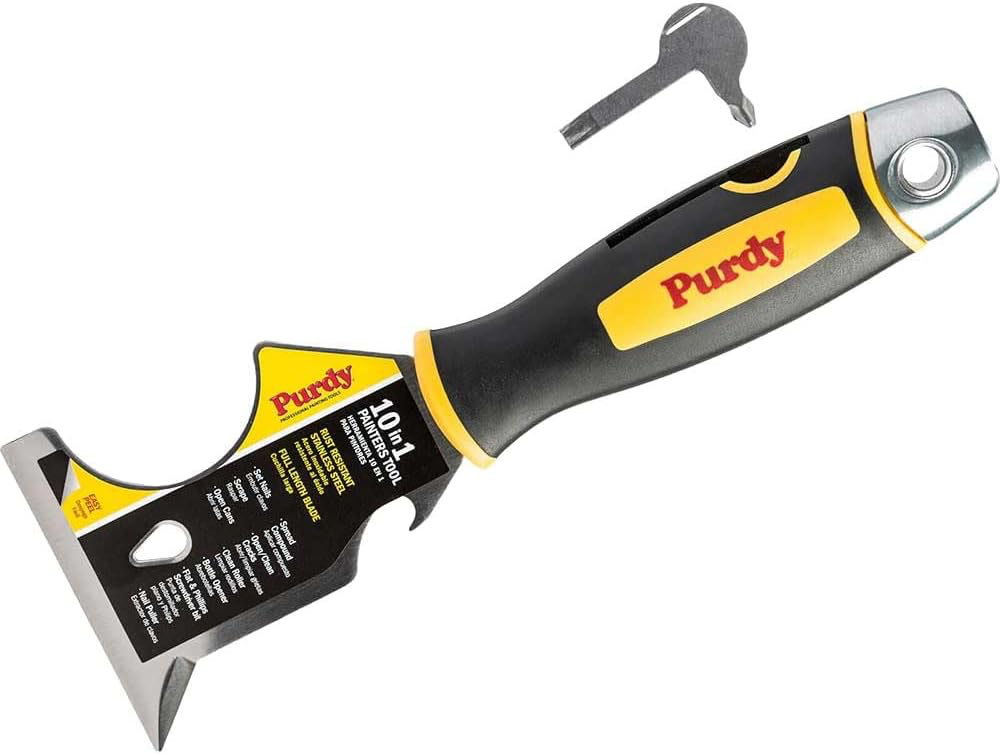
This one tool is like the Swiss Army knife for painters. You won’t believe all the things it can do:
- Setting nails
- Scraping
- Opening tins
- Spreading compound
- Open/clean cracks
- Filling cracks
- Cleaning roller
- Nail puller
- Flat & Philips head screwdriver (arguably the best feature)
- Hammerhead on the handle
If you don’t already have one, this 10 in 1 Painter’s Tool is truly an essential tool for any painter.
Are there any tools I missed? If so, I’d love to hear what your favorite painting tools are in the comments below. And remember the best results for your next painting job come from having the best paint tools.
Ready to start painting? Be sure to read all the posts in my Paint Week series:

- Monday: How to Pick Your Paint Color
- Tuesday: How to Pick the Paint Sheens and Paint Types
- Wednesday: Prepping to Paint Your Room Like a Pro
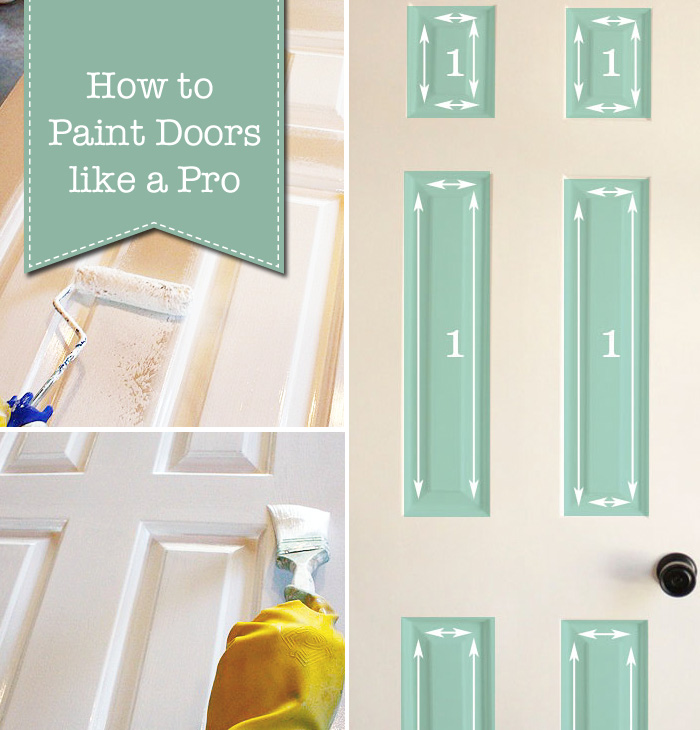
- Thursday: How to Paint Your Room Like a Pro
- Friday: Top 15 Must Have Paint Tools

Pin for later!


