How to Create a Rustic Wood Headboard for $80 | Pretty Handy Girl

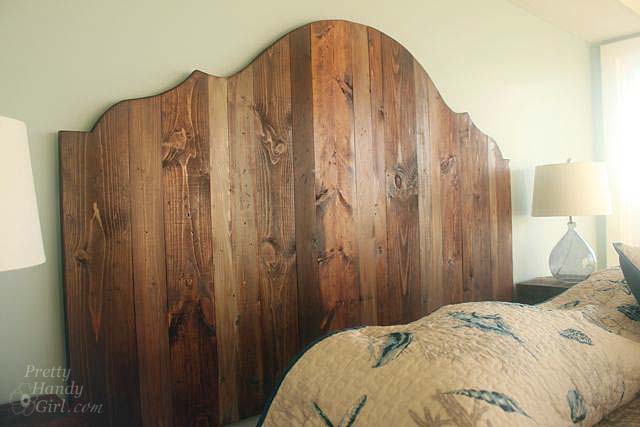
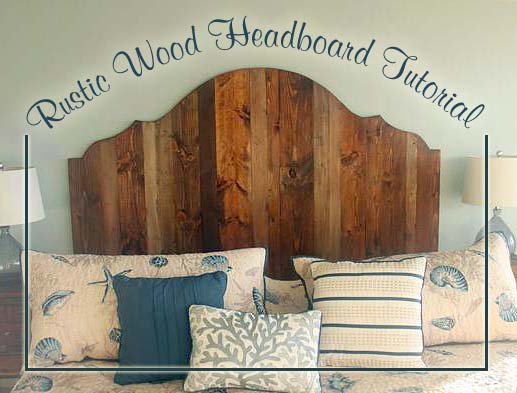
I’m back with more progress on the beach condo. I am really excited to share this tutorial on how to create a rustic wood headboard with you because it caused quite the buzz on Facebook and Instagram. This has to be one of my favorite projects that I completed in my stepmom’s beach condo. (You can see more pictures of the condo renovation on my sister’s interior design business page. Be sure to like her page, she has some great renovations to share.)

My sister, Caitlin, wanted me to make a unique rustic wood headboard for the master bedroom. Her budget was running low so she turned to Pinterest for some ideas and showed me this picture as inspiration.

I followed the link to a retail site where you could purchase the headboard for $2,195! {Cough, choke, gag…this was well out of our budget!} When we tallied the receipts, the lumber and materials to build our own king-sized headboard came in around $90 from Lowe’s! Woot woot!

And best of all, it is a relatively easy project that anyone can do if they have the right power tools.

Materials: Read more

DIY jewelry organizer | Pretty Handy Girl

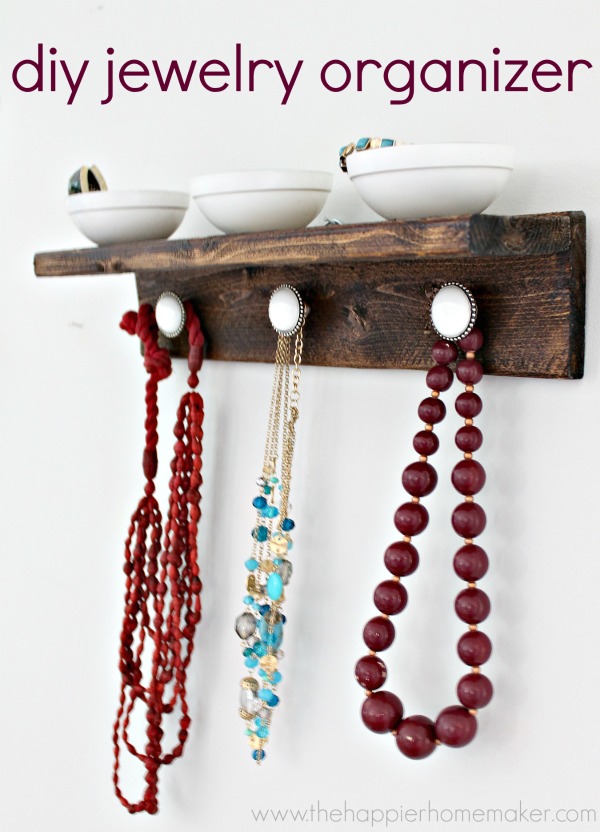
Hey there! I’m so excited to be here today and share with you a super easy way to keep your jewelry organized.  I have three little boys, the youngest of which is two and he thinks it’s great fun to ransack my jewelry box now that he’s tall enough to reach it.  I realized I needed to move my storage up onto the wall pronto! I’d love to show you how to make this super easy rustic wood organizer!

Materials

  • scrap wood (I used a 30″ long piece of 1 by 3 board leftover from a previous project)
  • circular saw
  • safety glasses
  • wood glue
  • finishing nails
  • hammer
  • medium grit sandpaper
  • wood conditioner
  • wood stain/polyurethane
  • drill
  • knobs of your choosing with coordinating washer and nut (3)
  • drill bit (width depends on the width of your knob screws)
  • small glass kitchen bowls (I purchased a 4 pack at the dollar store)
  • white spray paint/primer
  • hot glue gun and glue
  • large D-Ring hangars (1-2)

Instructions

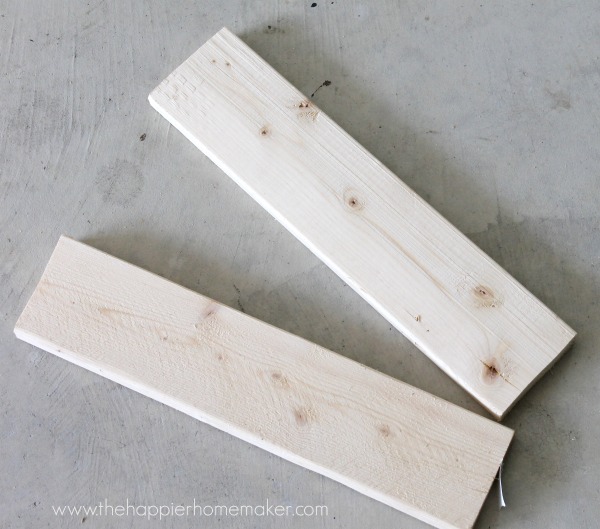
Cut your wood into two 15″ long pieces using a circular saw (be sure to wear your protective glasses!)

jewelry organizer wood

Apply wood glue to the long edge of one of your pieces-be sure to apply it towards the back edge and use only a thin line as it expands as it dries. Read more

cupcake stand

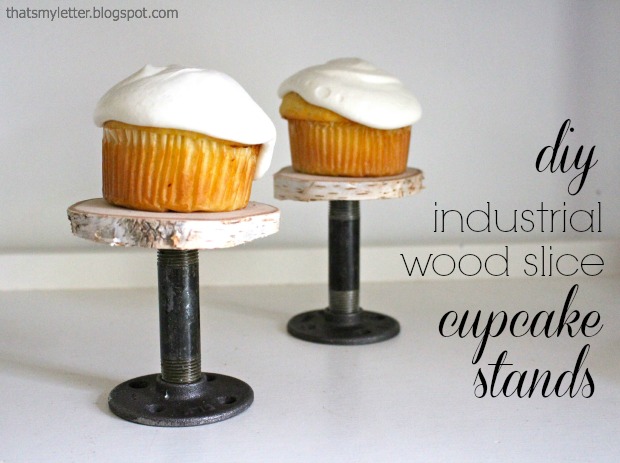
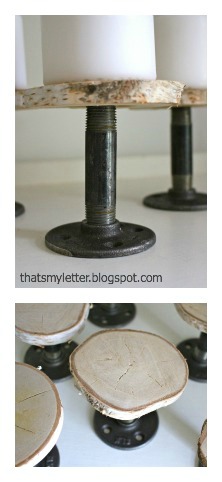
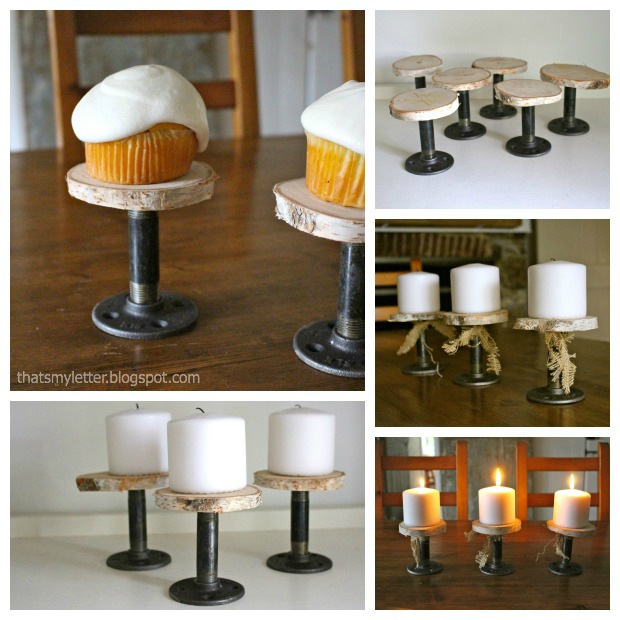
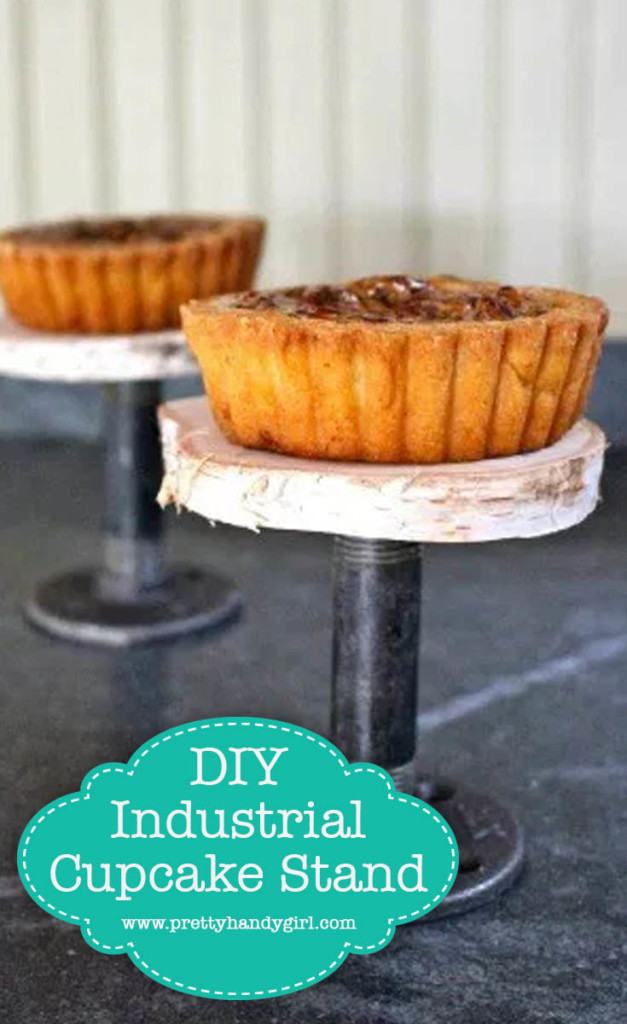
Make these DIY industrial cupcake stands now and you’ll be ready for all the upcoming holidays, Thanksgiving and Christmas are fast approaching!  The cool black steel plumbing parts base combined with the natural wood slice platform lends itself to an unexpected industrial feel.

Each cupcake stand costs $5.50 in parts (not including the birch log), very reasonable for a unique, DIY project that could easily lend itself to become a favor or small gift.

cupcake stand 3

Supplies required (for one DIY Industrial Cupcake Stands):

  • 1/2″ black steel floor flange
  • 1/2″ x 3 1/2″ black steel nipple
  • birch log (approx. 5″ in diameter)
  • hand saw or circular saw
  • palm sander or sandpaper
  • drill
  • 3/4″ circular drill bit
  • E-6000 glue

DIY Industrial Cupcake Stands Instructions:

cupcake stand 4

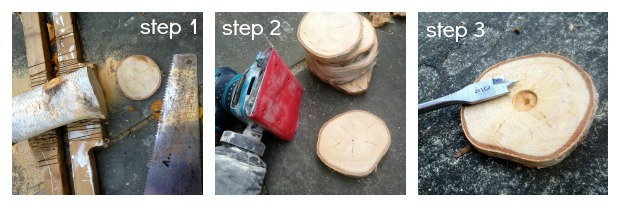
Step 1: Using a handsaw or circular saw slice off 3/4″ thick disc of wood from the birch log. (If you’re concerned about bugs, you can bake them as shown here.)

Step 2: Sand wood slices smooth.

Step 3: Using a drill with a 3/4″ circular bit drill out a small hole for the nipple piece, only about 1/4″ deep, be careful not to let the tip of the bit pierce through to the other side of the wood slice.

cupcake stands 5

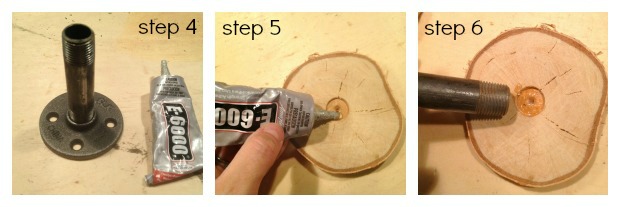
Step 4: Apply E-6000 glue to one end of nipple and screw it into flange.

Step 5: Apply E-6000 glue to circular hole in wood slice.

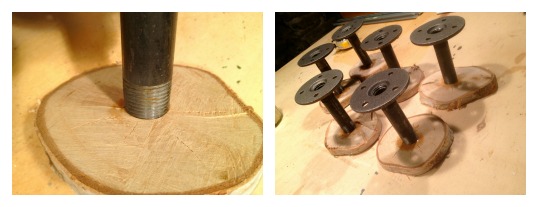
Step 6: Gently ‘screw’ other end of nipple into wood slice.

cupcake stand 6

Let the glue dry while the cupcake stands are upside down.

When dry, flip the stands over and load them up!  They are perfect not only for cupcakes but candles too:

cupcake stand 2

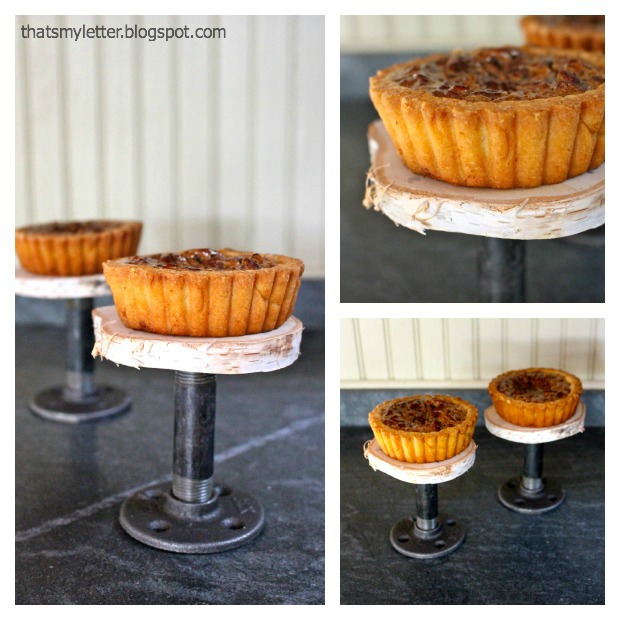
Cupcakes, candles and individual pies too!  Mini pumpkin and pecan pies are on definitely my Thanksgiving menu this year:

DIY Industrial Cupcake Stands

Jaime signatureLearn more about Jaime ~


Pin for later!

DIY Industrial Cupcake Stands

How to DIY a GIANT artist canvas | Pretty Handy Girl

Have you ever yearned to own a giant piece of artwork but the cost was prohibitive? Or you knew you could create some awesome abstract paintings, but buying large canvases would cost too much. Well, for those hesitant artists, I have this quick tutorial for building your own GIANT canvas!

Materials:

How to DIY a GIANT Artist Canvas

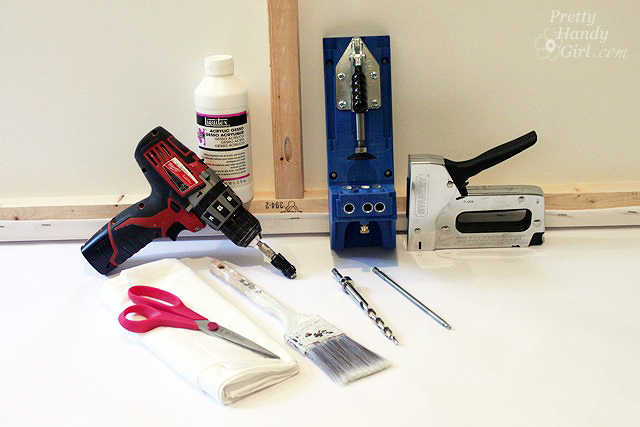
  • 2×2″ boards for frame supports (two sides, top, bottom and center support)
  • Kreg Jig and pocket hole screws
  • Drill
  • White fabric (canvas material would be best, but use what you have)
  • Staple gun and staples
  • Paint brush
  • Gesso (if you don’t have gesso, primer would probably work fine)

Instructions:

Cut your 2×2″ lumber down to size. Cut your top and bottom the full widths. Cut the two sides and the center support 3″ shorter to accommodate the height of the added top and bottom pieces. Note, if your canvas is portrait (instead of landscape), your support will be a center horizontal brace instead of vertical as shown. Read more

Tres-frugal-party

At the end of every year I’m struck by how much money is spent on holiday gift giving. There are so many people to buy for! As an answer to the age old question, “What should I get _______?” I’m teaming up with several bloggers to bring you Trés Frugal in November.

We’ll have 30 beautiful, useful, inspirational, and fabulous DIY gift ideas complete with the tutorials to make your own. I hope you’ll join us, get creative and save a little cash to spend on yourself this holiday season!

I know November seems to be such a long time away, so I decided to give you a little taste to whet your appetite. I’ve given Tidy Mom a new tutorial to make this Vintage Coat Hook Wall Vase, which would make a nice gift for anyone who loses their keys or the dog leash from time to time (totally guilty of that myself!)

Vintage Coat Hook Wall Vase | Pretty Handy Girl Guest Post

Head over to Tidy Mom to read the full tutorial. And remember to follow along in November for more DIY Gift Ideas!

PHGFancySign

View all the Trés Frugal projects here.

You may also want to check out my 15 Minute DIY Gift Ideas from last year!

10 Days of 15 Minute DIY Gift Ideas