Boy's Red, White & Blue Themed Room | Pretty Handy Girl

Galvanized Tub Storage Bench for Kids | Pretty Handy Girl

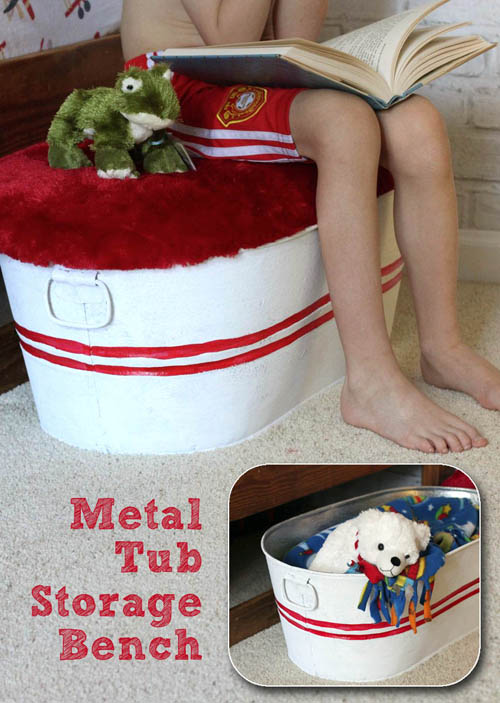
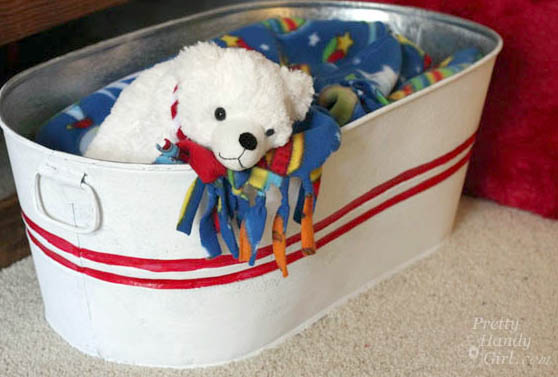
Every month Lowe’s challenges me to create another unique project to share with you. This month’s challenge was creative storage ideas. Have kids? This is a unique storage solution using a galvanized tub and a furry upholstered lid. It’s the perfect place to store and corral all that kid clutter in your child’s bedroom. The storage tub doubles as a bench and a step stool. Don’t be deterred if you don’t have children, the storage bench could be used for magazine storage and much more!

Grab these materials and tools and follow along with me (and my 13 year old assistant.)

Creating the Galvanized Storage Bench and Lid

(I’ve included affiliate links for your convenience. I earn a small percentage from a purchase using these links. There is no additional cost to you. You can read more about affiliate links here.)

Materials for the Galvanized Storage Tub and Lid:

Galvanized Tub Storage Bench for Kids | Pretty Handy Girl


Instructions:

Turn the galvanized tub upside down on the plywood. Use the sharpie to mark approximately 1/2 – 1″ out from the edge of the tub. Read more

How to make a hanging ornaments table runner | Pretty Handy Girl

I have half of the dynamic duo from At the Picket Fence today and I couldn’t be more thrilled! Heather and Vanessa are the sibling duo who create and blog about their beautiful homes and share scrumptuous recipes! I’m honored to have Vanessa here today to share this brilliant Ballard Designs knock off project.

How to make a hanging ornaments table runner | Pretty Handy Girl

page_break_2

Hi there! I’m Vanessa from the blog At the Picket Fence and I’m so thrilled to be visiting here today! Brittany’s kinda my hero and is helping me find the courage to tackle more DIY projects. Come 2014 my house isn’t gonna know what hit it! At this time of the year more than ever, being frugal is the name of the game and I love to try and come up with creative gift giving ideas for friends and family. Today I’m sharing with you a so simple, no-sew project!

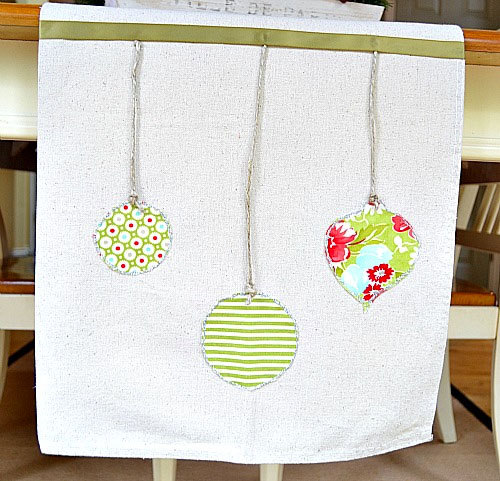
I just love me some Ballard Designs. Don’t you? But, their prices don’t love me back. So, I have to resort to knocking them off. That always sounds so wrong doesn’t it? Kinda has a Bonnie and Clyde ring to it. I’m just going to think of it as imitation being the sincerest form of flattery! This is my version of their hanging ornament table runner from last year and just to prove how very très frugal this really is, here’s the cost difference:

Theirs ~$79.00 …….. Mine ~ $15.00

How to make a hanging ornaments table runner | Pretty Handy Girl

Supplies Needed:

  • Drop cloth cut to size of runner you want (don’t wash the drop cloth first!)
  • Fabric squares or remnants in color/patterns of choice
  • Twine
  • Ribbon in coordinating color
  • Glitter Paint writer in color of your choice

Instructions: Read more

Homemade Christmas cards

Today I have a great DIY blogger, friend and cohort when it comes to appreciating a handwritten note in a handmade greeting card! Chris from Just a Girl has a wonderful tutorial for creating handmade greeting cards that would make a wonderful DIY gift idea!

page_break_2

Hello! I’m Chris from Just a Girl, and if you’re anything like me, you’re already thinking about Christmas. It’s that time of year. That time when we have to find the means to come up with all those Christmas presents for loved ones, friends, and neighbors. Unfortunately, the extra money just doesn’t seem to be coming in. Brittany had a great idea to come up with ways to spend less, and I’m so happy to share my idea with you!

I’m a big fan of stationery. I think the written word is dying on us, so I do my best to correspond with it. I especially believe in thank you notes! Even (especially!) at Christmas, thank you’s need to be sent, and I have an extremely inexpensive way of personalizing them.

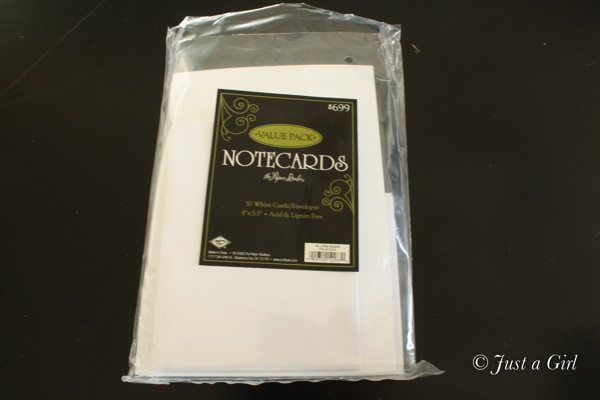
I picked up a package of blank white notecards at Hobby Lobby. They were about $4.00 with a coupon.

Blank cards

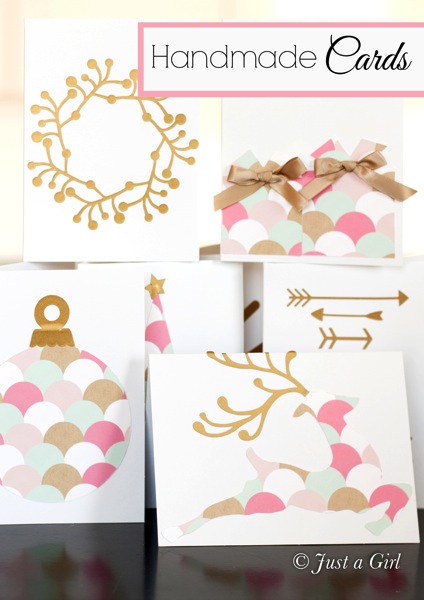
My madness in action involves my Silhouette machine, but you could easily choose designs that don’t involve intricate cuts. I’m crushing on pink and gold now, so I just used a combination of the two to come up with some pretty designs. Cut vinyl and scrapbook paper are adhered to the cards using some glue sticks to apply the shapes and a little bit of ribbon to add some dimension. Read more

creative-gift-wrapping

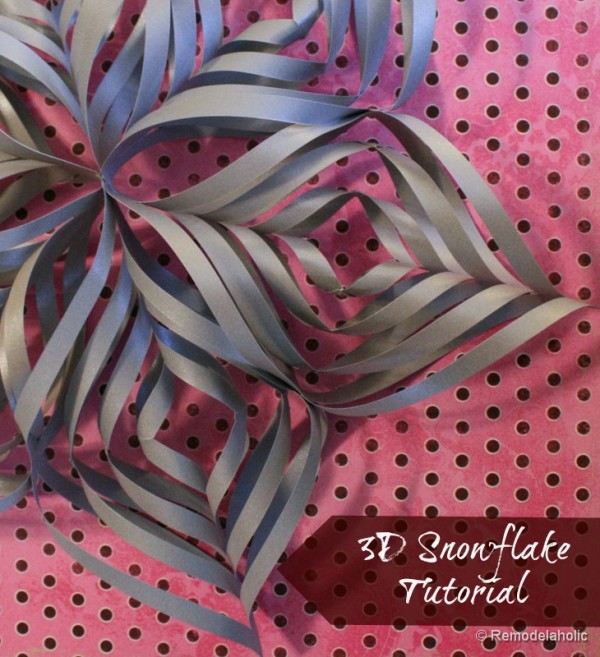
Snowflake Tutorial for Christmas

3D Paper Snowflake

Today’s guest is the queen of DIY! She’s all about doing it herself from huge home renovation projects down to small ornaments. Please welcome Cassity from Remodelaholic!

page_break_2

I think it is fun to let your kids get in on gift making, not just buying! Something simple that brings you together as family and doesn’t break the bank? This not so little 3D snowflake is the perfect answer to getting your kids involved!

Supplies:

  • Double sided Scrapbook paper (12″ x 12″ will result in less wasted paper!)
  • Glue, tape or staples
  • paper clips

Instructions: Read more

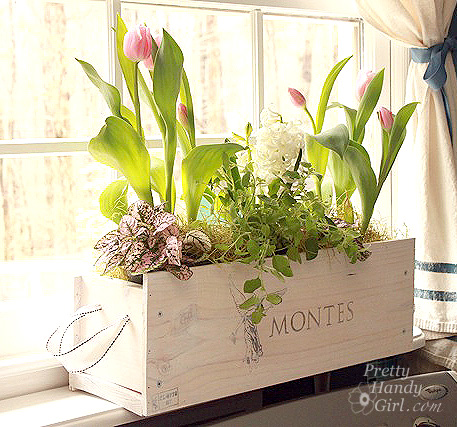
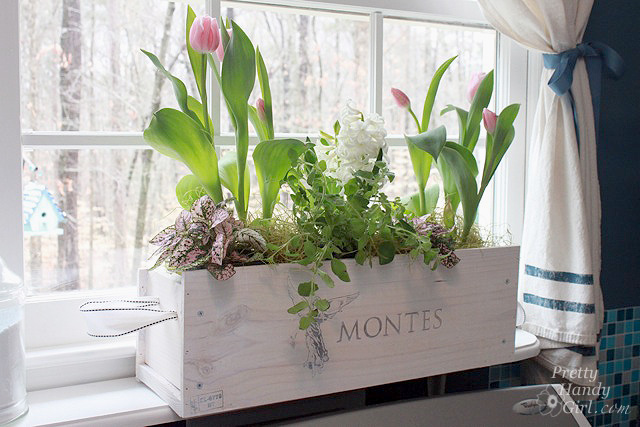
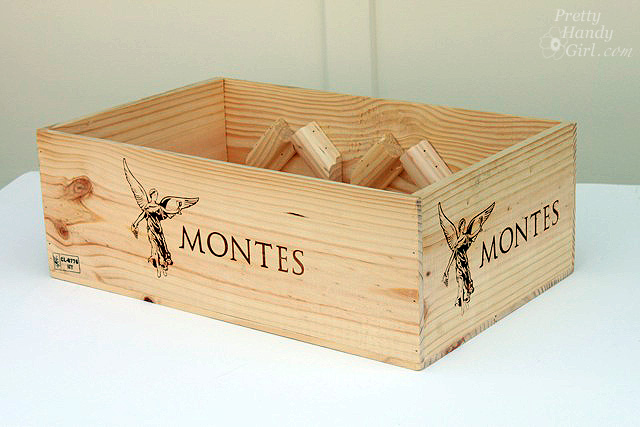
The other day I was wandering aimlessly shopping at Costco and spied an empty wooden wine crate. The angel stamped on the side was beckoning me to take her home. Actually, I read Funky Junk Interiors’s post about making tool boxes last year and have been looking for just the right wood to make one. The angel may not have calling me, but I wasn’t about to leave the store without her.

I thought about tucking it under my coat and making a break for the front door, as I was sure there were other crafty ladies eyeing up the lonely wine crate. But, I resisted the urge and asked the manager if I could have it, and he graciously let me take it home. I was exuberant because I’ve been missing my rustic wine crate that Cherie won. Read more