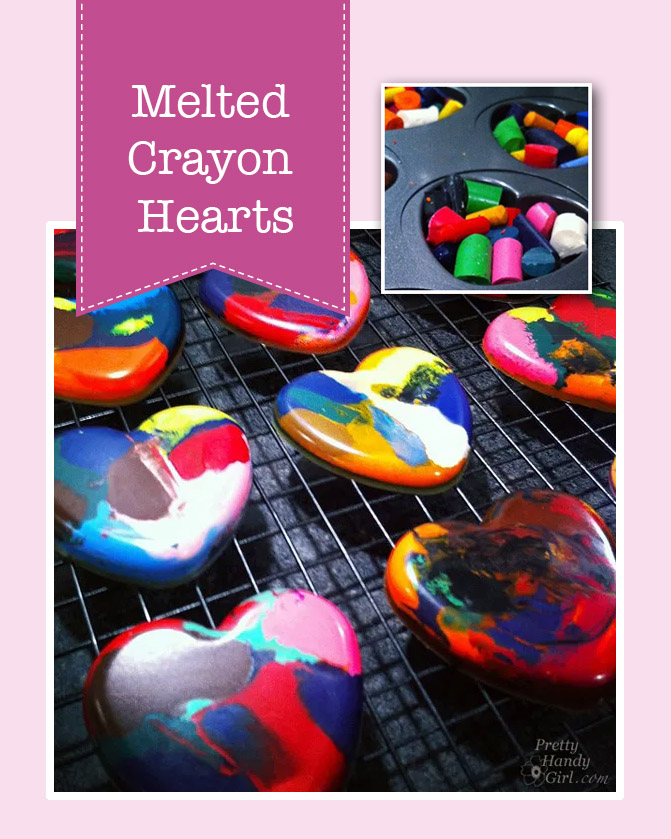
Looking for a simple and fun craft to do with the kids? These melted crayon hearts are just the thing. Make them for Valentine’s or just to reuse old broken crayons.

Melted Crayon Heart Valentines

After the abundance of candy and cookies consumed over the holidays, I cringe at the idea of more sweets finding their way into our home. Especially candy with artificial colored dyes added. Valentine’s Day and Halloween are the two holidays where I have to brace myself for the inevitable influx of dye-laden candies. I don’t have concrete proof, but I’m fairly certain that one of my sons has a dye sensitivity. This sensitivity manifests itself in behavior issues.

Because of this, I try to make Valentines that don’t use candies. Years ago, I made these Melted Crayon Heart Valentines! They were a big hit with the kids. This year my boys are too old for swapping Valentine’s (and they are enrolled in virtual school until the Fall), but I thought this would be a fun craft for those of you with little ones looking for easy crafts to fill the time.

How to Make Melted Crayon Heart Valentines

Materials:

(I’ve included affiliate links for your convenience. I earn a small percentage from a purchase using these links. There is no additional cost to you. You can read more about affiliate links here.)

Instructions:

  1. Start by collecting all those broken crayons (or sacrifice some worn down ones.)
  2. Pre-heat your oven to 300 degrees Fahrenheit.
  3. Peel the labels off all the crayons.
  4. Break the crayons into small pieces.
  5. Optional: Separate into colors if you want to create monotone heart crayons
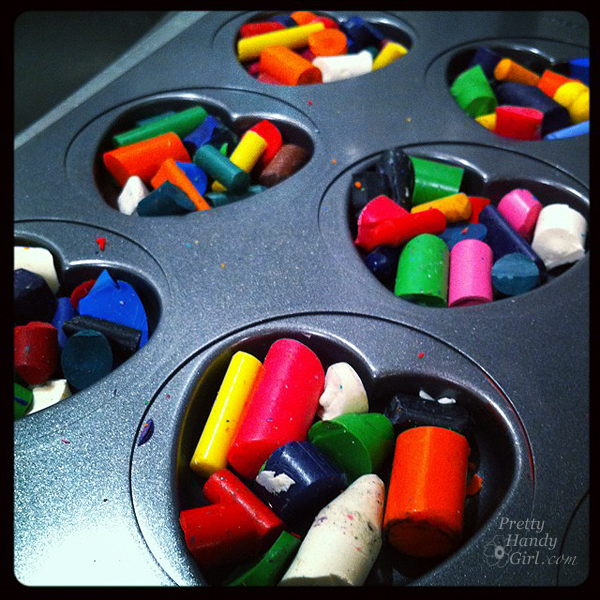
  6. Fill the bottom of the muffin tin with the broken crayons.
  7. Place in 300F oven for 15 minutes.
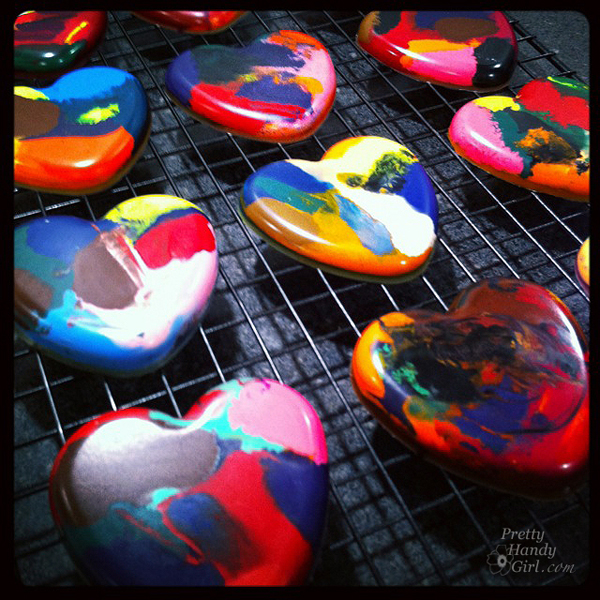
  8. Once the crayons are liquified, remove them carefully from the oven.
  9. Set out to cool for about 15-20 minutes.
  10. Pop them out of the tins and glue to cardstock for Valentine’s or let the kids color with them.

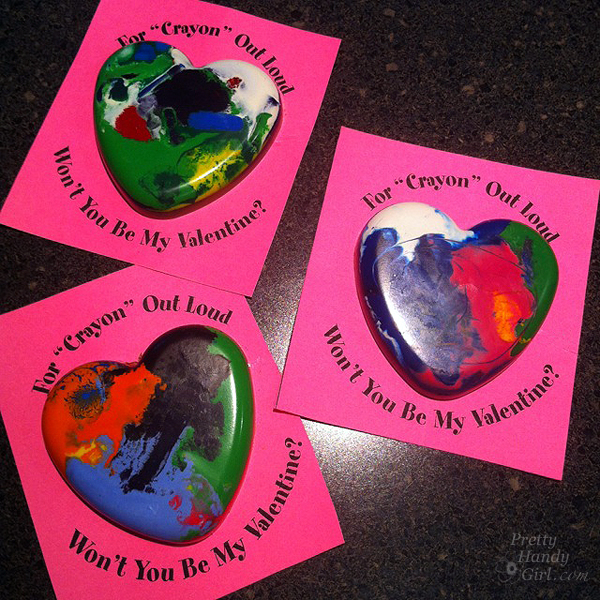
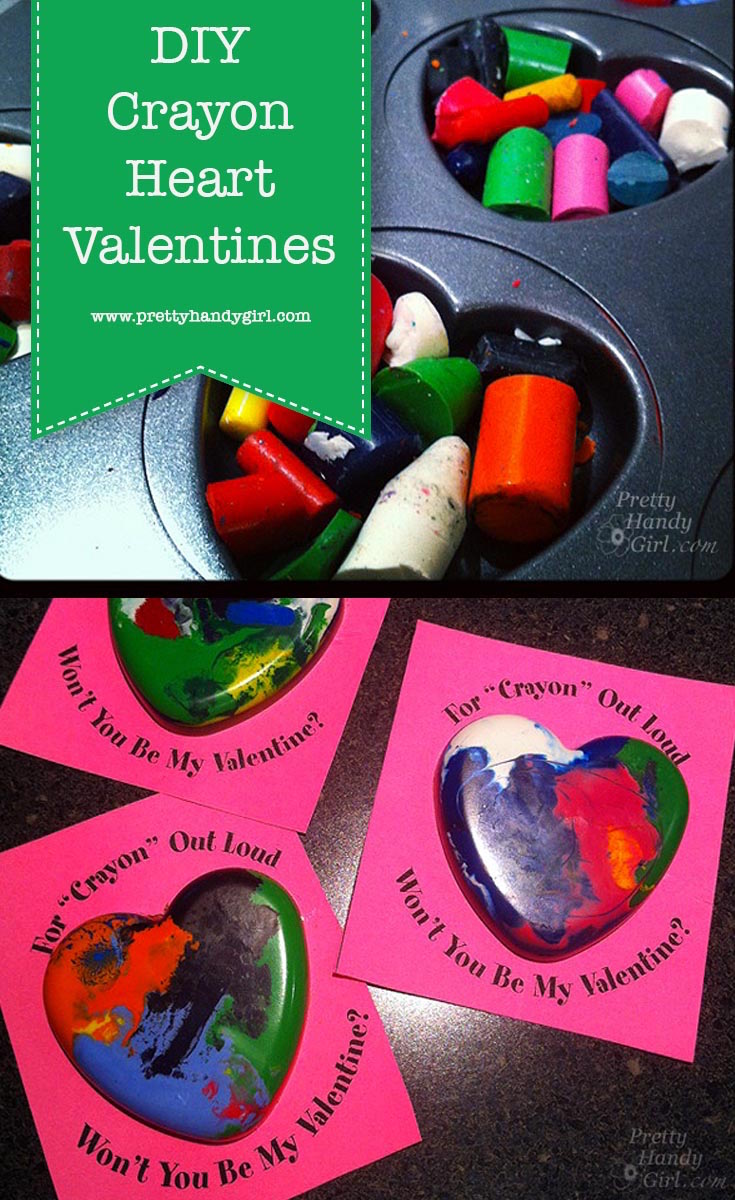
We attached them using Elmer’s glue dots to cards that said “For Crayon Out Loud, Won’t You Be My Valentine.”

Kelly added some glitter to her crayon hearts:

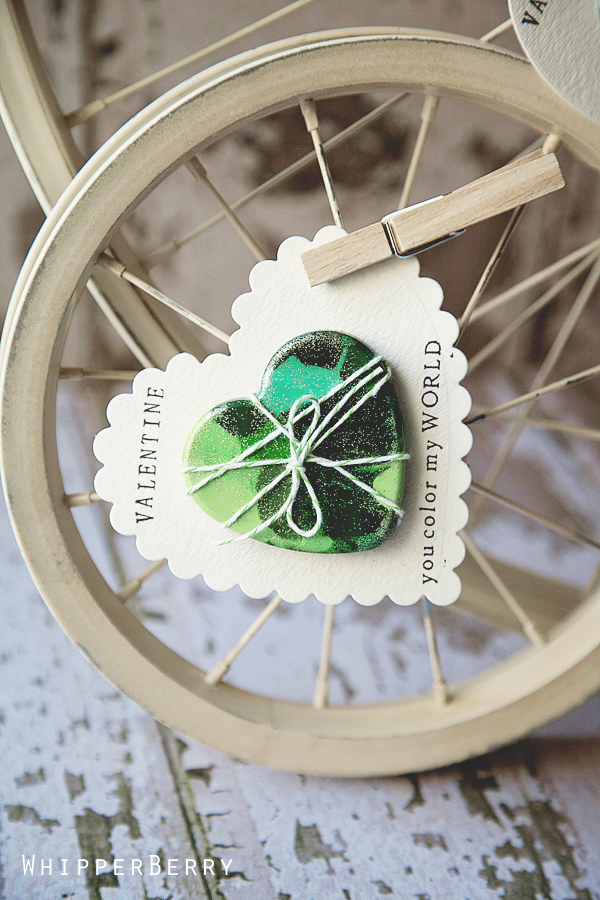
And Heather of Whipperberry paired her melted crayon hearts with these adorable Valentines using a cutting die:

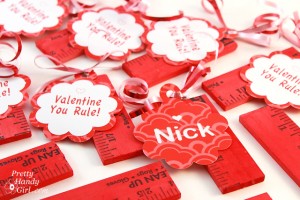
Want another candy-free Valentine idea? Make these adorable “You Rule” Valentines:

You Rule Valentines | Pretty Handy Girl

Now tell me, how are you all doing? Made it through 2020? I hope you are having a happy new year so far.

Pin for later!
Skip the candy with these DIY melted crayon valentines from Pretty Handy Girl! | DIY Valentine's Day gifts #holidaygifts #prettyhandygirl

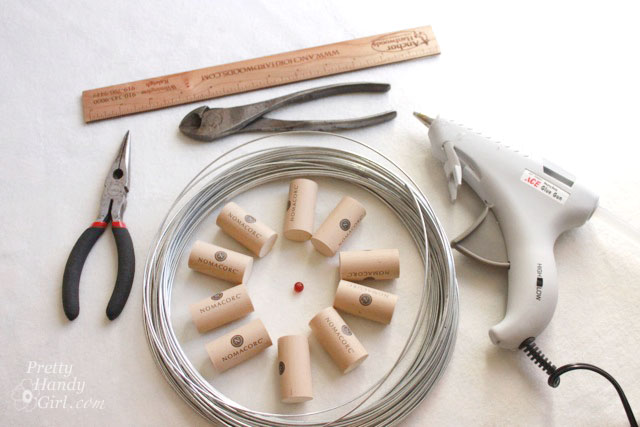
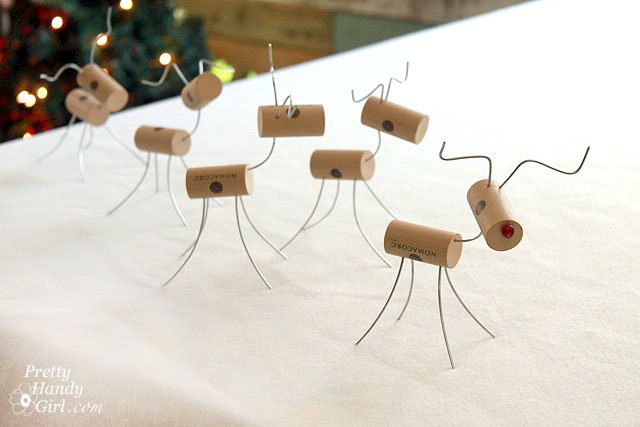
Grab a few wine corks and some wire, we’re going to make wine cork reindeer with those two supplies and some hand tools.

Wine Cork Reindeer

Looking for a little craft to do with the kids and maybe you’ve been drinking a little more wine this year and have some leftover wine corks. (Hand raised here!) Today I have the quickest and easiest holiday craft for you. I made one of these while I was talking on the phone. It started while I was doodling with some leftover wire from the Plumbing Parts Holiday Decor project and suddenly I was looking at a cute little stick reindeer. And then he asked me to make him some friends, so I did.

Materials:

(I’ve included affiliate links for your convenience. I earn a small percentage from a purchase using these links. There is no additional cost to you. You can read more about affiliate links here.)

Instructions:

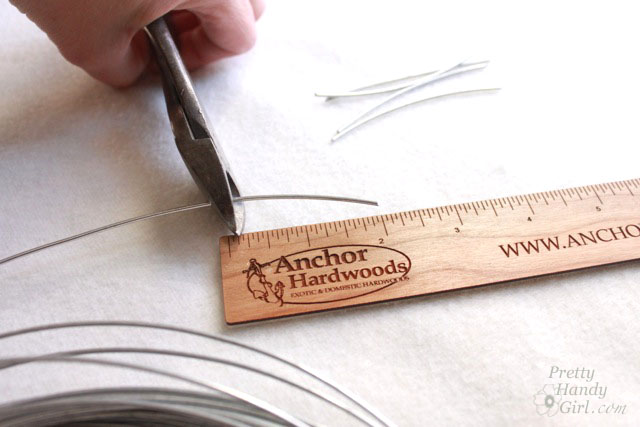
Cut four 3″ lengths of wire. Two 2.5″ lengths and finally cut one 2″ length of wire.

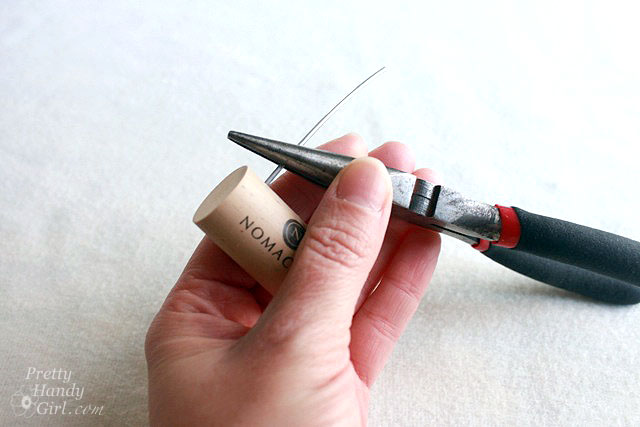
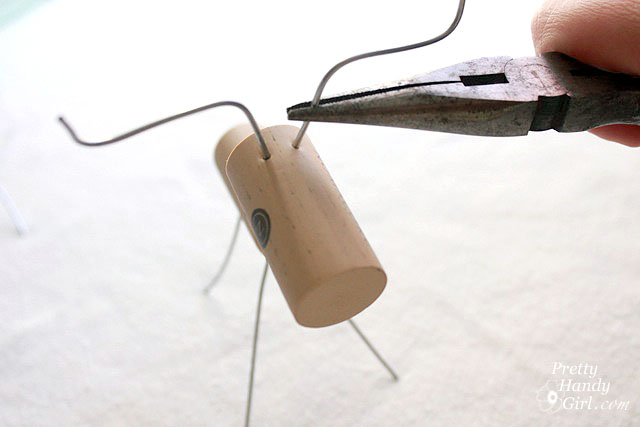
Use the needle-nosed pliers to grasp one of the 3″ wires (for the legs). Push it into the side of a wine cork.

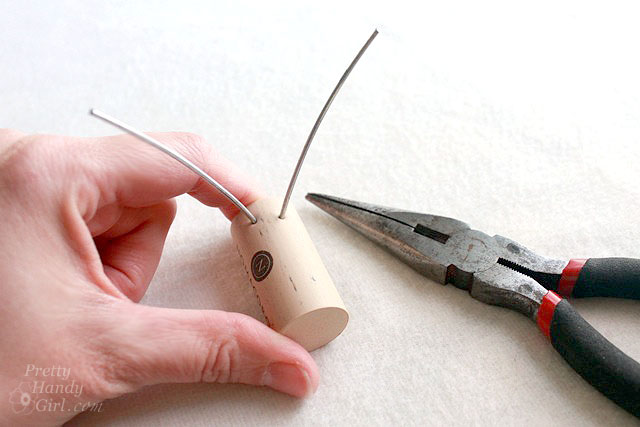
Continue pushing the other 3″ wires into the wine cork.

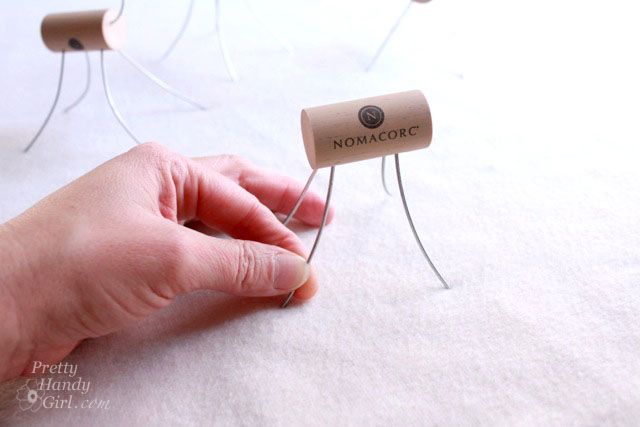
Adjust the legs so all four feet rest on the ground. You can bend and arch the legs if you wish.

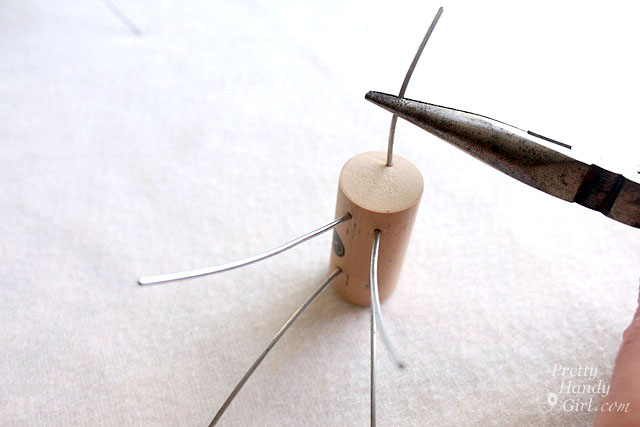
Take the 2″ section of wire and insert it into the top of the wine cork.

Push the second wine cork onto the 2″ wire and bend the wire to shape the reindeer’s neck.

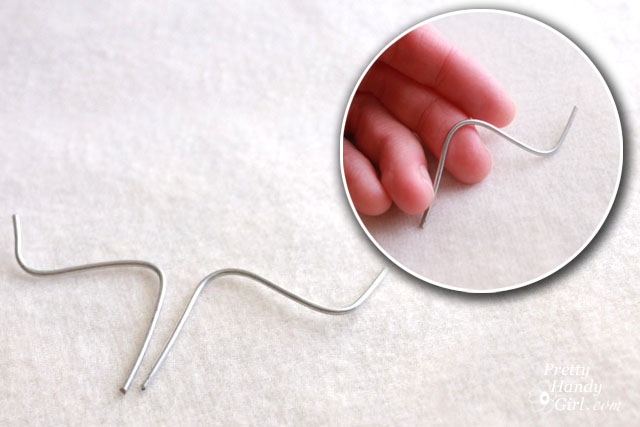
Take the remaining wires (2.5″ wires) and bend them into the shape below (like cattle horns.)

Grab the horns with the pliers and insert them into the head of your reindeer.

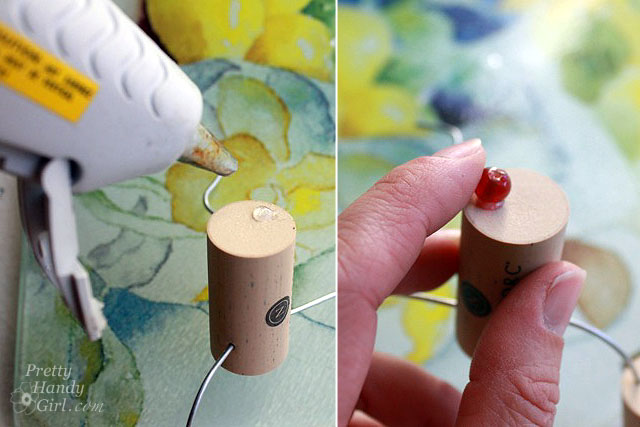
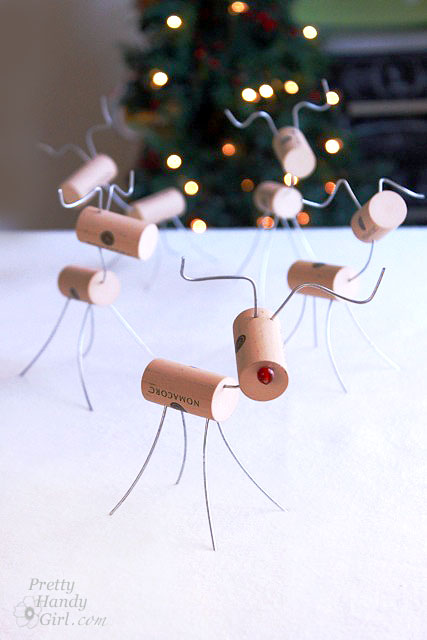
Only one of my reindeer was given a red nose (you and I know there is only ONE Rudolph!) Add a dab of glue onto the end of the wine cork head and press the red bead into the glue.

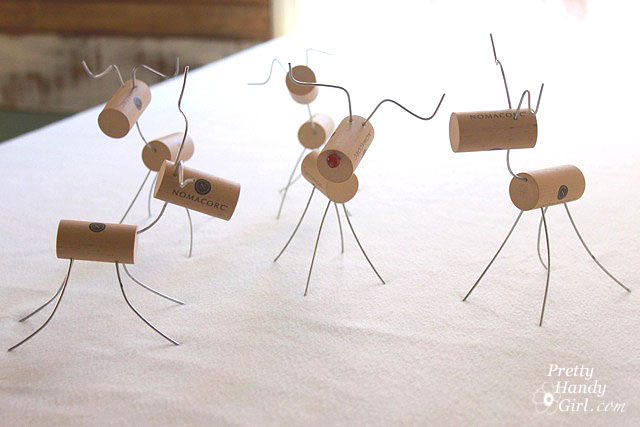
Then make a few friends for Rudolph…

…and have fun posing them and making them line up for Santa.

These would make a fun gift for the wine lovers in your family or the kids who are old enough that they don’t pose a choking hazard.

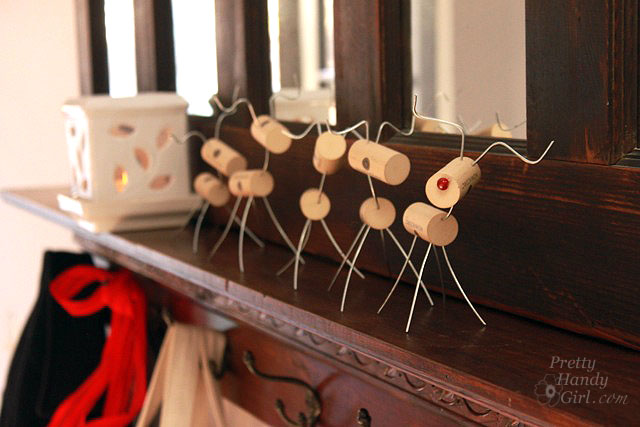
I have Rudolph and friends lined up on our mudroom coat rack.

Aren’t they cute?

Yes, I took 100 photos of these cuties — what are you trying to say? And yes, I may have drank a bit too much wine in 2020, but these were actually in my craft stash.

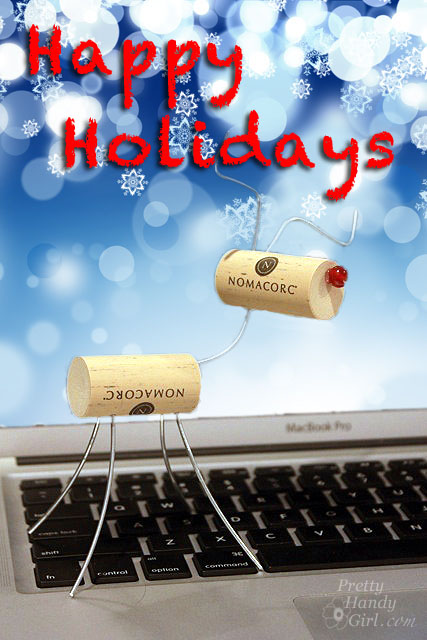
Have a Happy Holiday from me and Rudy!

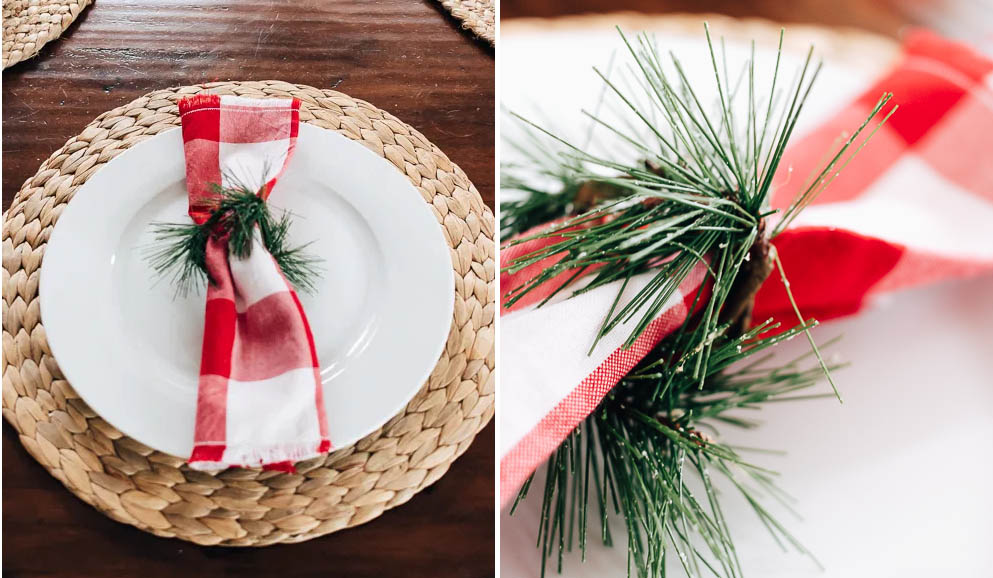
DIY Holiday Napkin Rings made from inexpensive Garland

Festive DIY Napkin Rings for your Holiday Table

Happy Holidays! I thought it would be very apropos to share this easy last-minute holiday napkin ring tutorial with you all. It’s that time of year when time is short and things are busy.  The last thing we need is to stress about table settings.  If you happen to need something quick to dress your tables,  these festive DIY napkin rings will have you covered!

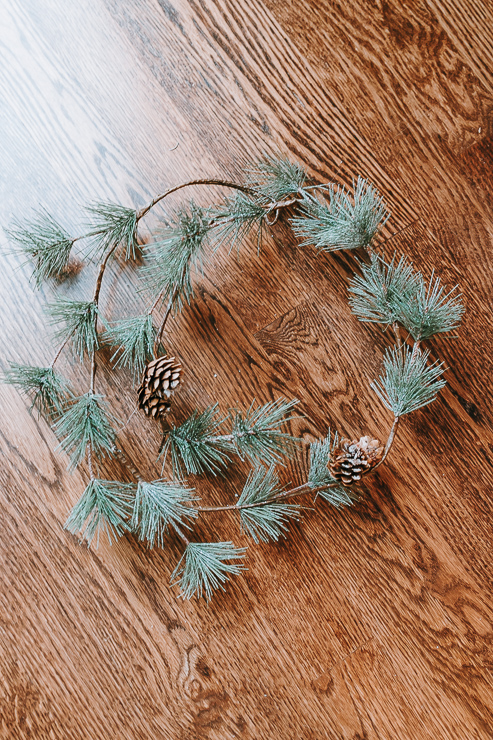
I got the idea for this while I was in Target. Of course, I love to peruse their home decor aisles, which are filled with holiday decor at the moment. I saw this lovely little green garland for $8! Bargain! I am picky about my faux greenery, but this one looked pretty good (especially for the price). I knew I could make this into a cool centerpiece or napkin rings.

Greenery Napkin Ring DIY

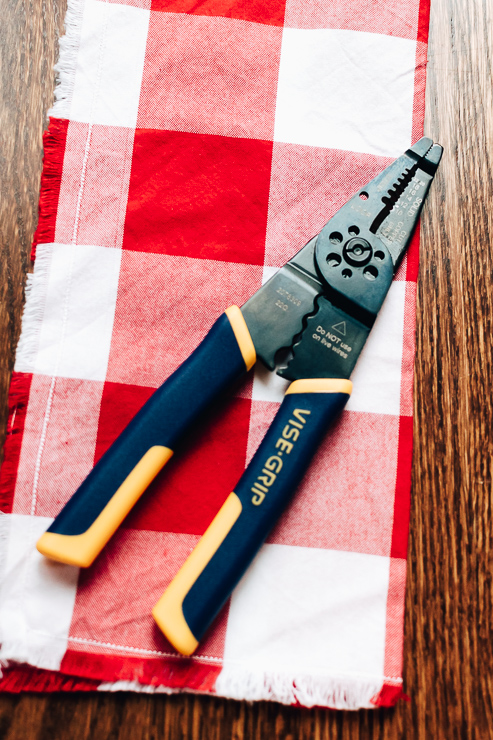
You can follow these same steps to make napkin rings out of any holiday garland.  Dollar Stores might be a good source for inexpensive garlands.  It’s helpful if your garland has a bendable wire with it, this makes shaping the rings easier.  I would also like to suggest that you use wire cutters for cutting the wire.  Strong scissors may do the job, but it can be tough. And why ruin your good scissors?

wire cutters for cutting wire garland

Let’s get started, shall we?

Materials:

(I’ve included affiliate links for your convenience. I earn a small percentage from a purchase using these links. There is no additional cost to you. You can read more about affiliate links here.)

inexpensive christmas garland

Instructions:

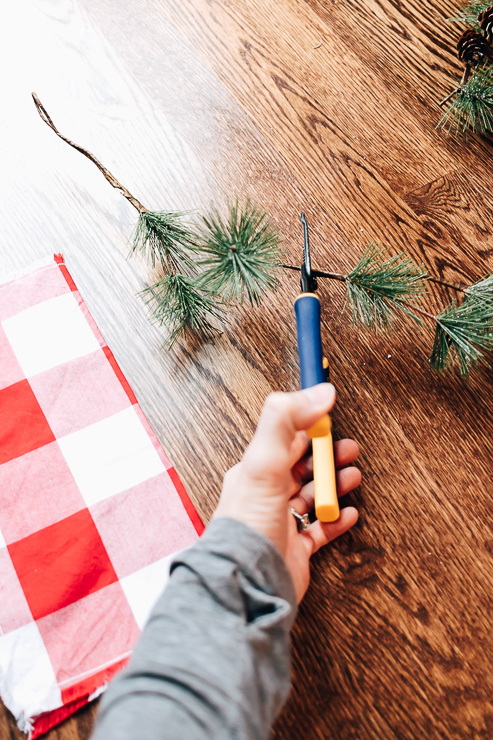
Step 1: Cut a small piece of garland.

cut off small piece of garland

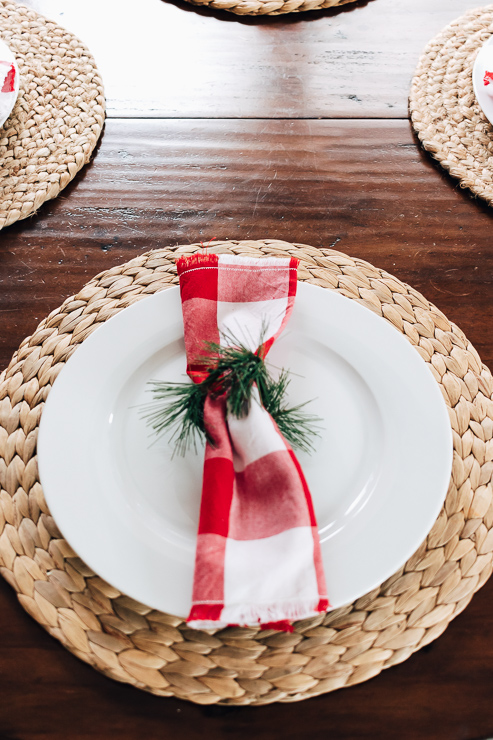
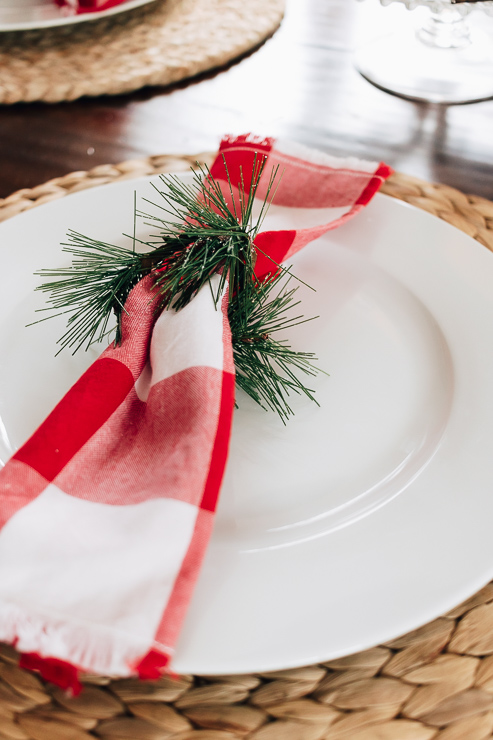
Take your wire cutters and cut a piece of garland. The length will depend on how thick your napkins are. I have these frayed red buffalo check napkins that I made for the 4th of July, and I’m reusing them for the holidays! (You can check out the tutorial for those red napkins right here.) The material is somewhat thin, so I cut about a 4-inch piece of garland.

Step 2: Bend Garland Piece into a ring

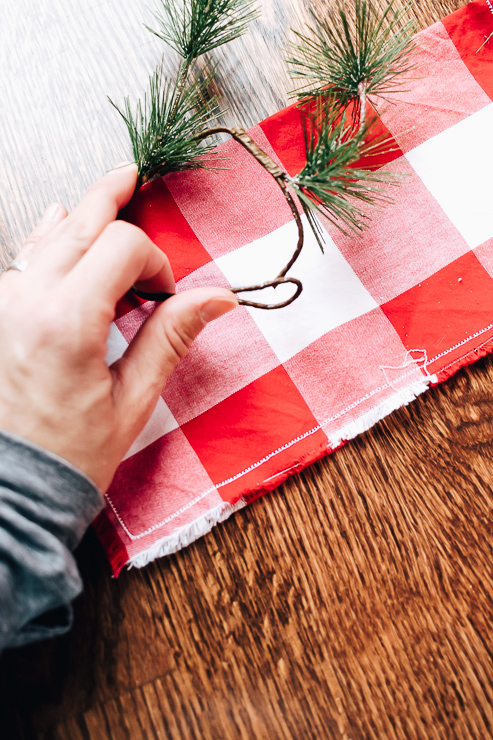
shape your garland piece into a ring

Bend your garland piece into a ring. This is why it helps to be using garland with wire! All you have to do is mold it in a circle and twist it together. Then you can fluff up the greenery on the ring any way you like.

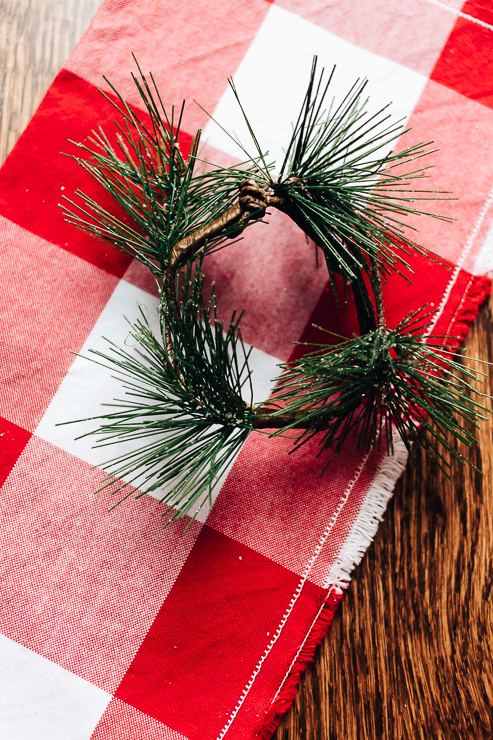
ring of garland

Definitely ensure that your ring doesn’t have any sharp, exposed wires. If so, just clamp it down with pliers.

Step 3: Insert your napkin

Red Napkins with DIY Napkin Rings made from garland

Now for the fun. Take the whole napkin and pull it through the ring. But here’s another way to do this.

Take your napkin and lay it out flat. Grab the napkin in the center and place your napkin ring over the center fold. Voila!

close up image of green napkin rings around a red holiday napkin

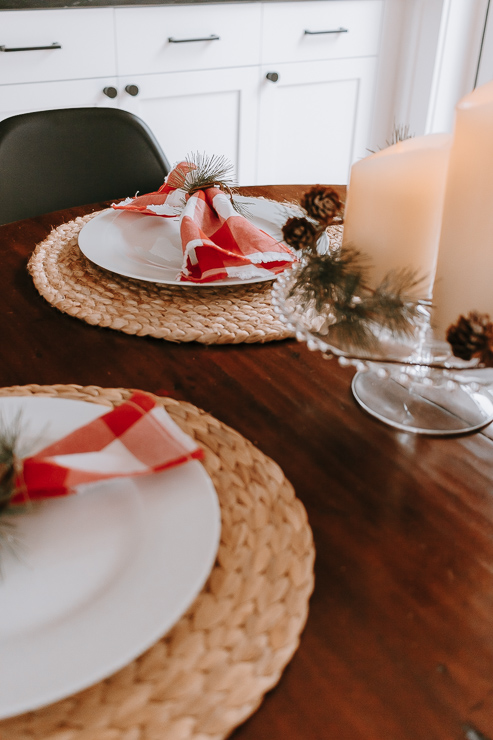
I think napkin rings really add to place settings, especially if you’re like me and only have a small round table. It’s stylish without overcrowding the table. I think these extra touches really make the holidays feel special. And instead of spending $5 on each napkin ring, you spent $8 on the whole project. As a bonus, you’ll probably have garland leftover to decorate with!

If you want more great ideas for your Holiday table, check out this gorgeous Holiday Tablescape.

Christmas Table with candles and red napkins and festive napkin rings

I want to take a moment to wish you all a Happy and safe Holiday and a Joyous New Year. I’ve now been writing for Pretty Handy Girl for a year, and I couldn’t be more thankful for this opportunity to connect with you all. Thank you so much for being a reader! It means so much to me to have you here.

karen signature

~ See More of Karen’s Tutorials ~


karen from decor hintHello!  I’m Karen, the creator of the Home Decor and DIY Blog: Decor Hint. I’m a Native of the East Coast, but I currently live in beautiful Seattle with my hubby, our two wonderful children, and our spunky wheaten terrier.

You can usually find me with some sort of craft in one hand and a coffee in the other. And I’m always rearranging furniture or moving lamps from room to room. I have a passion (read: obsession) for decorating, DIY, and gardening. In short, I love making my house into a home.

Like many, I’m inspired by what I see in home decor magazines, but I’m not so inspired by the price tags.  Consequently, I love finding and creating beautiful budget-friendly home decor items. In a head to head competition, I bet you’d never know the difference between the designer items and my DIY creations!  Many of my DIY projects focus on sewing, crafting, upcycling and organizing. Some of my favorite projects have been making pretty wreaths, sewing my own tassel hand towels, and crafting these trendy wood bead garlands. I can’t wait to inspire you and spark your creativity through my DIY projects.

You can always connect with me on Pinterest, Twitter or Instagram.


Most of us love to decorate for the holidays, but the mess and chaos after you take all the decorations down can be overwhelming. Instead of letting that stress into your life, use these 15 Holiday Decoration Storage and Organization Ideas to keep everything in order and easy to handle.

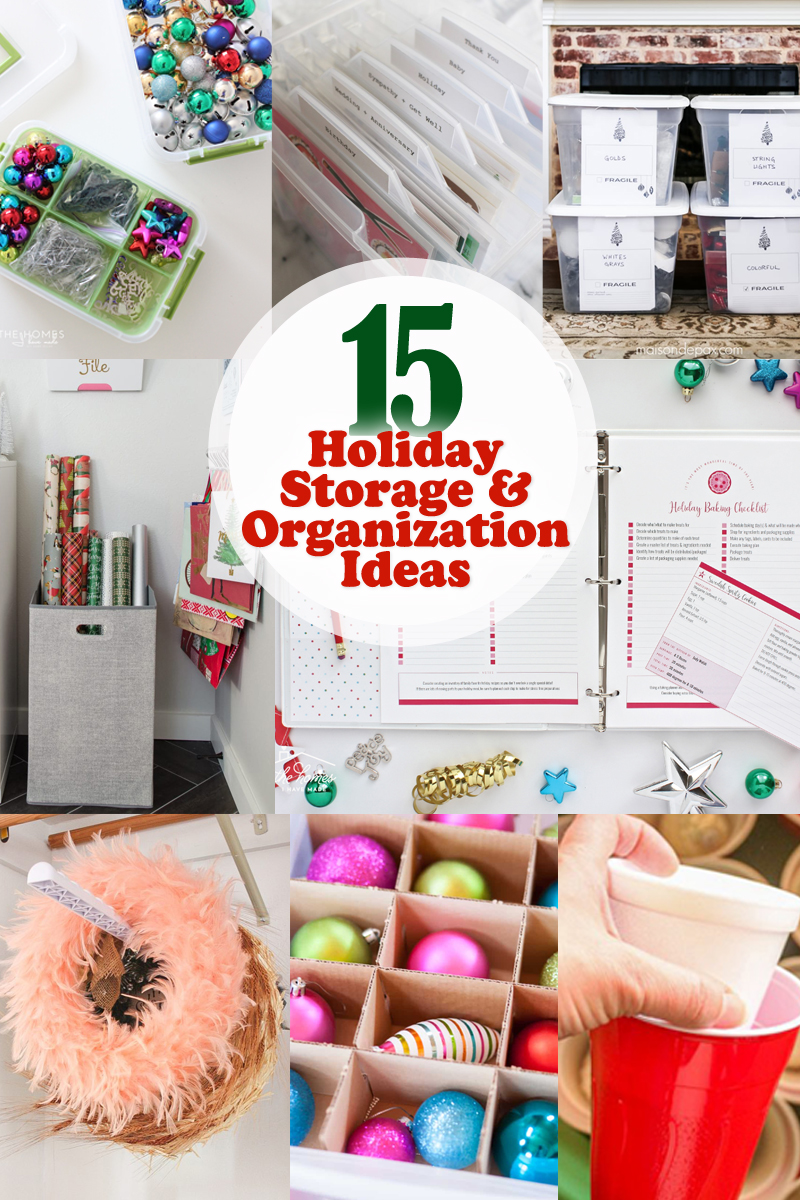
15 holiday storage and organization ideas

Holiday Decoration Storage and Organization Ideas:

When the holidays hit, things can be chaotic and you might feel a bit disorganized. Use these ideas to stay organized before, during, and after the holidays!

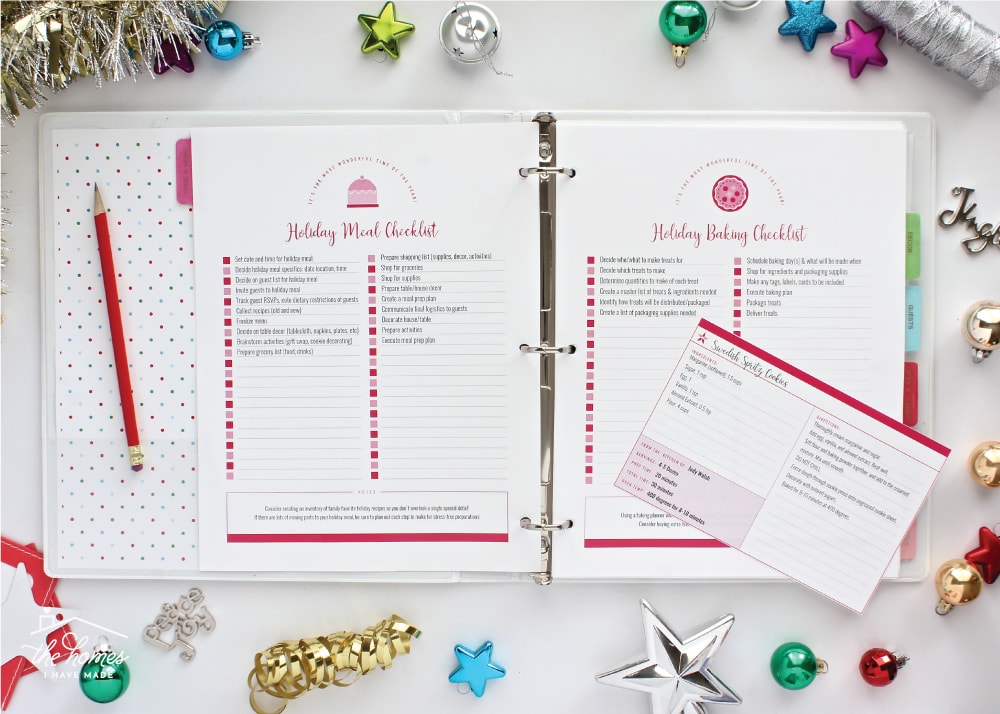
make a holiday planner like this printable one by the homes i have madePrint off an amazing printable Holiday Planner like this one to keep yourself organized before, during, and after the holidays.
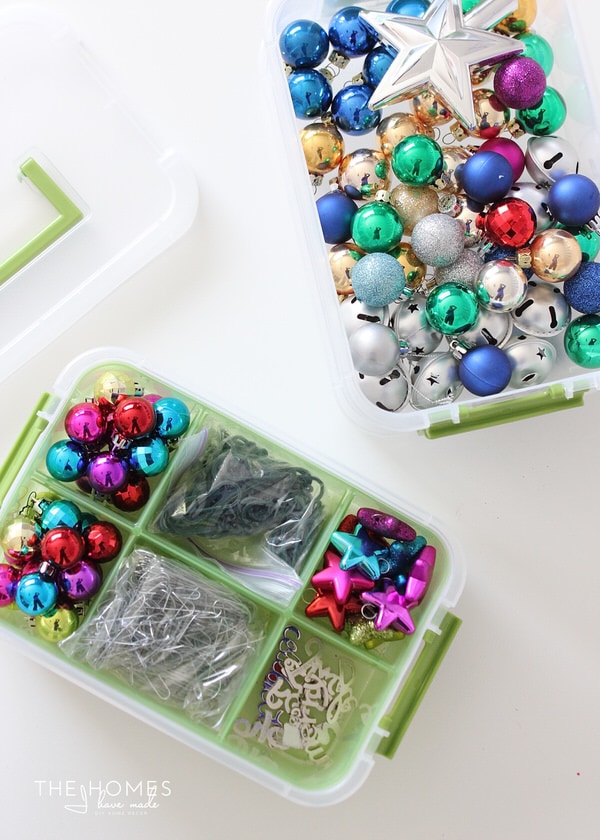
 

Use small compartment containers to organize the little ornaments, hooks, and other small pieces you’ll want to save for next year.


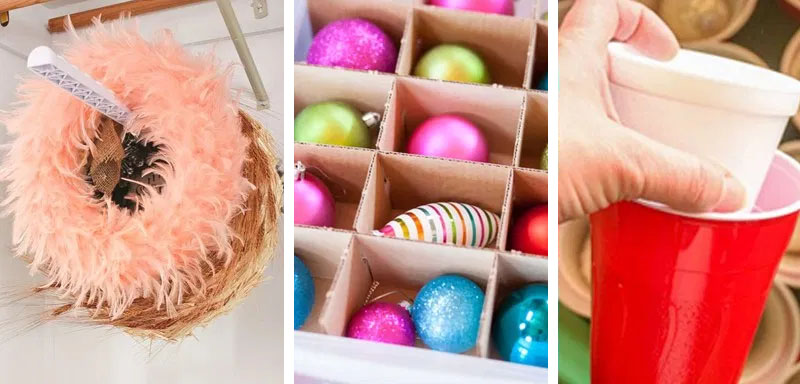
organize ornamentsCreate a grid of compartments using cardboard to keep your ornaments safe from breaking and perfectly organized.


greeting card cash storageUse a plastic filing bin to keep all holiday cards organized year-round for quick access when you need to mail one off!


wrapping paper storage idea by southern hospitalityBuild a wrapping paper holder on your wall where you can store the paper for gifts all year long!


acasarella labeled drawersUse plastic drawer sets to store different holiday gift supplies and be sure to label what each drawer holds.


put ornaments in foam and plastic cupsPrevent broken ornaments next year by using styrofoam cups inside of plastic cups to insulate glass ornaments.


saran wrap your christmas tree for storingWrap your entire tree in plastic wrap to keep it secure and prevent any critters from getting into it during storage. It also makes the tree much easier to move!


use plastic apple holders for ornament storage by make life lovelySave plastic apple containers after eating the fruit and use them to store all your nice ornaments until next year.


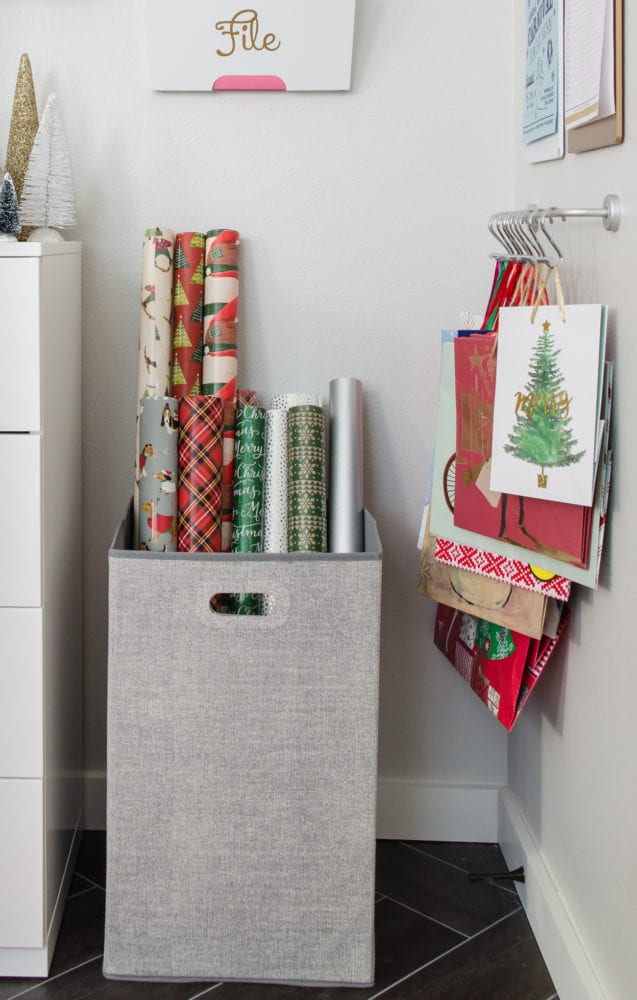
use square hamper to hold long gift wraps by polished habitatPlace your long wrapping paper rolls into a square hamper to keep them organized and safe from damage.


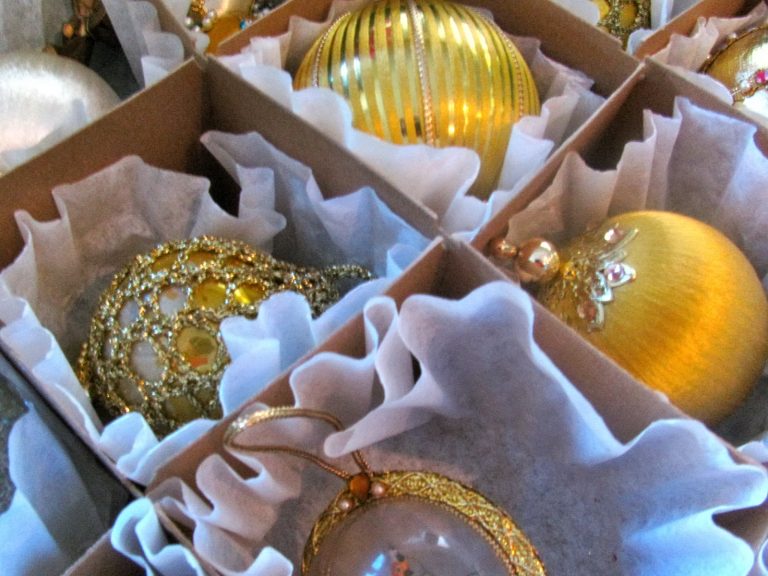
use coffee filters to cushion ornaments by one crazy houseCoffee filters make a great liner for glass ornaments to keep them from shifting and breaking.


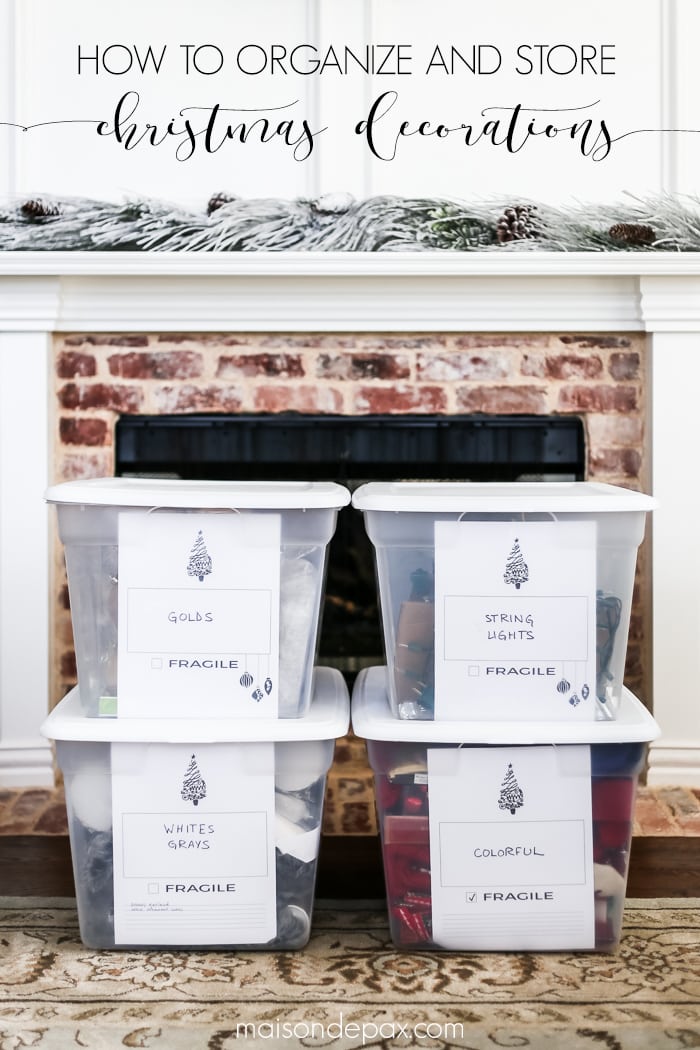
organize christmas decorations by color by maison de paxUse large labels in clear bins to keep your holiday decorations sorted by color theme.


cover wreaths in plastic by sew many waysWrap wreaths in plastic bags to keep them organized and clean from bugs or critters during storage.


create christmas card books by oh louiseMake booklets out of holiday cards from previous years to continue to enjoy the memories and see how friends and family grow over the years.
 

Storage Hacks for Holiday Decorations | Pretty Handy Girl

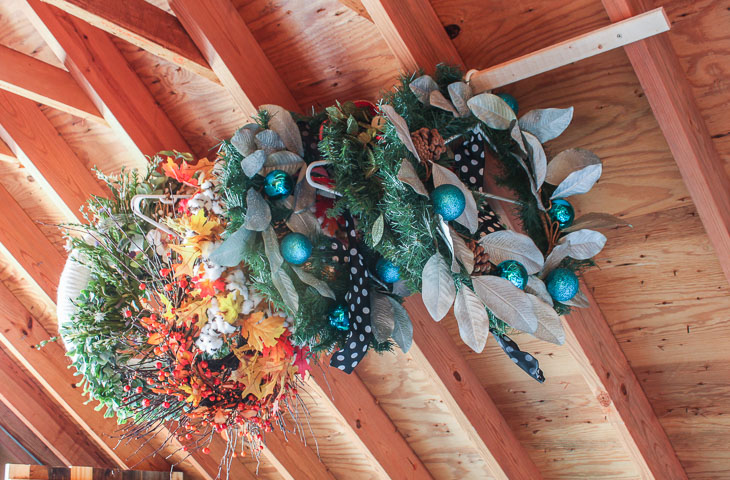
Hang wreaths on a rod, so they don’t get smashed or flattened during storage.

I hope you found these ideas helpful with the upcoming holiday season! Do you have any other great ideas? Feel free to share them in the comments. As always, thanks for reading! Please remember to share on Pinterest to inspire others as well!

Hi, I’m Sheri from Hazel + Gold Designs. Here are a few fun stats about me: I like love chocolate and peanut butter (together of course.) If you like stats, I have been crocheting for about 16 years, crafting for 20, and woodworking for about 4 years. I found a passion in making and being creative and began documenting my projects online at Hazel + Gold Designs.

When not working on projects, I enjoy spending time with my husband, four children, perfect dog, and ornery cat. You can find me on Facebook, Pinterest, Instagram and Twitter.

Read all of Sheri’s tutorials.

~Find more of Sheri’s projects here ~

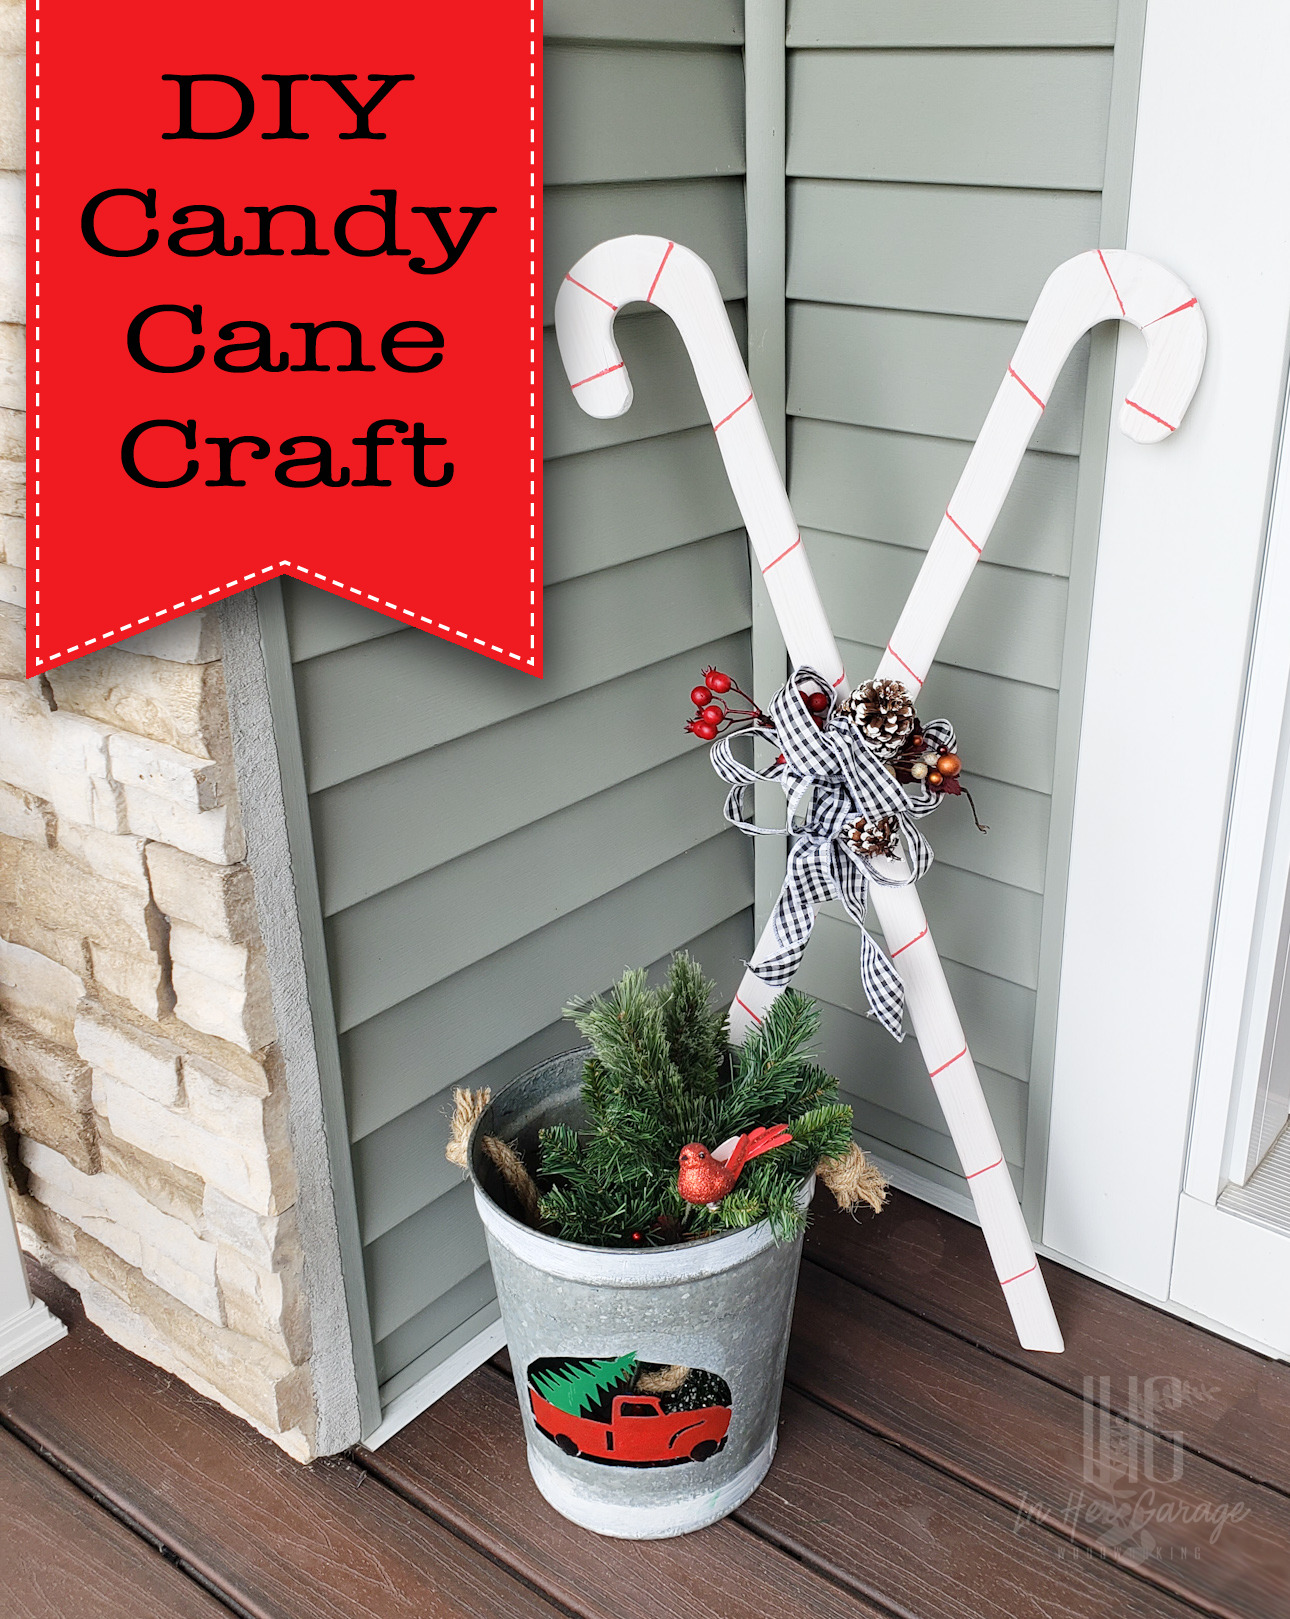
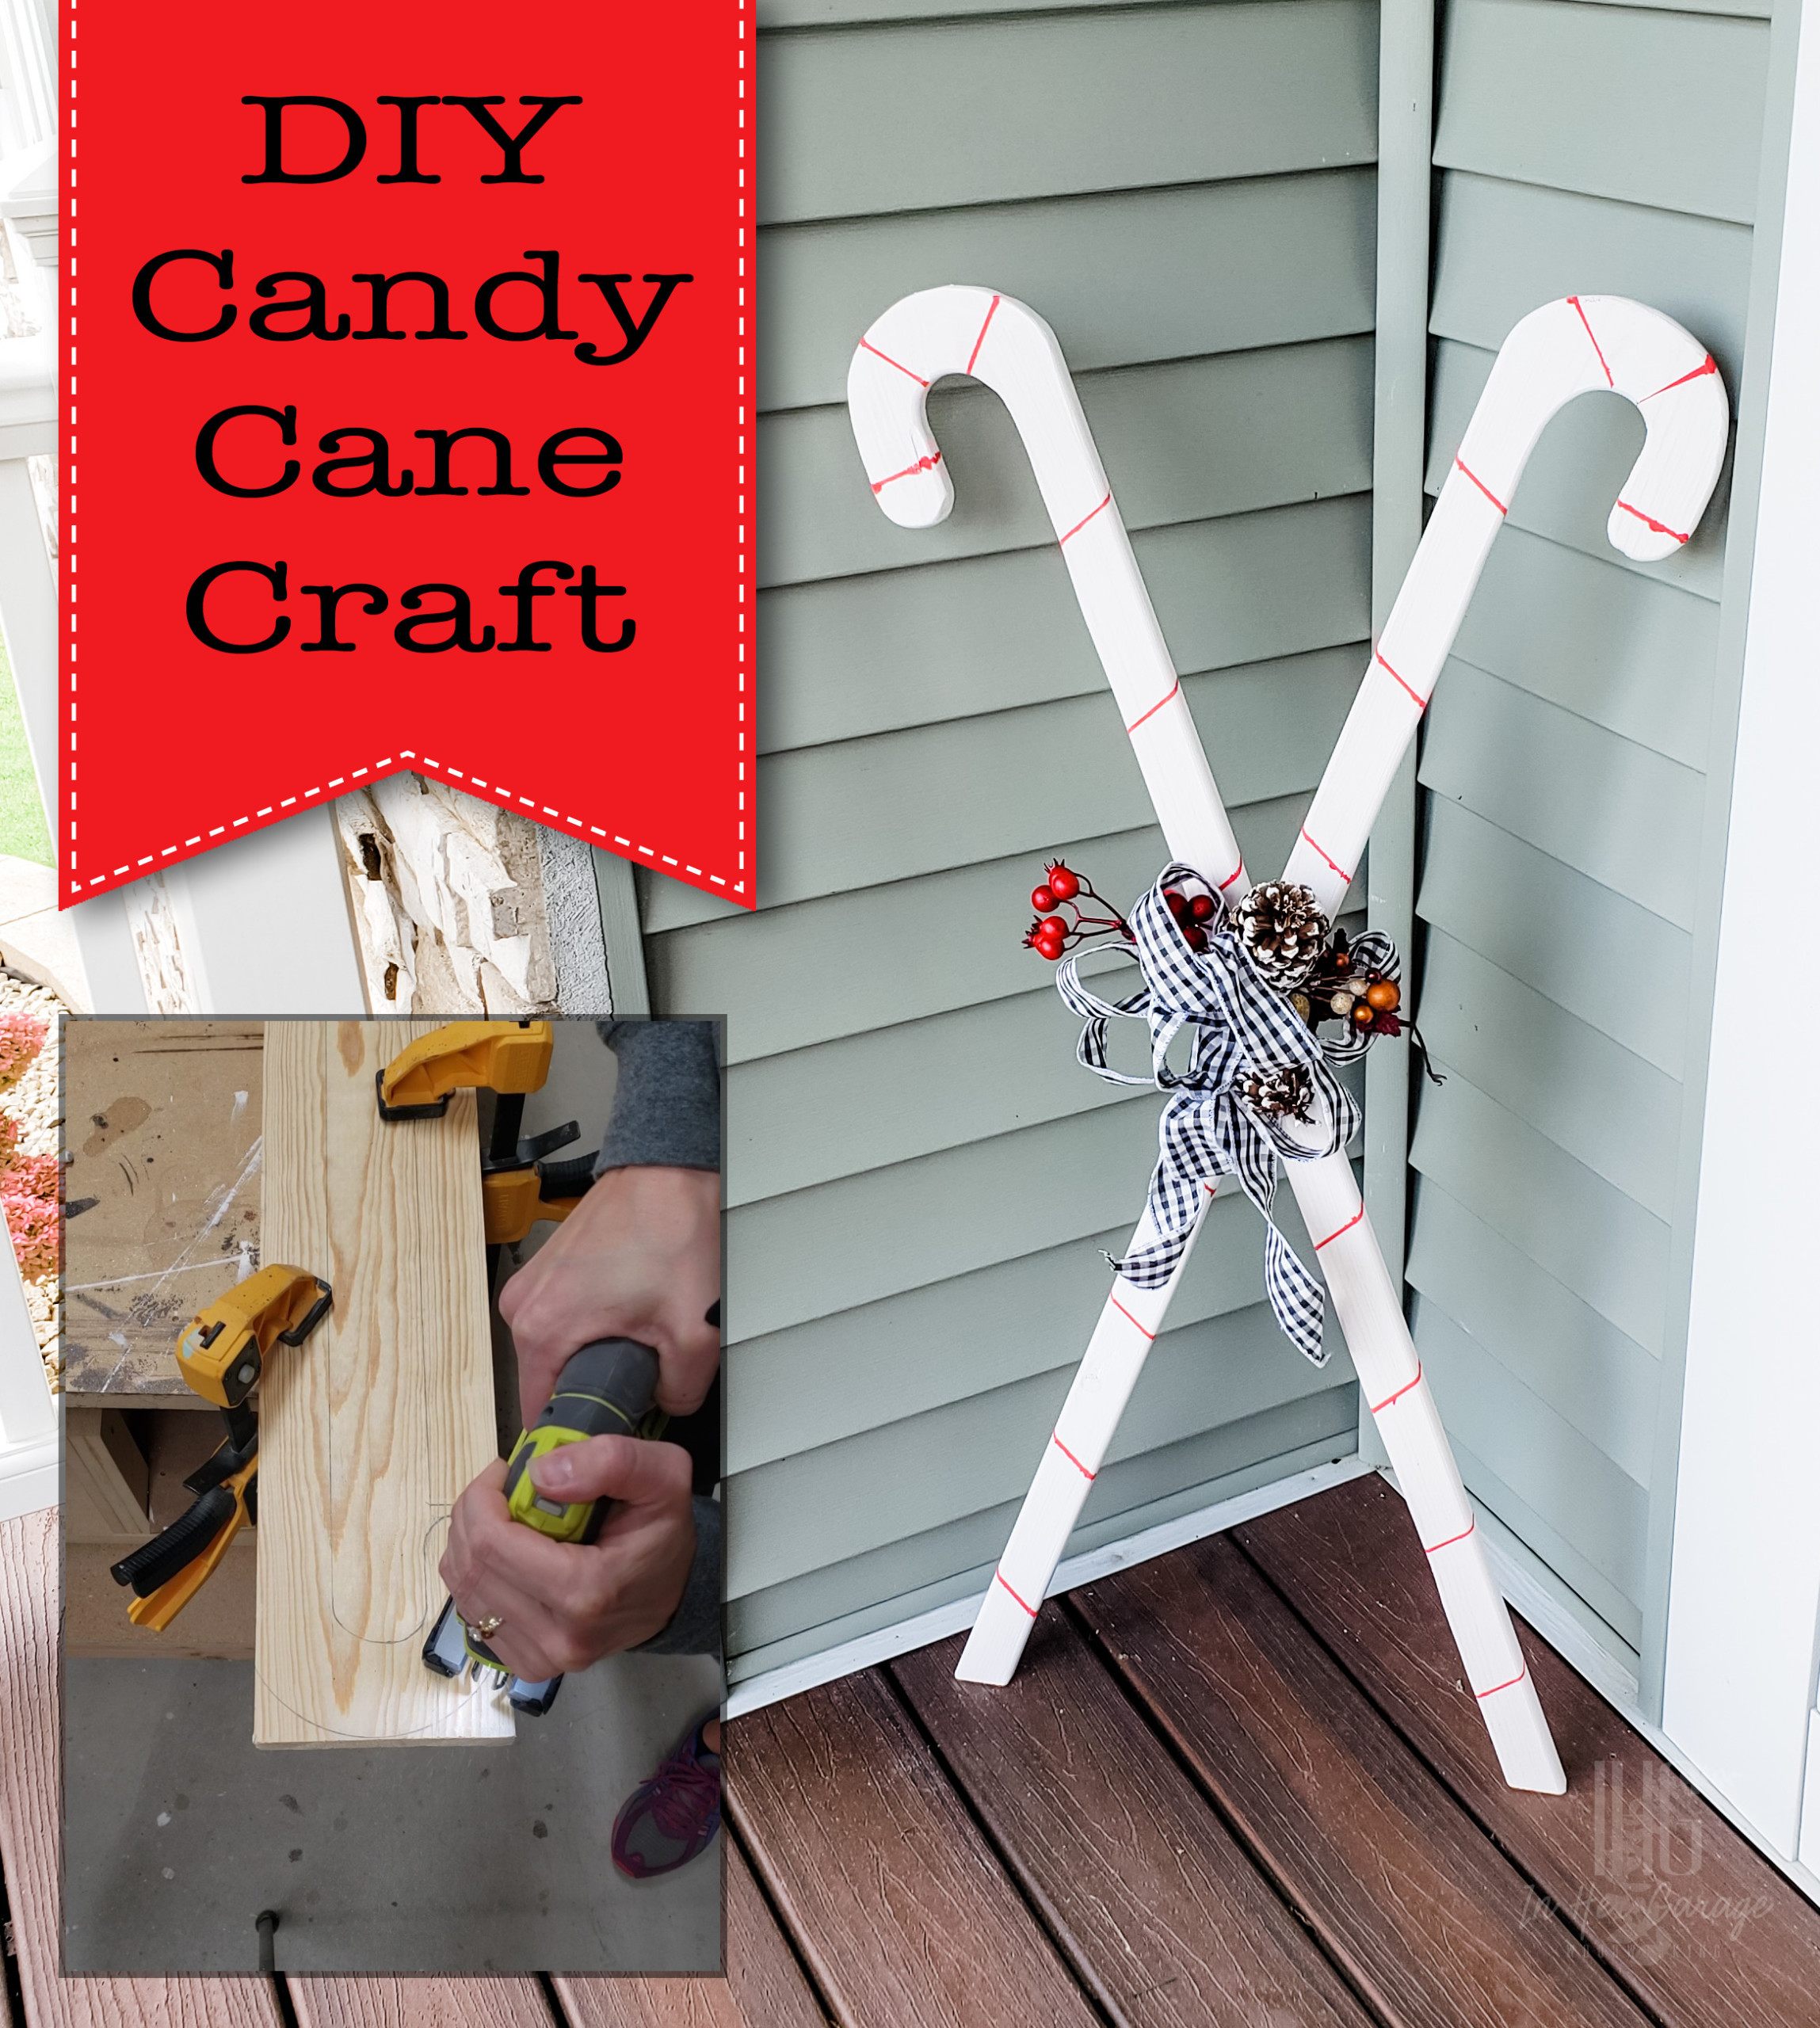
Make this adorable DIY Candy Cane craft using 1 board and 2 tools!  These DIY Candy Canes are the perfect complement to your holiday decorations.

DIY Candy Cane Decor

I love this craft because it’s not only cheery but it also helps me add decor at a mid-height. I often find myself decorating something really tall like my Christmas tree or something short, like cute decor items near the ground. These candy canes are super simple to make and add medium height decorations to your home.

Material:

(I’ve included affiliate links for your convenience. I earn a small percentage from a purchase using these links. There is no additional cost to you. You can read more about affiliate links here.)

  • 1- 1″ x 8″ x 6′ pine board cut to 4′
  • Wood glue
  • Paint

Tools:

Instructions:

Step 1: Draw the candy canes

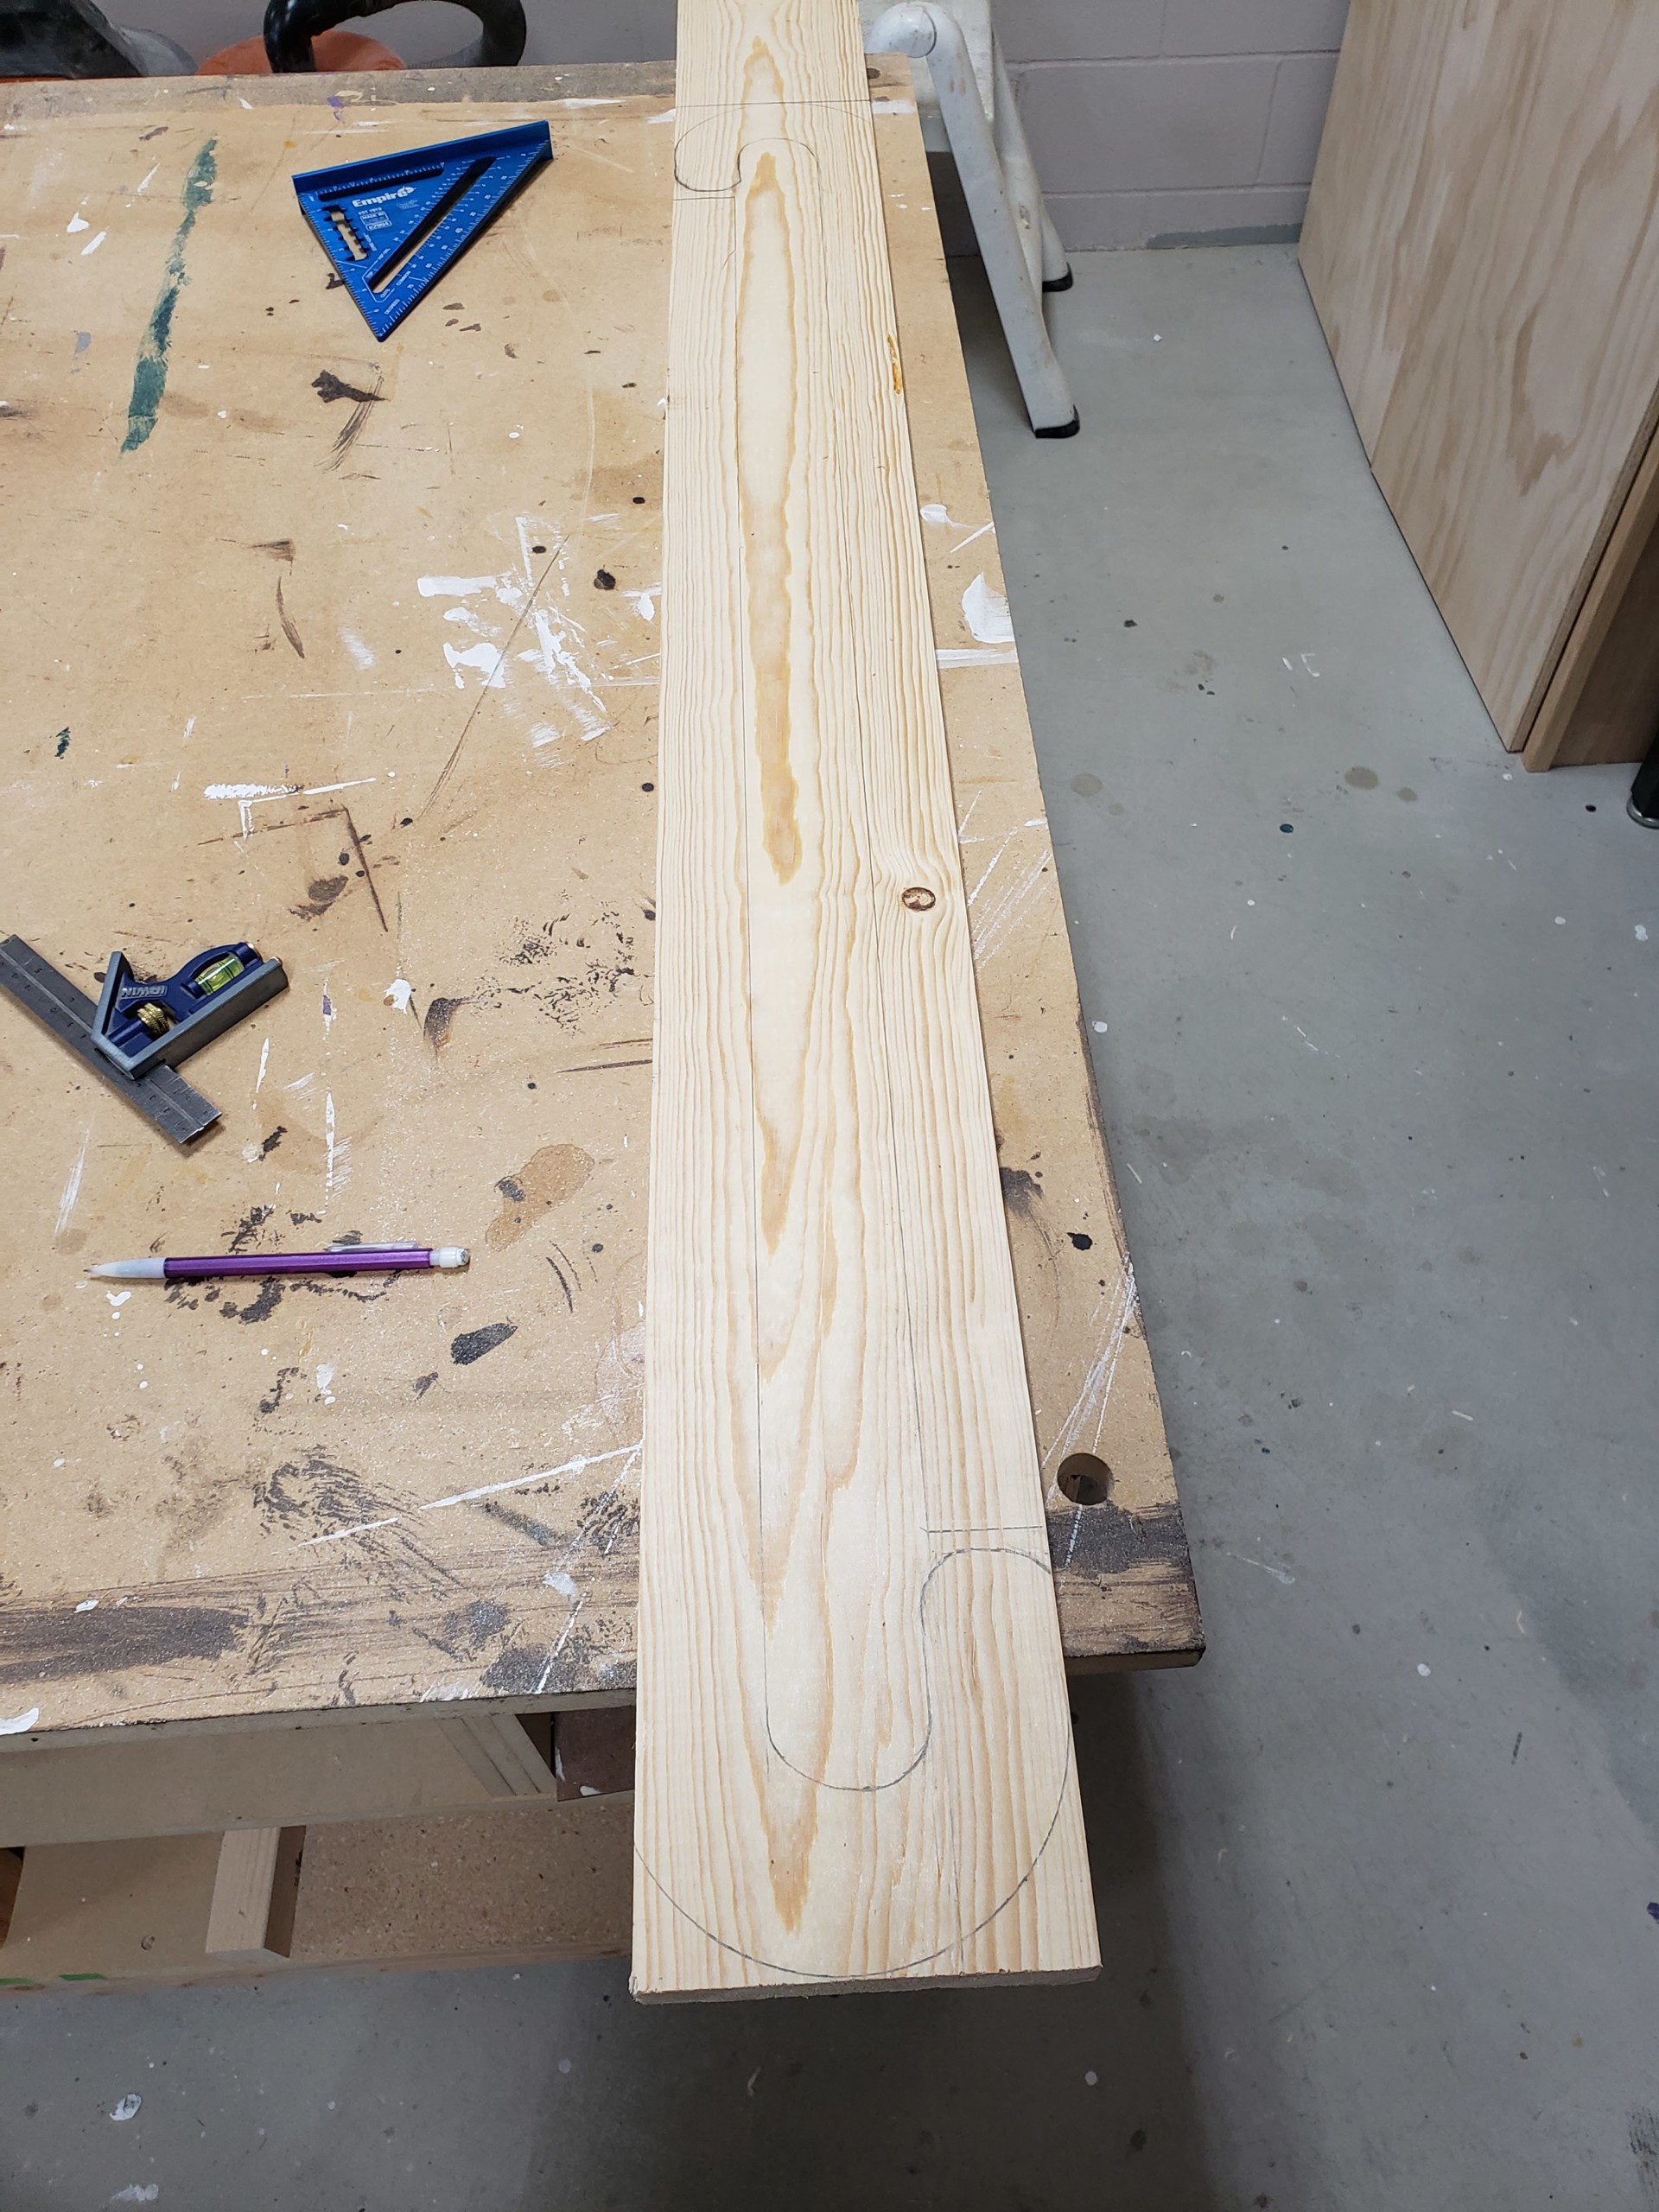
  • Find something round that is about as wide as your board. I used a cereal bowl from my kitchen.
  • Draw the top curve of the candy cane, one on each end of the board
  • Then draw the candy cane stem coming down from the curve on either side of the board.
  • By rotating the board, you should be able to fit two candy canes on one board.

Step 2: Cut out the candy canes

  • Clamp your board then use your jigsaw to cut out the candy cane. Mine looked pretty rough at first but no worries.

  • Sand the candy canes smooth.
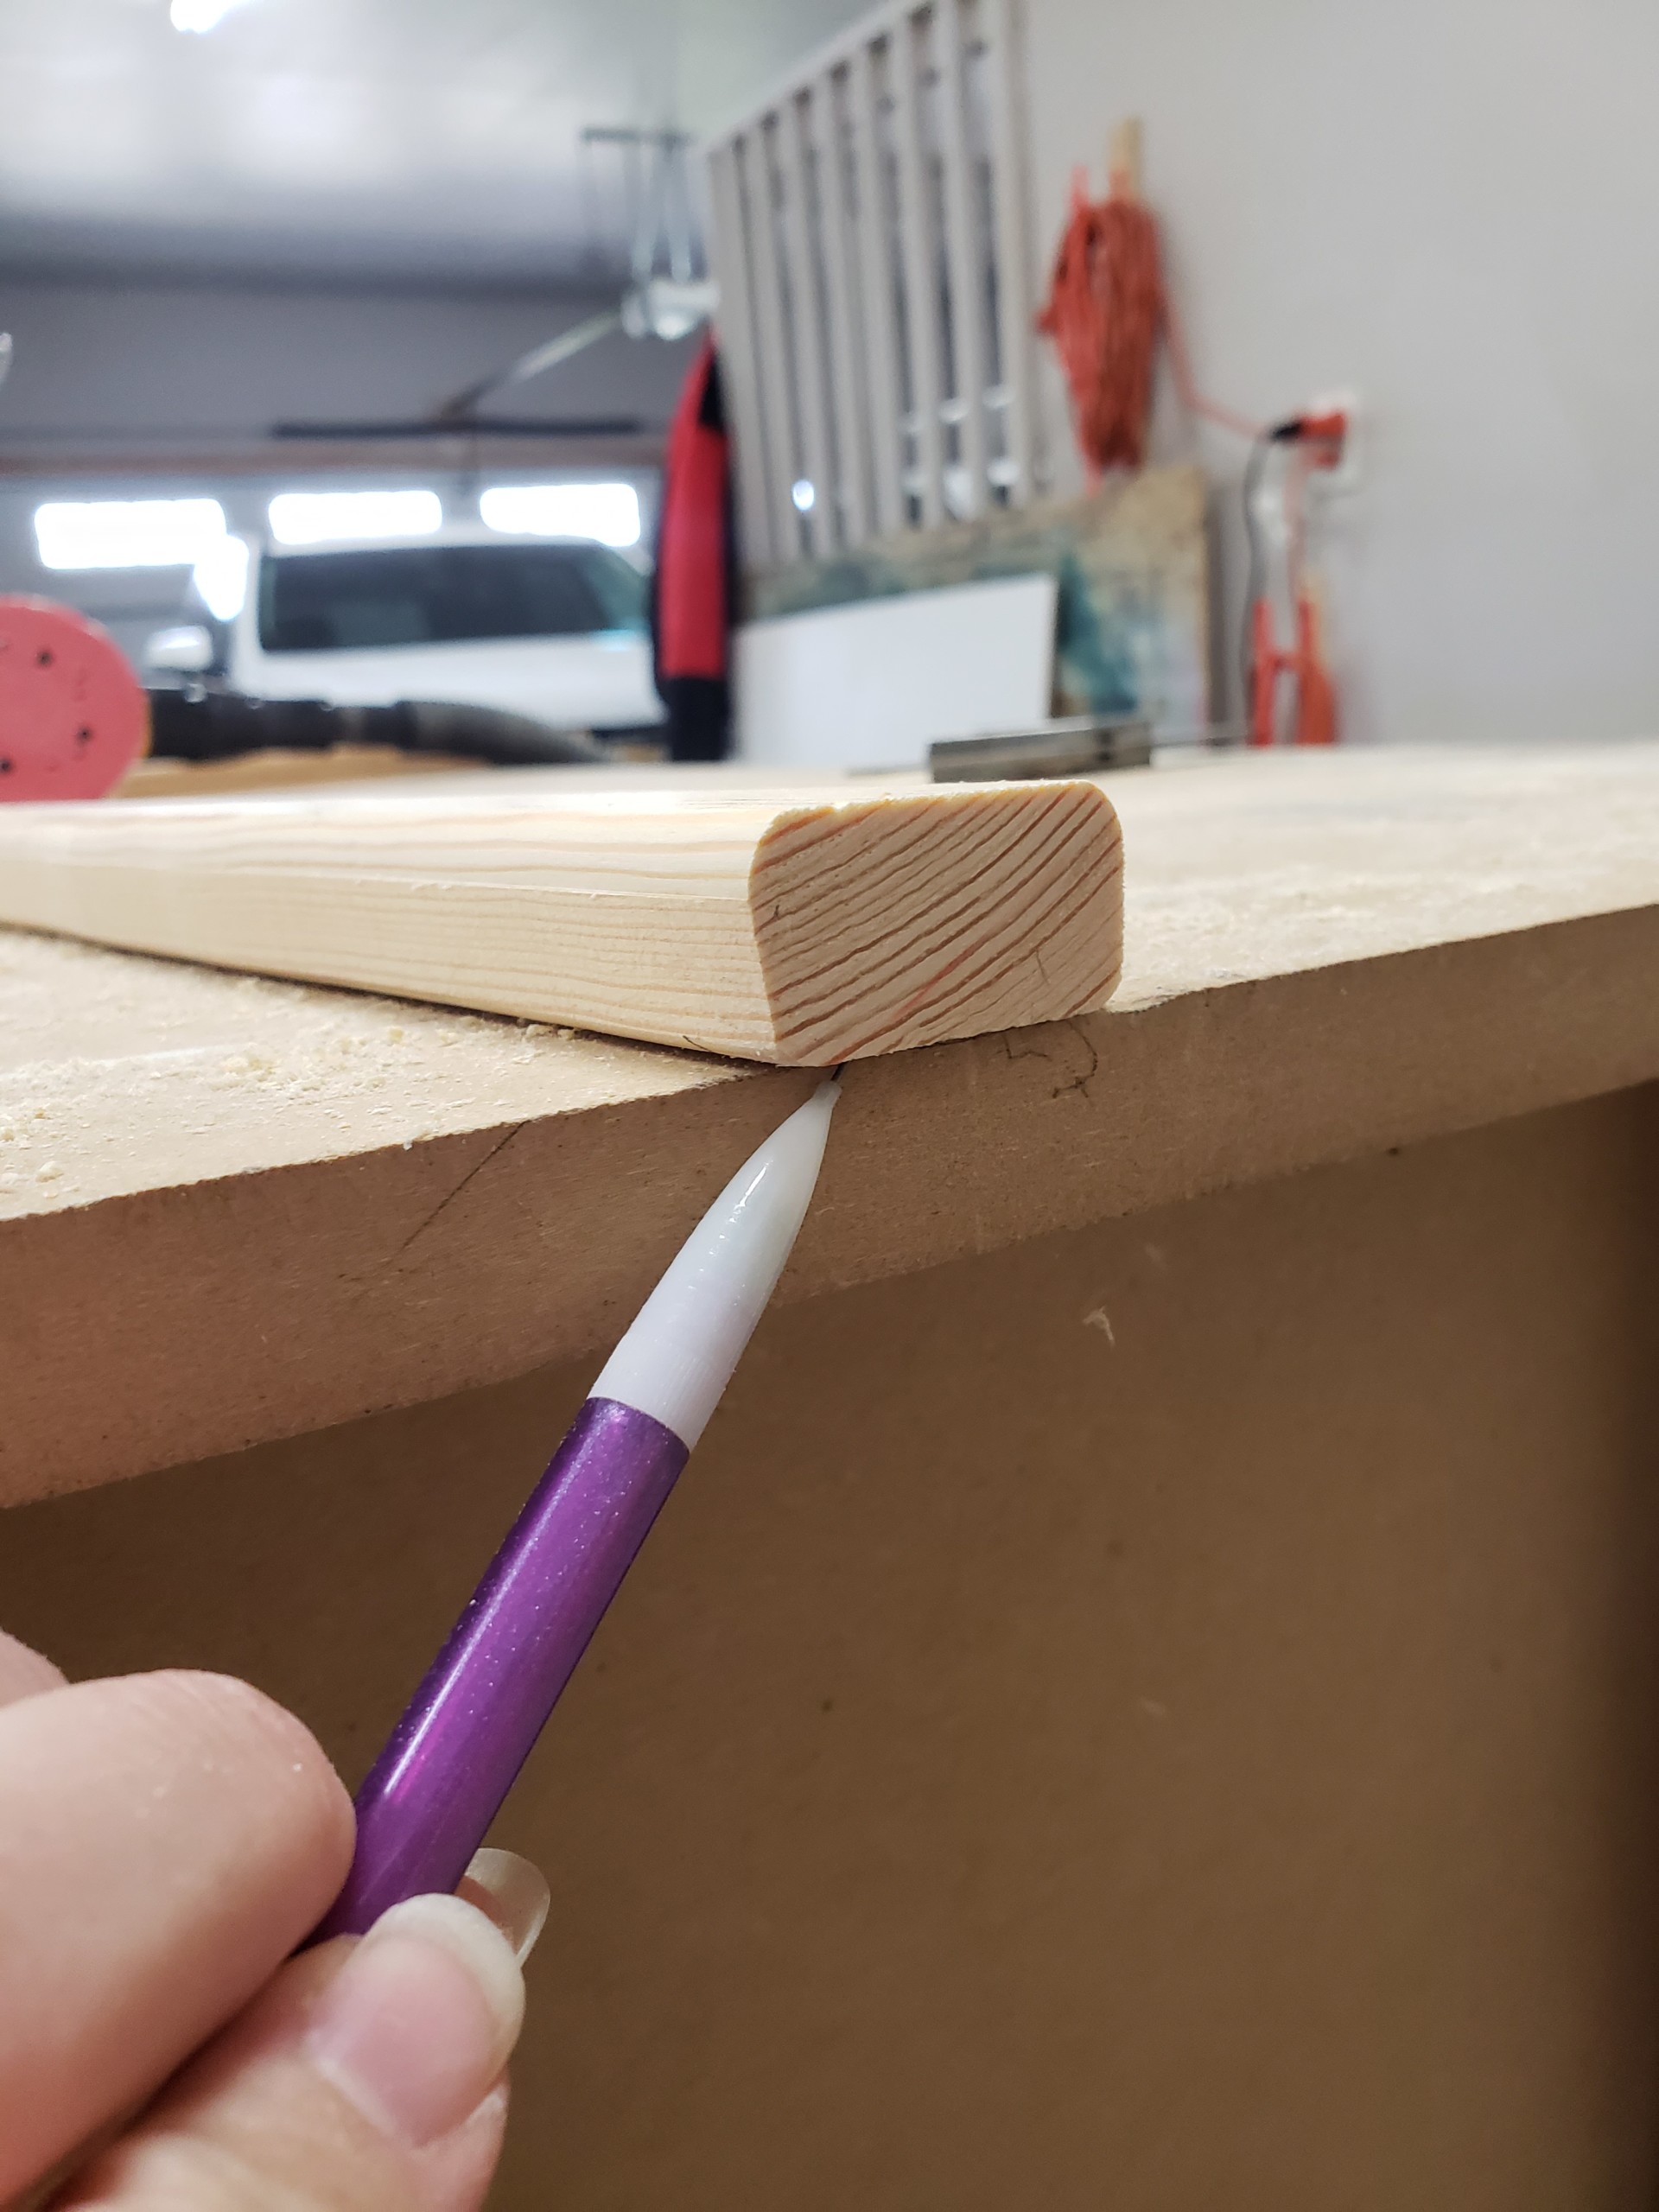
  • Optional: If you have a trim router with a round-over bit, run along the edge of the candy canes to get nicely rounded edges.

Step 3: Paint

  • Paint the body of the candy canes white. (Or you can paint it red.)
  • Using painter’s tape, create candy cane stripes and painted them red (or paint them white if the body is painted red).

Step 4: Cross your candy canes

  • Place your candy canes, one over the other, in the way that looks best to you and use glue and brad nails to secure them together at their intersection. (No brad nailer? You can secure with a screw through the back.)
  • Cut the bottoms off at an angle so they stand up flat on the ground. (This step isn’t necessary since they won’t stand on their own anyway.)

Step 5: Decorate your candy canes

  • Using ribbon, ornaments, decor sprays, or picks you have in your Christmas decor box to decorate as it suits your decor style.
  • TIP: I like to wrap a rubber band around the candy near the intersection to hold the sprays and picks. This way you can change it up yearly.

Now incorporate these candy canes into your seasonal decor. They would look cute inside or outside.

That is about as simple as it gets for a fun DIY project you can do at home. I’m sure the kids would even love to help!


Hi! I’m Kristen, from In Her Garage, and I am a self-taught woodworker and DIY fanatic from Minnesota where I live with my husband and our two daughters.  Between being a wife, mom, and registered nurse, I try to make as much time for DIY as possible.   My love for building came after our family built our current home in 2015. After we moved in, we needed furniture, and instead of spending massive amounts of money to order the pieces we wanted I decided that I would build them myself. I started with a buffet table plan from the fabulous Ana-white and quickly set out to remodel my entire home office.

Check out all of my tutorials here on the Pretty Handy Girl and head over to my site to see more tutorials for making a Toy Box, Folding Craft Table, or a Rustic Buffet Table.  Making something beautiful with your own two hands through a little preparation and determination is an amazing feeling and I hope to bring inspiration and know-how to those looking to tackle a big or small project.

Not interested in making these items yourself?  Let me make them for you!! Feel free to contact me and I would be happy to talk with you about any idea you may have for your home.

I am so glad that you found me here and please feel free to connect with me on Pinterest, Instagram,  Facebook, and Etsy to see what I am working on right now.