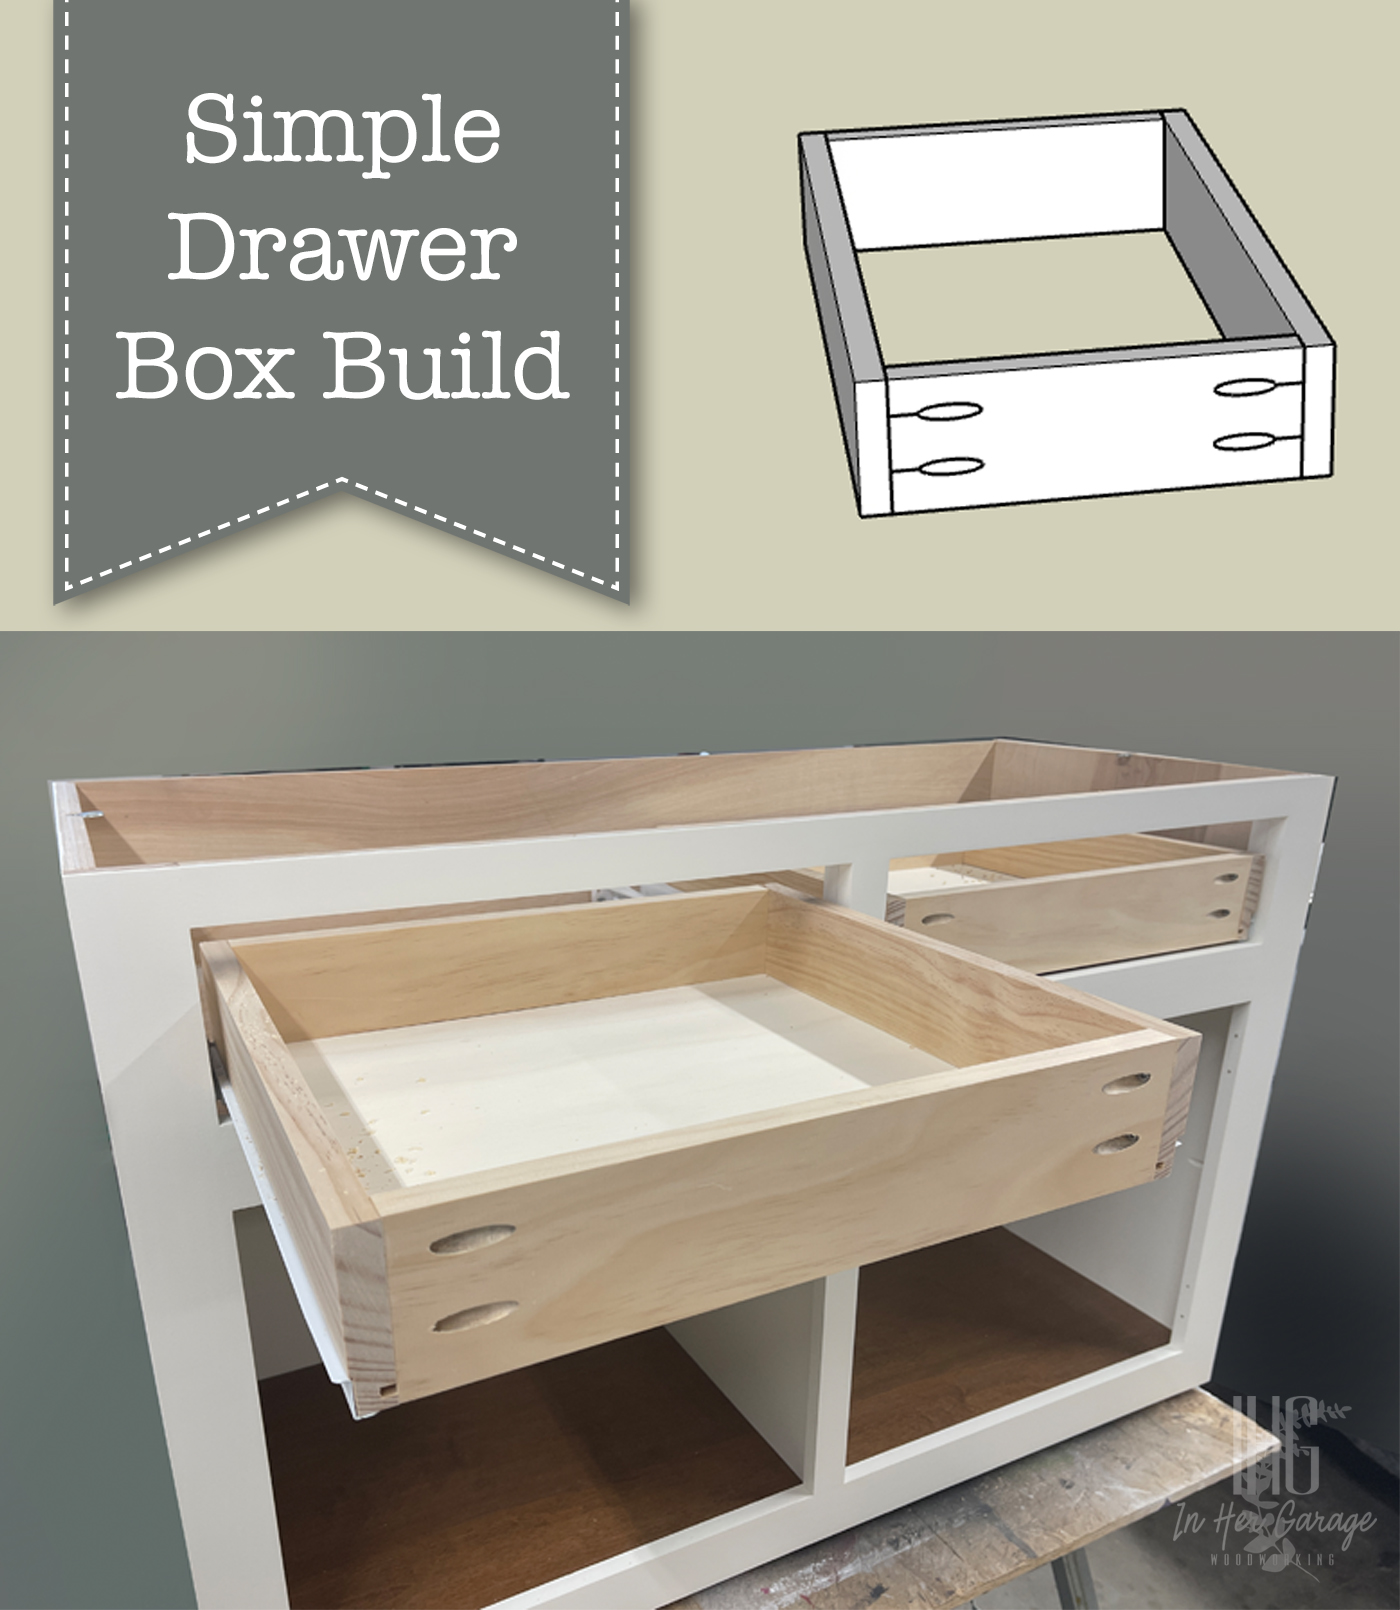
Learn the simplest and most accurate way to build drawer boxes with this easy tutorial.

Drawer Box Build

Welcome back, this is Kristen from In Her Garage Woodworking here with another build plan for you.  When I first began my DIY woodworking journey over 5 years ago I was most intimidated by building drawers. I avoided them because I thought there were too many measurements and too much room for error. But, with a simple plan and a lot of practice, I now make drawers consistently and accurately.  These are the exact plans I use to this day to make drawer boxes for all of my commissioned furniture pieces because when you’re able to make something quickly and easily that is solid and looks great, why would you ever change it?

Materials

(I’ve included affiliate links for your convenience. I earn a small percentage from a purchase using these links. There is no additional cost to you. You can read more about affiliate links here.)

Tools

Instructions:

Your drawer can be any depth you wish, but before building the drawers, rip your 3/4″ material to the drawer height you desire (if you are using plywood or if your 3/4″ material is wider than your finished drawer.

Step #1: Cut drawer box sides

Using your miter or circular saw, cut two identical 3/4” boards to the same length of the drawer slides you’ll be using.

Step #2: Cut drawer box front and back

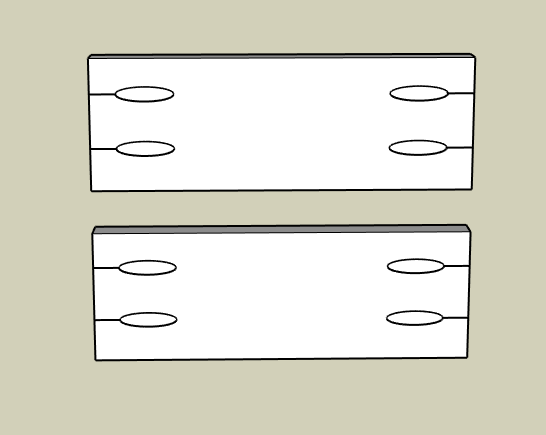
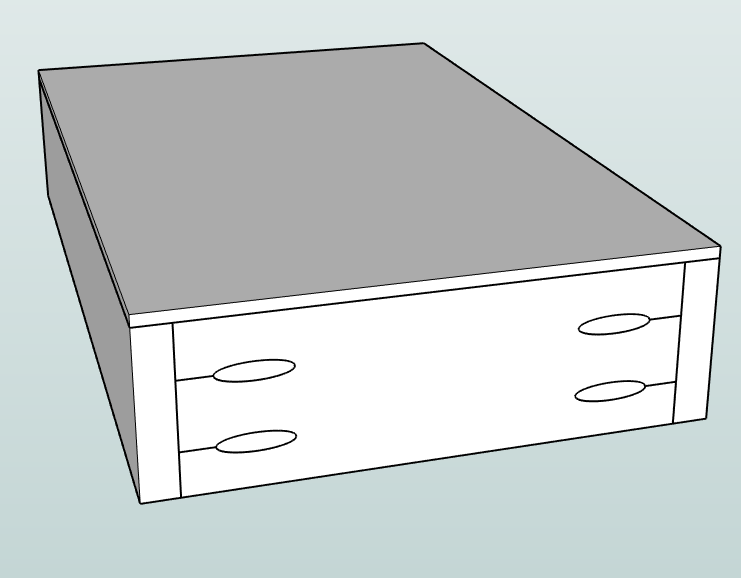
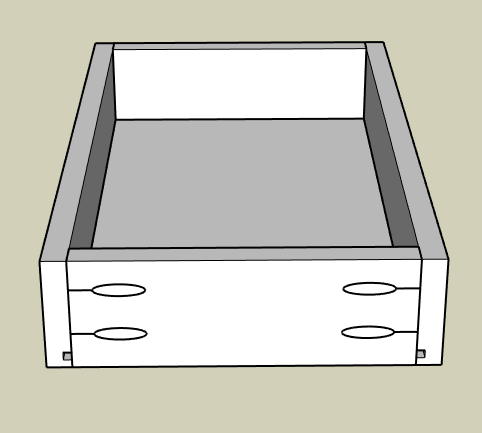
Cut two pieces of the 3/4 inch material for the front and back of the drawer box.  If you’re using ¾” material to build the drawer box then the length of the front and back can be calculated as follows (see equation and picture below):

Width of drawer box – 1½” = width of front and back drawer box boards

Drawer Box Diagram

Step #3: Add groove for drawer bottom (optional)

Taking all four 3/4″ boards to the table saw cut a groove 1/4” from the bottom of all sides that is 1/4” deep. Run the 3/4 board through one time, then adjust the fence (or your saw) to cut another groove next to the first. (A standard saw blade is 1/8” wide so you will need to make two passes in each board to achieve a 1/4″ groove for the 1/4″ drawer bottom material.

Dry-fit the plywood to check for fit.


Step #4: Create pocket-holes

Using your Kreg jig make 2 pocket-holes at either end of the front and back boards on the opposite side as the plywood bottom groove if you chose to do this step. Be sure to avoid the groove.

Step #5: Assembly

If you DID NOT cut a groove to accept the plywood bottom, then you can assemble the drawer box using wood glue and 1 ¼” pocket screws.

Then, you will cut your bottom 1/4″ panel to the length and width of the drawer box and simply glue and nail it to the bottom of the drawer box

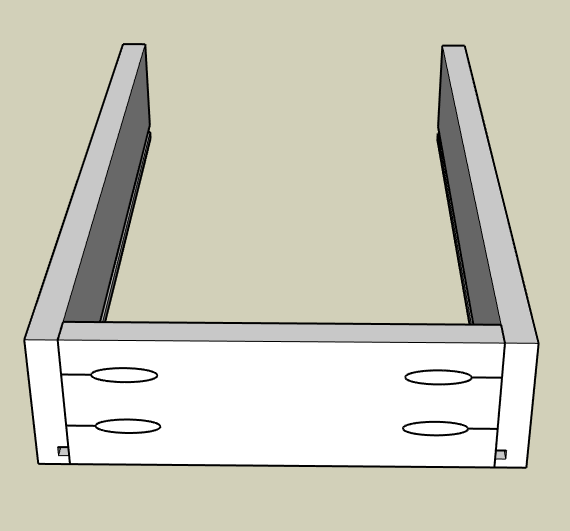
If you DID create a groove for the bottom panel assemble the front and both sides using wood glue and 1 ¼” pocket screws.

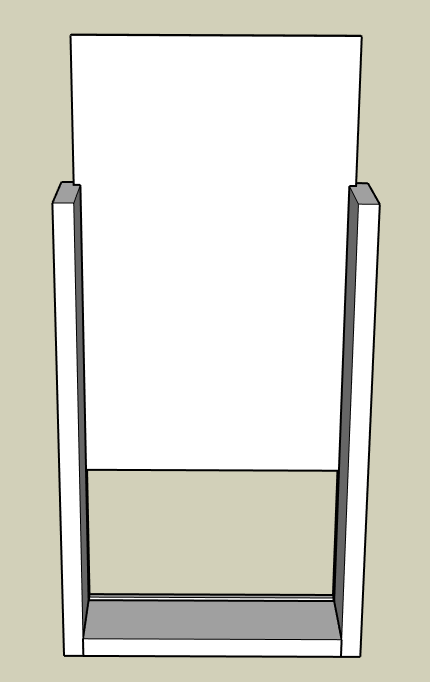
Next, cut the ¼” plywood to fit into the bottom of the drawer box groove dry fitting the back panel to check for fit.

Once you have the correct size for the plywood bottom then slide it into the groove and attached the back piece of the drawer box using wood glue and 1 ¼” pocket screws.  There is no need to apply glue into the panel groove.  The plywood bottom will “float” in place.

No need to worry about filling the pocket-holes because you will be applying a drawer face directly over them.

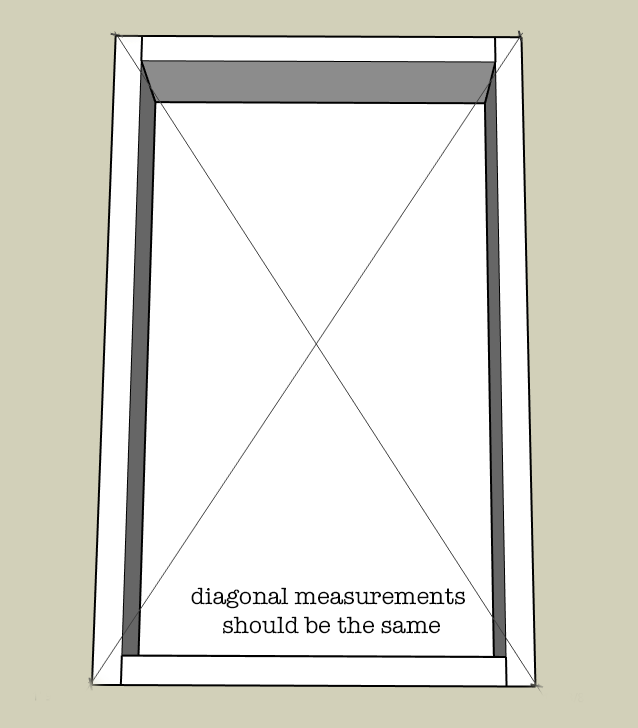
Be sure to check for square by measuring both diagonals of the drawer box.  If one measurement is longer simply squeeze the longer diagonal until both are the same.

Allow drawer box to dry.

That is the basic drawer box build that I use and it is strong and easy to put together. I hope this tutorial gives you the confidence to tackle that project you’ve been putting off.  Next, I will teach you my favorite method for installing drawers and how I troubleshoot drawer boxes that just aren’t quite the right fit!

Finishing Tips:

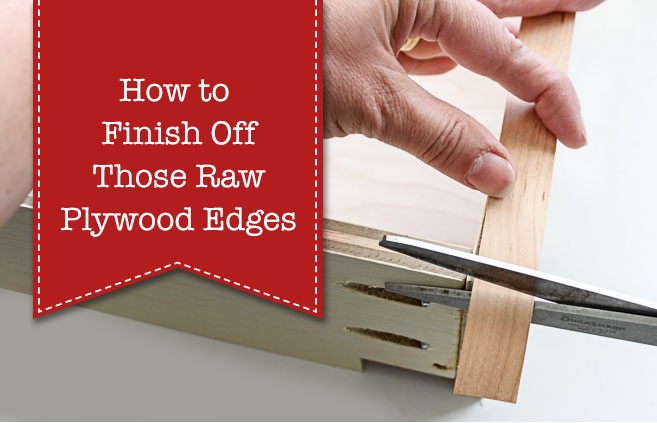
If you are making your drawer boxes out of plywood then check out Brittany’s Edge Banding Tutorial and learn how to cover that unsightly plywood edge.

Wondering how, or if, you should apply a protective finish to the drawer box? If I am working with solid wood for the drawer sides then I will give the material a quick finish sanding and that’s it. But, for plywood, I typically do one of two things, depending upon what I have on hand at that time.

  • Option 1: Apply 1 or 2 coats of sanding sealer to raise the grain of plywood and sand smooth. Sanding sealer is clear, easy to apply, and dries quickly. If I have the time and patience I may also apply a quick spray of clear, semi-gloss, water-based topcoat to give it a little shine but it isn’t necessary.
  • Option 2: Apply 2 to 3 coats of spray shellac to seal the plywood.  Spray shellac dries quickly and won’t leave any chemical smell behind. But be aware that it will give the plywood a slight amber tone which typically isn’t big deal.  Remember to lightly sand between coats.

Hi! I’m Kristen, from In Her Garage, and I am a self-taught woodworker and DIY fanatic from Minnesota where I live with my husband and our two daughters. Between being a wife, mom and, registered nurse, I try to make as much time for DIY as possible. My love for building came after our family built our current home in 2015. After we moved in, we needed furniture and instead of spending massive amounts of money to order the pieces we wanted I decided that I would build them myself. I started with a buffet table plan from the fabulous Ana-white and quickly set out to remodel my entire home office.

Since then I have started a side business building furniture for the people in my community. I love hearing my clients talk about the pieces they wish they had whether it be a rustic buffet table, a one drawer side table, or a toy box, and then making it a reality for them. While starting my small business it made perfect sense that I would document my building journey so I simultaneously launched the In Her Garage blog and I love sharing my plans, tips, and tricks.

Making something beautiful with your own two hands through a little preparation and determination is an amazing feeling and I hope to bring inspiration and know-how to those looking to tackle a big or small project.

I am so glad that you found me here and please feel free to connect with me on PinterestInstagram, and Facebook to see what I am working on right now. And check out the brand new In Her Garage Etsy shop for other plans or to have a furniture item made especially for you!

Clean out and organize your junk drawer

I hope everyone had a lovely Holiday and a thought-provoking New Years. Thought-provoking? Well, I always find myself thinking more than usual around New Years. How about you? I think about the past year and the year to come. And, like most people around this time, I think about any goals I want to achieve in the New Year. I’m sure you can relate to wanting to declutter. Welcome to the Declutter Challenge for 2020.

Take the challenge and finally declutter your home!

Declutter Challenge for 2020

I know a lot of us strive to be tidier. To clean our house, clear the clutter, and get more organized overall. I think the New Year is a great time to do this. In fact, it’s one of the first things I do every new year. I start purging with the Christmas decorations, as I’m taking them down to be put away. Any decorations that didn’t get used, and are not precious to me, get donated. I do this every year and my Christmas decor stash has stayed very manageable this way.

But that’s just one example. Today, I want to share with you a little declutter challenge that we can do together.

In this free printable pdf, you will find a list of areas to clean out each day. Feeling more motivated? Feel free to tackle two or three areas a day! Don’t forget to check the box when you have completed cleaning and organizing an area. And make sure to pat yourself on the back!

I also wanted to share a few tips to help you along the way in this decluttering challenge.

How to Declutter Your Home

Before you start on any area, collect three things:

  • a trash bag,
  • a box for donations
  • an empty laundry basket

Any items to throw away will go into the trash bag. Any items that should be donated, can go into the box. Lastly, any items not where they belong get put in that empty laundry basket to be put away later.

If you need an extra push, check out my list of 59 things you can get rid of right now.

Paperwork

The best way I found to tackle all that paperwork is to digitize it. You don’t have to create any elaborate systems. Simply switching to online bill pay and paperless billing will help a lot. Reduce mail by getting yourself off those junk mail and catalog lists! You can easily remove yourself using this free service on the Catalog Choice website.

Keep one small area designated for paper mail, and make it a point to go through this pile weekly. Keep a paper shredder handy so you can securely dispose of papers as they come in. It’s usually not necessary to keep product manuals and menus, most of these can be found online these days. Just recycle them and use the space for something else.

Organizing Kids Artwork

What about kids artwork? My philosophy has always been to keep the favorites and display them proudly (but recycle the rest.) You can display them as a lovely gallery wall of framed prints that your children created. There are also services like ArtKive that create a memory book or collage print of all their artwork for you.

Junk Drawer

Clean out and organize your junk drawer

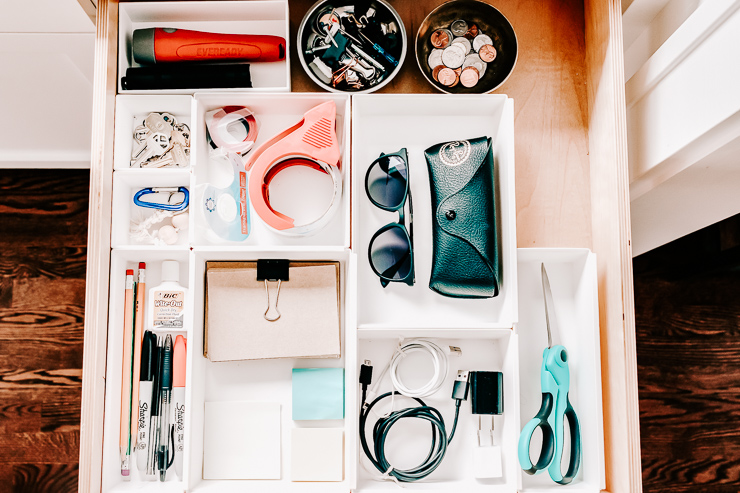
Things are much easier to keep organized when we don’t have a lot of things. When you go through your junk drawer, keep only the bare minimum of items needed. Few of us really need twenty five pens and three staplers in one drawer. Use drawer organizers to keep items corralled in their own spaces.

Magnetic Trays for Holding small parts

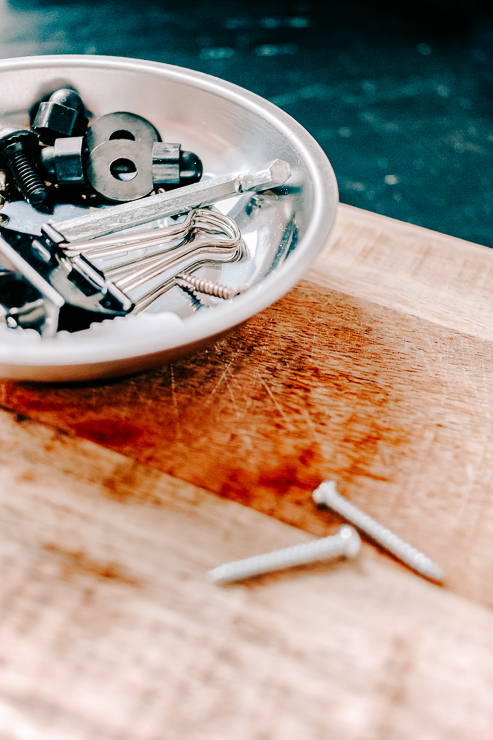
I also love using those magnetic parts tray. They’re perfect for keeping those loose screws, paperclips, binder clips, and the like together and not rolling around in your drawer.

Closets

Organize your Closets

Closets tend to take up the bulk of our decluttering time. For most closets, I find it best to take everything out of the closet to see what you have. This is where you really need to be honest with yourself. Only keep those items that you really love. I don’t recommend saving clothing for the “ifs or maybes in the future.” Only keep what you wear now, the exception being formal wear and business attire. Shoes are another biggie here! It’s amazing how many pairs of shoes we can accumulate over time.

Where to Donate

We are probably all familiar with Salvation Army and Goodwill. Here are some additional ideas for donating your things to those in need:

  • Your local library will sometimes accept book donations.
  • Veterinarian offices are usually in need of old towels and sheets for pet beds.
  • Habitat for Humanity ReStore accepts used appliances, household goods, building materials, and furniture.
  • Local Shelters, Food Banks, and Churches
  • Hospitals, Police, Fire Departments, and Daycare Centers will accept used toys.
  • Local Schools will sometimes have seasonal clothing drives aka Coat Collections.

Don’t forget your donation receipt when you drop off your goods. These receipts help you save money on your taxes the next year.

So it’s official!  Consider this challenge your excuse to declutter!  Even if you end up crossing off just a few of the areas on your declutter challenge printable, that’s still a great start.

Don’t forget to download and print your Declutter Challenge Printable Right Here! 

For more organization tips and tricks, check out Love your Home, Not the Stuff – Taming the Clutter.

Here’s to a more organized 2020!

karen signature

~ See More of Karen’s Tutorials ~


karen from decor hintHello!  I’m Karen, the creator of the Home Decor and DIY Blog: Decor Hint. I’m a Native of the East Coast, but I currently live in beautiful Seattle with my hubby, our two wonderful children, and our spunky wheaten terrier.

You can usually find me with some sort of craft in one hand and a coffee in the other. And I’m always rearranging furniture or moving lamps from room to room. I have a passion (read: obsession) for decorating, DIY, and gardening. In short, I love making my house into a home.

Like many, I’m inspired by what I see in home decor magazines, but I’m not so inspired by the price tags.  Consequently, I love finding and creating beautiful budget-friendly home decor items. In a head to head competition, I bet you’d never know the difference between the designer items and my DIY creations!  Many of my DIY projects focus on sewing, crafting, upcycling and organizing. Some of my favorite projects have been making pretty wreaths, sewing my own tassel hand towels, and crafting these trendy wood bead garlands. I can’t wait to inspire you and spark your creativity through my DIY projects.

You can always connect with me on Pinterest, Twitter or Instagram.

DIY Scrap Moulding Trays | Pretty Handy Girl

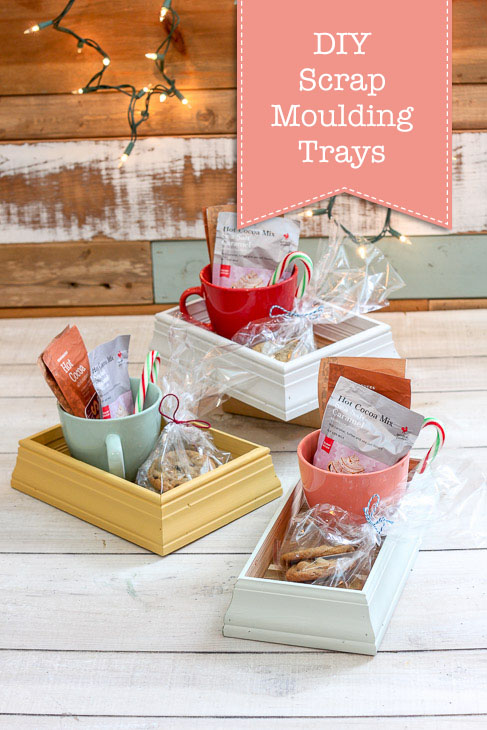
Are you on a purge mission to get rid of excess stuff? Me too! How about your workshop? Do you have scrap wood you need to get rid of? Yes? Perfect. Today I have a simple tutorial to show you how to make DIY Scrap Moulding Trays.

DIY Scrap Moulding Trays | Pretty Handy Girl

DIY Scrap Molding Trays

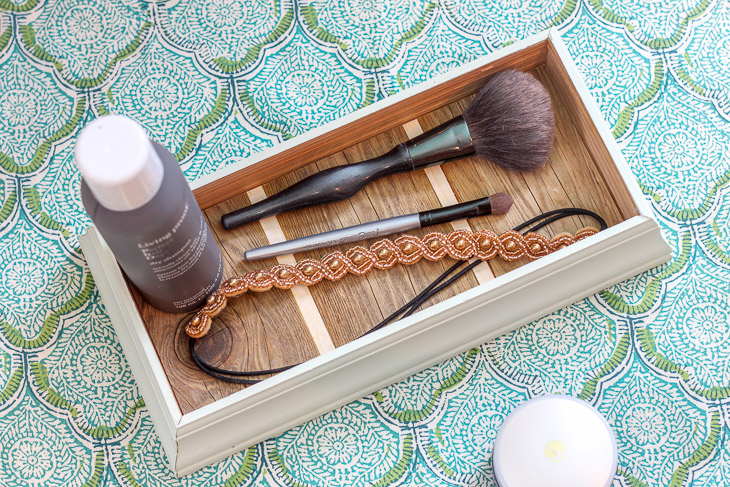
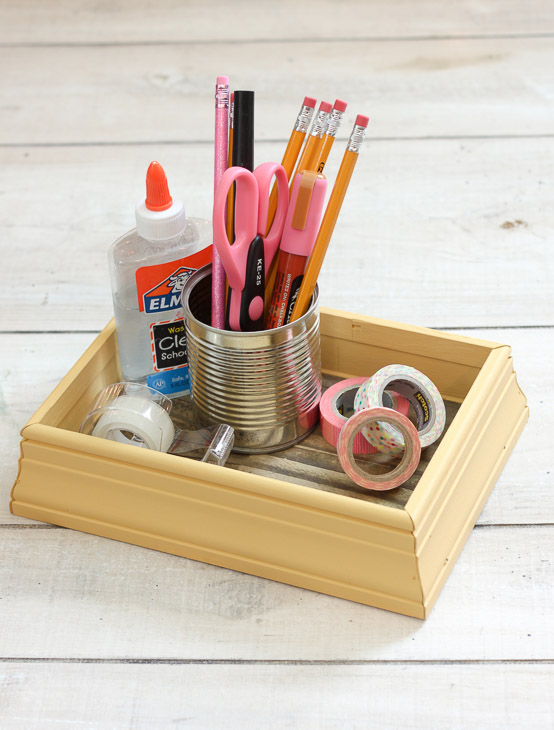
These trays are really cute and can be given as gifts and used to corral things together. Honestly, they are now one of my favorite scrap wood projects!

DIY Scrap Moulding Trays | Pretty Handy Girl

Regardless of how you use these scrap molding trays, they are a great way to reuse materials.

Materials:

Optional: Clamps

Instructions:

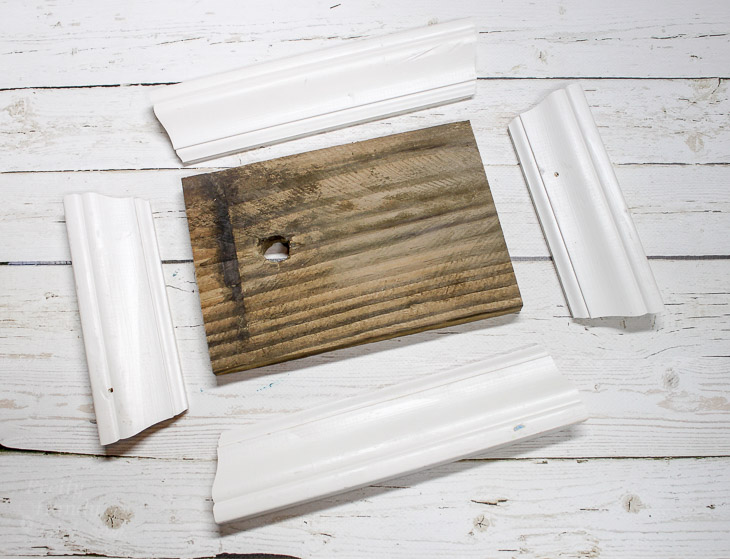
Cut a 45˚ angle into one end of your case molding (the longer side of the cut should be on the outside of the molding.) Never used a miter saw before? Watch this video tutorial to learn how to use a miter saw.

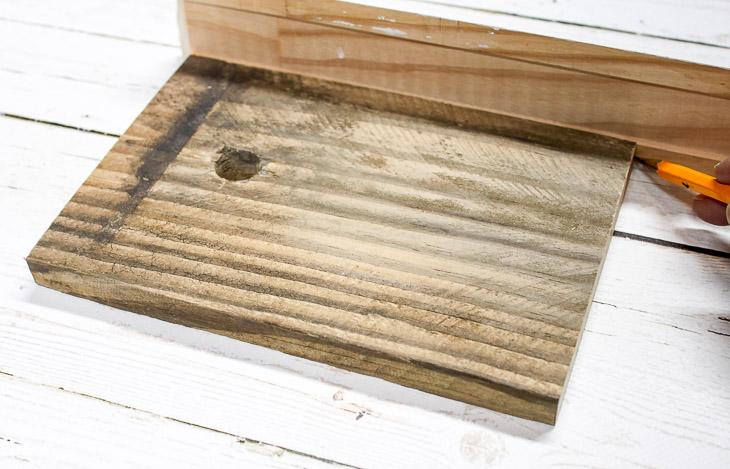
Line up the inner edge of the cut against one corner of your base wood. Mark the location of the other corner onto the molding.

DIY Scrap Moulding Trays | Pretty Handy Girl

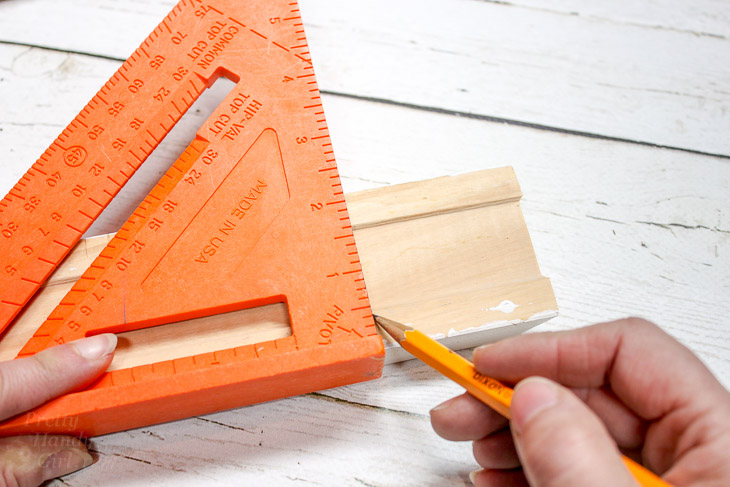
Extend the line along the molding using a speed square.

DIY Scrap Moulding Trays | Pretty Handy Girl

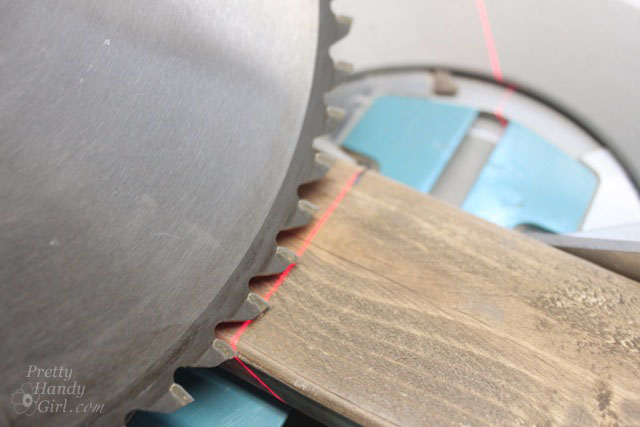
Line up the mark with your saw blade and cut at a 45˚ angle.

Repeat for the remaining sides until you have four sides cut with all ends mitered to 45˚.

DIY Scrap Moulding Trays | Pretty Handy Girl

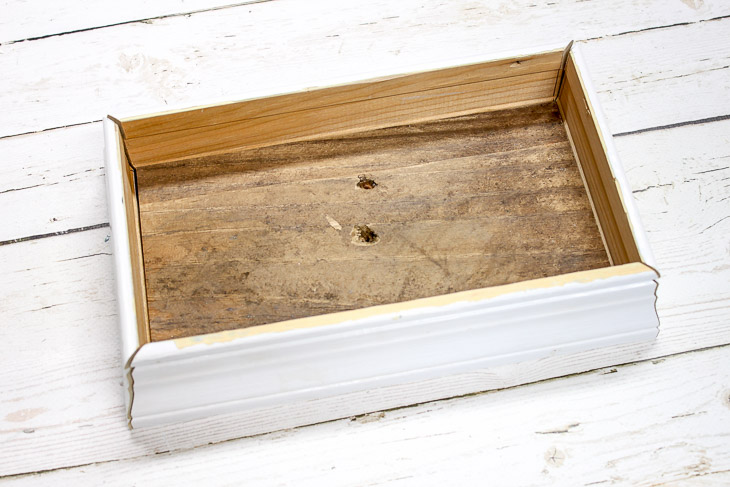
Test fit all the molding sides against the baseboard and make any adjustments as needed.

DIY Scrap Moulding Trays | Pretty Handy Girl

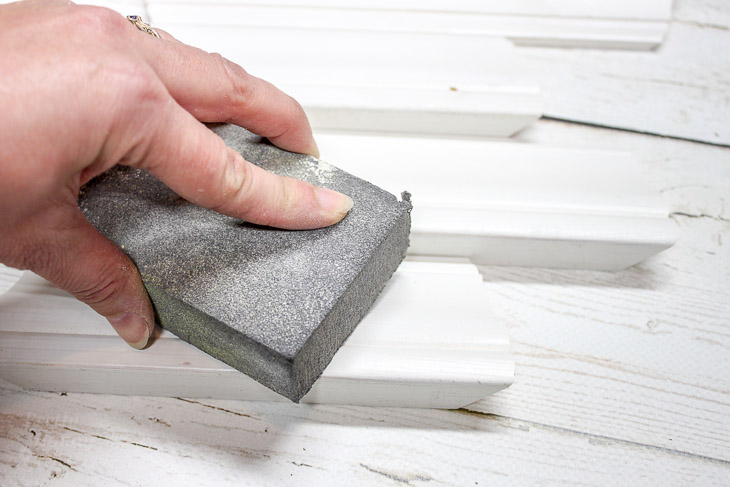
Sand any rough spots off with a sanding sponge.

DIY Scrap Moulding Trays | Pretty Handy Girl

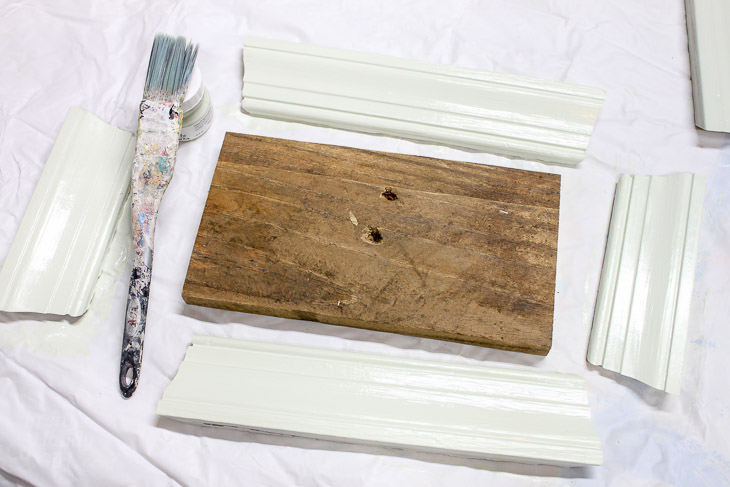
Paint the molding your color of choice. I used a variety of Fusion paints. This is the first time I’ve used Fusion Mineral Paints, but it definitely won’t be the last! They go on smoothly and don’t require a primer. Plus, with a light sanding afterward the paint doesn’t feel chalky.

DIY Scrap Moulding Trays | Pretty Handy Girl

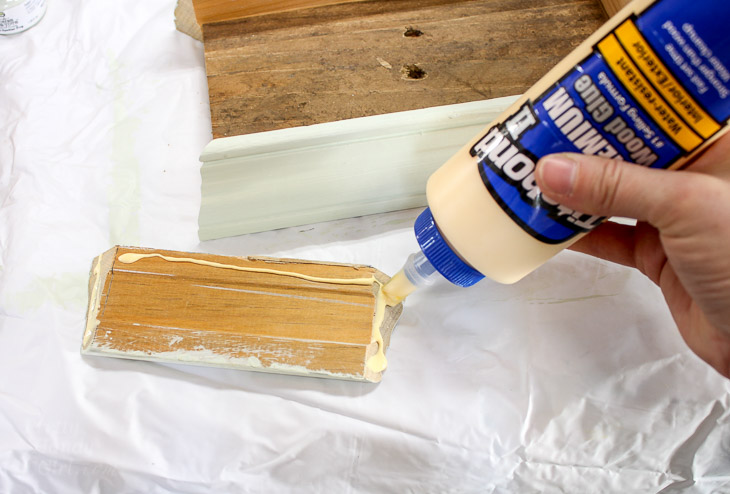
Squeeze wood glue onto the corners and bottom edge of the molding pieces.

DIY Scrap Moulding Trays | Pretty Handy Girl

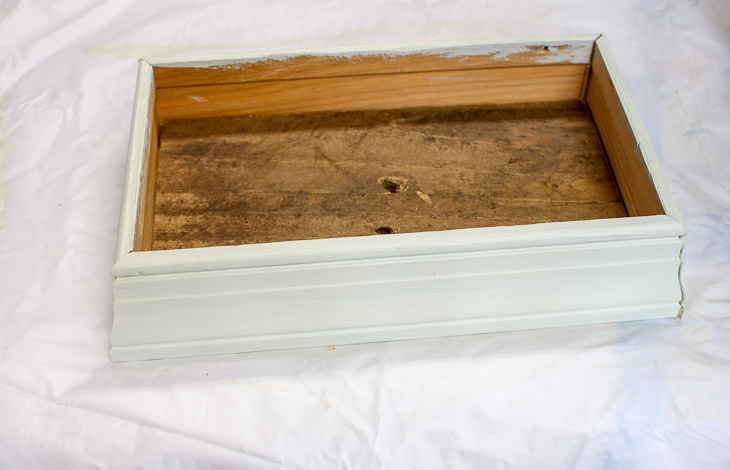
Set them in place around the base.

DIY Scrap Moulding Trays | Pretty Handy Girl

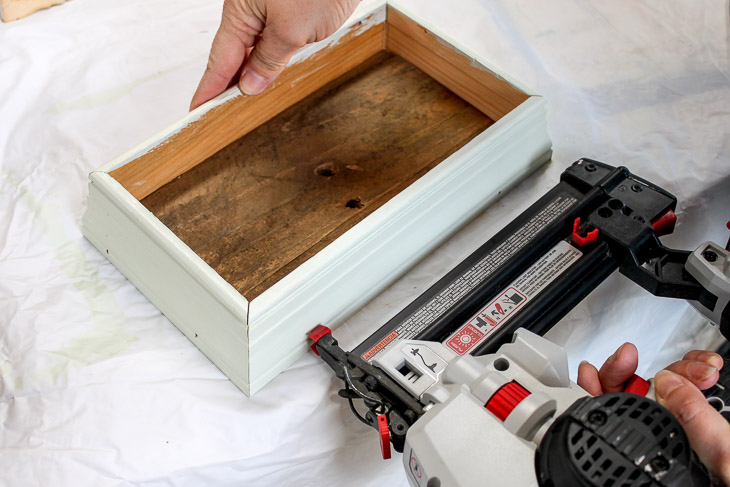
Nail 1 ¼” brad nails through the molding and into the base.

DIY Scrap Moulding Trays | Pretty Handy Girl

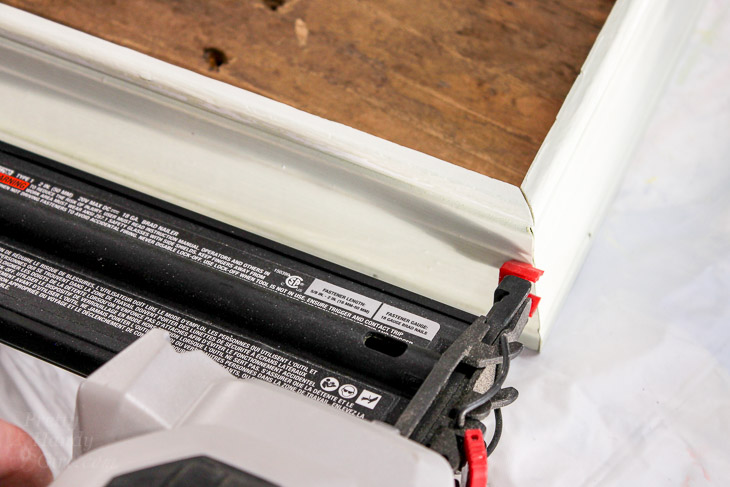
Secure the corners with one or two more brad nails.

DIY Scrap Moulding Trays | Pretty Handy Girl

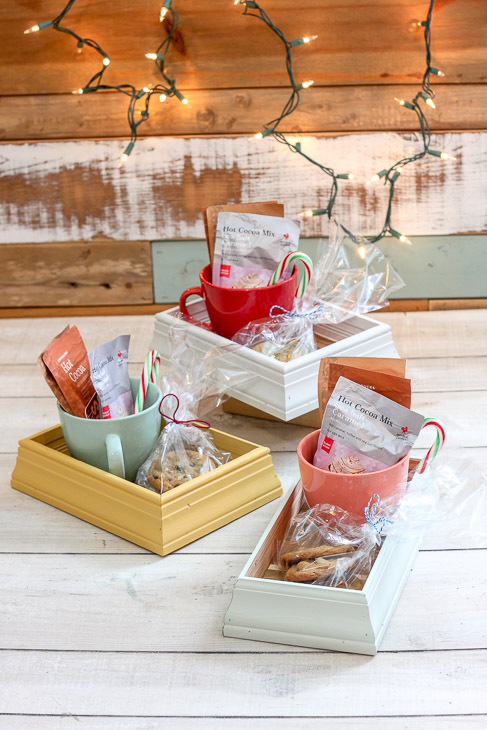
Time to load up your tray with goodies and give them as gifts.

DIY Scrap Moulding Trays | Pretty Handy Girl

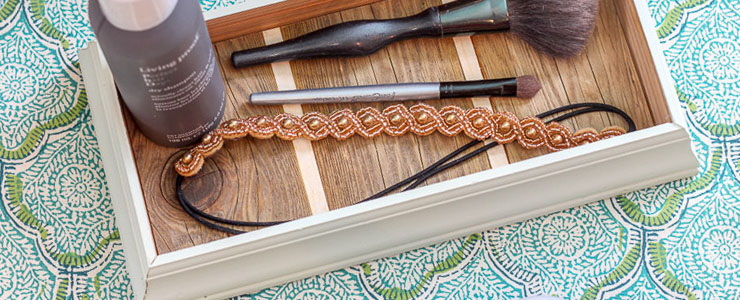
Or use your tray to organize your desk.

DIY Scrap Moulding Trays | Pretty Handy Girl

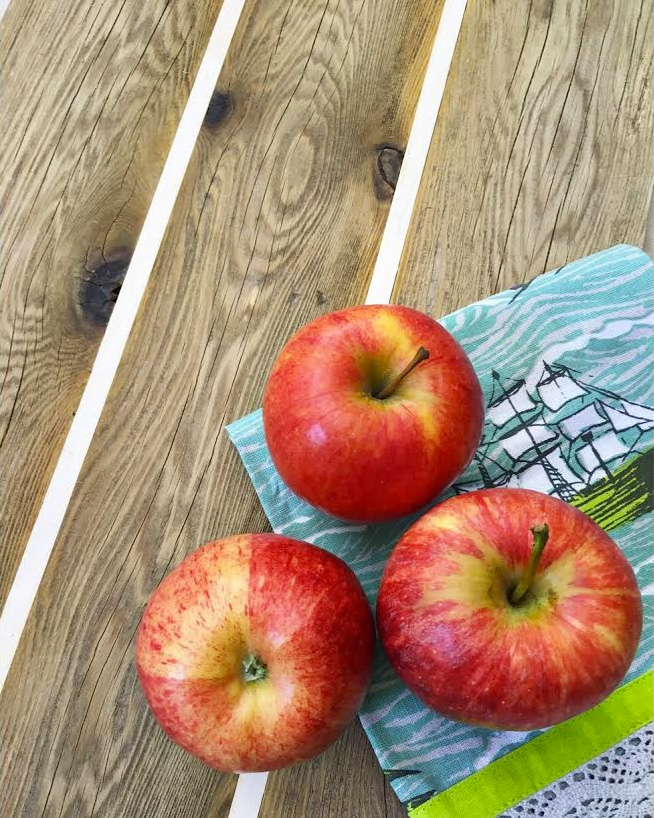
If you fell in love with the tray with the striped bottom, you can learn how to make striped wood block here:

How to Make a Striped Wood Block | Pretty Handy Girl

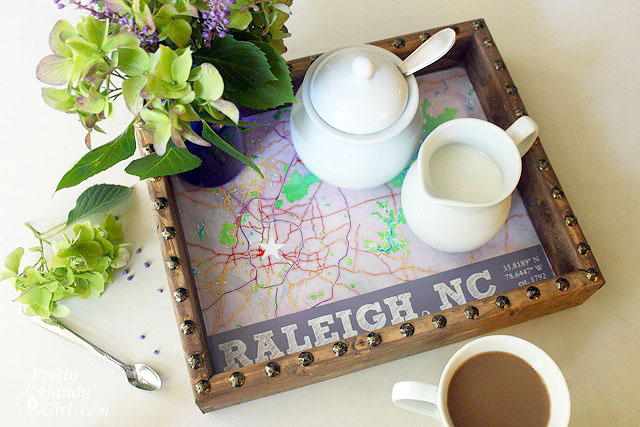
Another tray you can make with scraps is this fun Nailhead State Capital Tray:

What do you think? Want to use up your scraps to make some fun trays?

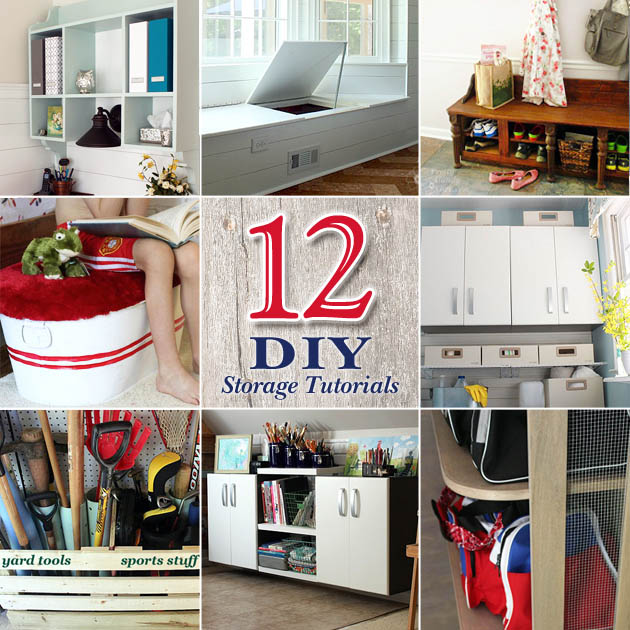
12 DIY Home Storage Tutorials | Pretty Handy Girl

It’s January and you know what that means! Time to clean and purge the house of all the excess stuff. Last year I was too busy with projects to purge, so this year I’m taking advantage of some warmer days to clean out our home. I hope you’ll excuse me while I’m in clutter busting HELL mode. In the meantime you might enjoy these 12 DIY Storage Projects to help you organize your home (and hide clutter.)

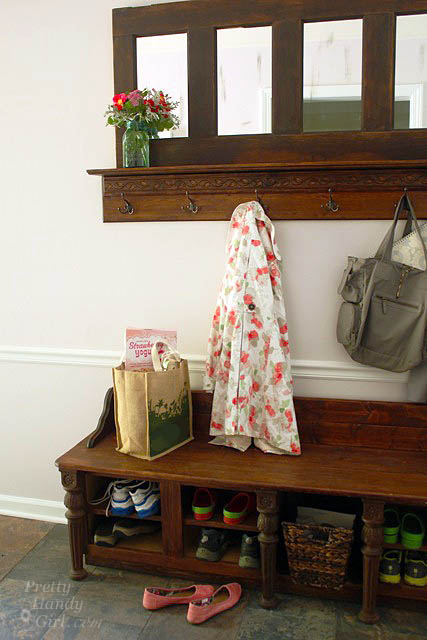
mudroom_shoe_storage_bench
Make a Coat Rack from an Old Door
 and Make a Shoe Storage Bench with Kitchen Cabinets

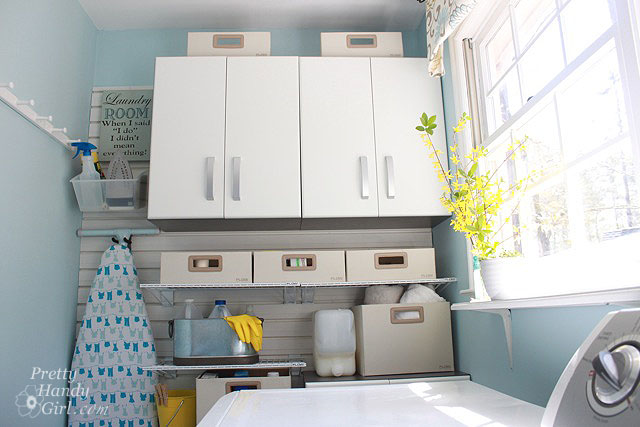
full_flow_wall_above_washerLaundry Room Storage using Flow Wall Read more

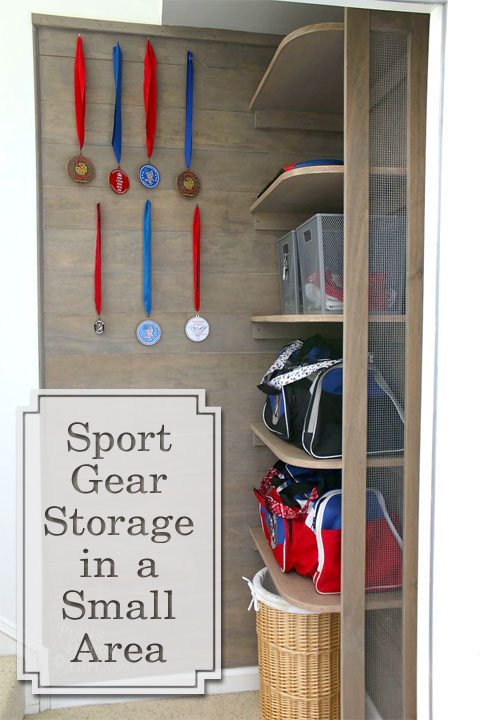
Sport Gear Storage in a Small Space | Pretty Handy Girl

My home is protected by ninjas! Well, actually Tae Kwon Do athletes, but they are ninjas in training. So, don’t even think about breaking into our house or they will open up a can of whoop ass on you! 😉
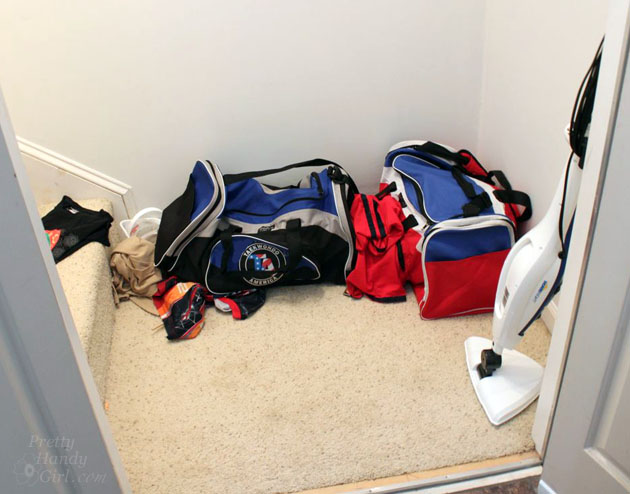
Unfortunately, where my boys are plentiful in kicking and punching skills they lack in the picking up your stuff department. Which means that the bottom of the stairway to our bonus room is usually the dumping ground for their gear bags, clothing and gear.

Sport Gear Storage Shelves in a Small Space | Pretty Handy Girl

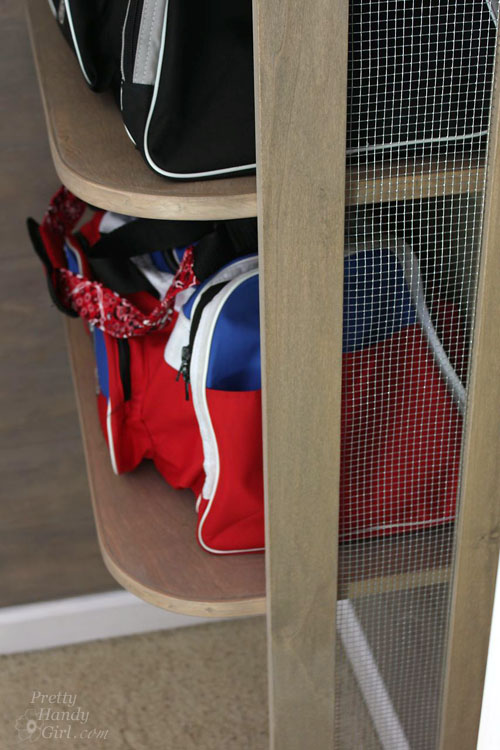
I knew I could “up” the amount of storage we had in this small unused space by going vertical. I designed and created Sports Gear Storage Shelves in the small space at the base of our bonus room stairs. Adding mesh siding gives the storage system a locker vibe and allowed for better air flow around stinky sports gear.

Sport Gear Storage Shelves in a Small Space | Pretty Handy Girl

Want to know how to build your own Sport Gear Storage Shelves? Hang out for a while and I’ll walk you through the step-by-step tutorial.

Materials:

Cut List:

  • 5 – 15″ x 24″ plywood (shelves)*
  • 5 – 1 x 3 x 15″ (shelf cleats)
  • 5 – 1 x 3 x 23″ (shelf cleats)
  • 2 – 1 x 3 x 88″ (sides of support frame)
  • 2 – 1 x 3 x 4.5″ (top & bottom of support frame)
  • 1 – 5.5″ x 84″ piece of wire mesh
  • Rip edge banding 1/4″ thickness from one 1 x 3″ board

* You should be able to get a sixth shelf cut from your plywood if you wish to use it for a base.

Instructions:

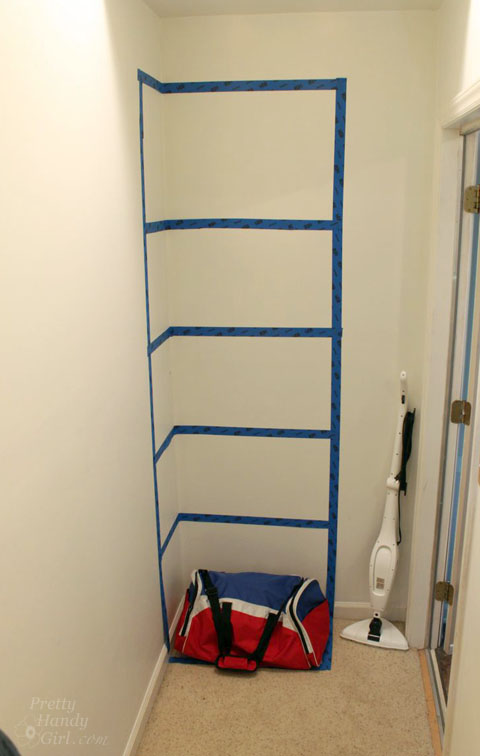
Before beginning to build, sketch out your design with painter’s tape. Take note of the height of any baskets or gear bags you will store on the shelves. This should give you the ability to visualize the storage shelves and make any alterations to your design before you build. Once you are happy with the layout, write down your shelf heights.

Sport Gear Storage Shelves in a Small Space | Pretty Handy Girl

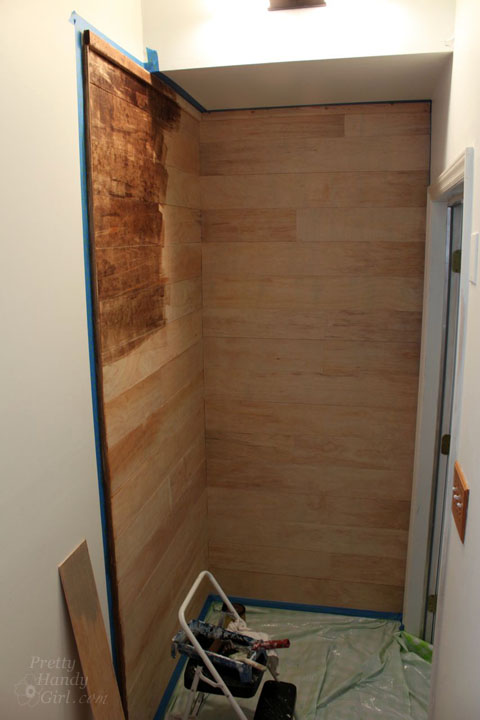
You may wish to clad the walls in wood planks like I did before you build the shelving. If you decide to add the planks, here’s the tutorial for planking your walls.

Sport Gear Storage Shelves in a Small Space | Pretty Handy Girl

Measure and mark the heights of your shelves.

Sport Gear Storage Shelves in a Small Space | Pretty Handy Girl

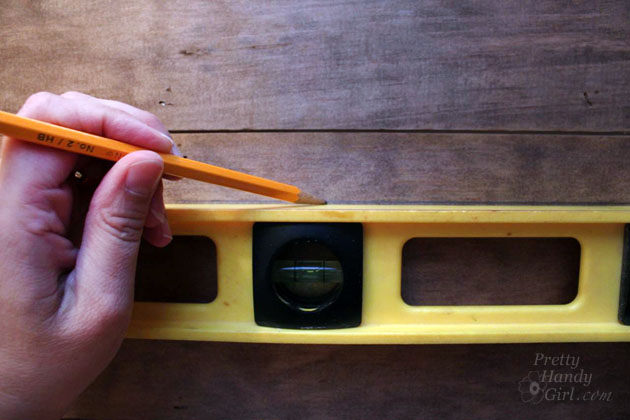
Using a level, draw a pencil line where the shelves will rest.

Sport Gear Storage Shelves in a Small Space | Pretty Handy Girl

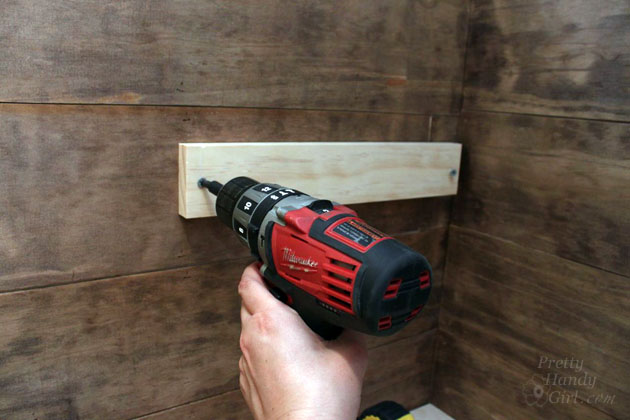
Secure the 1×3″ cleats below the pencil line using 2 1/2″ wood screws into studs.

Sport Gear Storage Shelves in a Small Space | Pretty Handy Girl

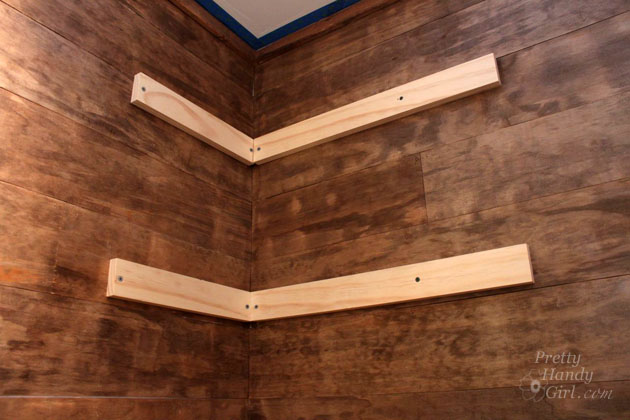
Continue securing shelf cleats to the wall with screws into available studs.

Sport Gear Storage Shelves in a Small Space | Pretty Handy Girl

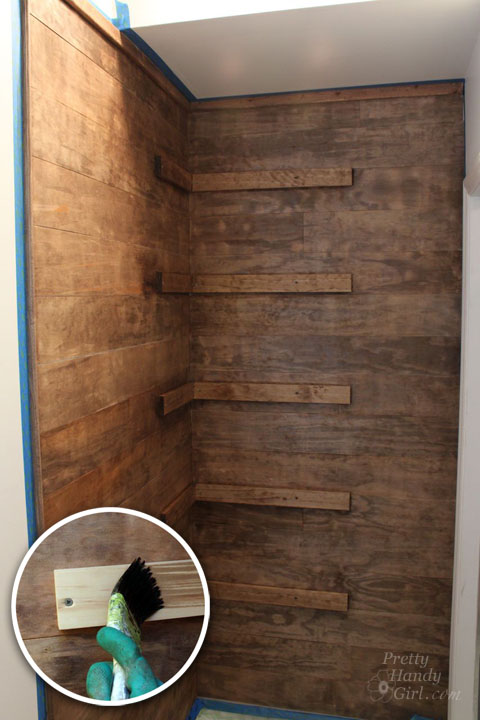
Paint or stain the cleats to match the wall color.

Sport Gear Storage Shelves in a Small Space | Pretty Handy Girl

Building Curved Shelves with Edge Banding: Read more