DIY Loft Bed | Pretty Handy Girl

blue-loft-bed

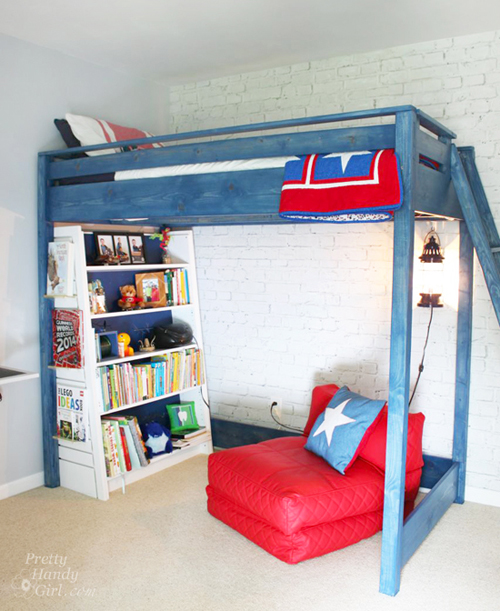
Guys and Gals, I am here today to tell you that you can build a loft bed for your child! However, unlike most of the tutorials you find on my site, building this loft bed is not one of them. Instead, loads of gratitude goes to Ana White and her fabulous plans for building a loft bed. You can follow her plans for the build. I assure you, they are detailed and easy to follow.

DIY Loft Bed | Pretty Handy Girl

The only modification I made to the plans was to move the ladder to the foot of the bed instead of the side. What I will show you is how to color stain the bed blue in two simple steps. I’m absolutely in love with the Minwax Express Color wiping stains. They go on super easily, and clean up is a snap with soap and water. Then you seal it as easily as you stained it. Coolest product EVER!

(I’ve included affiliate links for your convenience. I earn a small percentage from a purchase using these links. There is no additional cost to you. You can read more about affiliate links here.)

Materials:

Read more

Spigot Faucet Drawer Knobs Tutorial | Pretty Handy Girl

Spigot Faucet Drawer Knobs Tutorial | Pretty Handy Girl

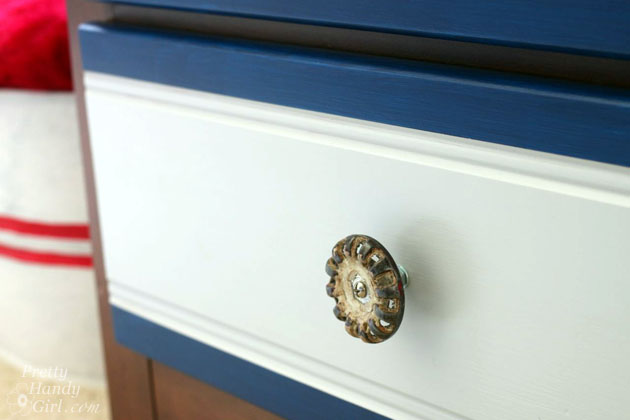
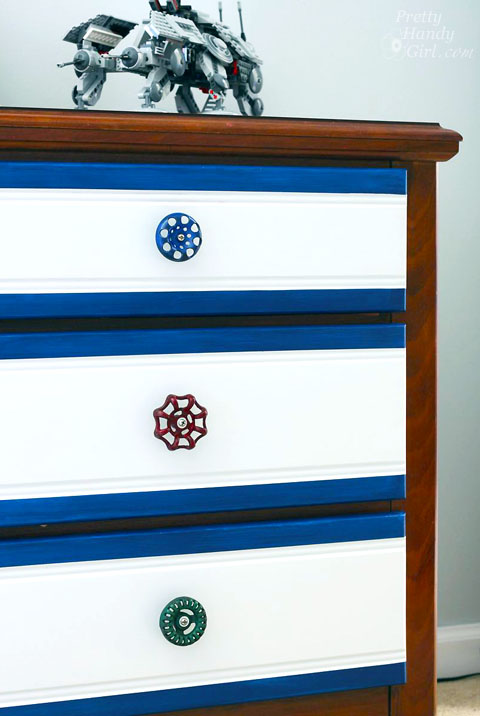
Remember my son’s dresser that I gave a pop of color? As promised I’m back today to show you how I made the spigot handle drawer knobs. I purchased my vintage spigot handles from Etsy seller, Anything Goes Here. She has some other vintage handles available, so snatch them up quick. The only other materials you need can easily be picked up from the hardware store.

Materials:

Spigot Faucet Drawer Knobs Tutorial | Pretty Handy Girl

  • Spigot faucet handles
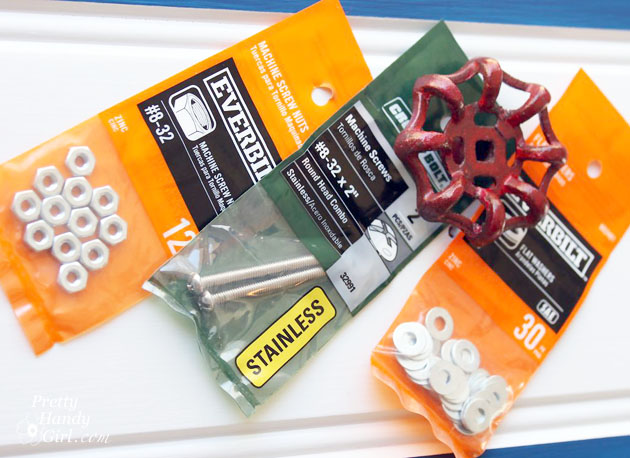
  • #8 – 32 Machine screw nuts
  • #8 – 32 x 2″ Threaded machine screws
  • Washers
  • Needle-nosed pliers
  • Phillips head screwdriver

Optional: Clear sealer spray to protect knobs

Instructions:

Making these adorable vintage spigot knobs is an easy project. Line up your parts per handle. You’ll need 1 machine screw, 4 washers, and 3 nuts per handle. Start by threading one washer onto the machine screw. Thread the spigot handle onto the screw. Read more

Unique Wine Rack

Unique Wine Rack

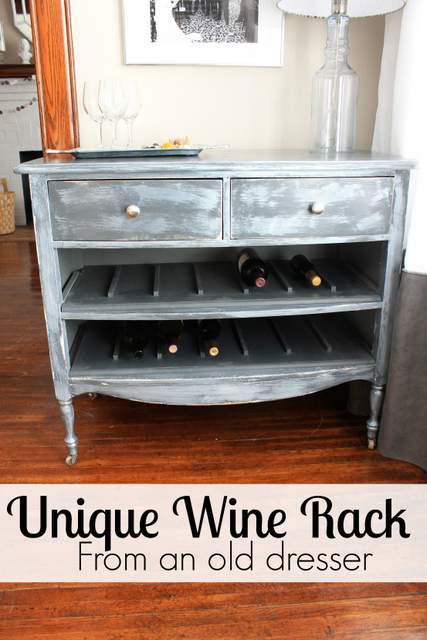
Hi everyone! It’s Jessica from Décor Adventures, back again and ready to show you a furniture makeover project I’m just in love with. This isn’t just any furniture makeover. This is how to turn an old dresser into a rack to hold your favorite reds and whites – wine that is!

One of my favorite things to do is redo furniture. Chairs, mirrors, tables, dressers, you name it. A while back I found this dresser at a thrift shop for only $10 and took it home only to find the drawers didn’t work well at all. I had an idea to ditch the two large drawers and turn this piece into a wine rack. If it doesn’t work for clothes, why not make it work for wine! Here is how to make your own unique wine rack from a dresser.

Materials
Many of these materials are based on how I painted the dresser and how we cut the shelves. We cut them ourselves with a table saw, but if you don’t have one, you can have them cut at the home improvement store or use a circular saw.

  • Dresser with a few drawers removed

Paint:

  • primer, paint, stain, paint brush and roller;
  • Furniture wax or sealant/polycrylic (or whatever you might want to use to finish the dresser)

Racks/Shelves:

  • Two 2’x4’ sheets of ½” MDF
  • Two pieces of quarter round to finish fronts of shelves;
  • Several feet of ½” square wood dowels {they come in 36” pieces}

Tools:

  • Table saw {unless you have the shelves cut to size at the home improvement store};
  • Nail gun
  • nails
  • air compressor
  • Random orbital sander {Optional if you distress the dresser}
  • Miter saw or hand saw

Supplies:

  • Wood glue;
  • 220-300 Sand block or sand paper.

Instructions
These instructions will be in a three sections, so you can easily see how this project comes together. First you will paint or stain your dresser, {or maybe you love it as is and will leave it}, second you will prepare the shelves and put them together to create the wine racks, and last you’ll put the whole dresser together.

Preparing the Dresser
This was a piece I bought at a thrift store and it was already painted but I had to fix it up. The back was not painted and didn’t look very pretty so I ended up painting that too. You can see in this picture how wonky the bottom large drawers were.

Dresser Before Read more

wall chalkboard

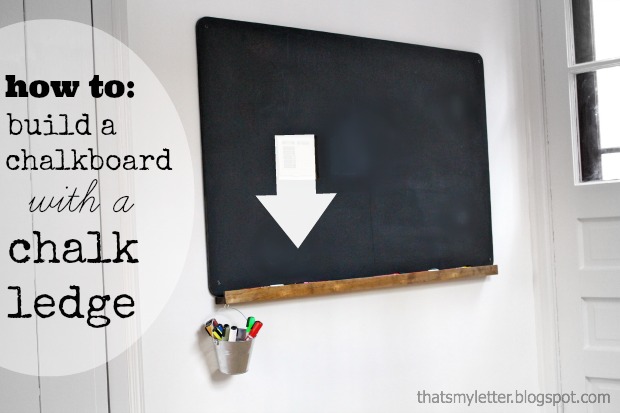
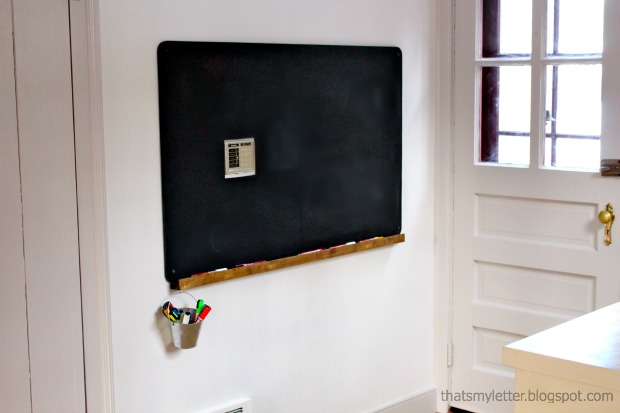
Chalkboards are popping up everywhere (like Brittany’s DIY chalkboard calendar from last week) and you can easily make one, but how about upping the usefulness by making a chalkboard WITH a chalk ledge?  Jaime here from That’s My Letter to show you how easy it is to add a chalk ledge to your chalkboard.

chalkboard with ledge

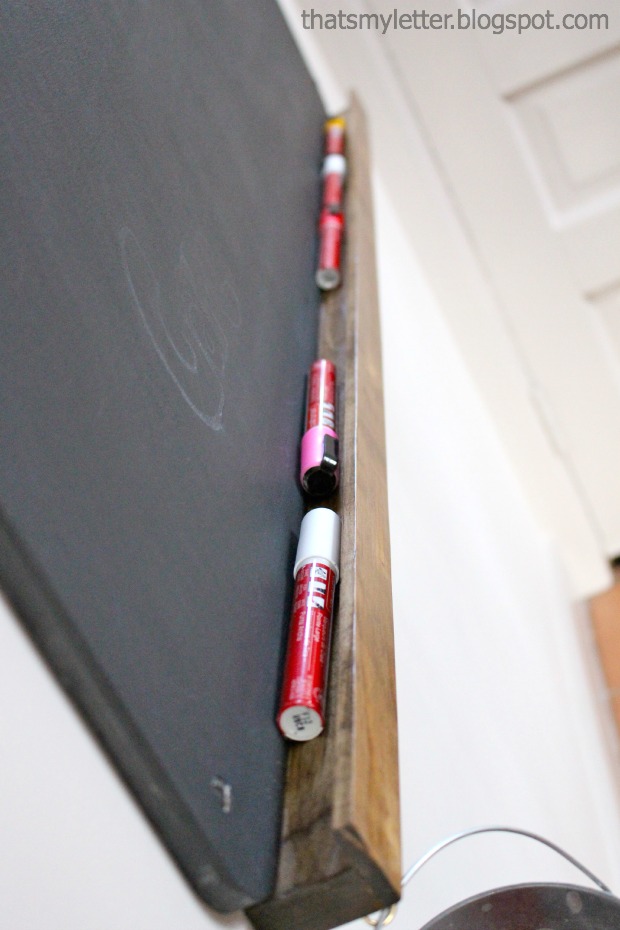
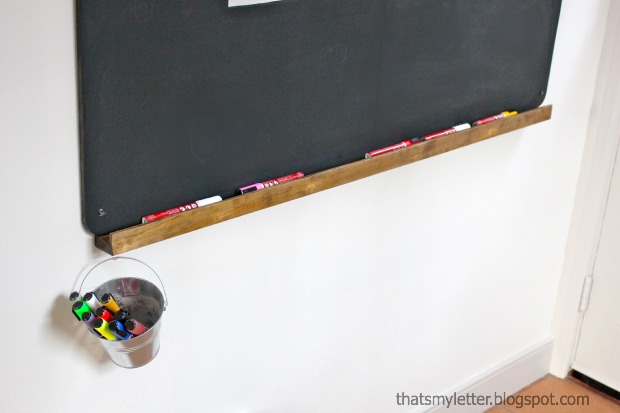
You definitely need a place to put all that chalk (or chalk markers like we prefer).  This chalk ledge protudes a minimal  1 3/4″ from the wall but still has space enough to hold lots of chalk.

chalkboard with ledge 5

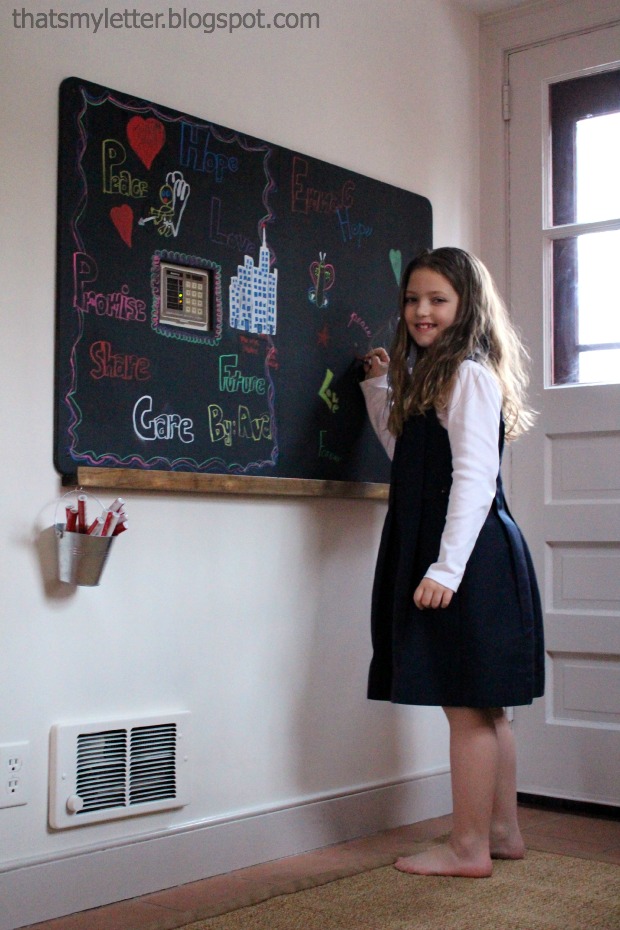
I also attached a galvanized pail for more chalk markers.

chalkboard with ledge 1

wall chalkboard 1

I installed this chalkboard near our back door mudroom area.  Unfortunately the key pad for our alarm system is nearly smack in the middle of that wall.  I simply cut out a square in my plywood using a jig saw to accommodate the key pad.  My kids love their new chalkboard and somehow the key pad isn’t quite so obvious once they start drawing around it.

chalkboard with ledge 2

Supplies:

  • 1/2″ plywood (cut to desired size)
  • 1×2 pine board (cut to length of plywood)
  • 1 3/8″ x 1/4″ thick flat trim moulding (cut to length of plywood)
  • black chalkboard paint
  • blue painters tape
  • stain
  • polyurethane
  • foam brushes
  • drill
  • Kreg pocket hole jig (not necessary but definitely easier if you have one)
  • 1″ pocket hole screws
  • wood glue
  • 3/4″ trim nails
  • countersink bit
  • 2 1/2″ toggle bolts
  • 5/8″ spade bit (check toggle bolt requirements)
  • pencil
  • level

Instructions:

Step 1: Cut your plywood to size, using your Kreg pocket hole jig make pocket holes every 8″ along bottom edge of plywood (on back side). (I used the portable base with automaxx clamp here, much easier that slipping a large piece of plywood into the jig.) Read more

DIY Wooden Arrows

DIY Wooden Arrows

Although I don’t typically decorate for Valentine’s Day, this year I couldn’t resist a little craft project to celebrate the holiday. After all, it is about love and chocolate and who can resist love and chocolate? Instead of the usual craft creating something heart shaped, I decided to pay a little attention to Cupid and his arrows. I put together these easy DIY wooden arrows and now I’m going to show you how you can make one too!

This project is really easy, and totally customizable so you don’t have to be exact with your measurements. Feel free to be a little more free style. You can paint it {or not}, just about any color you’d like.

Materials

  • Wooden Shims
  • Wood Glue
  • Miter Saw (or a hand saw and miter box)
  • Pencil
  • Ruler
  • Spray paint, craft or wall paint or wood stain {optional if you will paint/stain it}
  • Frame for framing {optional}

Instructions

1. First select some nice wood shims to use. Make a rough representation of what you’d like your arrow to look like.

This was a rough image of what I came up with. Two shims for the point and a few more for the tail. Wooden Shims

2. Start cutting your arrow and tail parts. You can cut the pieces like the arrow on the right or left, shown below. Either way you’ll need some pieces with a 45 degree angle. That’s where your miter saw comes in. See Brittany’s post about how to use a miter saw here. It’s one of the first power tools I learned to use and is very easy to handle and work with.

Wooden Arrows3. To cut the 45 degree angles, first set your saw at the 45 degree mark. Then cut one end of the wooden shim to 45 degrees.

Read more