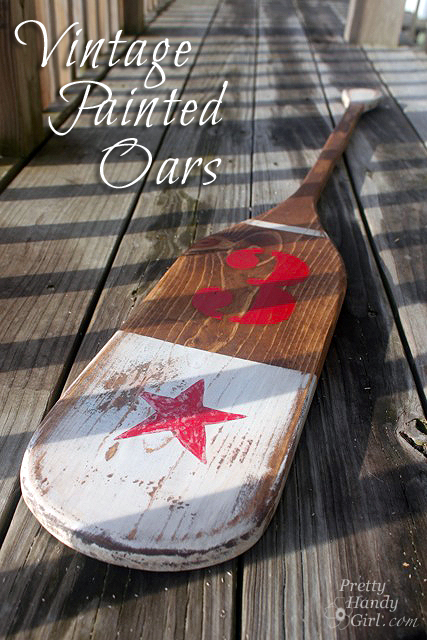
Vintage painted oars are nostagic objects for me. They bring back memories of camp and watching crew teams rowing along the Schuylkill River in Philadelphia. So, when my sister wanted to find some oars to decorate the beach condo with, I jumped at the opportunity to make some. If you follow me on Instagram or Facebook you know that my sister Caitlin (of Symmetry Designs in San Jose, CA) and I have been renovating Diane Chamberlain’s Topsail Beach condo. The condo is a great size (three bedrooms) and located ocean front. That’s where the pros ended. Sadly the condo was stuck in the 80’s: teal carpeting, orangey wood trim and cabinet doors that were falling off. We converged on the property back in September to start the renovation process.
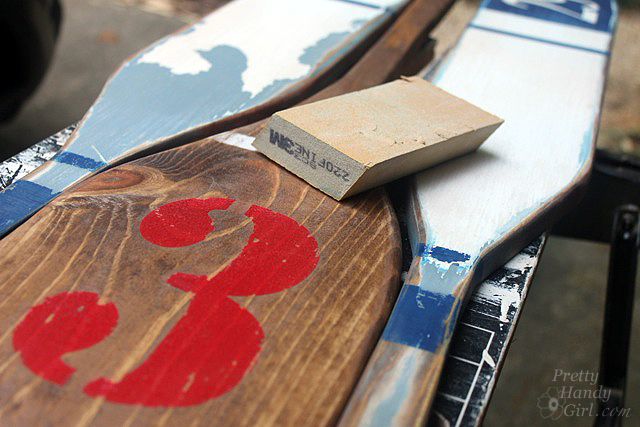
Before the trip, I whipped out these fun painted oars. They were easy to make, you could sooo do this!
(I’ve included affiliate links for your convenience. I earn a small percentage from a purchase using these links. There is no additional cost to you. You can read more about affiliate links here.)
Materials:
- 3M Sand paper for sander (80,120 & 180 grits)
- 3M 220 Grit Sanding sponge
- ScotchBlue™ Painter’s Tape
- 3M Sanding block
- 1″ x 6″ pine boards
- Jigsaw
- Sander
- Paint brushes
- Stencil brush or sponge
- White paint
- Red Paint
- Red Paint
- Number stencils
- Minwax Early American stain
- Rags

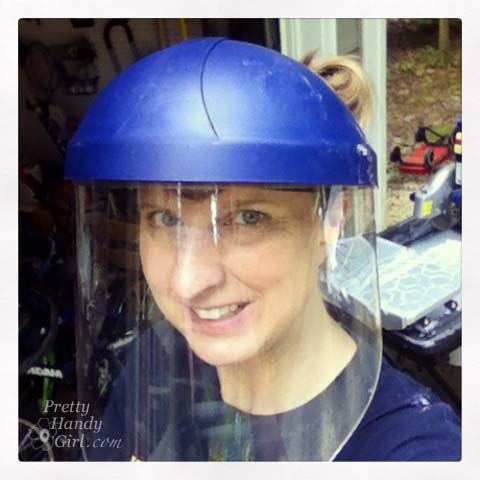
- 3MTekk Eye glasses
- 3MTekk Ear plugs
- 3MTekk Painter’s glove
- 3MTekk dust mask
Instructions:
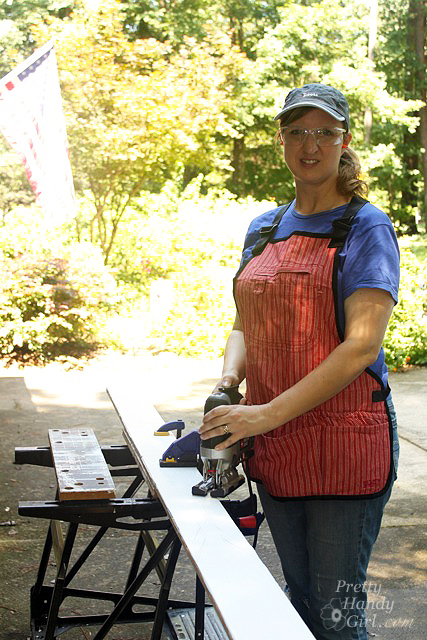
Clamp your 1″ x 6″ board to a work surface. Trace out the oar shape onto your board. You can use rulers and rounded paint cans or plates to trace the curves.
Put on your safety glasses, ear plugs and grab the jig saw.