How to Make a DIY Half Lap Joint using Miter Saw

Want to add another joint to your woodworking skillset? Today I’ll show you how to create a simple DIY half-lap joint with your miter saw.
Half-Lap Joint with your Miter Saw

Hi! It’s Kristen from In Her Garage and I am going to teach you an easy way to create a half-lap joint to add to your DIY skill set. The half-lap joint is versatile and super strong.

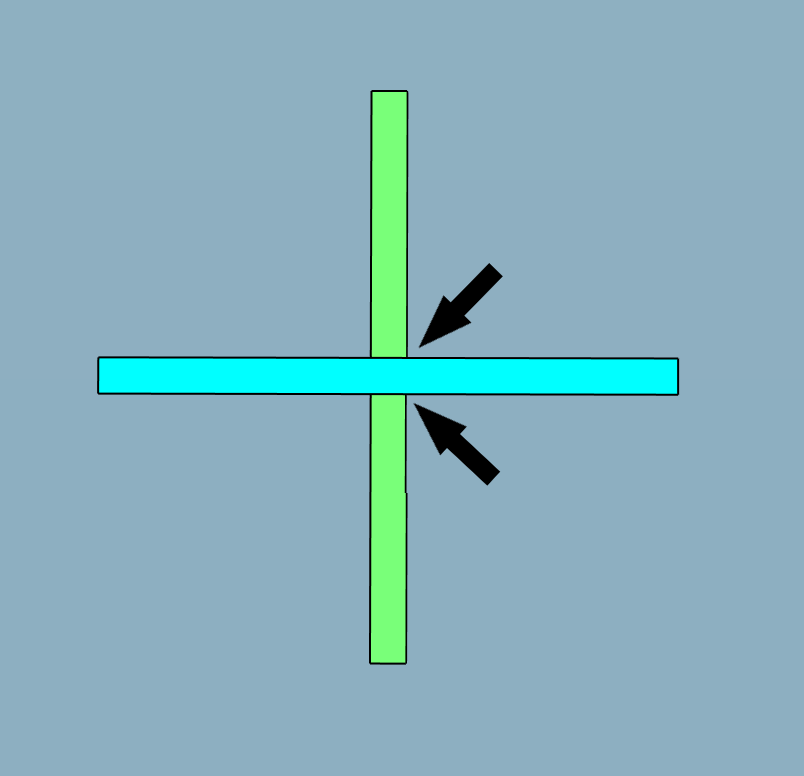
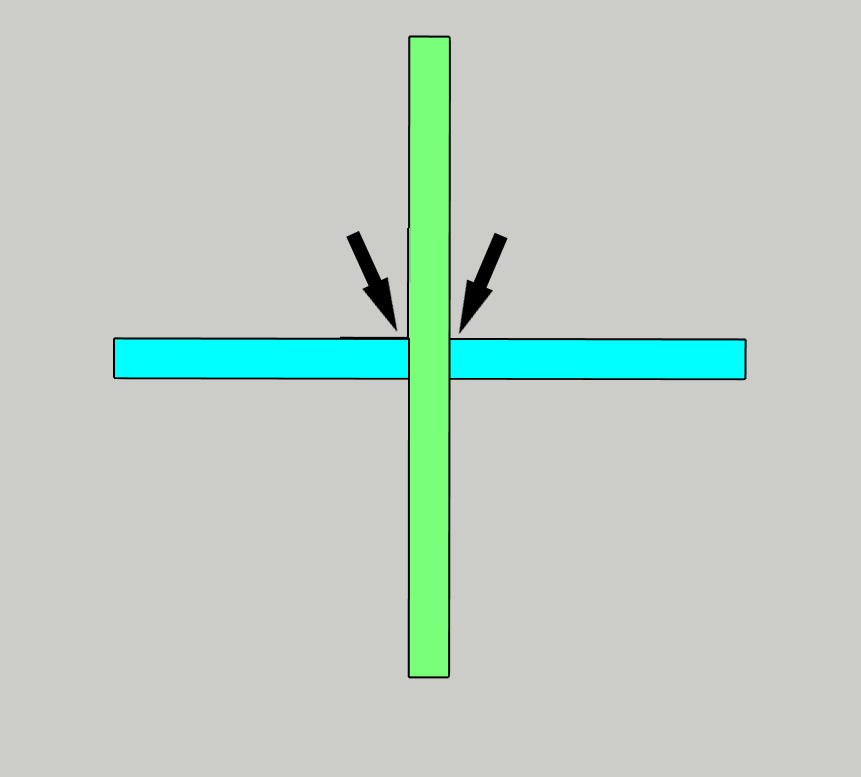
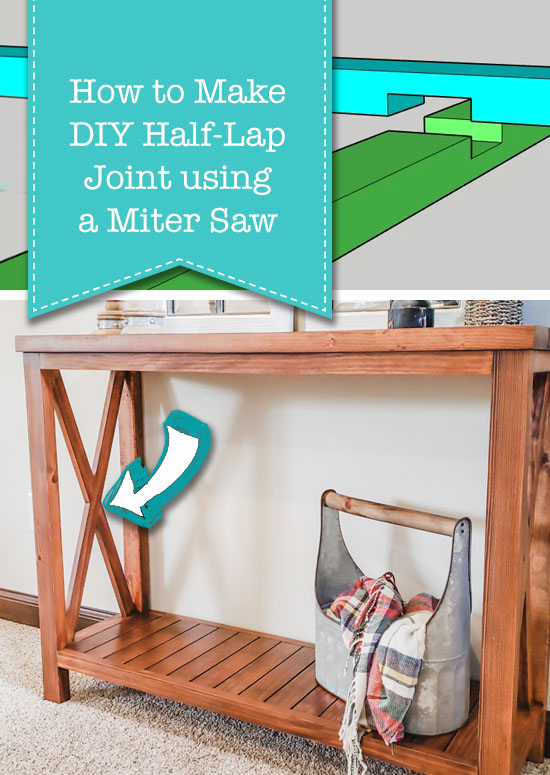
Wondering what a half-lap joint even is? Put simply, a half-lap joint is a joint between two boards that are halved together so that a flush surface results. Check out the pictures below for two popular ways half-lap joints are used. Best of all this joint only requires wood glue to hold it together.


I have used this style of joint when a butt joint or pocket-hole joint isn’t possible. It’s helpful to use when working with thinner material or in tight spaces. Let’s learn how to make a half-lap joint!

Materials:

(I’ve included affiliate links for your convenience. I earn a small percentage from a purchase using these links. There is no additional cost to you. You can read more about affiliate links here.)

Tools:

Instructions:

Step 1: Mark your boards

  • Place your boards over one another in the orientation they will be joined.
  • Mark out the width of the overlap on each board.


Step 2: Set up your miter saw

  • Place a sacrificial board against the miter saw fence, with the face flat (as seen in the video below).  This board should be flat and square. You will need this because you are not cutting through the board to be used in your project and thus the miter saw will not cut the back portion of the board you are cutting. The scrap piece will push your board out so that the miter saw will cut halfway down from the front to the back. If you do a test cut without the scrap board you’ll see what I mean.
  • Next, use your saw’s depth stop control and adjust the depth to cut approximately halfway down into the first board to be cut. Use a scrap piece of wood for this step to make sure you have the depth you want before using the board that will be used in your project.
  • Adjust the miter angle at this time as well if you are not planning to cut at 90 degrees.

Step 3: Cut the first board

  • With your depth set and scrap board in place make your first cut into your board. Make sure you are minding which side of the marked lines your blade needs to cut!
  • After the first cut move the board slightly (about 1/8”) and create another cut right next to the first.
  • Continue moving and cutting until you have created all the cuts needed between the two width lines you marked out previously.
  • Dry fit the second board into the first to make sure the width is correct and make any necessary adjustments.
  • Use sandpaper to smooth out any ridges left from the saw.

Step 4: Cut the second board

  • If you cut exactly halfway through the first board then you will not have to do any adjustments for this step and you can cut the second board exactly as you cut the first.
  • But, if you are like me you didn’t cut the first board perfectly and the depth will need to be adjusted slightly for the second board. This is simple.
  • The cut for the second board will need to be the depth of what you DIDN’T cut from the first board. Use a piece of scrap to fine-tune this depth before cutting the board you will use.
  • Now that the depth has been set for the second board you can cut the half-lap into the board just like you did for the first. Again, being mindful of which side of the lines your blade is cutting.
  • Dry fit the two boards together to be sure you have a snug fit and the boards create a flat surface.

Step 5: Glue together

  • Apply glue to both lap joints in each board and fit them together.
  • Apply downward pressure to the joint and allow the glue to dry.

There you have it!! You have expanded your talents and created a very strong half-lap joint for your next project. Nice work!

Pin this graphic for future reference:
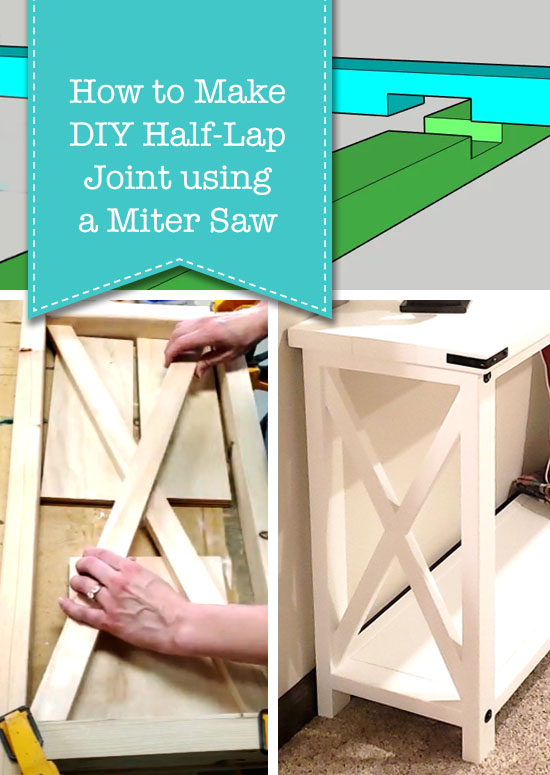
How to Make a DIY Half Lap Joint using Miter Saw

New to using the miter saw or need a refresher? Check out the Pretty Handy Girl’s How to Use a Miter Saw tutorial to get you all caught up!

Hi! I’m Kristen, from In Her Garage, and I am a self-taught woodworker and DIY fanatic from Minnesota where I live with my husband and our two daughters. Between being a wife, mom, and registered nurse, I try to make as much time for DIY as possible. My love for building came after our family built our current home in 2015. After we moved in, we needed furniture, and instead of spending massive amounts of money to order the items we wanted I decided that I would build them myself. I started with a buffet table plan from the fabulous Ana-white and quickly set out to remodel my entire home office.

Since then I have started a side business building furniture for the people in my community. I love hearing my clients talk about the pieces they wish they had whether it be a rustic buffet table, a one drawer side table, or a toy box and then making it a reality for them. While starting my small business it made perfect sense that I would document my building journey so I simultaneously launched the In Her Garage blog and I love sharing my plans, tips, and tricks.

I am so glad that you found me here and please feel free to connect with me on PinterestInstagram, and Facebook to see what I am working on right now.

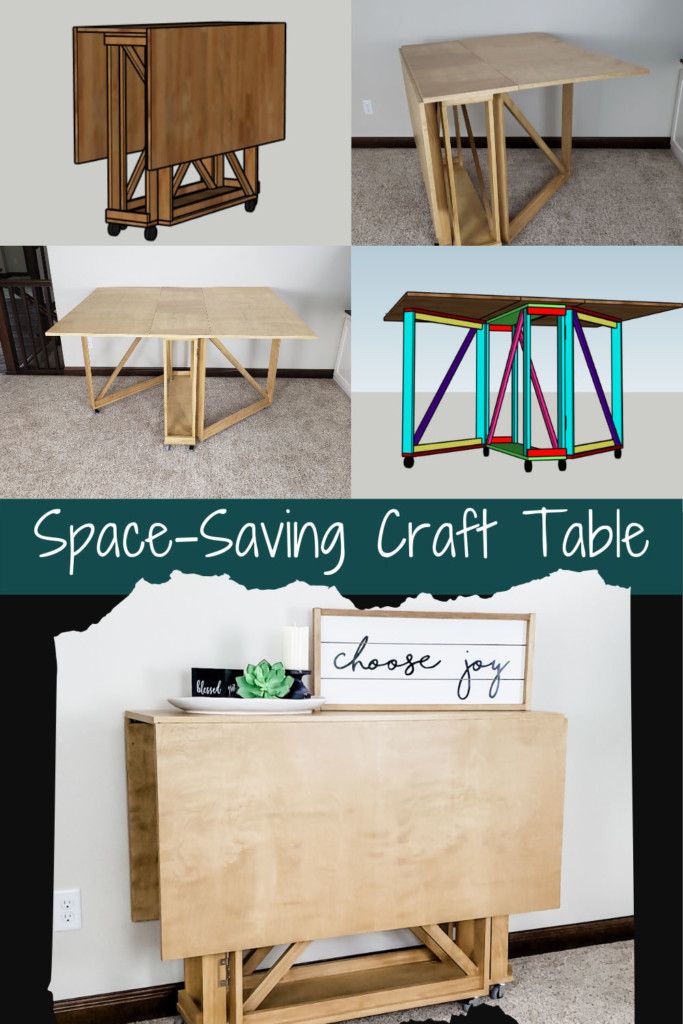
Check out my latest blog post about building a DIY Folding Craft/Sewing Table! This table is large enough for any craft project but folds down when you don’t need it. Perfect for anyone with a small space but large crafting ambitions!

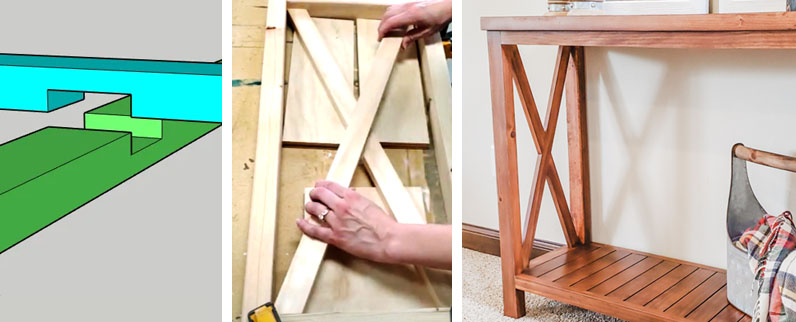
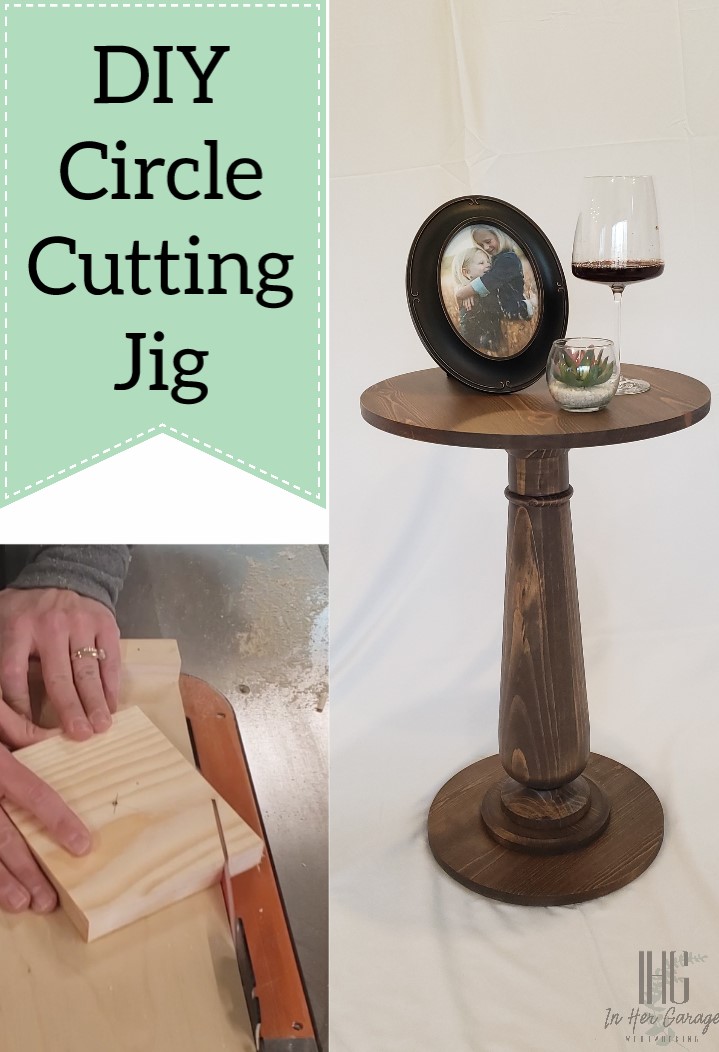
So, you love making DIY projects but want to expand your talents further than squares and rectangles. I’m going to show you how to make DIY Circle Cutting Jig for the Table Saw. Yes!! Your table saw.

DIY Circle Cutting Jig for the Table Saw

Hello!! It’s Kristen, from In Her Garage, back again to bring you a super exciting and simple tutorial!

Making circles with the table saw sounds counterintuitive, right? Table saws are supposed to just rip straight lines, but table saws are one of the most versatile tools in your shop and with just a few pieces of scrap wood, you’ll be cutting circles and making gorgeous side tables and decor pieces in no time at all!! Let’s get started making this DIY Circle Cutting Jig for the Table Saw!

Materials:

(I’ve included affiliate links for your convenience. I earn a small percentage from a purchase using these links. There is no additional cost to you. You can read more about affiliate links here.)

Tools:

Please read through the instructions in their entirety before making this project.

Safety! Before starting, UNPLUG your table saw and completely retract the blade below the level of the table.

Instructions:

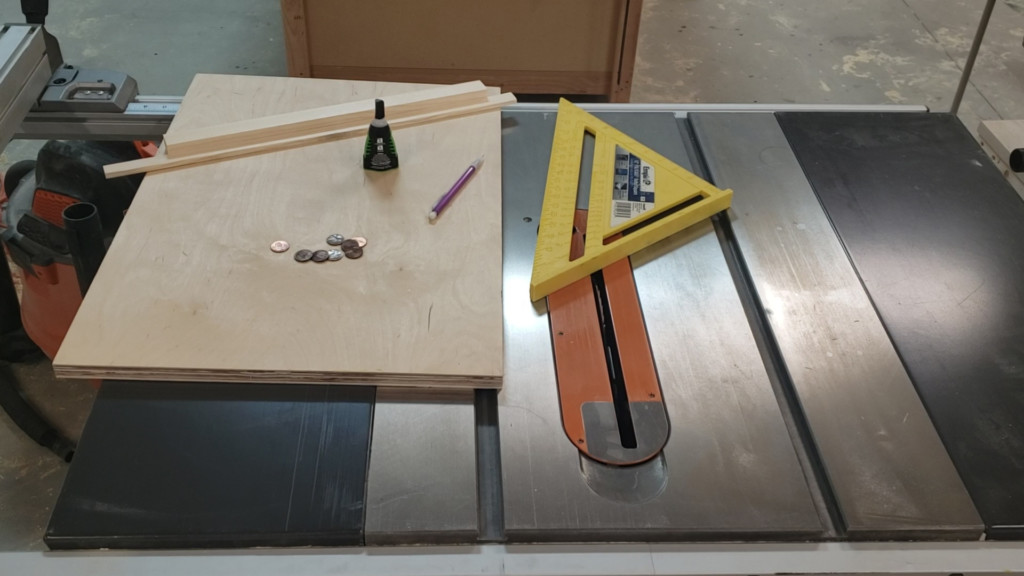
The 3/4”x 1/4” strip of wood will be used as a guide for the jig and will travel within the miter slot to the right of the table saw blade.

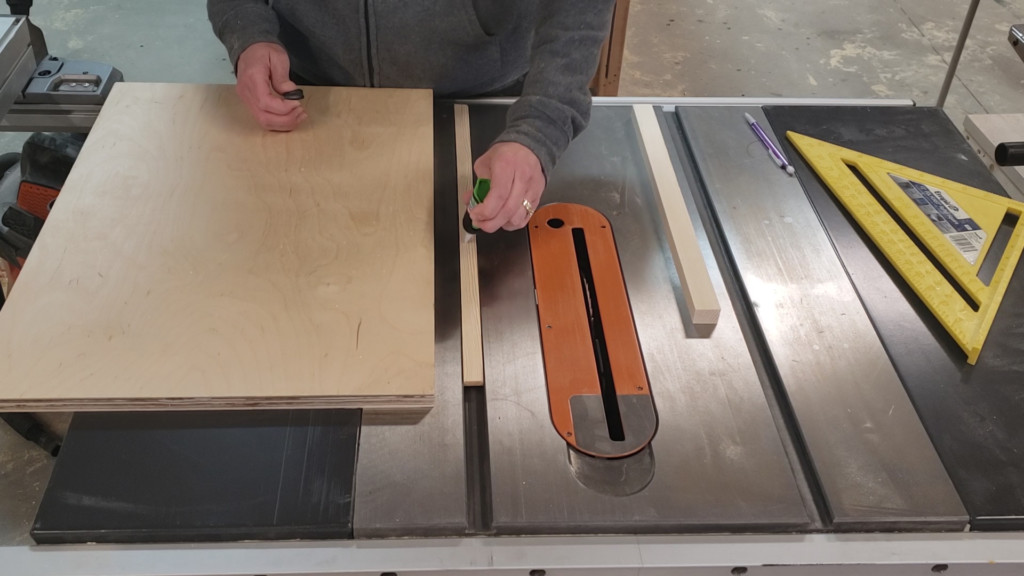
Standing at the table saw, place a few stacked pennies within the miter slot and lay the strip of wood over the pennies so it is just slightly above the level of the table.

Place a line CA glue on top of the strip of wood and place the plywood on top of it so that the plywood piece is covering the saw blade about ¼”.

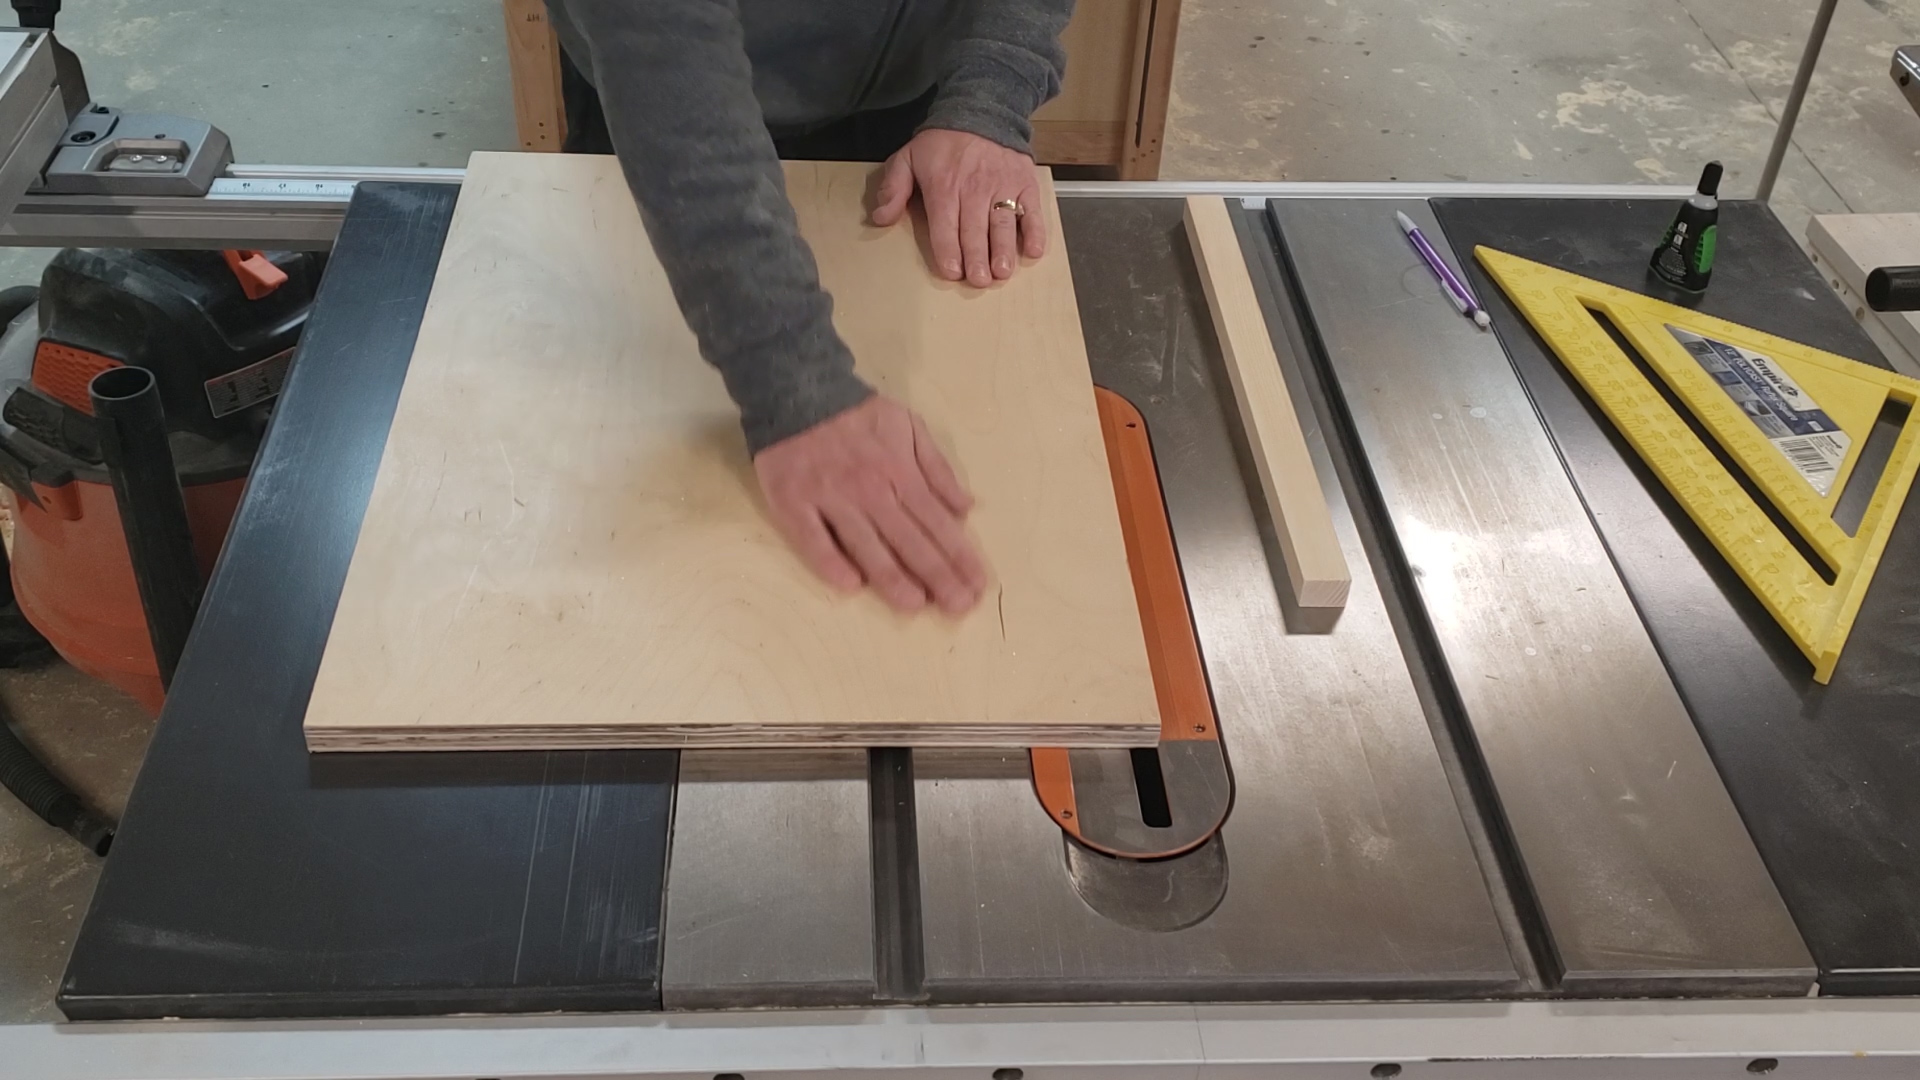
Apply weight on top of the plywood and wait for the glue to adhere to both the miter guide strip and the back of the plywood.

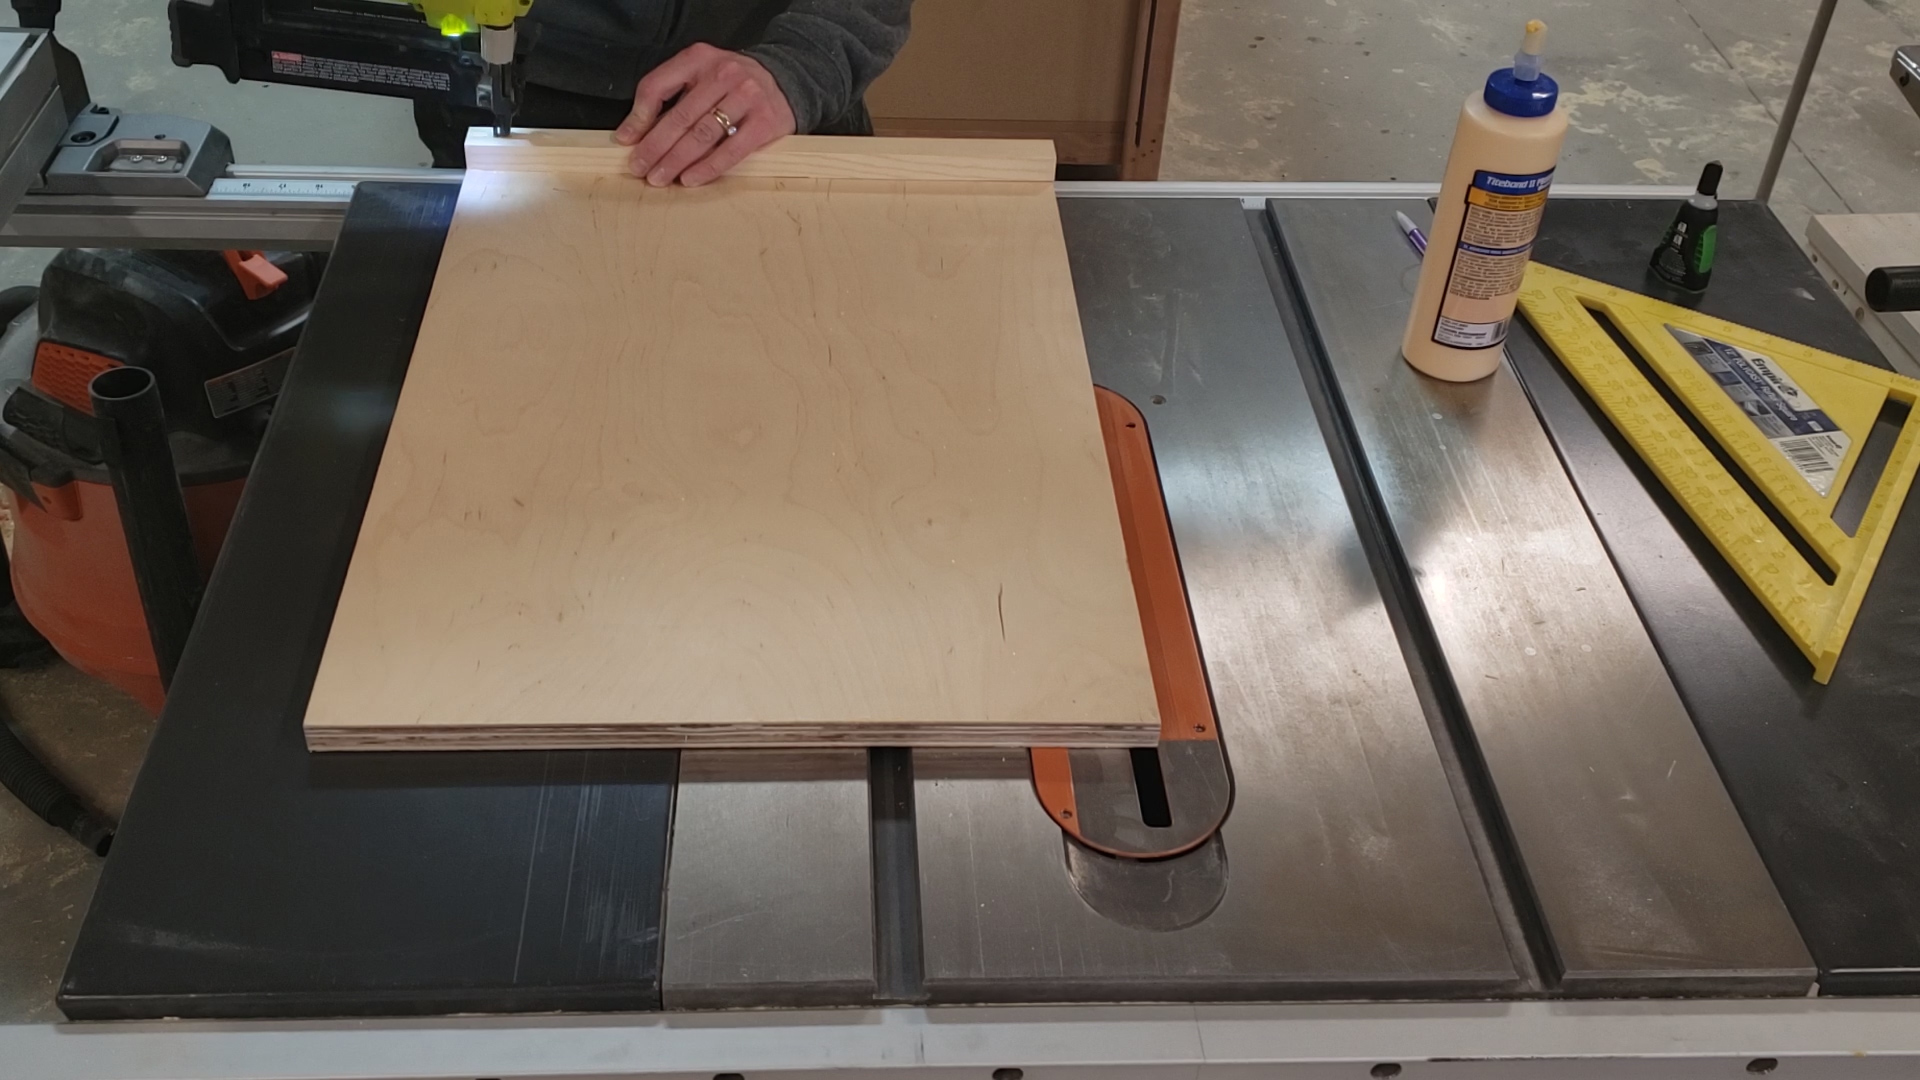
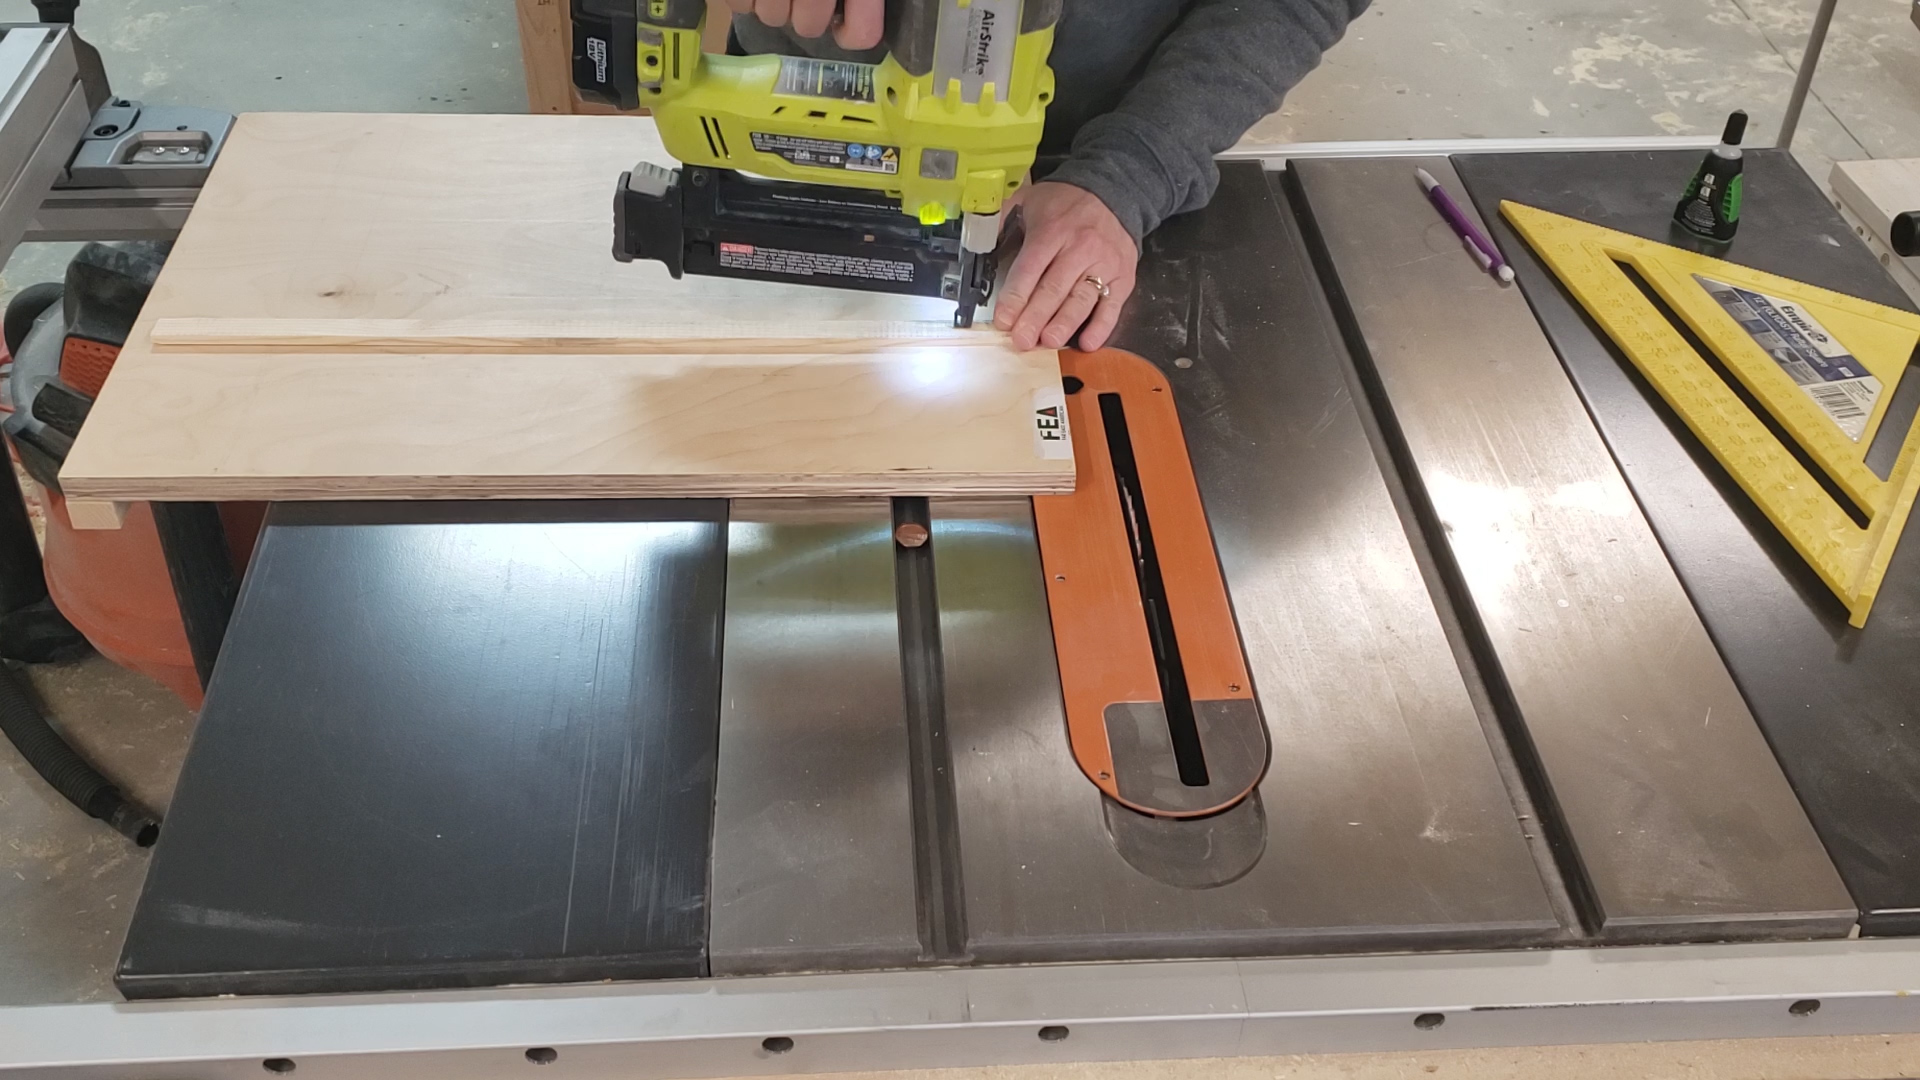
While you are waiting for the glue to dry apply the 12” piece of scrap wood to the front edge of the plywood. Simply apply some wood glue between the two pieces and nail it down with 1 ¼” brad nails or screws. This will act as the handgrip for the jig.

By now the plywood and the miter gauge strip of wood have adhered together. Gently lift the plywood and turn it over.

Using 5/8” inch brad nails or screws secure the strip in place being careful not to split it.

Remove the pennies from the miter slot.

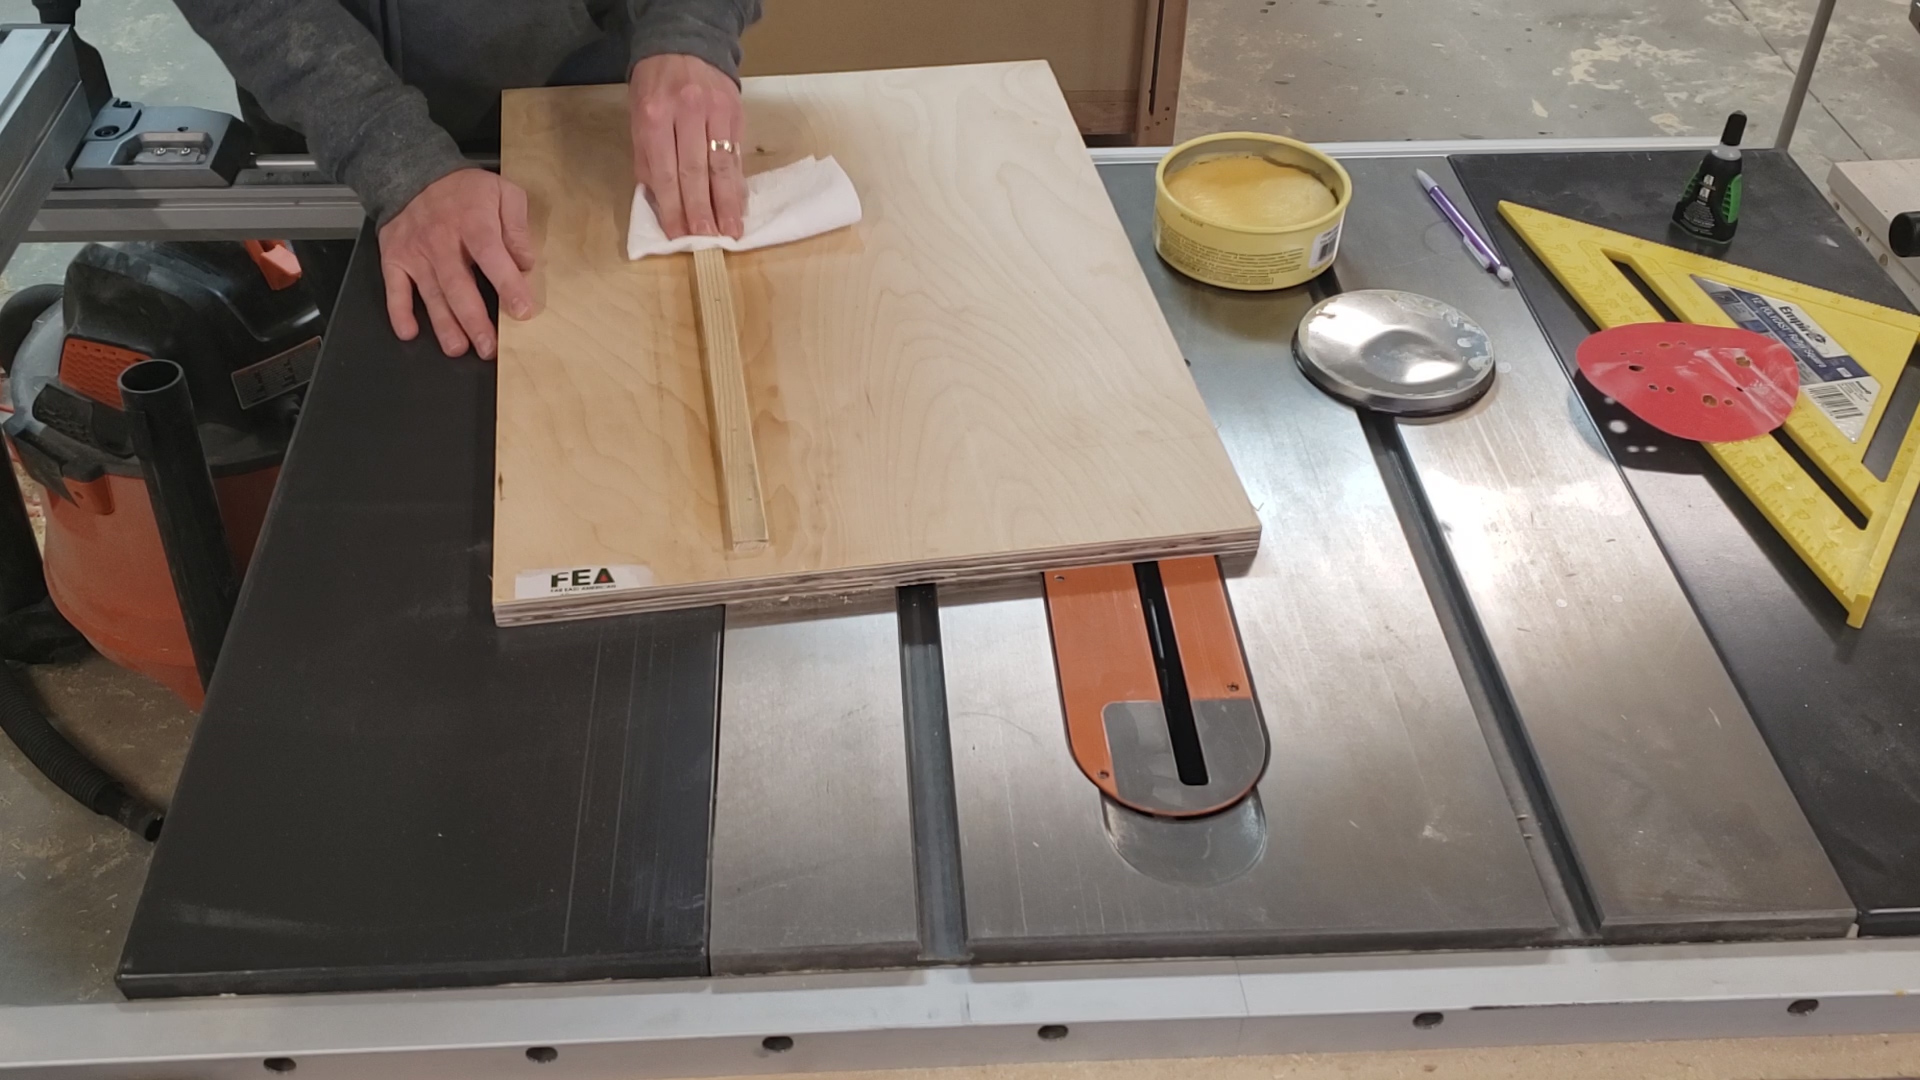
Use some fine-grit sandpaper to smooth out the edges of the miter guide strip to help the jig travel smoothly. Applying some paste wax to the bottom the plywood and miter guide strip will also help with smooth travel. (Not necessary, but will help with smooth movement.)

Flip the jig back over placing the guide strip in the miter slot.

Pull the jig back enough to raise the saw blade just above the level of the hand guide. Plug the saw in.

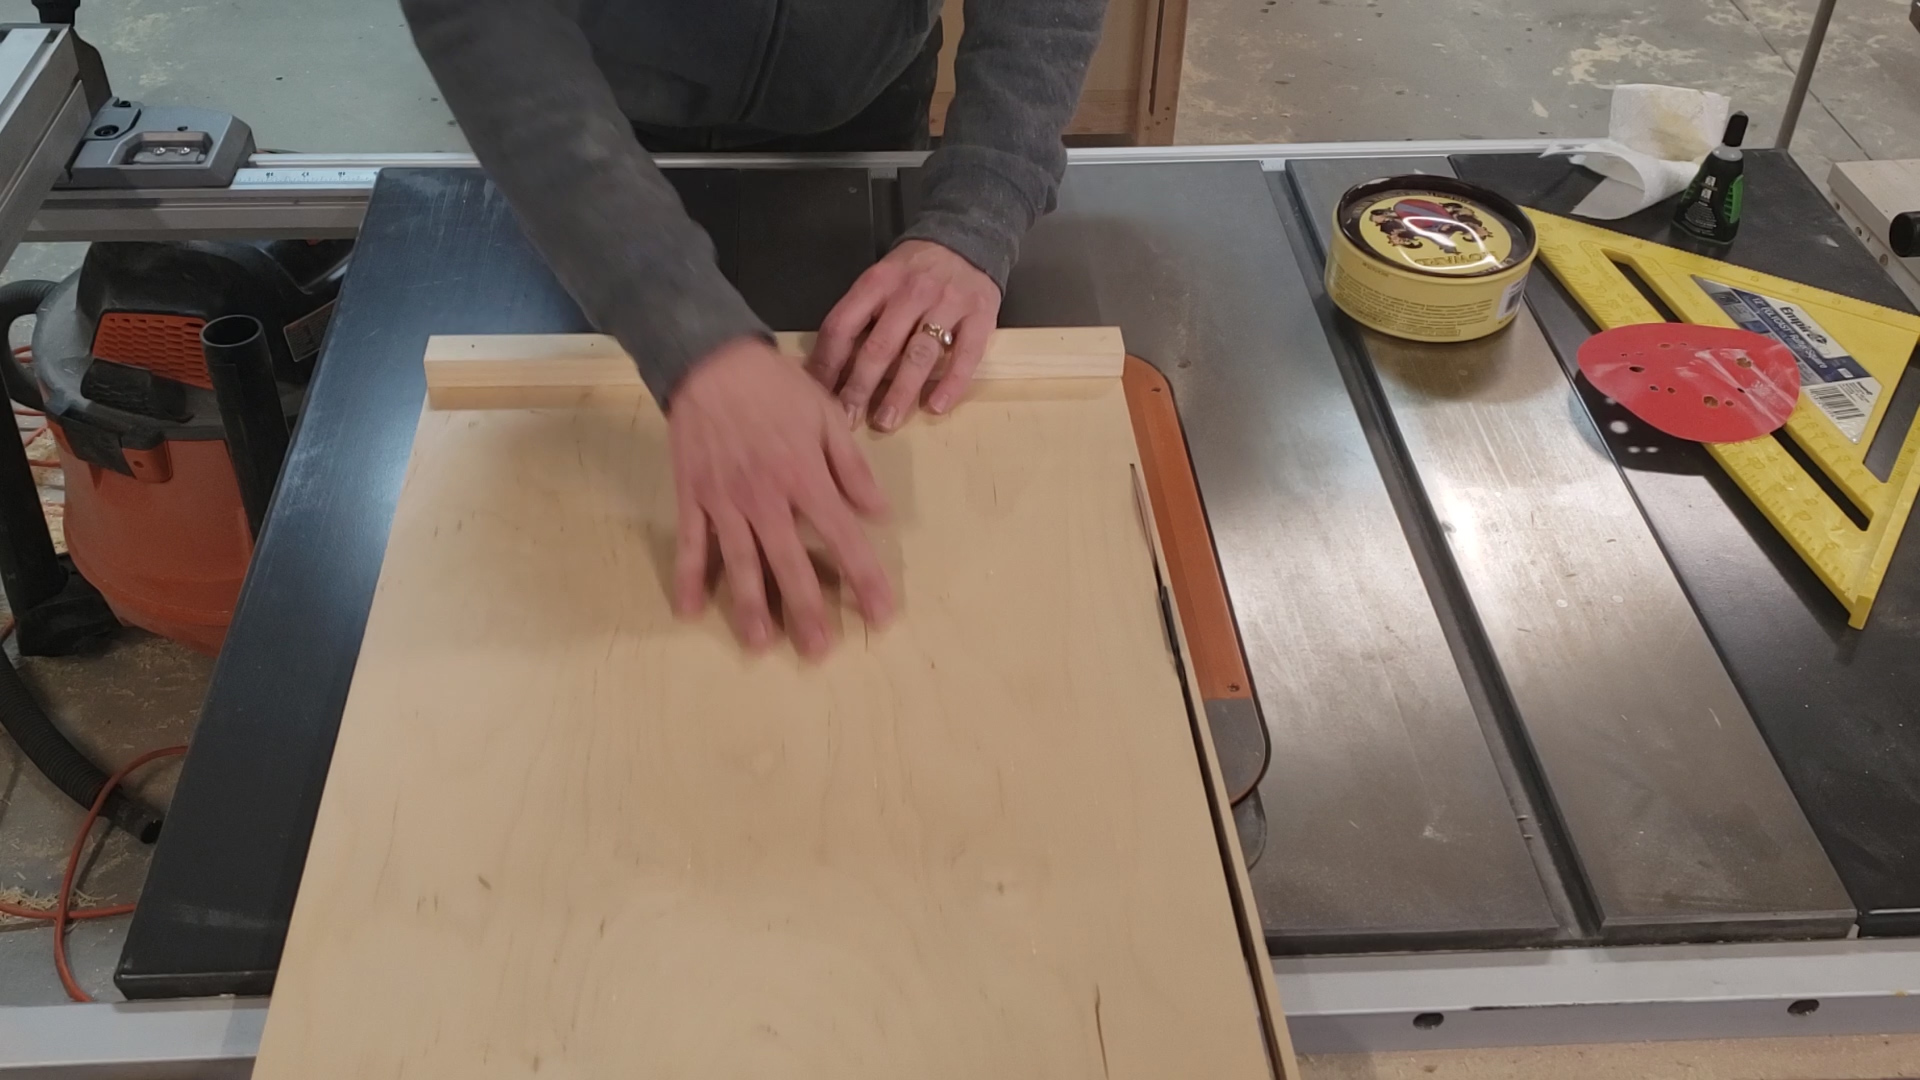
With the saw on push the jig forward to completely cut off the left side of the jig. This will make the jig perfectly in line with the blade and act as a zero-clearance for clean cuts.

Turn off the saw, lower the blade and unplug.

Circle Cutting Instructions:

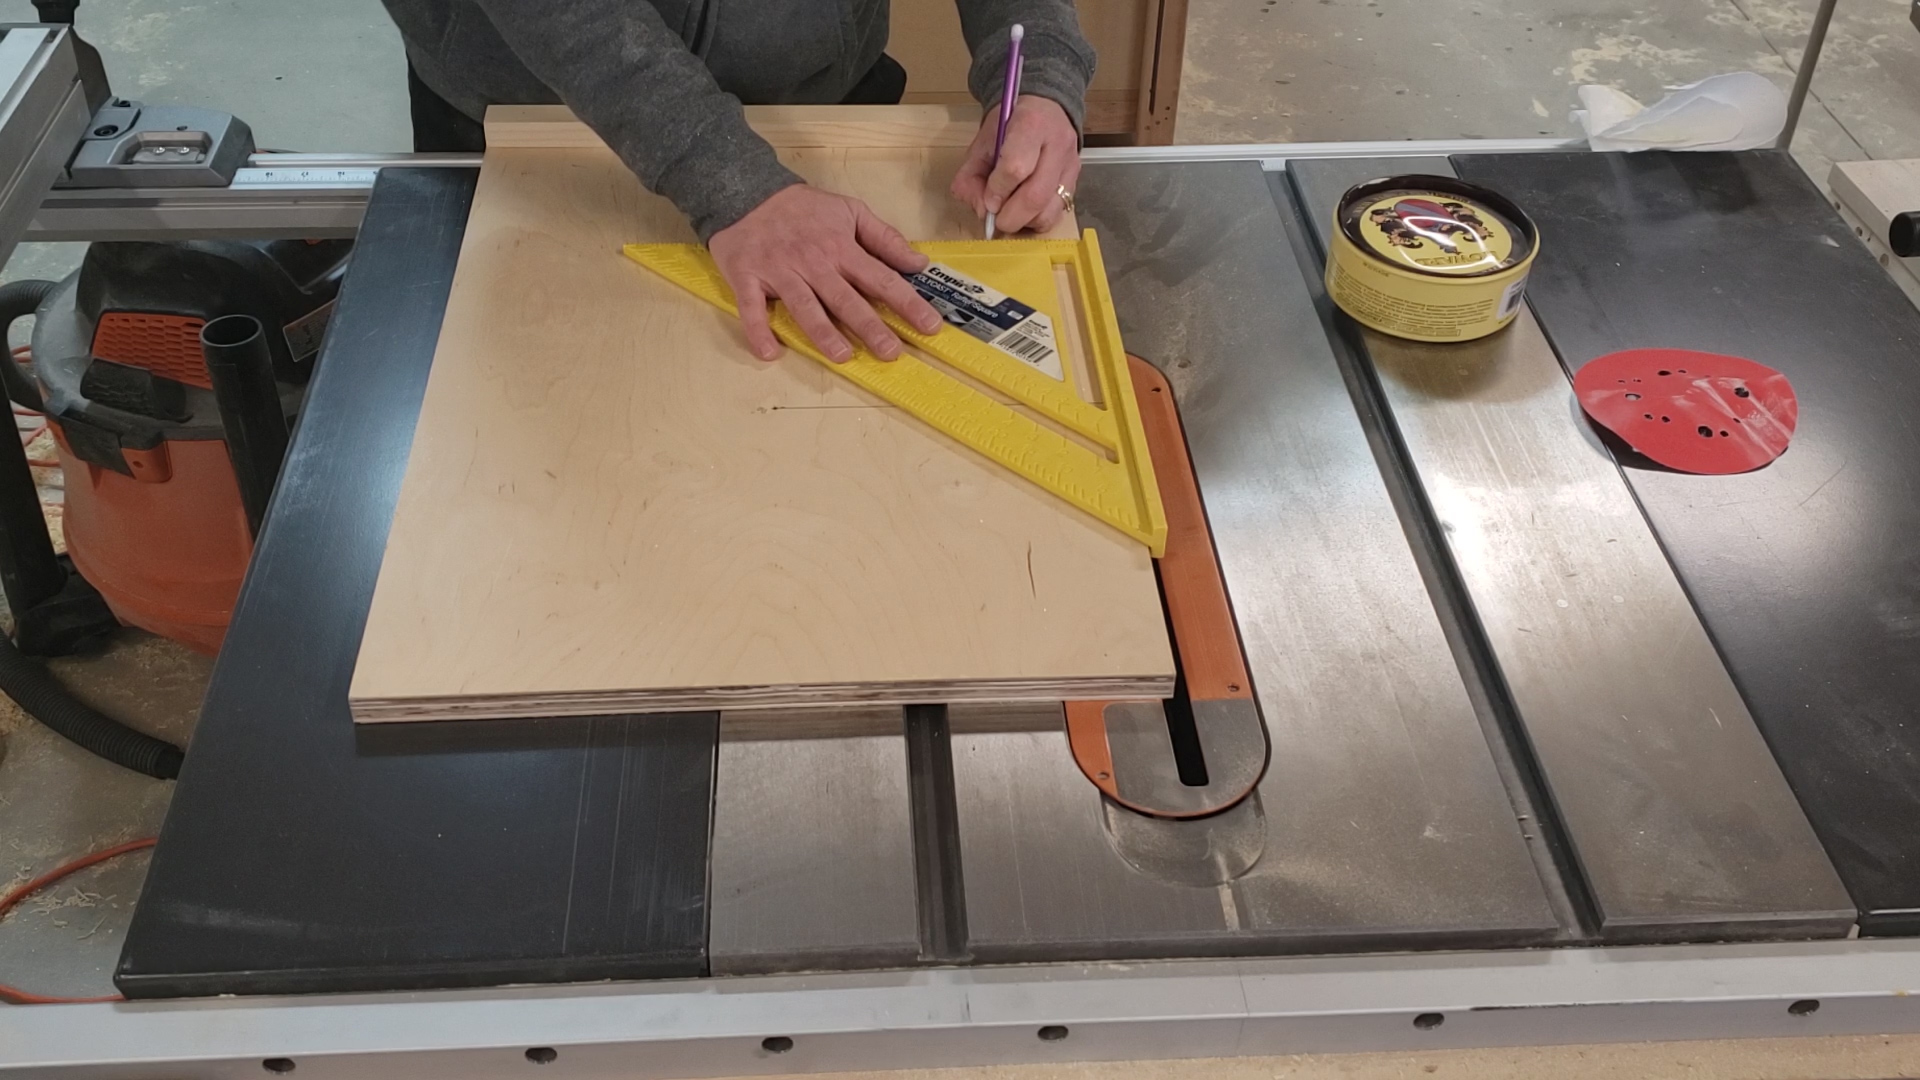
Using your speed square draw a line in the middle of the jig perpendicular to the saw blade.

Now mark the radius measurement for the circle that you want to make on this line. For example, if you want to make a circle that is 10” in diameter measure to 5” with your speed square.

Tap a 1 ¼” nail into the mark.

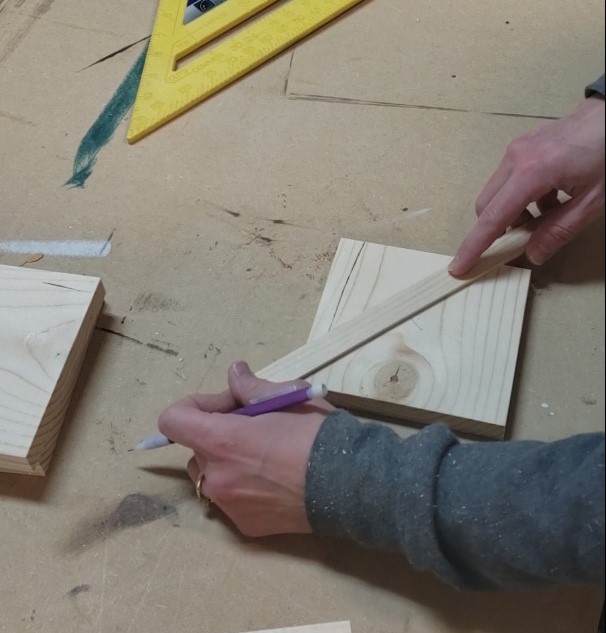
Make a mark in the center of the square piece of wood that you’re wanting to cut into a circle. This is easily done by drawing two lines from each opposite corner. The intersection of these two lines in the center of the square.

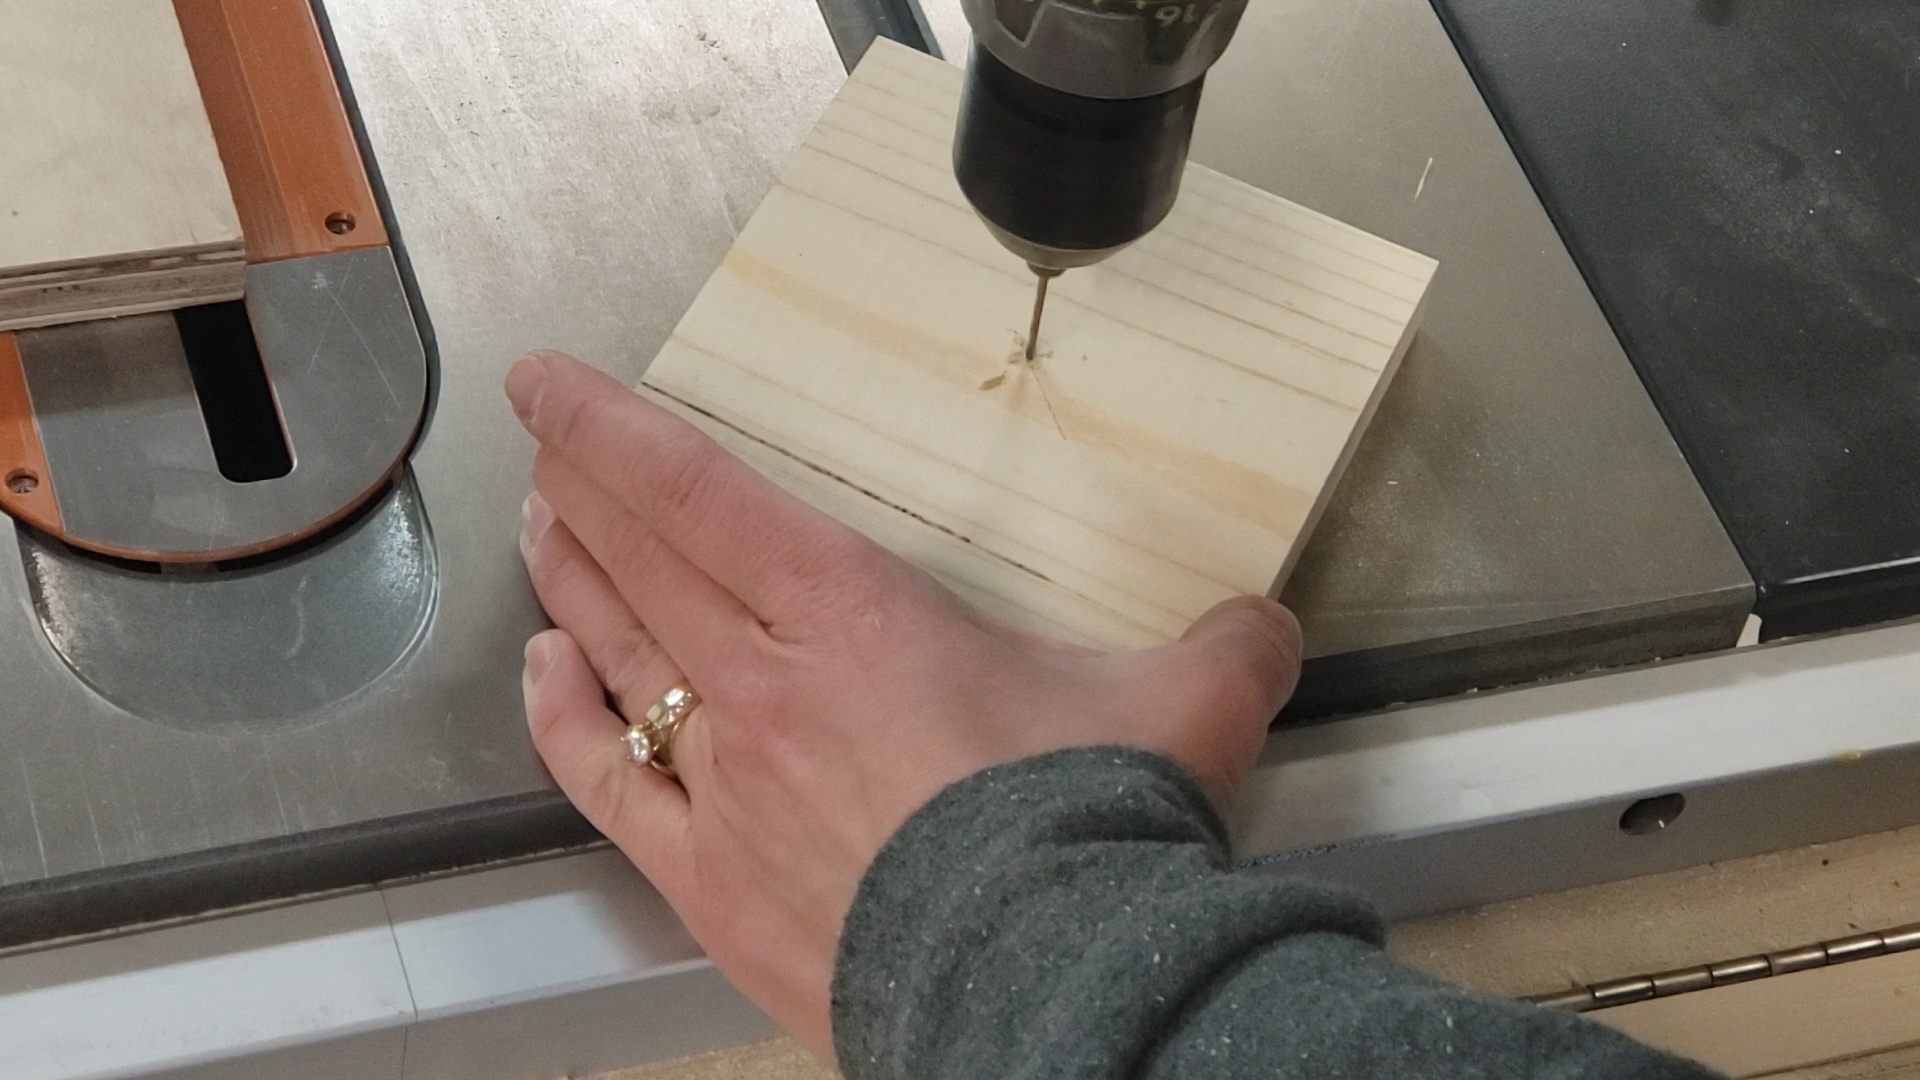
Drill a small hole through this center point.

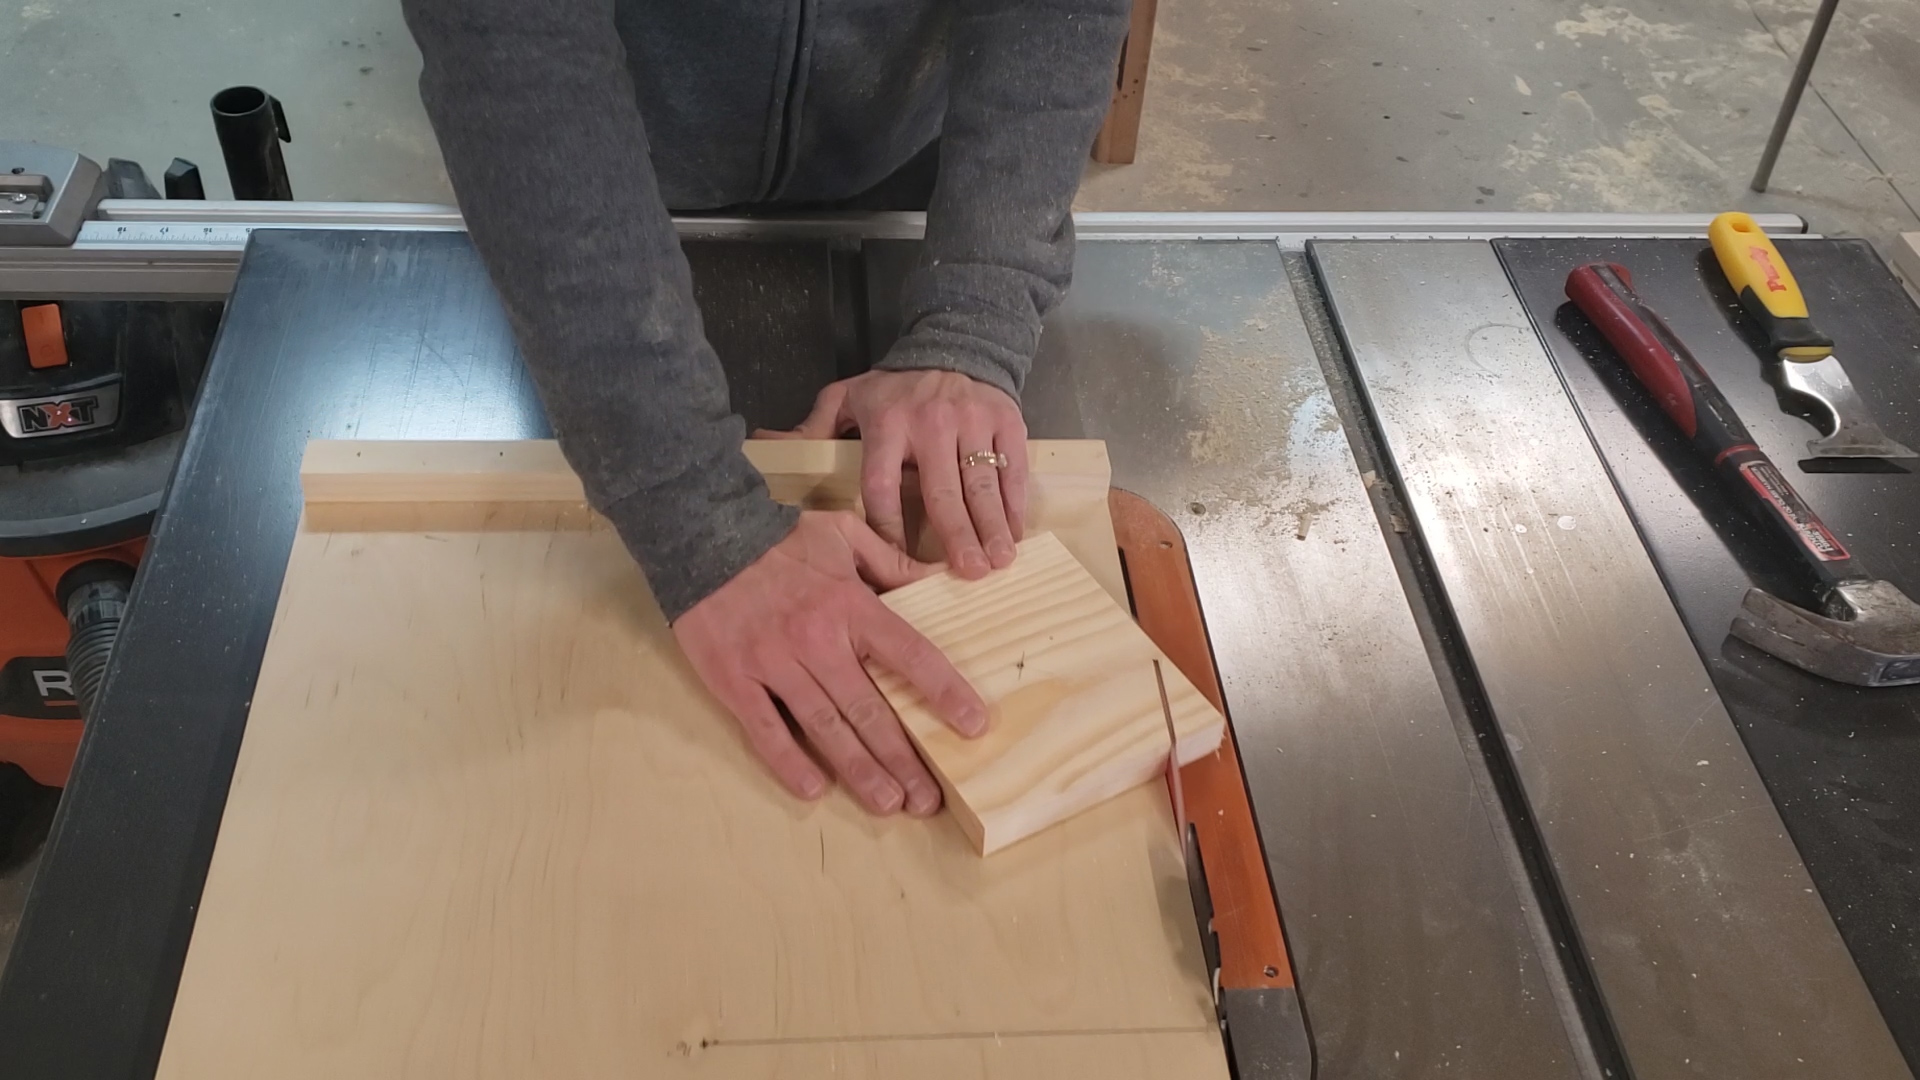
Place the 1 ¼” nail through the hole and into the hole on the jig and tap securely into place making sure that the square lies completely flat on the jig. Rotate the piece be sure it spins easily and securely.

Pull the jig back and raise the blade to just above the level of the square to be cut.

Plug the saw in. When operating a table saw always try to stand off to the right side and never directly in front of the blade.

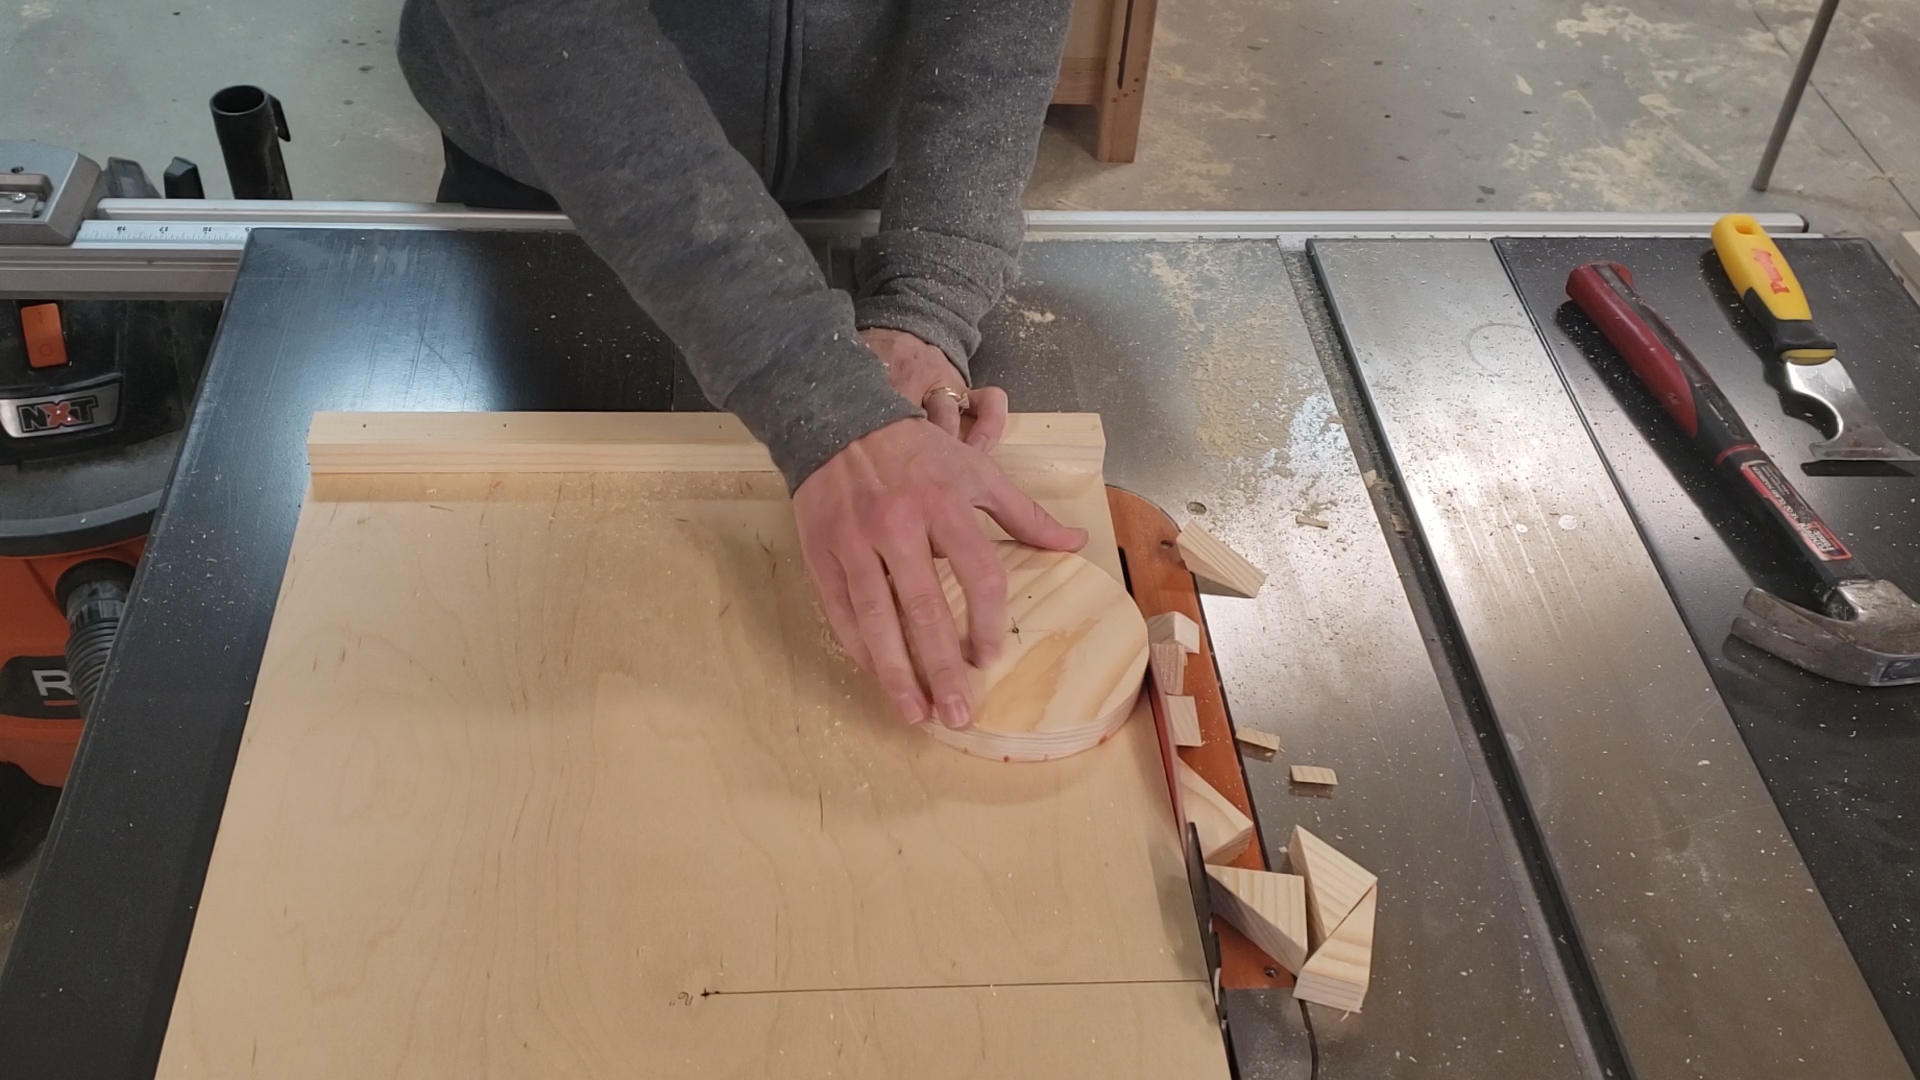
Rotate the piece 45 degrees so a corner of the square overhangs the jig. Turn the saw on and push the jig forward to cut off the overhanging corner. Pull the jig back.

Rotate the piece 90 degrees and repeat until all corners have been cut off.

At this point, you can turn the saw off and wait until the blade comes to a full stop so you can remove the scrap pieces from near the blade. I typically do this for larger circles.

Now continue to rotate the piece, pushing and pulling the jig back and forth until all overhanging corners have been cut off.

Once the piece of wood looks like a very rough circle push the jig forward until the bottom of the piece is in contact with the blade and rotate until the bottom has been cut into a circle.

Push the jig forward slightly and rotate the piece again making a full circle. Repeat until the top of the piece has been cut into a circle.

Pull the jig back and turn the saw off.

Wait until the saw blade has come to a full stop before removing the jig, the circle, or any scrap pieces.

Pretty simple right?! After I made this jig I went on to cut 14 circles for a few tables I was building!!! It was so easy.

Now that you have a perfectly cut circle and a jig that you can use over and over what are you going to make?

Hi! I’m Kristen, from In Her Garage, and I am a self-taught woodworker and DIY fanatic from Minnesota where I live with my husband and our two daughters. Between being a wife, mom and, registered nurse, I try to make as much time for DIY as possible. My love for building came after our family built our current home in 2015. After we moved in, we needed furniture and instead of spending massive amounts of money to order the pieces we wanted I decided that I would build them myself. I started with a buffet table plan from the fabulous Ana-white and quickly set out to remodel my entire home office.

Since then I have started a side business building furniture for the people in my community. I love hearing my clients talk about the pieces they wish they had whether it be a rustic buffet table, a one drawer side table, or a toy box and then making it a reality for them. While starting my small business it made perfect sense that I would document my building journey so I simultaneously launched the In Her Garage blog and I love sharing my plans, tips and tricks.

Making something beautiful with your own two hands through a little preparation and determination is an amazing feeling.  I hope to bring inspiration and know-how to those looking to tackle a big or small project.
I am so glad that you found me here and please feel free to connect with me on PinterestInstagram, and Facebook to see what I am working on right now.


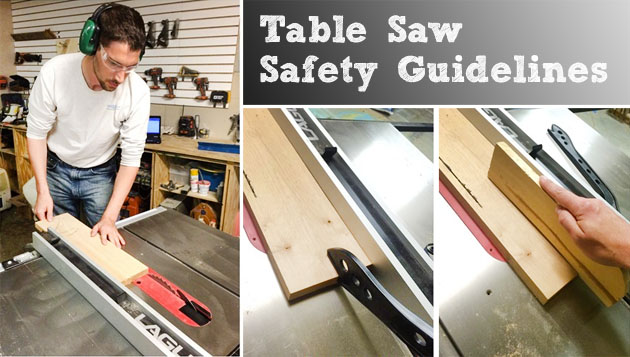
If you liked this post and want more tips about working with table saws then you’ll love this post on Table Saw Safety Guidelines.

Table Saw Safety Guidelines | Pretty Handy Girl

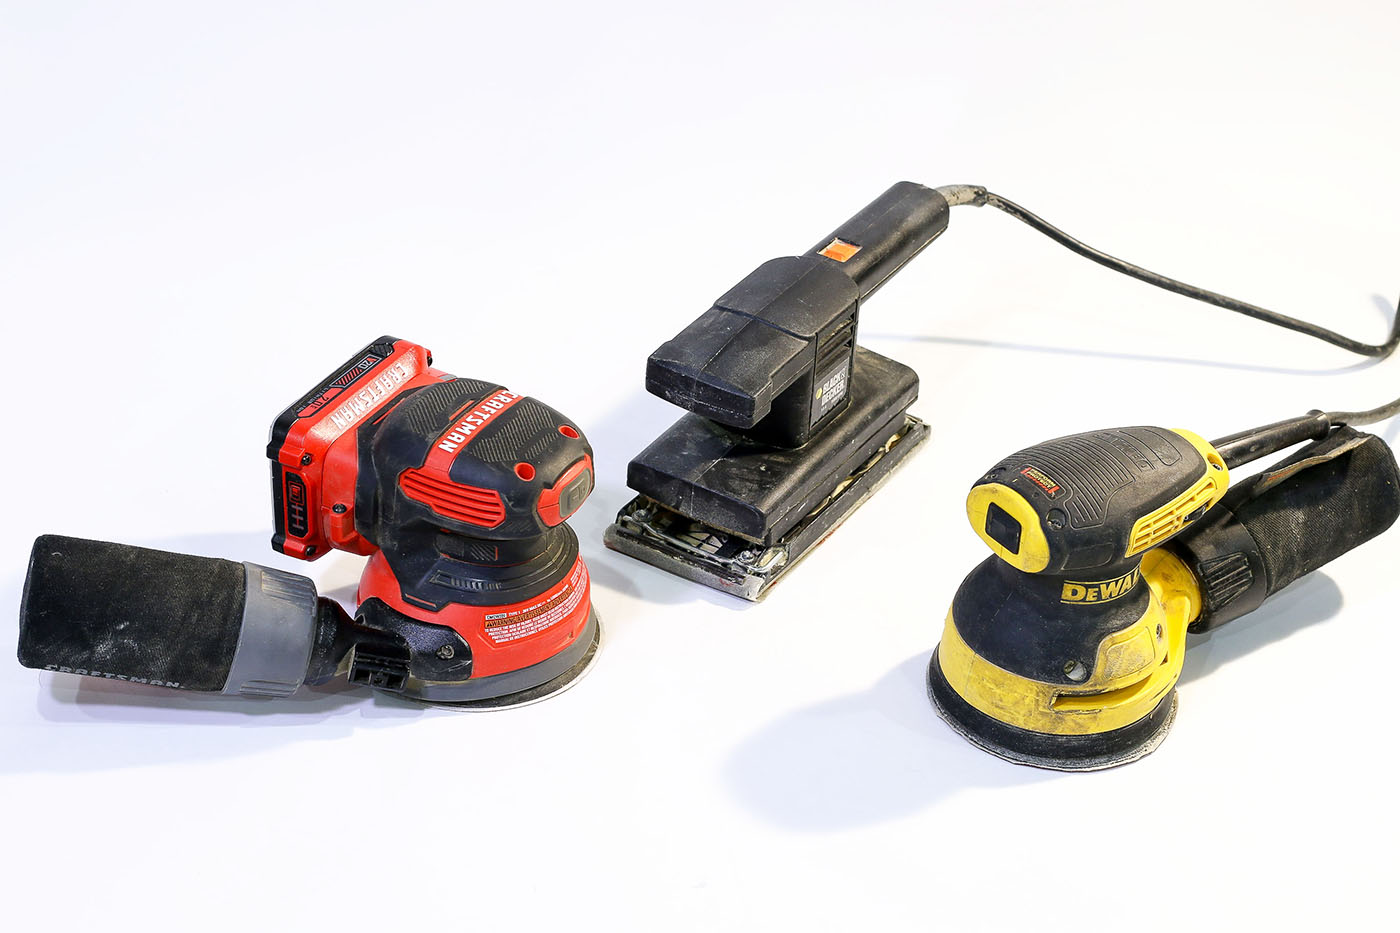
3 sanders

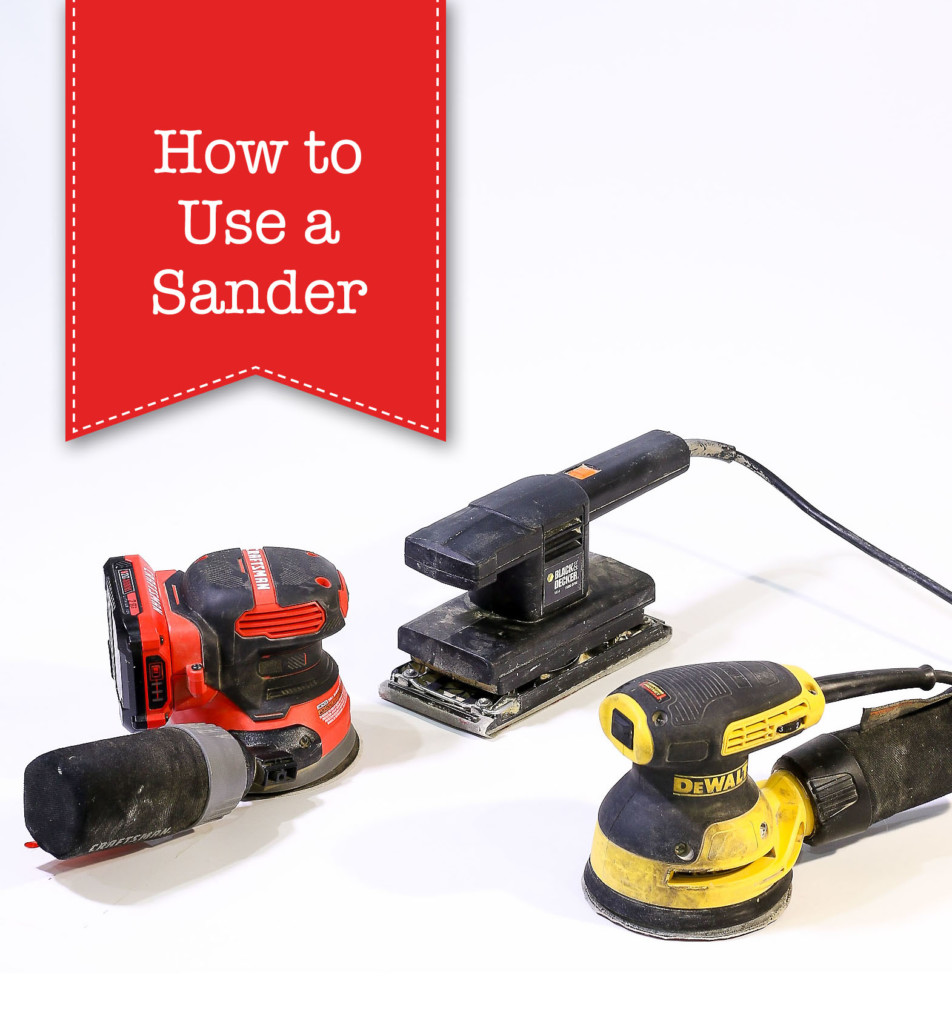
Welcome to another tool tutorial. Today I’m going to save you time and effort by teaching you how to use a sander.

How to Use a Sander

How to Use a Sander

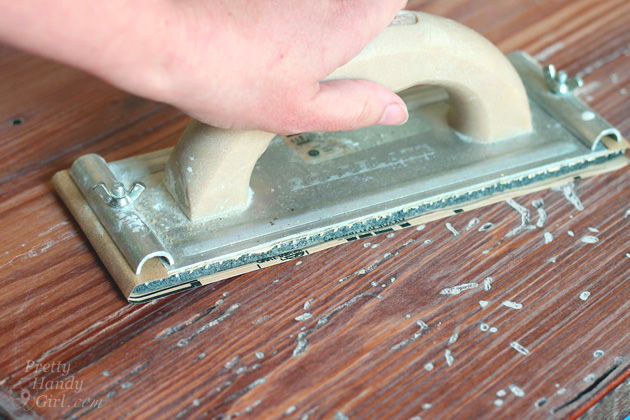
If you don’t have a power sander, you’ll likely recognize this contraption below. That’s a manual sanding block. It’s great, but personally I like to move quickly through the sanding phase of a project.

Reclaimed Lumber Farmhouse Table | Pretty Handy Girl

Especially because I feel like I’ve grown out of the hand sanding phase of my life. LOL.

When to Use a Sander:

Using a power sander can speed through the process of smoothing wood and other materials. It’s typically used to either prep a surface or finish a surface before applying paint, stain, or a top coat.

  • A sander can also knock off splinters and round over sharp corners.

  • It’s also great for prepping surfaces to paint (especially pre-finished or raw furniture.)

How to Get a Smooth Paint Finish without a Paint Sprayer | Pretty Handy Girl

  • A sander can also be used to give a beautiful aged finish to any project you are working on.

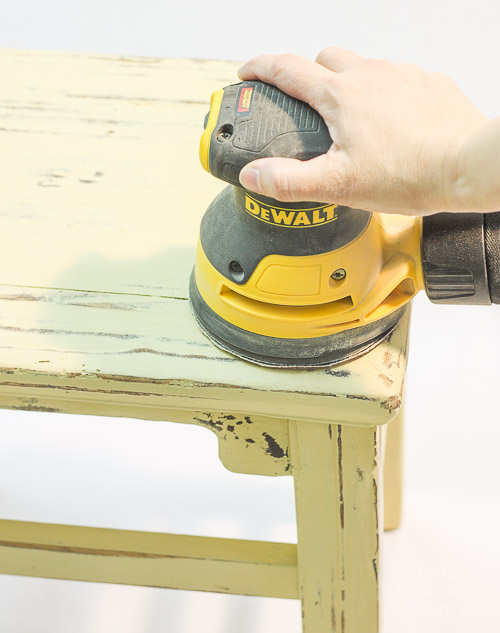
Chalk Painted Wooden Stool | Pretty Handy Girl

  • Or help eliminate imperfections from a surface.

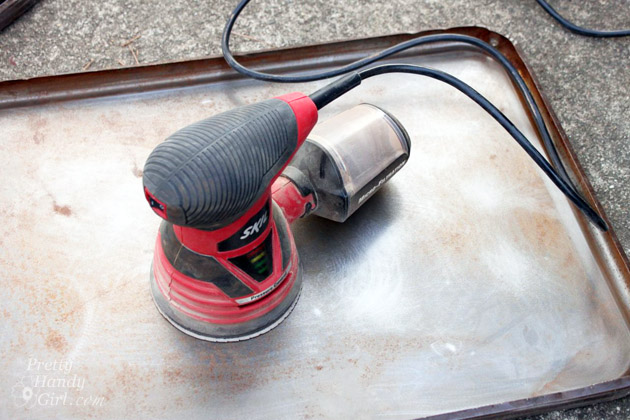
  • Sanders can also be used to remove rust from metal.

Upcycled Metal Rolling Cart Plant Stand | Pretty Handy Girl

When NOT to Use a Power Sander:

A power sander should never be used when working with materials that would be hazardous when airborne, like asbestos or lead paint. If you suspect these materials in your home, it’s best to consult with a professional abatement specialist. Learn how to test for lead paint in this article. If you have a house built in or before 1978, you might have asbestos. Learn everything you wanted to know about asbestos here.

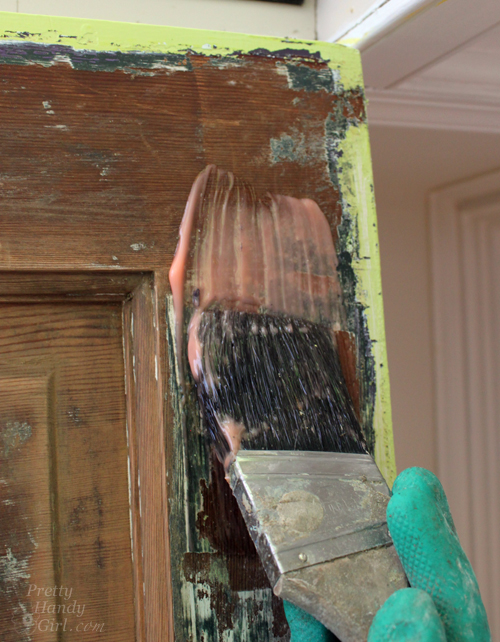
Need to remove lead paint? You will be much safer if you use a chemical stripper. Learn how to strip paint here.

How to Strip Paint Off a Door | Pretty Handy Girl

Personal Protective Equipment for Sanding:

  • Dust Mask
  • Safety Glasses
  • Hearing Protection
  • Optional: Gloves

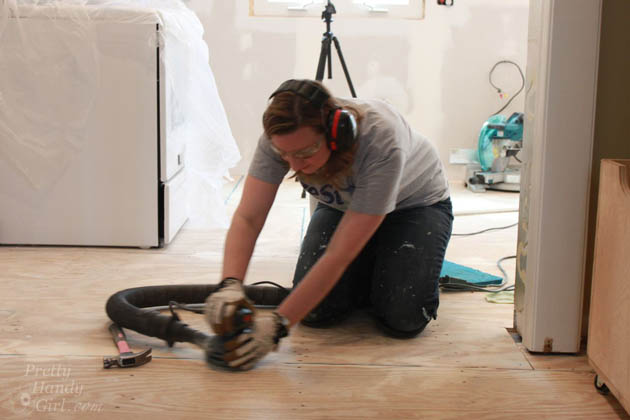
When using a sander, it is essential that you wear a dust mask to protect your lungs. Eye protection needs to be worn to protect your eyes from sawdust or splinters. And finally, wear hearing protection because exposure to the noise of power tools over time can damage your hearing.

Finally, gloves are not essential, but sanding can dry your hands and make them rough.

Different Types of Sanders:

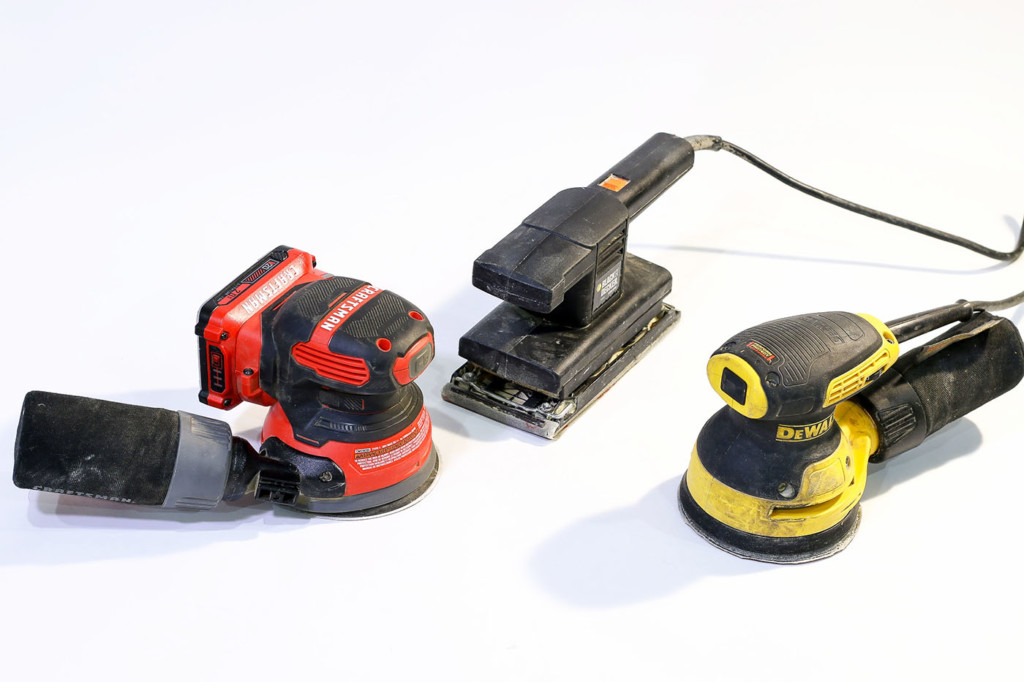
There are several types of sanders, but today we’ll stick with the most common power sanders used by DIY enthusiasts because of their portability.

  • Sheet Sander
  • Random Orbital Sander
  • Detail Sander

Sheet Sander:

The first is a sheet sander. This sander is named because you cut a sheet of sandpaper to attach to the sander.

How To Replace Sheet Sander Sandpaper:

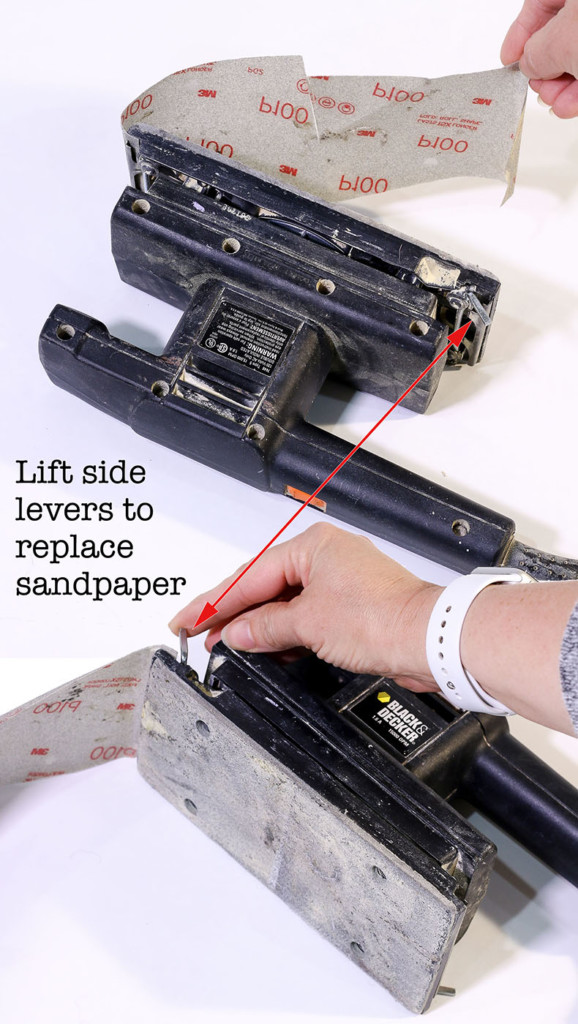
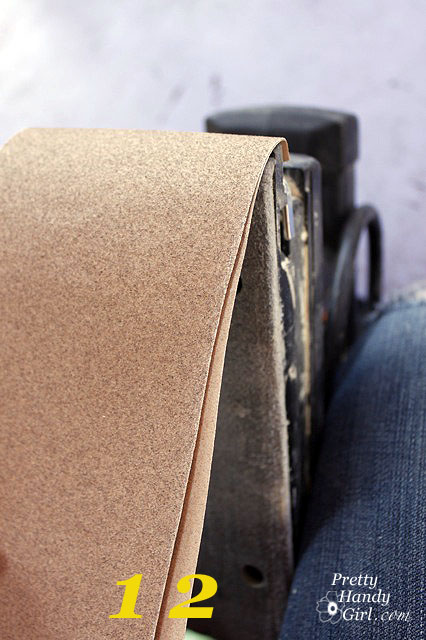
When the sandpaper gets torn or shows wear, it’s time to replace it (or if you need to switch the sandpaper grit.) Look for the clamps on each side of the sheet sander base and release them to remove sandpaper.

replacing sheet sander sandpaper

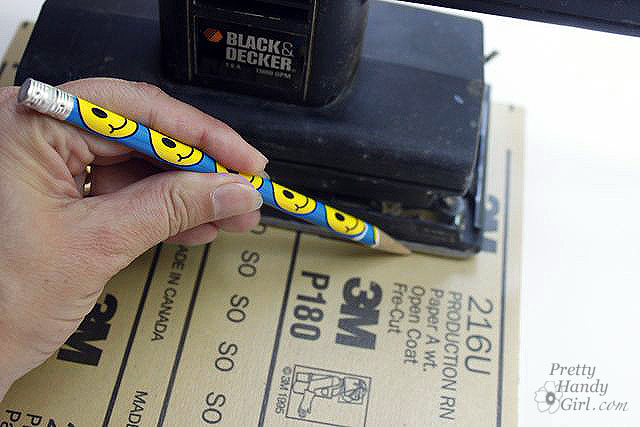
Mark the size of your sander’s base on the sandpaper.

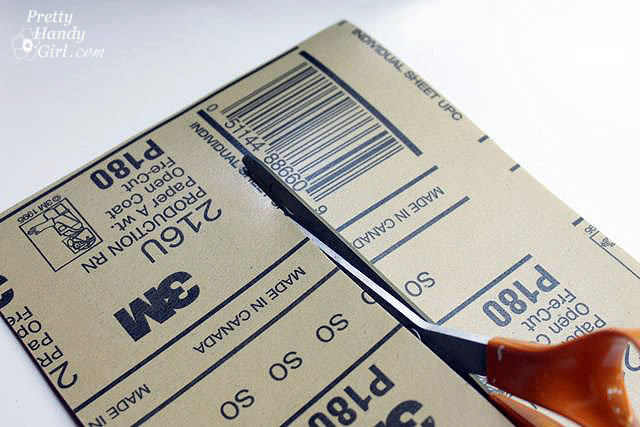
Cut a piece of sandpaper to size (add about a 1/2″ on each end to be able to clamp to.)

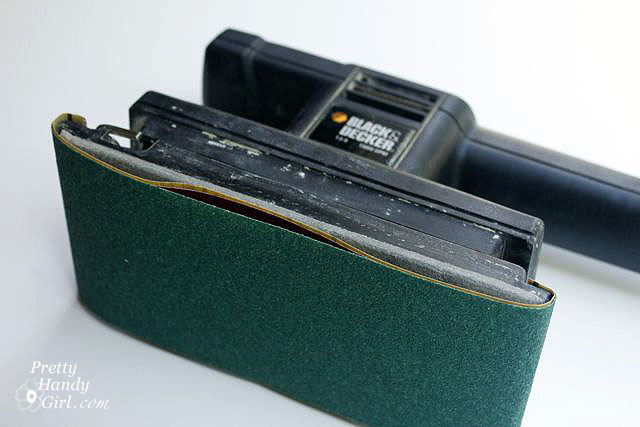
Feed one end into one side clamp and depress the lever to hold the sandpaper.

Feed the other side under the clamp and secure.

When sanding a lot, I like to load several sheets into my sheet sander. This way I can quickly tear off a layer when it’s worn or when I need to move to the next grit.

Random Orbital Sander:

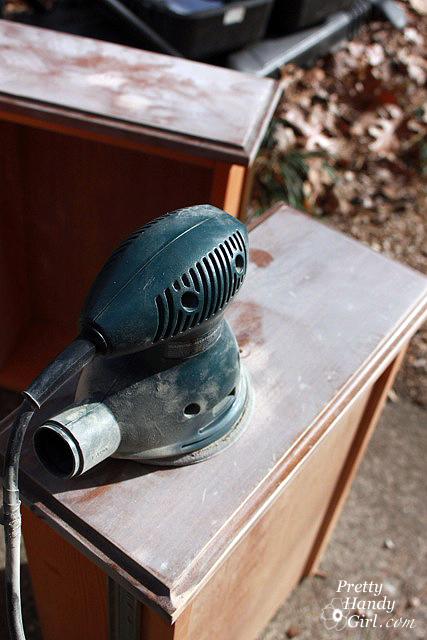
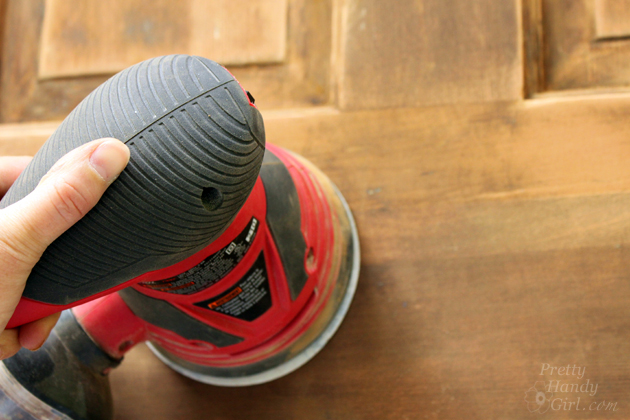
The second most common type of sander is a random orbital sander. Named because the base moves around in a random elliptical motion. Personally this is the type of sander I use most for handheld sanding. It’s lightweight and allows me to get the majority of the sanding done quickly.

How to Strip Paint Off a Door | Pretty Handy Girl

How to Replace Sandpaper on a Random Orbital Sander:

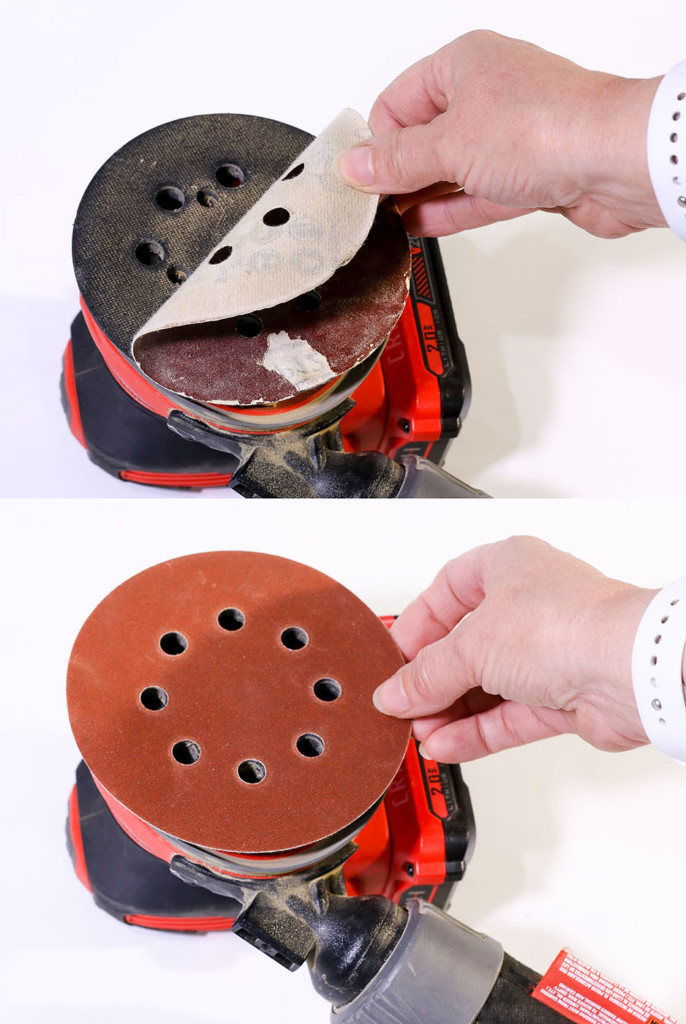
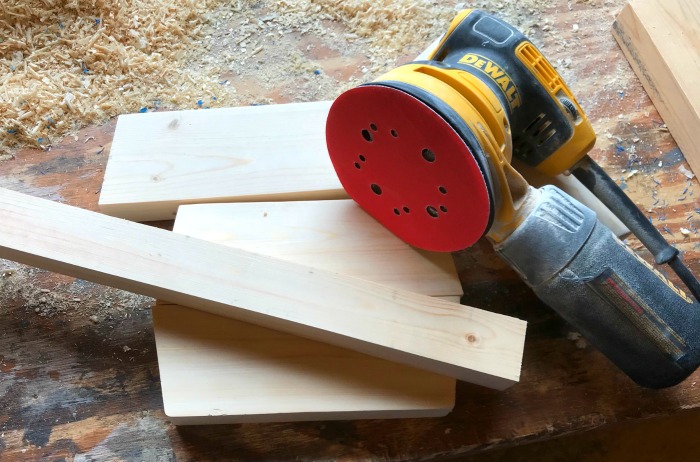
The random orbital sander saves you time when it’s time to change the sandpaper. The sandpaper discs are held on with a velcro-like hook and loop system.

To remove, simply pull the sandpaper off the base of the sander. Then replace it with a new sheet being careful to line up the sandpaper with the vent holes on the sander.

removing worn orbital sander paper, replacing hook and loop sandpaper

Easy and quick. Now you can continue sanding.

Detail Sander:

Most sanders lack the size to get into tight corners or grooves. Those tasks are best left for the detail sander.

Rustic Pallet Serving Tray | Pretty Handy Girl

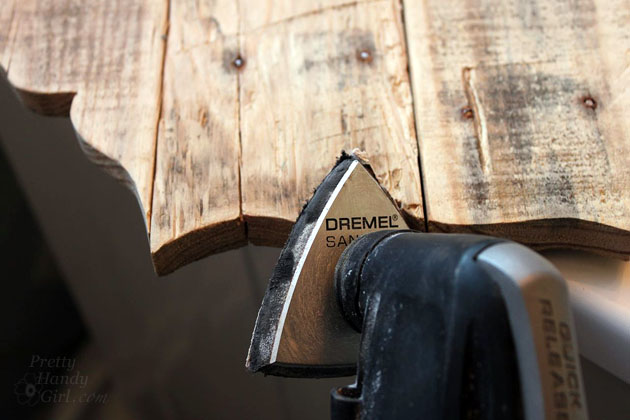
Smaller in size, and usually with a pointed head, detail sanders typically use a hook and loop sandpaper system for quick changes.

How Much Do Sanders Cost?

(I’ve included affiliate links for your convenience. I earn a small percentage from a purchase using these links. There is no additional cost to you. You can read more about affiliate links here.)

3 sanders

A good power sander shouldn’t cost an arm and a leg. Prices will range from $20 to over $200 for brand name sanders. But, you can purchase a good sander for $50-$100.

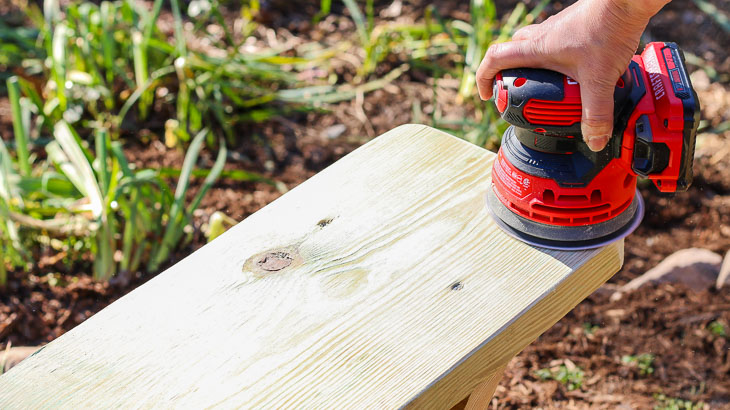
Personally I have a cordless sander and a corded sander. I love the ability to use the cordless sander in the yard without needing to pull a power cord with me. But, I usually prefer the longevity of sanding with a corded sander. My sheet sander is old and gets less use because the vibrations are much stronger leaving me with numb hands after sanding for a while.

About Sandpaper:

Sandpaper comes in a wide variety of colors and grits. The colors do not mean a specific grit across brands, but within a brand they help easily identify the sandpaper grit.

  • Coarse Grit: 40 – 60
  • Medium Grit: 80 – 180
  • Fine Grit: 200-600
  • Super Fine Grit: Over 600 grit

When sanding a raw piece of wood or something that needs aggressive sanding to remove a finish, start with a rough sandpaper with a 40- to 60-grit. For smoothing out imperfections and scratches, you need to move on to a 80- to 180-grit sandpaper. The final finishing of a wood piece requires a fine-grit sandpaper with a 200- to 600-grit. Super fine grit is usually reserved for metal, glass, or other non-wood surfaces.

How to Use a Power Sander:

Sanders are either battery-powered or corded. If using a battery-powered sander make sure you have a charged battery. Plug in your corded sander.

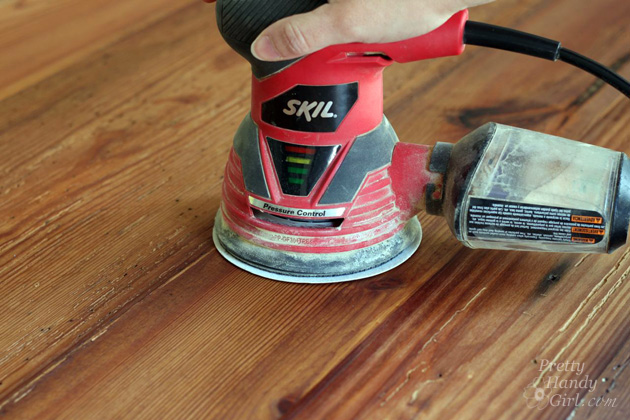
SKIL orbital sander

Attach the appropriate grit sandpaper to the base.

Look for the on/off switch on your sander. Turn the tool on and gently set it on the material you need to sand. Use slow sweeping motions to methodically sand your workpiece.

How to Fill Holes and Knots in Wood | Pretty Handy Girl

Once you have a uniform finish, switch to a finer grit sandpaper. Repeat the process above. Continue sanding until you have a super smooth surface (or desired finish.)

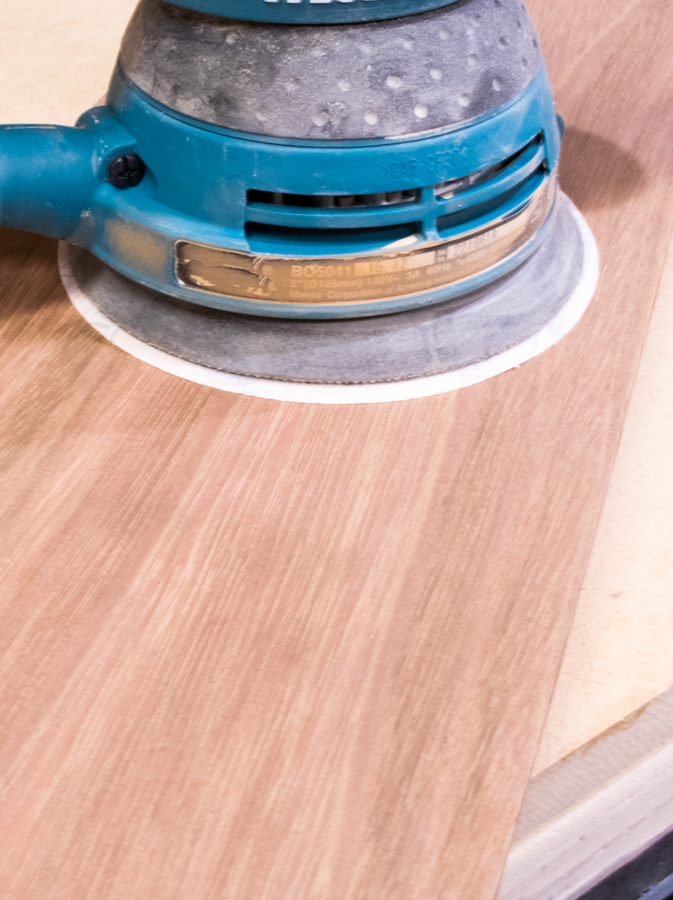
sand all boards

Wipe off sanding dust with a damp rag or tack cloth. Empty the dust collection bag on your sander if you have one.  Now it’s time to finish your project! Add stain, paint, or a top coat to protect your project.

Video Sanding Tutorial:

I hope you enjoyed this tutorial. If you want to see a video of using a sander, watch how I finished a branch to use as a towel bar in my sons’ bathroom:

Happy sanding!

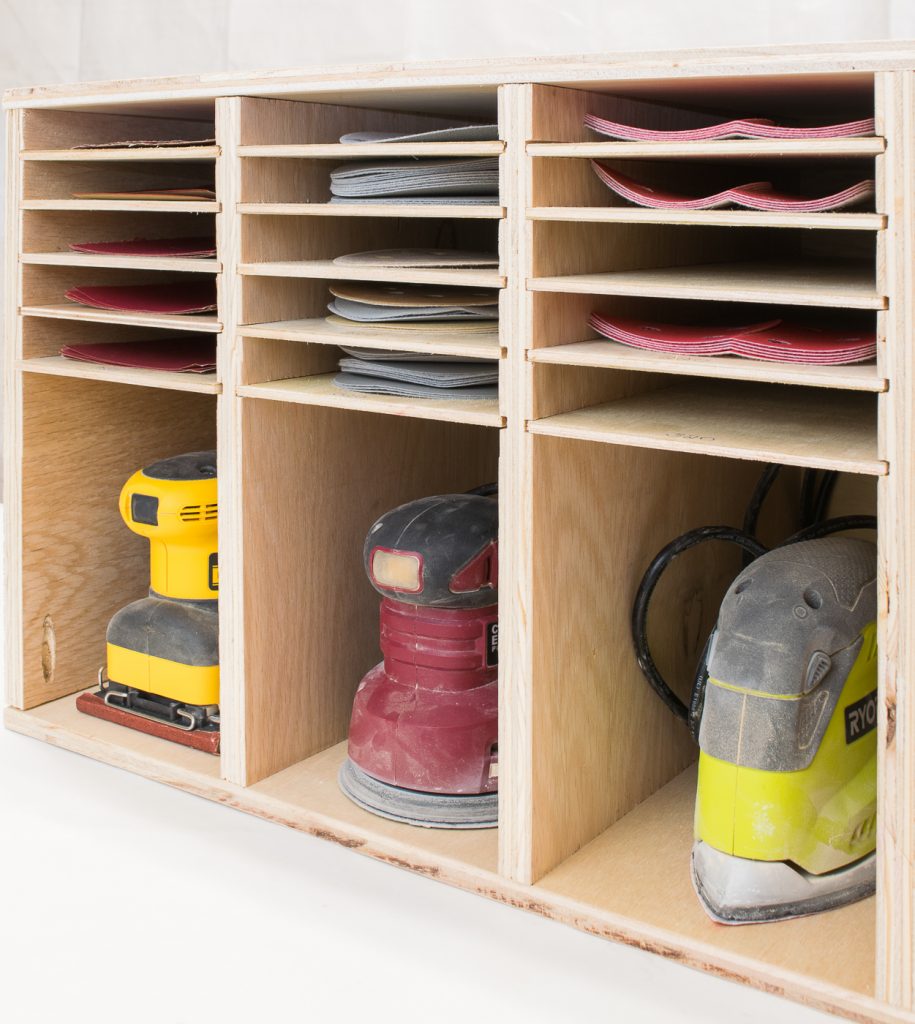
Organize Your Sandpaper and Sanders:

Once you find a love for sanding, you’ll probably want to store your sandpaper and sanders neatly. Learn how The Handyman’s Daughter built this simple sanding station.

Get the plans to build this sander and sandpaper storage unit at The Handyman's Daughter!

How to Make a Long Clamp with Short Clamps | Pretty Handy Girl

How to Make a Long Clamp with Short Clamps | Pretty Handy GirlHow to Make a Long Clamp with Shorter Clamps

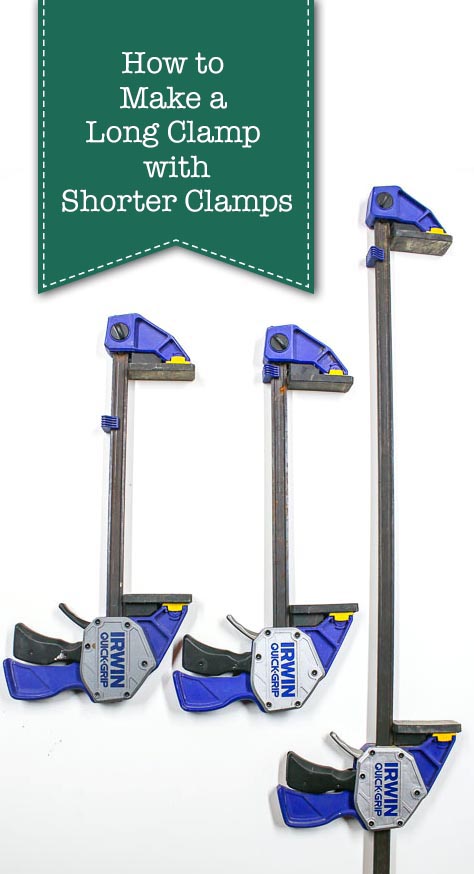
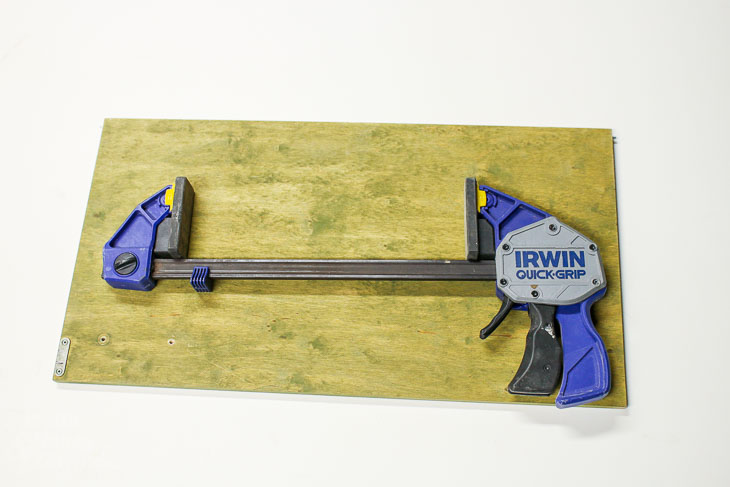
When you are trying to outfit your workshop with equipment it can be tempting to skip purchasing more expensive long clamps. After all, how often do you really need to clamp something longer than 12 – 18″? Luckily, I’m here to justify your decision to purchase two short clamps in place of one long clamp, because here’s How to Make a Long Clamp with two Shorter Clamps!
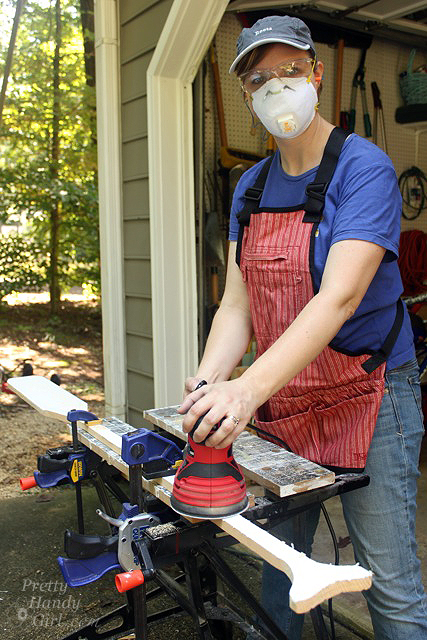
How to Make a Long Clamp with Short Clamps | Pretty Handy Girl

(I’ve included affiliate links for your convenience. I earn a small percentage from a purchase using these links. There is no additional cost to you. You can read more about affiliate links here.)

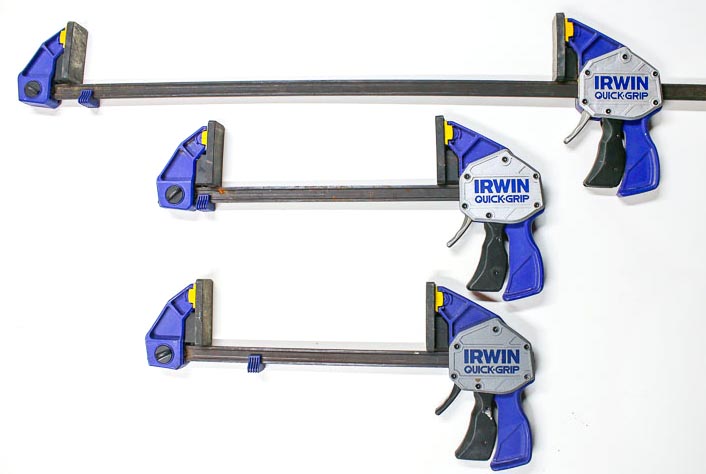
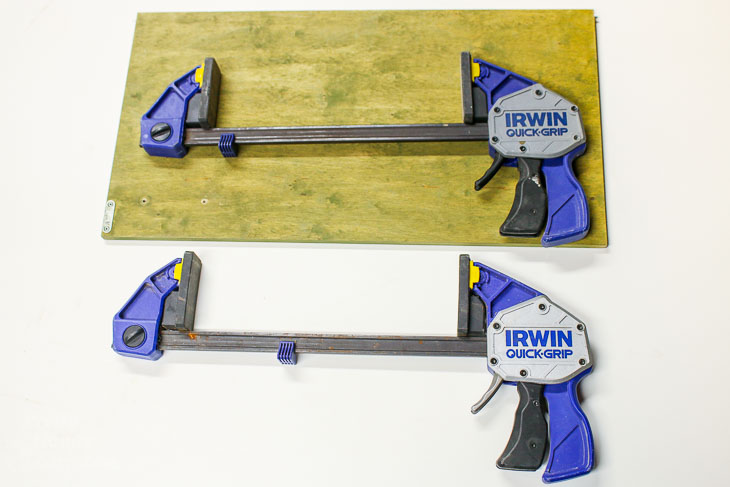
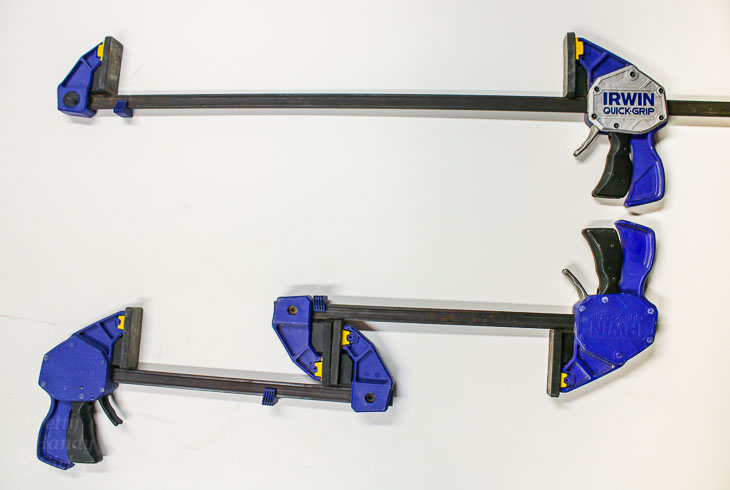
When it comes time to clamp that extra long project, grab two of the same brand clamps (this may also work with different brands, but you’ll just have to experiment). I use Irwin Quick Grip clamps. 

How to Make a Long Clamp with Short Clamps | Pretty Handy Girl

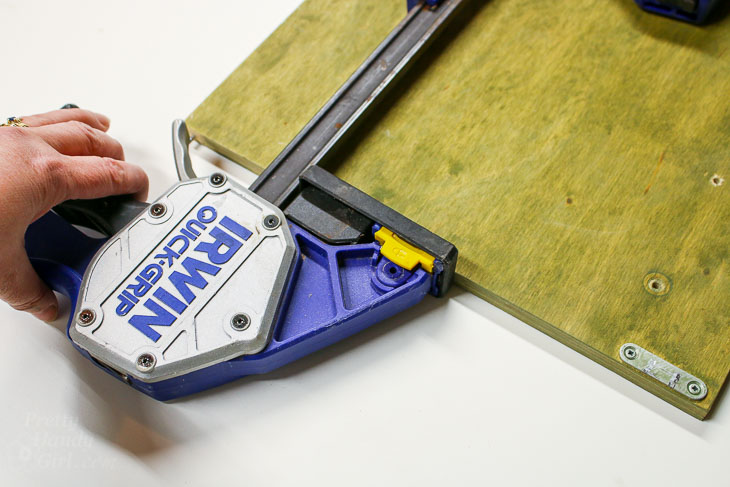
Open the two clamps to the full extension. Set the grip handle side of one clamp on one side of your item to clamp.

How to Make a Long Clamp with Short Clamps | Pretty Handy Girl

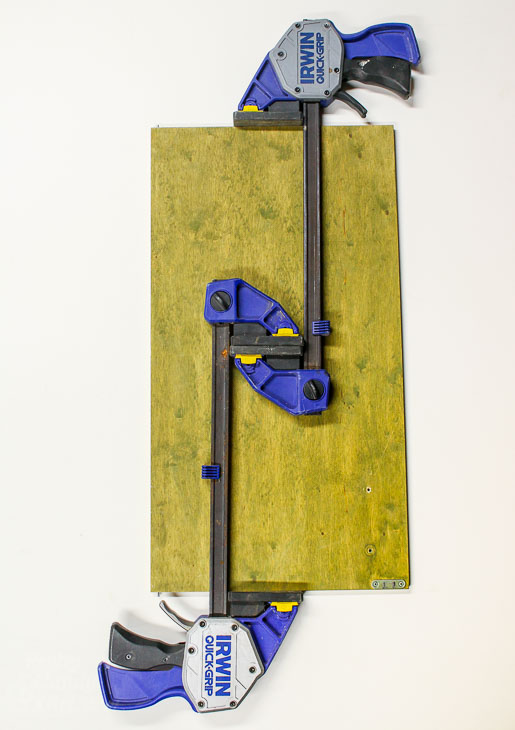
Take the second clamp and flip it toward the opposite side, resting the handle side on the opposite side of the item.

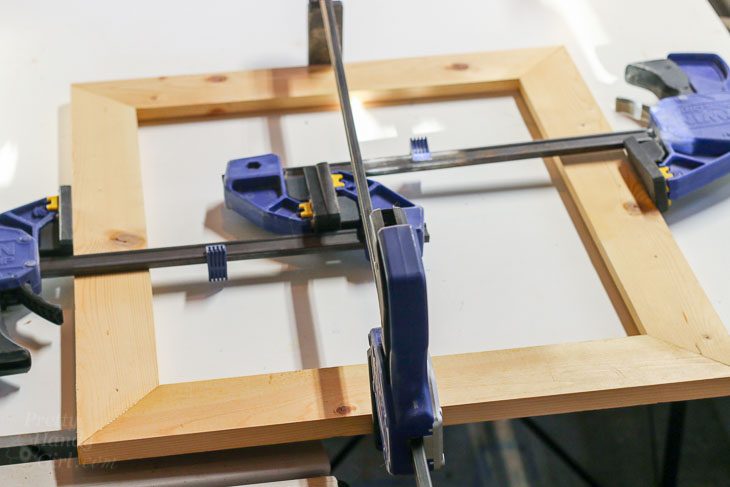
Then set the two middle clamp pads against one another to form an “S” shape as shown below.)

How to Make a Long Clamp with Short Clamps | Pretty Handy Girl

Tighten the two clamps and you have one long clamp made from two shorter clamps!
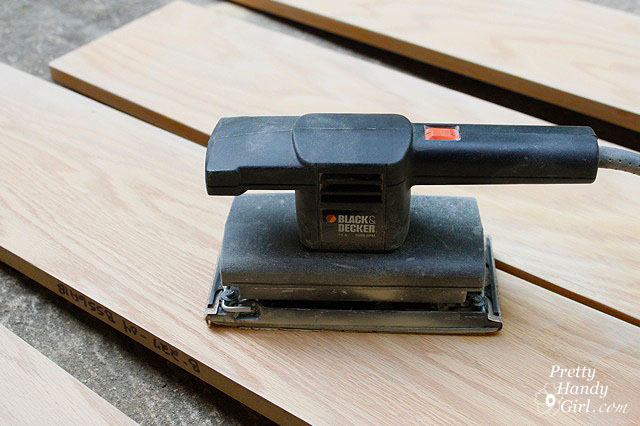
How to Make a Long Clamp with Short Clamps | Pretty Handy Girl

Tell me the truth, did you already know about this clamp hack? I debated whether to write this post because the idea is so simple, I figured it may be nothing new.

If you didn’t know how to make one long clamp out of two smaller ones, I hope this tip helps you one day. I know it really helped me this weekend when I was trying to clamp a larger picture frame.

How to Make a Long Clamp with Short Clamps | Pretty Handy Girl

Do you have any helpful workshop tips to share? I’d love to hear them.

Top 10 Power Tools Every DIYer Needs

Top 10 Power Tools Every DIYer NeedsTop 10 Power Tools Every DIYer Needs
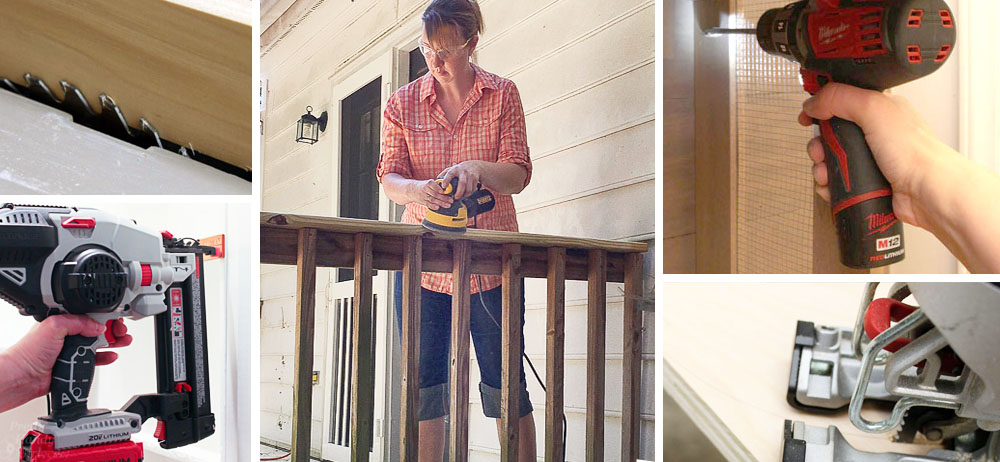
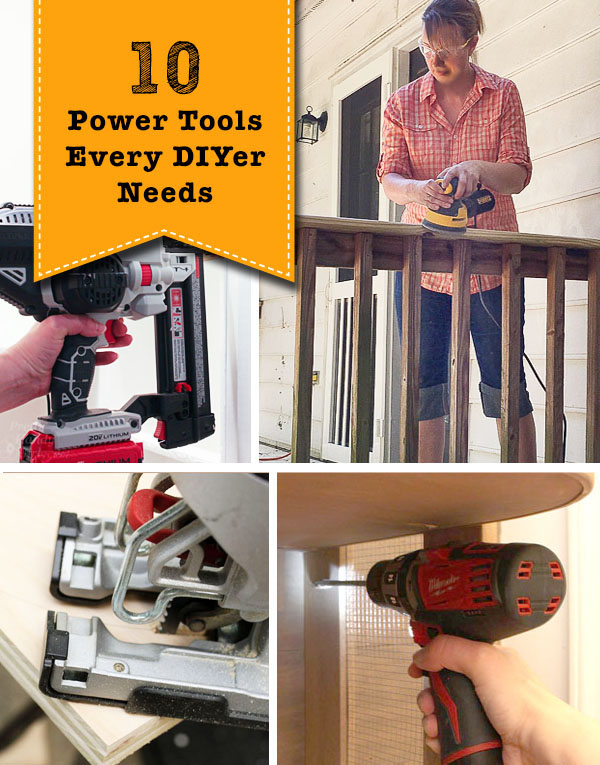
Time and time again I’ve been asked what my desert island tool would be. But honestly I have a hard time narrowing my answer down to just one tool. Instead I decided to make a list of the Top 10 Power Tools that Every DIYer Needs in their tool arsenal.

Next week the stores will be crowded and your family may want to know what you’d like for the holidays. If you are like me and ask for tools over jewelry, you’ll want to take inventory of your tools and see if there’s that one tool that you are missing. The ones that make the cut on this list are the tools that I use over and over again on projects, home repairs, and maintenance.

In no particular order, here are my Top 10 Power Tools Every DIYer Needs:

(I’ve included affiliate links for your convenience. I earn a small percentage from a purchase using these links. There is no additional cost to you. You can read more about affiliate links here.)

1. Circular Saw:

A circular saw is one of the most versatile tools in the shop (and on a jobsite.) This one tool can potentially take the place of both a miter saw and a table saw. But, you have to have a steady hand and set up a guide bar (or use a Kreg Rip Cut) to get precision cuts. If you are building a deck, fence, or other outdoor structure, nothing will take the place of this mobile tool.

Porter-Cable 15 Amp Circular Saw


2. Table Saw:

The table saw is the king of making rip cuts. You can cut your own custom lumber, shave off rounded edges on boards and cut down large sheets for cabinetry and furniture. The table saw can handle small rips and make multiple cuts at the exact same width (when you lock the fence in place.) One accessory I recommend for your table saw is a Microjig GRR-Ripper to keep your hands and fingers safe. You can see a good example of the uses for a table saw and the GRR-Ripper in this tutorial for building sports gear storage in a small space.


DeWalt FlexVolt 50v Max cordless table saw


3. Miter Saw:

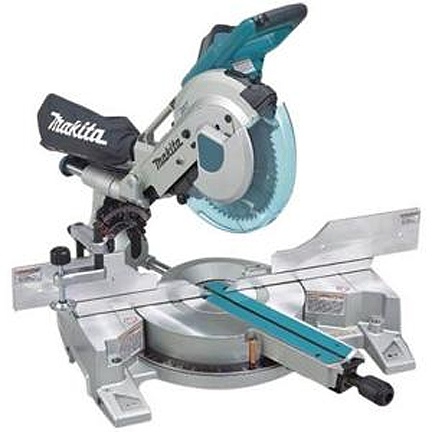
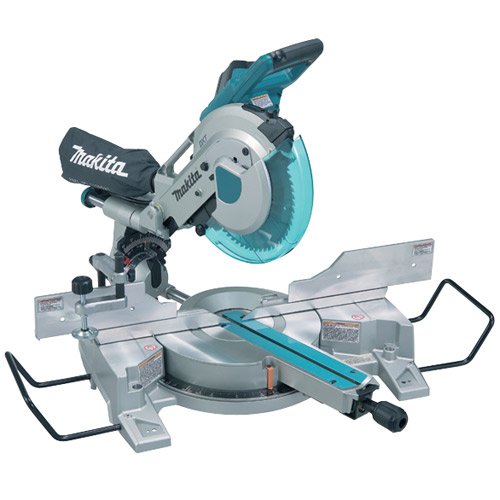
Nothing beats the precision of being able to cut a miter and bevel cut, which is a necessity when adding crown moulding to your home.  For that reason I recommend forgoing a standard chop saw and outfit your shop with a compound sliding miter saw. The sliding feature allows you to cut lumber that is wider than the actual blade width. I highly recommend saving up for a quality miter saw. You will get what you pay for on this power tool. For more information, see my video tutorial for using a miter saw.


Makita 10″ Dual Bevel Sliding Compound Miter Saw


4. Drill/Impact Driver Combo:

A drill is the equivalent of your right hand man while working on any project. Go ahead and upgrade to a stronger drill and if you buy one that double as an impact driver, you’ll save room in your toolbox.


Milwaukee Drill and Impact Driver Set


5. Bandsaw:

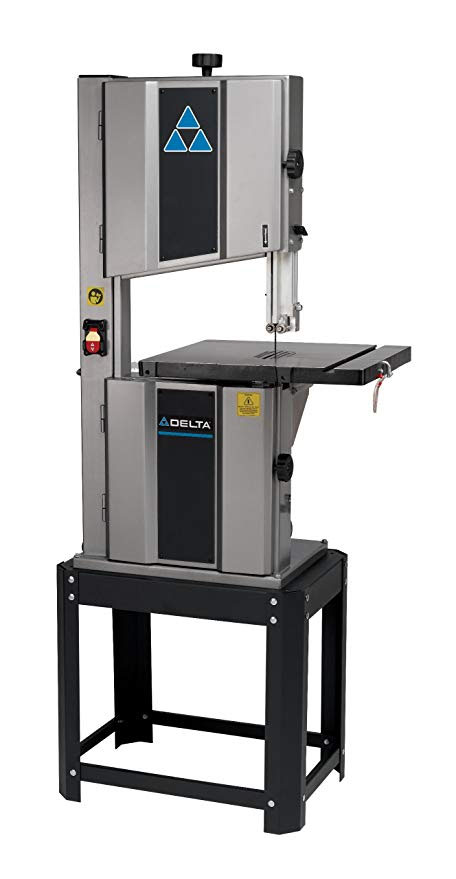
Before I had a jigsaw, I used my bandsaw for many curved cuts (and even ripped some lumber with it.) Although it may seem like an extraneous tool, having a bandsaw can be your friend when you want to make precision profile cuts in any wood. You’ll notice I didn’t include a scroll saw on the list and that’s because I would guess that 90% of the time the bandsaw (or a jig saw) will perform the tasks you think you need a scroll saw for. One of my favorite projects using a bandsaw is making this pallet serving tray.


Delta Bandsaw

6. Cordless Finish Nailgun:

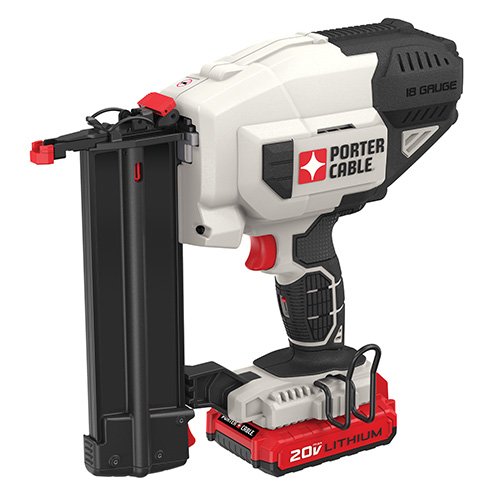
Having a cordless nailer is the way to go when you are working on small projects or installing trim. This battery-powered 18 gauge nail gun doesn’t require a compressor. In my book, this is a huge plus for anyone who hates to haul out a big, heavy, and loud compressor. Not to mention dealing with the maintenance on a compressor. One of my favorite projects using a finish nailer are these cute scrap wood trays using leftover moulding.

Porter-Cable 18 ga. Cordless Nailer


7. Oscillating Multi-tool:

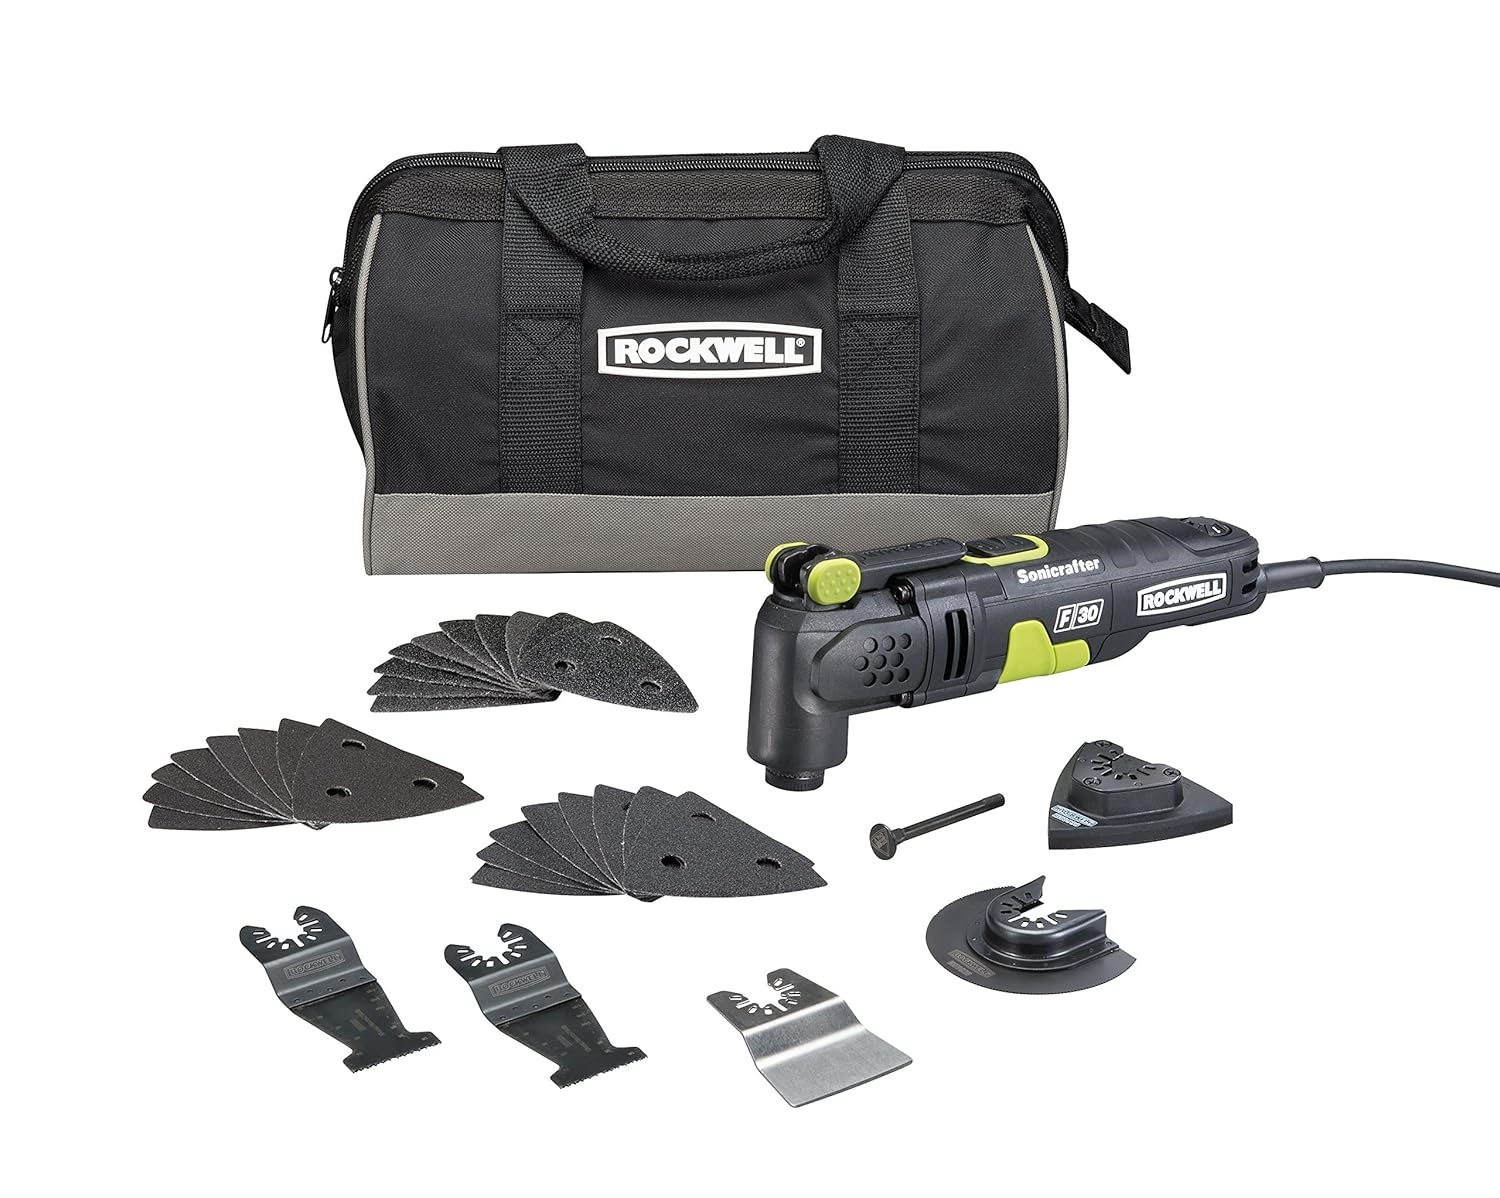
Where would I be without a multi-tool? In a jamb, that’s for sure. The oscillating tool is a mighty little tool you can bring to the location that needs cutting. Notch out your framing lumber; cut detail areas; sand in tight corners; scrape up tiles; and even cut nails with this tool and a metal blade. The oscillating tool has been my BFF when I need a small hand held option to the bigger tools (like sanding inside a window sill after repairing wood rot.)

Rockwell Sonicrafter


8. Power Sander:

Save your energy for more important tasks than sanding. Let the power sander smooth, strip and finish any surface in no time. Honestly, I can’t imagine ever hand sanding again.

DeWalt Palm Sander


9. Jigsaw:

The jigsaw can be compared to the bandsaw, but you’ll find a jigsaw a must have when you can’t bring the project to the tool or when your piece is too big. A good jigsaw won’t set you back much, but it will definitely save you time (and as you know, time is money.) One of the handiest uses for a jigsaw is cutting inside sheet goods.

Porter Cable Jigsaw


10. Rotary Tool:

A Dremel is one of those tools that you don’t think you need until you start using it. Then you wonder how you got along without one. Cut off metal; sand in tiny areas; drill; etch into a variety of materials and even trim your pet’s nails! This little tool can do so many things if you have the right bit. (My favorite use for a Dremel is creating a notch to remove stripped screws or bolts.)

Dremel Cordless Rotary Tool


11. Bonus Tool – Reciprocating Saw:

If you have all the tools above, go ahead and ask for this demo demon! A reciprocating saw makes fast work of removing studs and joists. Plus, if you like working with pallet wood, this tool is one of best ways (among 5 others) of removing pallet wood.

DeWalt Corded Reciprocating Saw


Did I miss any power tools that you find a necessity? Any tools that you’ll be adding to your wish list?