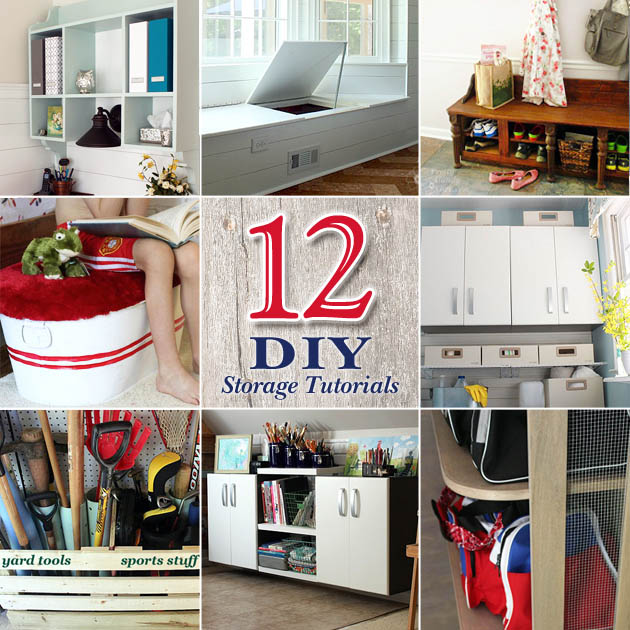
12 DIY Home Storage Tutorials | Pretty Handy Girl

It’s January and you know what that means! Time to clean and purge the house of all the excess stuff. Last year I was too busy with projects to purge, so this year I’m taking advantage of some warmer days to clean out our home. I hope you’ll excuse me while I’m in clutter busting HELL mode. In the meantime you might enjoy these 12 DIY Storage Projects to help you organize your home (and hide clutter.)

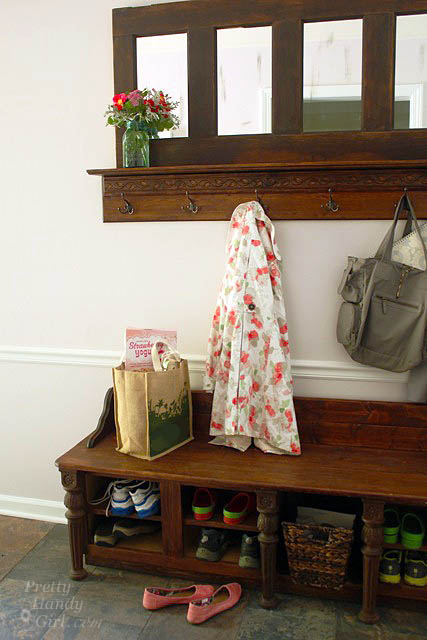
mudroom_shoe_storage_bench
Make a Coat Rack from an Old Door
 and Make a Shoe Storage Bench with Kitchen Cabinets

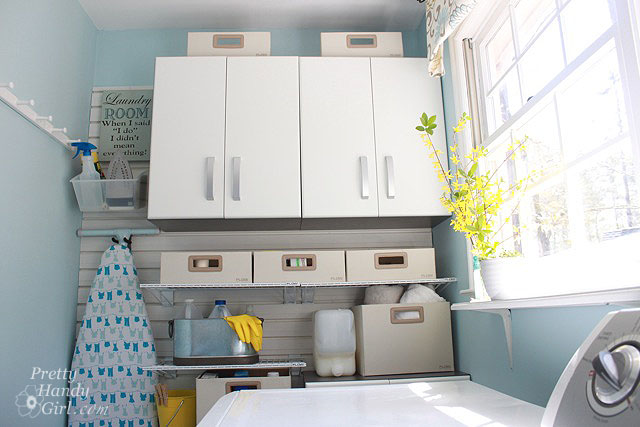
full_flow_wall_above_washerLaundry Room Storage using Flow Wall Read more

Hang Stockings Without a Mantel

Hang Stockings Without a Mantel

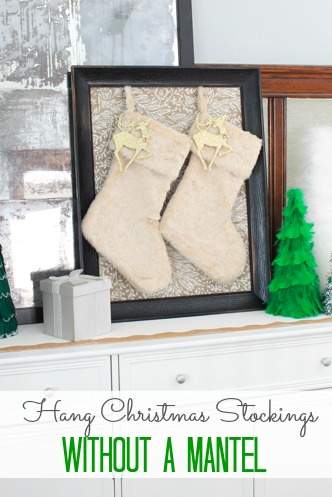
Hello, it’s Jessica here from Decor Adventures, back this month with a simple solution for holiday decorating. These days we see all kinds of lovely homes with Christmas stockings hung beautifully from the mantel or staircase. But what if you don’t have either in your home? I’ve come up with an easy way to display stockings that you can put together in less than an hour. Here is how to hang stockings without a mantel – frame them!

Materials:

Hang Stockings Without a Mantel

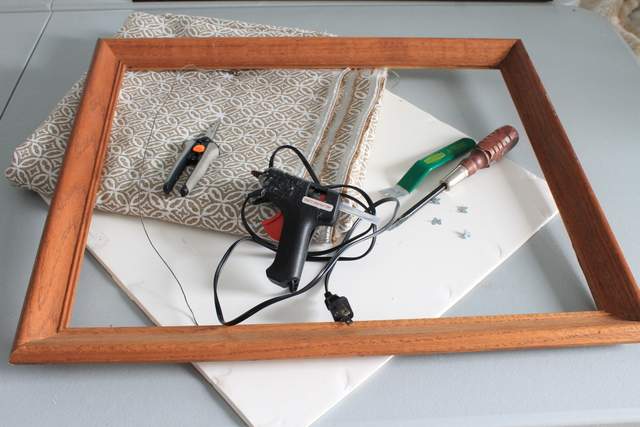
  • Large empty picture frame
  • Foam board
  • Fabric
  • Chicken wire
  • Wire snips or sharp scissors
  • Gloves
  • Paint (optional)
  • S-hooks
  • Glazier’s points and tool (or a wide flat head screwdriver)
  • S hooks
  • Stockings

Instructions:

1. For this project you’ll use a large empty picture frame that doesn’t have glass. You can find them at thrift stores, craft stores, or just reuse one of your own. You can paint or stain the frame to your liking, but that is optional depending on your style.

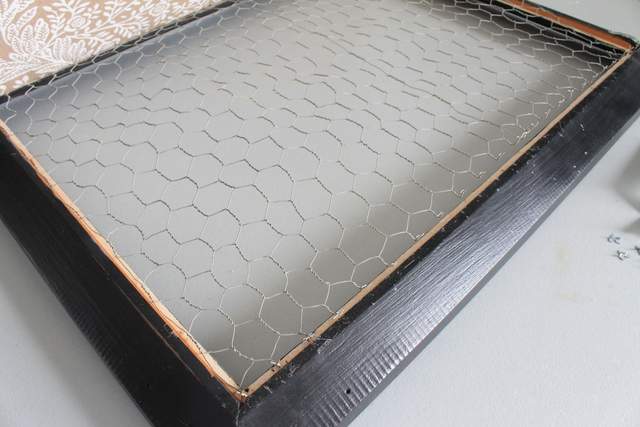
2. Cut a piece of chicken wire one inch larger on all sides than the inside of your frame where the glass would rest. Make sure to wear gloves for this part as the wire can be sharp. Most chicken wire comes with natural lines where the wire is twisted. You can use those as your edges. If you want to spray paint the wire to blend in, that would create a nice look too.

Hang Stockings Without a Mantel

3. Place the frame front side face down on a table and insert the wire into the back of the frame. Set that aside for the moment. Read more

Sport Gear Storage in a Small Space | Pretty Handy Girl

My home is protected by ninjas! Well, actually Tae Kwon Do athletes, but they are ninjas in training. So, don’t even think about breaking into our house or they will open up a can of whoop ass on you! 😉

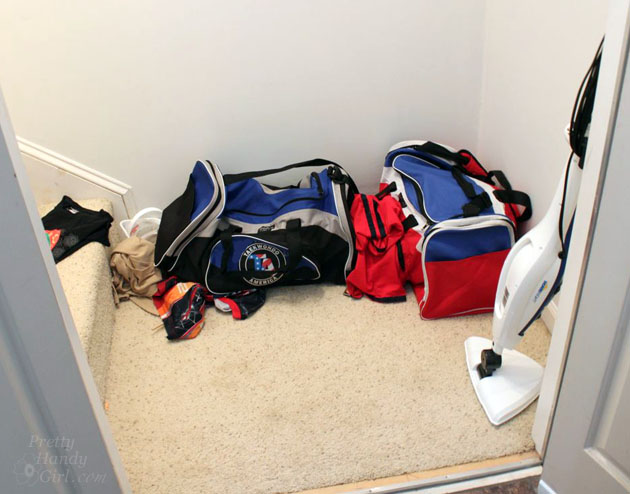
Unfortunately, where my boys are plentiful in kicking and punching skills they lack in the picking up your stuff department. Which means that the bottom of the stairway to our bonus room is usually the dumping ground for their gear bags, clothing and gear.

Sport Gear Storage Shelves in a Small Space | Pretty Handy Girl

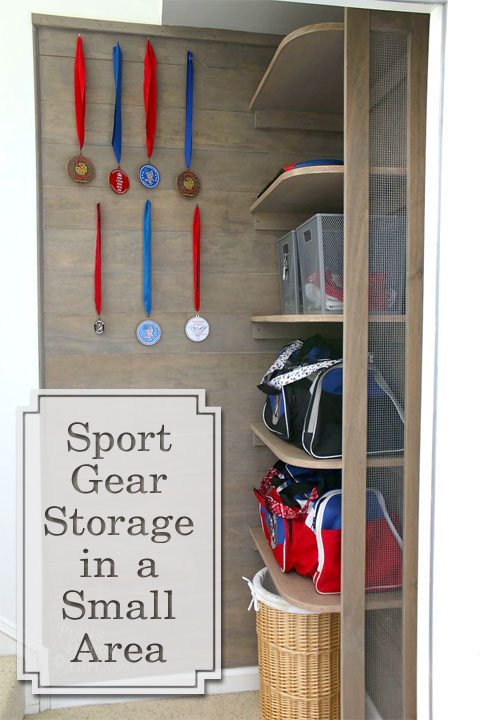
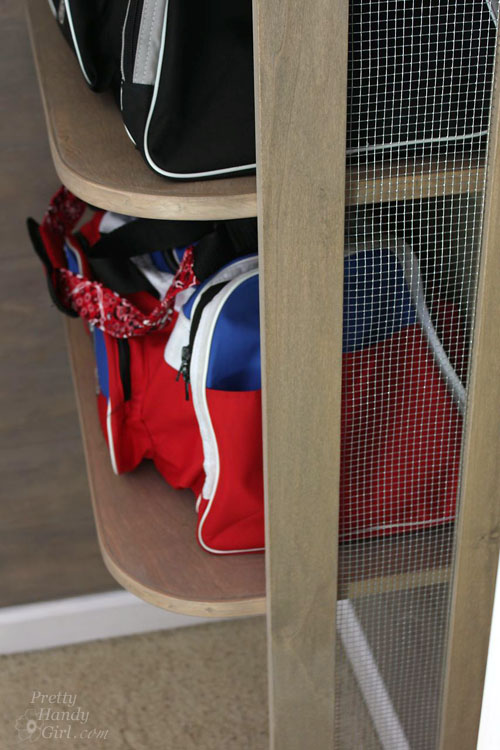
I knew I could “up” the amount of storage we had in this small unused space by going vertical. I designed and created Sports Gear Storage Shelves in the small space at the base of our bonus room stairs. Adding mesh siding gives the storage system a locker vibe and allowed for better air flow around stinky sports gear.

Sport Gear Storage Shelves in a Small Space | Pretty Handy Girl

Want to know how to build your own Sport Gear Storage Shelves? Hang out for a while and I’ll walk you through the step-by-step tutorial.

Materials:

Cut List:

  • 5 – 15″ x 24″ plywood (shelves)*
  • 5 – 1 x 3 x 15″ (shelf cleats)
  • 5 – 1 x 3 x 23″ (shelf cleats)
  • 2 – 1 x 3 x 88″ (sides of support frame)
  • 2 – 1 x 3 x 4.5″ (top & bottom of support frame)
  • 1 – 5.5″ x 84″ piece of wire mesh
  • Rip edge banding 1/4″ thickness from one 1 x 3″ board

* You should be able to get a sixth shelf cut from your plywood if you wish to use it for a base.

Instructions:

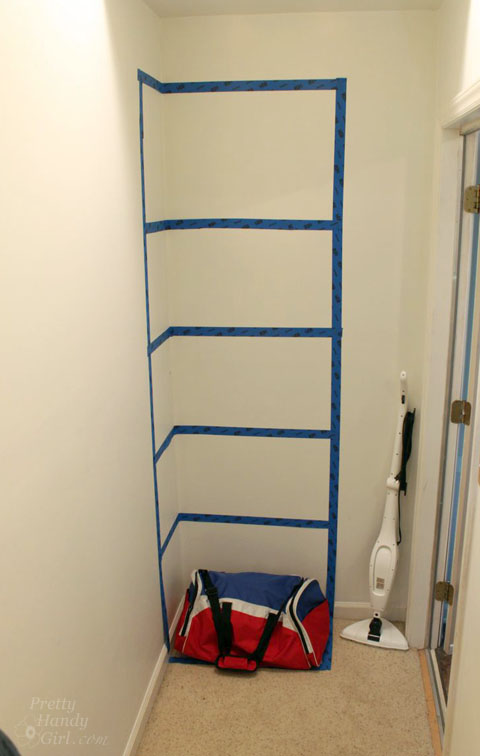
Before beginning to build, sketch out your design with painter’s tape. Take note of the height of any baskets or gear bags you will store on the shelves. This should give you the ability to visualize the storage shelves and make any alterations to your design before you build. Once you are happy with the layout, write down your shelf heights.

Sport Gear Storage Shelves in a Small Space | Pretty Handy Girl

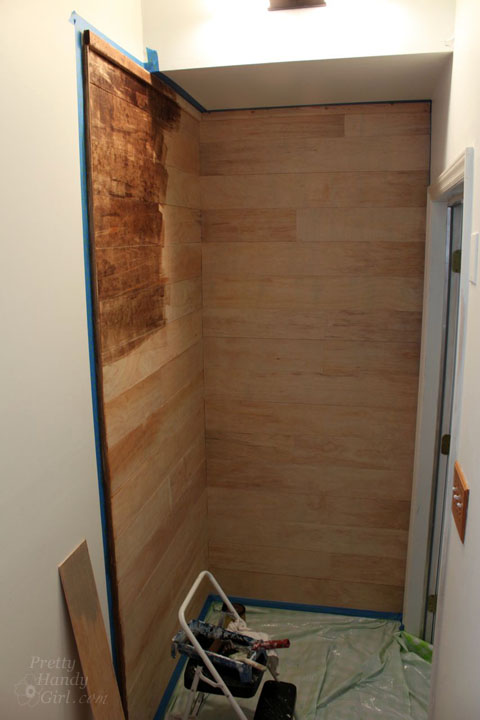
You may wish to clad the walls in wood planks like I did before you build the shelving. If you decide to add the planks, here’s the tutorial for planking your walls.

Sport Gear Storage Shelves in a Small Space | Pretty Handy Girl

Measure and mark the heights of your shelves.

Sport Gear Storage Shelves in a Small Space | Pretty Handy Girl

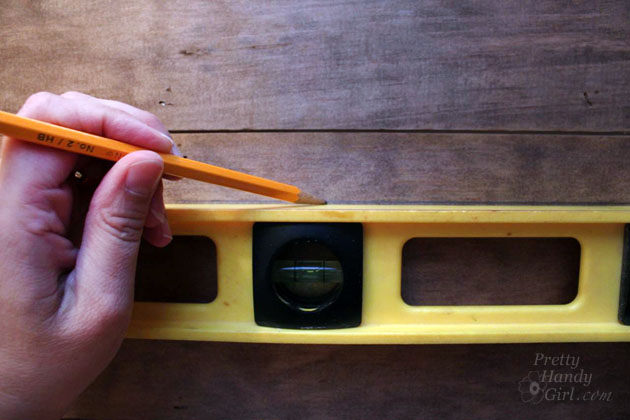
Using a level, draw a pencil line where the shelves will rest.

Sport Gear Storage Shelves in a Small Space | Pretty Handy Girl

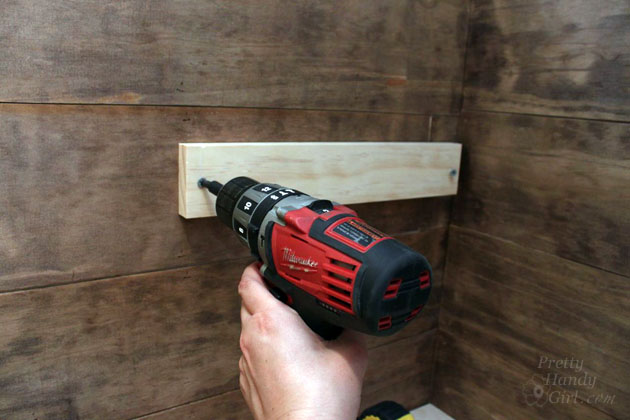
Secure the 1×3″ cleats below the pencil line using 2 1/2″ wood screws into studs.

Sport Gear Storage Shelves in a Small Space | Pretty Handy Girl

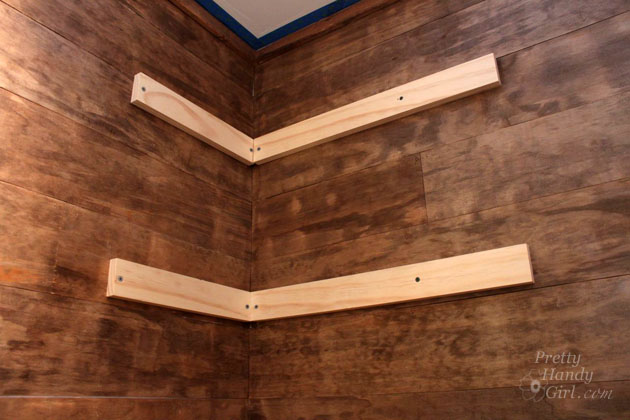
Continue securing shelf cleats to the wall with screws into available studs.

Sport Gear Storage Shelves in a Small Space | Pretty Handy Girl

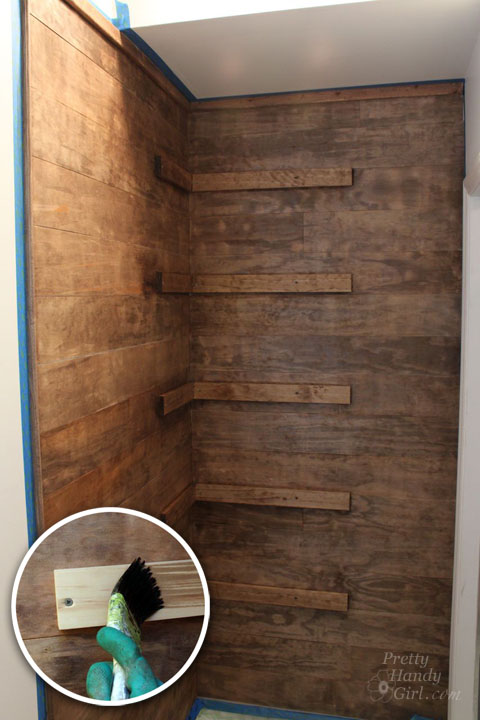
Paint or stain the cleats to match the wall color.

Sport Gear Storage Shelves in a Small Space | Pretty Handy Girl

Building Curved Shelves with Edge Banding: Read more

Pretty Handy Girl DIY Gifts & Apparel

Pretty Handy Girl DIY Gifts & Apparel

Happy Friday everyone! I’m so excited to be launching my own line of graphic t-shirts, clothing and gifts. I’ve dreamed of having a line of DIY themed shirts and clothing that would allow those of us Handy Girls and Handy Guys to show off our DIY muscle. One of the main obstacles was my lack of desire to purchase shirts in bulk and hope that I wouldn’t be stuck with leftover inventory. Plus, I used to run a baby carrier business and knew how time consuming it was to ship out multiple packages every day. I vowed to never run a shipping type busines again.

A few months ago, Zazzle contacted me about working with them to launch my own product line. They were the answer to my hesitations! It was so easy to create my own designs and set up the shop in an afternoon. (Granted, I spent several more days enjoying the creative process of designing new graphics and products for the store.) Zazzle takes care of all the details. You can upload your own graphics, photos, and designs. Or you can create your own custom graphic text designs with their “customize it” tools. Then they print and ship the orders! You don’t have to lift a finger. Plus, you earn a commission on each item purchased from your shop! AND, to sweeten the deal, you can sign up to become an associate and earn more.

If you think you don’t have the time to figure out how to set up products, you are in luck. I took a bunch of screenshots to show you EXACTLY how to list your products step-by-step.

But before I get to the tutorial, I want to share some of my favorite products from my Zazzle store! I ordered two shirts and this one gets the most comments:
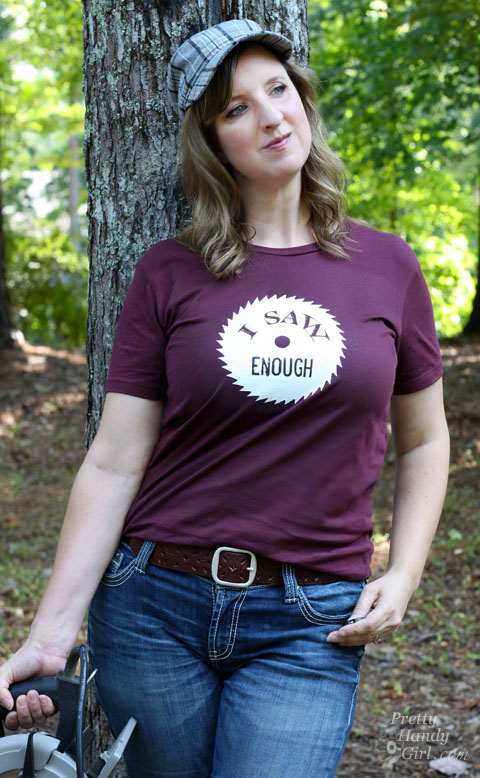
I Saw Enough funny DIY shirt | Pretty Handy Girl

“I Saw Enough” Shirt

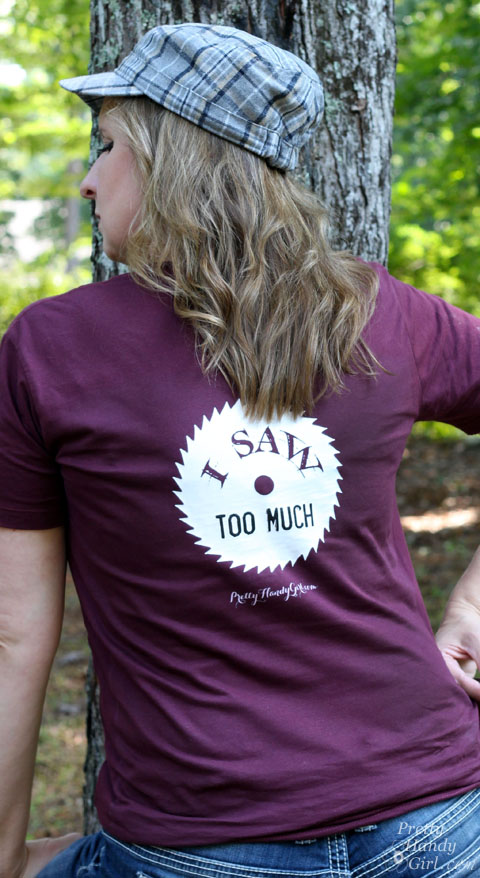
I Saw Too Much funny DIY shirt | Pretty Handy Girl

“I Saw Too Much” You have to giggle at the double meanings. This shirt is the perfect shirt for any gal or guy who likes to build and use the power tools.
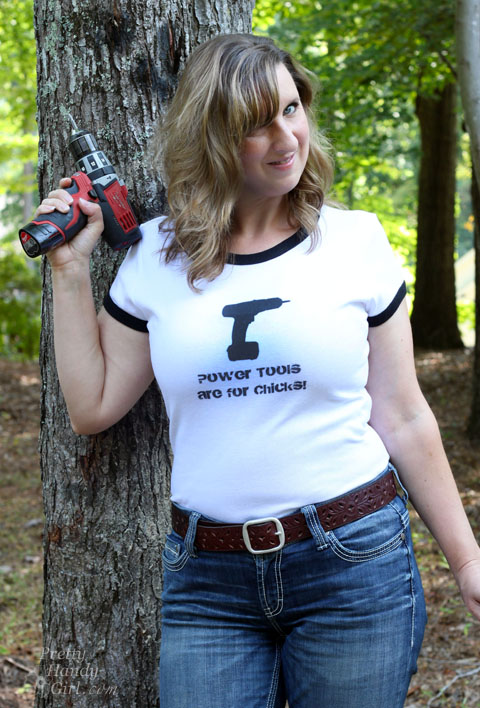
Power tools are for chicks shirt | Pretty Handy Girl

In my house my husband knows he’s not allowed to touch my power tools. This “Power Tools are for Chicks” is a funny reminder that power tools aren’t just for the boys!

Here’s the coolest part (in my opinion) about the Zazzle shop. If you see a design you like, but would prefer a different color or a completely different shirt style, you can customize it on your choice of clothing or products!

Pretty Handy Girl Shirt Options on Zazzle | Pretty Handy Girl

Zazzle has more products than I can name! But, to give you a little taste: pillows, phone cases, office products, art prints, cards, accessories, t-shirts and much much more! You’ll have to peek for yourself!
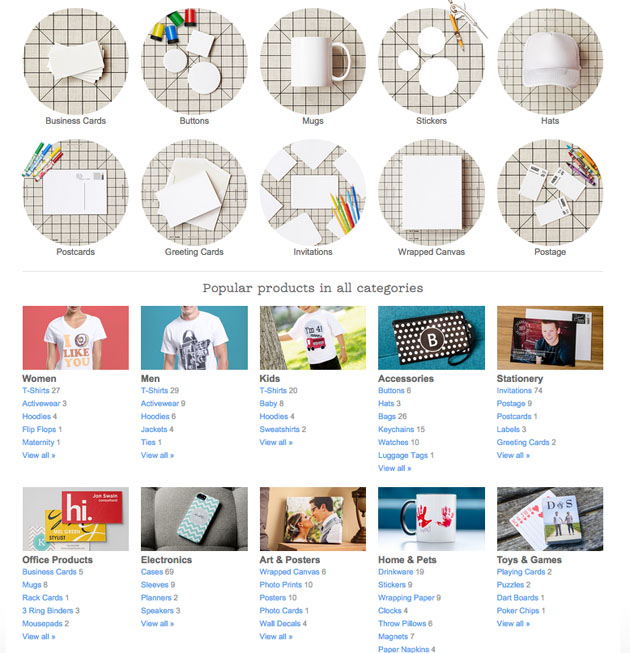
Zazzle Customized Products You Design!

The last item I purchased for myself was a custom coffee mug. I thought an empowering message was a great way to start each day. This famous quote is printed on a blackboard texture background and imprinted on a stylish mug that has a variety of interior colors you can choose from. Read more
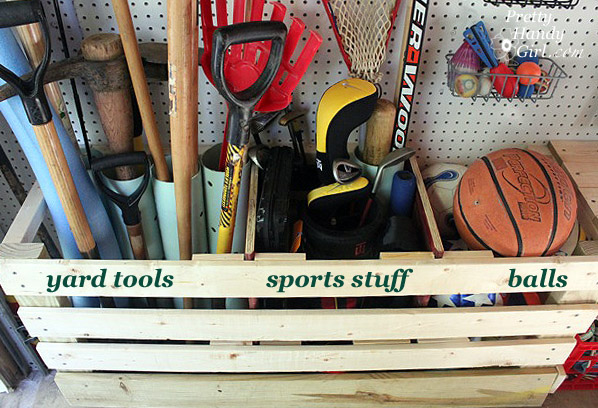
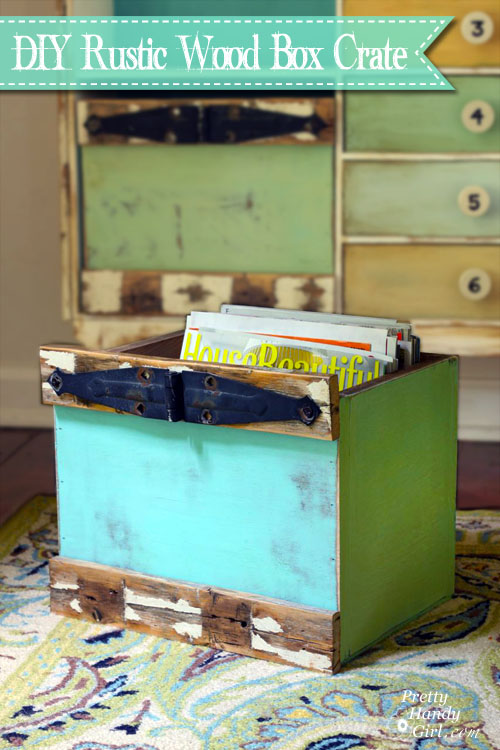
How to Build Custom Rustic Crates | Pretty Handy Girl

How to Build Custom Rustic Box Crates | Pretty Handy Girl

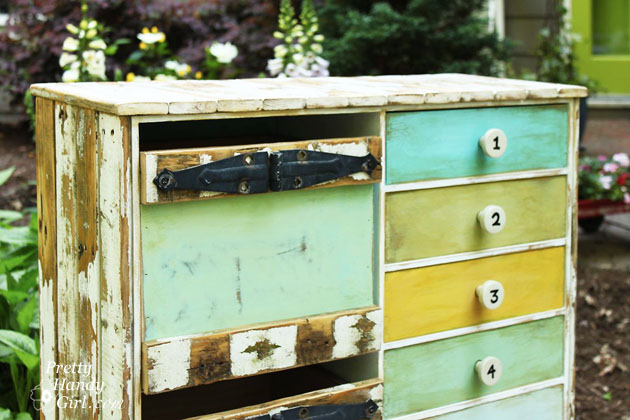
Making custom rustic wooden box crates is super easy. You can build your crates to fit in a book case or use them as drawers in a cabinet. When I was giving my IKEA cabinet a makeover, I chose to remove a door and build custom box drawers instead.

How to Build Custom Rustic Crates | Pretty Handy Girl

Here’s the super easy tutorial so you can build your own:

Materials:
(some links are affiliate links)

Tools:

Instructions:

Begin by cutting the 1/2″ plywood into four pieces the size you want for your crate sides.

How to Build Custom Rustic Crates | Pretty Handy Girl

Test fit the sides together. Add a line of glue to the ends of the plywood. Read more