Hang Art Without a Frame

Hang Art Without a Frame

One way to change the look of a space is to hang up new art. With so many attractive options for your walls, it’s easy to do. Posters, photos, wallpaper and other memorable art can look great, even without a frame. Having art framed professionally can get expensive. Even store bought frames can break your budget. But I have an easier way to hang art without a frame, and it will cost you less than $10.

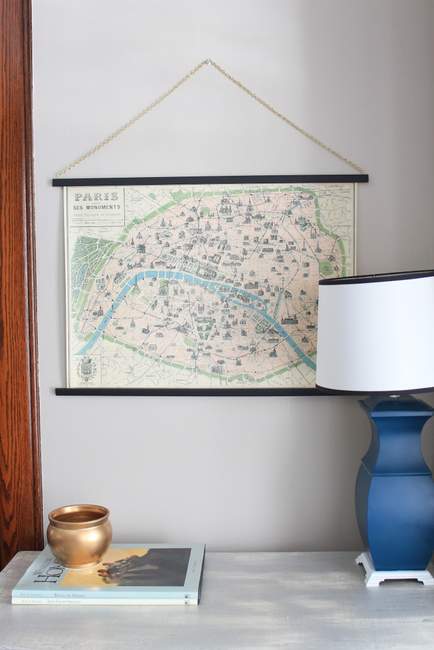
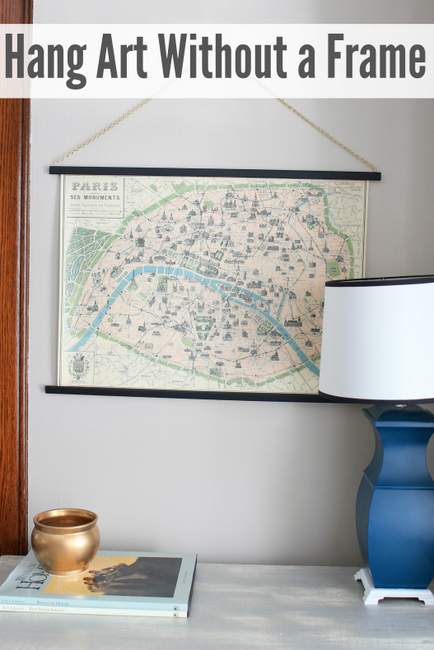
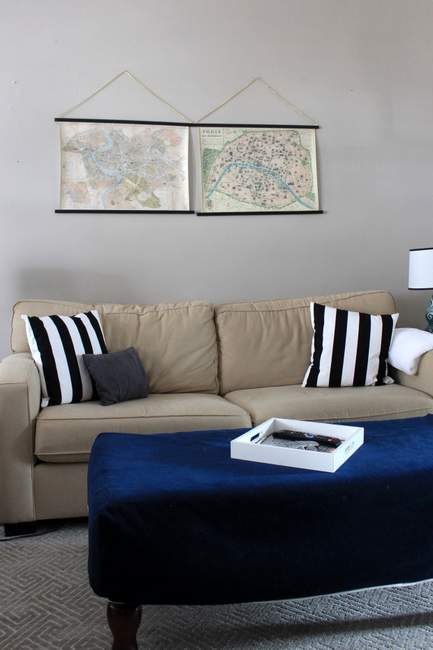
These maps of Paris and Rome came from a local art supply store for only $5 each. Since they had been sitting in my closet for a while, I thought they would be perfect for this project and give new life to the living room. Each poster will have two pieces of trim, one along the top and one along the bottom.

Hang Art Without a Frame

Materials:

Art Supplies

  • Poster
  • 3/4″ wood
  • Drill and 1/16 drill bit
  • Small cup hooks
  • Small loop chain
  • Wire cutters
  • Gorilla tape
  • Paint and paint brush (optional)

Read more

How to Build a Rustic Crate Centerpiece (No Power Tools Needed!) #DIYCourage | Pretty Handy Girl

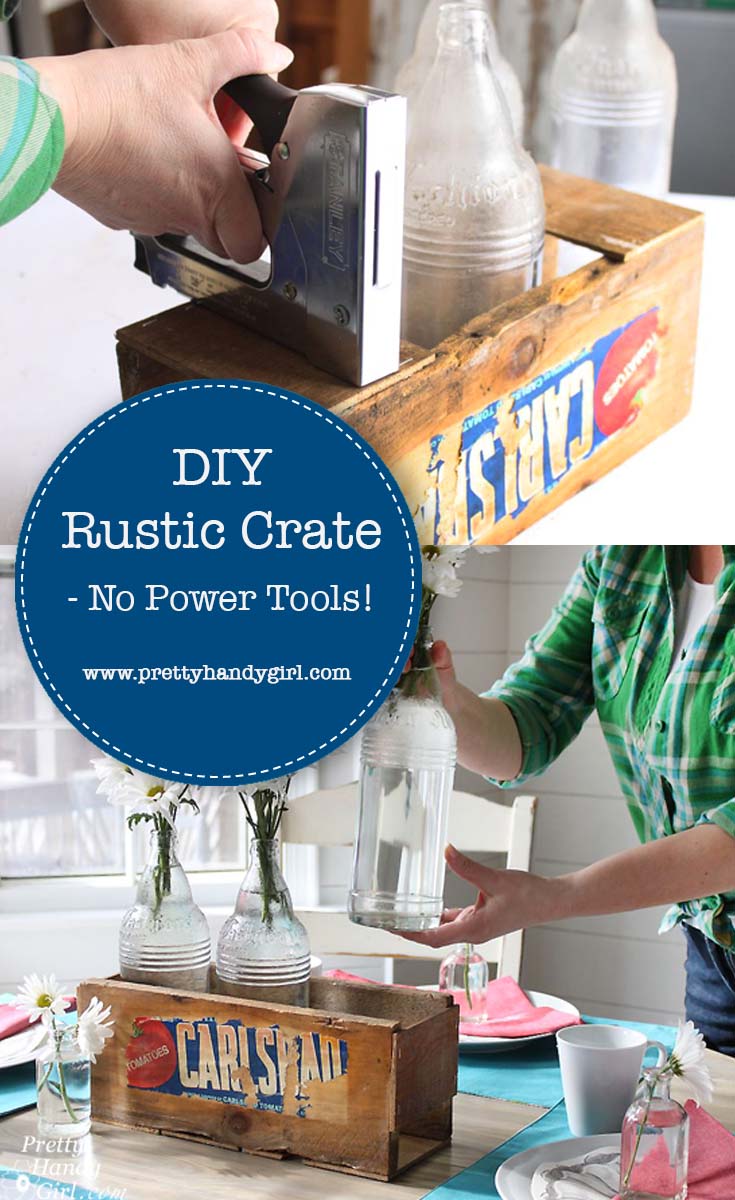
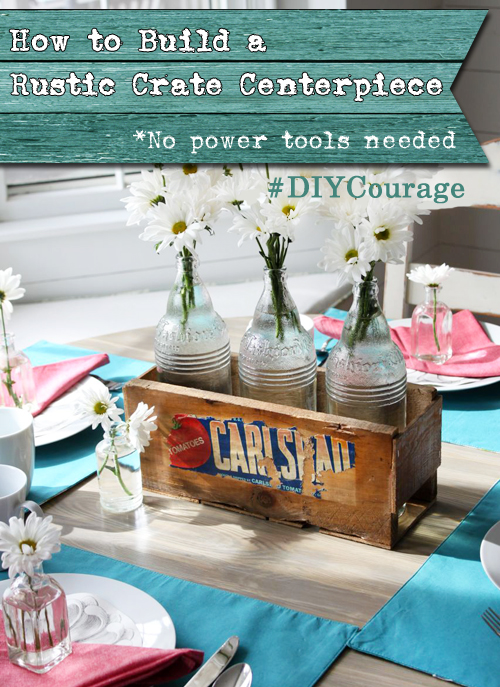
It occurred to me the other day that many woodworking projects may deter people simply because they don’t have power tools or they don’t know how to use them yet. For that reason, I created this tutorial to help you Build a Vintage Produce Crate Centerpiece using no power tools!
How to Build a Rustic Crate Centerpiece (No Power Tools Needed!) #DIYCourage | Pretty Handy Girl

Build a Vintage Produce Crate Centerpiece – No Power Tools!

Many people are turned off by DIY projects because they fear using a power tool. Although I can tell you, I know you can learn how to use power tools safely, let’s go ahead and skip them today so you can get your hands busy creating a beautiful crate. This little vintage produce crate can be used anywhere in your house on display. Use it as a centerpiece, or in the office to hold files or utensils, or fill it with flowers or small items to give as a gift.

Regardless of how you use this little vintage crate, you’re going to love making it.

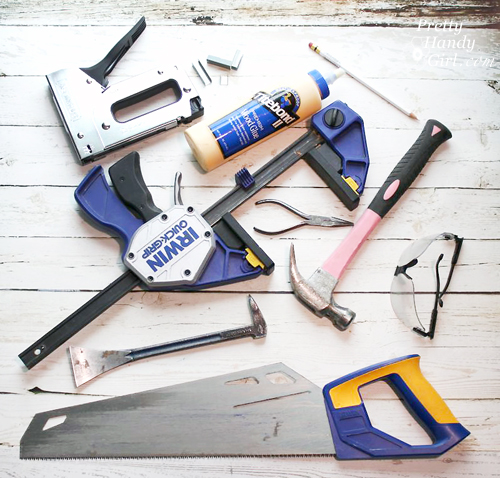
Materials:

(I’ve included affiliate links for your convenience. I earn a small percentage from a purchase using these links. There is no additional cost to you. You can read more about affiliate links here.)
How to Build a Rustic Crate Centerpiece (No Power Tools Needed!) #DIYCourage | Pretty Handy Girl

Optional: 

Instructions:

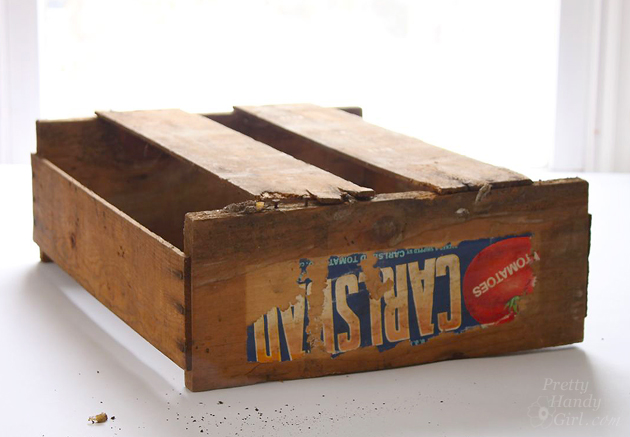
I happen to stumble across this vintage produce crate and vintage bottles that a neighbor was giving away. If you don’t have a neighbor who periodically gives away vintage produce crates, you can ask your local grocery store for produce crates you can salvage. Or you can purchase a produce crate on Amazon. Or look for thin slats at the hardware store to use for this crate. (Then you can learn how to fake the Aged Wood Look yourself.)
How to Build a Rustic Crate Centerpiece (No Power Tools Needed!) #DIYCourage | Pretty Handy Girl

The crate I had was very rustic. So rustic, that I was able to pull the bottom slats off the crate with my bare hands. (In hindsight, I should have been wearing my gloves to avoid splinters.)
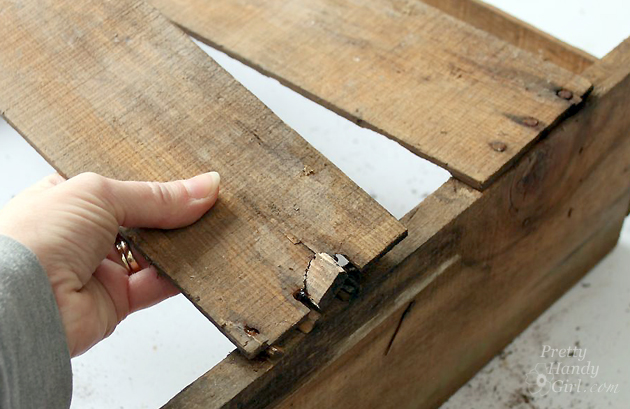
How to Build a Rustic Crate Centerpiece (No Power Tools Needed!) #DIYCourage | Pretty Handy Girl

If you want to spare your hands, use a handsaw to remove the slats. Set them aside for use later.
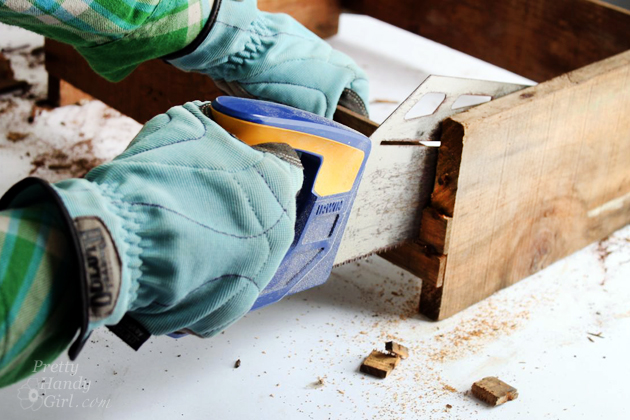
How to Build a Rustic Crate Centerpiece (No Power Tools Needed!) #DIYCourage | Pretty Handy Girl

After removing the slats, pry up the nails with a prybar. Be sure to wear gloves to protect your hands. Stubborn nails can usually be wiggled out with the needle-nosed pliers.
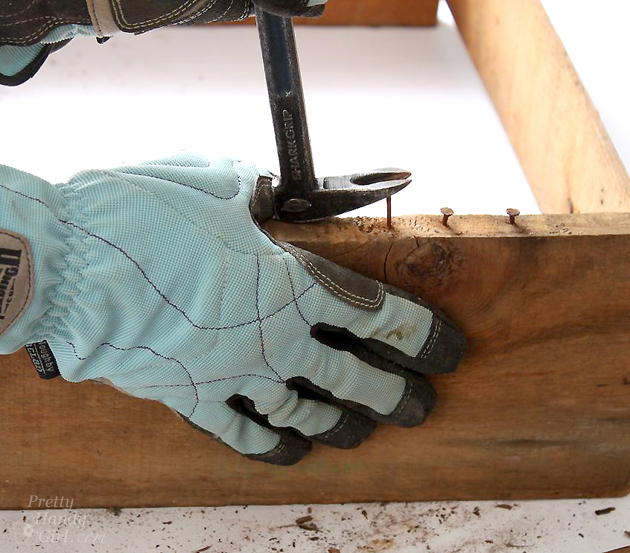
How to Build a Rustic Crate Centerpiece (No Power Tools Needed!) #DIYCourage | Pretty Handy Girl

Any nails that are too rusty to remove can be hammered into the wood.
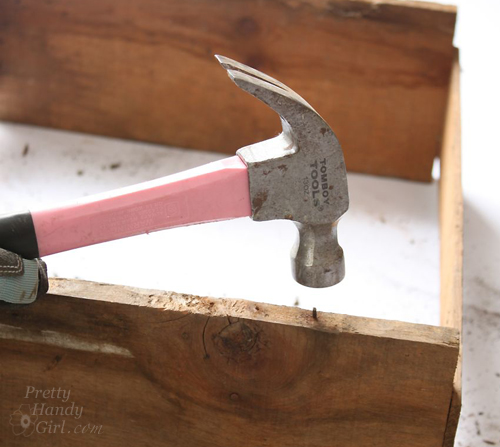
How to Build a Rustic Crate Centerpiece (No Power Tools Needed!) #DIYCourage | Pretty Handy Girl

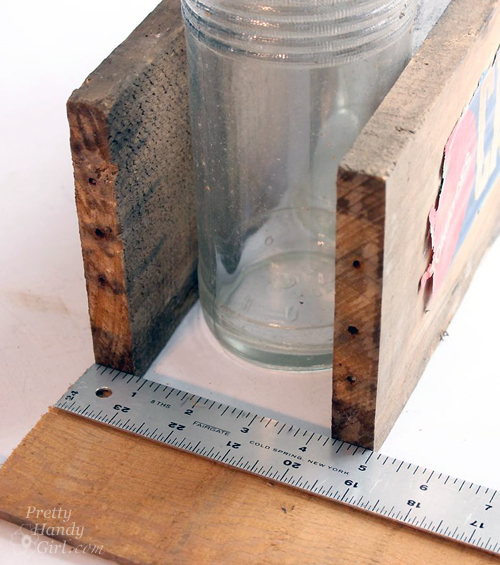
Align the front and back of the produce crate with the bottles or vases you will display in your crate. Or use 5″ as a general measurement from the outside front to outside back. Measure the distance to cut your sides, or just lay one of the slats next to the front and back and mark where to cut it with a pencil.
How to Build a Rustic Crate Centerpiece (No Power Tools Needed!) #DIYCourage | Pretty Handy Girl

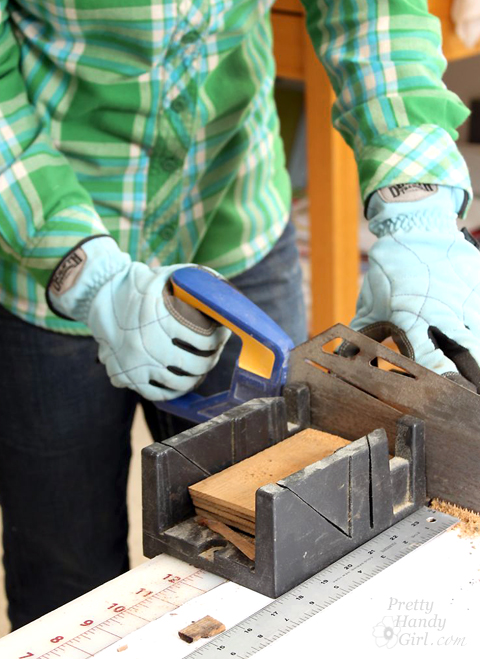
Cut down the salvaged slats to 5″ widths (or your own bottle measurement). Using a miter box will help keep your cuts square.
How to Build a Rustic Crate Centerpiece (No Power Tools Needed!) #DIYCourage | Pretty Handy Girl

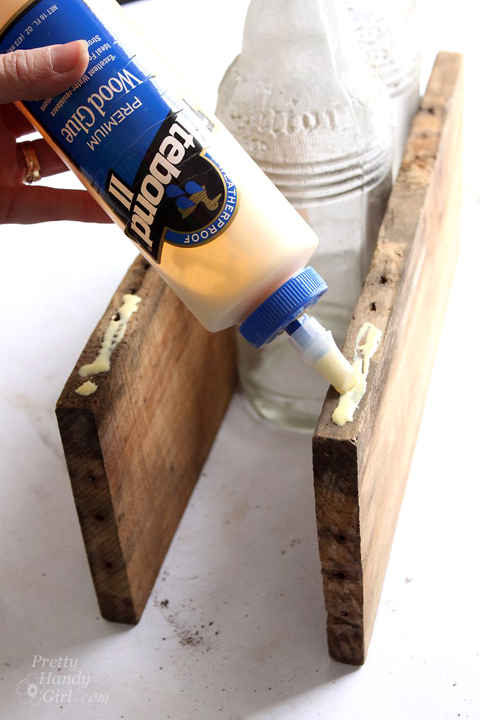
Squeeze wood glue onto the bottom of the produce crate front and back pieces.
How to Build a Rustic Crate Centerpiece (No Power Tools Needed!) #DIYCourage | Pretty Handy Girl

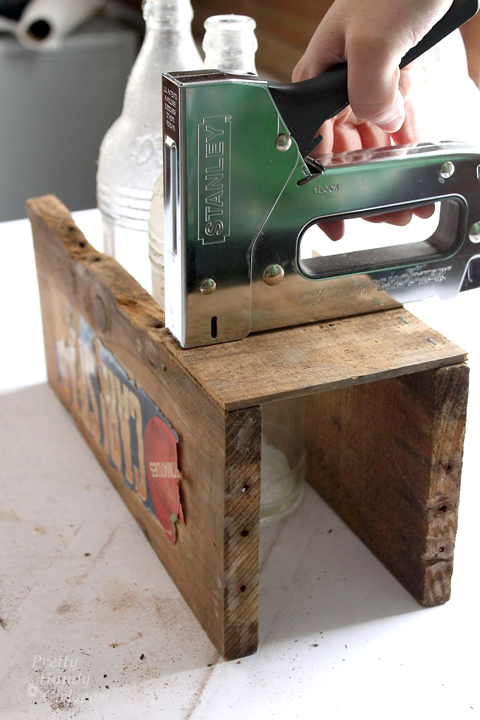
Set one of the 5″ slats into the glue and staple the slat into the crate front and back. Three staples per side should hold the slat while the glue dries. If the slat doesn’t lie flush with the crate, you might need to clamp the slat while the glue dries.
How to Build a Rustic Crate Centerpiece (No Power Tools Needed!) #DIYCourage | Pretty Handy Girl

Repeat for the opposite side by stapling the slat to the bottom. Continue working toward the center of your crate.
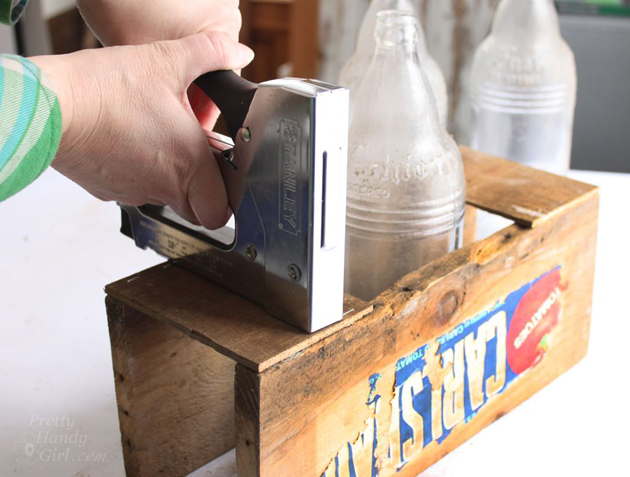
How to Build a Rustic Crate Centerpiece (No Power Tools Needed!) #DIYCourage | Pretty Handy Girl

Attach one slat to the sides of the crate with wood glue and staples.
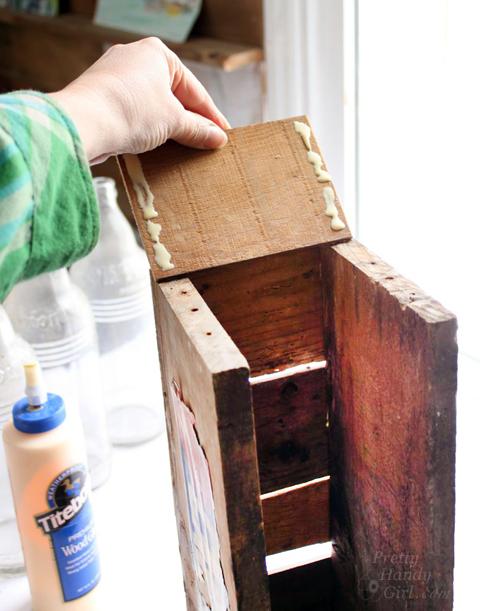
How to Build a Rustic Crate Centerpiece (No Power Tools Needed!) #DIYCourage | Pretty Handy Girl

You’ll notice I left spaces between the slats for that vintage produce crate look. If you want, you can butt the slats tight up against one another. Clamp your crate as the wood glue dries.

If you have a true vintage produce crate, you might need to secure what is left of the label. Gently wipe the crate and label with a damp rag.
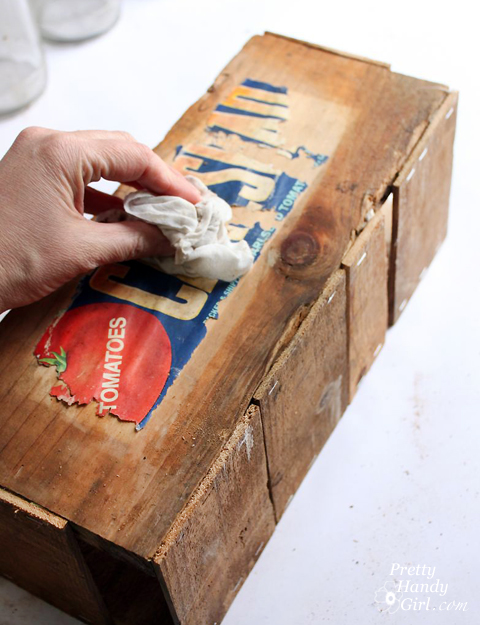
How to Build a Rustic Crate Centerpiece (No Power Tools Needed!) #DIYCourage | Pretty Handy Girl

Apply a coating of Mod Podge to the underside of any parts of the label that are peeling up. Then apply a second coat of mod podge over the entire label to seal it to the crate.
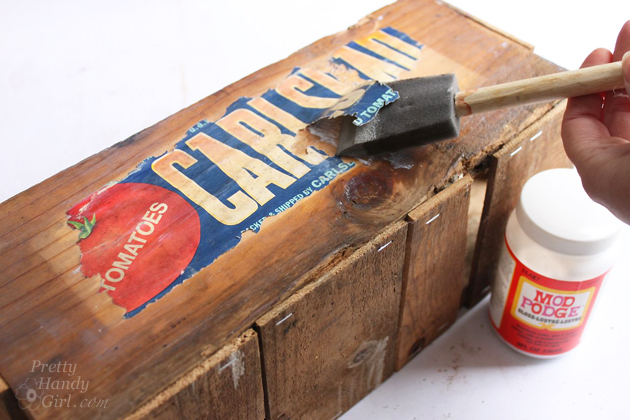
How to Build a Rustic Crate Centerpiece (No Power Tools Needed!) #DIYCourage | Pretty Handy Girl

When the crate is dry, load it up with vintage bottles filled with fresh flowers.
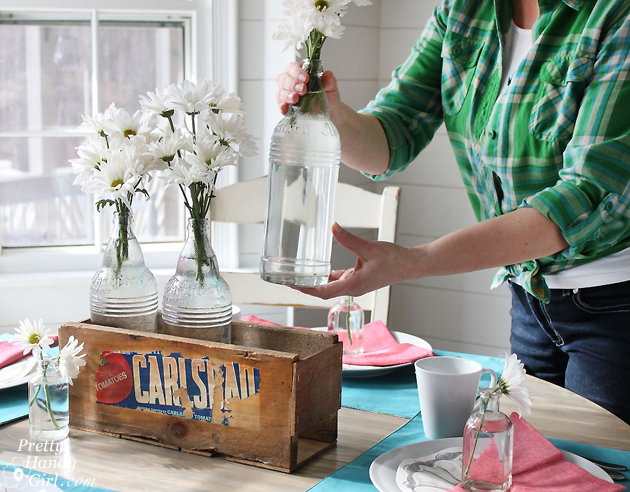
How to Build a Rustic Crate Centerpiece (No Power Tools Needed!) #DIYCourage | Pretty Handy Girl

Place it on your table and invite a friend for lunch.
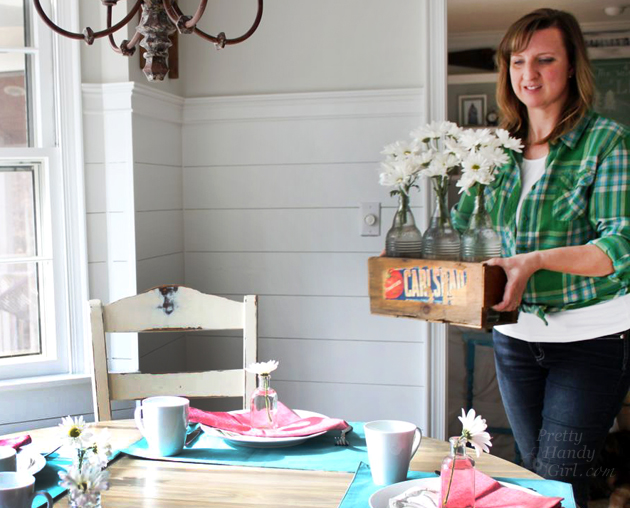
How to Build a Rustic Crate Centerpiece (No Power Tools Needed!) #DIYCourage | Pretty Handy Girl

The conversation will surely turn to your Rustic Produce Crate Centerpiece you made yourself.
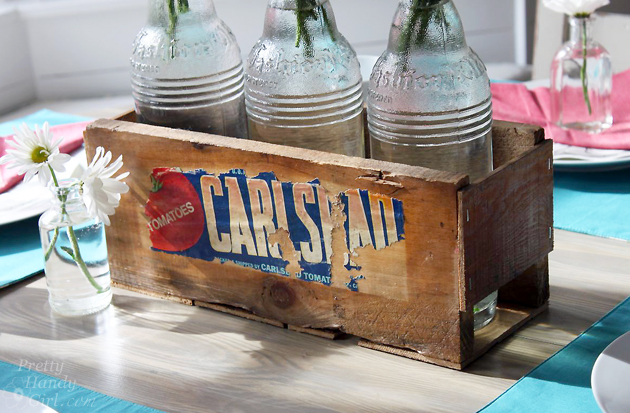
How to Build a Rustic Crate Centerpiece (No Power Tools Needed!) #DIYCourage | Pretty Handy Girl

Which you can proudly say you made…by hand…without any power tools.
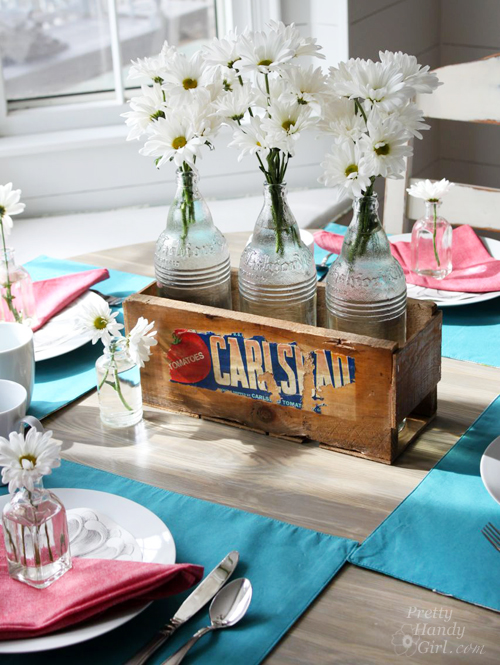
How to Build a Rustic Crate Centerpiece (No Power Tools Needed!) #DIYCourage | Pretty Handy Girl

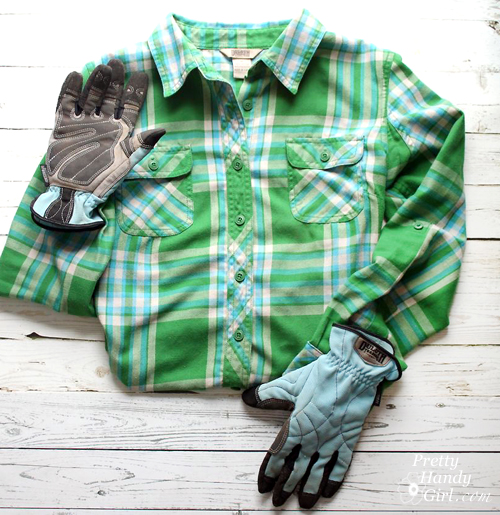
Want to know where I got my shirt? The Duluth Trading Company Crosscut Performance Flannel Shirt is super comfortable. It’s like wearing your PJs all day. The flexible gussets in the back give you more freedom of movement while working. FYI, the crosscut flannel shirt is on clearance right now. If you don’t see the color you want, check back in early fall to snag your favorites (but don’t wait, they go fast.)
How to Build a Rustic Crate Centerpiece (No Power Tools Needed!) #DIYCourage | Pretty Handy Girl

PHGFancySign


Pin for later!

Build a Vintage Produce Crate Centerpiece using no power tools whatsoever! | Pretty Handy Girl #DIY #rusticcrate #DIYcrate
How to Refinish Wood Floors without Sanding | Pretty Handy Girl

How to Refinish Wood Floors without Sanding | Pretty Handy Girl
How to Refinish Wood Floors without Sanding

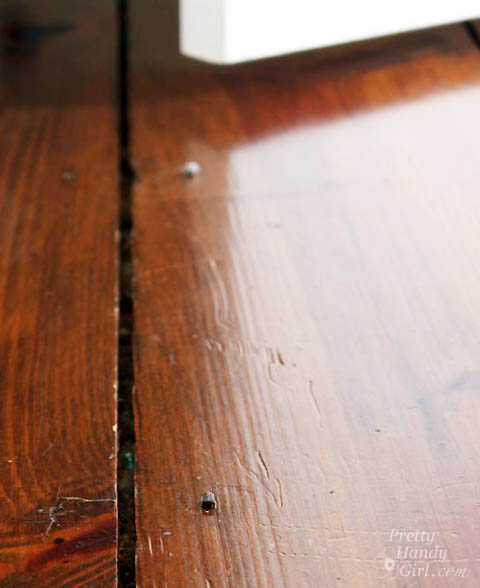
I love our antique heart pine floors! They are beautifully distressed. The round pegs and square nails securing them in place add loads of character. However, the square nails sit flush with the surface preventing us from ever being able to refinish them with a sander. The nails would tear up the sandpaper in no time. But, that’s no problem because I know a way to Refinish Wood Floors without Sanding!
 

How to Refinish Wood Floors without Sanding | Pretty Handy Girl

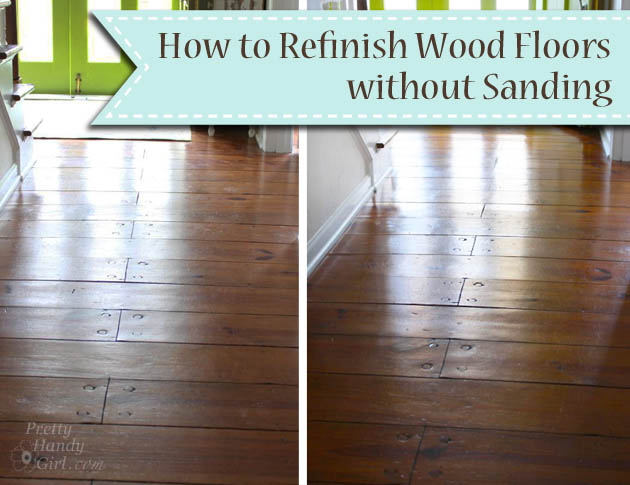
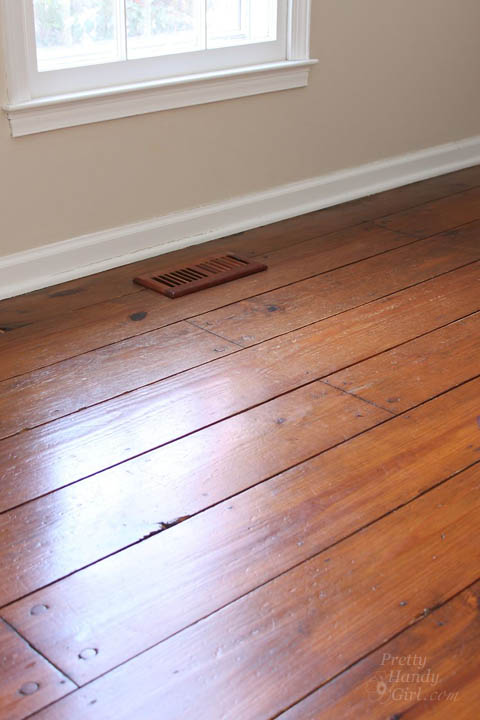
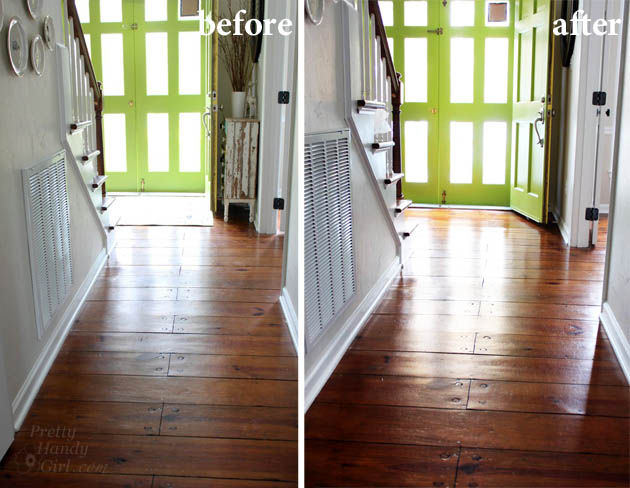
From time to time, our floors start to look dull…

How to Refinish Wood Floors without Sanding | Pretty Handy Girl

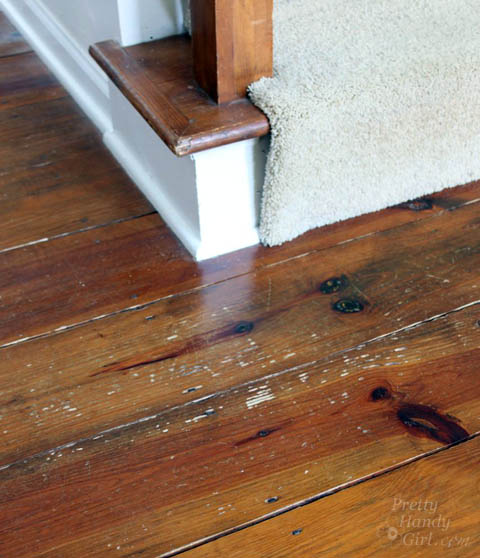
…and the scratches are more noticeable. This is when I know it’s time to refinish them.

How to Refinish Wood Floors without Sanding | Pretty Handy Girl

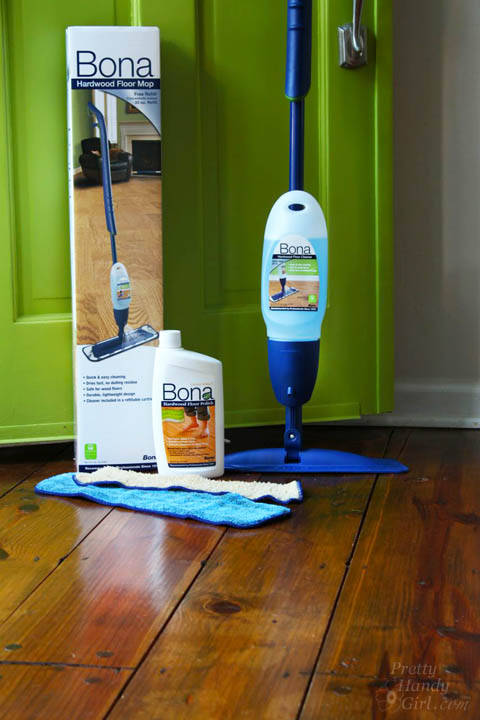
The first time I refinished our floors, it was several years ago when we were painting the office and dining room. I decided to try to refinish the floors because the rooms were already devoid of furniture. Several neighbors had recommended Bona® Hardwood Floor Cleaner and Bona® Hardwood Floor Polish. I was skeptical, but the results were beautiful floors that had luster, but still showed their beautiful age.

Before and After Finishing Wood Floors without Sanding | Pretty Handy Girl

The Bona® Hardwood Floor Cleaner did a fabulous job of cleaning the floor without damaging them. And, the Bona® Hardwood Floor Polish provided a strong finish without any waxy build up. The high gloss protective layer adds some shine, but isn’t overly shiny. The polish also fills micro-scratches, evening out the appearance of the floor.

How to Refinish Wood Floors without Sanding | Pretty Handy Girl

Fast forward to this past week when Bona asked me to write a sponsored post for them, I jumped for joy because I already use and love the Bona® Hardwood Floor Products! (Here’s my full disclosure: Yes, this is a sponsored post. No, I was not told what to write. And yes, I probably would have blogged about my experiences using Bona® Hardwood Floor Products at some point anyway. Win-win.)

I highly recommend trying the combo of the Bona® Hardwood Floor Cleaner and the Bona® Hardwood Floor Polish before spending huge amounts of money to have your floors refinished. (Bona® Hardwood Floor Cleaner & Polish will not work on floors that have an oil or wax coating. Test in an inconspicuous area to be sure it will work for your floors.)

Here’s how to Refinish Your Wood Floors without Sanding:

Materials:

(I’ve included affiliate links for your convenience. I earn a small percentage from a purchase using these links. There is no additional cost to you. You can read more about affiliate links here.)

Instructions for Cleaning the Wood Floors:

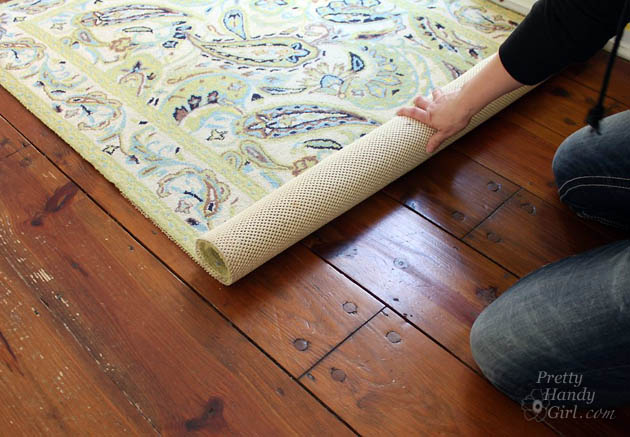
Remove all rugs and furniture from the room. If you have heavy furniture pieces that are never moved, you can leave them in place.

How to Refinish Wood Floors without Sanding | Pretty Handy Girl

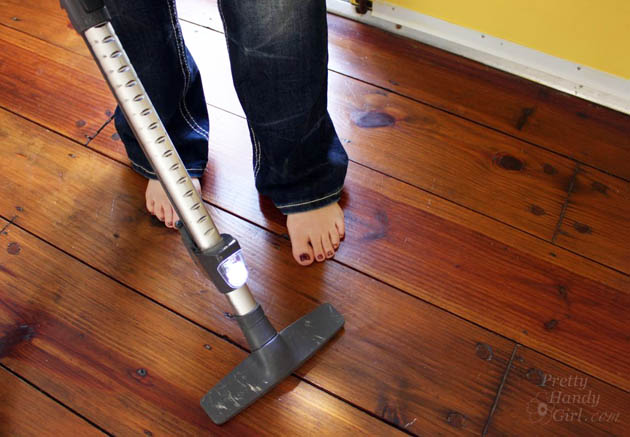
Vacuum or sweep the floors to remove all dirt and debris.

How to Refinish Wood Floors without Sanding | Pretty Handy Girl

Assemble your Bona® Hardwood Floor Spray Mop as shown here: Read more

How to Securely Install a Towel Bar | Pretty Handy Girl

How to Securely Install a Towel Bar | Pretty Handy Girl

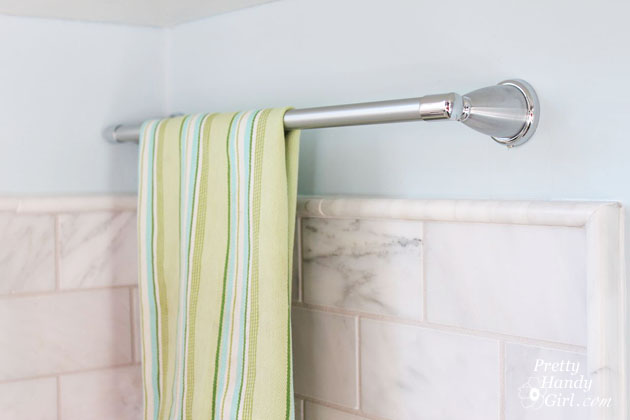
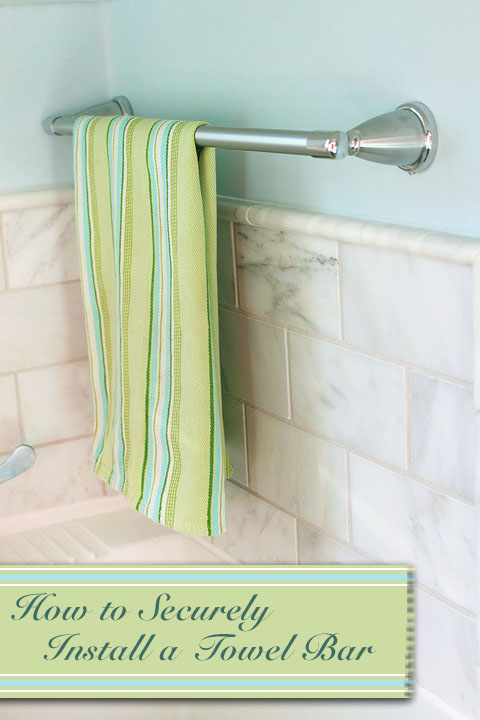
Have you ever reached for a towel and realized that the towel bar was barely secured to the wall? Installing a New Towel Bar Securely is a fairly simple DIY task if you know how to anchor the brackets.

As part of my little laundry room refresh, I decided to replace the dated brass towel bar that had started to come loose.

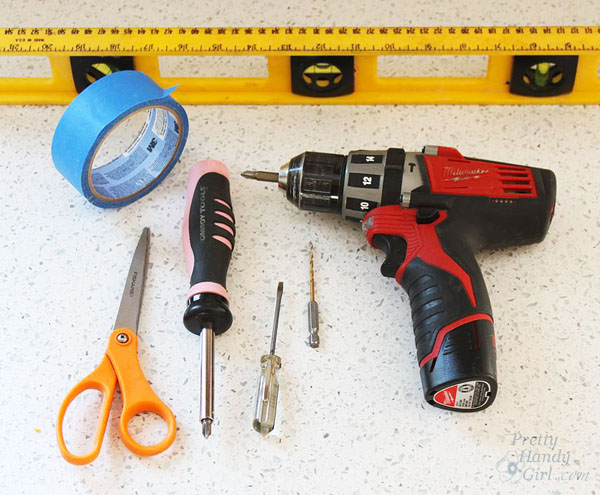
Install a Towel Bar Securely Materials:

(Contains some affiliate links)

How to Securely Install a Towel Bar | Pretty Handy Girl

Optional:

Install a Towel Bar Securely Preparation:

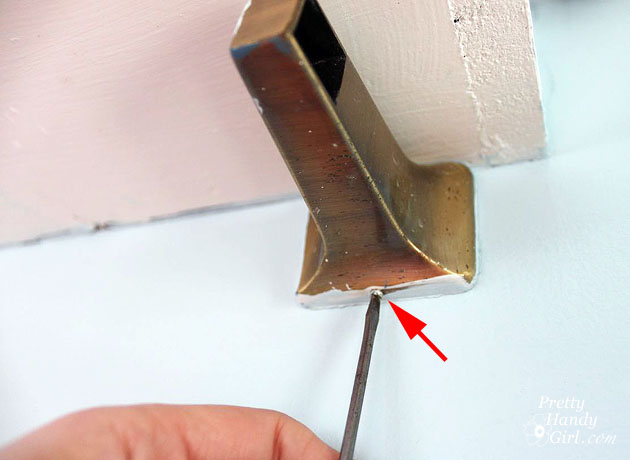
Begin by removing the old towel bar if you have one already installed. Look underneath for a tiny set screw. Usually you will need a small flat head screwdriver or allen wrench to remove it.

How to Securely Install a Towel Bar | Pretty Handy Girl

Once the mounting bracket is removed, you will see the mounting plate which can be removed by unscrewing the screws. Patch any holes in the wall and touch up the paint before installing the new towel bar.

Mounting Instructions:

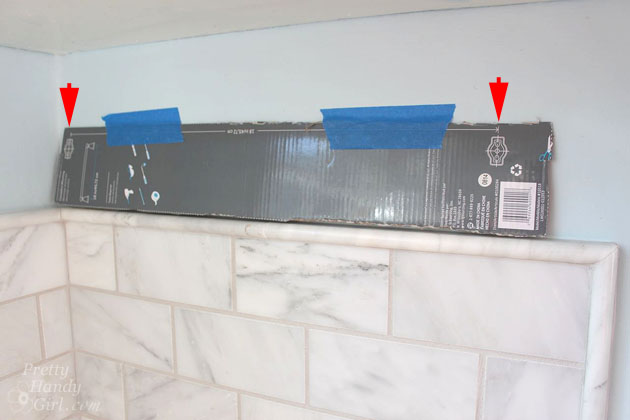
Find the template that came with your new towel bar. Sometimes it is on the instruction sheet, and sometimes you have to cut it off the product box.

Hold the template up and line up the bracket locations with studs. If  you can’t line it up with two studs, you can use a good wall anchor. Don’t use the anchors that came with the towel bar. (Here’s why you should never use those freebie wall anchors.)

How to Securely Install a Towel Bar | Pretty Handy Girl

Tape the template in place and level it. Make any adjustments necessary to get the template perfectly level. Read more

How to Mount Antlers

How to Mount Antlers

Hello! It’s Jessica from Decor Adventures.  One very popular home decor item that we are going to get pretty handy with this month is antlers. If you love rustic or outdoor style, this project is perfect for you. You’ll see all kinds of animal antlers on walls or holding jewelry or scarves. They can be both functional and practical. Antlers can be found at flea markets or second hand stores if you are lucky. They come in all sizes and shapes, plus you can paint them any color to match your style.

It’s much easier than you think to mount antlers on your own. You don’t need a degree in Taxidermy or any special tools, a drill will do!

Materials

  • Antlers
  • Long bolts
  • Nuts to fit bolts
  • Drill and drill bits
  • Hanging hardware
  • Paint (optional)
  • MDF or wooden board

Instructions

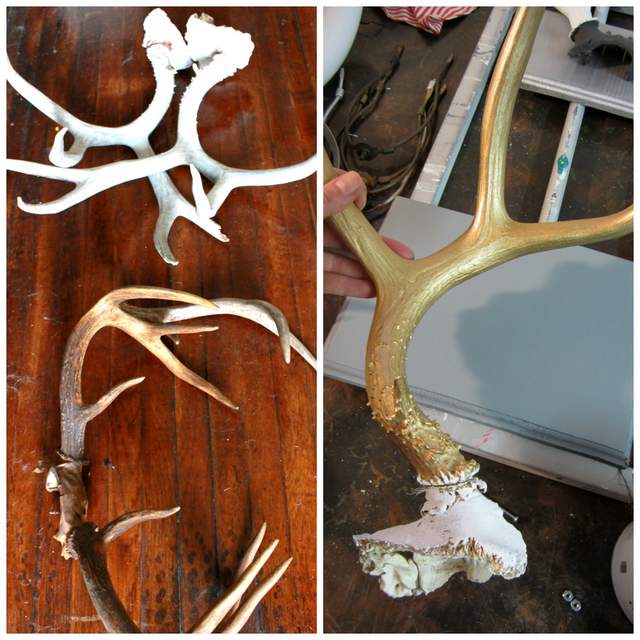
I mounted two sets of antlers that I got at a yard sale. One was a one-piece set and the others were two separate pieces. Most antlers you get will have some of the bone attached to the end of the antler. This is the part you will attach to a board to mount them. If you find them second hand they may already have holes drilled in them from when they were previously mounted.

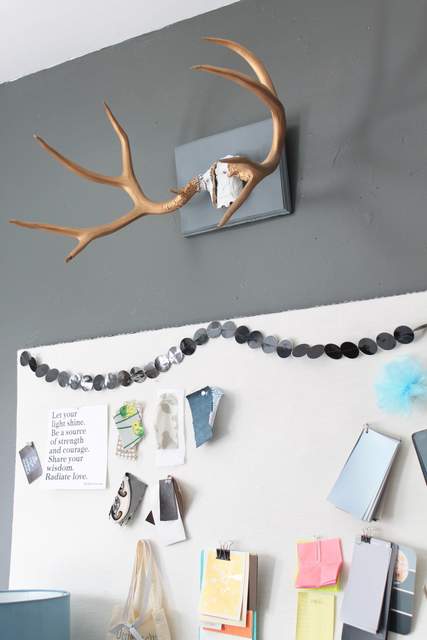
One set I painted white and the other gold. It’s easy to spray paint antlers, so pick your favorite color or leave them natural if you like.

How ot Mount Antlers1. First, prepare the board you’ll mount the antlers on. These can be found at craft stores or you can cut your own from MDF. It should be slightly larger than the base of the antlers you’ll mount. You can paint the board if you would like. The silver one below already had the mounting holes drilled in it when I took this picture, but you can get an idea of the size board you need.

Read more