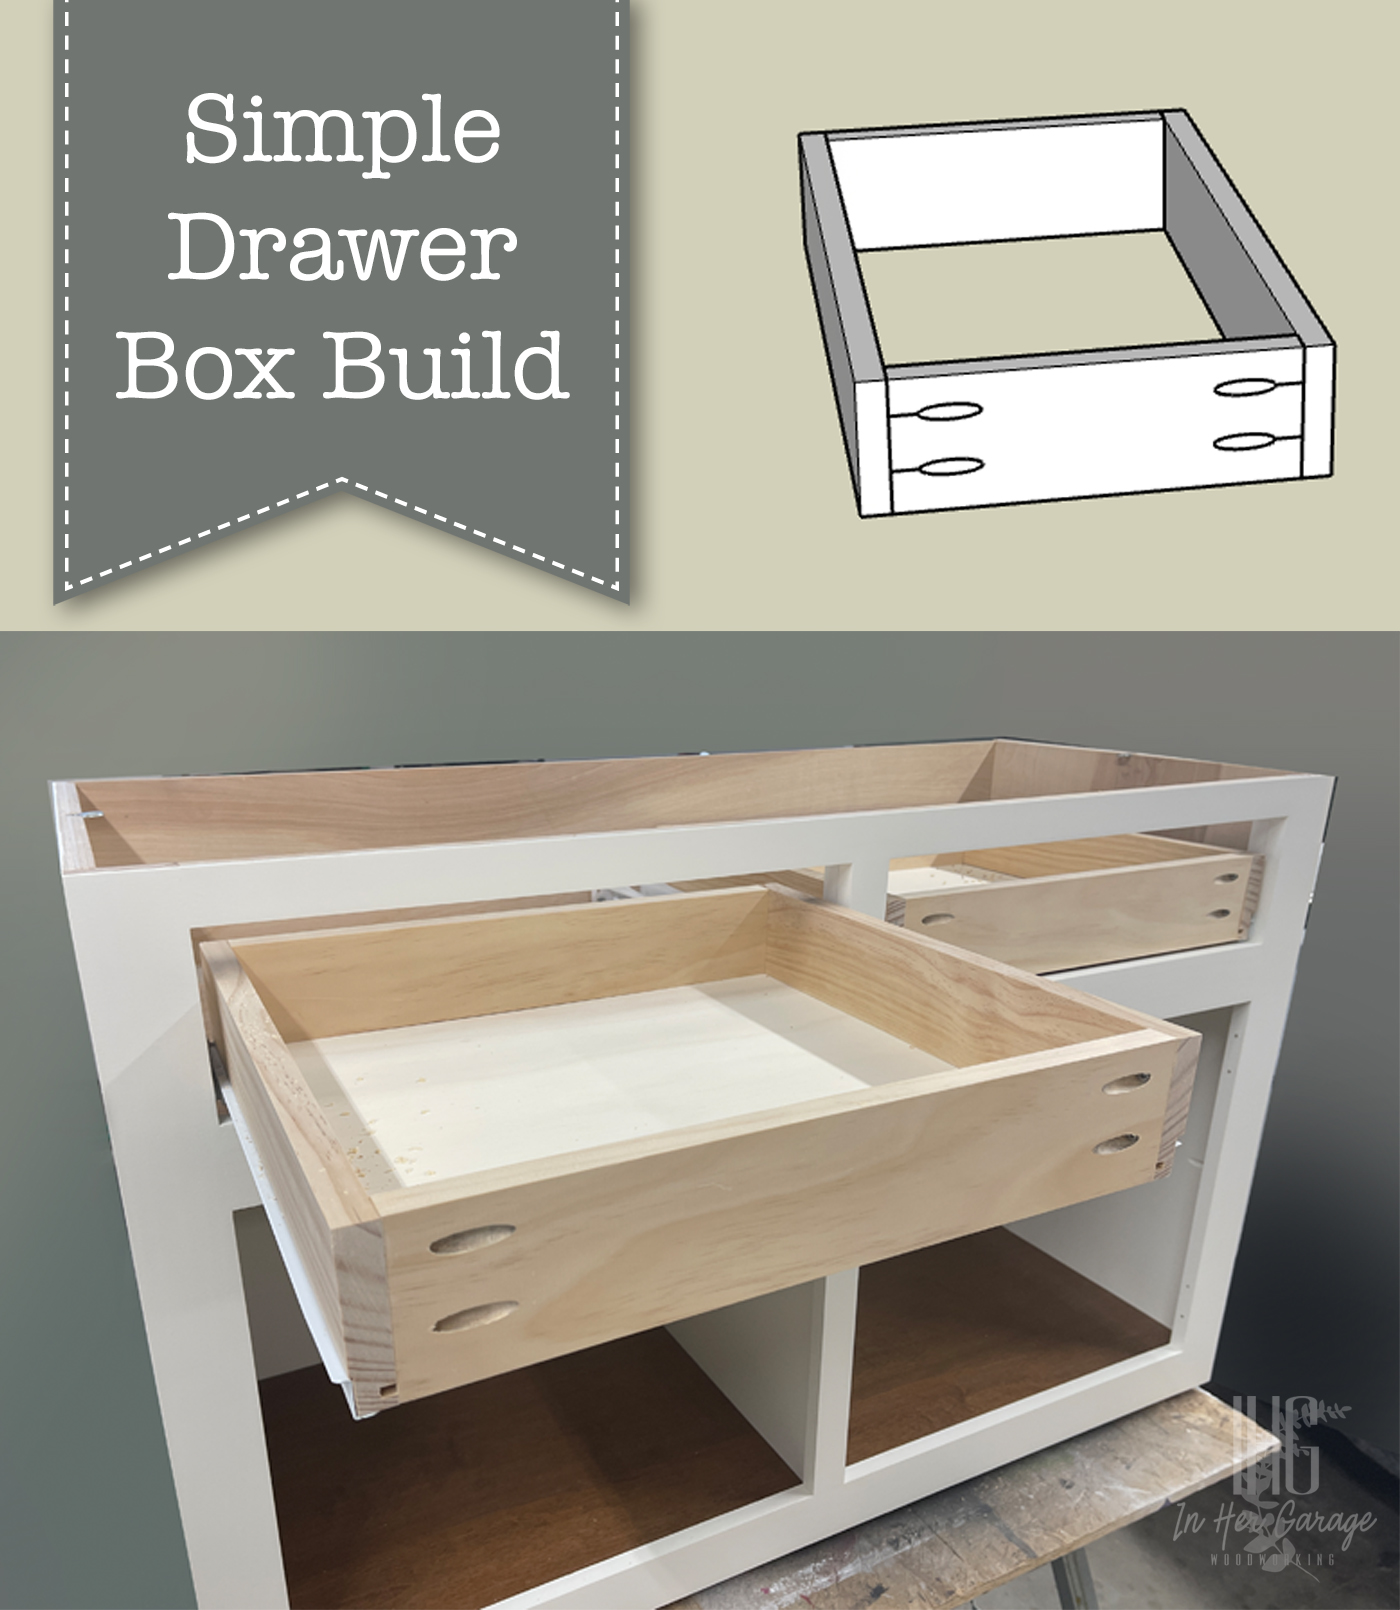
Learn the simplest and most accurate way to build drawer boxes with this easy tutorial.

Drawer Box Build

Welcome back, this is Kristen from In Her Garage Woodworking here with another build plan for you.  When I first began my DIY woodworking journey over 5 years ago I was most intimidated by building drawers. I avoided them because I thought there were too many measurements and too much room for error. But, with a simple plan and a lot of practice, I now make drawers consistently and accurately.  These are the exact plans I use to this day to make drawer boxes for all of my commissioned furniture pieces because when you’re able to make something quickly and easily that is solid and looks great, why would you ever change it?

Materials

(I’ve included affiliate links for your convenience. I earn a small percentage from a purchase using these links. There is no additional cost to you. You can read more about affiliate links here.)

Tools

Instructions:

Your drawer can be any depth you wish, but before building the drawers, rip your 3/4″ material to the drawer height you desire (if you are using plywood or if your 3/4″ material is wider than your finished drawer.

Step #1: Cut drawer box sides

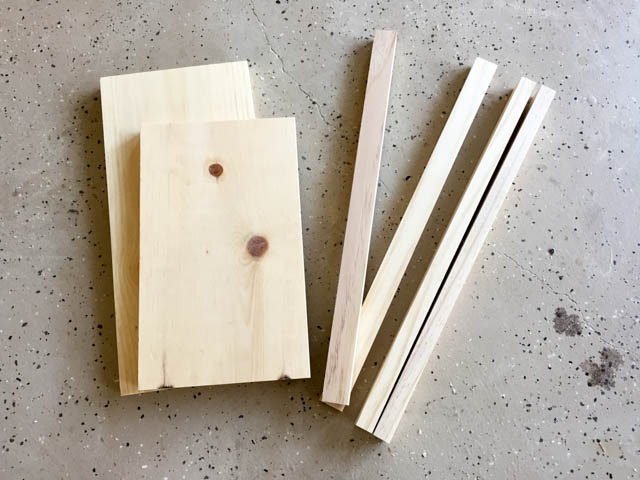
Using your miter or circular saw, cut two identical 3/4” boards to the same length of the drawer slides you’ll be using.

Step #2: Cut drawer box front and back

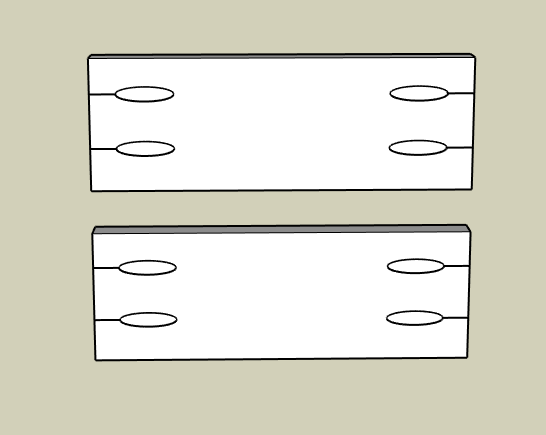
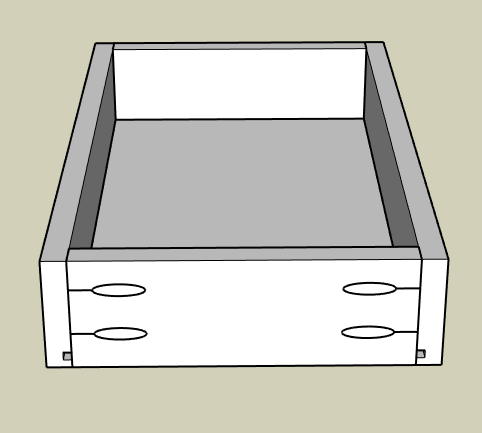
Cut two pieces of the 3/4 inch material for the front and back of the drawer box.  If you’re using ¾” material to build the drawer box then the length of the front and back can be calculated as follows (see equation and picture below):

Width of drawer box – 1½” = width of front and back drawer box boards

Drawer Box Diagram

Step #3: Add groove for drawer bottom (optional)

Taking all four 3/4″ boards to the table saw cut a groove 1/4” from the bottom of all sides that is 1/4” deep. Run the 3/4 board through one time, then adjust the fence (or your saw) to cut another groove next to the first. (A standard saw blade is 1/8” wide so you will need to make two passes in each board to achieve a 1/4″ groove for the 1/4″ drawer bottom material.

Dry-fit the plywood to check for fit.


Step #4: Create pocket-holes

Using your Kreg jig make 2 pocket-holes at either end of the front and back boards on the opposite side as the plywood bottom groove if you chose to do this step. Be sure to avoid the groove.

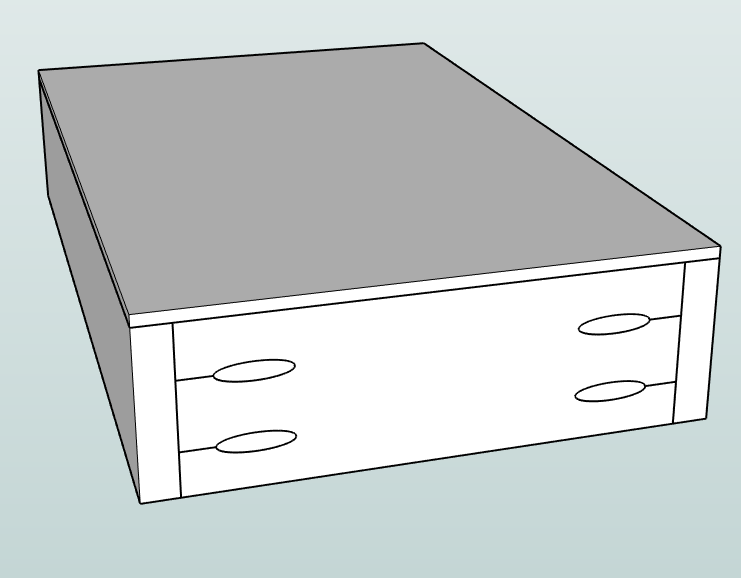
Step #5: Assembly

If you DID NOT cut a groove to accept the plywood bottom, then you can assemble the drawer box using wood glue and 1 ¼” pocket screws.

Then, you will cut your bottom 1/4″ panel to the length and width of the drawer box and simply glue and nail it to the bottom of the drawer box

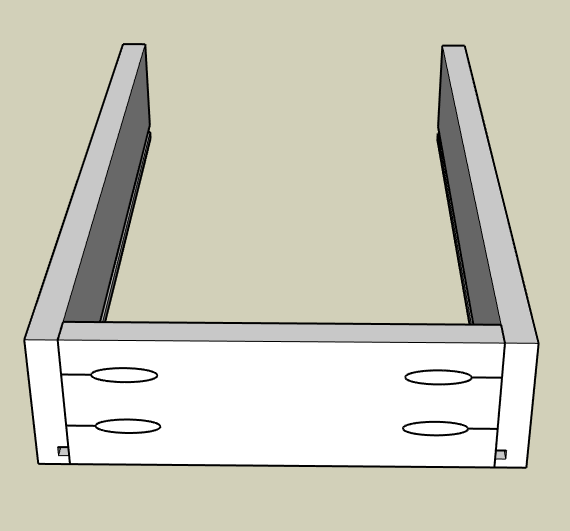
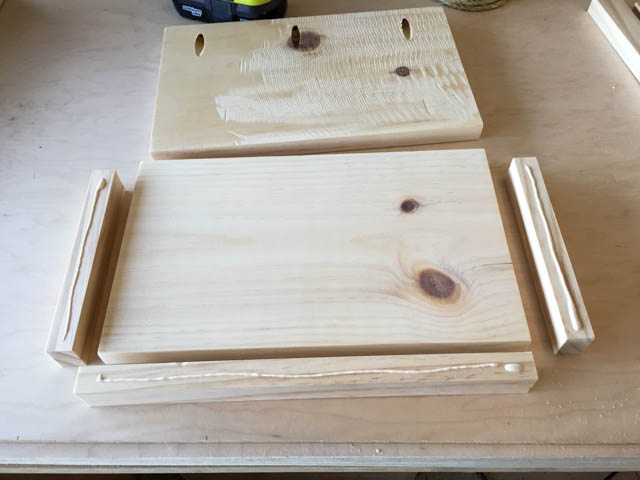
If you DID create a groove for the bottom panel assemble the front and both sides using wood glue and 1 ¼” pocket screws.

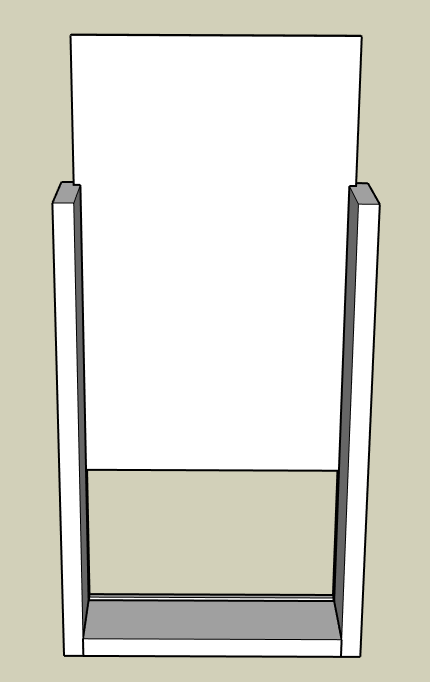
Next, cut the ¼” plywood to fit into the bottom of the drawer box groove dry fitting the back panel to check for fit.

Once you have the correct size for the plywood bottom then slide it into the groove and attached the back piece of the drawer box using wood glue and 1 ¼” pocket screws.  There is no need to apply glue into the panel groove.  The plywood bottom will “float” in place.

No need to worry about filling the pocket-holes because you will be applying a drawer face directly over them.

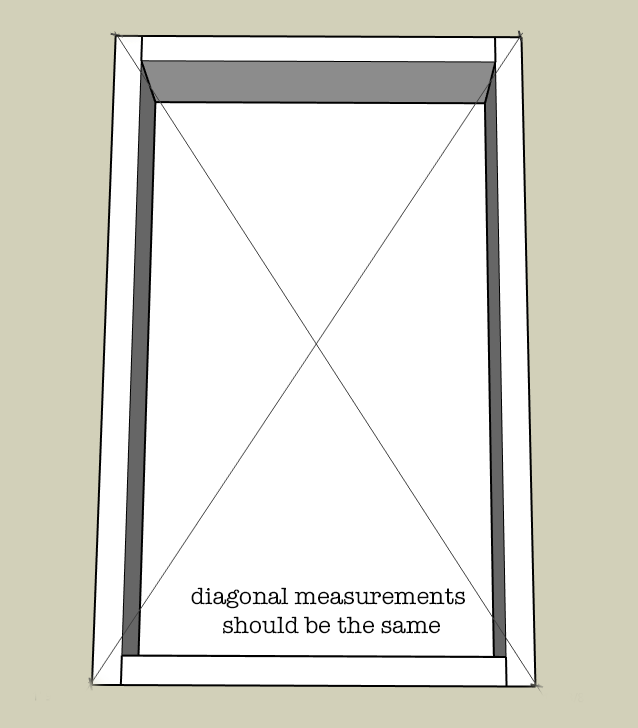
Be sure to check for square by measuring both diagonals of the drawer box.  If one measurement is longer simply squeeze the longer diagonal until both are the same.

Allow drawer box to dry.

That is the basic drawer box build that I use and it is strong and easy to put together. I hope this tutorial gives you the confidence to tackle that project you’ve been putting off.  Next, I will teach you my favorite method for installing drawers and how I troubleshoot drawer boxes that just aren’t quite the right fit!

Finishing Tips:

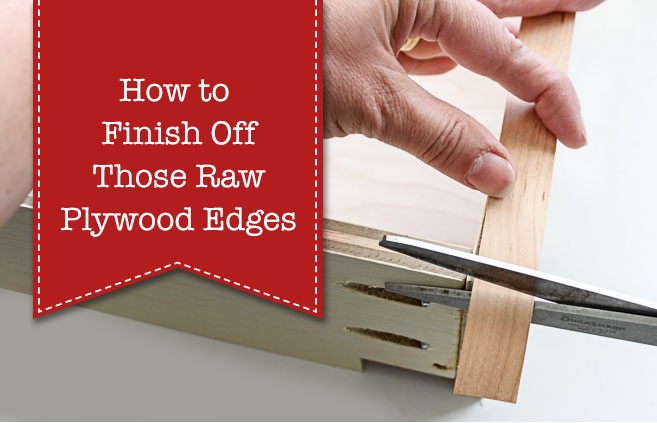
If you are making your drawer boxes out of plywood then check out Brittany’s Edge Banding Tutorial and learn how to cover that unsightly plywood edge.

Wondering how, or if, you should apply a protective finish to the drawer box? If I am working with solid wood for the drawer sides then I will give the material a quick finish sanding and that’s it. But, for plywood, I typically do one of two things, depending upon what I have on hand at that time.

  • Option 1: Apply 1 or 2 coats of sanding sealer to raise the grain of plywood and sand smooth. Sanding sealer is clear, easy to apply, and dries quickly. If I have the time and patience I may also apply a quick spray of clear, semi-gloss, water-based topcoat to give it a little shine but it isn’t necessary.
  • Option 2: Apply 2 to 3 coats of spray shellac to seal the plywood.  Spray shellac dries quickly and won’t leave any chemical smell behind. But be aware that it will give the plywood a slight amber tone which typically isn’t big deal.  Remember to lightly sand between coats.

Hi! I’m Kristen, from In Her Garage, and I am a self-taught woodworker and DIY fanatic from Minnesota where I live with my husband and our two daughters. Between being a wife, mom and, registered nurse, I try to make as much time for DIY as possible. My love for building came after our family built our current home in 2015. After we moved in, we needed furniture and instead of spending massive amounts of money to order the pieces we wanted I decided that I would build them myself. I started with a buffet table plan from the fabulous Ana-white and quickly set out to remodel my entire home office.

Since then I have started a side business building furniture for the people in my community. I love hearing my clients talk about the pieces they wish they had whether it be a rustic buffet table, a one drawer side table, or a toy box, and then making it a reality for them. While starting my small business it made perfect sense that I would document my building journey so I simultaneously launched the In Her Garage blog and I love sharing my plans, tips, and tricks.

Making something beautiful with your own two hands through a little preparation and determination is an amazing feeling and I hope to bring inspiration and know-how to those looking to tackle a big or small project.

I am so glad that you found me here and please feel free to connect with me on PinterestInstagram, and Facebook to see what I am working on right now. And check out the brand new In Her Garage Etsy shop for other plans or to have a furniture item made especially for you!

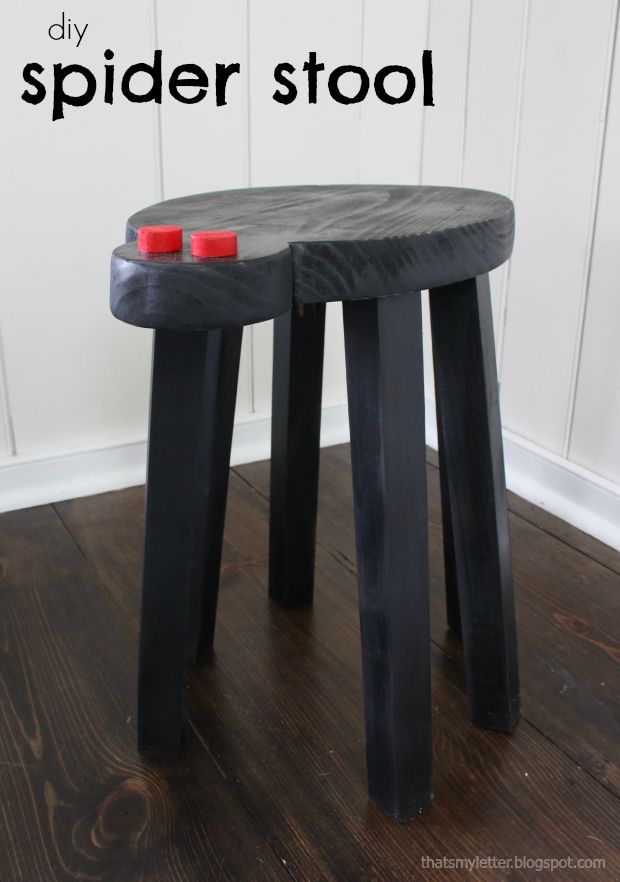
Halloween is lurking around the corner like a stray black cat. Luckily I’m here with the perfect project for Halloween that will use up some of your scrap wood pieces. Let’s make a DIY Spider Stool!

spider stool title

DIY Spider Stool

I have a spooky little spider project today being that Halloween is on the horizon.  I’m Jaime from JaimeCostiglio.com and I’m here to show you how to build this cute little spider stool.

spider stool 1

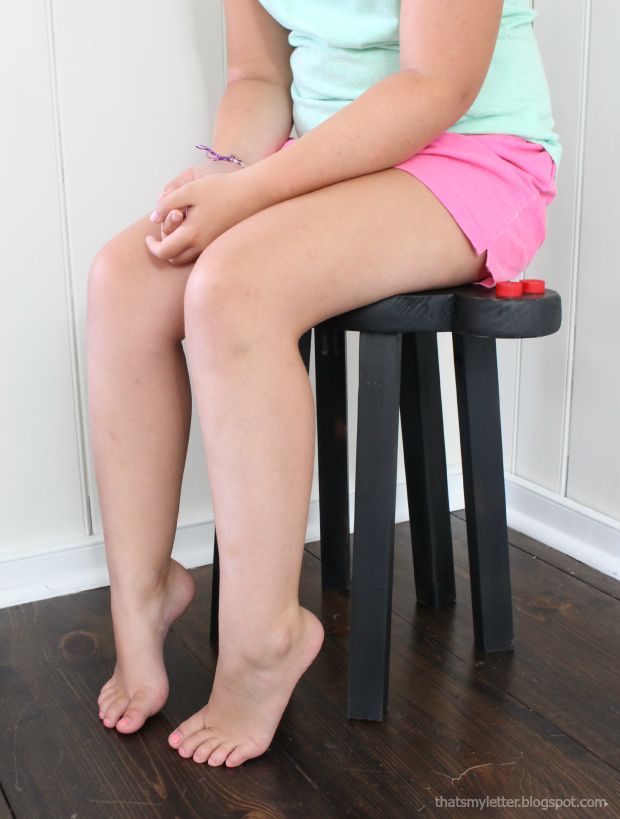
We all know Miss Muffet sat on a tuffet, when along came a spider —but, this time we’ll turn that nursery rhyme on its head. Let’s sit on that spider instead! This little stool is perfect for adding some themed decor to your kid’s playroom or a great spot to rest the treats near the front door on Halloween.  This spider stool is fairly simple to make and although most spiders have eight legs this one only has six. Shhh, don’t tell anyone. If you truly have an aversion to spiders,  you can always paint the body red with black spots and it would make a cute little ladybug stool.

spider stool with kid

Materials:

(I’ve included affiliate links for your convenience. I earn a small percentage from a purchase using these links. There is no additional cost to you. You can read more about affiliate links here.)

Instructions:

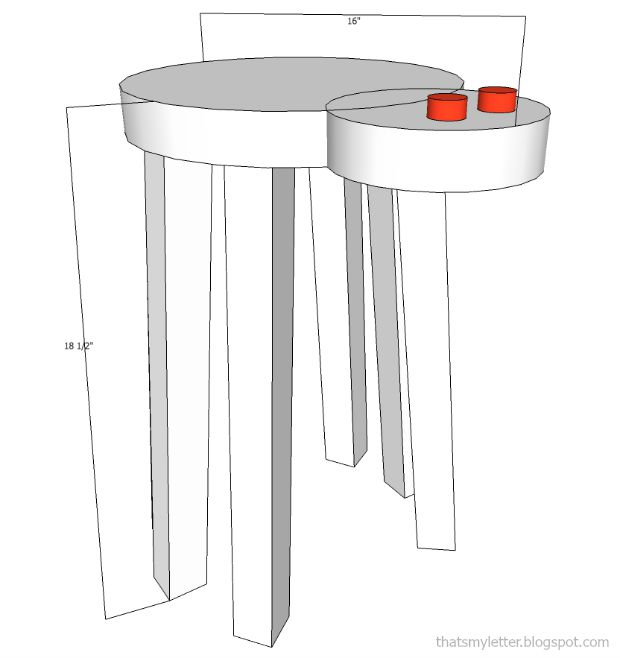
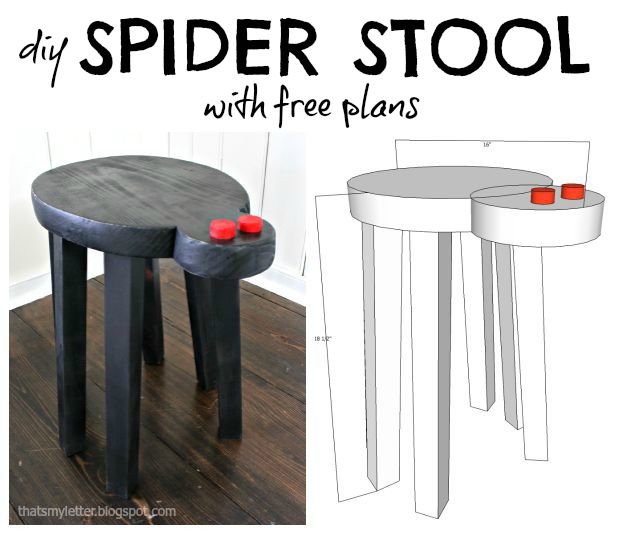
spider stool dimensions

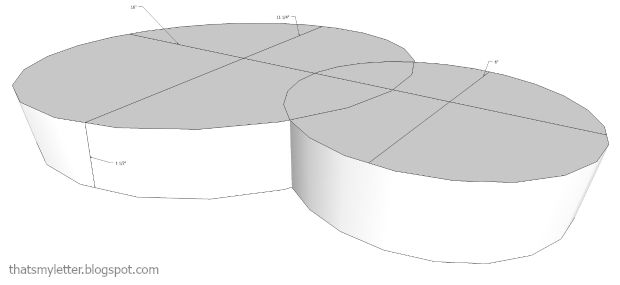
spider stool body

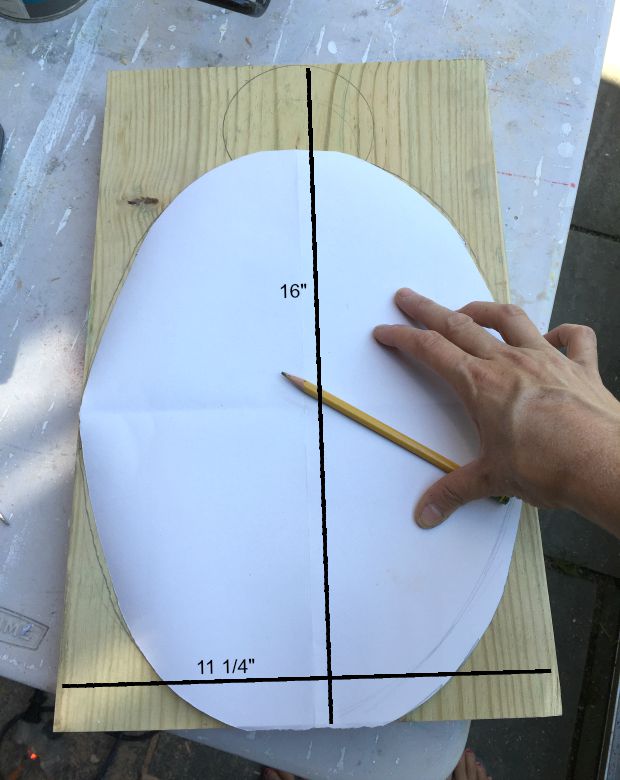
Step 1: Sketch the spider body shape on the 2×12. You can draw a large oval for the body and trace a drink glass or can for the head. The full length of the body and head equals 16″. The width is 11 ¼”.

spider stool layout

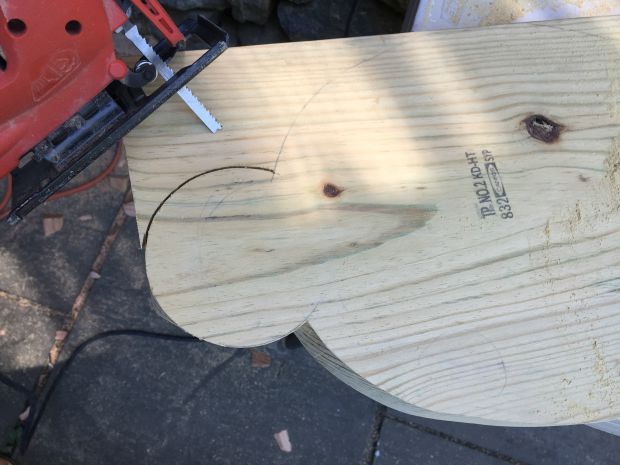
Step 2: Use a jigsaw to cut out the spider body.  Go very slow through the 1 ½” thick material and flip over to refine your cut if necessary.

spider stool cutout

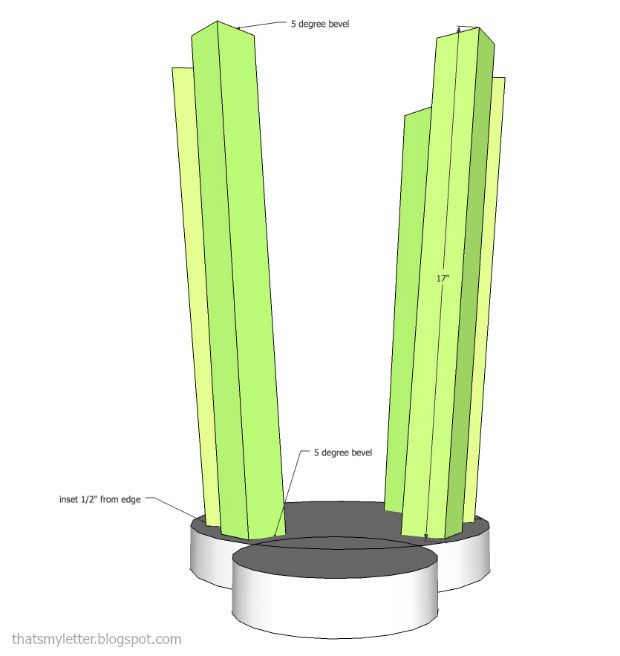
Step 3: Cut 6 legs with 5-degree bevel at both ends, parallel measuring 17″ from end to end.

spider stool legs angles

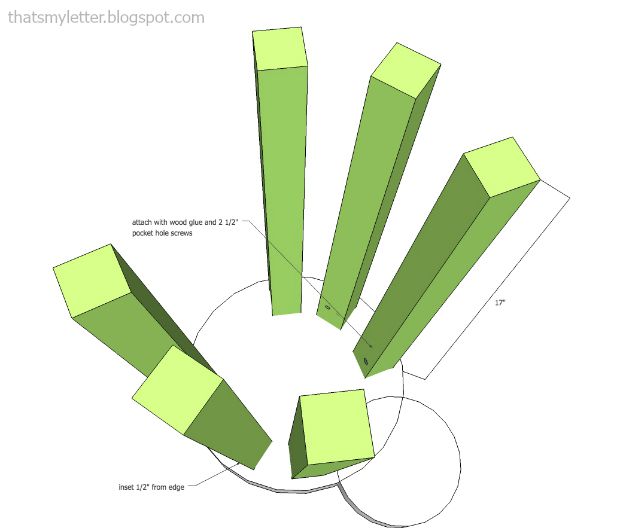
Layout the legs on the underside of the body inset 1/2″ from the edge.

spider stool legs

Apply wood glue to the top of each leg and attach legs using 2 ½” pocket hole screws.

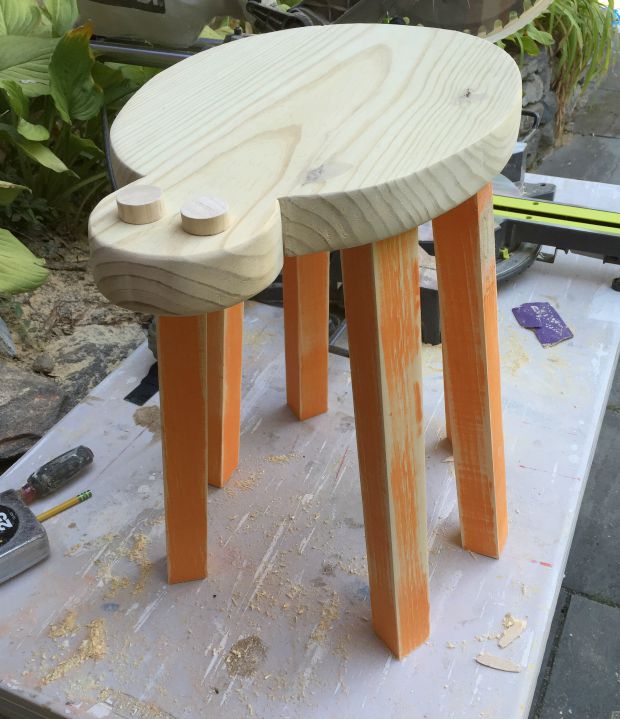
spider stool unfinished

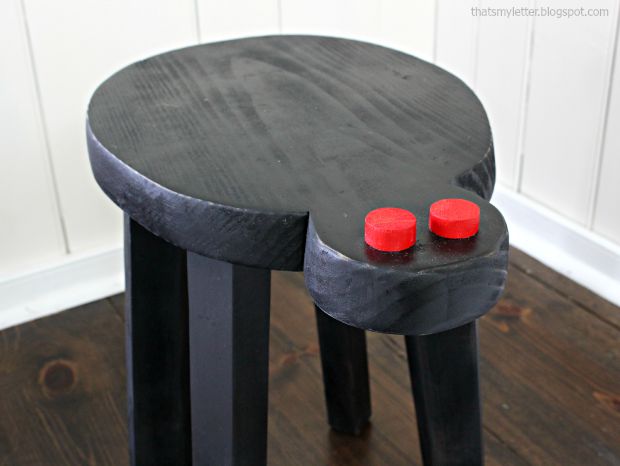
Step 4: Sand the stool, then finish with black spray paint.

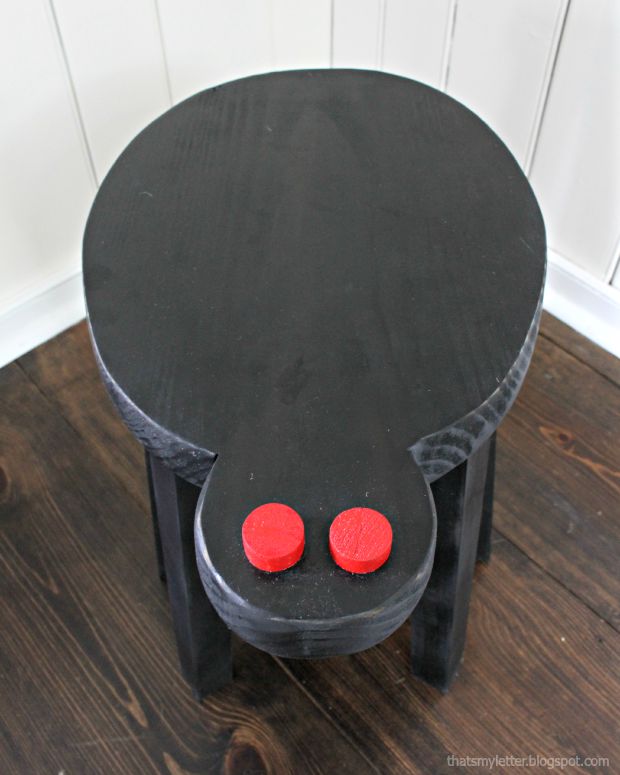
spider stool top

For an extra spooky factor paint 1″ circular dowel pieces bright red and glue onto the head portion.

spider stool collage

Hope you enjoyed this fun spider stool project! If you have more scrap wood, why not make some more spider friends or insect friends for your DIY Spider Stool!

Jaime signature

Jaimes_headshot

Hi, I’m Jaime and I write JaimeCostiglio.com, a DIY project focused blog with an emphasis on building, painting and sewing.  All my life I’ve been painting, drawing, crafting and making things.  I grew up in Minnesota and then majored in Studio Arts at a liberal arts college on the East Coast.  While there, I worked in the costume shop for the theater department, met my now husband of 18 years and then went on to work for an interior design firm in New York City.  We have 3 young children and now that they are all school age I have shifted my focus to do what I love – build, paint and sew.  The real turning point came when we renovated our kitchen in the summer of 2010.  One project led to another and I started blogging about all my projects one by one which has ultimately led to a small business.

My goal with each project is to work smart, efficient and economical.  I love a good challenge whether it be designing a build to fit the space (entry locker unit), solving a logistical solution (portable lego tray), constructing a craft using unconventional supplies (plastic tablecloth rosette garland) or just a simple makeover with paint (front door makeover).  And I firmly believe you can do it too which is why write a majority of my posts as tutorials in an effort to share my experience with readers.

You can connect with me on Facebook, TwitterPinterest, YouTube, and Instagram.

Read all of Jaime’s Pretty Handy Tutorials.

Pin for later!

If you liked this tutorial, you’ll probably also love these cute little DIY toddler stools:

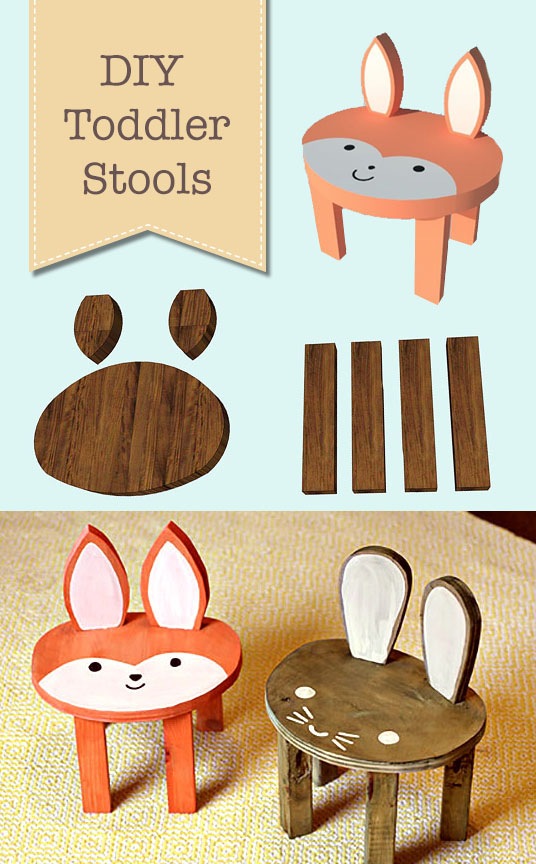
Cute DIY Animal Toddler Stools | Pretty Handy Girl

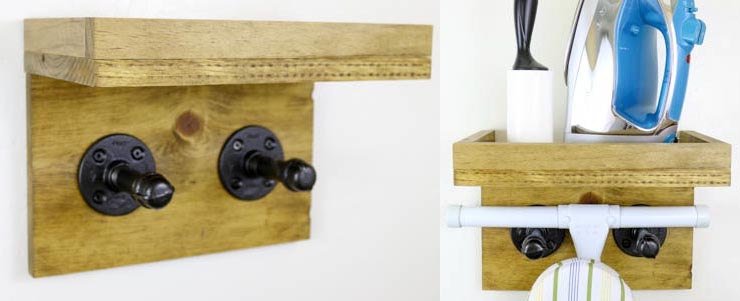
Rustic Ironing Board Holder | Pretty Handy Girl

DIY Industrial Ironing Board Rack

Hey there, everyone!  It’s Katie from Addicted 2 DIY again.  Today, I have a project that is not only quick and easy to put together, but it’s also made of scrap wood!  My lumber rack is getting a bit full, so I’ve been on a scrap wood purge kick lately.  If you remember, last month I shared a tutorial for how to build a rustic wine holder out of scrap wood.  This time I wanted to make a project that would solve two problems.  The first being my growing scrap pile, and my second being that I hate not really having a good space to store my ironing board.  I came up with a solution that took care of both of those problems and it was so fast to put together!

Materials:

  • 1×8 scrap wood (or purchase a 6′ x 1″ x 8″ pine board)
  • 3/4″ square dowels (I used leftover scraps from some wood I ripped down)
  • Kreg Jig
  • 1 1/4″ pocket screws
  • Brad nailer
  • 1 1/4″ brad nails
  • wood glue
  • two 1/2″ steel pipe flanges
  • two 3 1/2″ steel threaded pipe sections
  • two 1/2″ steel pipe caps
  • oil rubbed bronze spray paint
  • 3/4″ wood screws
  • D ring photo hooks

Instructions:

STEP 1:  Dig through your scrap pile or head to your local home improvement store to gather your wood pieces together.  I used 1×8 pieces of pine and rather than purchase 3/4″ dowels, I used 1″ scrap pieces that were leftover from some boards I had ripped down from another project.  Cut the 1×8 pieces to 12″ long.  Cut one 3/4″ dowel to 12″.  Cut two 3/4″ dowels to approximately 6 1/2″.  You’ll want to measure the exact length as not all woods are created equal and sometimes the thickness varies slightly.

Scrap_wood_ironing_board_rack

STEP 2:  Choose the board for the backing of the ironing board rack and drill 3/4″ pocket holes into the long edge of the piece.  Apply glue to the square dowels to attach to the piece that will become the shelf.

assemble_shelf

STEP 3:  Line the dowels up flush with the edges of the shelf and nail into place using 1 1/4″ brad nails.

nail_edges_to_shelf

STEP 4:  Attach the back to the shelf with wood glue and 1 1/4″ pocket screws. Read more

Create this fabulous knock-off West Elm wooden framed mirror without any fancy power tools. Just use a 1x6 tongue and groove board which is the perfect fit to insert an inexpensive IKEA mirror.

Today on the Rockstar DIY stage is Kim, with the tutorial to make this beautiful money saving West Elm Inspired Framed Mirror!

Rockstar DIY Series

Kim is the power DIY blogger behind The Kim Six Fix. She shares the belief that there isn’t any project big or small that she can’t tackle. Currently Kim lives in California with her husband and three little ones. But, she used to live practically in my backyard in Durham, NC. Unfortunately we never met before she moved. #MissedOpportunity Because if we had, we probably would have fixed up an entire block of houses together!

Kim Six

Today Kim is here with the genius solution to building a West Elm Inspired Framed Mirror using tongue and groove boards. Those saws have started buzzing, so I know she’s ready…take it away Kim!

page_break_2

I’m so excited to be here on Brittany’s blog today! I have been a HUGE fan since I first started blogging about my DIY projects and so it is surreal to be actually posting here…  ON HER BLOG!!! Squee!!  Of course I want to thank her so much for this opportunity, and I hope you all enjoy my project.

Okay, enough fan-girling.. On to the post: 

If you know me, you know I am a big fan of knocking off overpriced high priced name brand home decor. There is almost a challenge to it.  And when I saw this simple mitered block wood mirror on the West Elm website I knew I could create the look for a lot less.

Create this fabulous knock-off West Elm wooden framed mirror without any fancy power tools. Just use a 1x6 tongue and groove board which is the perfect fit to insert an inexpensive IKEA mirror.
Now, unlike a lot of the other guest bloggers who have been sharing their amazing tutorials, I don’t yet have a fabulous tool stash (something I am trying to remedy.)  What that means for you is that you don’t need a big tool stash either! We’re in this together!

So in this case, when I saw the mirror had the glass inset into the wood, (something typically achieved with a table saw or a router) I knew I would have to think outside of the box. How could I get the wood to wrap around the mirror without cutting it myself?

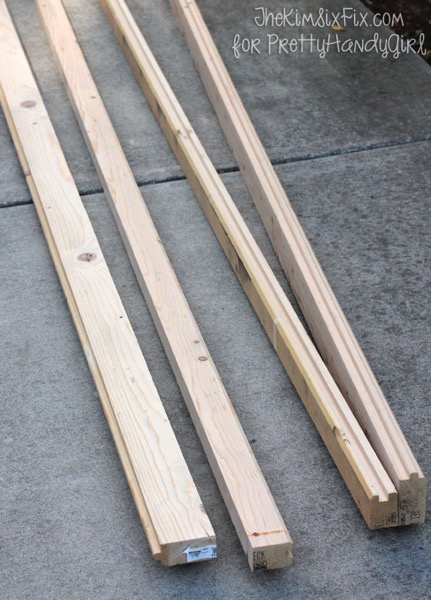
A trip down the lumber aisle of the hardware store revealed the answer: Tongue and Groove 2×6 boards  (typically used on walls or floors).  It has a ’tongue’ on one side which insets into the ‘groove’ on the other.  Perfect: A board with a built-in mirror holder!

2x6 southern yellow pine tongue and groove flooring 425
The boards they had in stock at the big box home improvement store weren’t anything super special, and they weren’t very expensive. For my project I only needed two 8 foot boards at $8 each.

Usually these types of boards are made of whitewood (or pine) since that is the least expensive. However, my store actually used Cypress (a whitewood alternative), which was a fun change for me. This was my first project with that wood type and it pretty much acted like pine.. .so I was in my comfort zone. You could do this with cypress or pine (or even hardwood).

Now that I had the boards, I had to get them down to the correct dimensions, and I didn’t want the tongue, only the groove.  The first thing I did was rip the boards down to the width I wanted for the mirror frame.  Now, once again, most people would do this on a table saw, but I don’t have one.  I only have a circular saw, so I used it plus the Kreg Rip Cut, to cut the boards down lengthwise:

Next I sanded them like crazy.  The circular saw doesn’t leave the cleanest cut, and the boards were in pretty rough shape.  Nothing a random orbital sander couldn’t help.

Sanding boards for mirror frame
Here is a good closeup of how exactly the mirror fits in the groove.   You can see where the mirror (a $9 one I picked up at IKEA) fits into the groove of the board. And although it isn’t obvious, each side of the groove is actually shaped differently. On one side it was squared off, while the other was rounded down.  You can use either edge as the ‘front’ of the mirror frame, but just make sure you are consistent!

Channel in 2x4 for framing Mirror
I liked the square edge facing out (I thought it was closest the inspiration piece.)

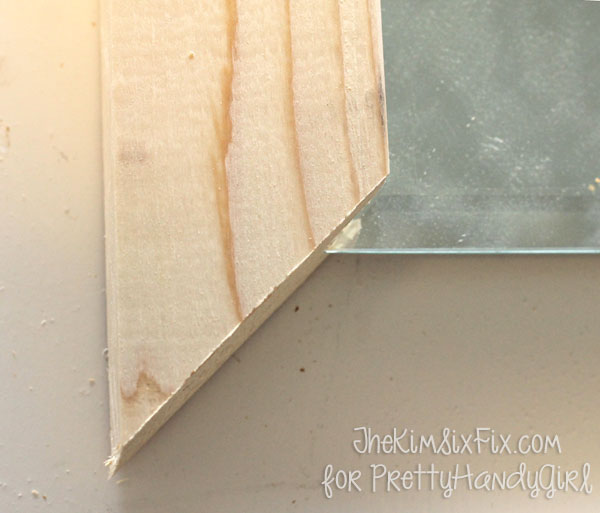
Also, be aware when measuring your mirror, that it will extend down into the mitered corner.  You can’t just measure the perimeter of the mirror and cut the frame the exact same size.   The frame will actually be slightly smaller.

Inseting mirror into frame groove

I measured by putting the mirror into the notch of the board and sliding the 45 degree pre-mitered corner down onto the perpendicular board (which should also have the mirror placed in the groove.) Where the point of the mitered board hits the perpendicular board is where you should put a mark. Then miter the second board at a 45 degree angle with the longest point hitting that mark.

Measuring and Marking Mitered frame
You want a pretty tight fit because the only thing holding the mirror into the frame will be that channel. If you cut the edges too long, the mirror will want to fall out.  Be as accurate as you can, and make sure you make plenty of dry fitting before you start the assembly process: Read more

DIY-feather-art

DIY Feather Art | Pretty Handy Girl

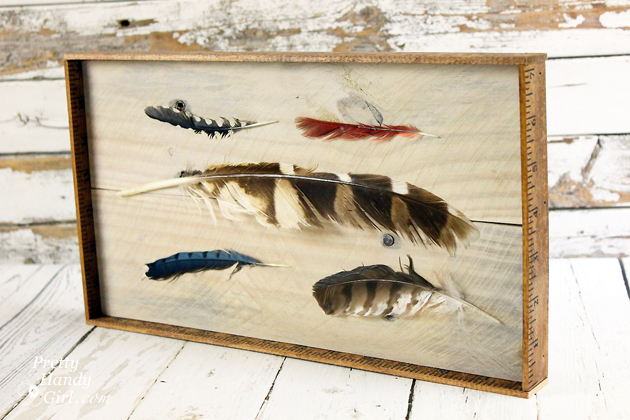
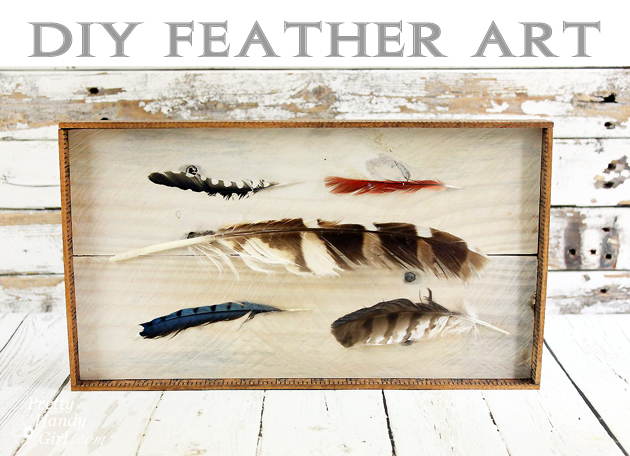
When I needed an extra piece of art for our living room gallery wall I created DIY Feather Art. You can create your own, but please purchase craft feathers, use fake feathers or paper feathers. (Per the Migratory Bird Treaty Act, it is illegal to collect feathers, nests and other anatomical parts of certain migratory birds.)

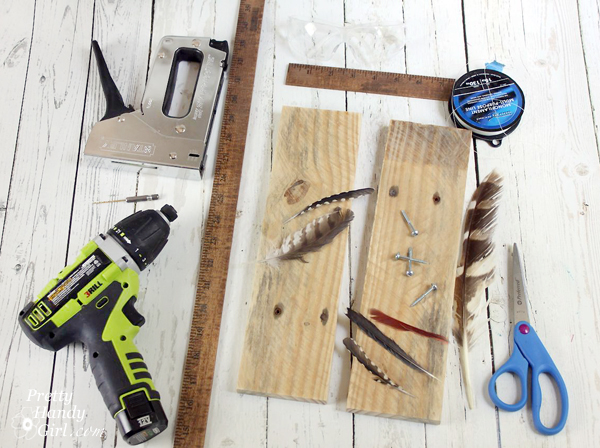
Materials:

DIY Feather Art | Pretty Handy Girl

  • Rustic 1×4″ boards (I used pallet wood)
  • Wood yardstick or lattice boards
  • Watered down white paint
  • Paint brush
  • Clamp
  • Scissors
  • Kreg Jig
  • Pocket hole screws (1.25″)
  • Nylon line
  • Small drill bit
  • Drill
  • Staple gun
  • 1″ finish nails
  • Hammer or nailgun
  • Wood glue
  • Feathers
  • Pencil
  • D-ring picture hangers

Instructions:

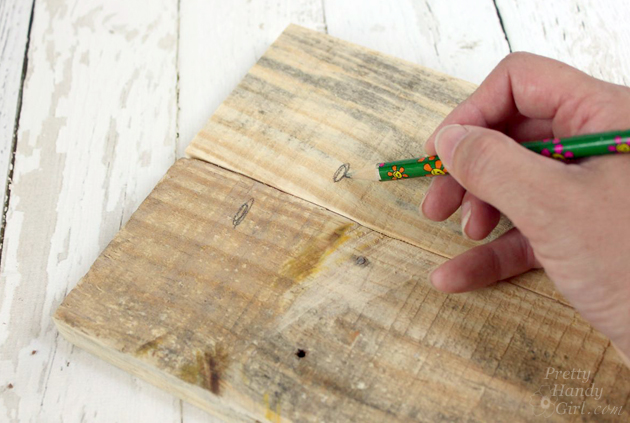
Cut your 1×4″ boards to size (or select one board the size you want for your art background.) To connect the two boards, mark the location to drill pocket holes.

DIY Feather Art | Pretty Handy Girl

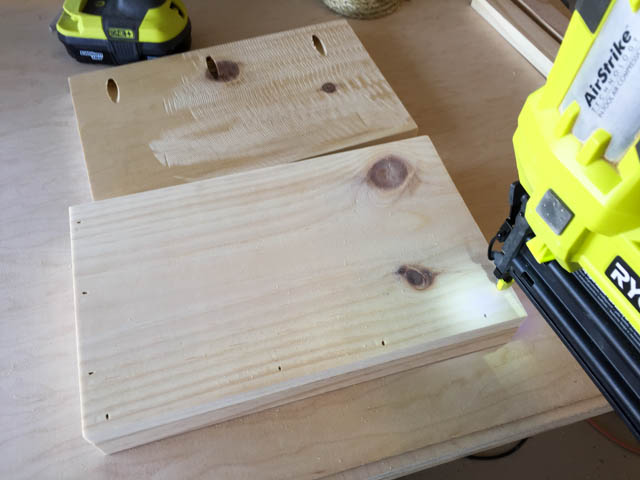
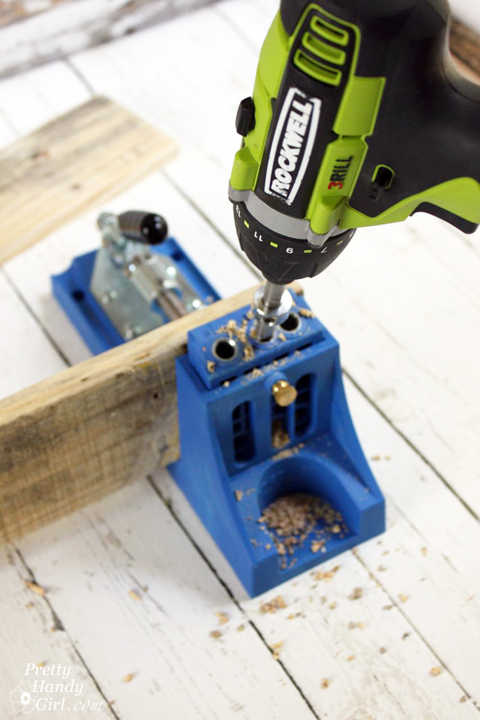
Use the Kreg Jig to drill pocket holes into the back of both boards.

DIY Feather Art | Pretty Handy Girl

Clamp the boards together and join them with 1 1/4″ pocket hole screws.

DIY Feather Art | Pretty Handy Girl

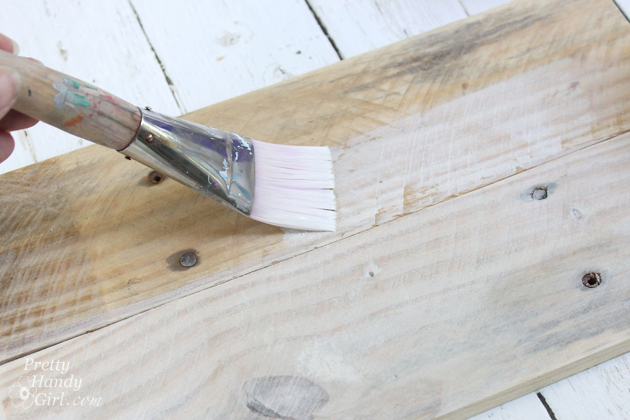
Flip the board over and paint it with watered down white paint for a white-washed look.

DIY Feather Art | Pretty Handy Girl

Mark the width of the white-washed board onto the yardstick. Cut two pieces the same length. Read more