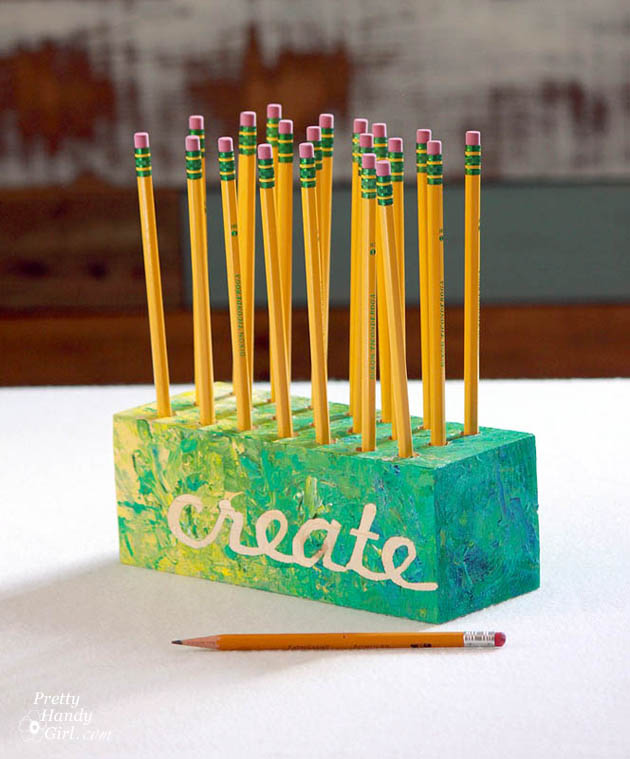
Need a quick gift using scrap wood? A Creative Block Desk & Art Utensil Holder is an easy and fun gift to make and certainly a project that you can customize to meet your needs. Best of all, the kids can help with the painting step!
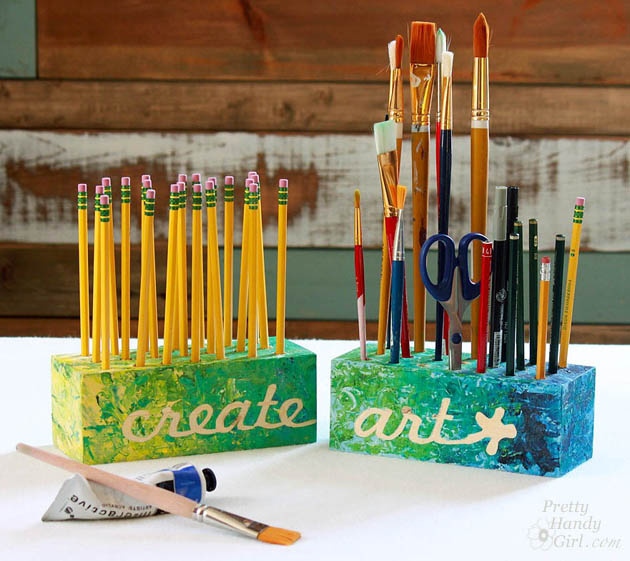
Creative Block Desk & Art Utensil Holder
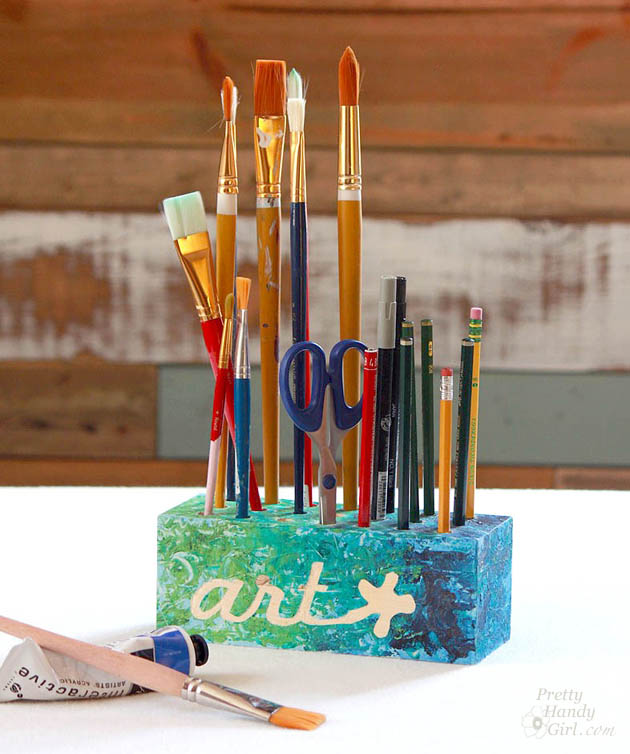
Mother’s Day is this coming weekend! Have you decided how to show her your appreciation and love?! I did! My mother is a professional artist. She creates amazing paintings that inspire others and brightens their homes. For Mother’s Day I wanted to brighten her studio with these art utensil holders. I call them “Creative Blocks.”
Go ahead and raid your scrap pile and join us as we make these colorful and fun Creative Block Desk & Art Utensil Holders.
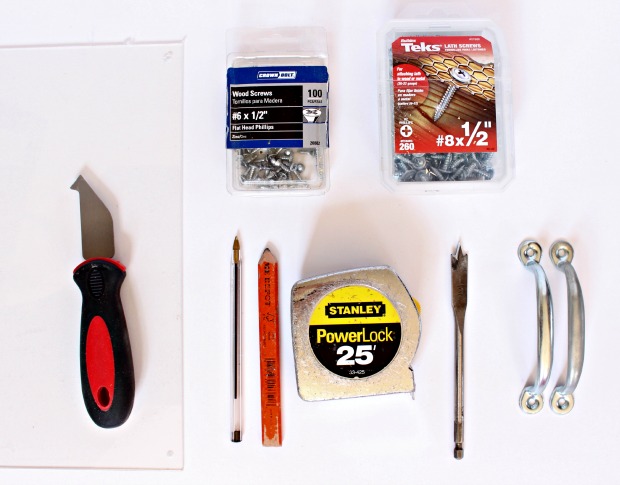
Materials:
(I’ve included affiliate links for your convenience. I earn a small percentage from a purchase using these links. There is no additional cost to you. You can read more about affiliate links here.)
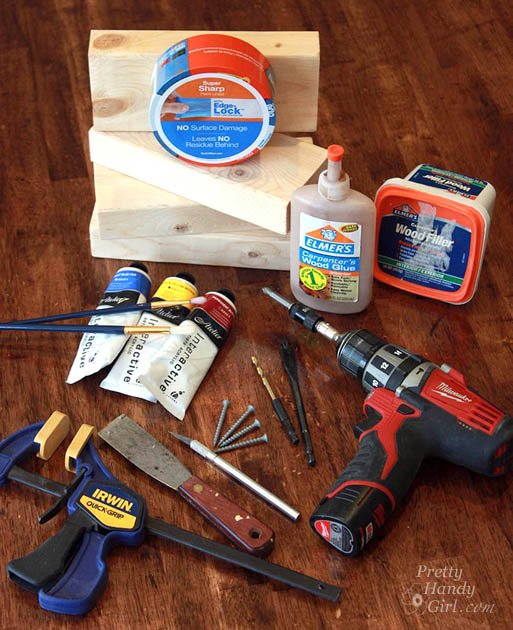
- 2 – 2×4″ scrap blocks of wood
- Carpenter’s Wood Glue
- 2″ wood screws
- Drill
- 3/8″ drill bit
- Wood putty
- Putty knife
- Sanding block
- Paintbrushes
- Clamp
- Painter’s Tape
- Cutting mat
- X-ACTO Knife
- Acrylic paint
- Art palette knife
Instructions:
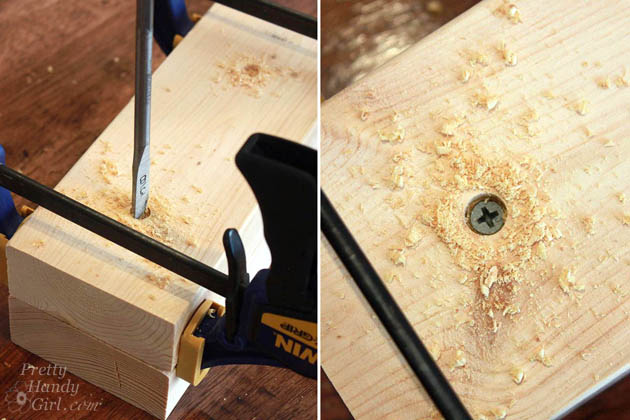
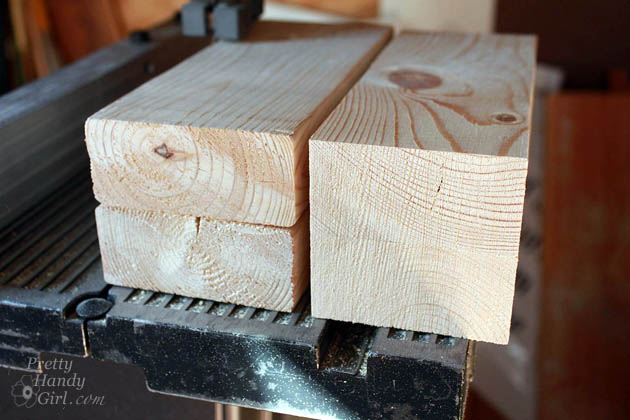
1. Block assembly: Select two 2×4″ scraps cut to the same length. Spread glue on one board and sandwich them together.

Clamp the wood together and drill two small holes to countersink the heads of the screws. Drive two screws into the bottom of the wood to hold the pieces together.
Use a band saw, jigsaw, or table saw to trim off the rounded edges of the wood so you have a square block of wood with straight corners.
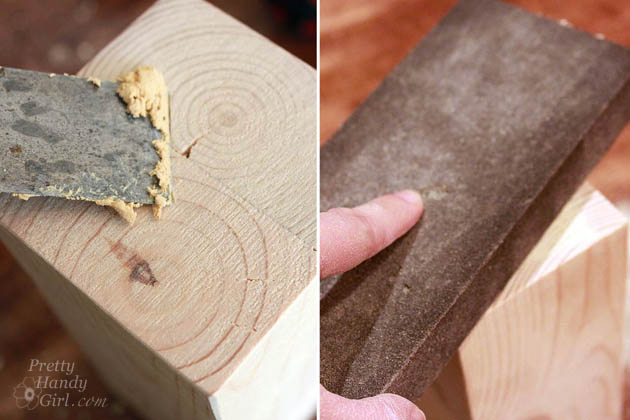
Putty any cracks or holes. Sand until smooth.
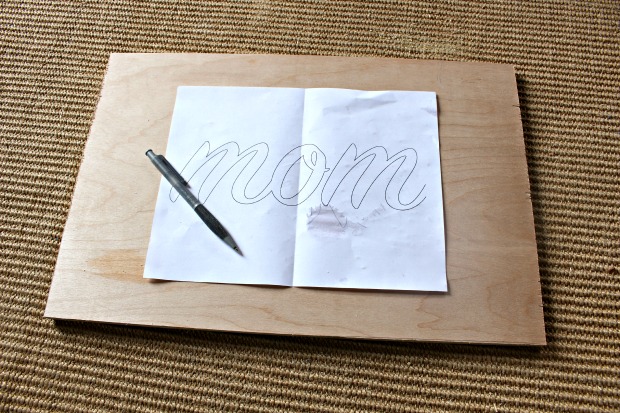
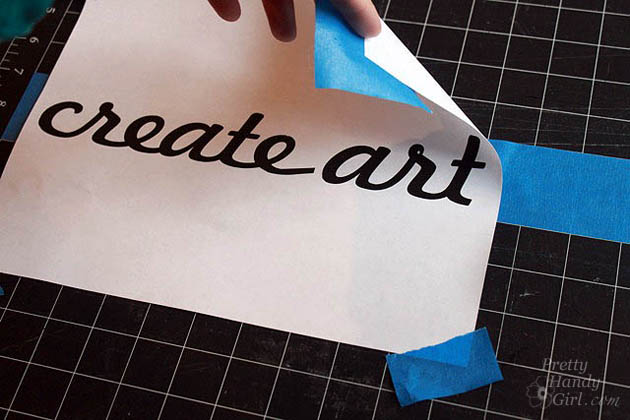
2. Creating the mask:
If you have a craft cutter (Silhouette or Cricut) you can create a mask in vinyl easily. But, if you don’t you can use the computer to print out your words. Lay the print out on top of a strip of Painter’s Tape. Use a few pieces of tape to secure the corners.
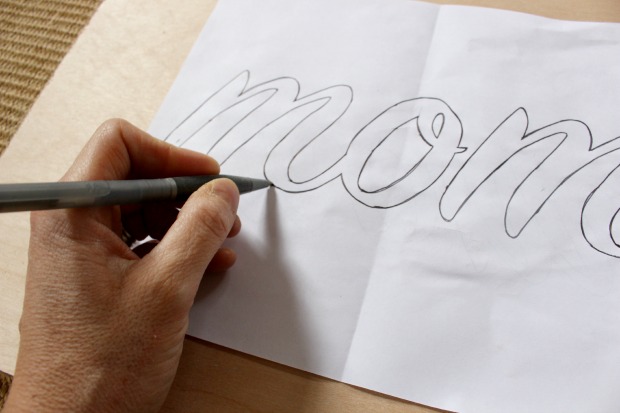
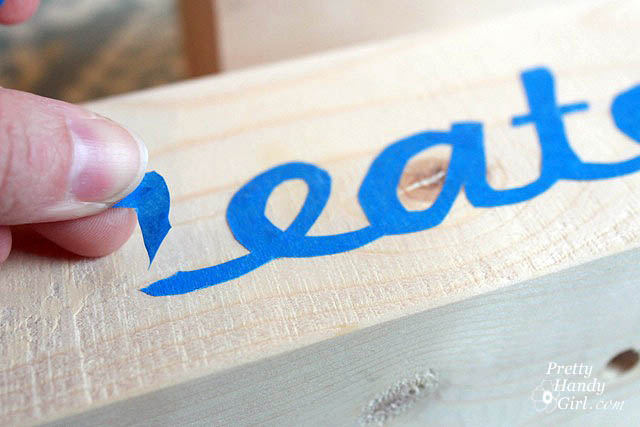
Trace around the words with the X-acto knife (be sure to have a few fresh blades on hand.) Transfer the resulting cut-out tape onto the block of wood. Press the edges of the tape mask to secure the tape.
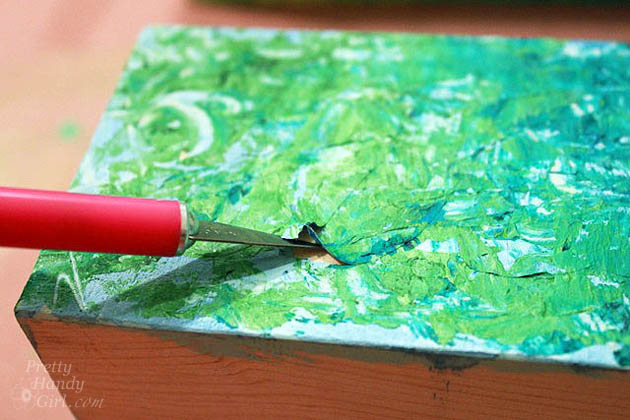
3. Painting the block: Paint a base color onto the block. Then use a brush and/or palette knife to dab thick paint over the block (minus the base.) Use the X-acto knife to gently peel off the tape mask. Let the paint dry thoroughly overnight.
4. Drilling Holes: After the paint has dried completely, mark the location of the utensil holes with a pencil. Put a piece of painter’s tape on the drill bit to mark the depth of your holes. Clamp the block and drill holes at each pencil mark.

Dump sawdust out of the holes.
Wrap up the blocks in gift wrap and enjoy the look of joy as your Mom opens her Creative Block Mother’s Day gift!
You know, as an artist myself, I almost loved these too much to give them away. But, my Mom is worth it. (And I can make another set if I want ;-).)
For more last-minute Mother’s Day gift ideas and many other creative projects, check out the Gift Ideas section here on the blog.
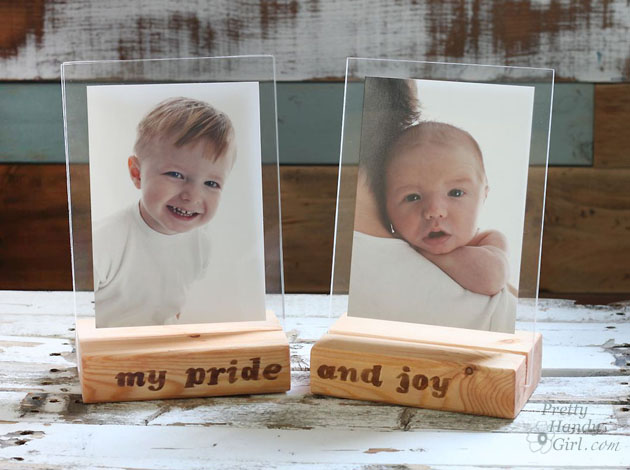
 If you liked this project, you’ll love these floating picture frames using more 2×4 scrap wood.