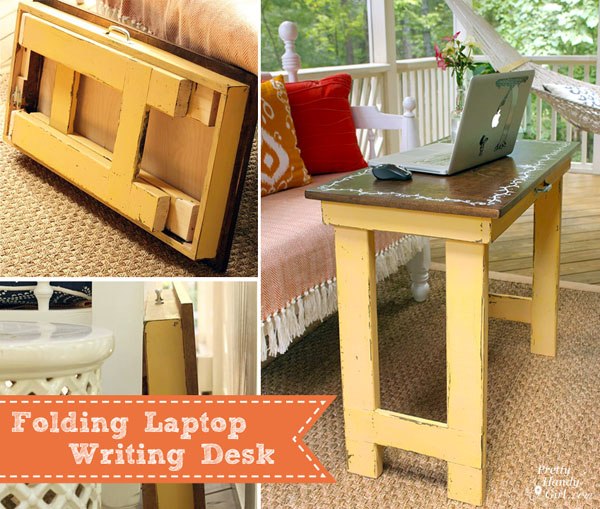
Folding Laptop or Writing Desk

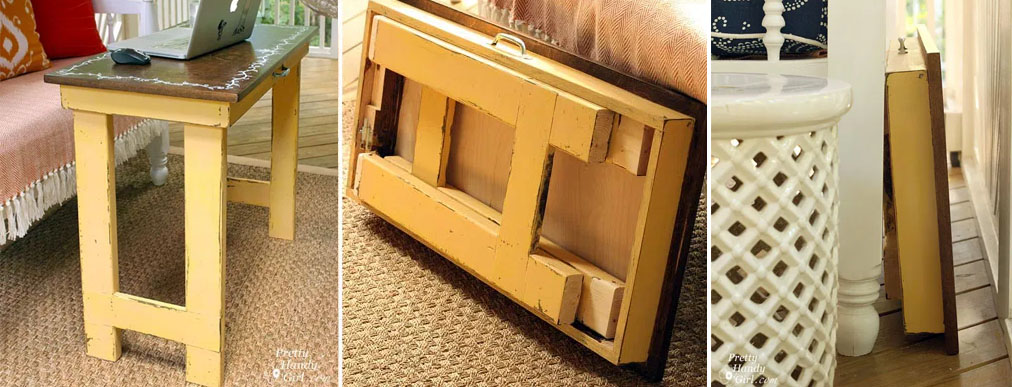
With more of us working from home and needing to create a space to work, this folding laptop and writing table is just the thing you need to make any room into an office!

Folding Laptop Writing Desk | Pretty Handy Girl

Folding Laptop and Writing Table Tutorial

My favorite place to write my tutorials is outside on our screen porch when the weather is pleasant. I love listening to the birds and feeling the breeze blow through the screens. Up until this weekend, I was using an old card table as a desk. But, it was large, awkward, and not the correct height for my needs. I wanted a table that was the perfect height and that could fold and store away when not in use. Enter the idea for thus folding laptop and writing table!
Folding Laptop Writing Desk | Pretty Handy Girl

I enjoyed the challenge of designing plans for this simple farmhouse style folding laptop/writing table. The materials are simple 2 x 4’s and 3/4 inch plywood. The majority of the steps can be done using simple handheld tools like a drill, multi-tool, and a circular saw. (Feel free to use other tools or alter the plans to fit your size preferences.)

Materials:

(I’ve included affiliate links for your convenience. I earn a small percentage from a purchase using these links. There is no additional cost to you. You can read more about affiliate links here.)

Cut list:
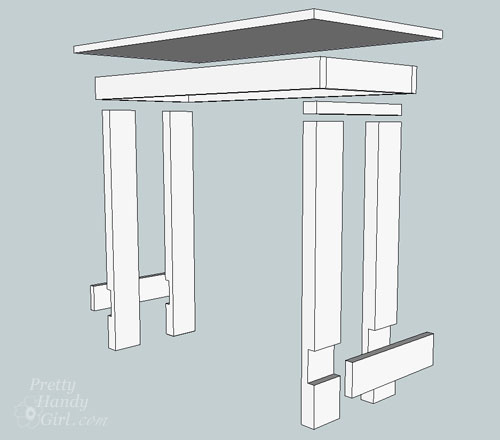
Folding Laptop Writing Desk | Pretty Handy Girl

Top:

  • 3/4″ finish grade plywood cut to 18″ x 36″

Apron (use 1″ x 3″ boards or you can rip excess plywood):

  • 2 – 1″ x 3″ cut to 14 1/2″
  • 2 – 1″ x 3″ cut to 34″

Legs:

  • 2 – 2″ x 4″ cut to 28 1/4″
  • 2 – 2″ x 4″ cut to 26 3/4″
  • 1 – 2″ x 2″ cut to 14 1/2″ (if ripping a 2″ x 2″ yourself, remember actual size is 1.5″ x 1.5″)
  • 2 – 1″ x 4″ cut to 14 3/8″

Hardware:

Tools:

Additional materials:

Instructions:

Cut your lumber per the above cut list.

Building the Apron:

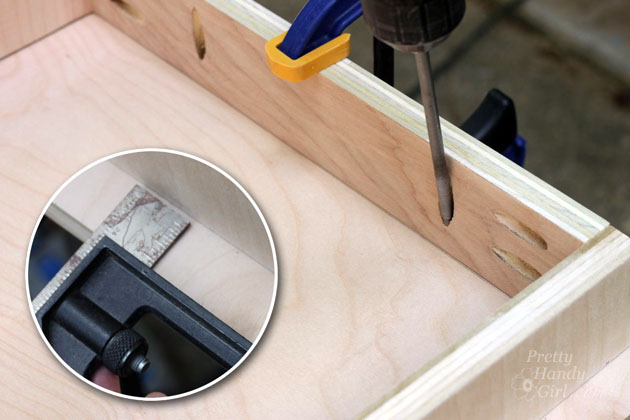
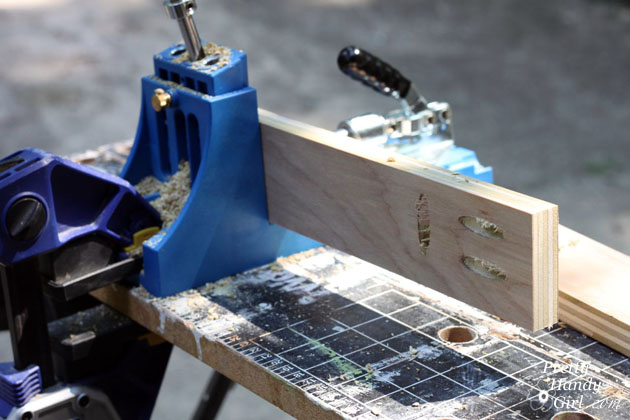
Drill two holes in the ends of the front and back pieces of the apron. Drill pocket holes into the top of all the apron pieces (spaced approximately 8″ apart.)
Folding Laptop Writing Desk | Pretty Handy Girl

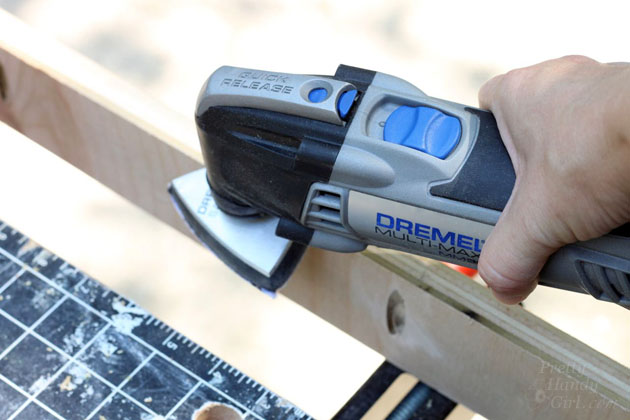
Sand all edges and pocket holes on the apron pieces with a 60 grit sandpaper on the Dremel MultiMax.
Folding Laptop Writing Desk | Pretty Handy Girl

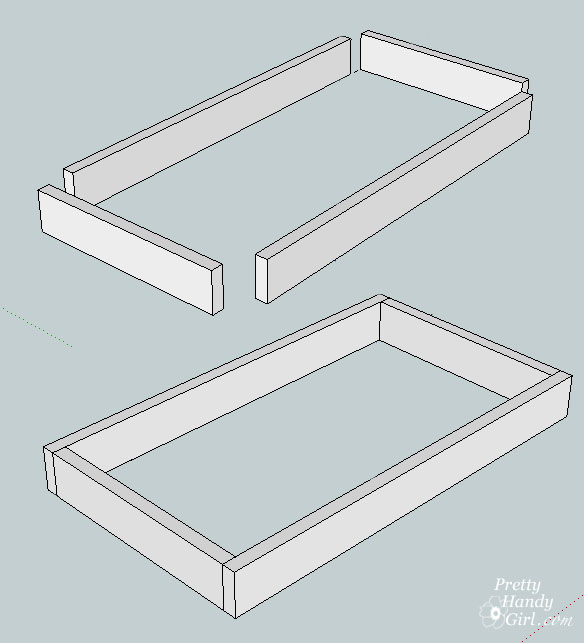
Assemble the apron pieces. Pay attention to make sure all the pocket holes are facing the same direction to attach to the underside of the tabletop. The sides of the apron should be set inside the front and back pieces as shown below:
Folding Laptop Writing Desk | Pretty Handy Girl

Secure the apron pieces with pocket hole screws.
Folding Laptop Writing Desk | Pretty Handy Girl

Center the apron on the bottom side of the tabletop. Measure all sides to make sure they are even. Attach the apron to the tabletop with pocket hole screws.

Folding Laptop Writing Desk | Pretty Handy Girl

Notching the legs:

Line up all four legs next to each other. Use a carpenter square to square up the bottoms. Mark 4″ up from the bottom of the legs. Line up the 1″ x 4″ with the mark and trace the other side onto the legs.

Set the combination square to the depth of the 1×4″ board (it should be 3/4″). Mark this depth on the sides of each leg to denote the area that needs to be removed.

Folding Laptop Writing Desk | Pretty Handy Girl

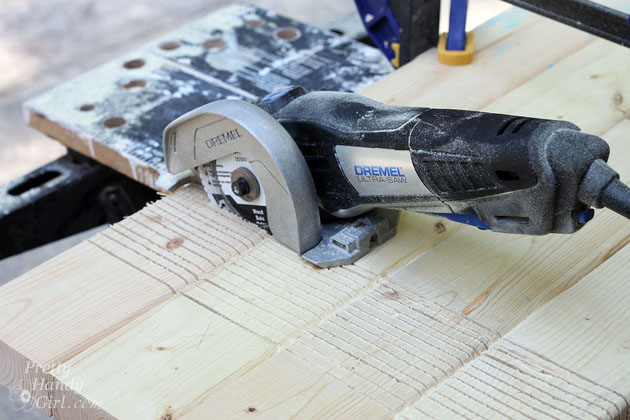
Set the depth of your circular saw (or Ultra-Saw) to 3/4″ deep.

Folding Laptop Writing Desk | Pretty Handy Girl

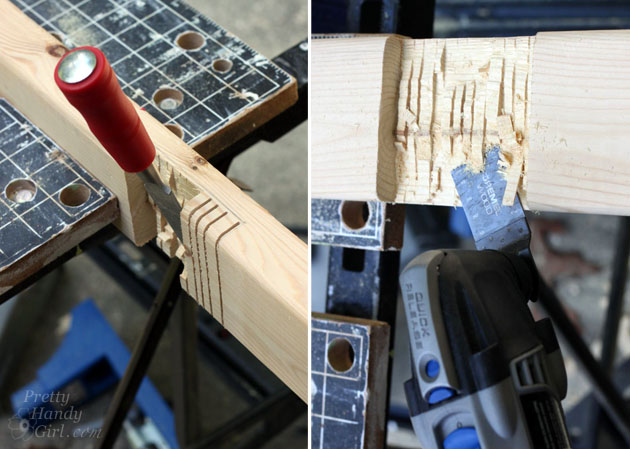
Cut stripes inside the guidelines you made on the legs with the Ultra-Saw.

Folding Laptop Writing Desk | Pretty Handy Girl

Use a hammer and chisel to knock out the strips. Use your oscillating multi-tool with a wood flush cut blade to clean up the edges of the notch.

Folding Laptop Writing Desk | Pretty Handy Girl

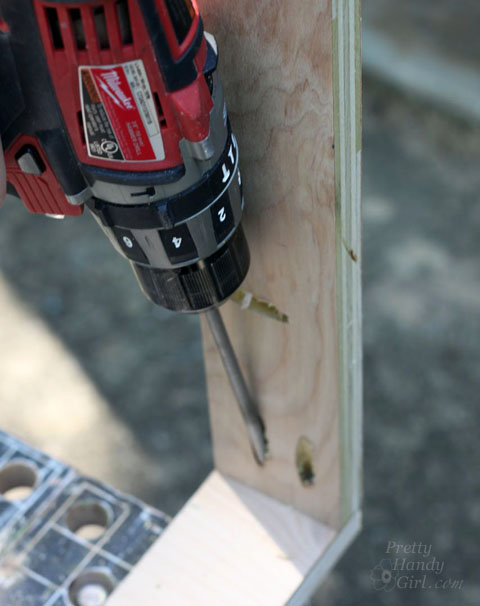
Test fit the 1×4″ boards into the legs. Shave off more if needed with the Multi-Max (or circular saw).
Folding Laptop Writing Desk | Pretty Handy Girl

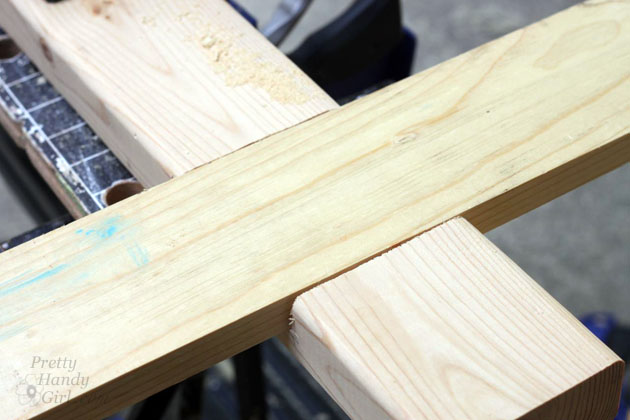
Set the 1″ x 4″ boards into the leg notches.
Folding Laptop Writing Desk | Pretty Handy Girl

Secure the 1″ x 4″ boards with wood glue and finish nails.
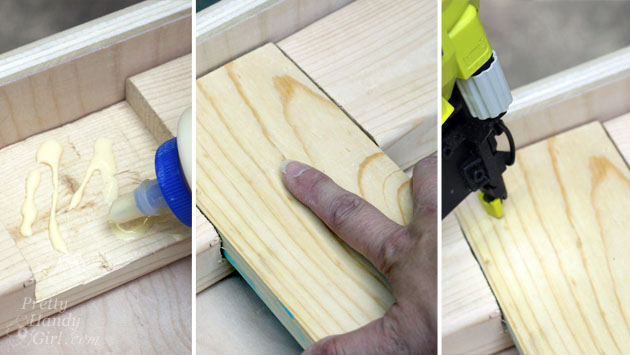
Folding Laptop Writing Desk | Pretty Handy Girl

Secure the cross piece 1″ x 4″ from the back side with one wood screw into each leg.

secure-cross-piece

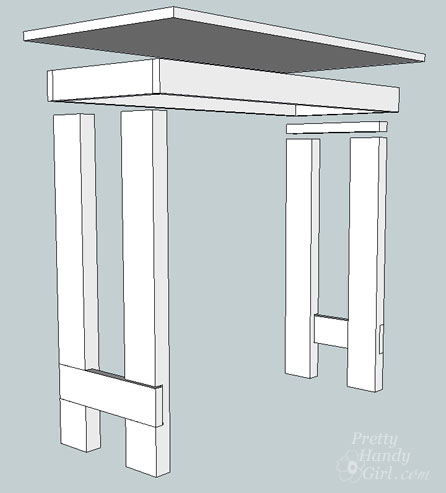
Connecting the Legs:

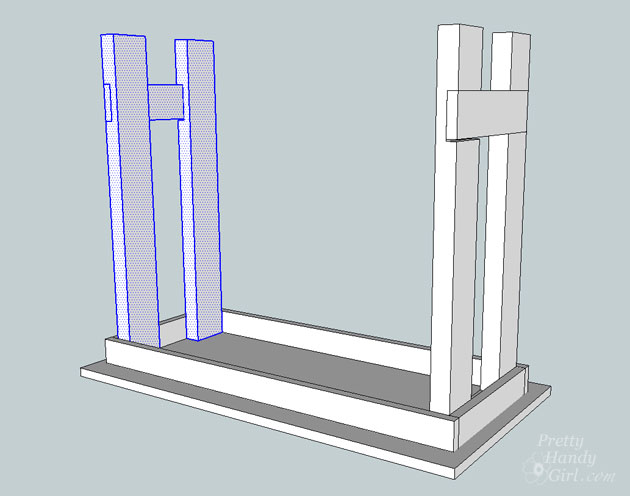
To allow the legs on the desk to fold neatly, one side has to be raised up to fold on top of the other legs. Use the 2″ x 2″ board you cut for this purpose.
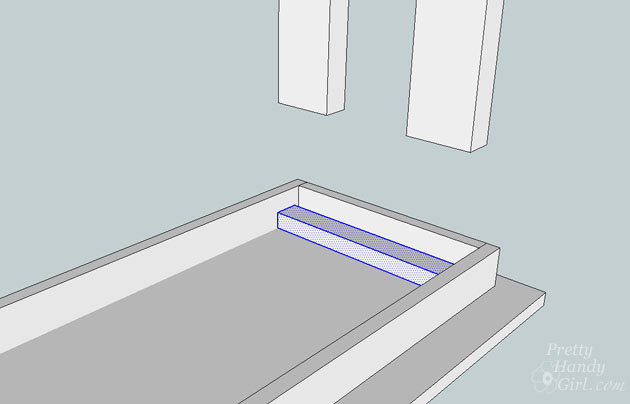
Folding Laptop Writing Desk | Pretty Handy Girl

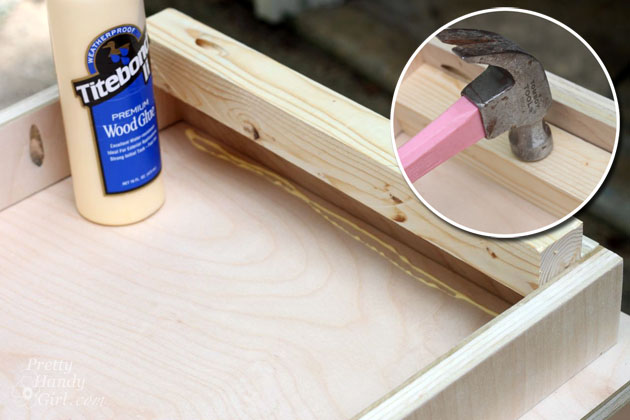
Drill a pocket hole into each end of the 2×2″ board. Add wood glue where the 2×2 will rest. Tap the board into place.
Folding Laptop Writing Desk | Pretty Handy Girl

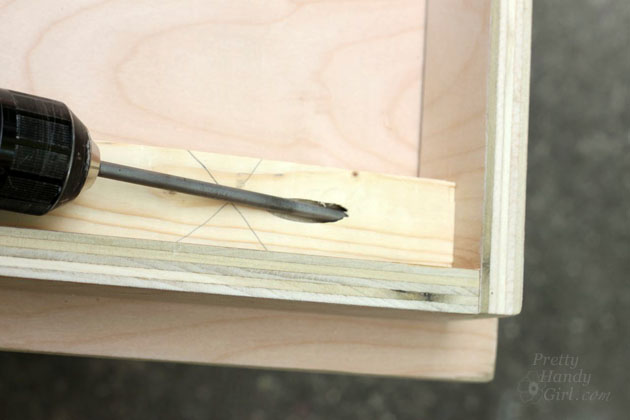
Secure the board into the table apron with pocket screws.
Folding Laptop Writing Desk | Pretty Handy Girl

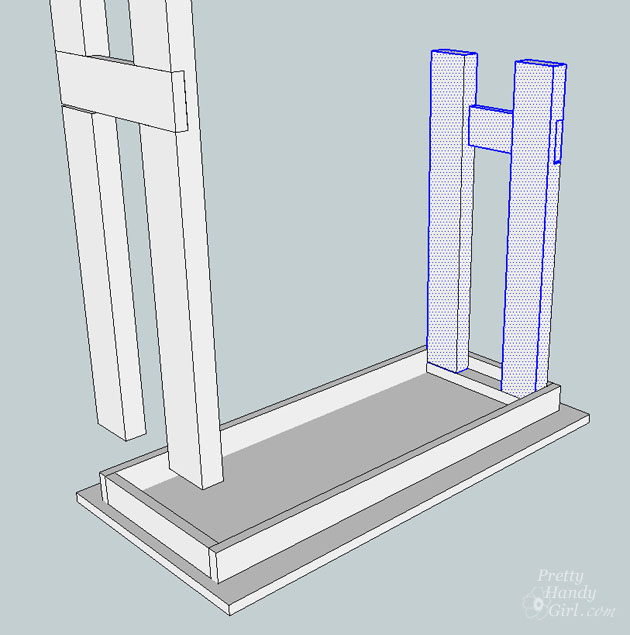
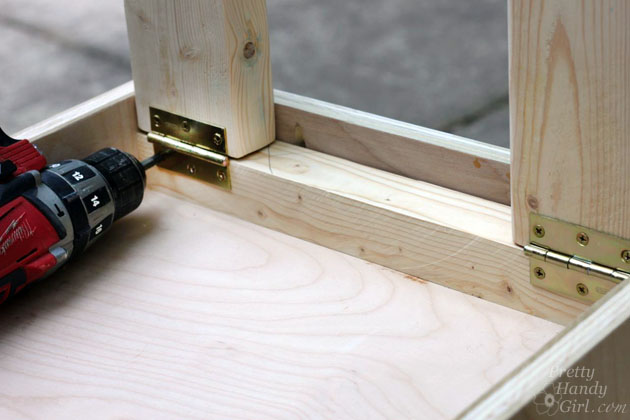
Rest the shorter legs on top of the 2×2 board. Clamp or support the legs in place.
Folding Laptop Writing Desk | Pretty Handy Girl

Attach the utility hinges to the top of the legs and the 2×2 support.
Folding Laptop Writing Desk | Pretty Handy Girl

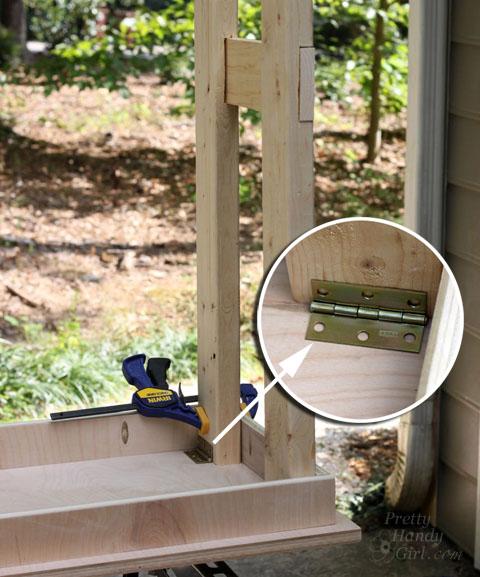
Rest the longer legs in place.

Folding Laptop Writing Desk | Pretty Handy Girl

Attach the remaining two utility hinges to the top of the legs and the underside of the tabletop as shown below.
Folding Laptop Writing Desk | Pretty Handy Girl

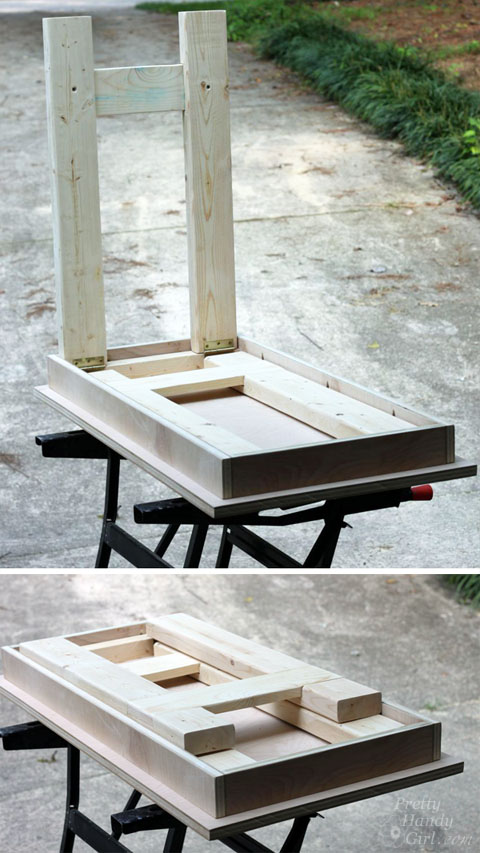
Test fold the legs to make sure they fold neatly and don’t rub on the sides of the apron. Make any adjustments to the hinges or sand the legs to eliminate rubbing now.
Folding Laptop Writing Desk | Pretty Handy Girl

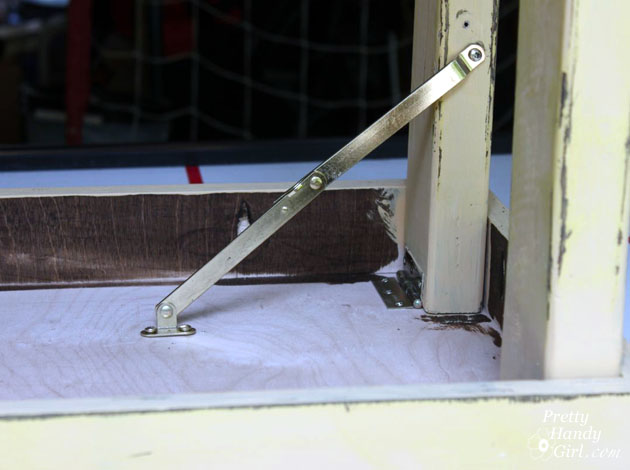
Add the lid support hinge to the bottom folding legs (the longer legs). Follow the directions on the package of the lid support for proper installation.
Folding Laptop Writing Desk | Pretty Handy Girl

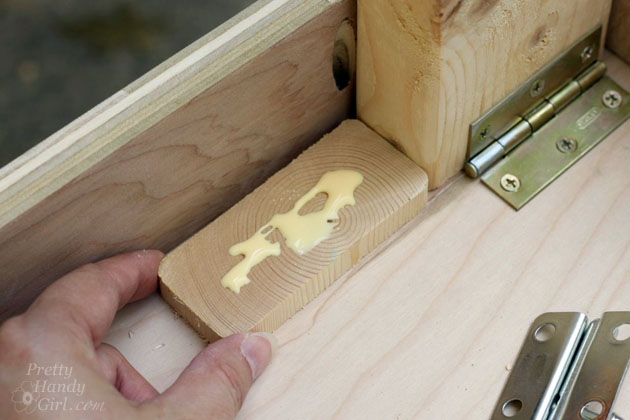
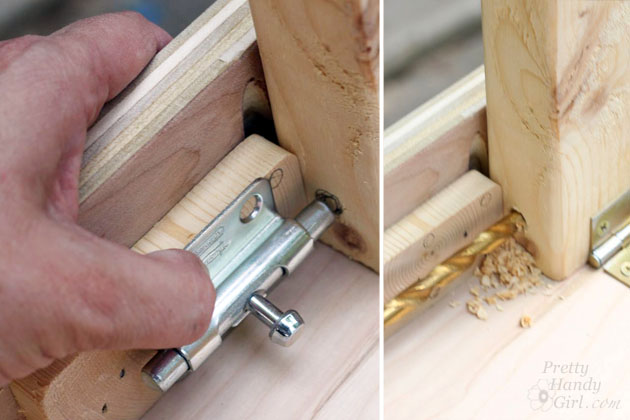
The opposite side will not accommodate a lid support. You need a barrel bolt to keep the legs from folding accidentally. Glue and nail a scrap of 2×4 to the inside of the table apron next to one of the legs (I added a barrel bolt to both sides, but you only need to add it to the one side when using the lid hinge support.)

Folding Laptop Writing Desk | Pretty Handy Girl

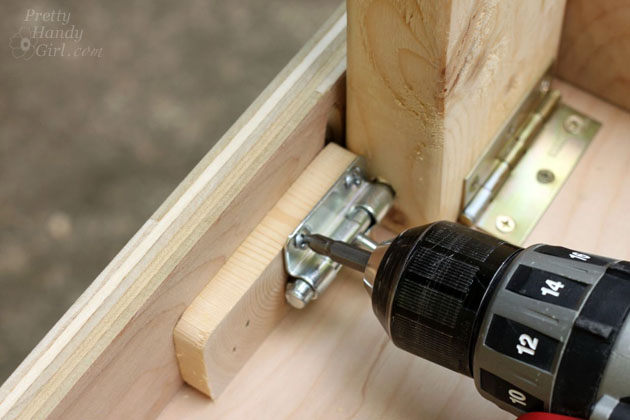
Rest the barrel bolt onto the scrap wood. Mark where the bolt hits the leg. Drill a hole into the leg to accept the bolt.
Folding Laptop Writing Desk | Pretty Handy Girl

Attach the barrel bolt to the scrap wood with the provided screws.

Folding Laptop Writing Desk | Pretty Handy Girl

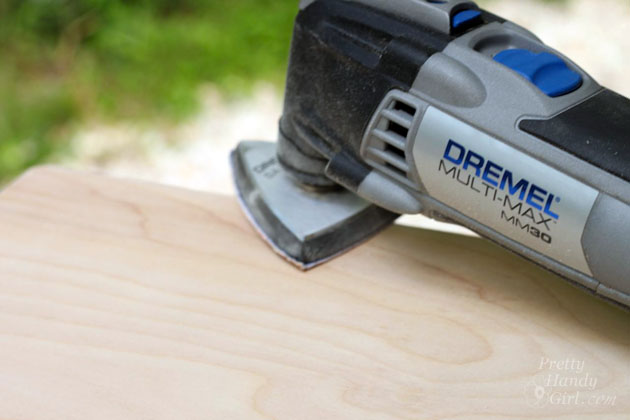
Sand all parts of the desk starting with 80 grit sandpaper, then 120 and finish with a 220 grit sandpaper.
Folding Laptop Writing Desk | Pretty Handy Girl

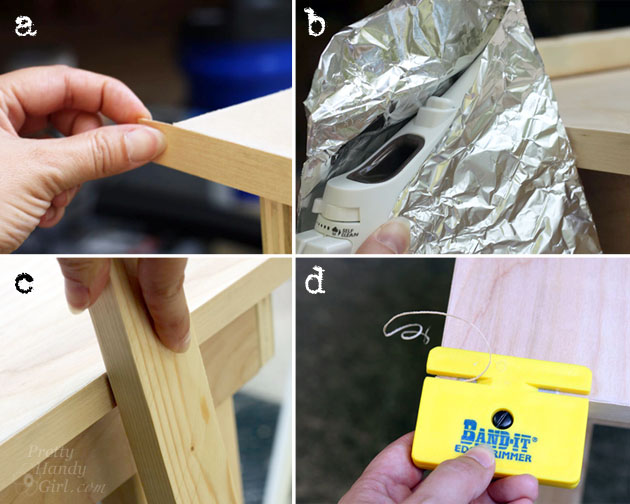
Add edge banding to the plywood top. You can watch my video below to learn how to finish off plywood edges!

It’s not hard and edge banding is a great way to finish off plywood to make it look like a more expensive board.

Folding Laptop Writing Desk | Pretty Handy Girl

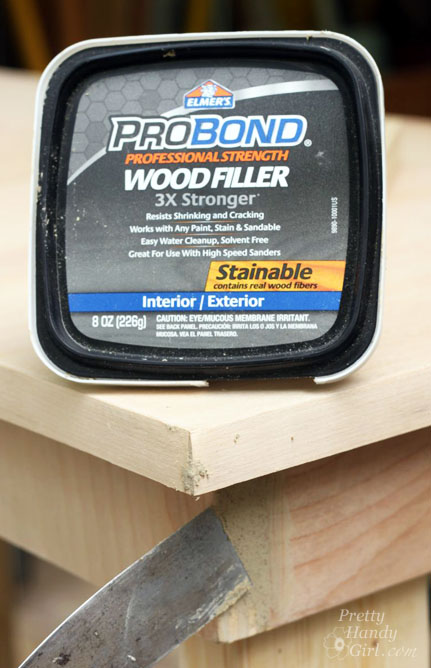
Fill any holes or seams with wood putty. Sand and wipe off the desk before staining or painting.
Folding Laptop Writing Desk | Pretty Handy Girl

Finishing touches:

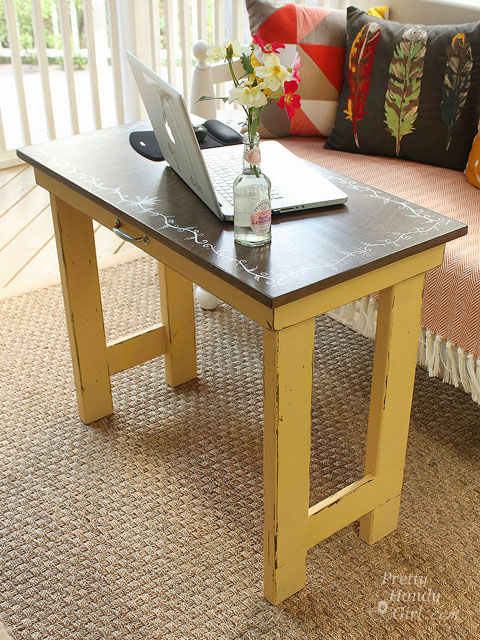
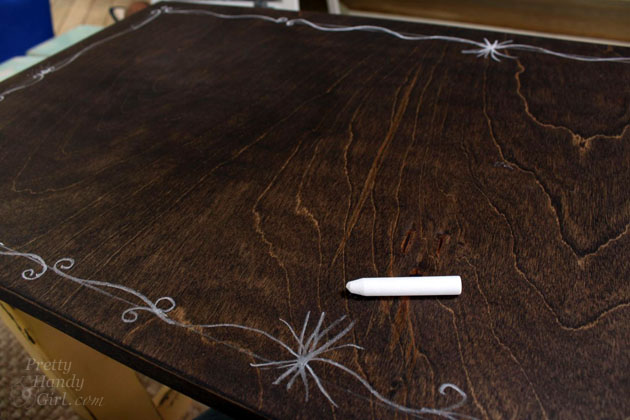
I stained my desk with Minwax Dark Walnut. After the stain dried, I added a hand-painted vine border. First, I sketched the design in chalk.
Folding Laptop Writing Desk | Pretty Handy Girl

Then I painted the design using a watered-down white chalk paint.
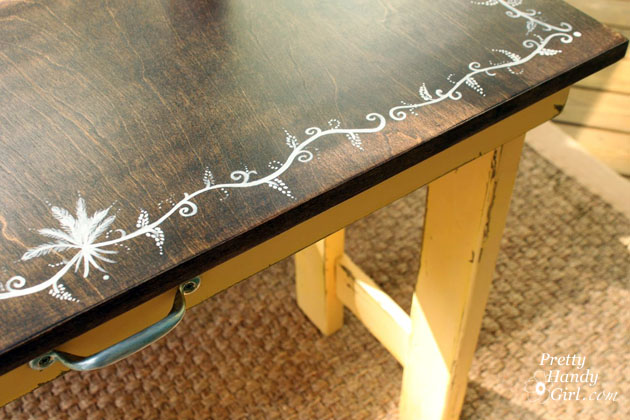
Folding Laptop Writing Desk | Pretty Handy Girl

The apron and legs received a mixture of chalk paints in a yellow color. The edges were sanded off to reveal the dark stain beneath.
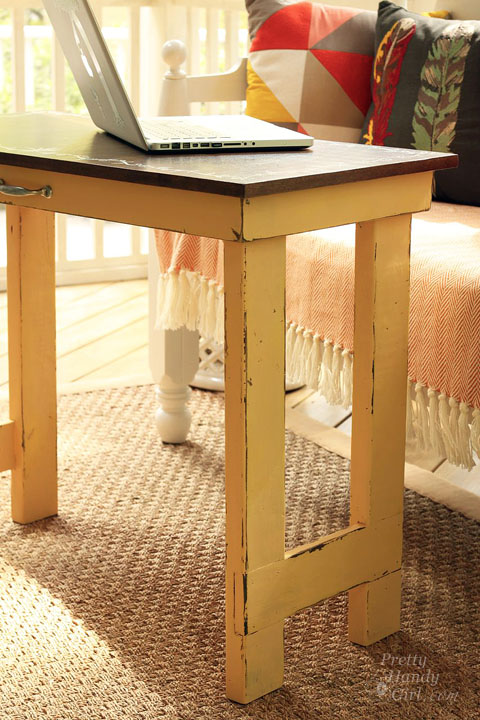
Folding Laptop Writing Desk | Pretty Handy Girl

Finally, the desktop received several coats of General Finishes High Performance water-based topcoat in the flat finish. The legs and painted areas were waxed.
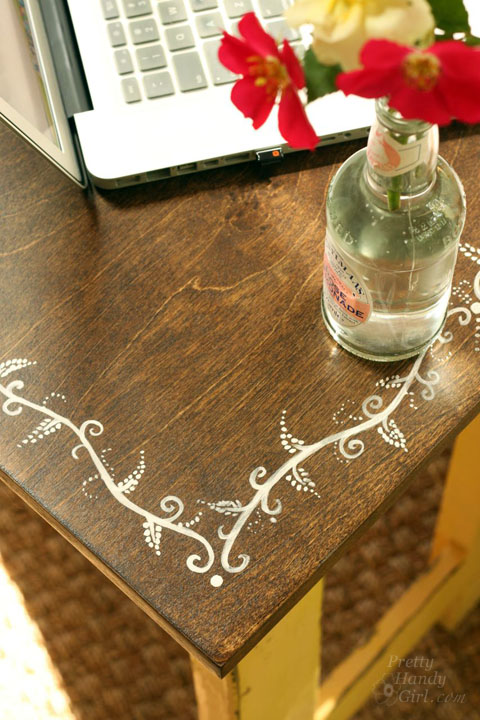
Folding Laptop Writing Desk | Pretty Handy Girl

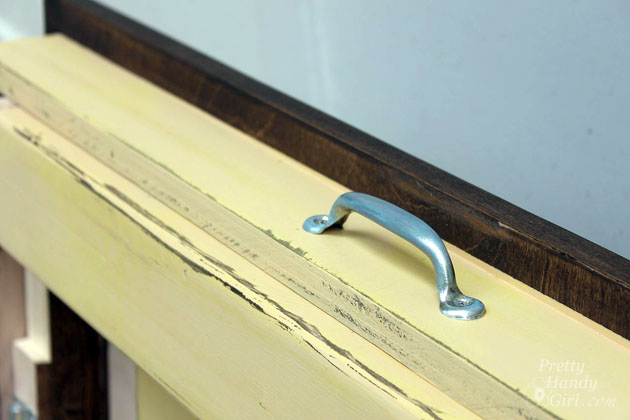
Add a handle to the center of the desk apron if you want to be able to transport it easily.

Folding Laptop Writing Desk | Pretty Handy Girl

This table can be used anywhere! It’s sturdy, but doesn’t take up much space.

Folding Laptop Writing Desk | Pretty Handy Girl

I can fold it up and bring it inside and work in front of the TV. Or it can be used as a small sewing table, crafting table, or just an extra buffet in the dining room.
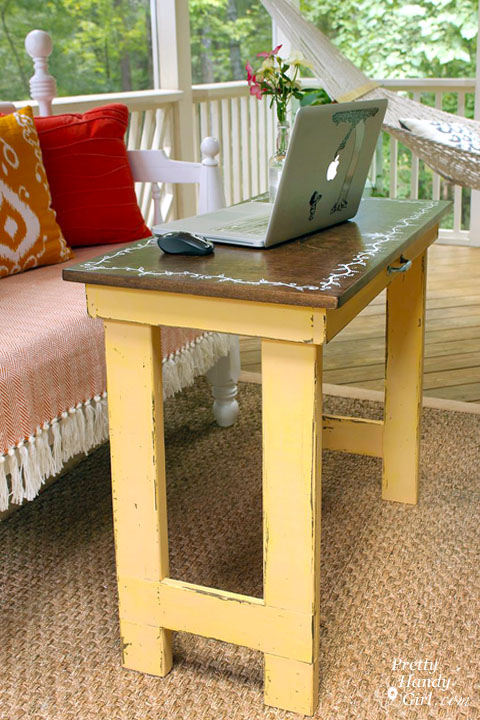
Folding Laptop Writing Desk | Pretty Handy Girl

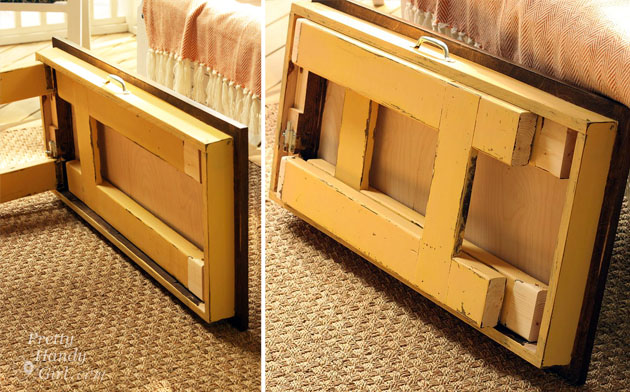
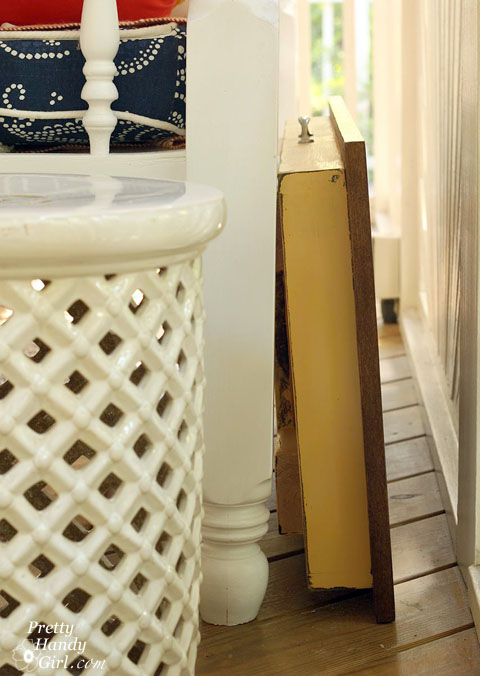
When I’m done, it folds up and stores behind a bench or sofa.
Folding Laptop Writing Desk | Pretty Handy Girl

If you like this tutorial, be sure to pin it for future use or to share! Cheers!

Folding Laptop Writing Desk | Pretty Handy Girl

I’d love to hear if you make your own folding laptop and writing table!

PHGFancySign

Rustic Pallet Serving Tray | Pretty Handy Girl

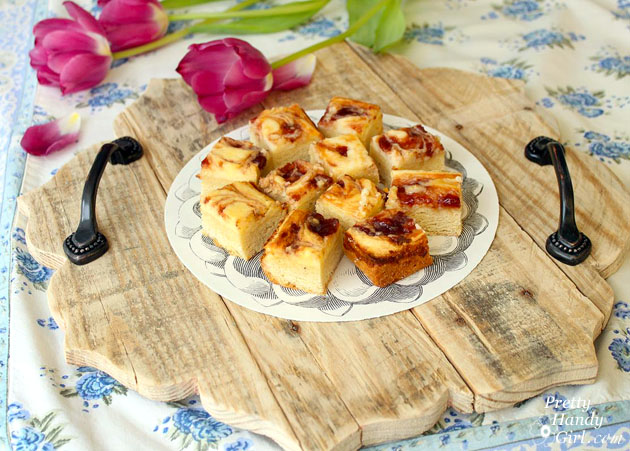
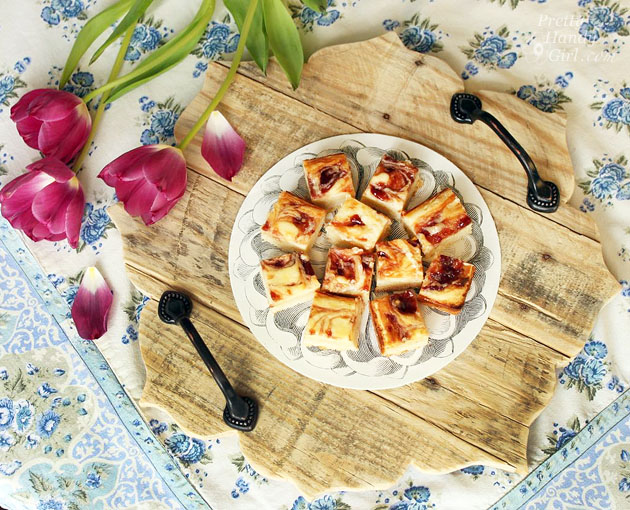
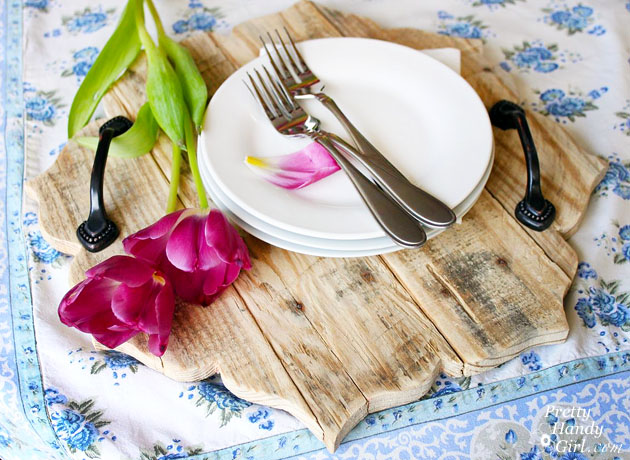
It’s amazing how serving food on a rustic tray can elevate your standard meal or dessert into an elegant occasion. This simple decorative rustic pallet serving tray is a simple project anyone can do!

Rustic Pallet Serving Tray | Pretty Handy Girl

Rustic Pallet Serving Tray

When I worked on a deck makeover with my sister, Caitlin (of Symmetry Designs), we shopped for a lot of the accessories ahead of time. She wanted me to find the perfect Bali-esque tray. Unfortunately I was coming up empty-handed. But, sometimes, you just have to DIY it! This Rustic Pallet Serving Tray was the brainchild of my sister, but I took her idea and ran with it.

Here’s how to make one for yourself.

Materials:

(I’ve included affiliate links for your convenience. I earn a small percentage from a purchase using these links. There is no additional cost to you. You can read more about affiliate links here.)

Instructions:

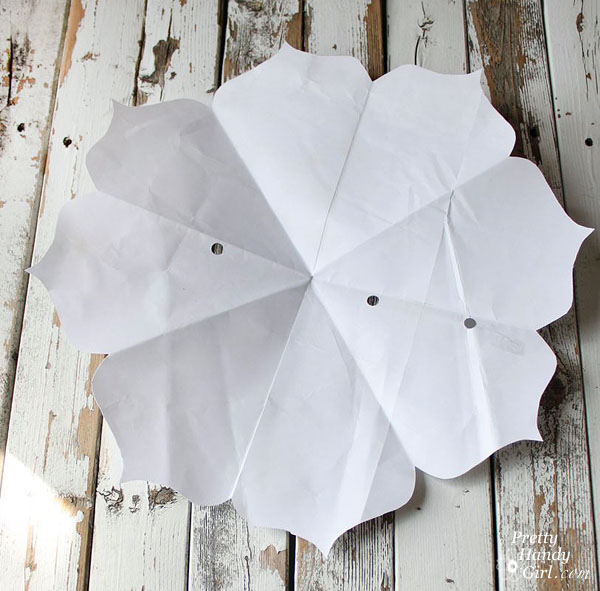
Fold a piece of paper into eights. Cut a design along the edge. (I used a simple scallop shape like this “}”.)

Rustic Pallet Serving Tray | Pretty Handy Girl

When you unfold the paper, you should have a paper template to use for tracing.

Rustic Pallet Serving Tray | Pretty Handy Girl

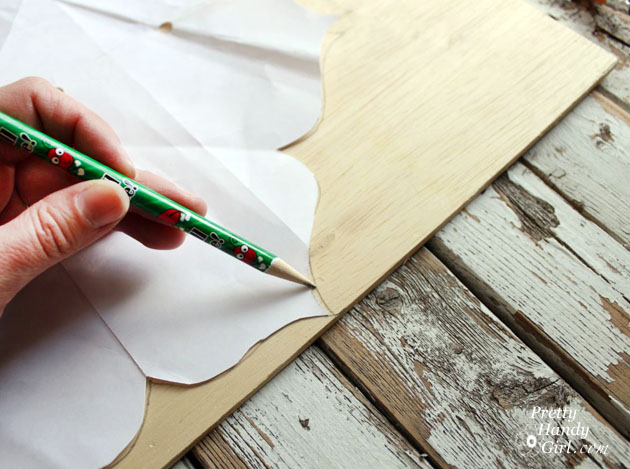
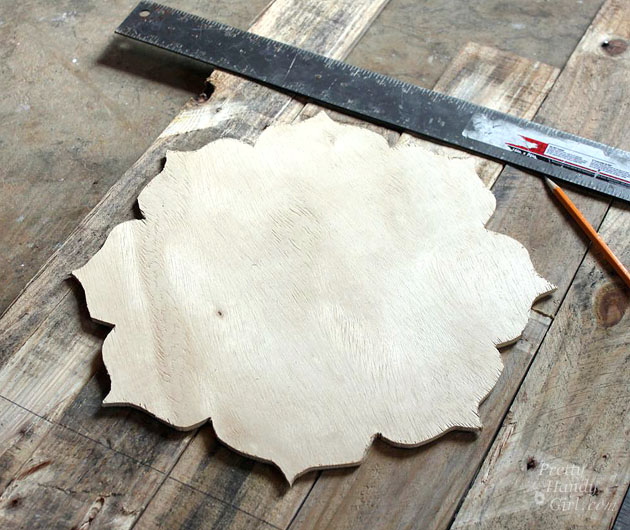
Trace the template onto a piece of thin plywood.

Rustic Pallet Serving Tray | Pretty Handy Girl

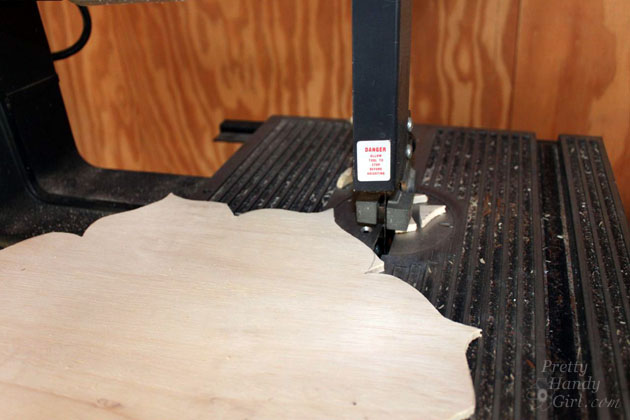
Use a jigsaw or band saw to cut out the shape. You might find this tutorial helpful for cutting out intricate shapes.

Rustic Pallet Serving Tray | Pretty Handy Girl

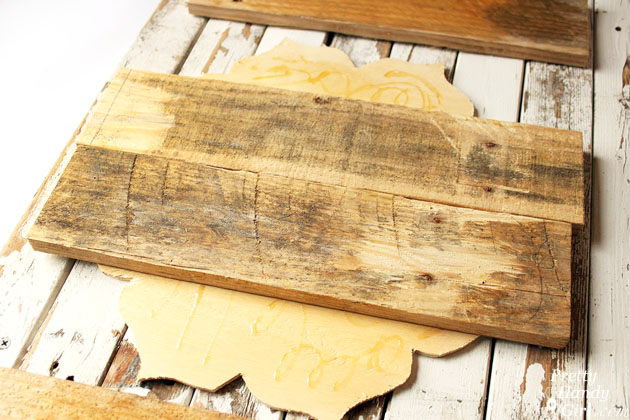
Lay your plywood shape on top of the rustic boards. Move the boards around until you like the sections that will make up the tray. Mark a square around the shape with a ruler.

Rustic Pallet Serving Tray | Pretty Handy Girl

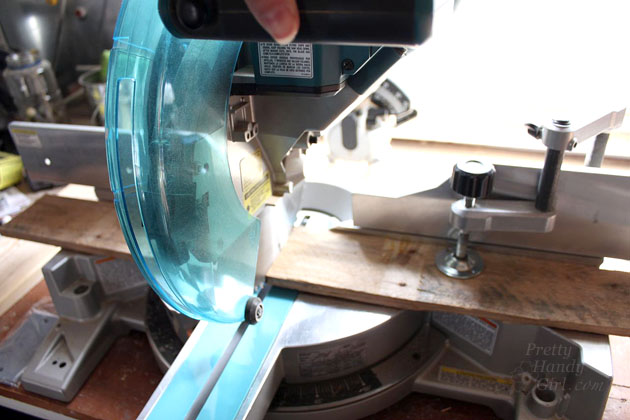
Cut the boards down to size using the pencil mark as a guide.

Rustic Pallet Serving Tray | Pretty Handy Girl

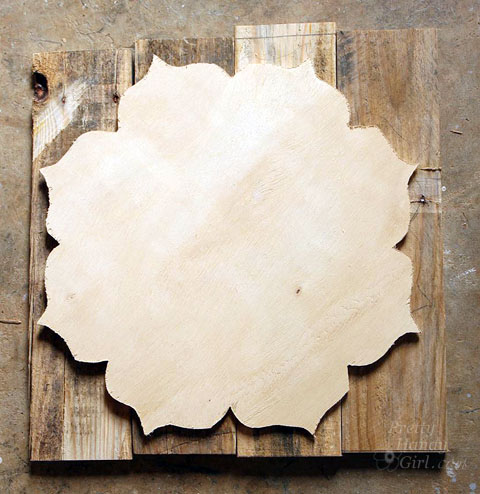
Dry fit the boards together on the plywood shape.

Rustic Pallet Serving Tray | Pretty Handy Girl

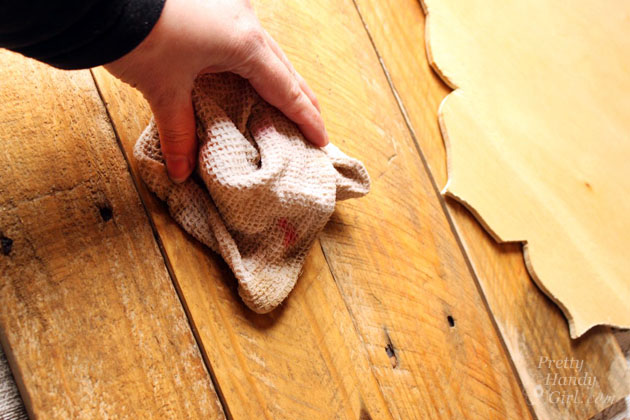
Wet both the plywood shape and the boards with a damp rag.

Rustic Pallet Serving Tray | Pretty Handy Girl

Apply Gorilla Glue to the plywood shape.

Rustic Pallet Serving Tray | Pretty Handy Girl

Set the rustic boards into the glue on the plywood shape.

Rustic Pallet Serving Tray | Pretty Handy Girl

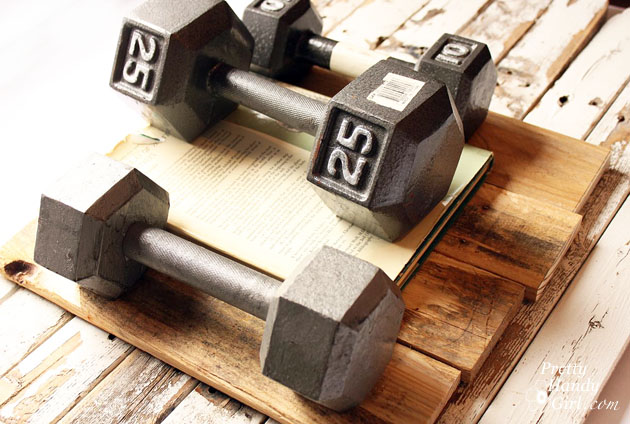
Weigh the boards down with weights or heavy books.

Rustic Pallet Serving Tray | Pretty Handy Girl

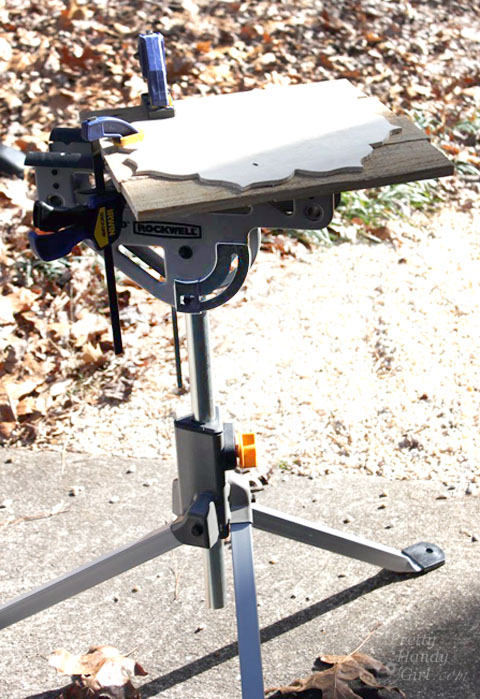
Allow to dry for at least an hour. Remove the weights and clamp the boards onto a work surface (with the area needing to be cut hanging over the edge. Make sure there is clearance for the jig saw blade. You’ll need to cut half the boards and then turn and re-clamp to cut the entire circumference. The Rockwell JawStand works beautifully for this task.

Rustic Pallet Serving Tray | Pretty Handy Girl

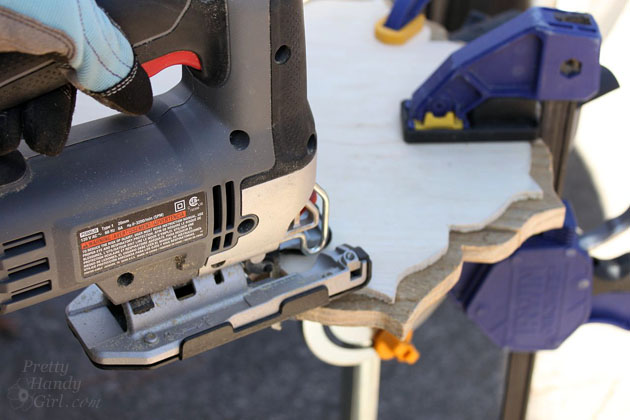
Draw a pencil line 1 inch out from the plywood shape. Cut around the pencil line with a jig saw.

Rustic Pallet Serving Tray | Pretty Handy Girl

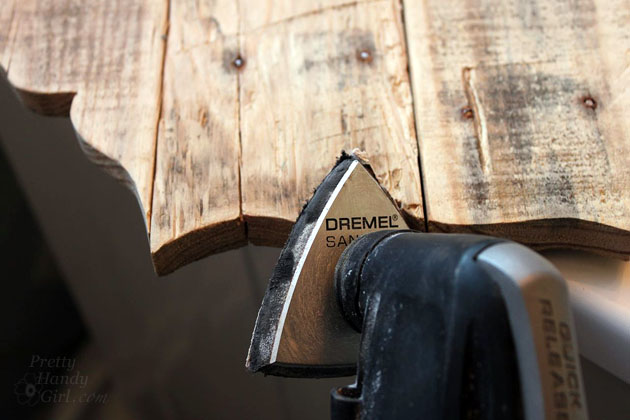
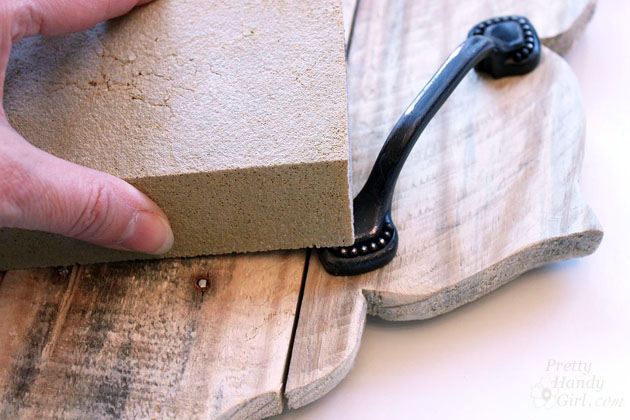
Sand edges and grooves with sandpaper or Dremel Multi-Max.

Rustic Pallet Serving Tray | Pretty Handy Girl

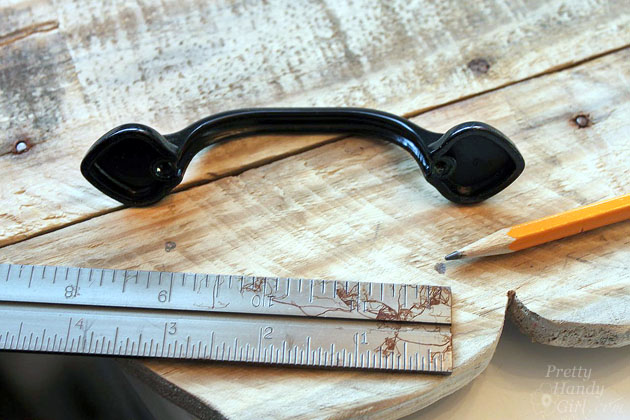
Measure and mark the location of the handles on the tray.

Rustic Pallet Serving Tray | Pretty Handy Girl

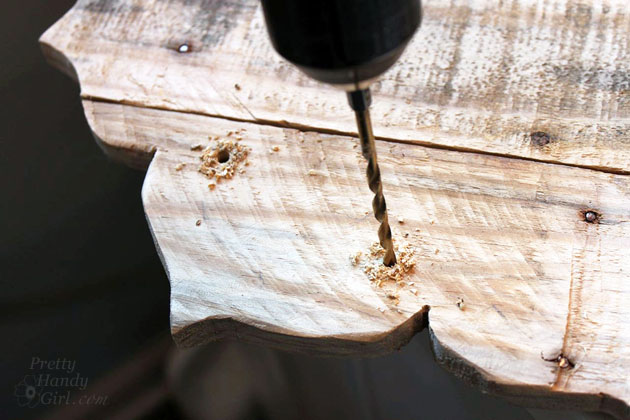
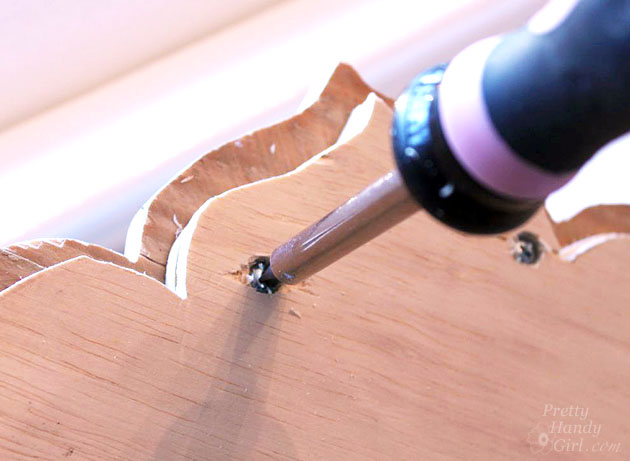
Pre-drill holes using a bit that is the same size as the handle screws.

Rustic Pallet Serving Tray | Pretty Handy Girl

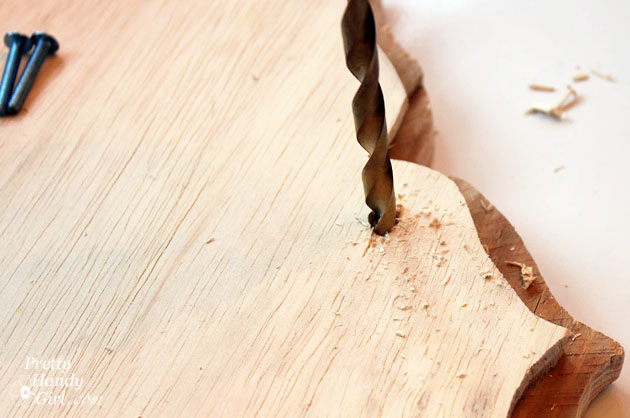
Flip the tray over and drill countersink holes with a larger drill bit.

Rustic Pallet Serving Tray | Pretty Handy Girl

Attach the handles with the screws. The screw heads should sink into the plywood.

Rustic Pallet Serving Tray | Pretty Handy Girl

If you want a truly rustic look, lightly sand your handles.

Rustic Pallet Serving Tray | Pretty Handy Girl

If you are going to use your tray for food, use a plate or doily under the food.

Rustic Pallet Serving Tray | Pretty Handy Girl

What do you think? Do you like this beautiful rustic tray? Think you could make one? I bet you could!

Rustic Pallet Serving Tray | Pretty Handy Girl

You can see this tray and our Bali-inspired deck makeover here.

PHGFancySign

Pin for later!

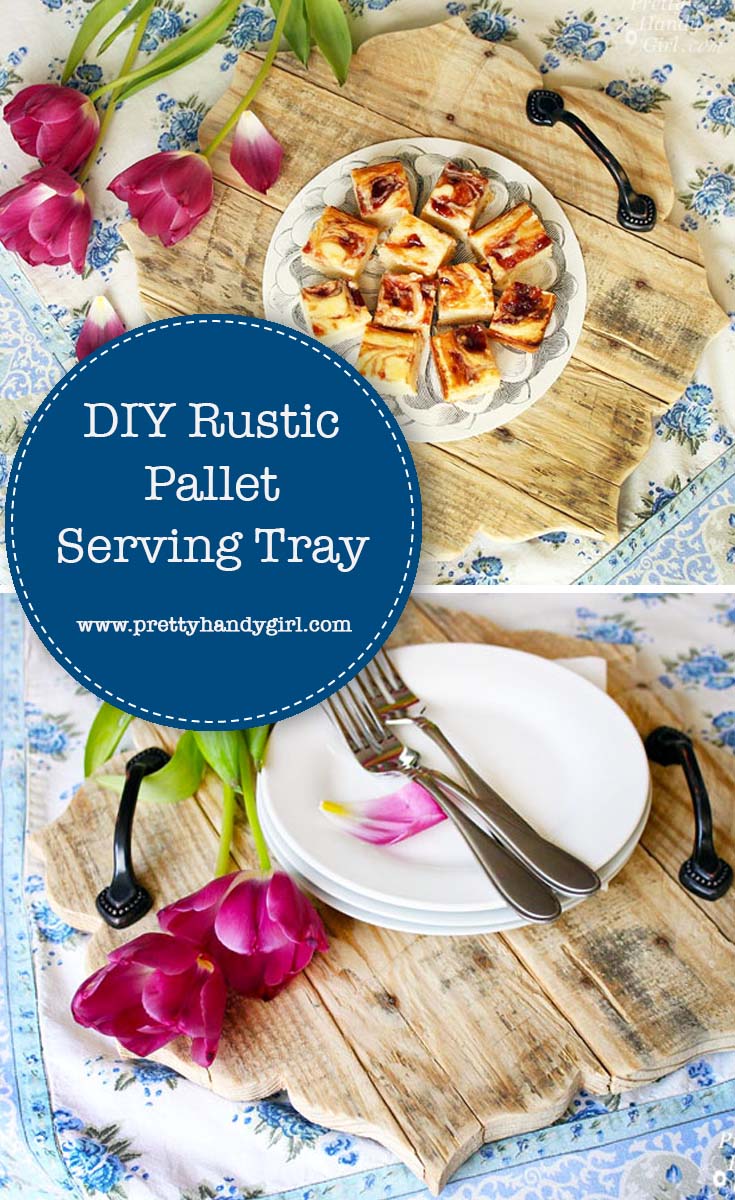
This DIY Rustic Pallet Serving Tray is easy to create with a cutout pattern | Plank serving tray | Pretty Handy Girl #DIY #woodworking #DIYtray #servingtray #rustichomedecor

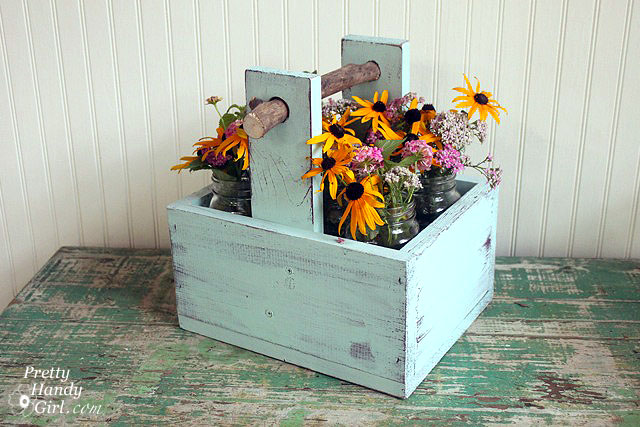
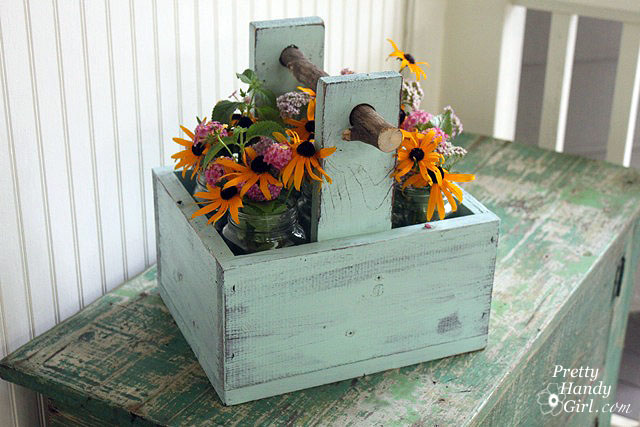
Rustic Wooden Caddy with a Branch Handle

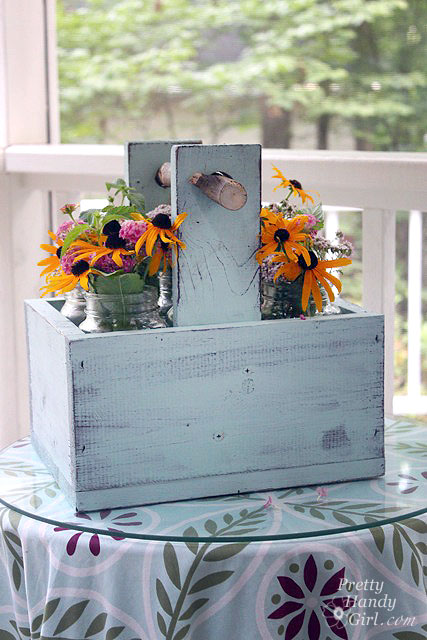
Spring is right around the corner and I’m itching to cut some fresh flowers to bring inside. I love displaying them in jars placed inside rustic wooden caddies. Making a little caddy or tote out of salvage wood and branches can be an easy beginner DIY project. But, it’s also satisfying for experienced woodworkers looking to use up some old scraps or upcycle an old wooden box. Here’s how to elevate a simple wooden box into something more quirky and special by adding a branch handle.

Materials:

(I’ve included affiliate links for your convenience. I earn a small percentage from a purchase using these links. There is no additional cost to you. You can read more about affiliate links here.)

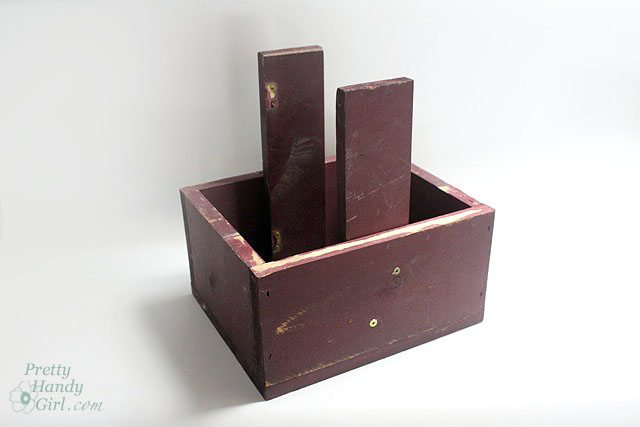
I happened to be browsing through a yard sale and spotted a sad little box begging for me to buy it and give it a new life:

How could I say no! It was only $3. I couldn’t leave it at the yard sale in its sad burgundy dust-covered state. I brought it home so it could sit in my garage collecting more dust. (This happens more often than I’d like to admit. It’s a sickness I have.)

Using the pry bar and pliers, I pulled off the lid of the box and removed any nails.

Then I had a basic box to work with. You can use this tutorial to create a simple box if you don’t have one.

Instructions:

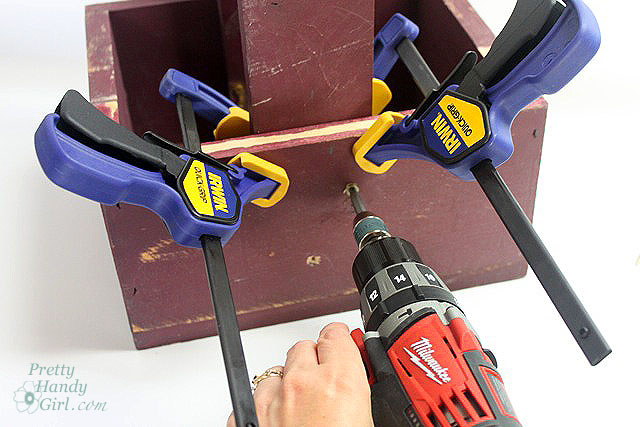
Cut upper handle supports out of 1×3 or other scraps. Clamp them inside the box.

Pre-drill holes and drive wood screws through the sides of the box and into the vertical supports.

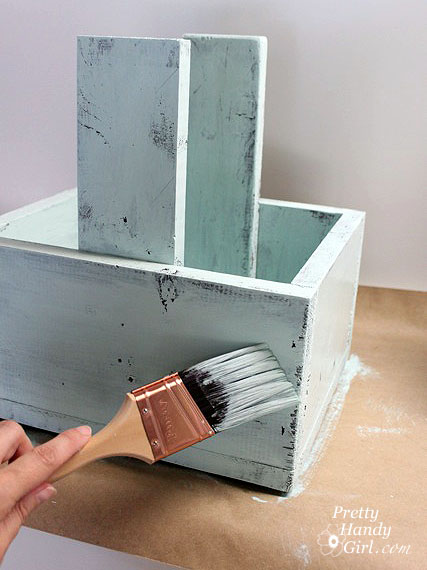
Now it the time to finish the wooden caddy using your choice of paint or stain. (I like to create a rustic look using a relatively dry brush and by letting some of the wood grain show through your brush stokes.)

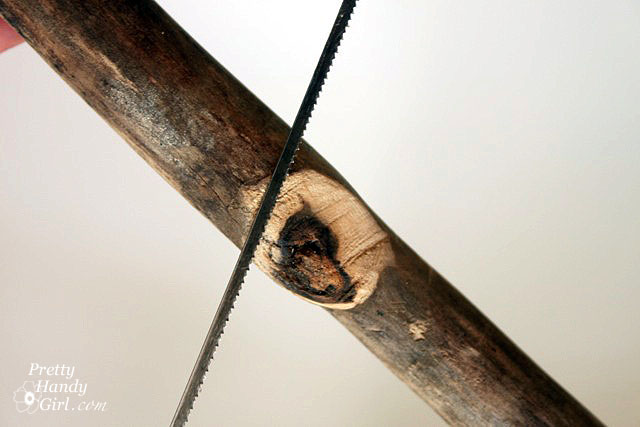
While the paint is drying, use a hack or coping saw to remove any bumps or burrs from your branch.

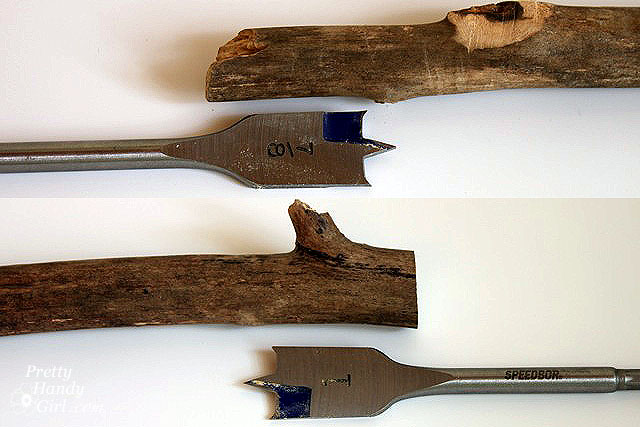
Measure the ends of your branch and select the spade bits that are closest in diameter to your branch (you want the holes to be equal to or wider than the branch.)

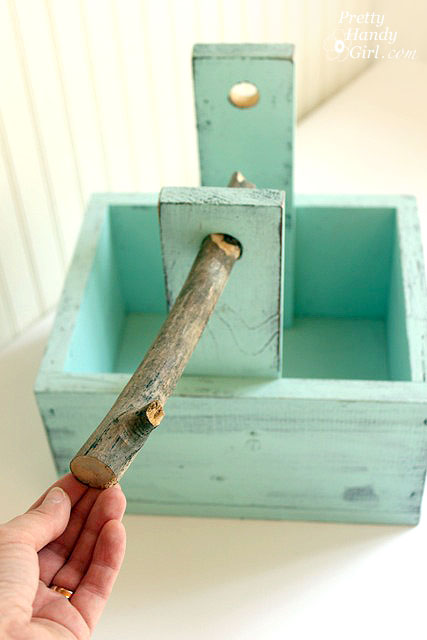
Drill a hole into each side of the vertical handle supports.

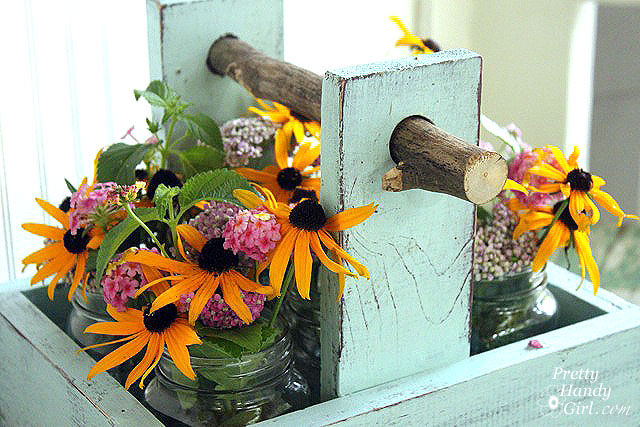
Insert the branch into the side of the caddy. You might have to experiment with which direction to install the branch.

Fill some jars with flowers and set them inside the crate.

Set it out in a prominent spot in your home.

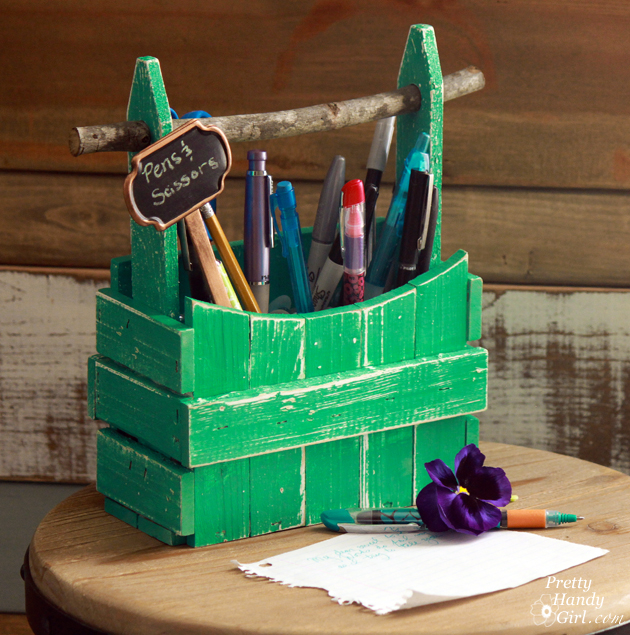
Enjoy your shabby chic crate, caddy, tool box, or whatever you like to call it.

Personally I can’t get enough of this branch handle:

I’m curious, would you have bought that little dusty box too?!

If you liked this tutorial, you’ll love these other easy DIY Projects:

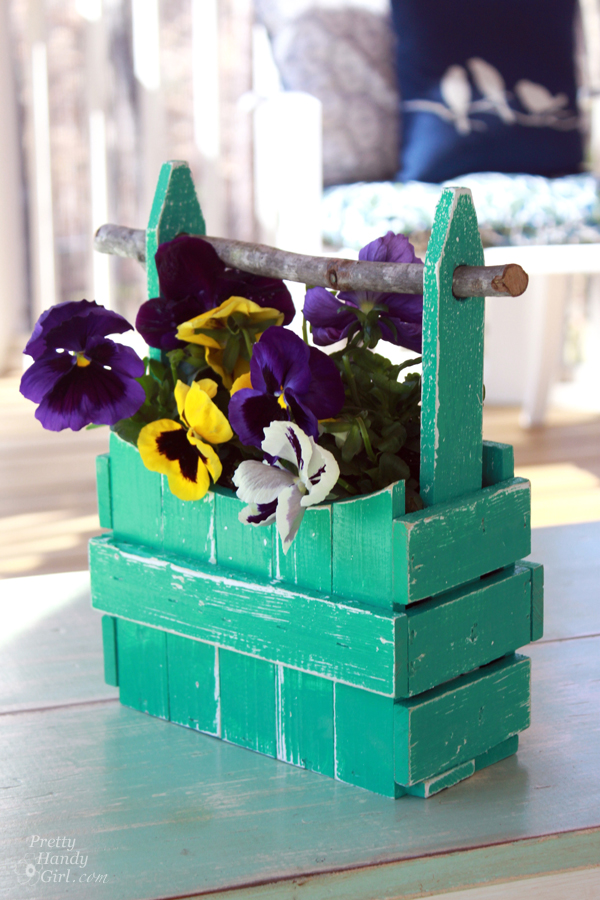
Mini-Picket Fence Caddy

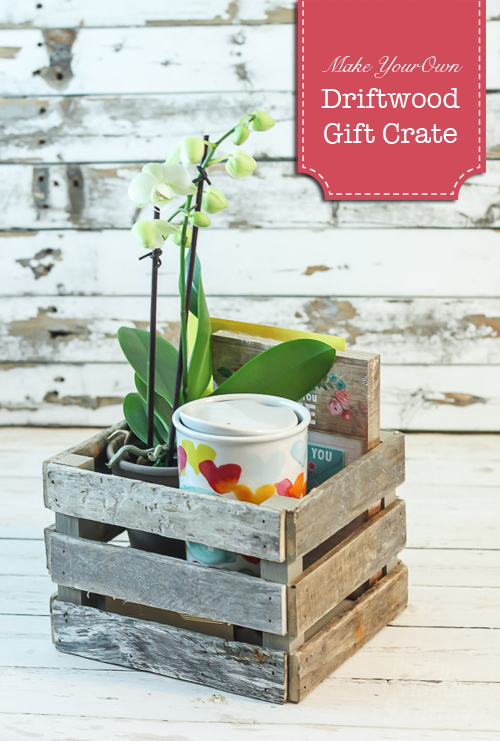
Make a Driftwood Gift Crate | Pretty Handy Girl

Make Your Own Driftwood Crate

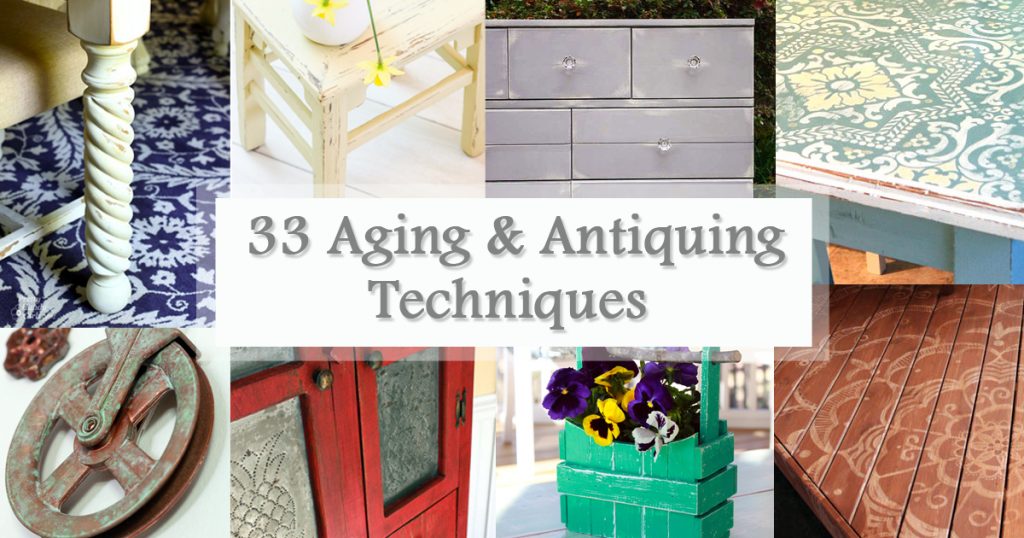
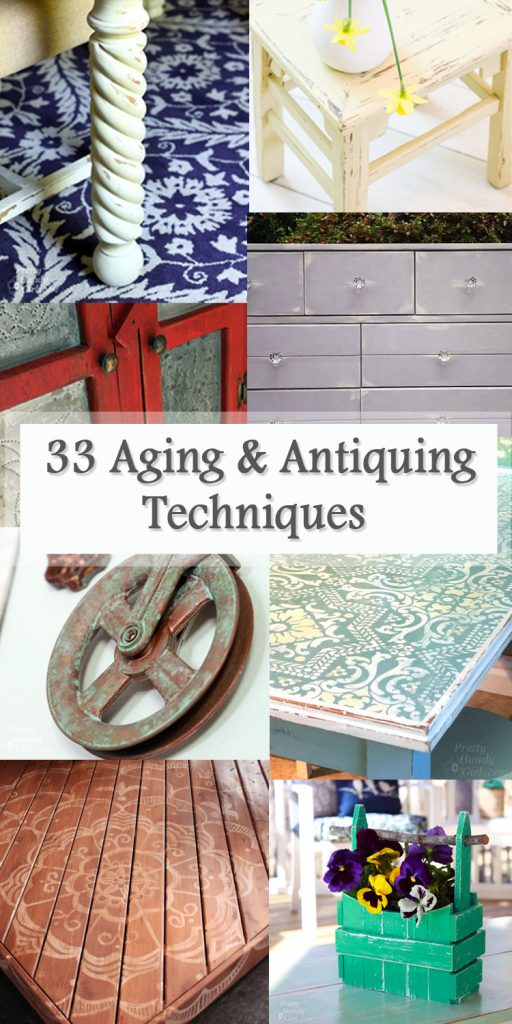
Aging and Antiquing Finishes Roundup Social Media Image

Aging and Antiquing Finishes Roundup Social Media ImageAging and Antiquing Technique Tutorials:

Do you love the idyllic vintage or rustic look? If your answer is yes, then this round up is for you! I’ve curated some awesome projects with full details for aging and antiquing techniques that every DIYer should know. Check them out!

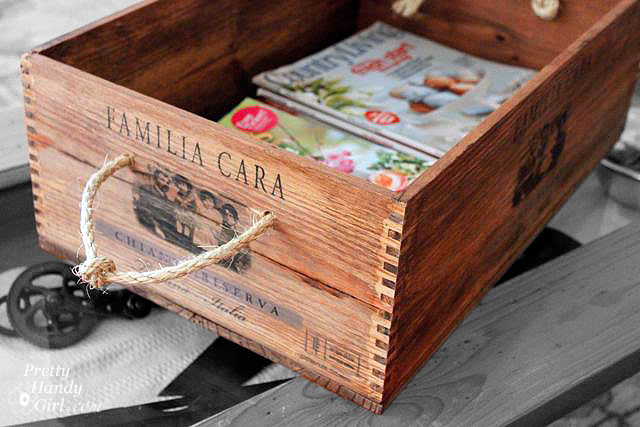
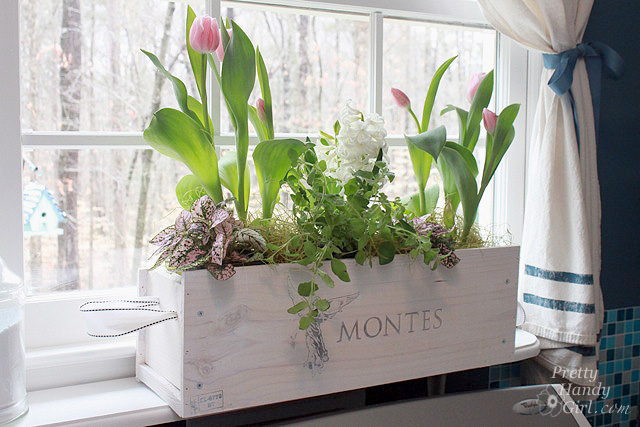
wood_crate_on_coffee_tableThis Rustic Wine Crate with Rope Handles looks great after a little staining and distressing.


Faux Painted Fireplace from white to brownstoneConsider Painting a Brick Fireplace to Beautiful Brownstone rather than tearing out the brick you hate.


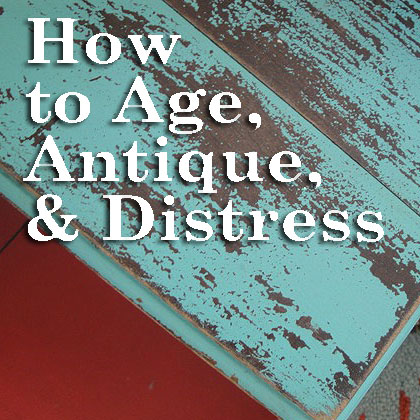
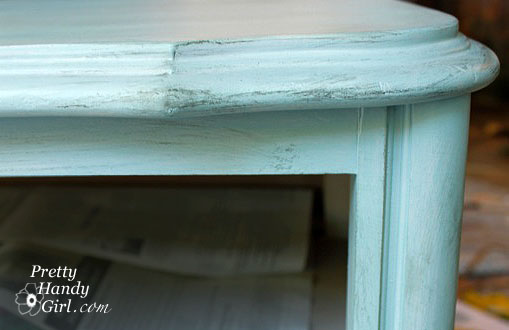
How to Age, Distress & Antique | Pretty Handy GirlLearn many of the best techniques for Antiquing and Aging Furniture here.


Repaint Dated Decor Pear and GourdCheck out how you can update your home just by Repainting Dated Decor.


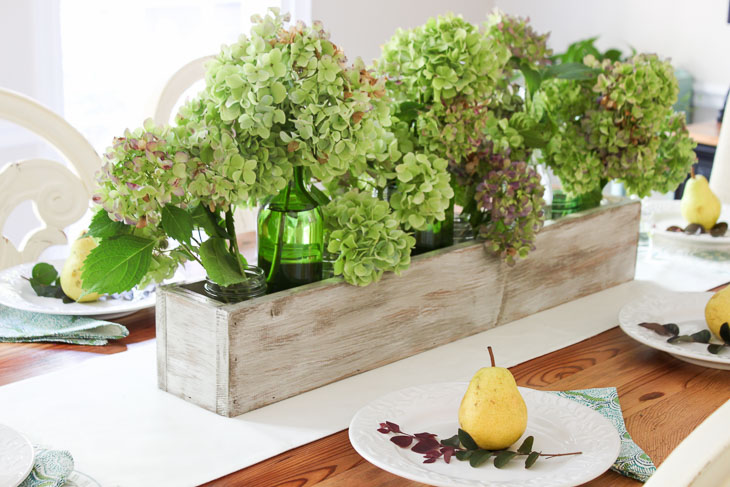
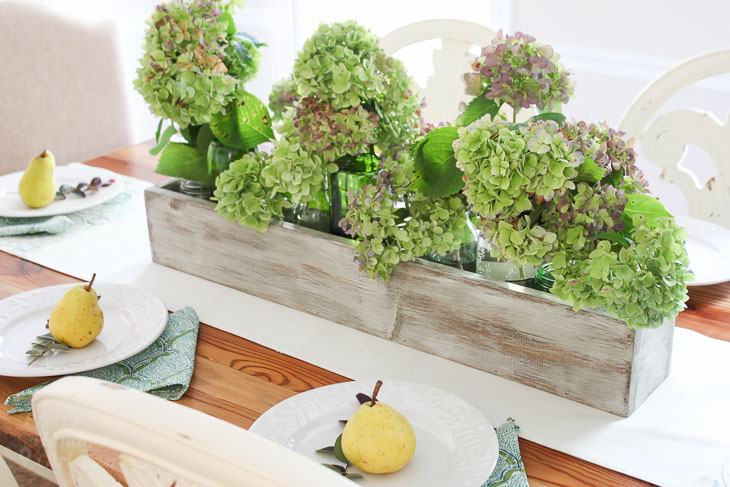
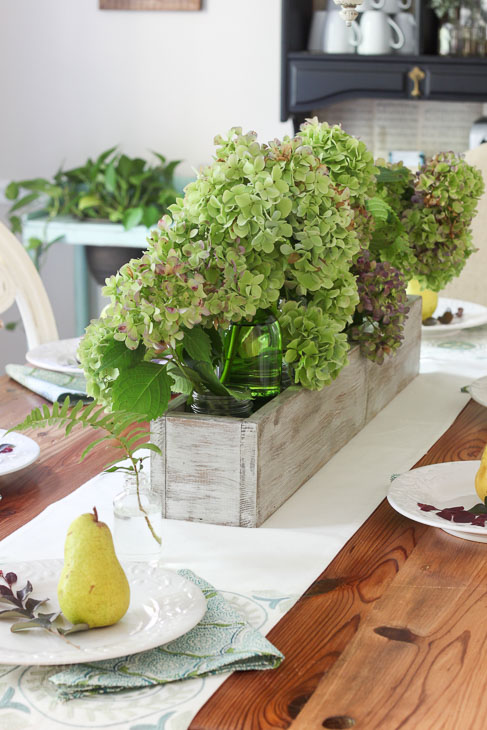
Green and purple hydrangeas in rustic wood trough. Build Your own Rustic Trough Centerpiece tutorial.

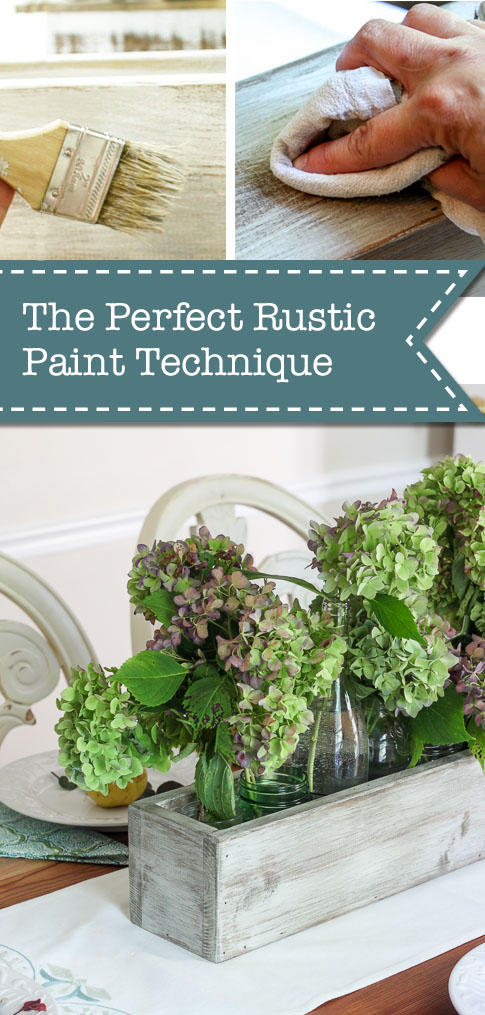
Learn my go to products and tips for achieving the Perfect Rustic Paint Technique.


Antique Glaze from Asphaltum Learn how to antique beautiful furniture using Asphaltum Glaze.


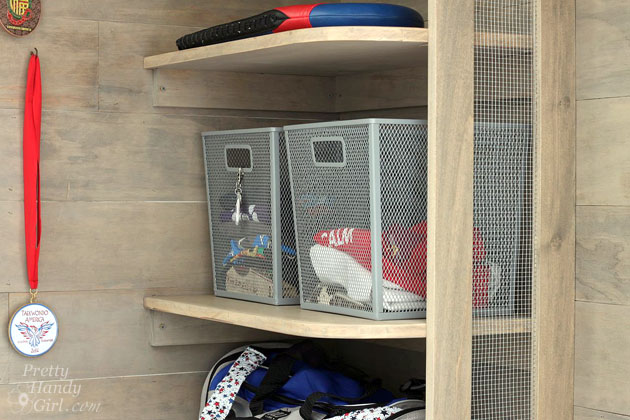
white-washed-window-boxCheck out this White-washed Window Box and see how to get this finish on your next project.


paint-wash-stand-plant_in_dry_sinkRefinish your furniture in no time using the help of a spray gun used here for Painting an Antique Washstand.


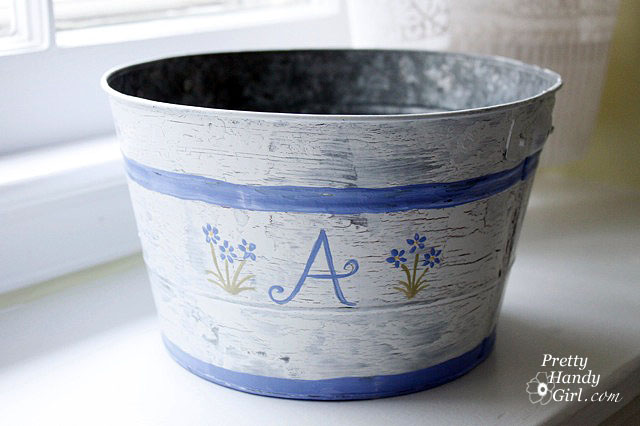
Aged Painted PailFind out how to get creative and make An Aged Painted Pail using something you can find in the school classroom.


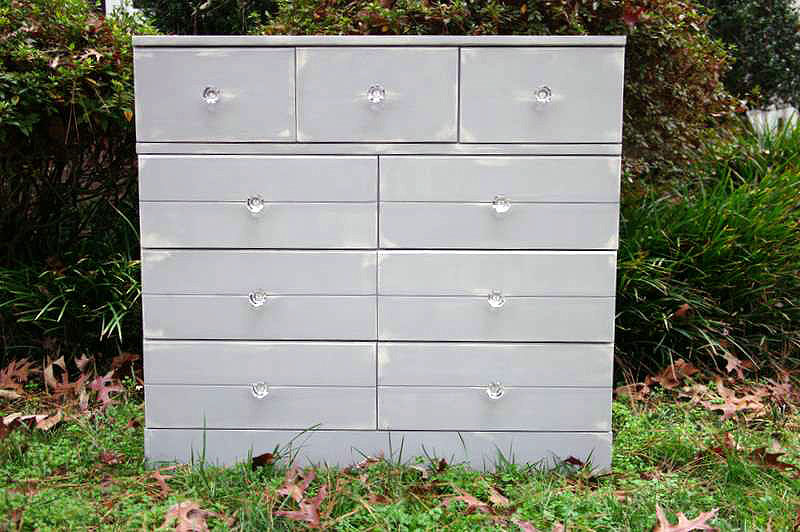
finished distressed dresserThis Shabby Chic Dresser is gorgeous, check out how Holly (a professional refinisher) achieves this finish.


Secret_to_aging_new_wood_pin

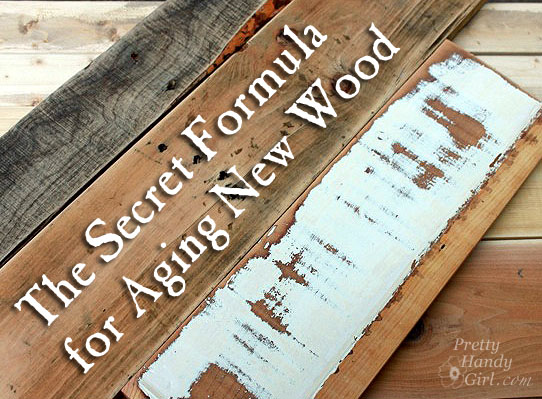
Learn how to make new wood look old, weathered and rustic.


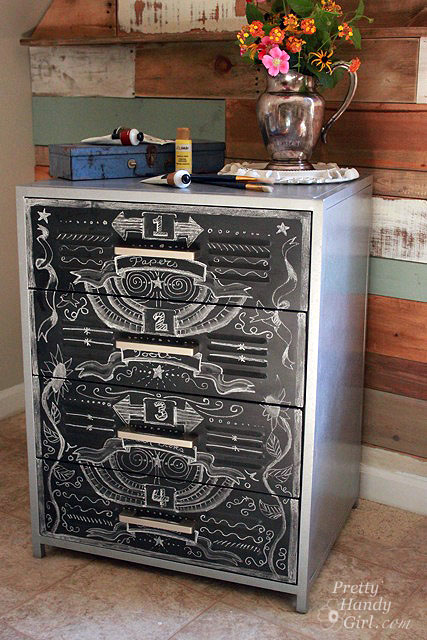
chalkboard zinc cabinetLearning how to Faux Zinc will open so many doors for you! Be creative!
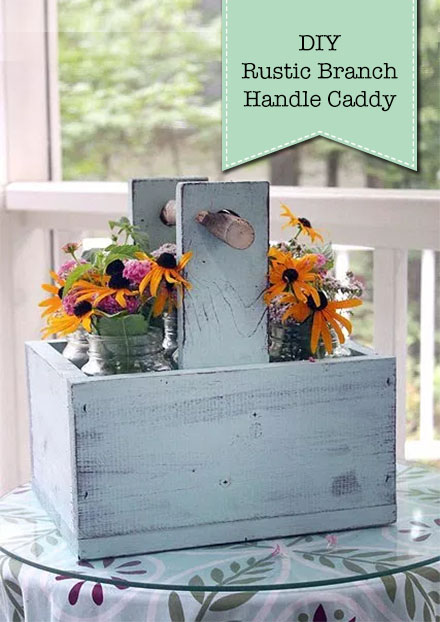
 

Distressed Picket Fence Planter BasketLearn how to get a distressed finish with this Distressed Picket Fence Planter Basket tutorial.


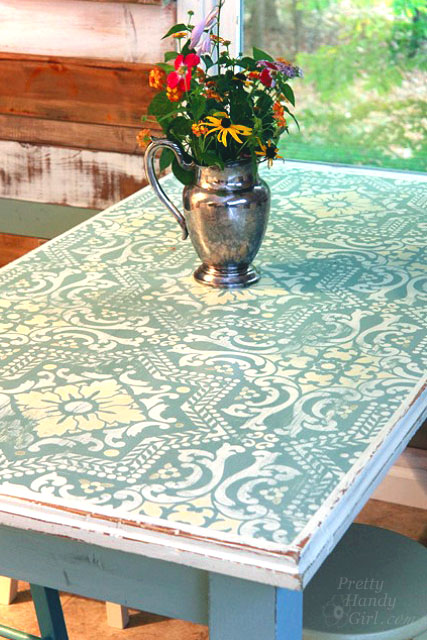
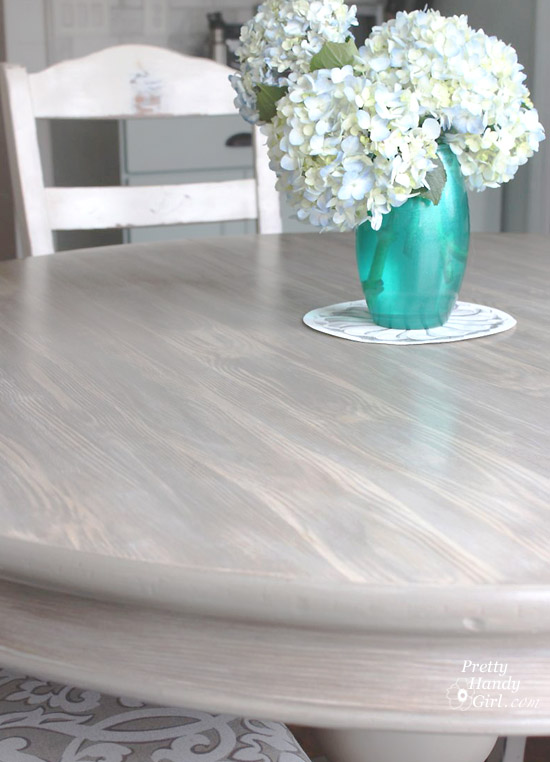
Table painted, stenciled and distressedThis Chalk Painted, Stenciled and Distressed Dumpster Table gives you all the details on how to make an amazing table like this one!
 

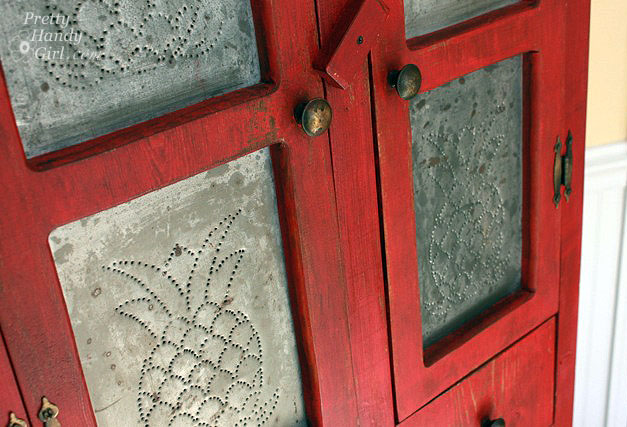
Rustic Pie Safe Painted with Milk PaintThis Rustic Red Pie Safe painted with Miss Mustard Seed Milk Paint is a great way to learn about using milk paint.


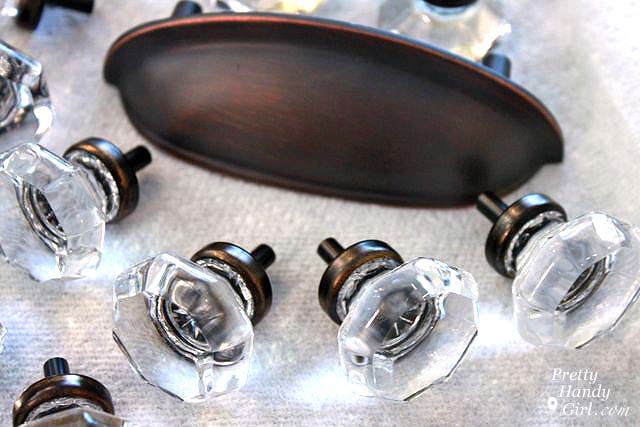
Oil Rubbed Bronze Knobs HardwareDon’t buy new, learn how she refinished old hardware to get these Rubbed Bronzing Cabinet Knobs.


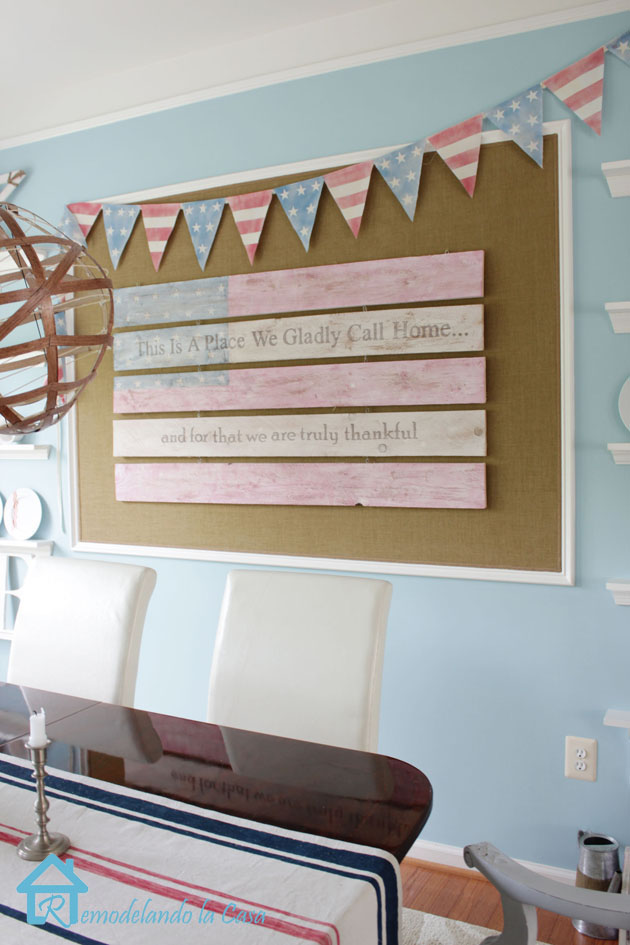
White-washed Patriotic Sign A slightly different finish can make any item a statement piece, like this White-Washed Patriotic Flag Sign.


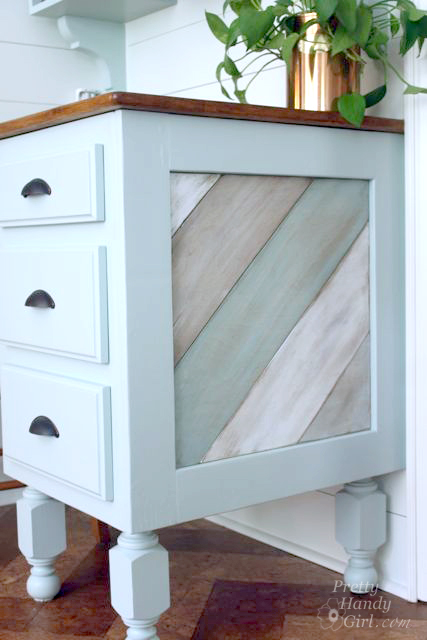
Painted Distressed Wood PanelThe gorgeous technique on this Painted Distressed Wood Panel could be used for a huge variety of projects.


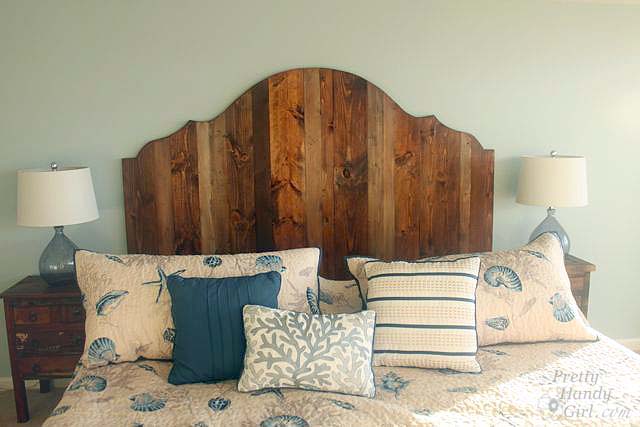
Rustic Wood HeadboardSee how they got this Rustic Wood King Headboard finish. Hint: it involves chains!


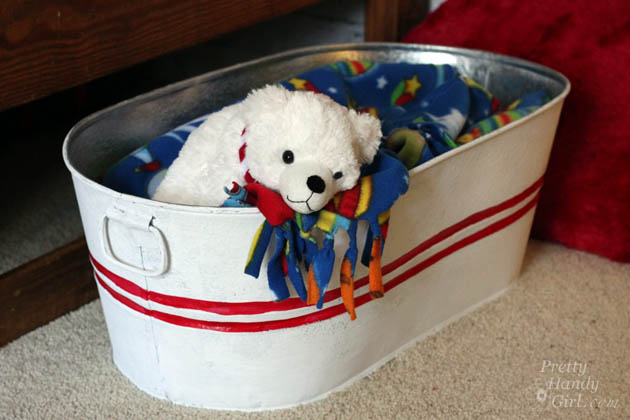
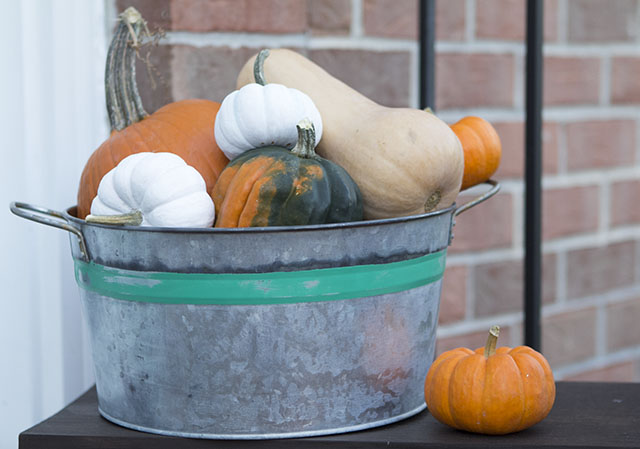
Painted Galvanized Storage TubChange up your metal bins with some paint, like this Galvanized Tub Storage.


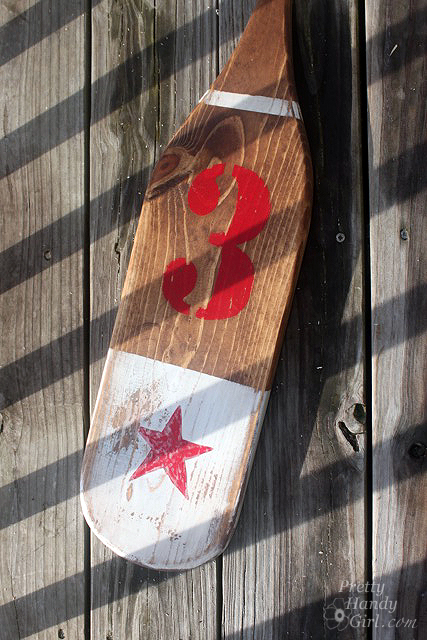
Painted and Distressed - vintage oarsThese Vintage Painted Oars have an amazingly realistic finish and look so great! You’ll never guess what they used to be!


Faux Finished Weathered Wood GrainLearn how to Create Faux Finished Weathered Wood Grain. Yup, that’s not real wood grain and it looks amazing!


Faux Aged Galvanized BucketLearn how to Age Galvanized Metal Quickly, sometimes aging just gives extra charm.


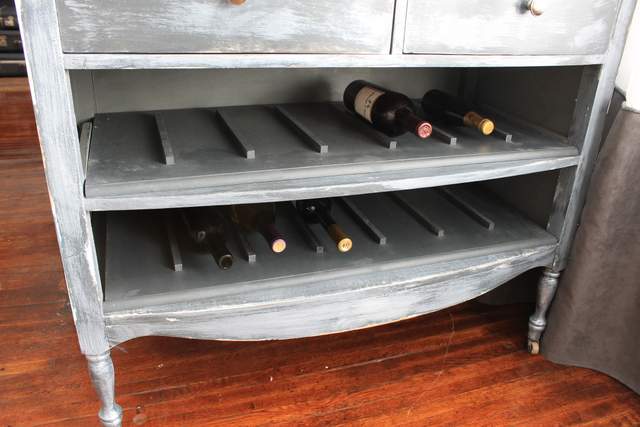
Unique Wine Rack Distressed FinishCheck out how to accomplish this Unique Wine Rack Paint Finish, you’ll be glad you did.


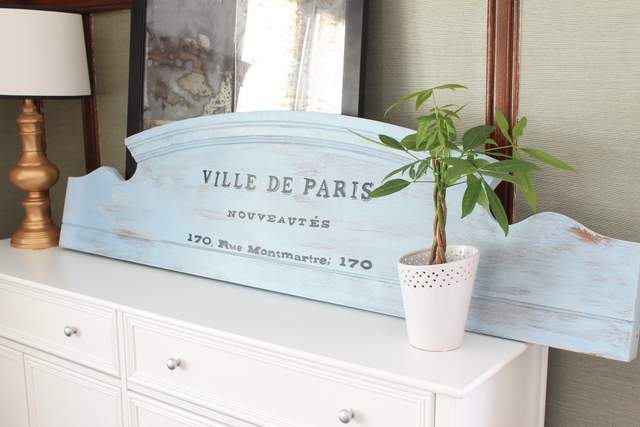
Make vintage old sign from footboardWith a little chalk paint and sand paper, you can make a gorgeous old sign from a footboard.


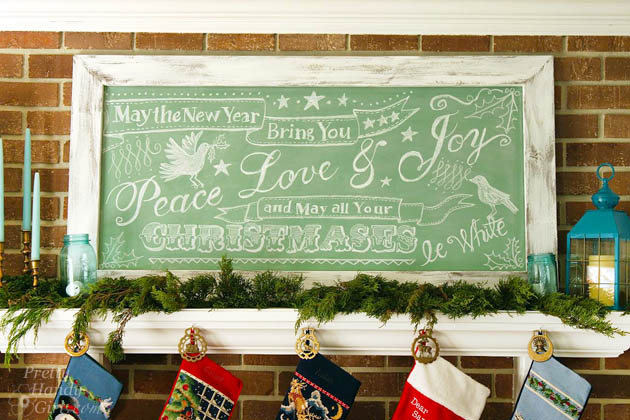
Rustic Vintage Chalkboard Find out how to Build Giant Vintage Chalkboard and finish it off tonight.


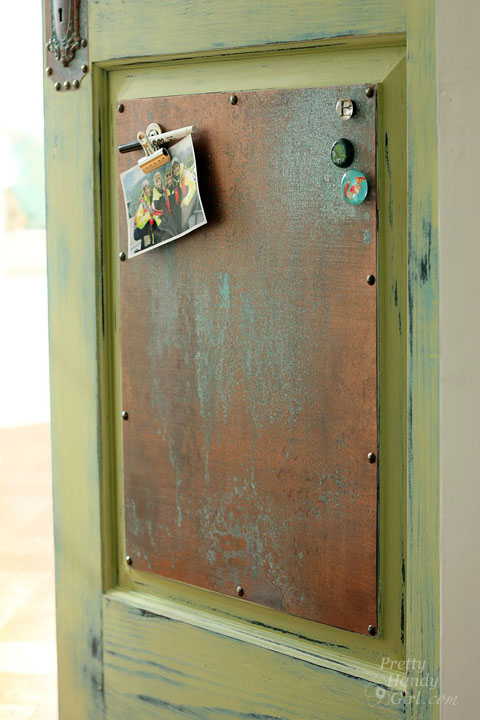
Faux Copper and Patina This Faux Copper and Patina finish is stunning, learn how to make it happen on any surface!


Restoration Hardware Stain Recipe Get the Gray Restoration Hardware Stain Recipe. It’s so easy to get the same finish as that coveted store.


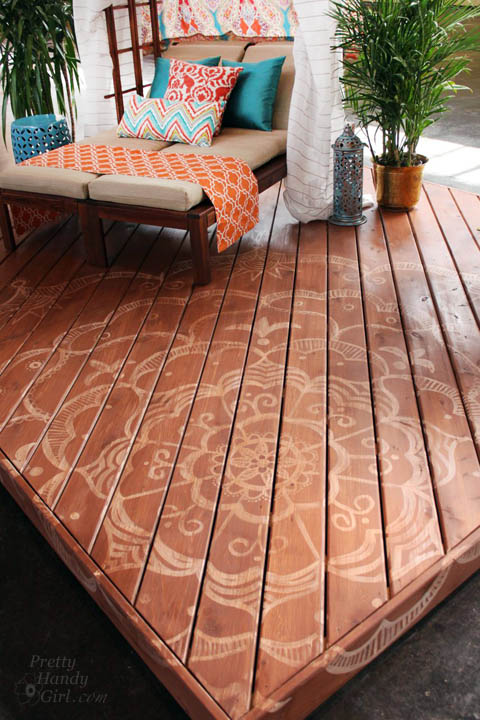
Paint a Giant Mandala Deck Tattoo DesignLearn how to Paint a Giant Mandala Deck Tattoo and turn something ordinary into something elegant.


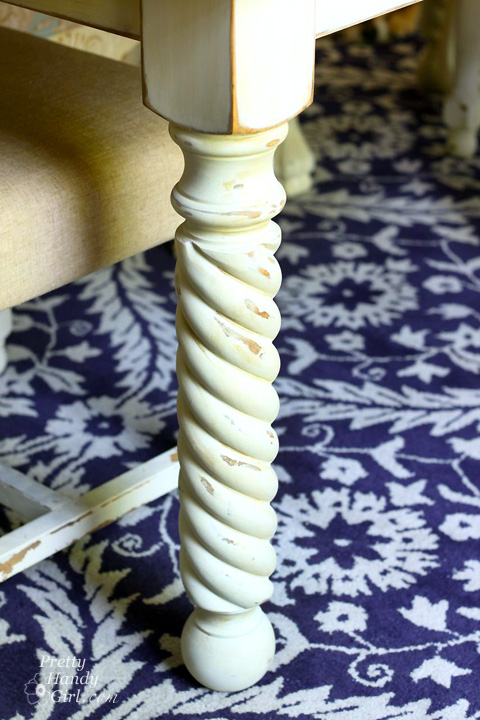
Aging and Antiquing Furniture Legs

Here are some tips and tricks (you don’t want to miss) for Aging and Antiquing Furniture Legs.


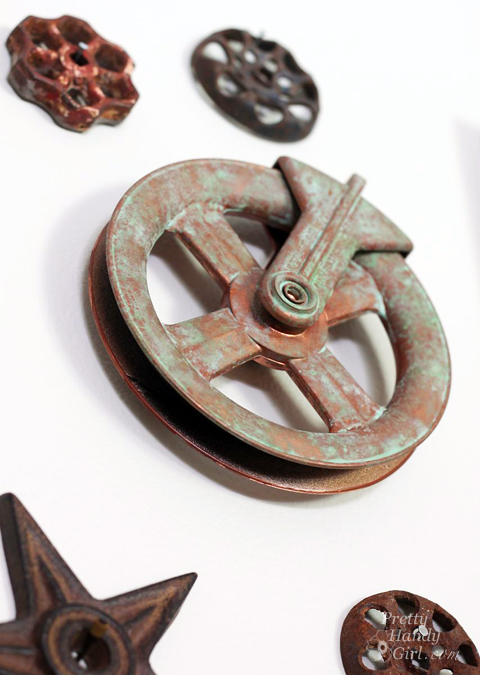
Faux Aged Metal PulleyThis Faux Aged Metal Pulley is just awesome. Find out how it was done.


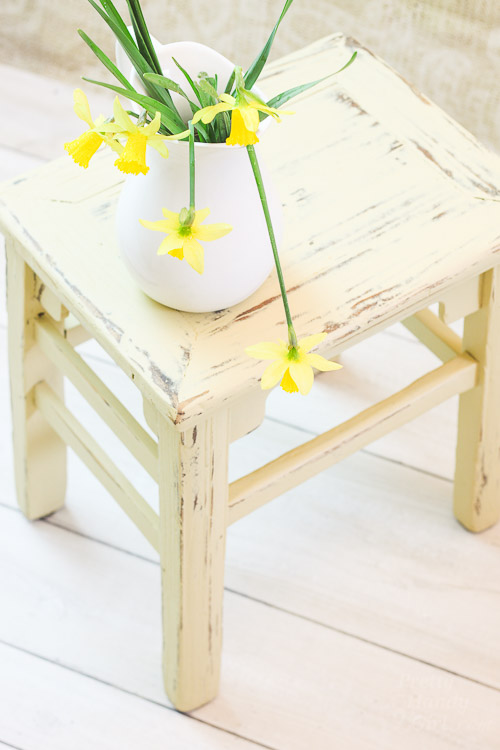
Chalk Painted Wooden StoolLearn the technique for this Chalk Painted Wooden Stool, it will be handy for sure!


Rustic Painted Reindeer Sleigh Make something amazing with this technique, like a Vintage Rustic Sleigh Ride Sign.

Thanks for stopping by. Do you have any techniques we didn’t cover here? Feel free to share your tips for aging and antiquing in the comments! Don’t forget to pin this image so you can find it again!

Aging and Antiquing Finishes Roundup Pinterest Image

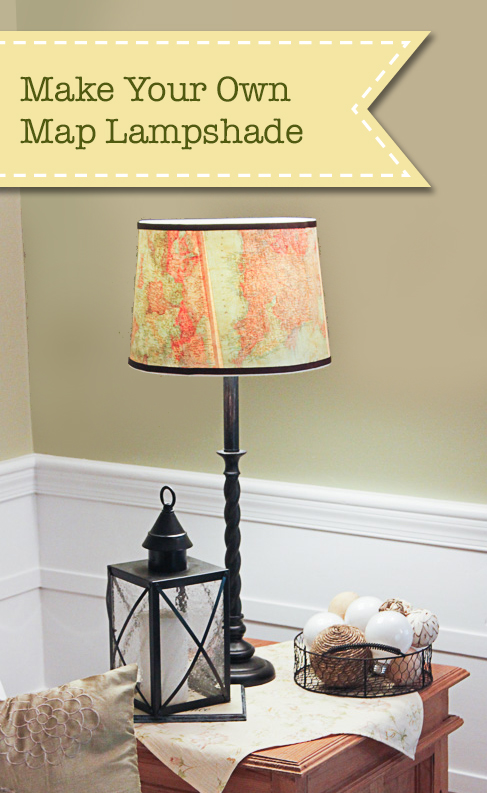
Like the vintage look? You’ll love this Vintage Map Lampshade project:

Vintage Map Lampshade | Pretty Handy Girl


Green and purple hydrangeas in rustic wood trough. Build Your own Rustic Trough Centerpiece tutorial.

The Perfect Rustic Paint Technique {with Video Tutorial}The Perfect Rustic Paint Technique {with Video Tutorial}
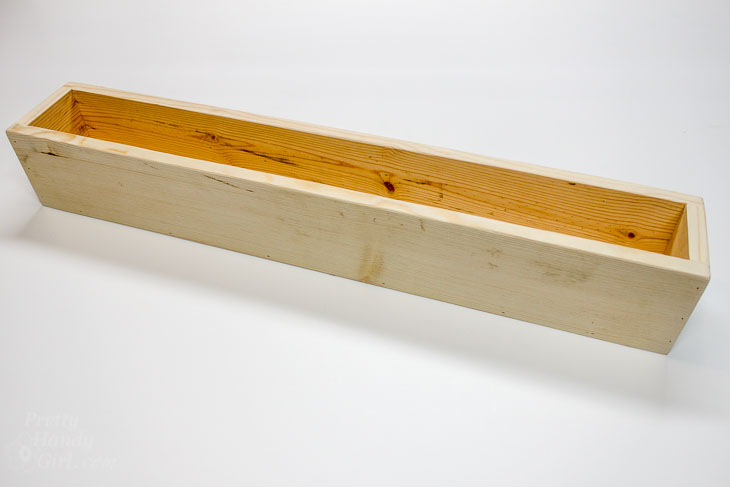
I have been painting and distressing furniture and home décor for almost ten years now. Over the years I’ve tried a lot of different techniques, but the one I’m going to show you today is the one I consider “The Perfect Rustic Paint Technique!” The reason I like this technique is because I get consistent results and it’s not as messy and time consuming as painting several layers and sanding back down to the raw wood. This isn’t to say that I don’t still experiment or sometimes go back to previous techniques. I just wanted to show you my tried and true technique.

Green and purple hydrangeas in rustic wood trough. Build Your own Rustic Trough Centerpiece tutorial.

You may have seen the DIY Trough Centerpiece I built last week. If you don’t have a piece of furniture you want to try this technique on, go ahead and build this quick little (or should I say long) DIY Trough Centerpiece to experiment on.

Finished trough build.

Then you’ll want to gather some materials and coffee (this is optional, but I find I enjoy DIYing with a cup of java.)

Materials:

(I’ve included affiliate links for your convenience. I earn a small percentage from a purchase using these links. There is no additional cost to you. You can read more about affiliate links here.)

Instructions:

Want to cut to the chase and watch the video tutorial? Well, be my guest:

If you like to see the step-by-step tutorial, here’s the break down:

Step 1: Sand & Stain

Lightly sand your piece to remove any rough spots.

If you’re working with a pre-finished piece of furniture, clean well to remove any dirt or oils that would resist the stain. Then sand everything lightly to give the surface a little “tooth” for the paint to grip to. Skip the next step unless you have sanded down to bare wood.

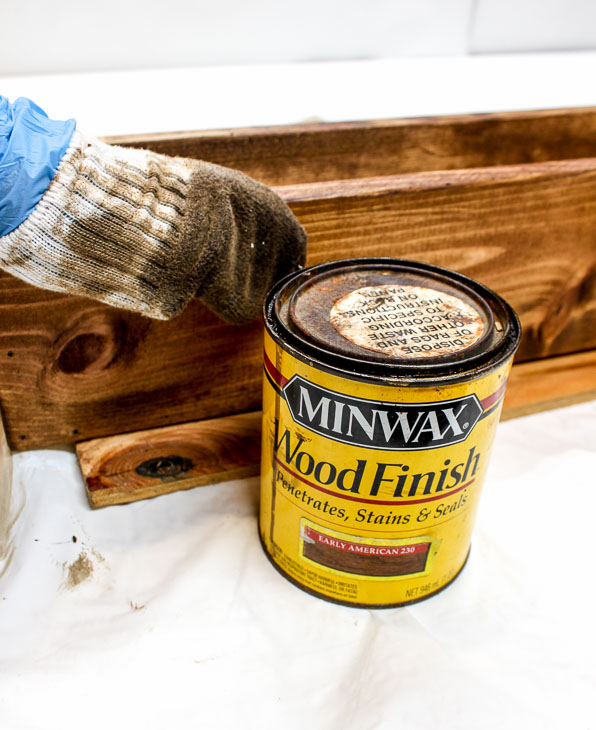
Put on your rubber glove and grab a rag or slip an old sock over your hand. Dip the rag into the stain and wipe it on the wood. Wipe off any excess stain. If you want a darker look, apply a second or third coat of stain. Allow the stain to dry (overnight is best.)

Wipe on Minwax Early American Stain.

Step 2: Painting

A quick note about chalk-like paints: I have tried a lot of different chalk paints and still don’t have an absolute favorite. Personally I like to buy them based on a pre-mixed color I like. That being said, I do have some that I don’t like as much. Although the Annie Sloan Chalk Paints were first on the scene, I struggled with them having unmixed chunks in them and they tended to dry out too quickly for my taste. That being said, most chalk paints will dry out quicker than latex paint. So make not to leave the lid off too long (it’s better to pour a small amount onto a tray or paper plate.) And store chalk paint in a temperature controlled environment. 

Dip your chip brush into the chalk paint and dab off most of the paint onto rag. Your paint brush should have very little paint on it.

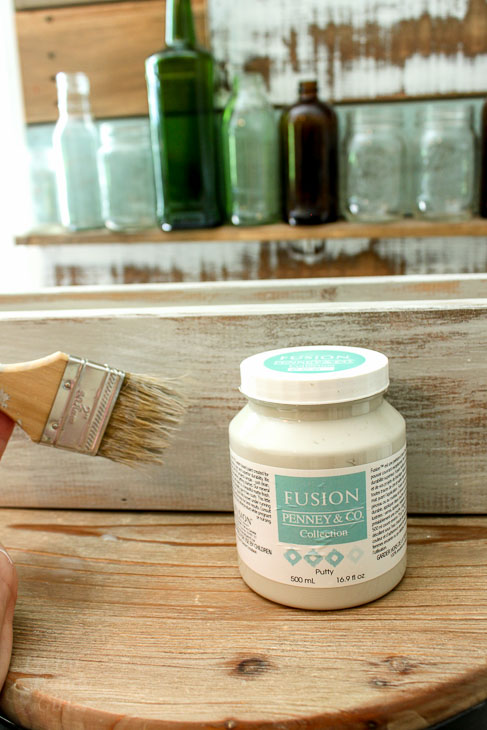
Lightly drag the chip brush over your piece following the direction of the wood grain. This technique is called dry brushing (in case you wondered.) Allow some of the wood stain to show through. This will cut down on the need to sand down to the wood later.

Dry brush Fusion paint.

Step 3: Adding Dimension

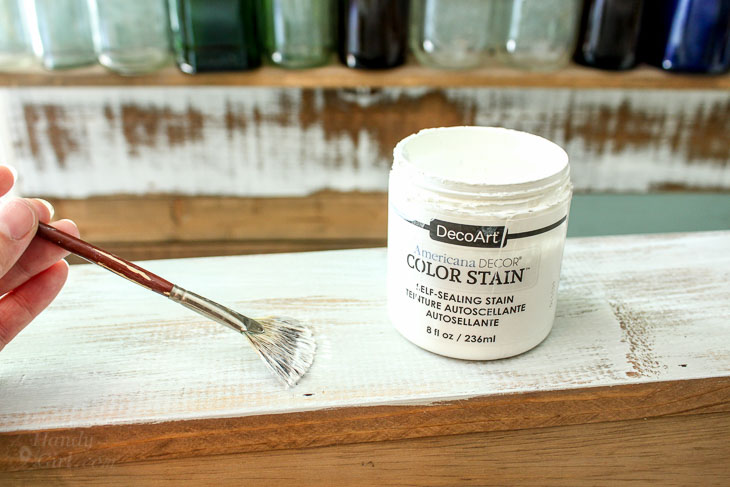
Allow the paint to dry (which shouldn’t take very long.) Dip another chip brush into the white color stain. Wipe off most of the paint and dry brush some “hi-lights” onto your piece. You don’t need as much coverage as the painting step. This is just adding some extra dimension to the piece.

Use DecoArt white stain for highlights.

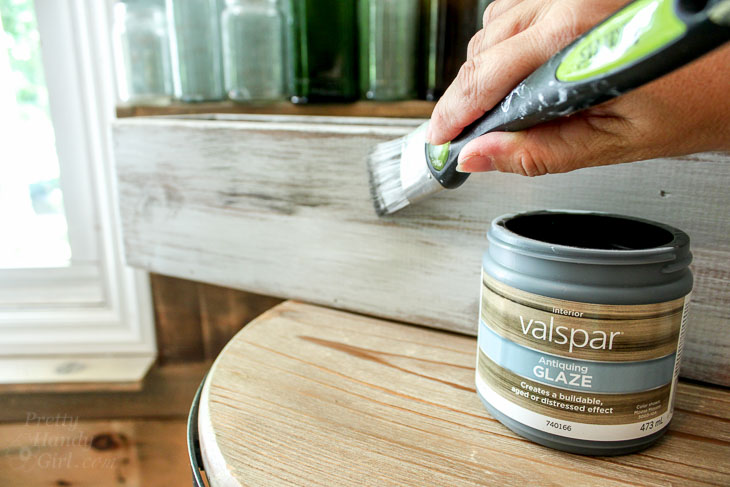
After the white stain has dried, dip another brush into the antiquing glaze and wipe most of the glaze off the brush. Once again, dry brush some areas on your piece to give some more dimension.

Dry brush Valspar Antiquing Glaze.

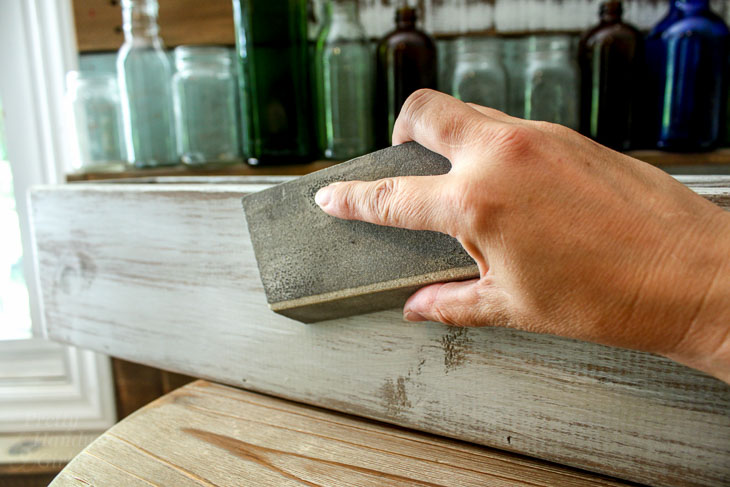
If you make a mistake or put too much glaze on, you can wipe it off within the first few seconds. Alternatively, you can always sand off any paint, stain or glaze you apply.

Sand smooth.

Once you’ve achieved your desired amount of paint, stain and glaze, get ready to seal in the beauty!

Step 4: Wax Finish Coat

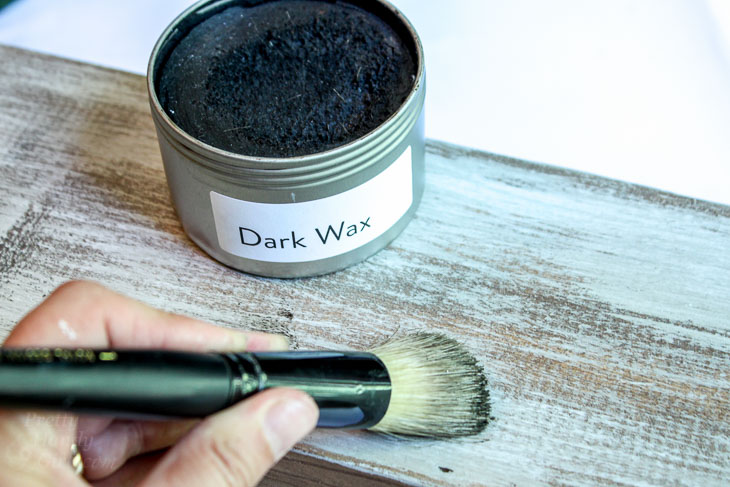
Apply some dark wax onto a wax brush (or stencil brush.) Rub the wax on in a circular pattern.

Apply Dark Wax.

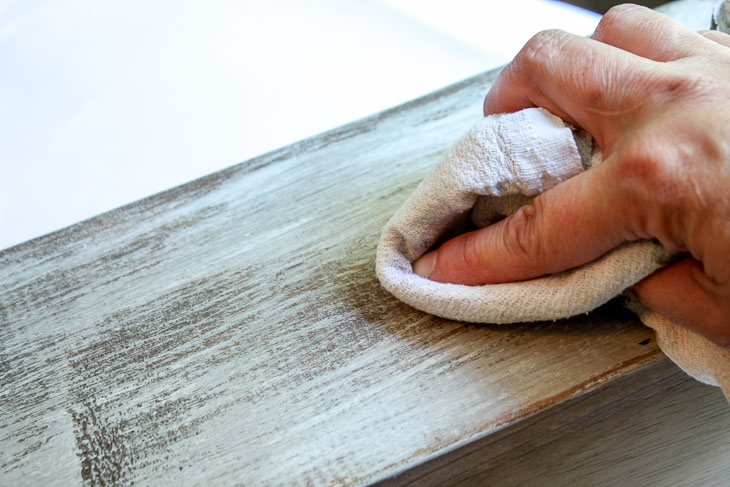
Then buff it off with a clean dry rag. The wax gives your piece a soft luster and protects it from water. If you are working with a piece of furniture, you may want to apply another coat of wax. And you will need to re-apply in a few years.

Buff off wax.

Now stand back and admire that Perfect Rustic Paint Technique!

She’s purdy, don’t you think?

Pin this picture to share the rustic love!

The Perfect Rustic Paint Technique {with Video Tutorial}
Liked this tutorial? I think you’re going to love my Secret Formula for Aging New Wood: