How to Build a Rustic Crate Centerpiece (No Power Tools Needed!) #DIYCourage | Pretty Handy Girl

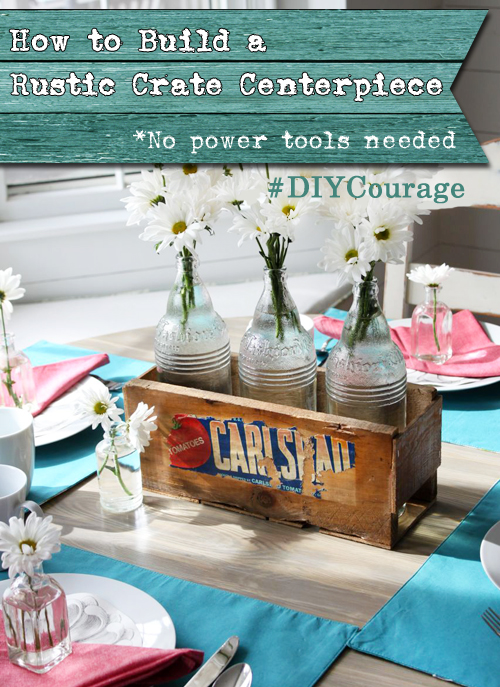
It occurred to me the other day that many woodworking projects may deter people simply because they don’t have power tools or they don’t know how to use them yet. For that reason, I created this tutorial to help you Build a Vintage Produce Crate Centerpiece using no power tools!
How to Build a Rustic Crate Centerpiece (No Power Tools Needed!) #DIYCourage | Pretty Handy Girl

Build a Vintage Produce Crate Centerpiece – No Power Tools!

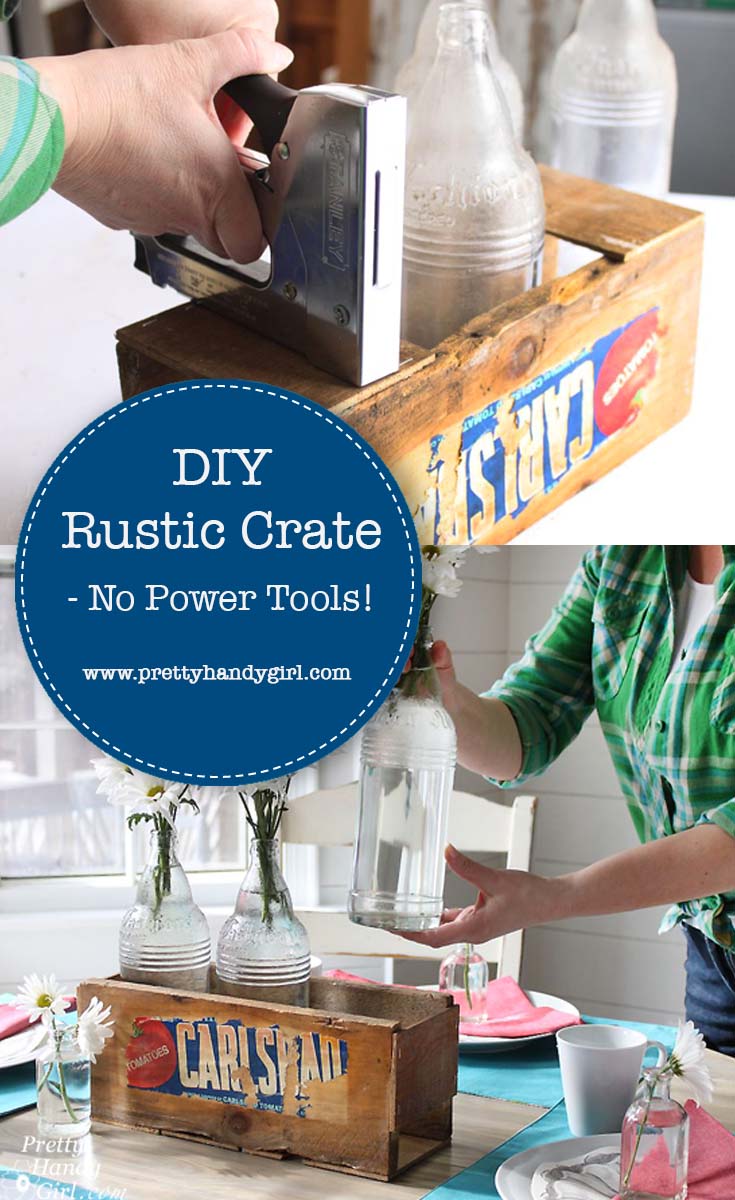
Many people are turned off by DIY projects because they fear using a power tool. Although I can tell you, I know you can learn how to use power tools safely, let’s go ahead and skip them today so you can get your hands busy creating a beautiful crate. This little vintage produce crate can be used anywhere in your house on display. Use it as a centerpiece, or in the office to hold files or utensils, or fill it with flowers or small items to give as a gift.

Regardless of how you use this little vintage crate, you’re going to love making it.

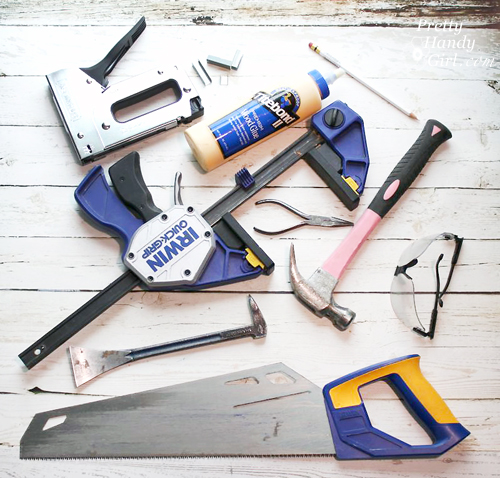
Materials:

(I’ve included affiliate links for your convenience. I earn a small percentage from a purchase using these links. There is no additional cost to you. You can read more about affiliate links here.)
How to Build a Rustic Crate Centerpiece (No Power Tools Needed!) #DIYCourage | Pretty Handy Girl

Optional: 

Instructions:

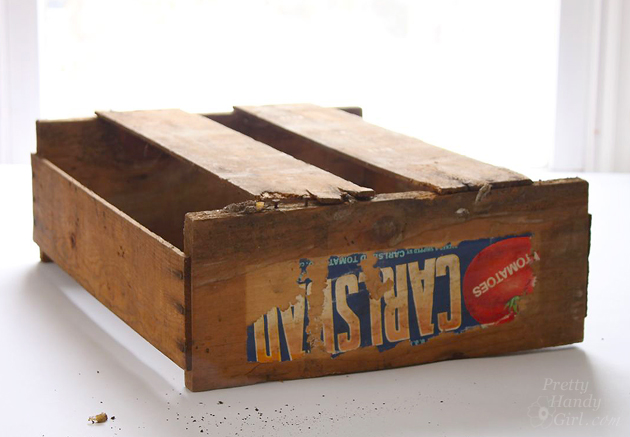
I happen to stumble across this vintage produce crate and vintage bottles that a neighbor was giving away. If you don’t have a neighbor who periodically gives away vintage produce crates, you can ask your local grocery store for produce crates you can salvage. Or you can purchase a produce crate on Amazon. Or look for thin slats at the hardware store to use for this crate. (Then you can learn how to fake the Aged Wood Look yourself.)
How to Build a Rustic Crate Centerpiece (No Power Tools Needed!) #DIYCourage | Pretty Handy Girl

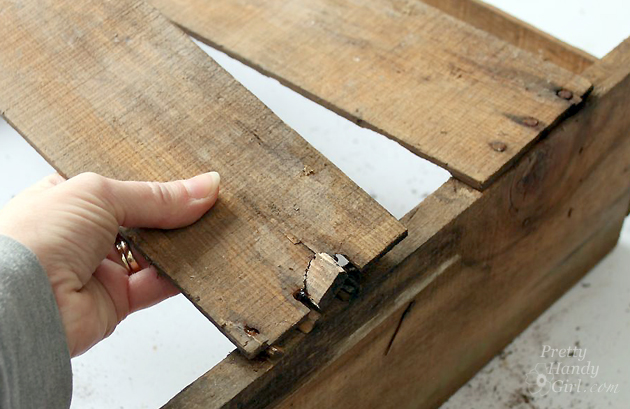
The crate I had was very rustic. So rustic, that I was able to pull the bottom slats off the crate with my bare hands. (In hindsight, I should have been wearing my gloves to avoid splinters.)

How to Build a Rustic Crate Centerpiece (No Power Tools Needed!) #DIYCourage | Pretty Handy Girl

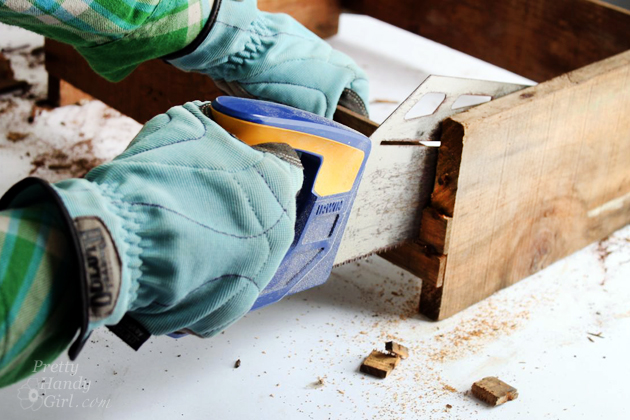
If you want to spare your hands, use a handsaw to remove the slats. Set them aside for use later.

How to Build a Rustic Crate Centerpiece (No Power Tools Needed!) #DIYCourage | Pretty Handy Girl

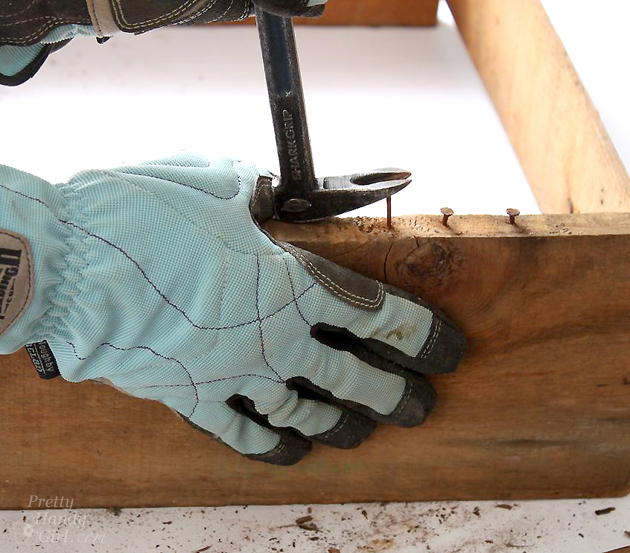
After removing the slats, pry up the nails with a prybar. Be sure to wear gloves to protect your hands. Stubborn nails can usually be wiggled out with the needle-nosed pliers.

How to Build a Rustic Crate Centerpiece (No Power Tools Needed!) #DIYCourage | Pretty Handy Girl

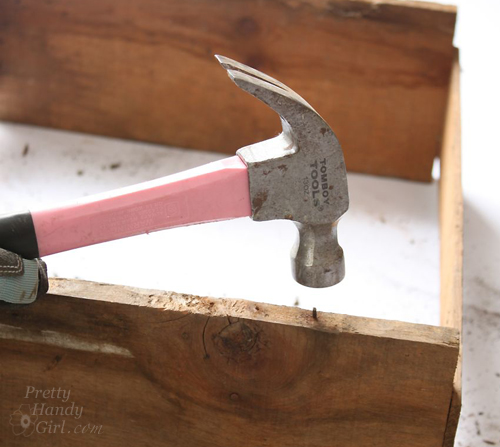
Any nails that are too rusty to remove can be hammered into the wood.

How to Build a Rustic Crate Centerpiece (No Power Tools Needed!) #DIYCourage | Pretty Handy Girl

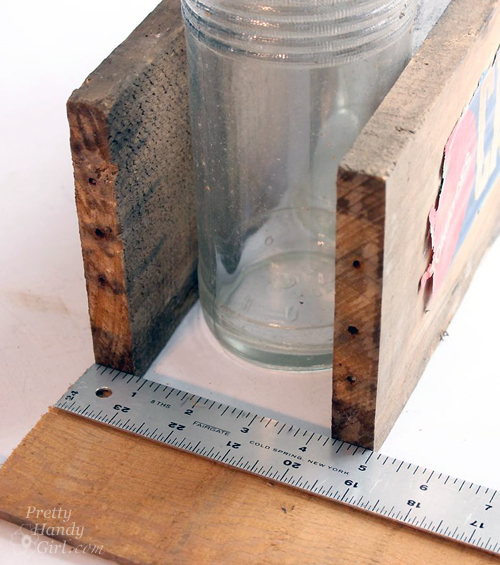
Align the front and back of the produce crate with the bottles or vases you will display in your crate. Or use 5″ as a general measurement from the outside front to outside back. Measure the distance to cut your sides, or just lay one of the slats next to the front and back and mark where to cut it with a pencil.
How to Build a Rustic Crate Centerpiece (No Power Tools Needed!) #DIYCourage | Pretty Handy Girl

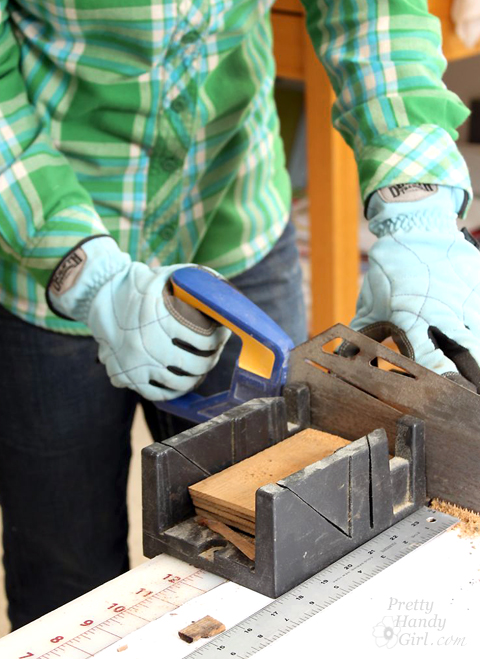
Cut down the salvaged slats to 5″ widths (or your own bottle measurement). Using a miter box will help keep your cuts square.

How to Build a Rustic Crate Centerpiece (No Power Tools Needed!) #DIYCourage | Pretty Handy Girl

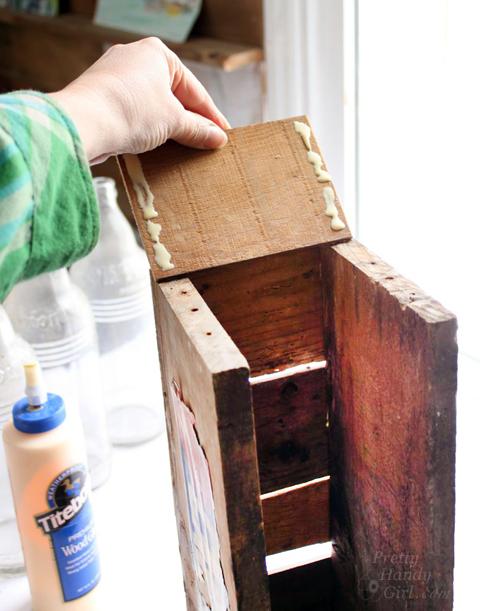
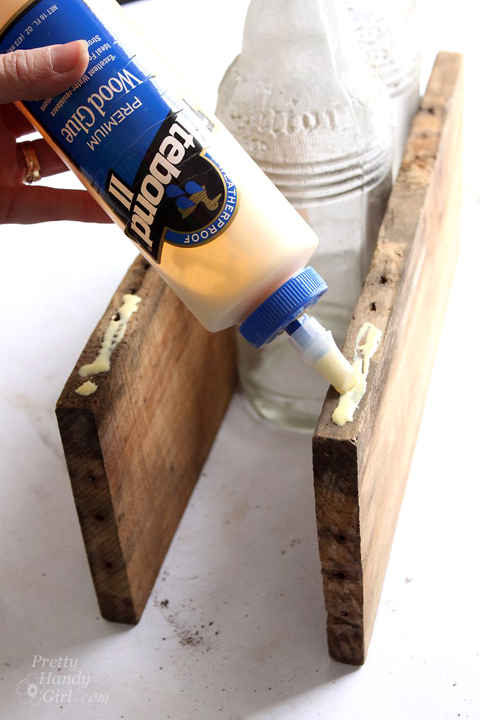
Squeeze wood glue onto the bottom of the produce crate front and back pieces.
How to Build a Rustic Crate Centerpiece (No Power Tools Needed!) #DIYCourage | Pretty Handy Girl

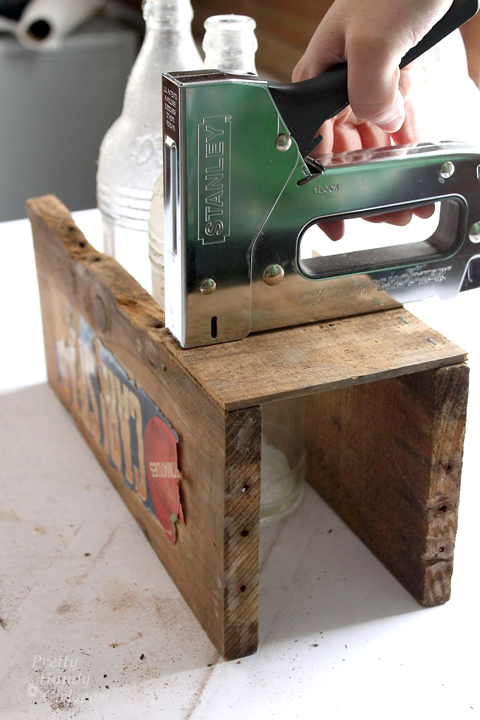
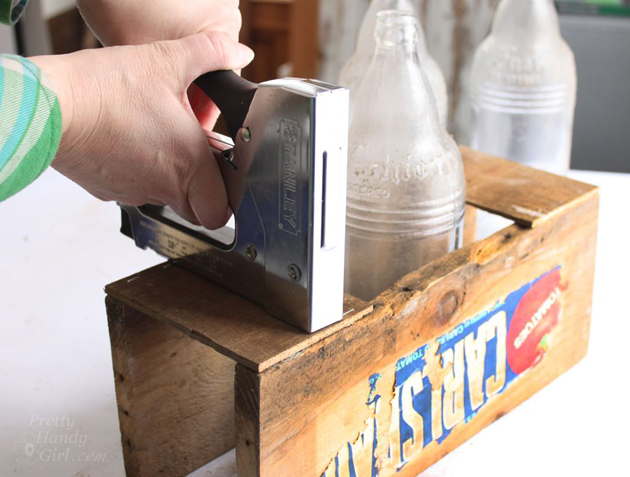
Set one of the 5″ slats into the glue and staple the slat into the crate front and back. Three staples per side should hold the slat while the glue dries. If the slat doesn’t lie flush with the crate, you might need to clamp the slat while the glue dries.

How to Build a Rustic Crate Centerpiece (No Power Tools Needed!) #DIYCourage | Pretty Handy Girl

Repeat for the opposite side by stapling the slat to the bottom. Continue working toward the center of your crate.
How to Build a Rustic Crate Centerpiece (No Power Tools Needed!) #DIYCourage | Pretty Handy Girl

Attach one slat to the sides of the crate with wood glue and staples.

How to Build a Rustic Crate Centerpiece (No Power Tools Needed!) #DIYCourage | Pretty Handy Girl

You’ll notice I left spaces between the slats for that vintage produce crate look. If you want, you can butt the slats tight up against one another. Clamp your crate as the wood glue dries.

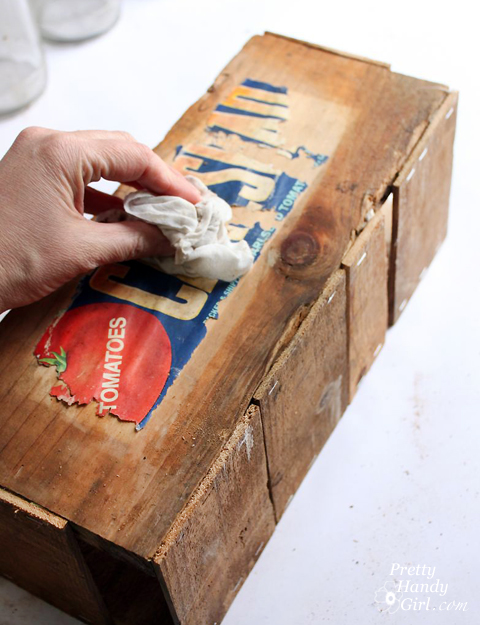
If you have a true vintage produce crate, you might need to secure what is left of the label. Gently wipe the crate and label with a damp rag.
How to Build a Rustic Crate Centerpiece (No Power Tools Needed!) #DIYCourage | Pretty Handy Girl

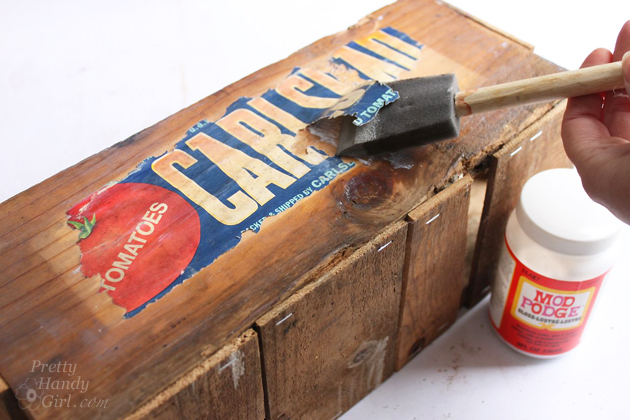
Apply a coating of Mod Podge to the underside of any parts of the label that are peeling up. Then apply a second coat of mod podge over the entire label to seal it to the crate.
How to Build a Rustic Crate Centerpiece (No Power Tools Needed!) #DIYCourage | Pretty Handy Girl

When the crate is dry, load it up with vintage bottles filled with fresh flowers.
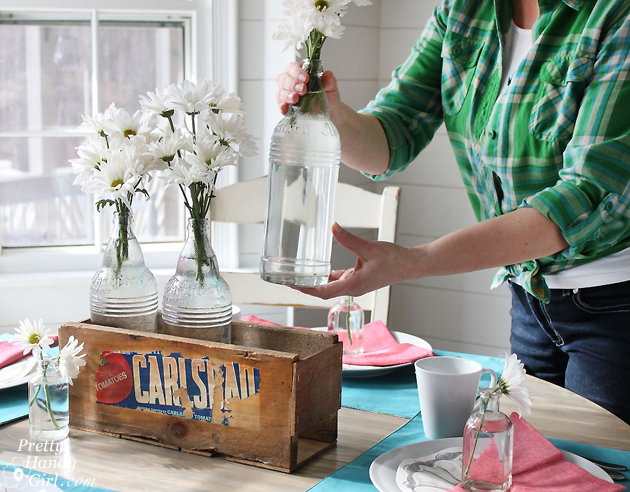
How to Build a Rustic Crate Centerpiece (No Power Tools Needed!) #DIYCourage | Pretty Handy Girl

Place it on your table and invite a friend for lunch.
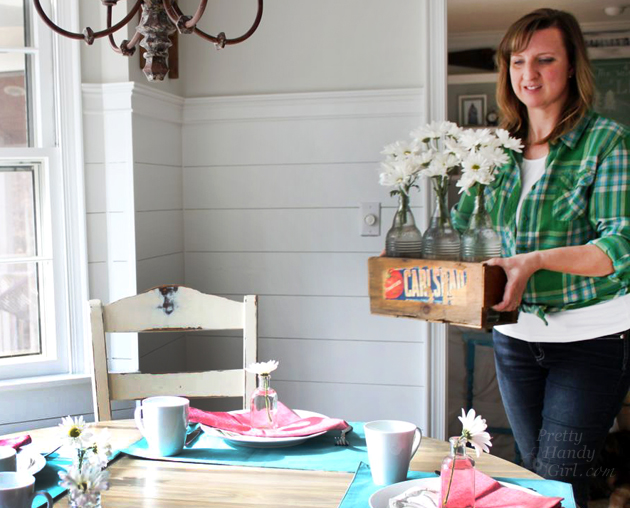
How to Build a Rustic Crate Centerpiece (No Power Tools Needed!) #DIYCourage | Pretty Handy Girl

The conversation will surely turn to your Rustic Produce Crate Centerpiece you made yourself.
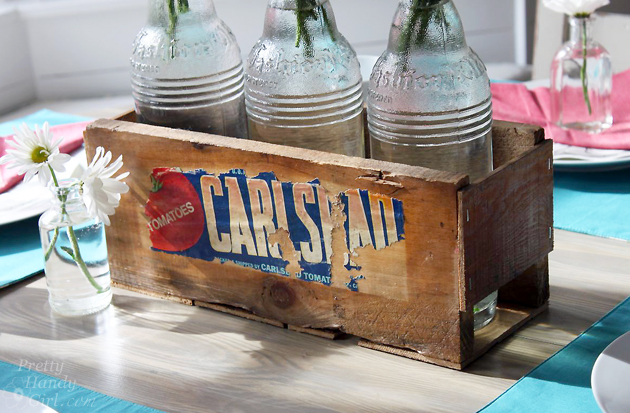
How to Build a Rustic Crate Centerpiece (No Power Tools Needed!) #DIYCourage | Pretty Handy Girl

Which you can proudly say you made…by hand…without any power tools.
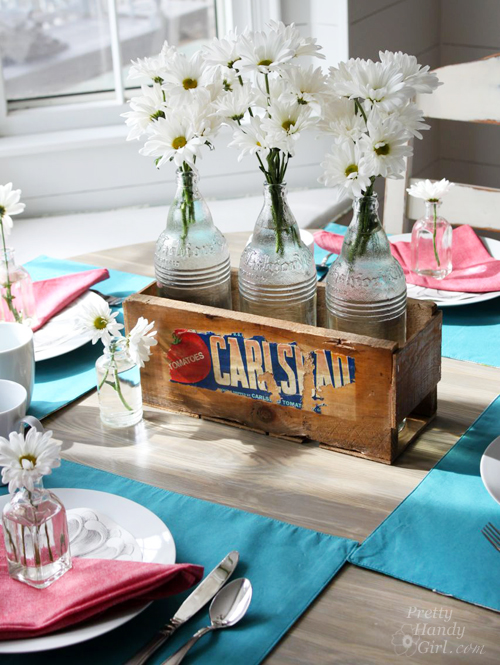
How to Build a Rustic Crate Centerpiece (No Power Tools Needed!) #DIYCourage | Pretty Handy Girl

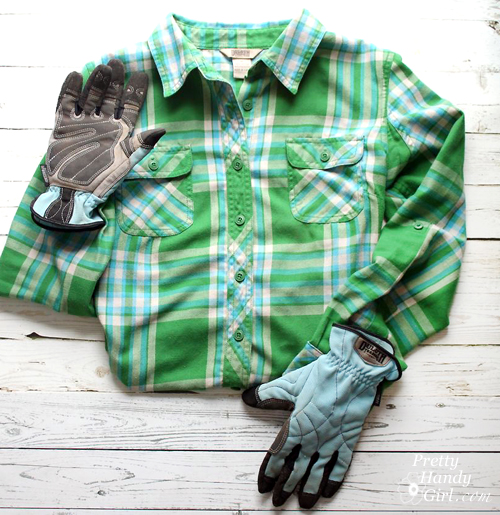
Want to know where I got my shirt? The Duluth Trading Company Crosscut Performance Flannel Shirt is super comfortable. It’s like wearing your PJs all day. The flexible gussets in the back give you more freedom of movement while working. FYI, the crosscut flannel shirt is on clearance right now. If you don’t see the color you want, check back in early fall to snag your favorites (but don’t wait, they go fast.)
How to Build a Rustic Crate Centerpiece (No Power Tools Needed!) #DIYCourage | Pretty Handy Girl

PHGFancySign


Pin for later!

Build a Vintage Produce Crate Centerpiece using no power tools whatsoever! | Pretty Handy Girl #DIY #rusticcrate #DIYcrate

Pretty Handy Girl DIY Gifts & Apparel

Pretty Handy Girl DIY Gifts & Apparel

Happy Friday everyone! I’m so excited to be launching my own line of graphic t-shirts, clothing and gifts. I’ve dreamed of having a line of DIY themed shirts and clothing that would allow those of us Handy Girls and Handy Guys to show off our DIY muscle. One of the main obstacles was my lack of desire to purchase shirts in bulk and hope that I wouldn’t be stuck with leftover inventory. Plus, I used to run a baby carrier business and knew how time consuming it was to ship out multiple packages every day. I vowed to never run a shipping type busines again.

A few months ago, Zazzle contacted me about working with them to launch my own product line. They were the answer to my hesitations! It was so easy to create my own designs and set up the shop in an afternoon. (Granted, I spent several more days enjoying the creative process of designing new graphics and products for the store.) Zazzle takes care of all the details. You can upload your own graphics, photos, and designs. Or you can create your own custom graphic text designs with their “customize it” tools. Then they print and ship the orders! You don’t have to lift a finger. Plus, you earn a commission on each item purchased from your shop! AND, to sweeten the deal, you can sign up to become an associate and earn more.

If you think you don’t have the time to figure out how to set up products, you are in luck. I took a bunch of screenshots to show you EXACTLY how to list your products step-by-step.

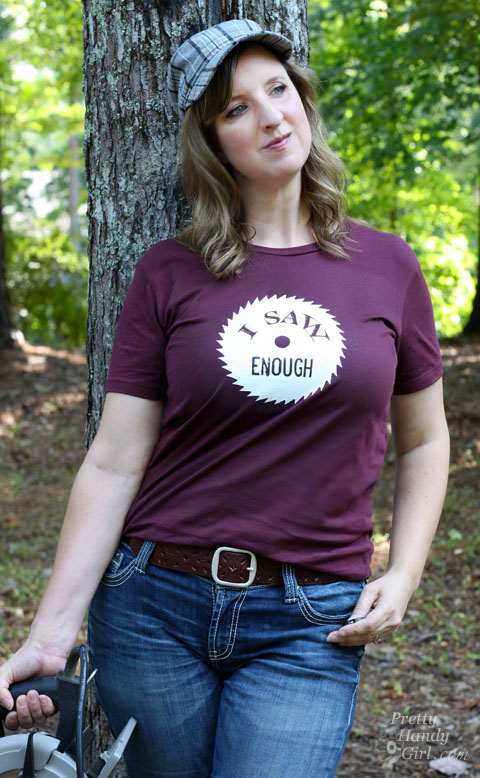
But before I get to the tutorial, I want to share some of my favorite products from my Zazzle store! I ordered two shirts and this one gets the most comments:

I Saw Enough funny DIY shirt | Pretty Handy Girl

“I Saw Enough” Shirt

I Saw Too Much funny DIY shirt | Pretty Handy Girl

“I Saw Too Much” You have to giggle at the double meanings. This shirt is the perfect shirt for any gal or guy who likes to build and use the power tools.

Power tools are for chicks shirt | Pretty Handy Girl

In my house my husband knows he’s not allowed to touch my power tools. This “Power Tools are for Chicks” is a funny reminder that power tools aren’t just for the boys!

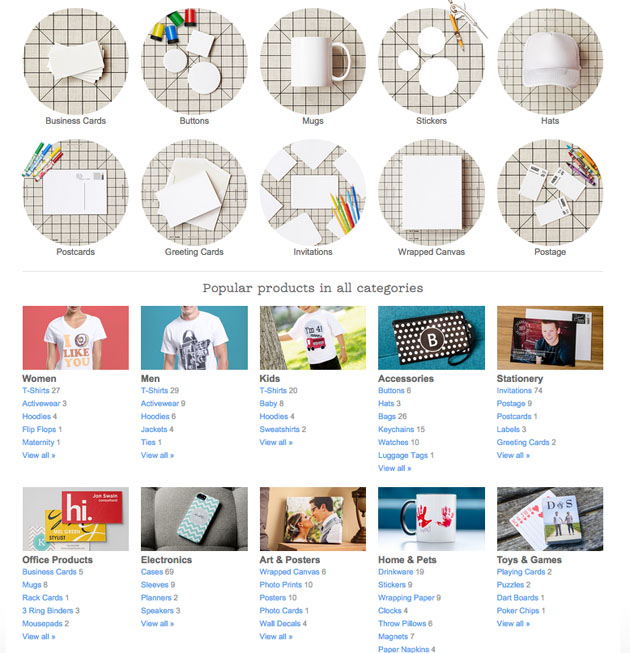
Here’s the coolest part (in my opinion) about the Zazzle shop. If you see a design you like, but would prefer a different color or a completely different shirt style, you can customize it on your choice of clothing or products!

Pretty Handy Girl Shirt Options on Zazzle | Pretty Handy Girl

Zazzle has more products than I can name! But, to give you a little taste: pillows, phone cases, office products, art prints, cards, accessories, t-shirts and much much more! You’ll have to peek for yourself!

Zazzle Customized Products You Design!

The last item I purchased for myself was a custom coffee mug. I thought an empowering message was a great way to start each day. This famous quote is printed on a blackboard texture background and imprinted on a stylish mug that has a variety of interior colors you can choose from. Read more

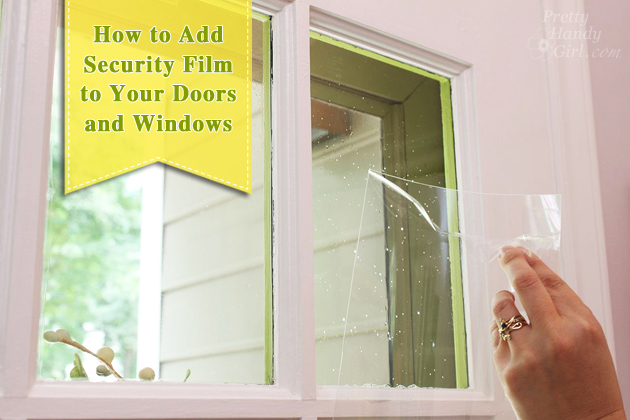
How to Add Security Film to Glass Doors & Windows | Pretty Handy Girl

How to Add Security Film to Glass Doors & Windows | Pretty Handy Girl

The folks at Allstate Insurance have graciously sponsored this post, which will help you learn how to install security film to safeguard your doors (or windows) from a potential break-in! It’s a simply DIY solution that could potentially save you the heartache of having your home burglarized.

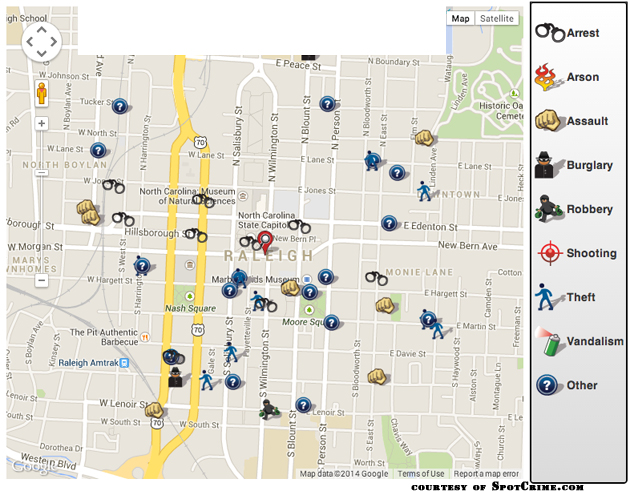
I’ve noticed an unsettling trend in our area. There are more thefts popping up around our neighborhood. Luckily the majority of them are burglaries with no violence. But, it’s still unsettling. If you want the latest on crimes around you, sign up for SpotCrime.com. Simply enter your address and you’ll get emails when crimes are reported around you. Then again, this could lead to a bit of paranoia {raising hand.}

SpotCrime.com map

Regardless, there are two doors in our home that have always caused me some concern. We have two half window doors that needed some added security measures. The first one is the entrance to our mudroom. The second one is the back door to our garage (and you know I’d be heartbroken if anyone stole my power tools!)

How to Add Security Film to Glass Doors & Windows | Pretty Handy Girl

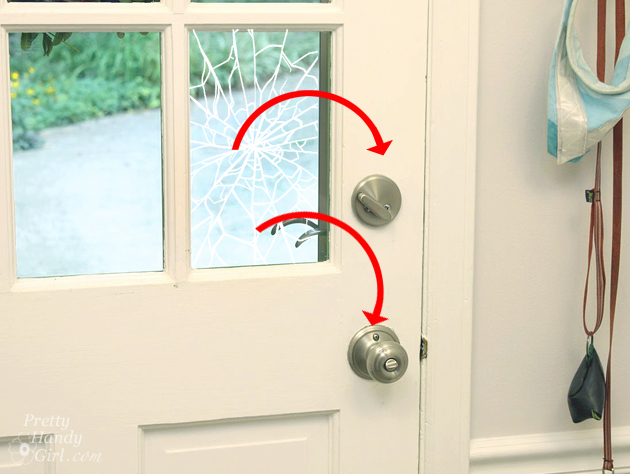
If you have a door like this, a burglar can simply break the pane of glass closest to the knob, reach in and turn the deadbolt and handle. One option is to install a two-sided keyed entry deadbolt lock. Because we have little children, I worried about them not being able to find the key and get out of the house in the event of a fire.

How to Add Security Film to Glass Doors & Windows | Pretty Handy Girl

This past week I happened to hear about security film and did a little research. I was skeptical until I tested the material myself. The results seriously amazed me! You can watch my test in the video later in this post.

In the meantime, here are the supplies you’ll need and the very simply installation instructions!

(I’ve included affiliate links for your convenience. I earn a small percentage from a purchase using these links. There is no additional cost to you. You can read more about affiliate links here.)

Materials:

 Instructions:

1. Begin by removing the grill if you have one solid piece of glass with faux dividers (see my video below for more details on removing the grill.) If you have true divided light, move on to the next step.

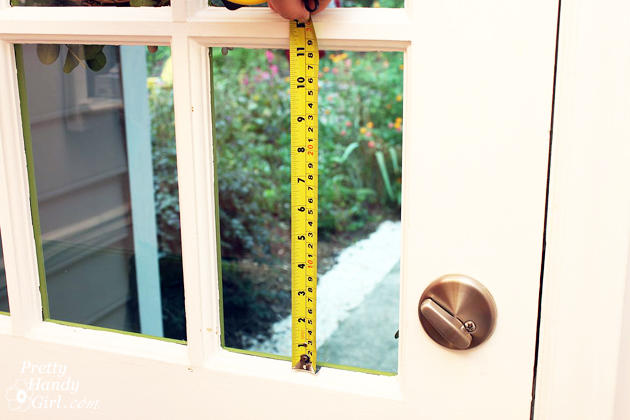
2. Measure your windows. Reduce the size by 1/8″ to leave space at the edges for the water to escape. Transfer the measurements onto the film with pen. Cut the window film with the x-acto knife and ruler. (You could use scissors in a pinch.)

How to Add Security Film to Glass Doors & Windows | Pretty Handy Girl Read more

10 Non-Toxic Dust Mite Remedies | Pretty Handy Girl

10 Places You Probably Forget to Dust

I’m putting my Filtrete Ambassador cap on today. And, I have a list of the 10 Places You Probably Forget to Dust (but really should!) Are you guilty of skipping any of them? Read on to find out.

As an allergy sufferer, I know how important it is to dust before vacuuming your home. Recently we spent a week in a condo near the ski slopes in Colorado. I was in AGONY allergy-wise. As I looked closer at my surroundings I realized that although the condo looked clean, there were many places that housekeeping had neglected. ;-(

For you or the allergy sufferers in your family, here are some helpful tips to improve the way you dust and potentially make your home healthier for you and your family.

The Basics of Dusting for Allergy Sufferers:

Dusting if you have allergies is slightly different than for those that don’t have allergies. The goal is to trap the dust, pollen, animal dander (or other allergens), not spread it around or make it airborne. Use damp rags (wet with water is fine) or vacuum cleaner attachments. You might also be able to use a microfiber duster like a Swiffer, but personally I find a wet rag works better (and costs less.) Be sure to fold your rag frequently and use a clean side. Never use a feather duster, it will just launch the dust into the air. The good news is that if you do dust this way, you likely won’t need to dust as often because you will be eliminating it and not spreading dust around.

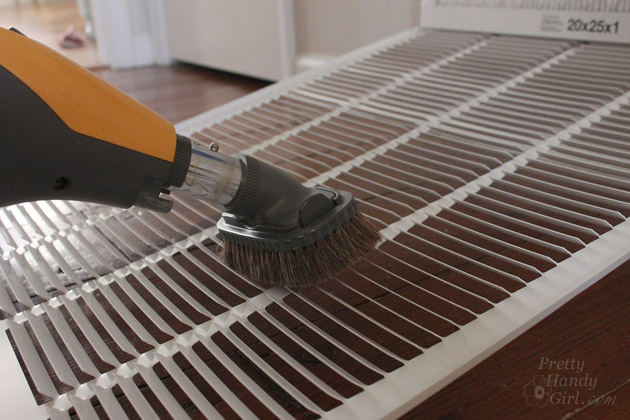
Always start from the top of your room and work your way down. After the room is dusted, vacuum the floor and rugs. Pay special attention to the edges of the room by using the crevice tool or just taking off the floor head and use the hose.

10 Places You Probably Forget to Dust: Read more

10 Non-toxic Dust Mite Remedies | Pretty Handy Girl

10 Non-toxic Dust Mite Remedies | Pretty Handy Girl

As a Filtrete Brand Ambassador, I’m back to give you more ammunition for fighting allergies! As a lifelong dust mite allergy sufferer, I’ve spent more than my share of times being congested and even suffered asthma attacks from a robust dust mite population. Over the years I’ve learned several non-toxic ways to remedy a burgeoning dust mite population. Controlling dust might seem like the obvious solution to dust mites, but actually there are several specific things you need to do to control the actual mites.

First, let me tell you a little bit more about my nemesis. Dust mites are almost microscopic (you can see them with a 10x magifying glass) and tend to live among the dust in your home. Upholstered furniture, pillows and mattresses are the most desirable environments for their populations. They feed off of skin cells shed from our body. Dust mites like warm (room temperature) and humid environments.

You can never completely eliminate a dust mite population, but you can reduce the population to ease the suffering of those that are allergic to dust mites. You also don’t need to resort to chemicals or drastic measures. You can actually wage war against dust mites with some very simple tricks and tools.

Ten Non-Toxic Dust Mite Remedies Read more