Reclaimed Lumber Farmhouse Table | Pretty Handy Girl

I’ve always wanted a rustic wood farmhouse table. I wanted a table that looked worn, well-loved and appeared to be over 100 years old. It’s very hard to achieve that look with new lumber. To get that rustic look, you either need old reclaimed lumber or the skills to stain and distress new wood. I chose the first option and bought reclaimed rafters from The ReUse Warehouse in Durham, NC.

Reclaimed Lumber Farmhouse Table | Pretty Handy Girl

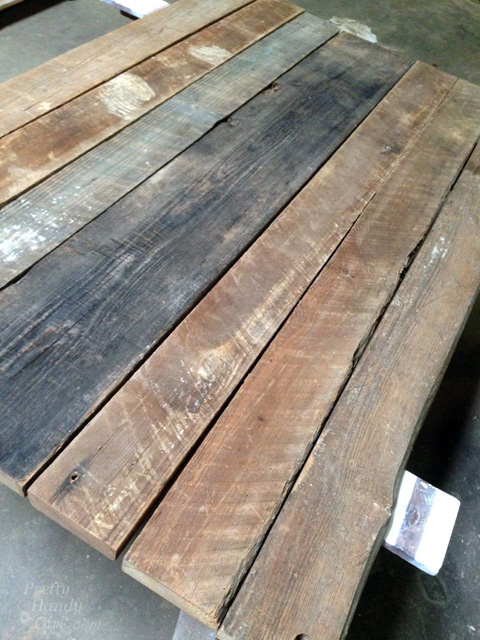
They were very rustic to say the least. I was prepared to plane and glue them together myself, but I don’t own a planer (insert sad trombone sound.) Instead, I brought the rafters to Mark Kegler of Kegler’s Woodwerks. Mark has ALL the woodworking equipment and he convinced me to let him glue the tabletop together since I realized I also don’t have 5 bar clamps (Christmas wish list updated now.)

For fun I thought I’d show you the behind the scene pictures of the table top as it was being planed and ripped. That way you can view the process should you decide to piece together your own reclaimed lumber table top.

Behind the Scenes at the Shop:

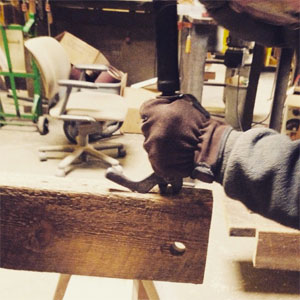
First they ran a metal detector over the beams and then removed nails with an extractor.

tool-in-wood-shop

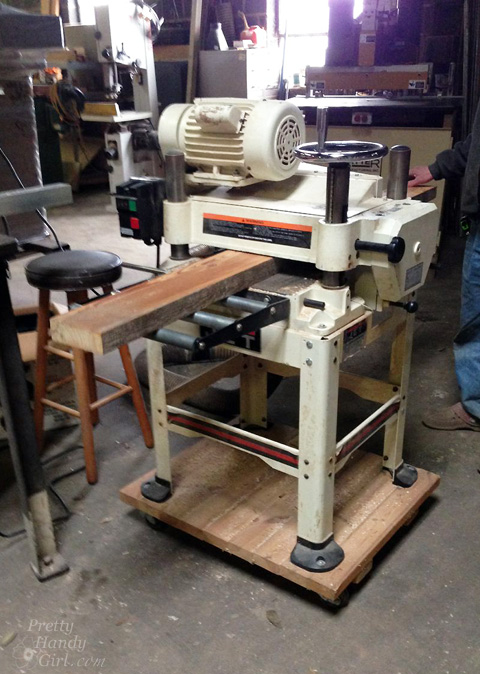
Next, the rafters were fed through a planer to give them all a uniform thickness.
Reclaimed Lumber Farmhouse Table | Pretty Handy Girl

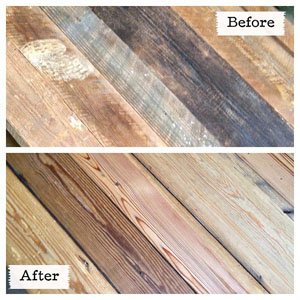
It was like Christmas morning watching the wood as it came out and I could see the of the beautiful grain revealed.

reclaimed-lumber-before-after

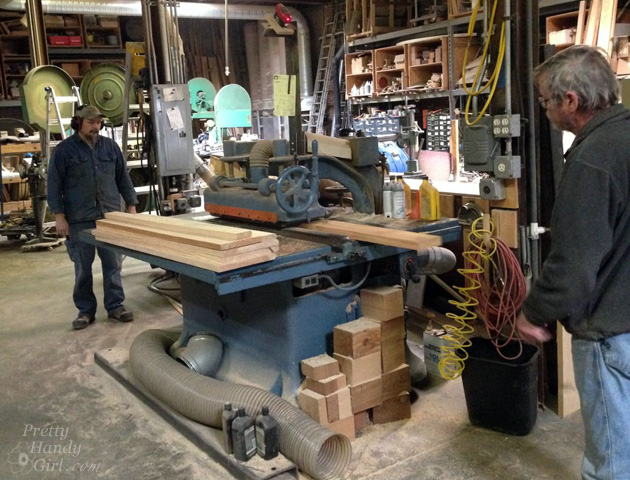
Mark and Randy used a straight line rip saw to cut the edges straight with the exception of two rafter edges that would be used for a live edge on the table. I was able to salvage the edges that they ripped off for later use.
Reclaimed Lumber Farmhouse Table | Pretty Handy Girl

The boards were glued with wood glue and clamped together. Then they were left to cure overnight. In the morning, the short ends of the table were cut square.

Back at home I built the table base (the apron and legs).

Finishing the Reclaimed Wood Table Top:

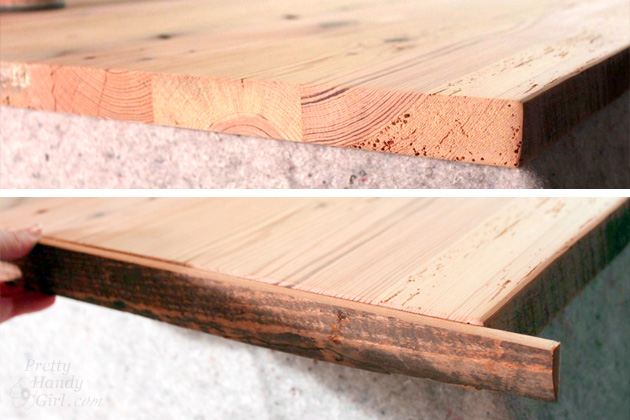
Remember the salvage I kept from Mark’s shop? I used it to cap the table as edge band to hide the end grain. Hold the edge band up against the end, mark and cut the excess off.

Reclaimed Lumber Farmhouse Table | Pretty Handy Girl

Add wood glue to the inside of the edge band. Read more

How to Paint a Deck Mandala Tattoo | Pretty Handy Girl

How to Paint a Deck Mandala Tattoo | Pretty Handy Girl

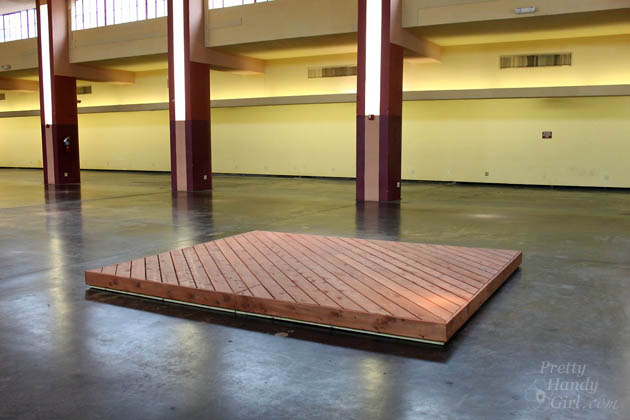
As promised, I’m back today to show you how to paint a giant mandala tattoo on your deck. Painting a design on your deck can turn an ordinary deck into a beautiful retreat. Add a few colorful accessories and you’ll have a backyard Bali getaway! Creating the mandala is a lot easier than it looks. Ready to get started?

Materials:

Instructions:

Pre-stained your deck with one coat of Thompson’s Waterseal Semi-transparent stain. (I used Acorn Brown.) Allow the stain to dry.

How to Paint a Deck Mandala Tattoo | Pretty Handy Girl

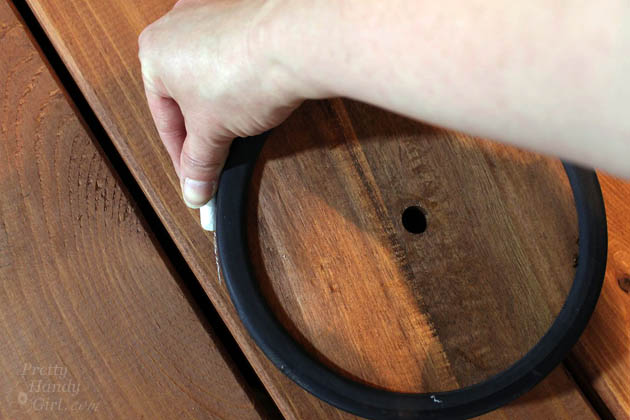
Choose the location for the center of your design. Trace around a small circular object or use the tack and string to trace a small circle.

How to Paint a Deck Mandala Tattoo | Pretty Handy Girl

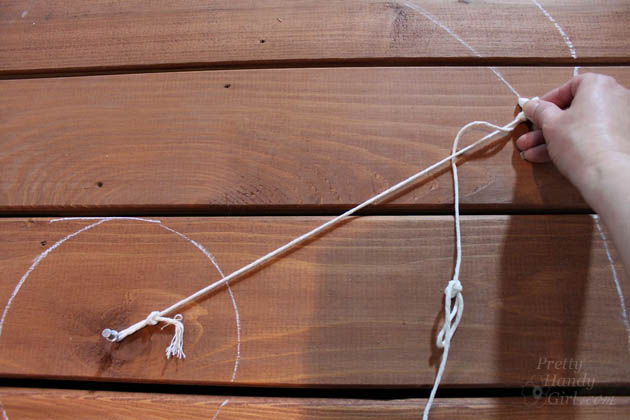
Place the thumbtack in the center of the small circle and draw circles radiating out from the center. Try to add more distance from the previous circle as you go outward. (i.e. 3″ from the center, 6″ from the inner circle, 10″ from the 2nd circle.)

How to Paint a Deck Mandala Tattoo | Pretty Handy Girl

Divide your inner circle into eight sections and make a chalk tick marks. Read more

Bali Dream Deck for Thompsons Water Seal | Pretty Handy Girl

Bali Dream Deck for Thompsons Water Seal | Pretty Handy Girl

Last month while most of the US was under heavy blankets of snow and ice, I flew to Dallas. I was hoping to find warm temperatures and lots of sun. And if I couldn’t find any, I’d create my own with my sister, Caitlin’s help. Thompson’s WaterSeal asked me to design a dream deck and told me to bring an assistant. Normally I work alone, but when I need help with design and décor I know I can always count on Caitlin. Some of you may remember when Caitlin and I worked together on renovating this beach condo. Caitlin is the talented designer behind Symmetry Designs.

Bali Dream Deck for Thompsons Water Seal | Pretty Handy Girl

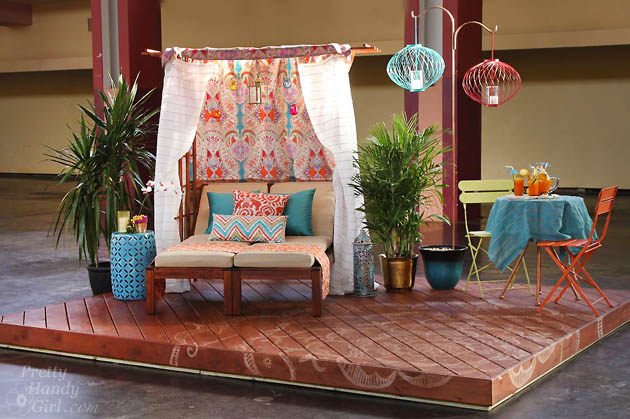
When we arrived, the weather was mild, but we were still craving some warm sunshine. We decided to create a Bali getaway destination on our Thompson’s WaterSeal Deck. We started with a clean slate deck pre-stained with Thompson’s WaterSeal Semi-Transparent Water Proofing Stain in a beautiful Acorn Brown color.

Bali Dream Deck for Thompsons Water Seal | Pretty Handy Girl

Joining us were Beckie from Infarrantly Creative with her assistant Erin and Ashley & Jamin from The Handmade Home. They also had a blank slate deck to design.

Bali Dream Deck for Thompsons Water Seal | Pretty Handy Girl

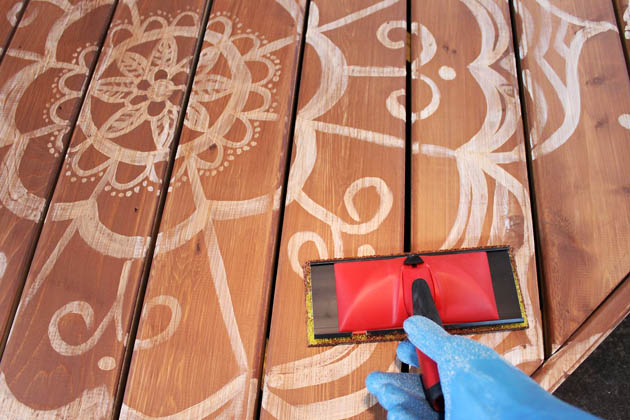
The first thing Caitlin and I did was paint a giant white mandala “tattoo” on our deckRead more

Build a Wood Plank Desktop for about $40

Hey there, everyone!  I’m Katie from Addicted 2 DIY.  I’m so, so excited to be here today sharing this simple — and most importantly — inexpensive way to update a desk!  I’m in the middle of updating our den/kid’s office space and one of the biggest things that had to go was the awful eyesore my boys used as a desktop.

Build a Wood Plank Desktop for about $40

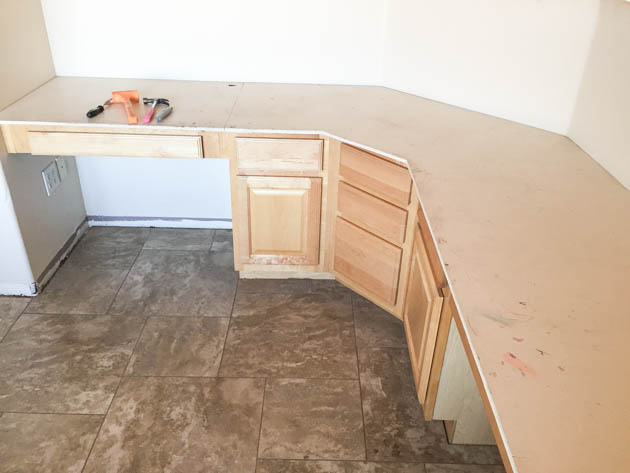
This was the glorious before photo of their desk area.  The particle board top was from the previous homeowners. While we were remodeling the house, we slapped a coat of paint on it until we could decide what to do with it.  Four years later, I decided enough was enough.  I was tired of feeling embarrassed when anyone saw this room.  I took the old top off, painted the cabinets, and built a new wood top for it. Here’s how you can Build a Wood Plank Desktop for About $40!

Build a Wood Plank Desktop Materials:

  • 8 – 2″ x 6″x 8′ pine boards
  • 2 – 2″x 2″ x 8′ pine boards (if you need the extra width)
  • drill
  • 2 1/2″ screws
  • compound miter saw
  • scrap pieces of 3/4″ wood
  • wood shims
  • belt sander and/or orbital sander
  • sandpaper discs and sheets (80 grit and 220 grit)
  • wood stain
  • polyurethane
  • paint brush

Build a Wood Plank Desktop Instructions:

If your desk area is straight or an L shape, you can ignore these four steps below and measure and cut your pieces to the length needed using your miter saw.

Build a Wood Plank Desktop for about $40

If your desk shape is similar to mine, follow these steps:

1. Cut your 2×6 pieces to slightly overlap the middle section on each side.  Make sure the pieces are long enough to accommodate the angled cuts you’ll be making.

2. If you don’t have a tool to determine the cut angle, lay your middle pieces of wood on top of the side pieces you’ve already laid out and mark where the lines intersect.

3. Mark where the line intersects on the first and last pieces of wood with a pencil.

4. You can snap a chalk line to get your angle, or you can use a long ruler and draw the line with a pencil.

Determine the angle of your cuts based on where the miter saw blade lines up with the chalk line.  In this case, it was 22.5 degrees.  That being said, this desktop was built between two imperfect (and not completely square) walls and some of the cuts had to be tweaked slightly on the angle. Read more

wood-block-picture-frames

Wood Block Floating Picture Frames | Pretty Handy Girl

We are days away from Christmas and I’m sure there is someone on your list that you just can’t figure out what to get for them. I have the perfect solution! Make them a wood block floating picture frame using scrap 2×4″ lumber and plexiglass.

If you don’t have scrap 2×4’s lying around, you can purchase a 2x4x8 foot stud for less than $4! You could make 16 photo frames out of that one board! (Granted, you’ll need to buy the plexiglass for each.)

Materials:

  • 2 – 2 x 4s (cut to 6″ lengths)
  • 4 – 6″ x 9″ pieces of plexiglass (3/32″ thickness)
  • Ipswich Pine Stain
  • gel stain or Minwax Express color
  • small detail paint brush
  • pencil or pen
  • photos
  • tape
  • rag
  • optional: scrapbook paper, double stick tape

Tools:

Instructions:

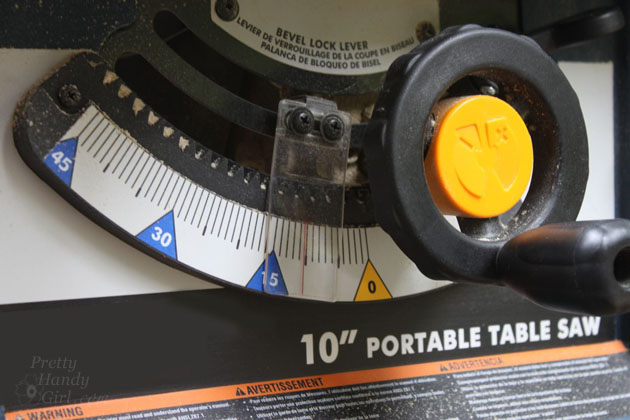
Set your table saw to a 10 degree bevel.

Wood Block Floating Picture Frames | Pretty Handy Girl

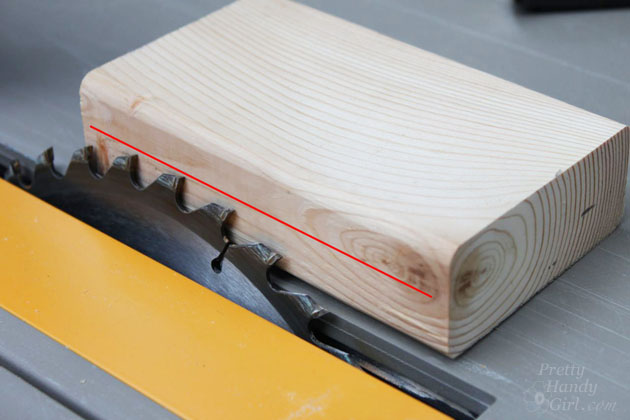
Set the saw blade to a depth halfway through your block (about 7/8″ deep.) Set the fence to 2″ from the blade.

Wood Block Floating Picture Frames | Pretty Handy Girl

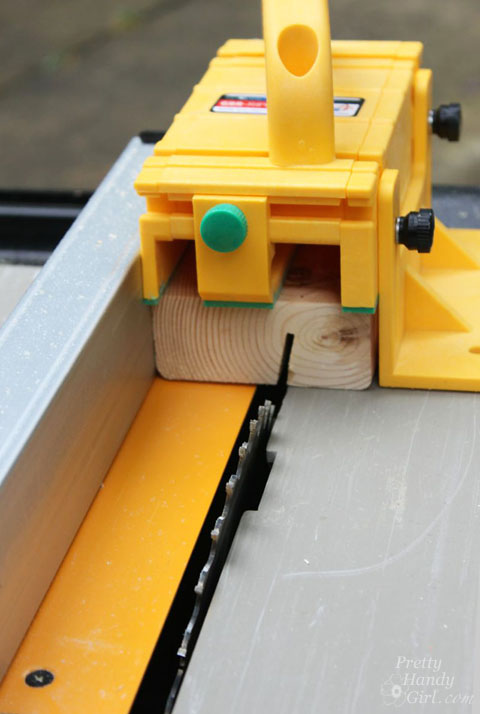
Use your GRR-RIPPER to safely guide the 2×4 over the saw blade. Check to see if two pieces of plexiglass will fit in the groove created by the saw blade.

Wood Block Floating Picture Frames | Pretty Handy Girl

If not, nudge the fence over slightly and make a second pass over the blade. Check to see if the plexiglass will fit now. If not, repeat the process until they fit snugly. Read more