Tag Archive for: diy

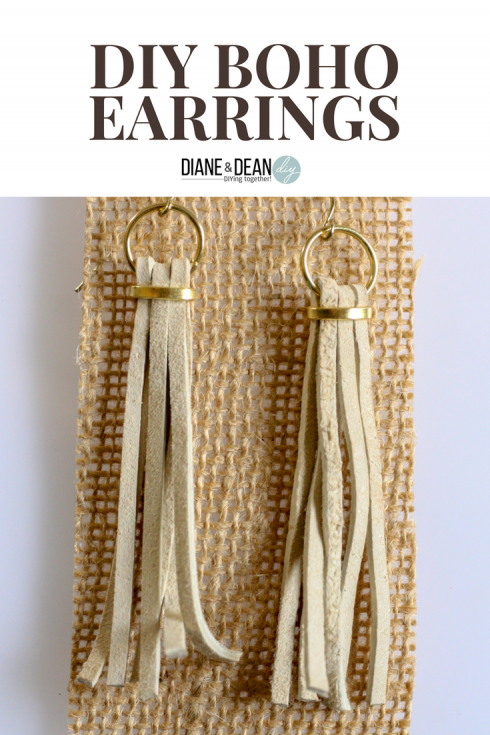
DIY Boho EarringsDIY Boho Style Earrings

“Boho” or Bohemian style jewelry is the rage now and you see this style everywhere.  You can easily make your own Boho style jewelry with just a few items from the craft store. Whether you decide to make colorful beaded bracelets, tassel necklaces or Boho fringe earrings, you will have fun knowing you were the jewelry designer behind your creation. Who knows? Maybe you will have so much fun, you’ll be motivated to start your own Boho style jewelry company!

Materials:

(I’ve included affiliate links for your convenience. I earn a small percentage from a purchase using these links. There is no additional cost to you. You can read more about affiliate links here.)
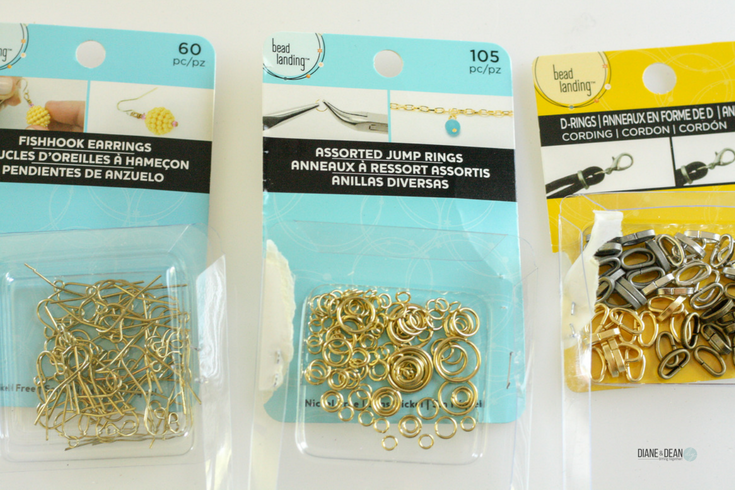
DIY Boho Earrings

Instructions:

Select the color(s) of cording you want to use for the fringe. You need three strands of cording.
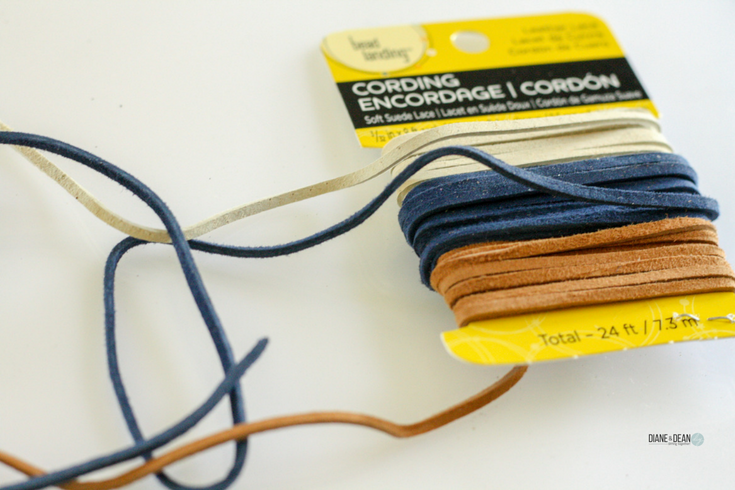
DIY Boho Earrings

Measure and cut each strand at six inches.
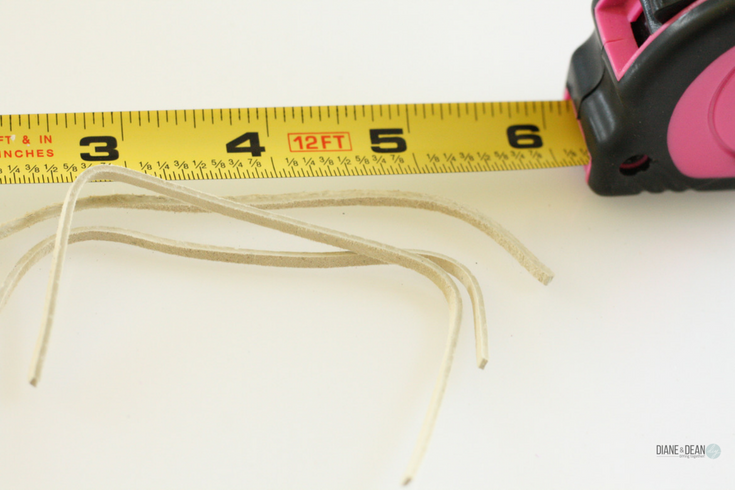
DIY Boho Earrings

Slide a large jump ring over the three strands and position in the center.
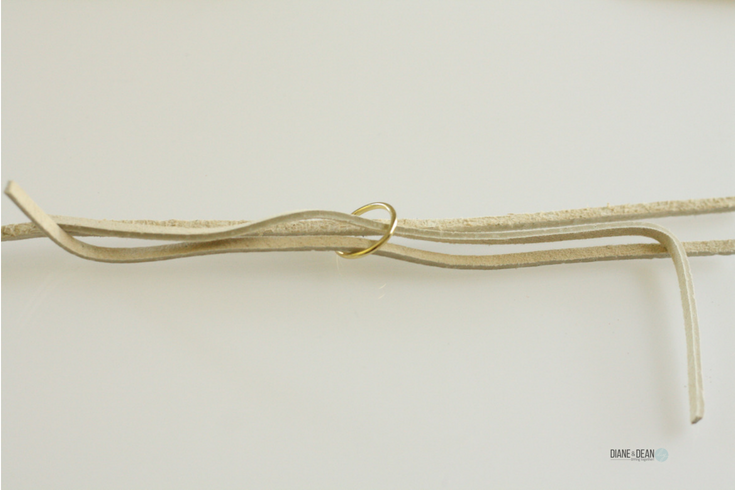
DIY Boho Earrings

Bend cording in half over the jump ring and pull snug around the jump ring. You now have six strands of cording after bending in half.
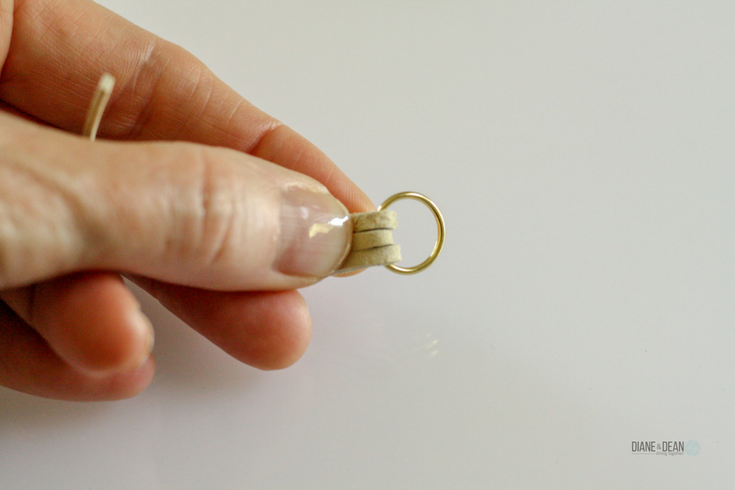
DIY Boho Earrings

Slide the D-Ring over the six strands of cording. To make it easier for the D-Ring to slide, use pliers to squeeze the D-Ring into a larger opening. Slide the D-Ring to the top where it meets the jump ring. Straighten and align the cords so they lay flat against the jump ring. Use the pliers to flatten the D-ring into its original shape.
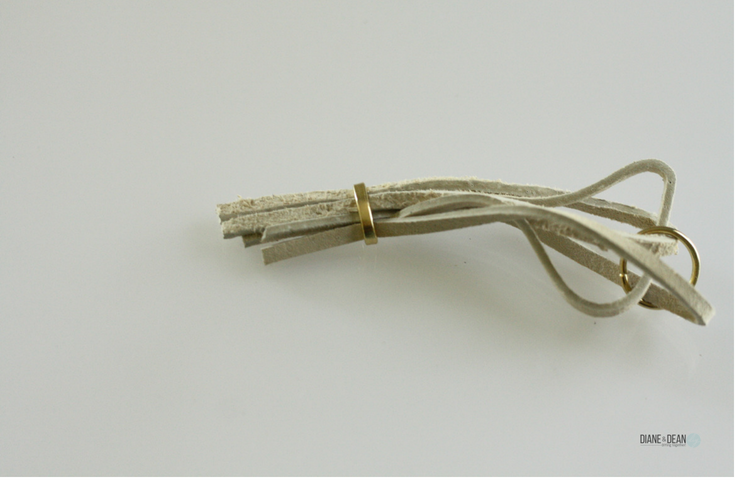
DIY Boho Earrings

Step 6:

Open the small end of the fishhook earring using pliers. Slide the hook over the jump ring. Close the wire hook back up with the pliers to ensure it stays in place.
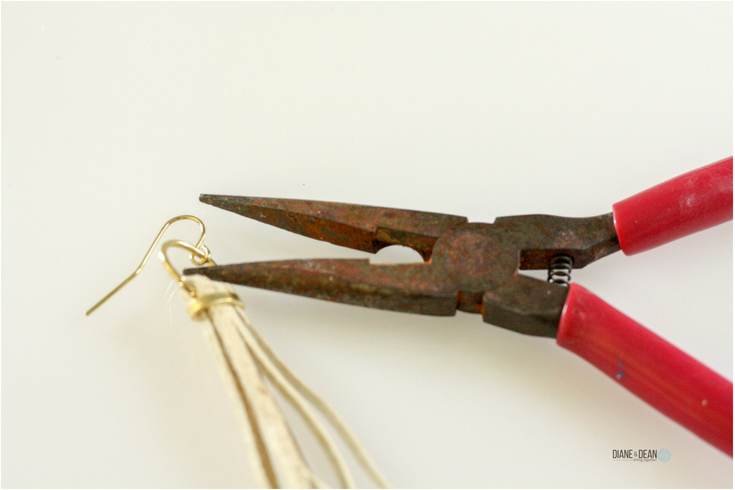
DIY Boho Earrings

Once you have everything in place, trim the ends of the cording straight across with scissors. Make them as long or as short as you like.

DIY Boho Earrings

Pretty fun and easy, right? Give your new boho style fringe earrings as a gift or enjoy them for yourself.

DIY Boho Earrings

Want more gift ideas? Visit Diane and Dean.

Diane and Dean Contributor headshots

We are Diane and Dean of (surprisingly) Dianeanddean.com, a DIY Home and Garden Blog. We love to DIY together. Some of our favorite projects have been this DIY Pottery Barn Inspired Farmhouse Table and a fun Cement Succulent Planter. Sometimes we take on huge DIY projects like this Backyard Gabion Wall.

Dean is a Landscape Architect, Sustainability Director, Master Gardener, Public Speaker, and former DIY Network co-host for Grounds For Improvement.

Diane is a writer, Certified Health Coach, Calligrapher, and she also has a Florida Real Estate license.

Together we want to inspire you with some achievable DIY projects! Feel free to join us on Facebook, Twitter, Pinterest, and Instagram.

See all of Diane & Dean’s tutorials here.

 

Liked this tutorial? You’ll love these fun jewelry making tutorials too:

DIY Copper Ring Jewelry | Pretty Handy Girl

DIY Copper Ring Jewelry

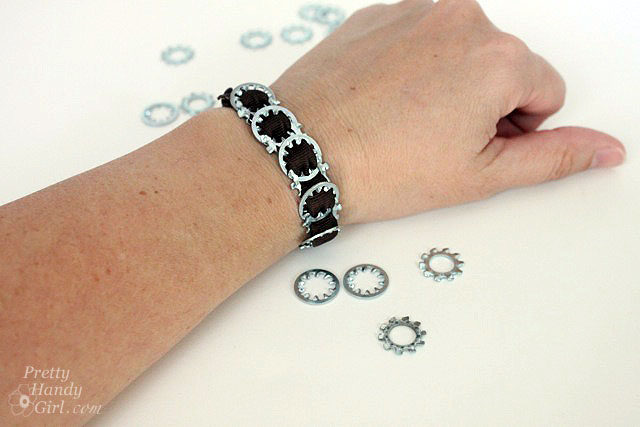
Gear Bracelet

cut off old hose end

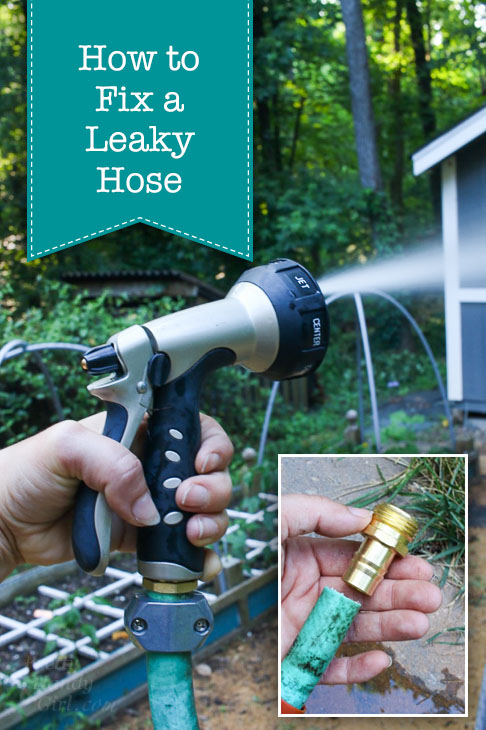
how to fix a leaky garden hoseHow to Easily Fix a Leaky Hose

A garden hose is a valuable tool around my yard in the summertime. It’s vital to keep my yard looking beautiful, keeping plants watered, and occasionally for a fun water fight with my kids. But what happens when that very useful hose springs a leak? Not only is it frustrating to use but it is a complete waste of water (not to mention that you get wetter than the person you intend to soak in a water fight.) It may be tempting to throw it out and buy a new one, but did you know it’s fairly simple to fix a leaky garden hose? It is! I have the solution for you in this tutorial on How to Fix a Leaky Hose!

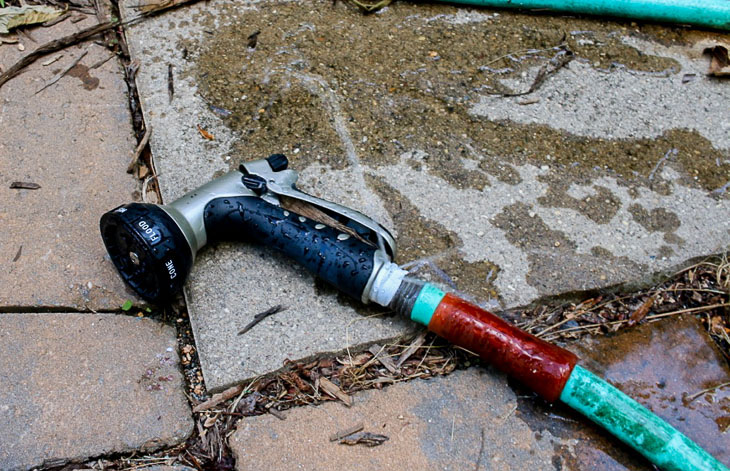
leaking garden hose

Ready to save money and water? Great! Let’s get to it!

Materials:

(I’ve included affiliate links for your convenience. I earn a small percentage from a purchase using these links. There is no additional cost to you. You can read more about affiliate links here.)

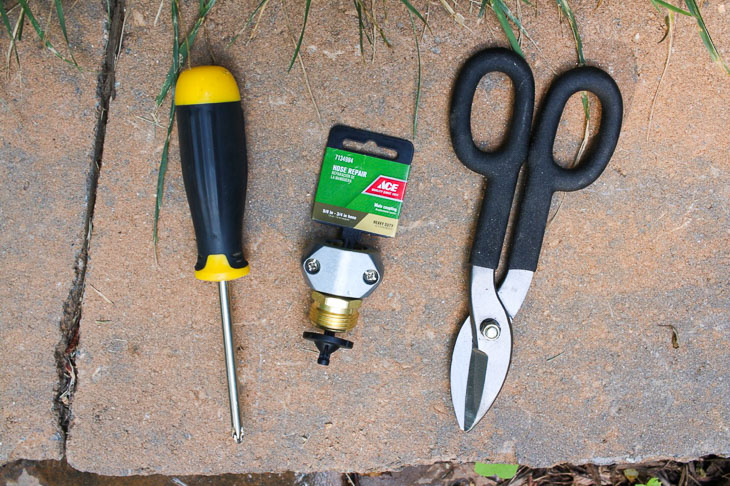
tools to fix hose

Instructions:

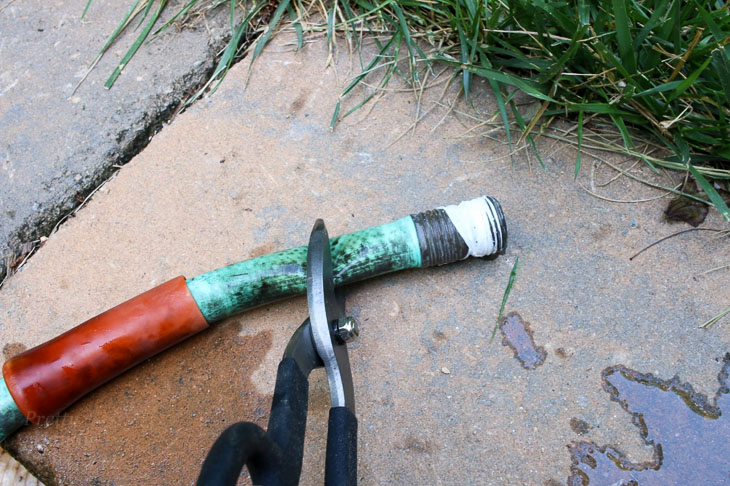
The first step is to cut off the leaky end of the hose using your heavy duty snips. Be sure to cut perpendicular to the hose.

cut off old hose end

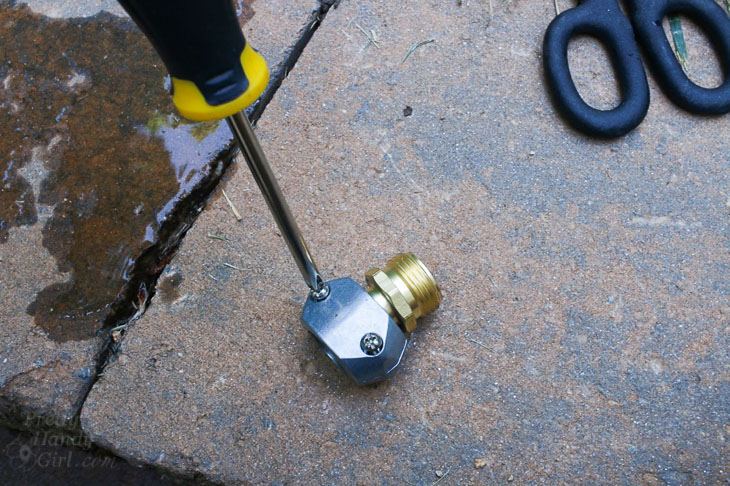
Remove the two screws from the hose repair coupling clamp using your screwdriver.

unscrew clamp

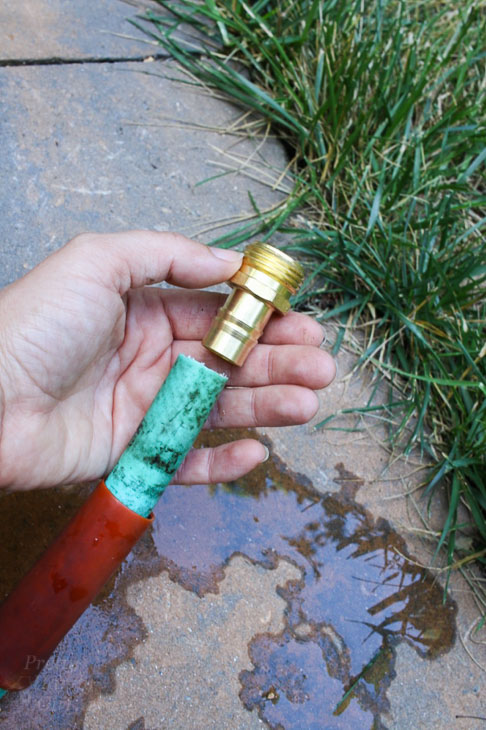
Insert the threaded coupling piece into the cut end of your hose.

insert new hose end

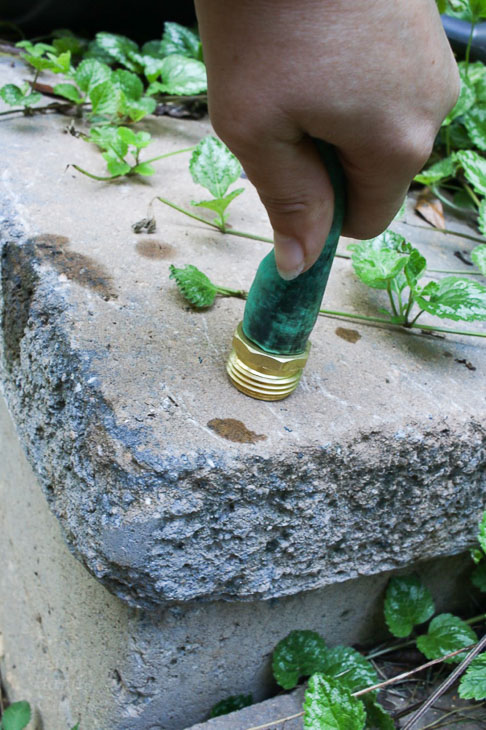
Have patience, this can be the hardest step. Push it down against a hard surface until the coupling is completely inserted into the hose.

push new hose end on

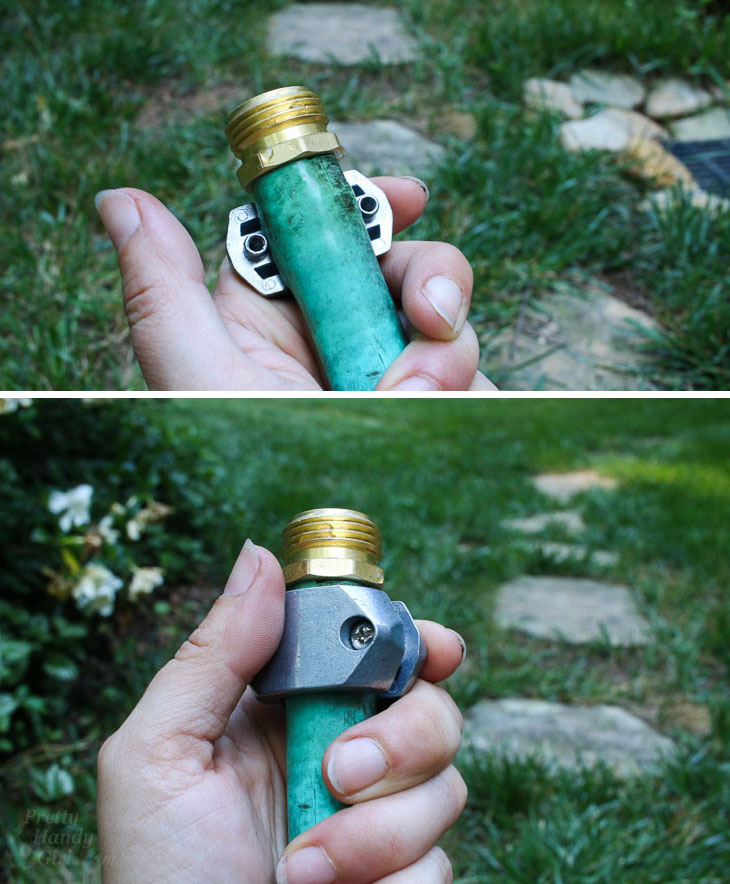
Next, take the two parts of the clamp and put one piece behind the hose, as pictured. Hold it in place while you add the second clamp piece. Line up the screws with the holes on the back piece.

Add garden hose clamp

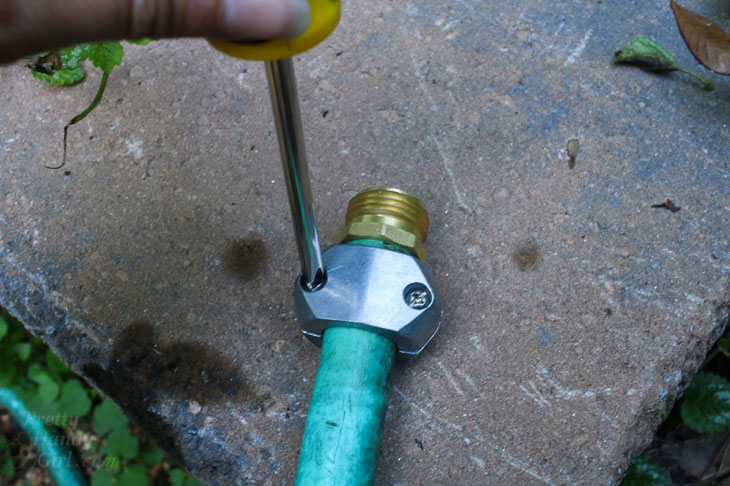
Tighten the screws. It may be easier to set it on a hard surface, as shown here.

attach clamp

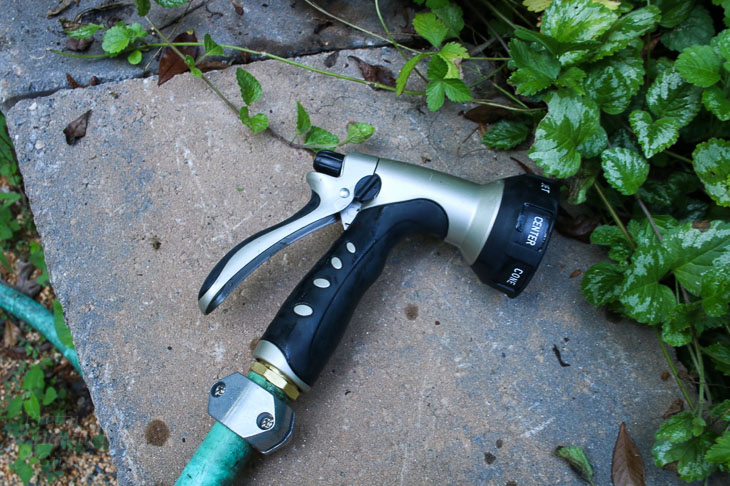
Now connect your sprayer to the end and give it a test try!

fixed garden hose

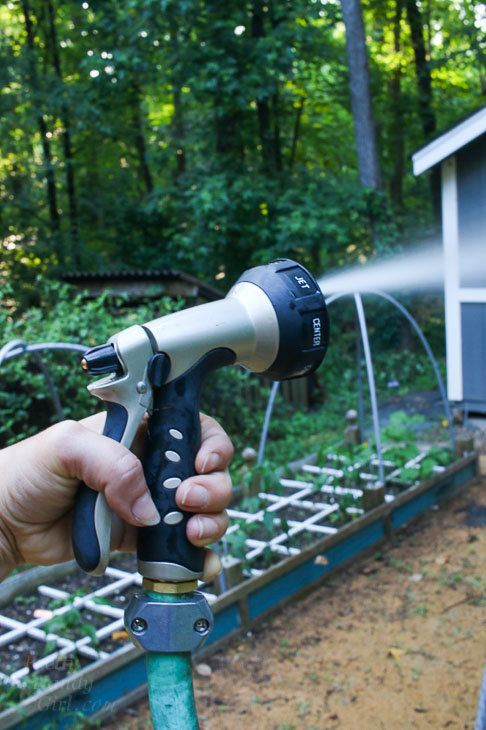
Hooray! No more leaky hoses. Now where are those crazy boys of mine? Time to start a water fight on this hot summer day. ;-D

garden hose sprayer

This was a simple fix to a frustrating problem and it only cost a few dollars. Definitely worth it! I hope you liked this tutorial and it comes in handy should you need it. Do you have a leaky hose you need to fix? Or have you repaired a leaky hose with this method?

If you liked this post, you’ll love:

How to Install Sprinkler System

How to Install a Sprinkler System


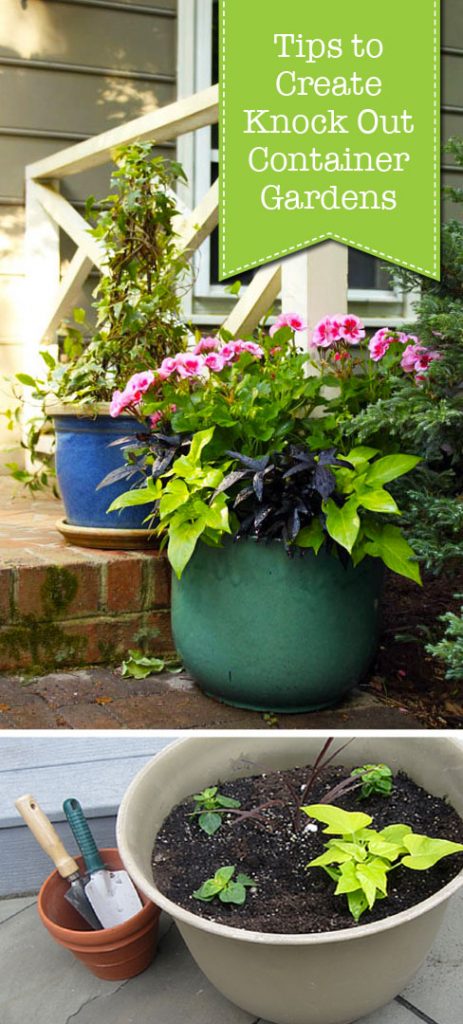
Tips to Create Knock Out Container Gardens | Pretty Handy Girl

Tips to Creating Knockout Container Gardens

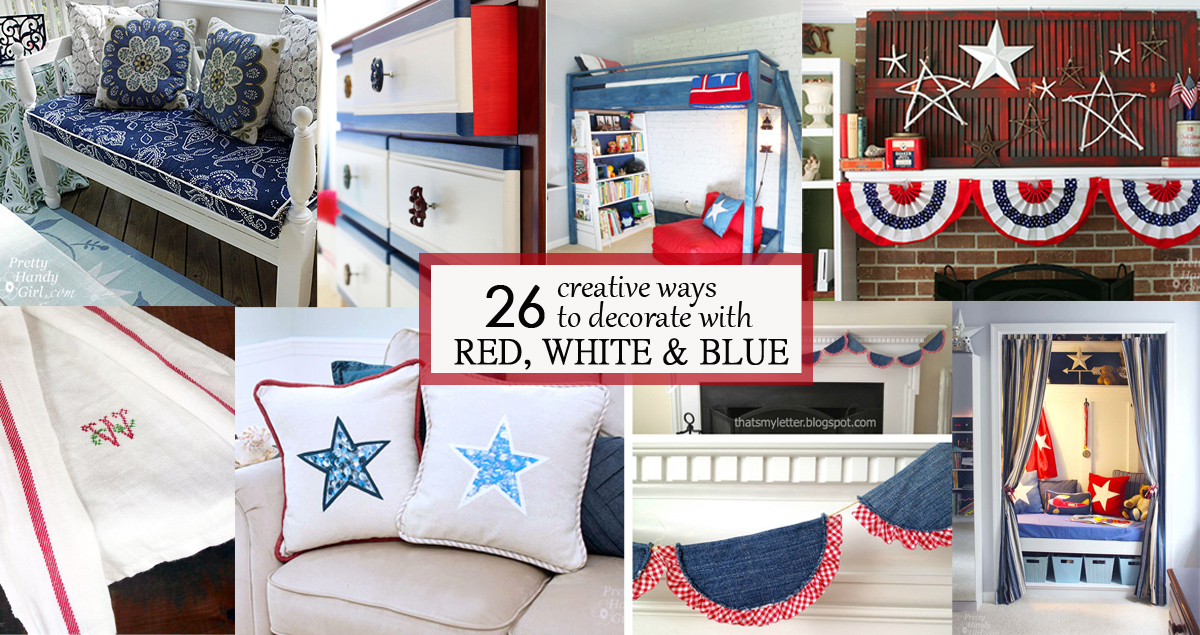
social media image 26 ways to decorate with red white and blue

Creative Ways to Decorate with Red, White, and Blue

July 4th is right around the corner. If you like to decorate for the 4th, try using red, white, and blue primary colors to give a patriotic vibe to your home. Red, white, and blue are also perfect for a classic and bright style. This trio of colors enable you to use different prints and textures together. Here are 26 creative ways to decorate with red, white and blue!

Red and Blue Star Pillows are great decorations and they look wonderful year-round.


A simple and easy way to upcycle an old cutting boardAdd blue to your kitchen with this Quick Cutting Board Makeover.


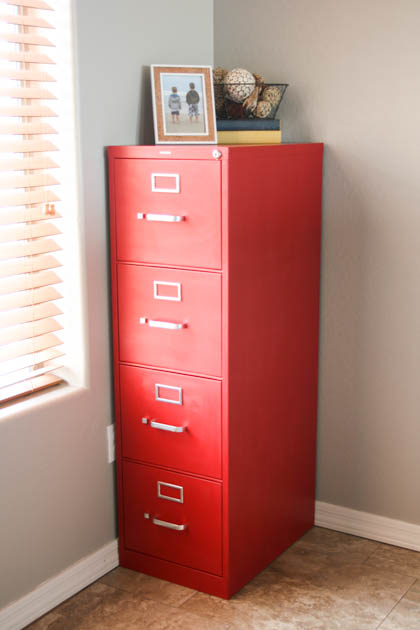
Red File Cabinet Makeover using Chalk PaintThis File Cabinet Makeover using Chalk Paint is a gorgeous way to add red to your room.


Fingerprinted Envelope Star PillowThese Fingerprint Star Pillows rock the muted red and blue. Plus, the piping adds some elegance.


made in usa star shirtsDecorate yourself as much as your home with these Made in USA Star Shirts.


 refinished furniture in blue tones

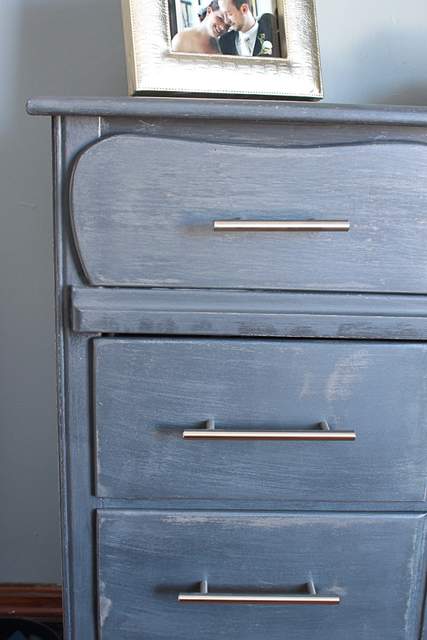
Learn to Update Furniture Like a Pro using paint in blue tones, glaze, and wax.


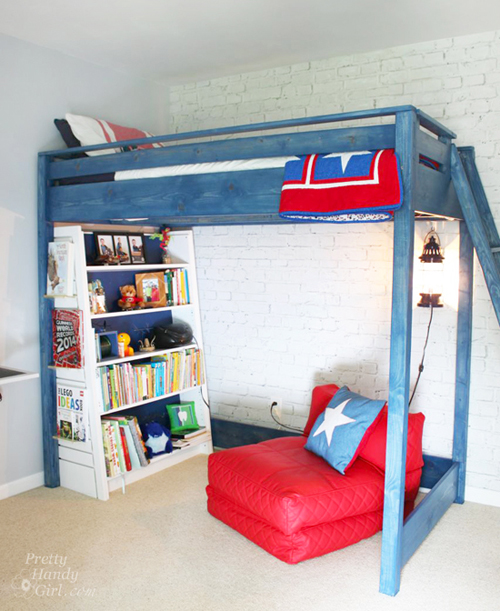
Who says you can’t stain a bed blue! Learn how to make this awesome loft bed.


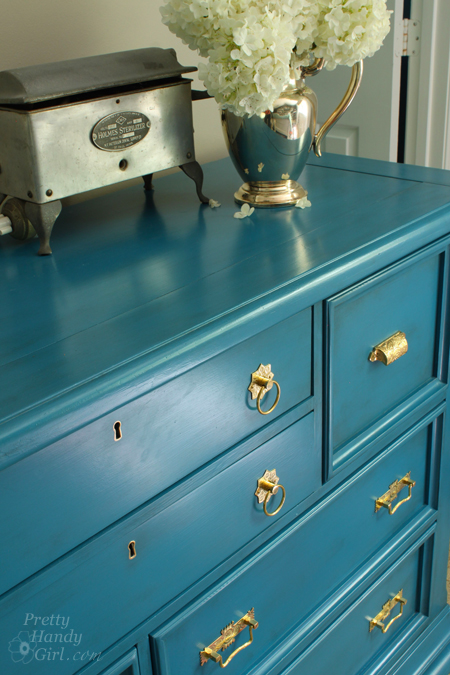
Pine Aqua Dresser MakeoverGive your Pine Dresser a Blue Aqua makeover to breathe new life into old furniture.


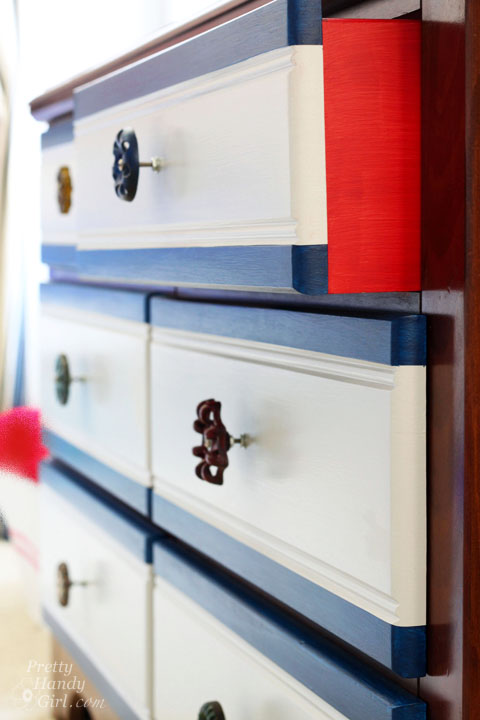
Easy Added Color to a Dresser | Pretty Handy GirlAdd Colors to an Old Dresser by painting just the drawer fronts. For something extra see what was done to the sides.


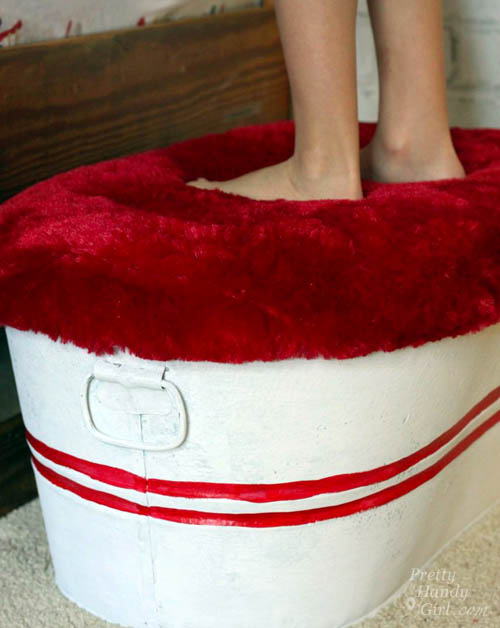
tub storage benchMake a useful Red Tub Storage Bench to brighten up any room and provide extra storage.


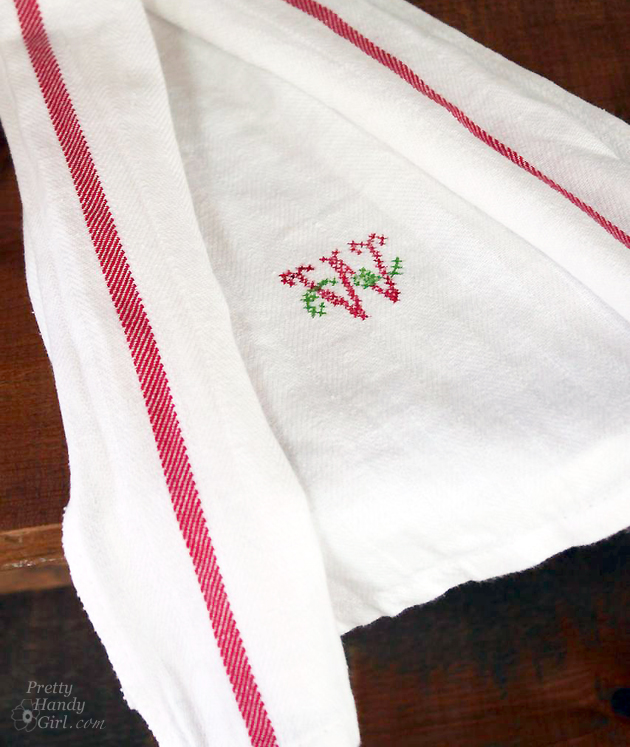
faux cross stitch tea towelMake this Faux Cross Stitch Tea Towel
 to add red and white accents to your farmhouse kitchen.


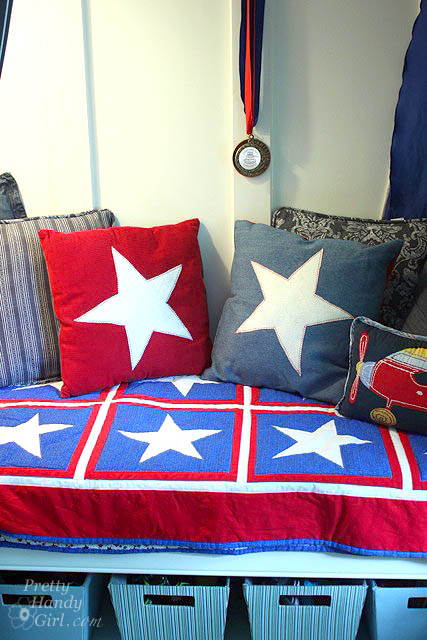
Boy's Red, White & Blue Themed Room | Pretty Handy GirlCreate a fun Reading Nook for your kids using these primary blue and white striped curtains and accent with red tones.


backlit bookcaseMake this Blue Bookcase and learn how to add some backlighting for a cool effect at night.


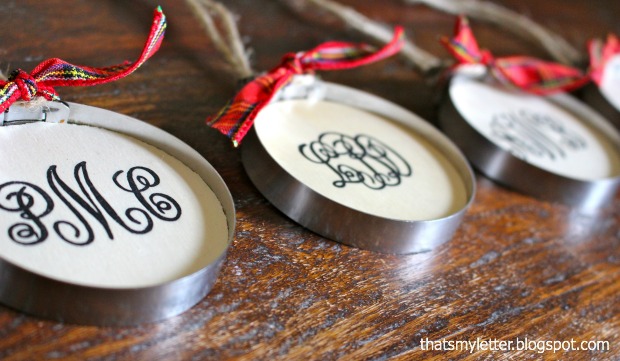
red hand painted monogrammed ornamentsUse a little red ribbon to add a special touch to these Hand-Painted Monogrammed Ornaments.


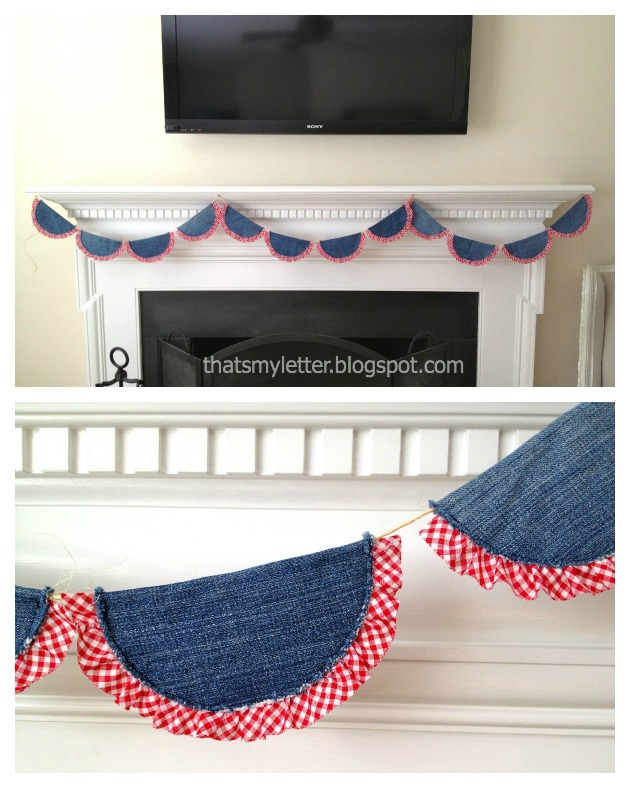
Patriotic Denim Bunting TutorialThis Patriotic Denim Bunting Tutorial is great for summertime when you’re going for a festive red, white, and blue theme.


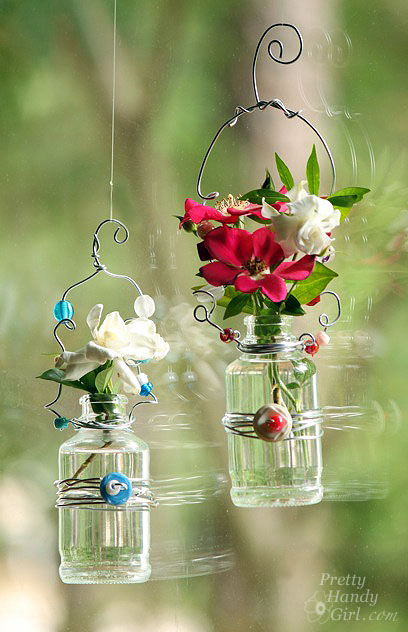
hanging bead flower vasesUse different elements like red and white flowers, plus blue beads to make Hanging Beaded Glass Flower Vases.


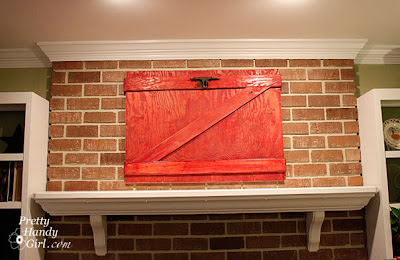
Make a decorative red barn doorA Red Decorative Barn Door can stay up all year-round and be decorated with a variety of seasonal decor items.


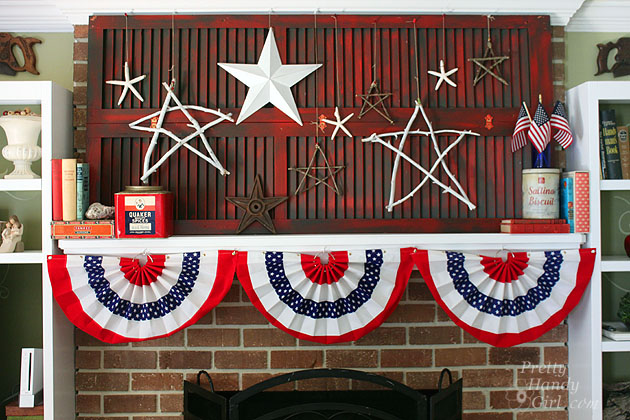
Patriotic Summer MantelDuring summer use this amazing red, white and blue Decorative Patriotic Mantel for inspiration.


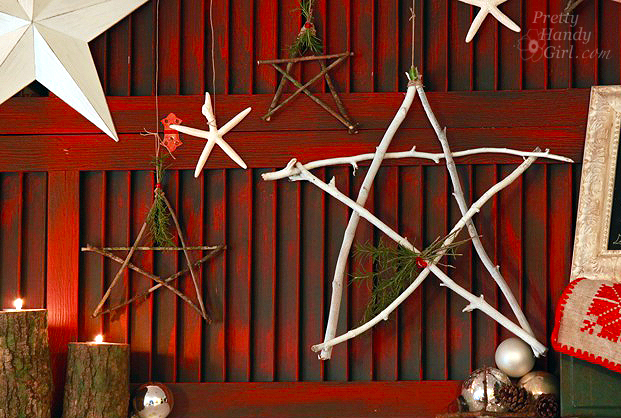
twig star decorationsMake your own whimsical White Twig Star Decorations.


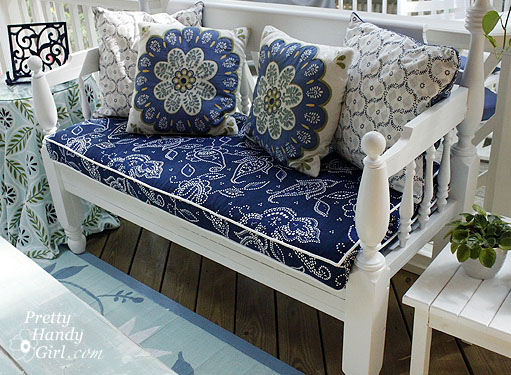
Blue Bench CushionUse blue fabrics to update your furniture with this tutorial to make a Bench Cushion With Piping.


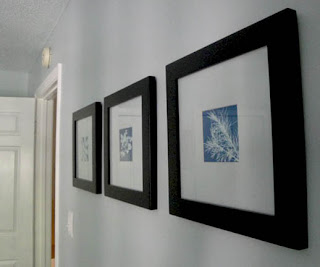
diy art summer blueMake your own Blue DIY Art with this fun paper and the sun!


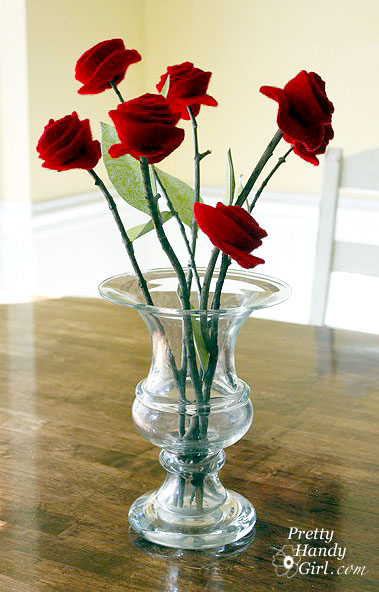
wool roses on a stemRed Wood Roses on a Stem can add a red accent anywhere in your home.


blue window resin artPaint an old window in a tone of blue to create this Dream Big Butterfly Window to your wall decor.


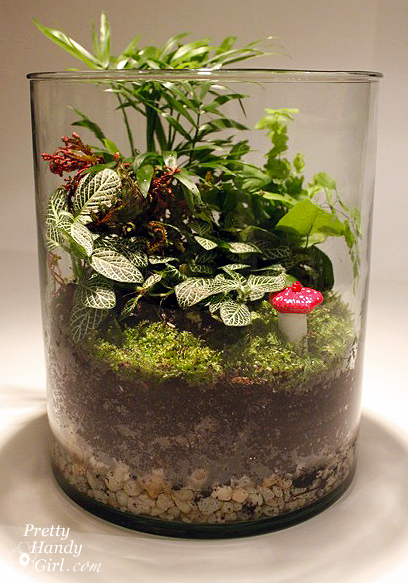
DIY Decorative MushroomsAdd small elements of red to your plants like little Red Decorative Mushrooms.


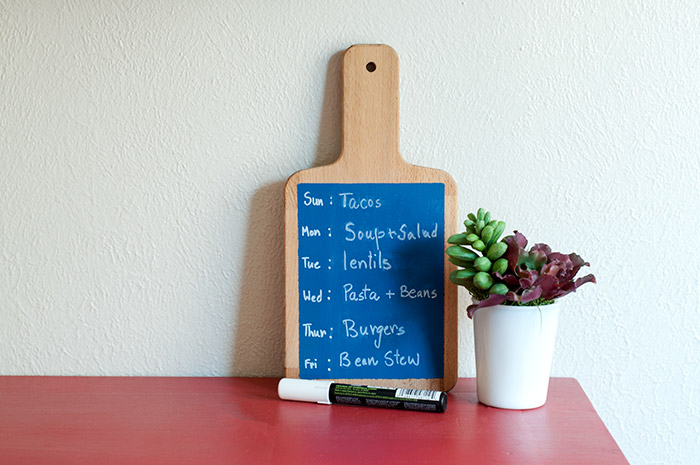
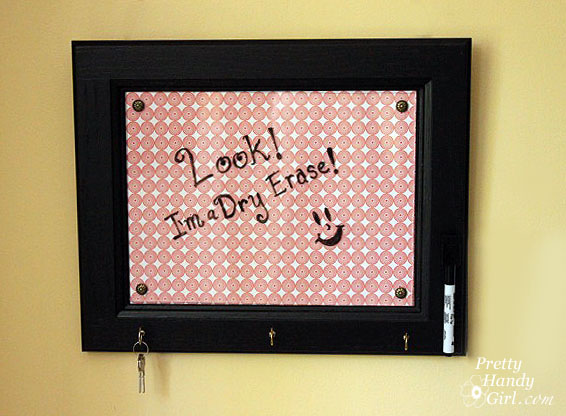
dry erase message board from a cabinet doorUse red when upcycling a cabinet door into a Dry Erase Message Board.


Don’t let winter stop you, create a garden flag using red, white, and blue fabric paint on a placemat. Create your own design  patriotic design!

Remember to pin this image to refer to later and please share on social media!

Check out these 26 creative ways to decorate with Red, White and Blue for some inspiration for bold and bright home decor.

Other posts you may be interested in:

Decorating Ideas for an Outdoor Garden PartyOutdoor Garden Patio Party Decorating Ideas | Pretty Handy Girl


How to Decorate Series: Color Harmony in DecoratingHow to Choose Color Harmonies | Pretty Handy Girl

Hi, I’m Sheri from Hazel + Gold Designs. Here are a few fun stats about me: I like love chocolate and peanut butter (together of course.) If you like stats, I have been crocheting for about 16 years, crafting for 20, and woodworking for about 4 years. I found a passion in making and being creative and began documenting my projects online at Hazel + Gold Designs.
When not working on projects, I enjoy spending time with my husband, four children, perfect dog, and ornery cat. You can find me on Facebook, Pinterest, Instagram and Twitter.

Read all of Sheri’s tutorials.

~Find more of Sheri’s projects here ~

DIY Concrete Desk Organizer- finished photo horizontal

DIY Concrete Desk Organizer

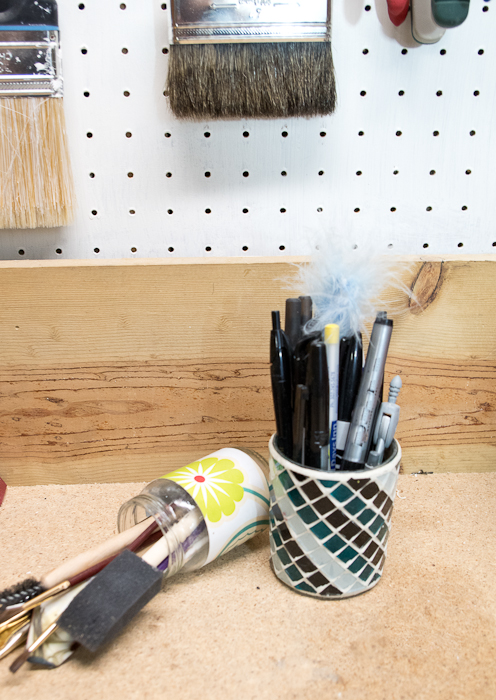
Hi! It’s Sheri from Hazel + Gold, and I’m excited to share this DIY Concrete Desk Organizer tutorial with you! This organizer was born from necessity.  Do you have a jar or cup-like pen holder? Have you ever knocked it over reaching for a pen or pencil? I did this all the time!

DIY Concrete Desk Organizer- old pen jar tips over

One reason they tip is because they aren’t big enough to hold all my items. The other reason is these containers aren’t weighted enough. I knew there must be a better way and I’ve been itching to use concrete for a project. It dawned on me I should make something out of concrete to store my pens, pencils, and paintbrushes. Fellow pen and utensil tippers, want to learn how to create this awesome DIY concrete desk organizer? Then let’s do it!

Materials:

(I’ve included affiliate links for your convenience. I earn a small percentage from a purchase using these links. There is no additional cost to you. You can read more about affiliate links here.)

Instructions:

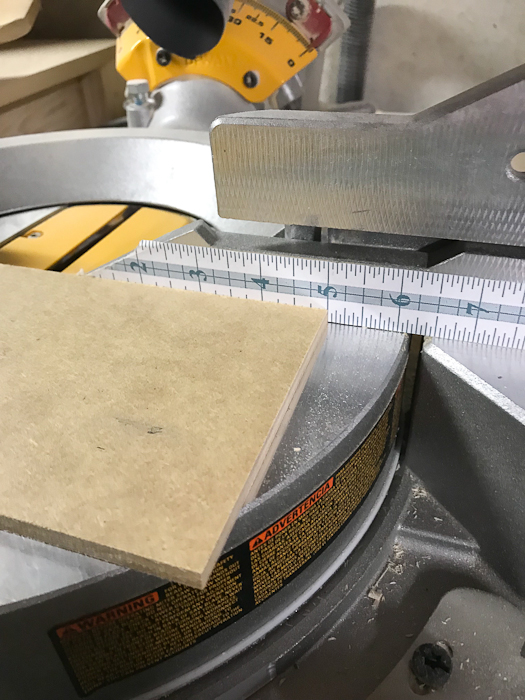
Cut scrap wood to create the box mold for the organizer. A rectangle is space saving and easy to create.

Use three pieces at 8 ½” x 4 ½” and two pieces  5″ x 4 ½”.

DIY Concrete Desk Organizer - cut two pieces 5" long

The longer pieces will make the bottom and sides, while the two smaller pieces create the ends. Spread wood glue along the joints. (Wood glue holds great but allows the box to be easily removed later on.)

DIY Concrete Desk Organizer - use wood glue to assemble box mold

Use clamps to assemble and secure the mold while the glue cures.

DIY Concrete Desk Organizer - use wood glue and clamps to assemble box mold

Let the glue dry for an hour. Then your box mold is ready for casting!

Prepping Mold and Adding Concrete:

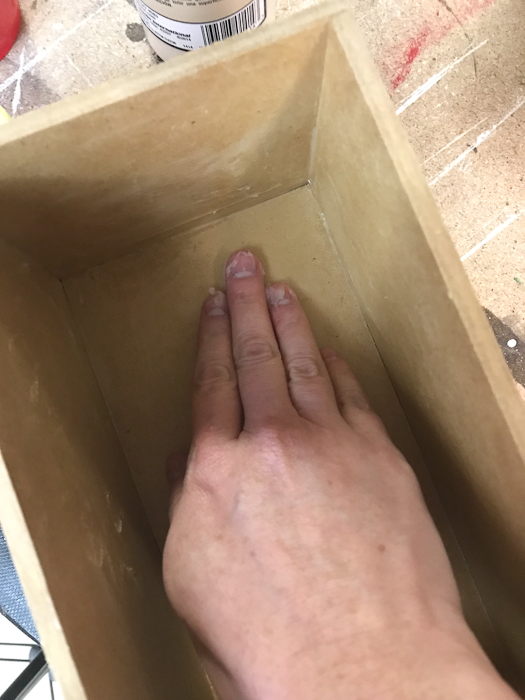
To prevent the concrete from adhering to the wood, apply a thin layer of petroleum jelly on the inside of the box mold.

DIY Concrete Desk Organizer - use petroleum jelly

Collect your wine tumblers, concrete mix, water, and stir sticks. (I used large plastic cups to mix the concrete and ended up having to mix three different batches. If you have a larger container you can make one large batch.)

Mix the concrete according to the instructions on the package. You may have to do a bit of math because people typically use larger quantities of concrete and every concrete is different. I mixed it to a milkshake consistency and it came out perfect.

Pour the concrete into the mold, allowing room for the wine glasses.

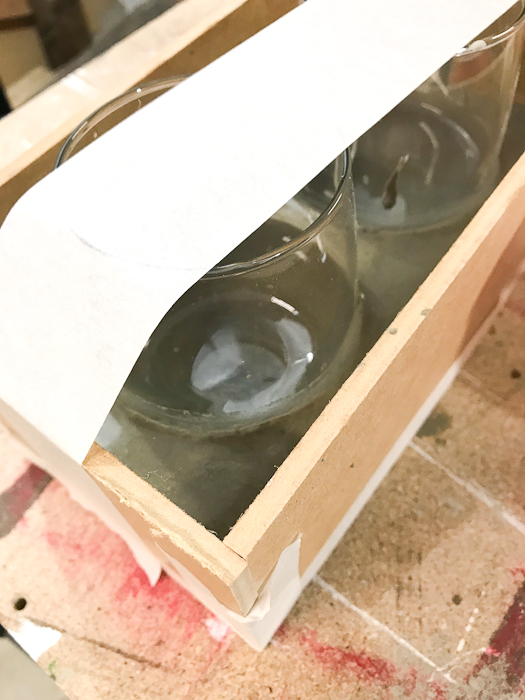
Set the wine tumblers into the concrete. Make sure they are level, then use masking tape to hold them in place. Pour in more concrete until it reaches the height that you desire. Make sure the widest part of the glasses are submerged in the concrete to hold them securely.

DIY Concrete Desk Organizer - use tape to secure the tumblers in place then pour concrete around them

Remove the mold:

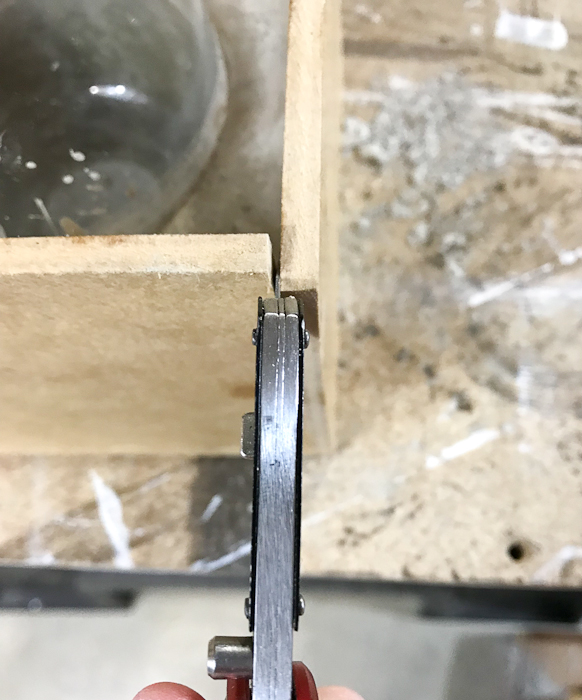
Once the concrete cures (mine only took one day) remove the box mold. Use a knife to pry the sections apart at the joints.

DIY Concrete Desk Organizer- use a knife to pry the wood apart

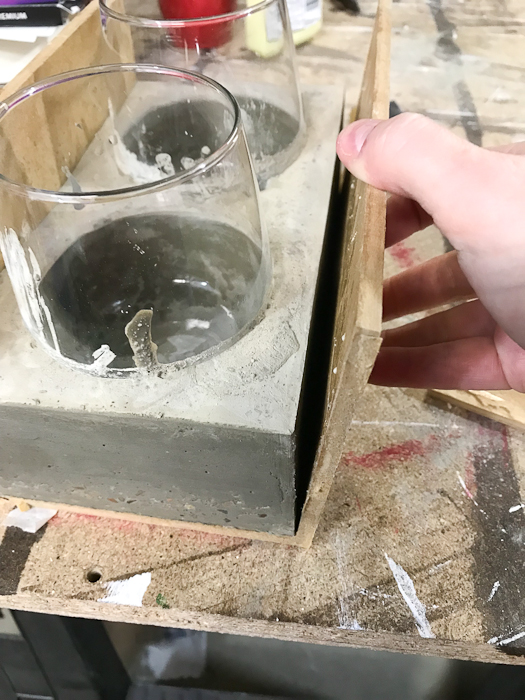
They should come apart easily.

DIY Concrete Desk Organizer- remove all sides of the mold

The sides may still look dark, but it will lighten up.

Clean up and Paint:

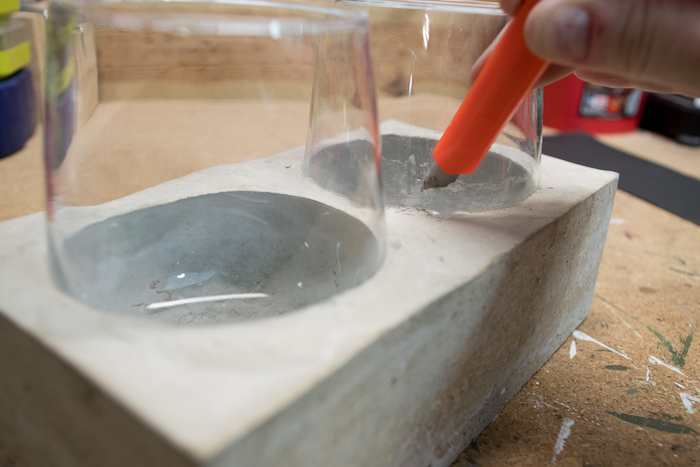
Clean off all the splatter marks from the glasses. Use a retractable knife to lightly scrape the residue off. Follow up with a soft cloth to clean the glasses. They should clean up easily!

DIY Concrete Desk Organizer- use retractable knife to clean off glass

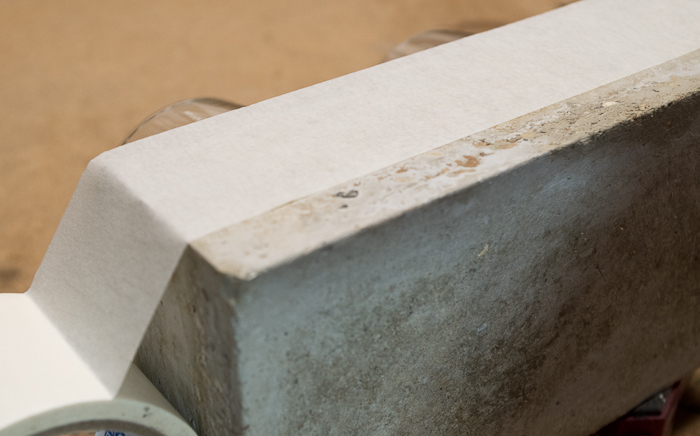
Time to make it pretty! Use some masking tape to mask off a line.

DIY Concrete Desk Organizer - use masking tape to mark where to paint

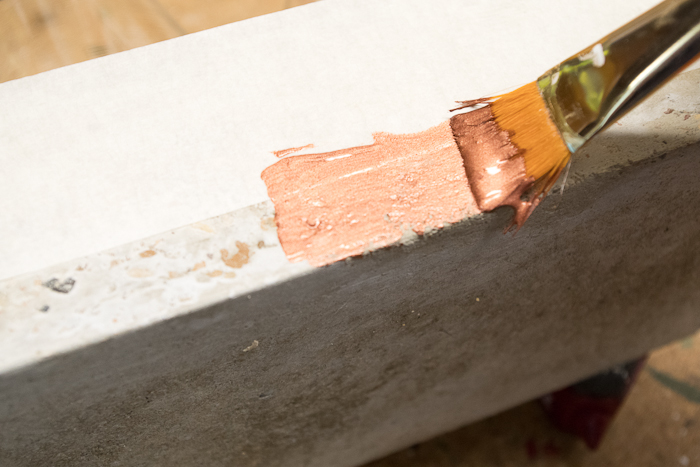
Paint the bottom section (or wherever you prefer) with metallic copper paint.

DIY Concrete Desk Organizer- paint bottom section with copper paint

Add a piece of felt to the bottom to prevent your organizer from scratching the surface it sits on. 

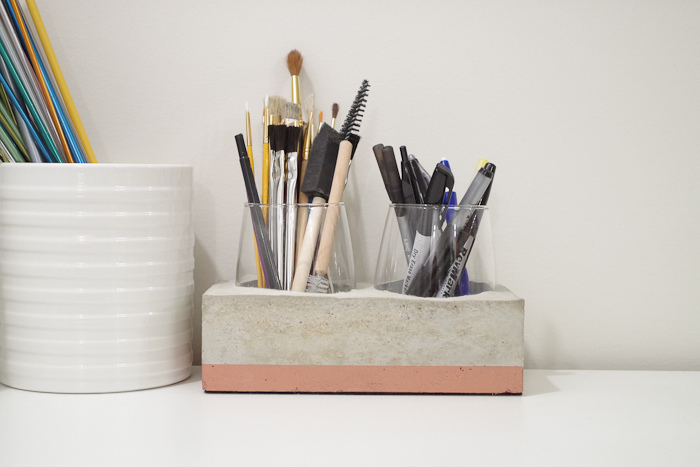
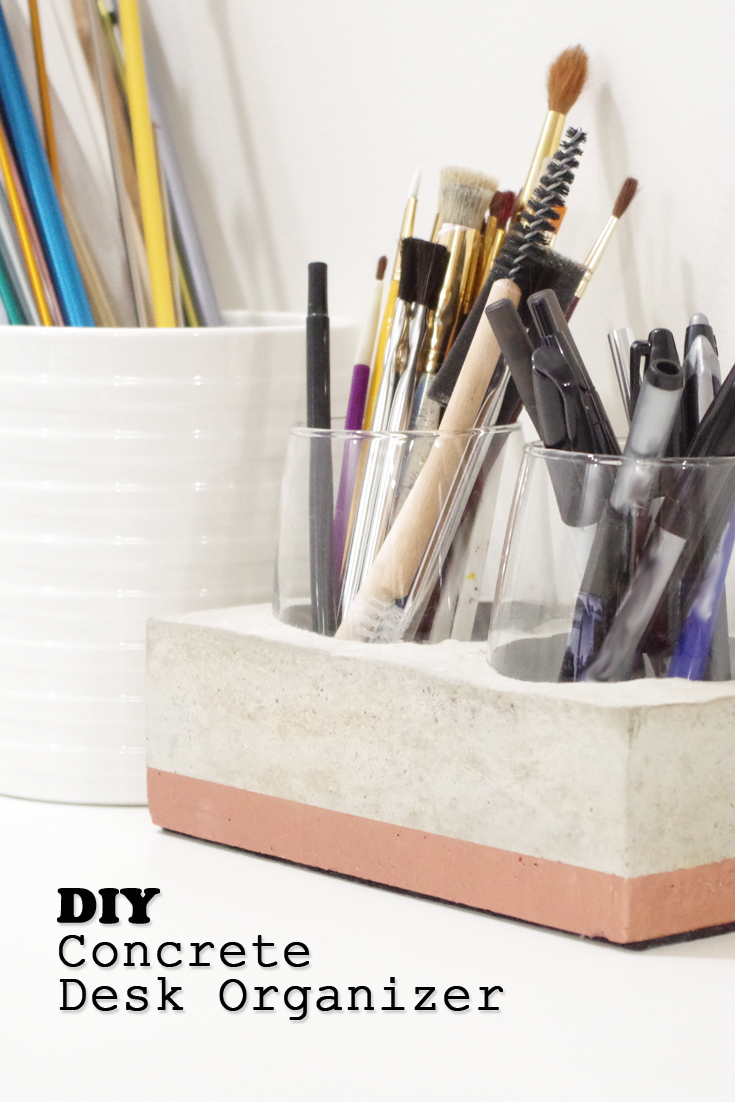
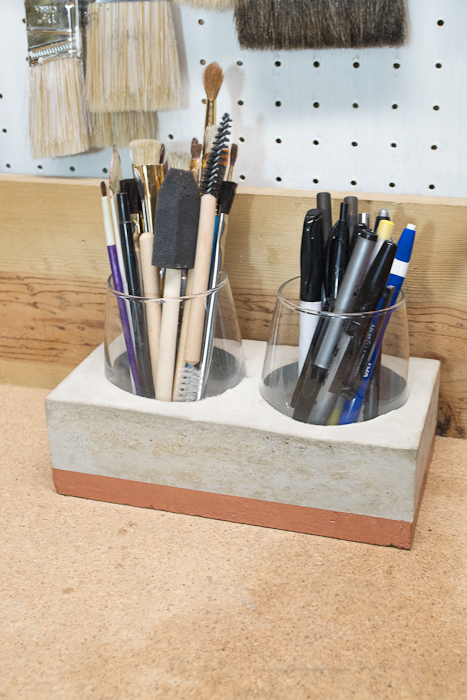
Your modern DIY Concrete Desk Organizer is finished!

DIY Concrete Desk Organizer- finished photo in the shop

You can use it in your shop, the kitchen, your office, or anywhere you desire!

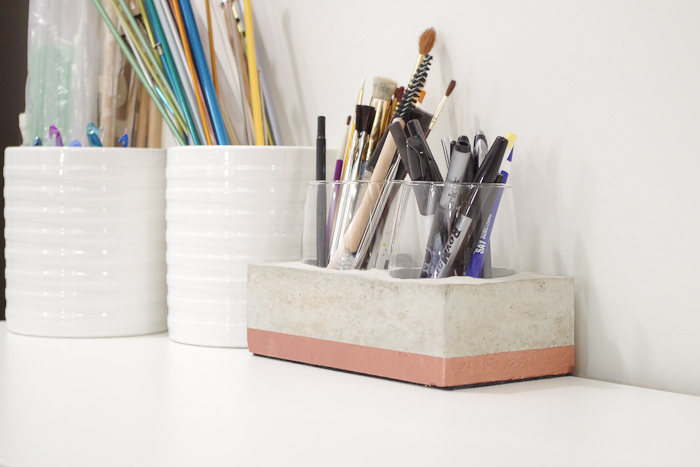
DIY Concrete Desk Organizer- finished photo horizontal

Wait until you see the huge number of supplies it will hold without tipping over!

DIY Concrete Desk Organizer- finished photo from right side

What do you think? Would you make one of these DIY Concrete Desk Organizers? Share your thoughts in the comments below and remember to pin this image to Pinterest so no one has to suffer with tipping containers ever again!

Thanks for reading! Come on over to Hazel + Gold and say “Hi!”

Hi, I’m Sheri from Hazel + Gold Designs. Here are a few fun stats about me: I like love chocolate and peanut butter (together of course.) If you like stats, I have been crocheting for about 16 years, crafting for 20, and woodworking for about 4 years. I found a passion in making and being creative and began documenting my projects online at Hazel + Gold Designs.
When not working on projects, I enjoy spending time with my husband, four children, perfect dog, and ornery cat. You can find me on Facebook, Pinterest, Instagram and Twitter.

Read all of Sheri’s tutorials.

~Find more of Sheri’s projects here ~

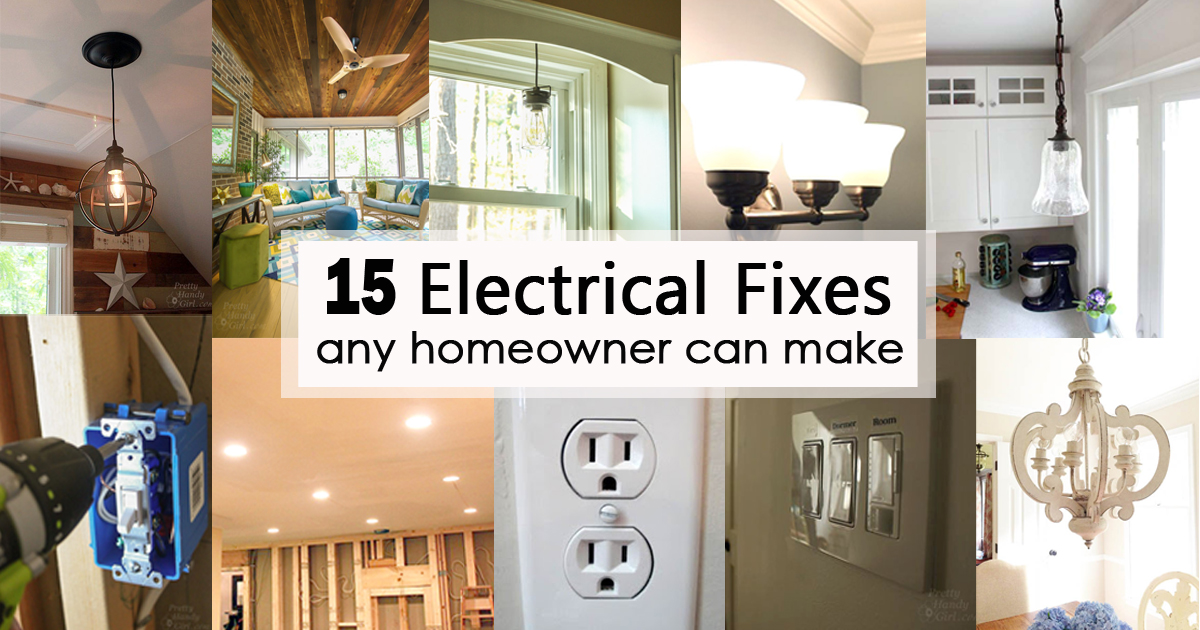
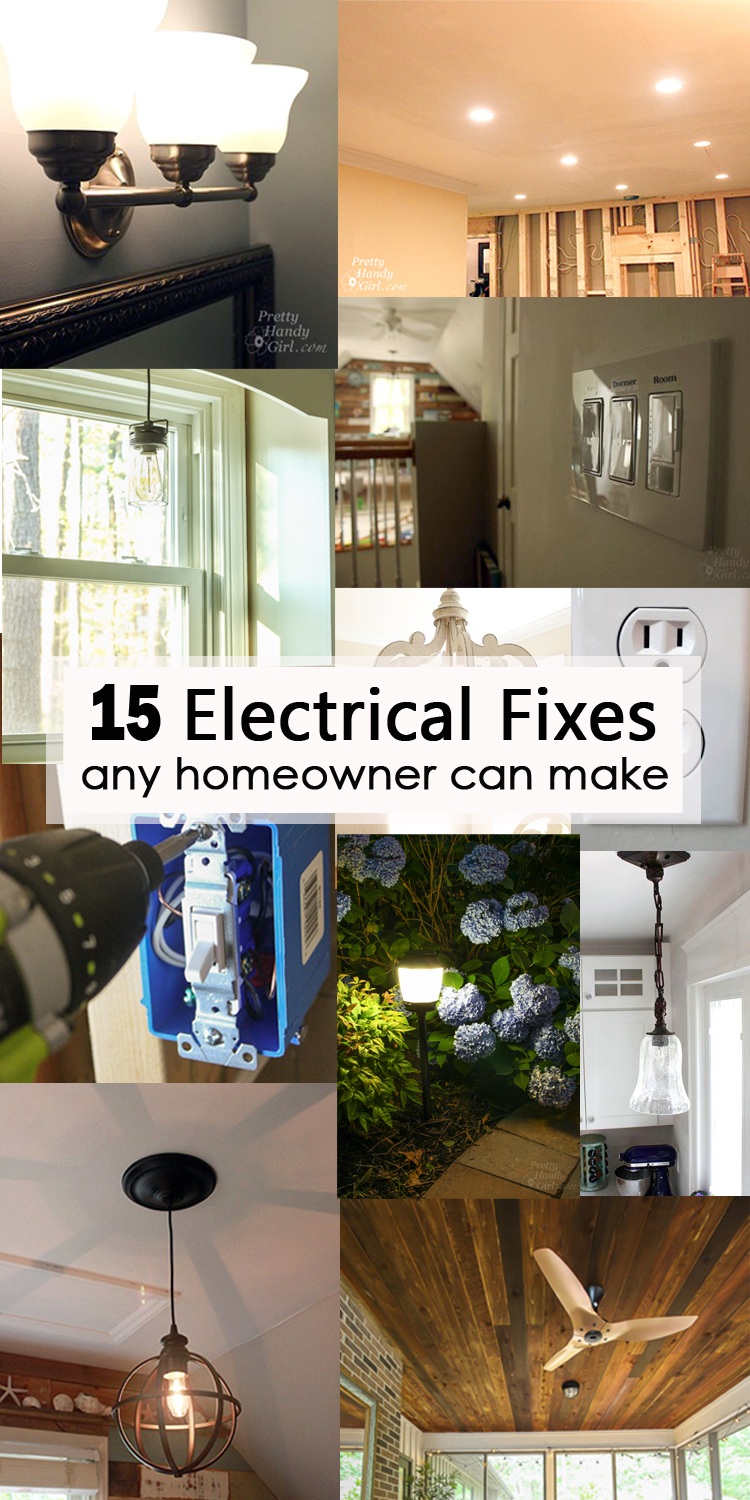
15 electrical fixes any homeowner can make social media image

15 Electrical Fixes Any Homeowner Can Make

Electrical work can be scary, even for seasoned DIYers who haven’t delved into electricity. Many people have a fear of electrocution or fear of burning their house down. There are definitely times to hire a licensed electrician (when adding new wiring or outlets or working with dryer or stove 240 volt circuits.) But, there are so many electrical fixes and updates you can make as a homeowner! All you need to know are the tools needed, what the wire colors mean, and how to turn off the circuit. The rest is easy! Here are 15 Electrical Fixes Any Homeowner Can Make. I hope you like these projects and they help you take on some basic home owner electrical changes!


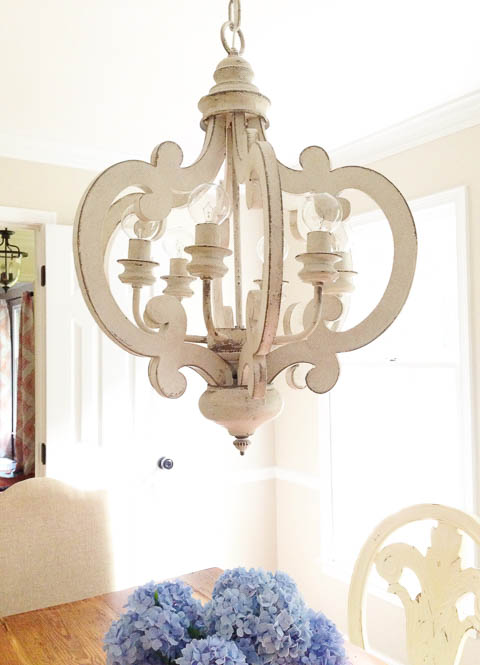
How to Install a New Chandelier

How to Install a New Chandelier.


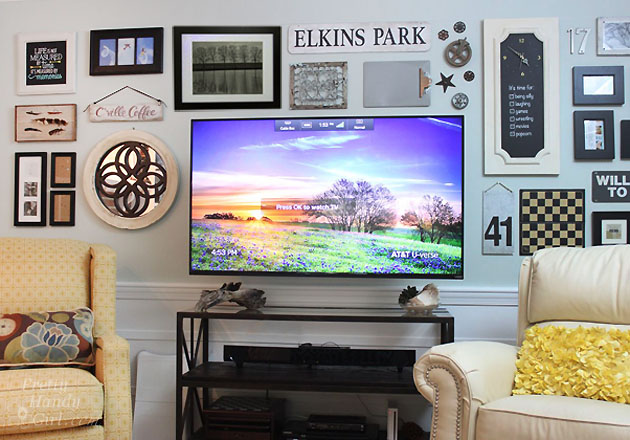
How to Hide Wires Behind a Wall Mounted TV

How to Hide the Wires, Install, and Mount Your TV 


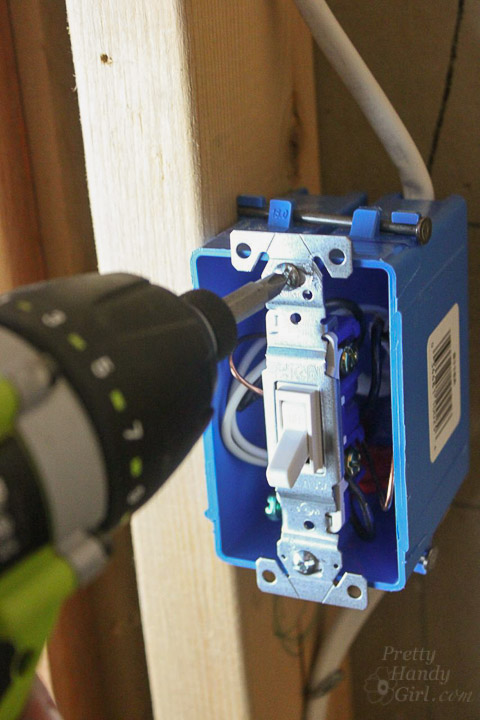
How to Add a Switch to a Light Fixture

How to Add a Switch to a Light Fixture


How to Convert a Recessed Light to Accept a Hardwire Fixture

How to Convert a Recessed Light to Accept a Hardwire Fixture


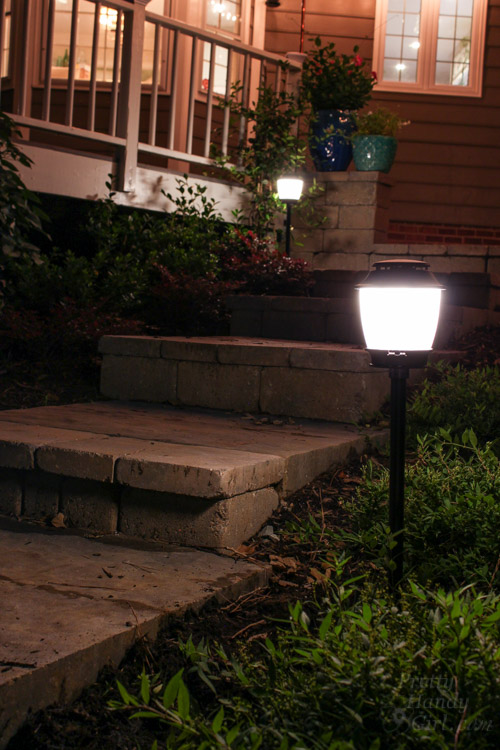
How to Install Landscape Lights and Repel Mosquitoes

How to Install Landscape Lights


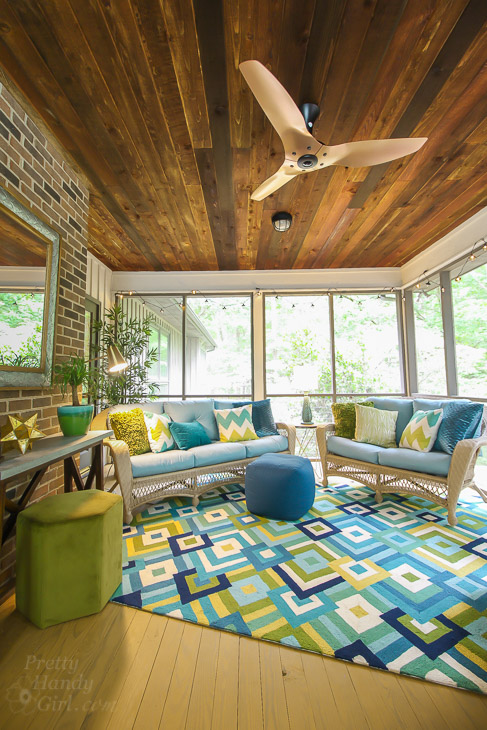
How to Install the Most Beautiful Ceiling Fan I Ever Laid Eyes Upon

How to Install a Ceiling Fan


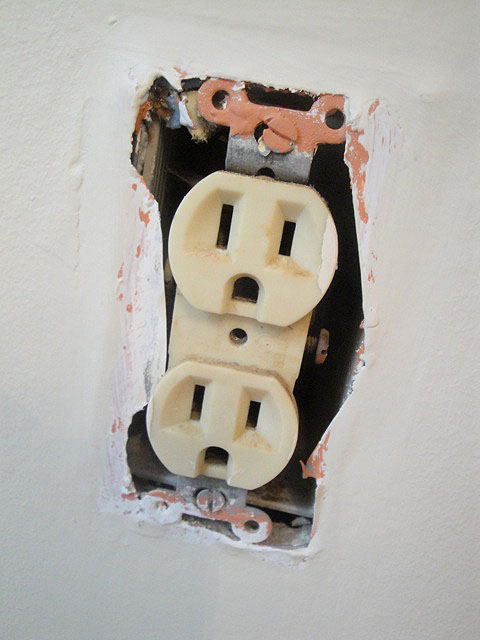
Replace an Old Ugly Outlet with a New One


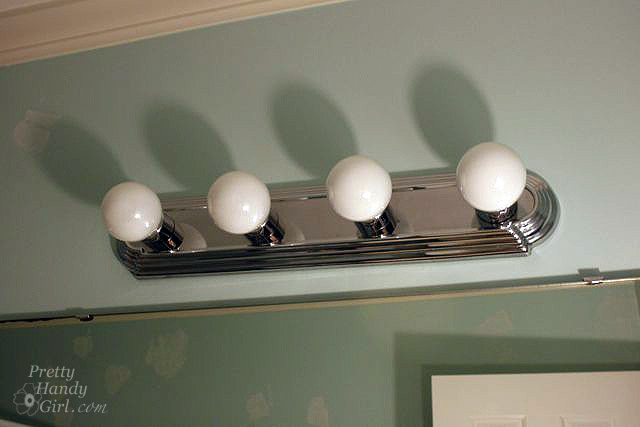
Replacing an Old Hollywood Strip Light with a New Fixture


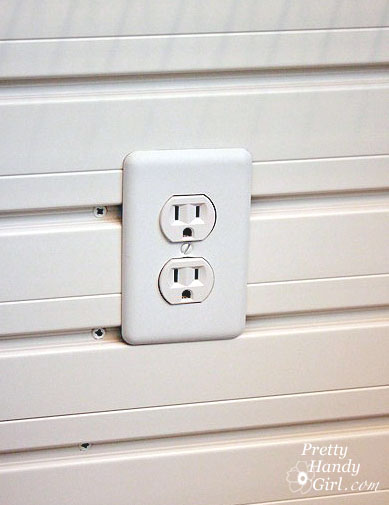
How to Add an Outlet Extender

How to Add an Outlet Extender


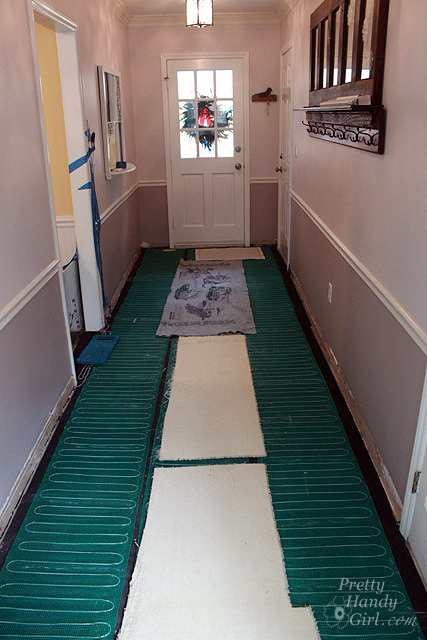
How to Install Radiant Floor Heating using WarmlyYours

How to Install Radiant Floor Heating


How to Install Recessed Lights

How to Install Recessed Lights


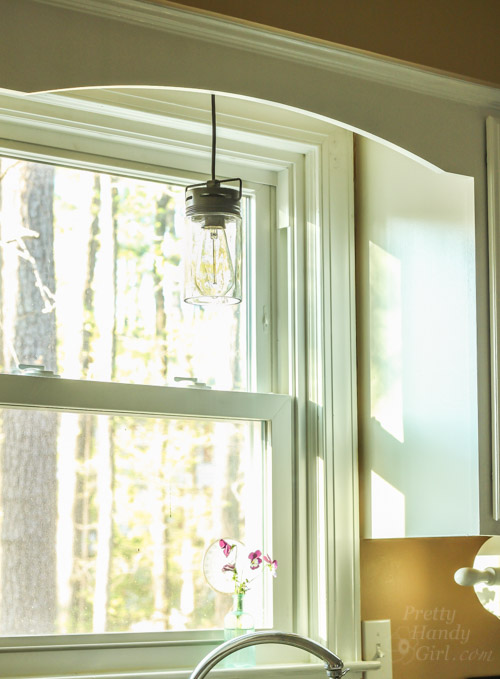
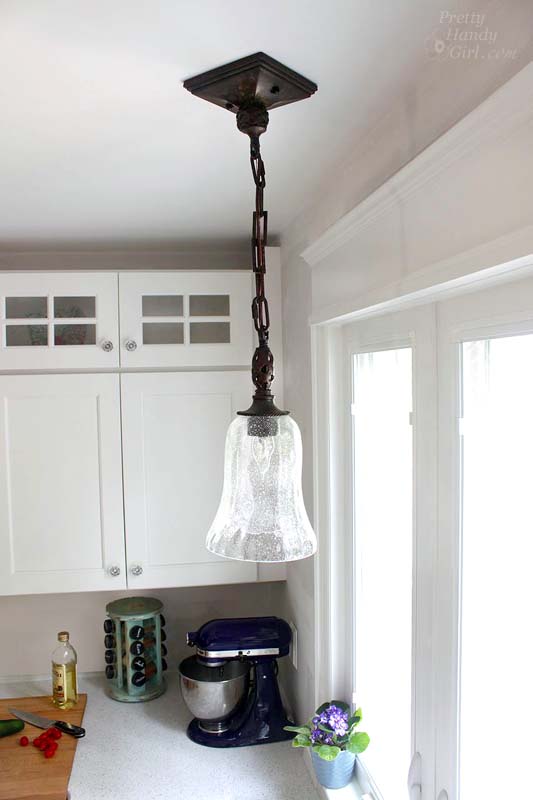
How to Install a Hard-Wired Pendant Light

How to Install a Hard-Wired Pendant Light


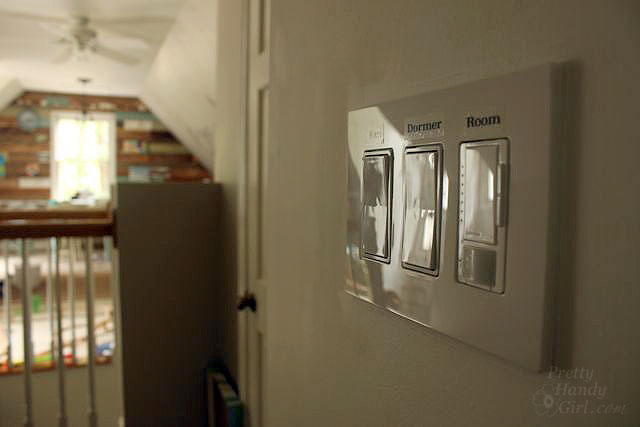
How to Install a Light Occupancy Sensor 3 Way Switch.

How to Install a Light Occupancy Sensor


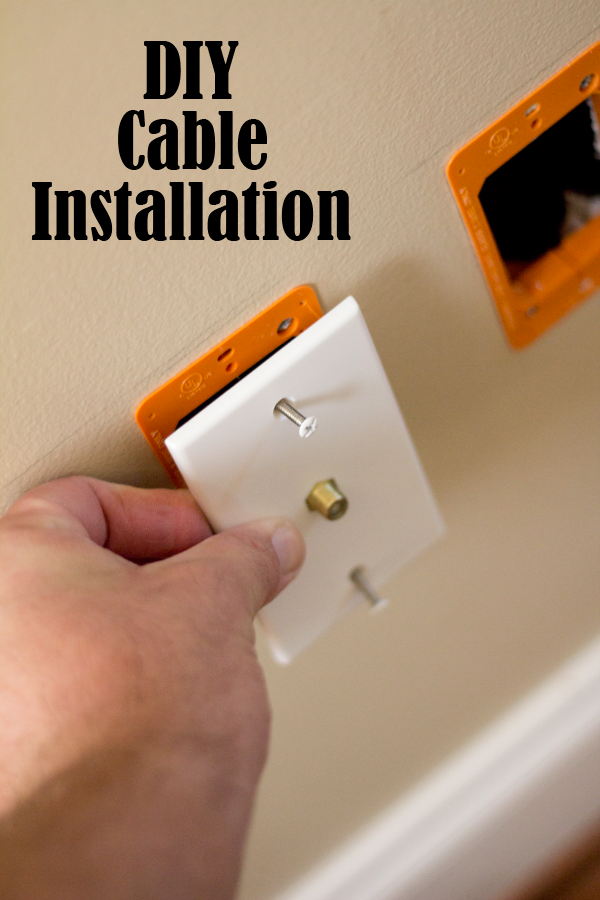
How do Install a Cable Outlet

How to Install a Cable Outlet


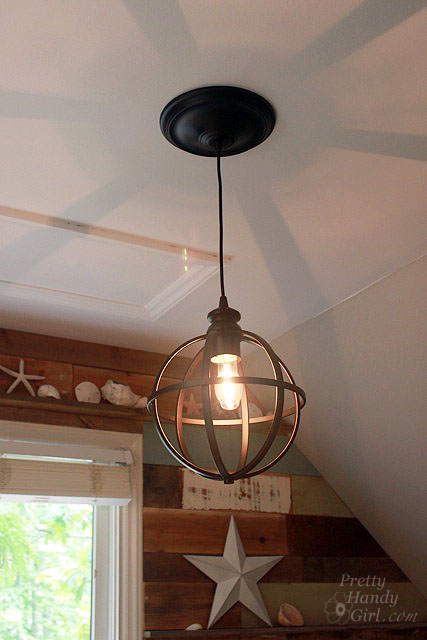
Converting a Recessed Light to a Pendant

Converting a Recessed Light to a Pendant


What do you think? Could you do these projects, or have you? What other electrical fixes are great for DIYers? I’d love to read your comments.

If you like this collection, please Pin this image to share with others:

15 electrical fixes any homeowner can make pinterest image