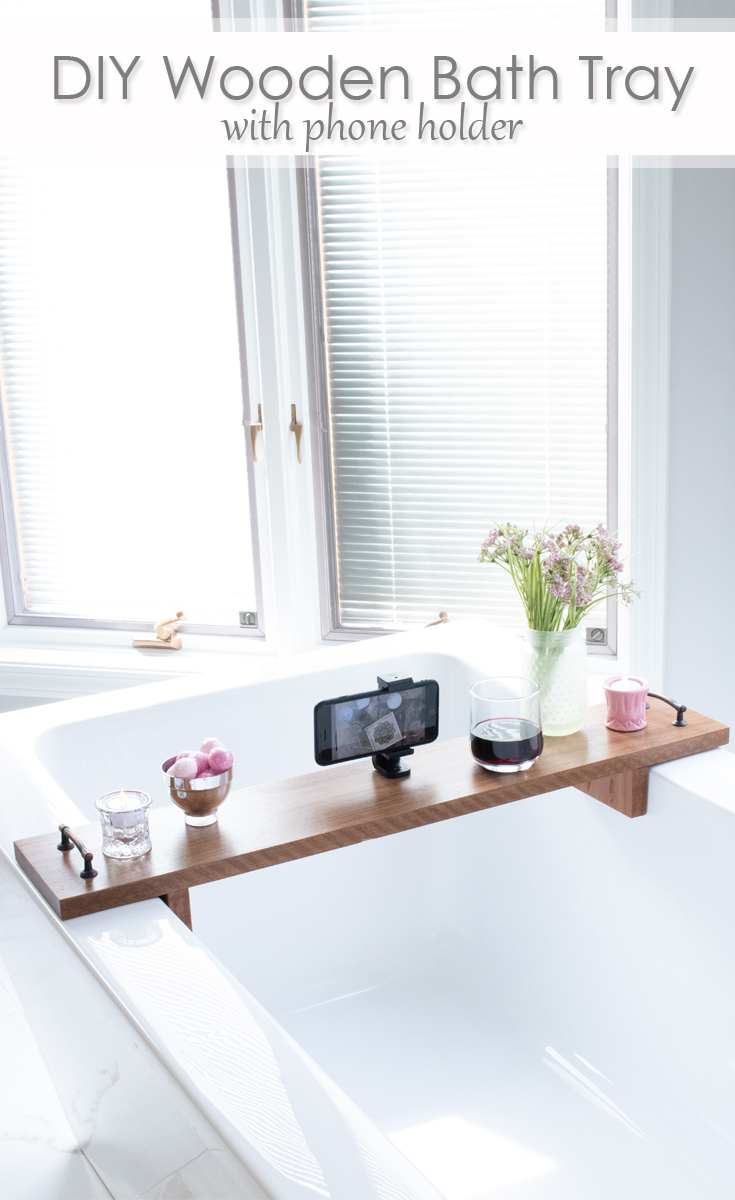
 DIY Wooden Bath Tray with Phone Holder
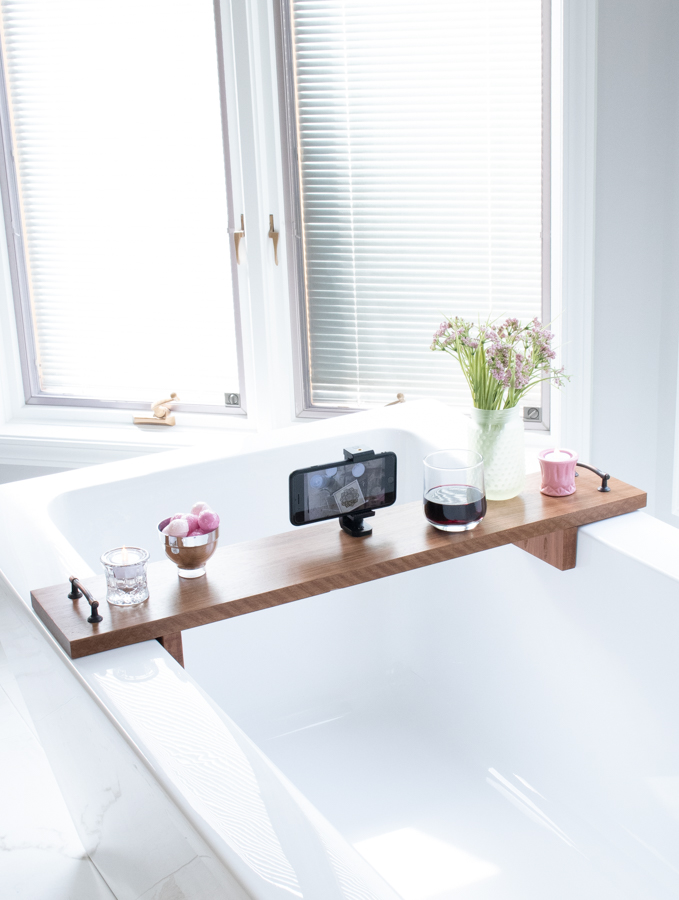
Are you looking to add some beautiful functionality to your bathroom? This DIY Wooden Bath Tray (with Phone Holder) is the perfect addition! It turns a plain bath tub into the perfect place to relax and unwind. I’m Sheri from Hazel + Gold Designs, and I am excited to share this DIY Wooden Bath Tray with you today. The best part about this tray is the added mount to secure your phone (so you can browse the web or watch a video while you’re relaxing.) Keep reading for all the details on how to make this bath tray yourself!
Materials:
(I’ve included affiliate links for your convenience. I earn a small percentage from a purchase using these links. There is no additional cost to you. You can read more about affiliate links here.)
- One board at least 48″ long. (I used brazilian cherry)
- Orbital sander
- Drill
- 1 ½” Forstner Bit
- Drill bit (sized for hardware screws)
- Pocket Hole Jig
- Pocket Hole Screws
- Wood Glue
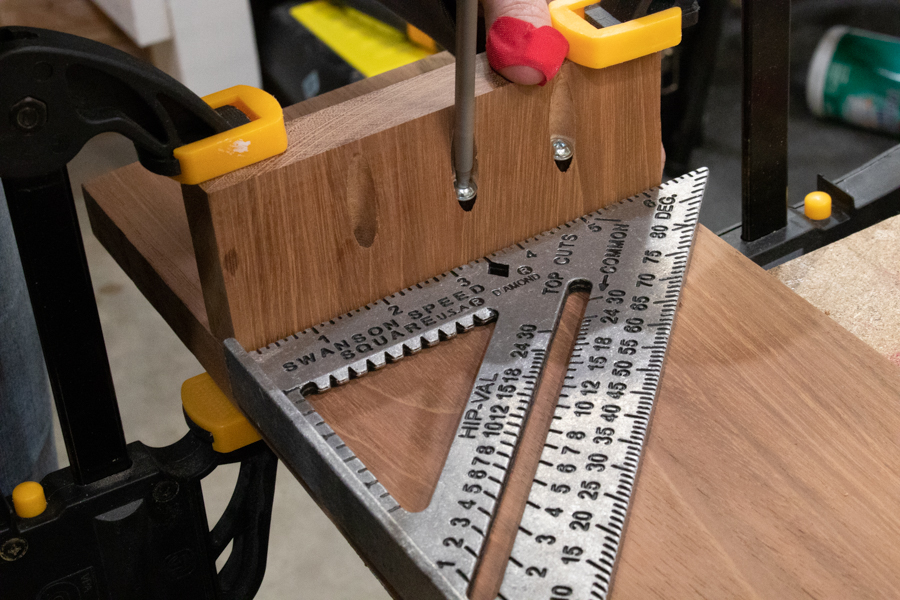
- Speed Square
- Two Drawer Pull Handles
- Cell Phone Tripod Adapter
- Polyurethane
- Ruler
- Paintbrush
- 1″ wood screw
Instructions:
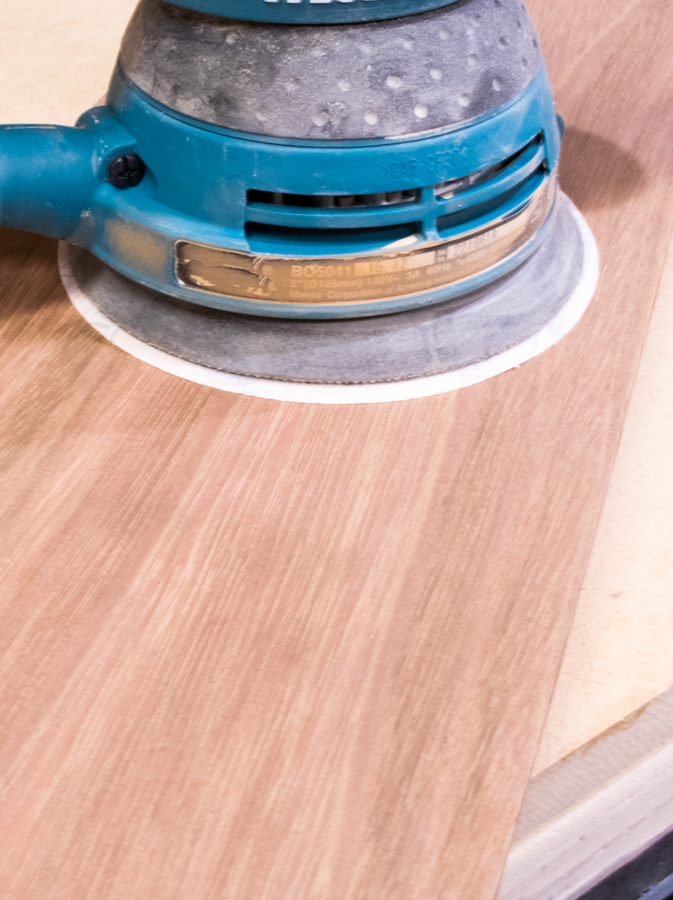
1. Prep the wood
The first step in this project is to cut your wood pieces. This diagram shows the measurements for my bath tub tray, but you will need to measure your tub and adjust the measurements accordingly.

Next, sand your wood pieces. If your wood is fairly smooth you can use a 180 grit then 220 grit. For rougher wood, use a coarser grit sandpaper first.
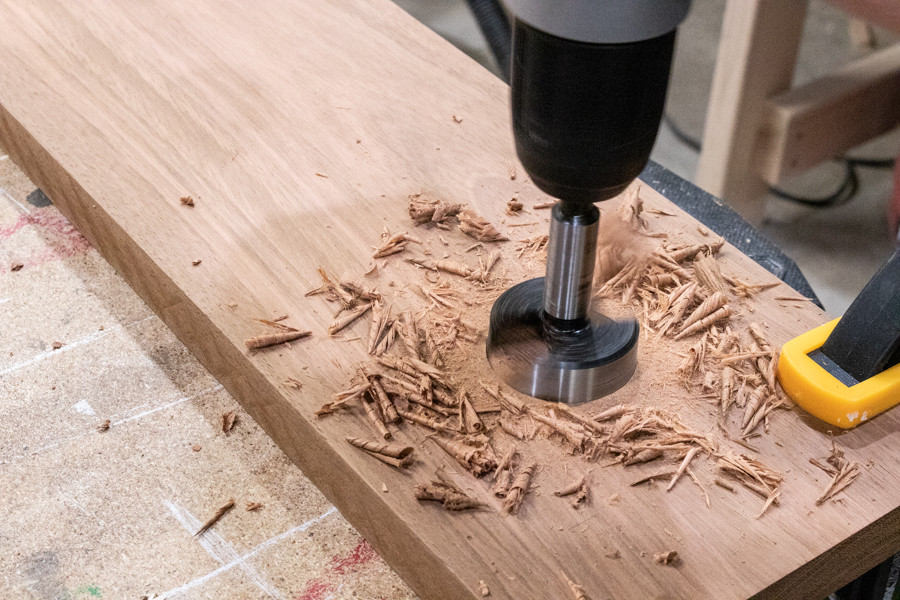
 2. Drill holes
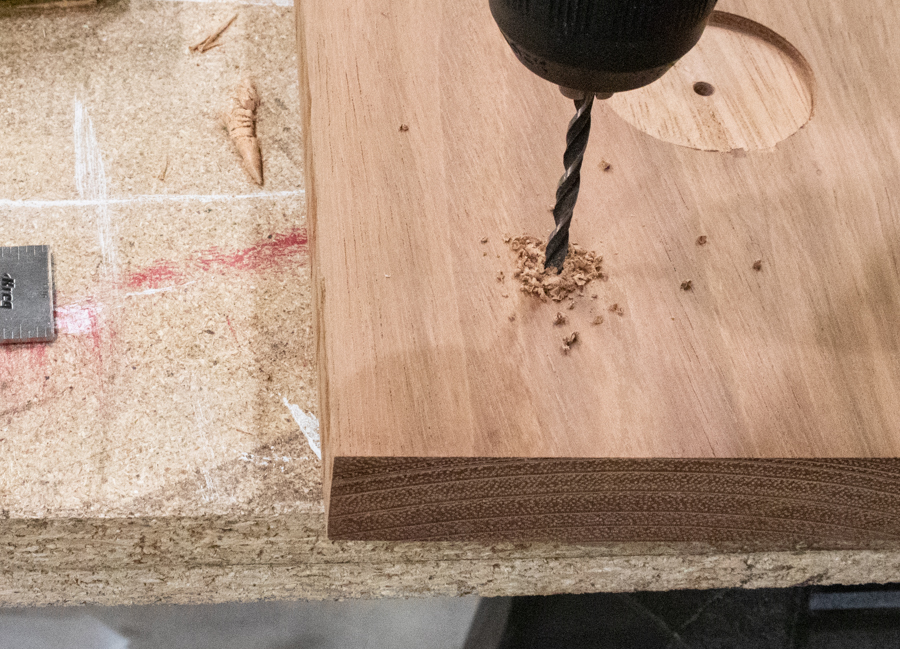
Use a forstner bit to drill shallow holes the size of tea light holders. The candles will sit into the groove making them less likely to slide off the tray.

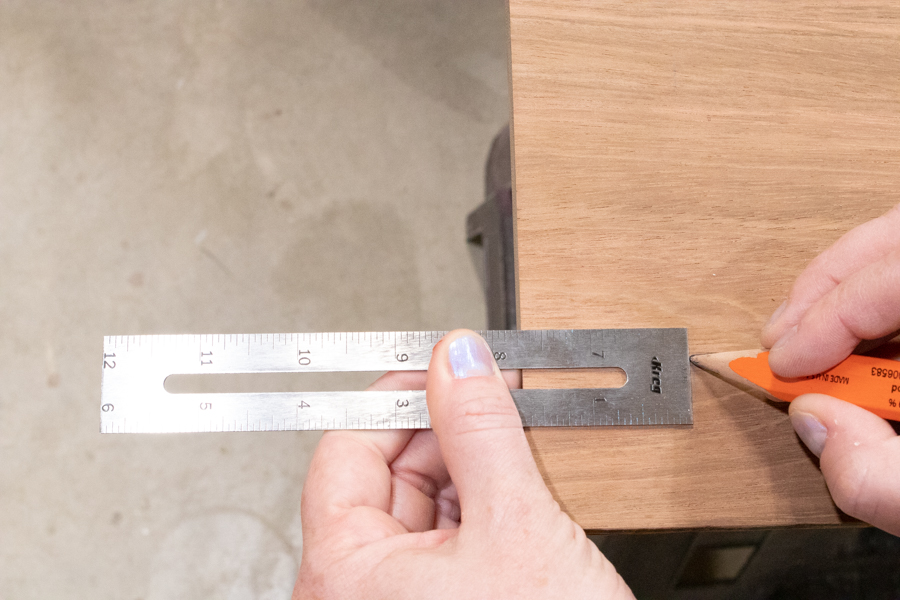
Use a ruler to mark where you will place the handles.
Use a drill bit the size of your drawer pull screws and drill your holes as marked.
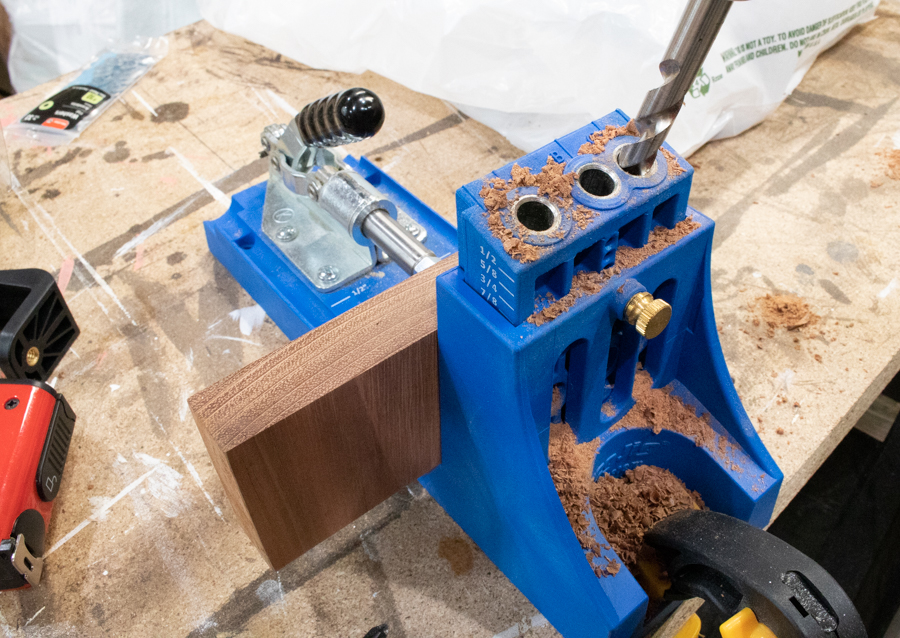
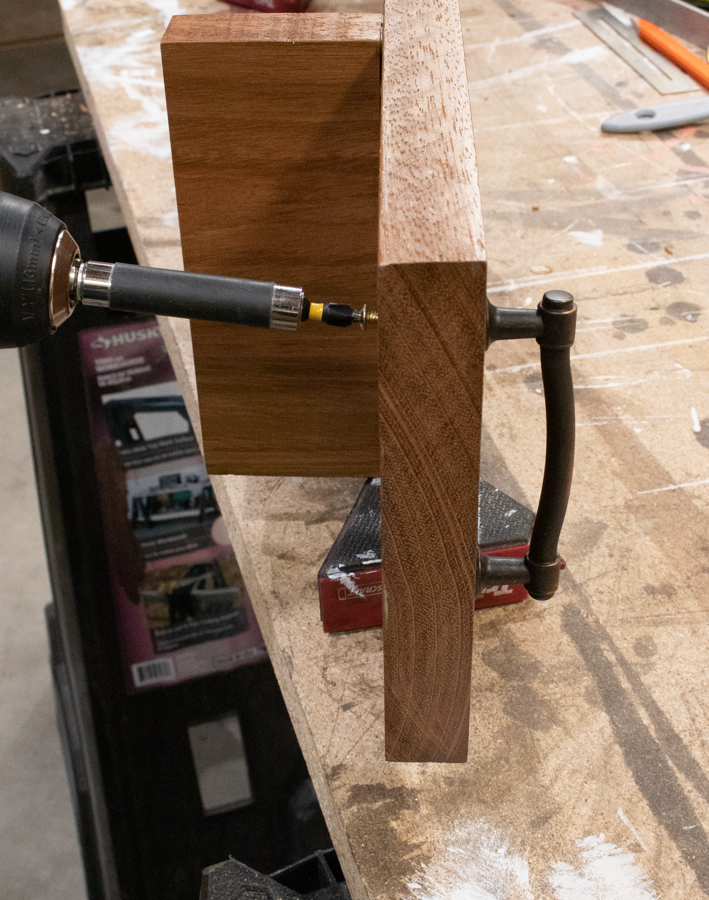
Next, take your two small pieces and drill pocket holes into one side. This is a quick and easy way to attach the bottom pieces of your tray. If you don’t have a pocket hole jig you could use other methods of joinery.
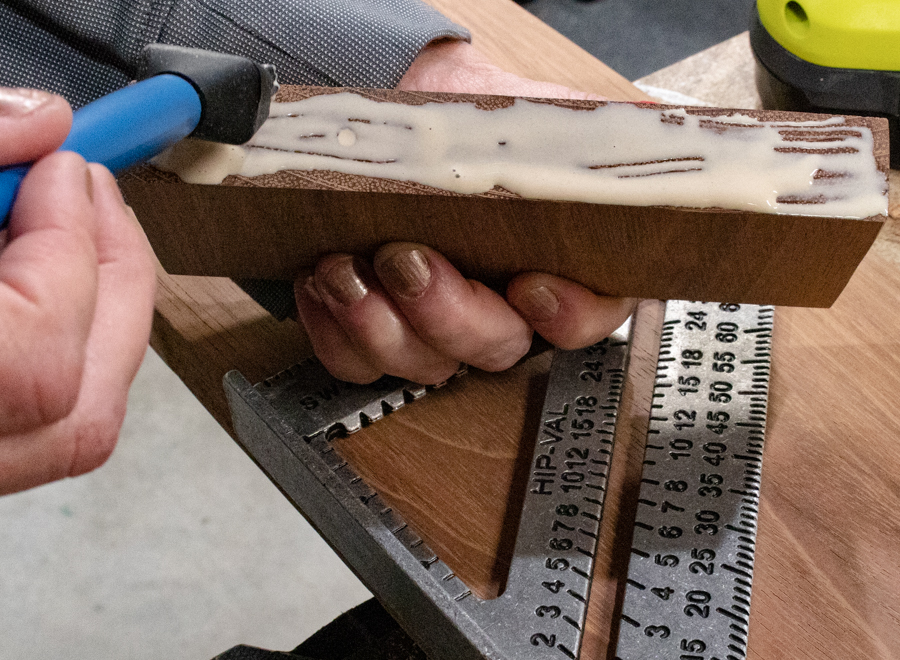
Attach the bottom boards to the bottom of your tray with wood glue and pocket screws. Be sure you size these to fit just inside each side of your tub. This will prevent the tray from sliding anywhere.
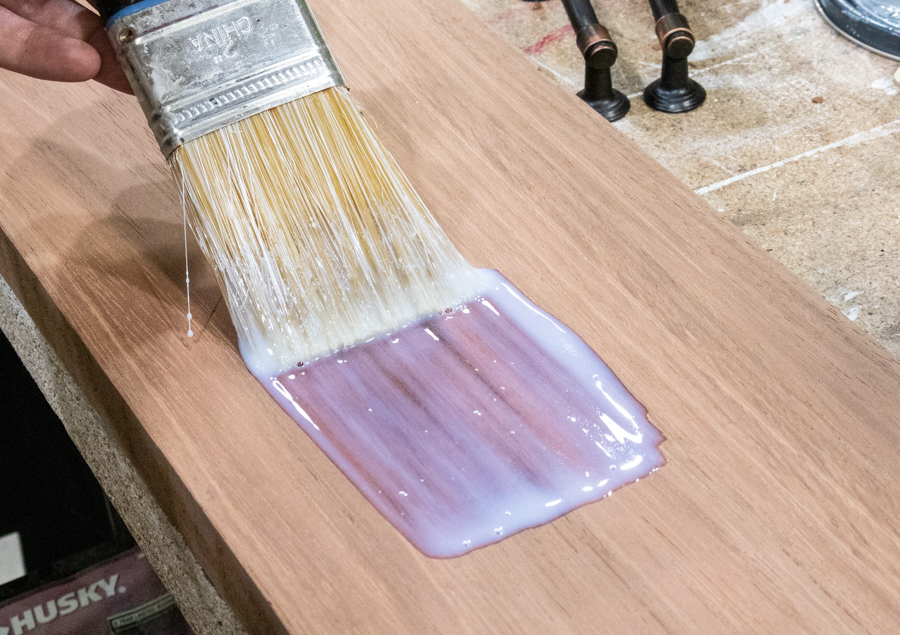
3. Finish with polyurethane
Finally, finish the entire DIY bath tray with polyurethane. You may want to use a poly that is made for exterior environments because you need a strong water-resistant finish. I applied three coats, letting each dry completely and sanding lightly with 220 grit sandpaper in between each layer. This gives you a beautiful smooth finish.

4. Add Handles and Phone Holder
Use your drill to attach the handles.
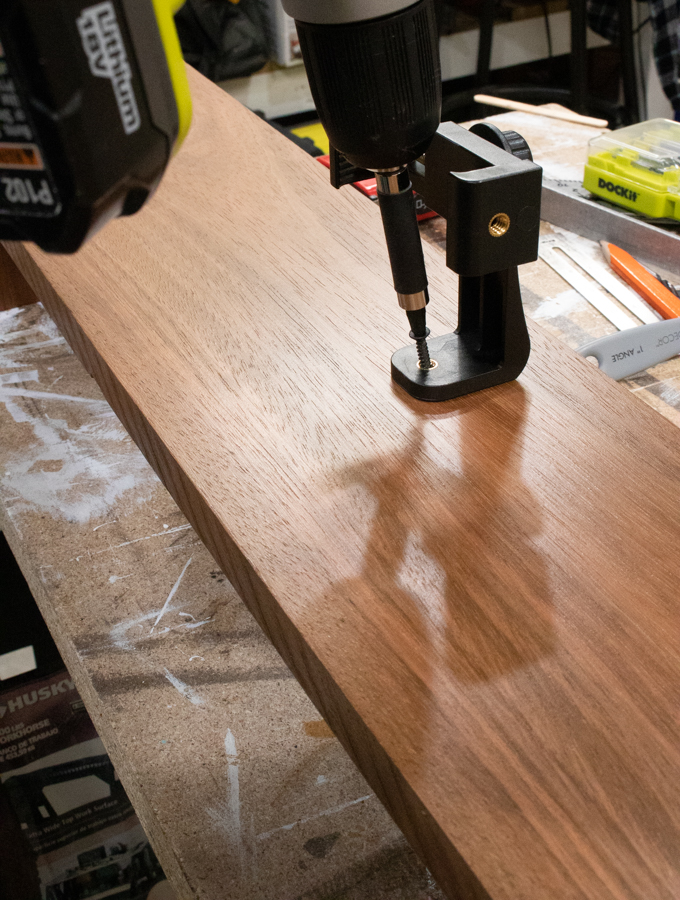
Attach the cell phone tripod adapter to the center of the tray with one screw.
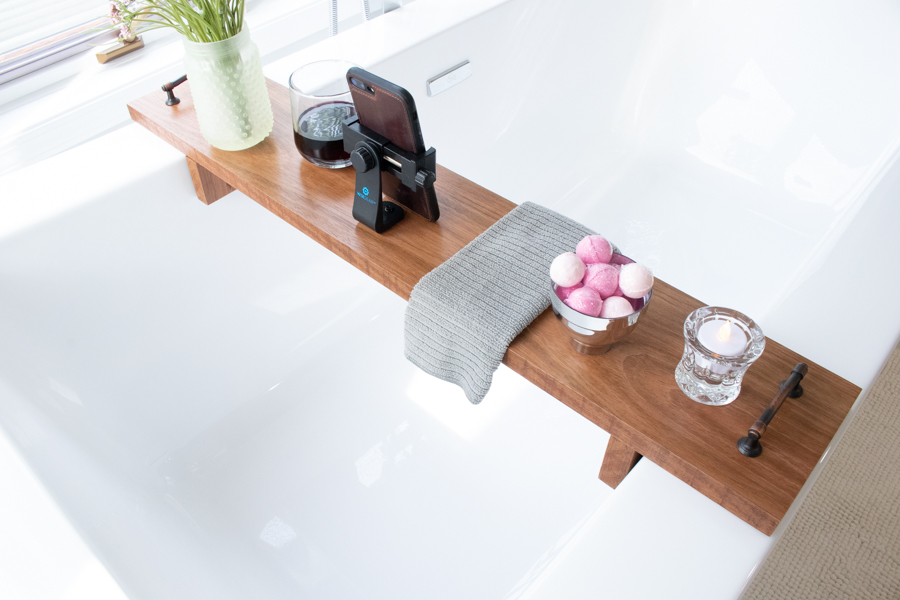
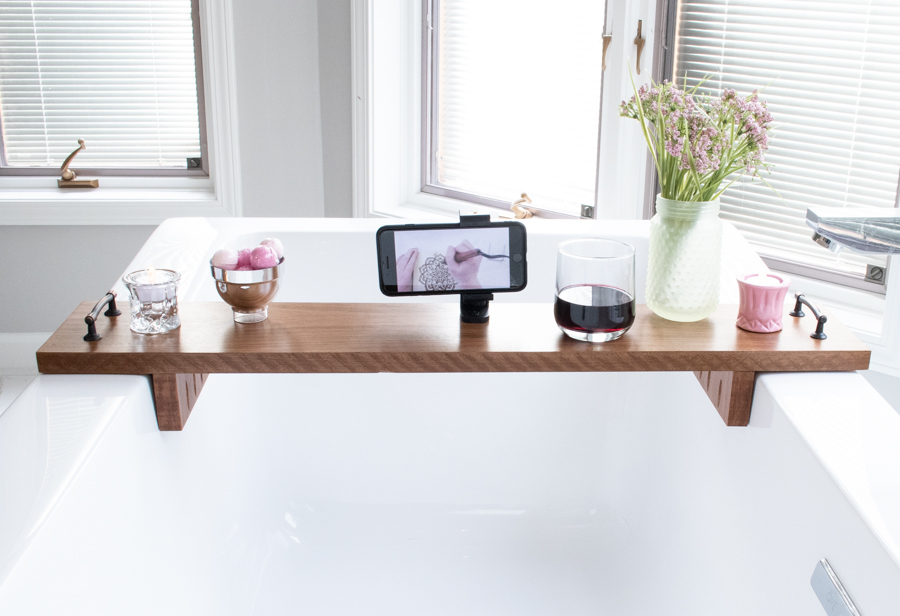
Completed DIY Bath Tub Tray
Your project is finished! Add a washcloth, flower, candles, bath bombs and a glass of wine! They tray turned out so beautiful you’ll want to take a relaxing bath immediately.

Be forewarned your bath times may extend longer than normal.
This DIY Wooden Bathtub tray was easy to make! You should build one for yourself immediately.
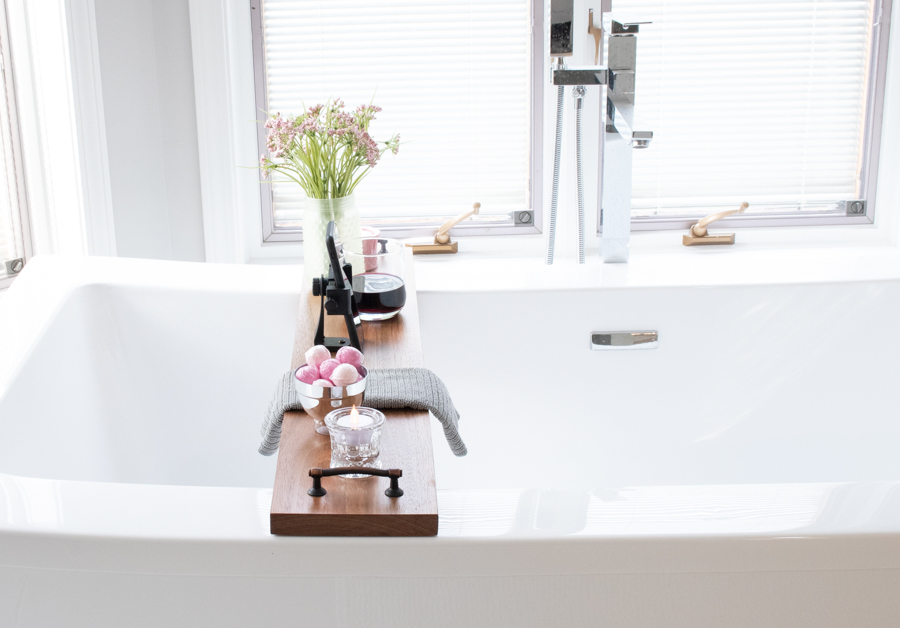
Bonus: Your phone holder can turn so you can view things vertically or horizontally! Netflix binge watching? Bring it on.
If you like this project, please share it on Pinterest so others can enjoy it too. Thank you for reading!
![]()
 Hi, I’m Sheri from Hazel + Gold Designs. Here are a few fun stats about me: I
 When not working on projects, I enjoy spending time with my husband, four children, perfect dog, and ornery cat. You can find me on Facebook, Pinterest, Instagram and Twitter.
Read all of Sheri’s tutorials.

~Find more of Sheri’s projects here ~
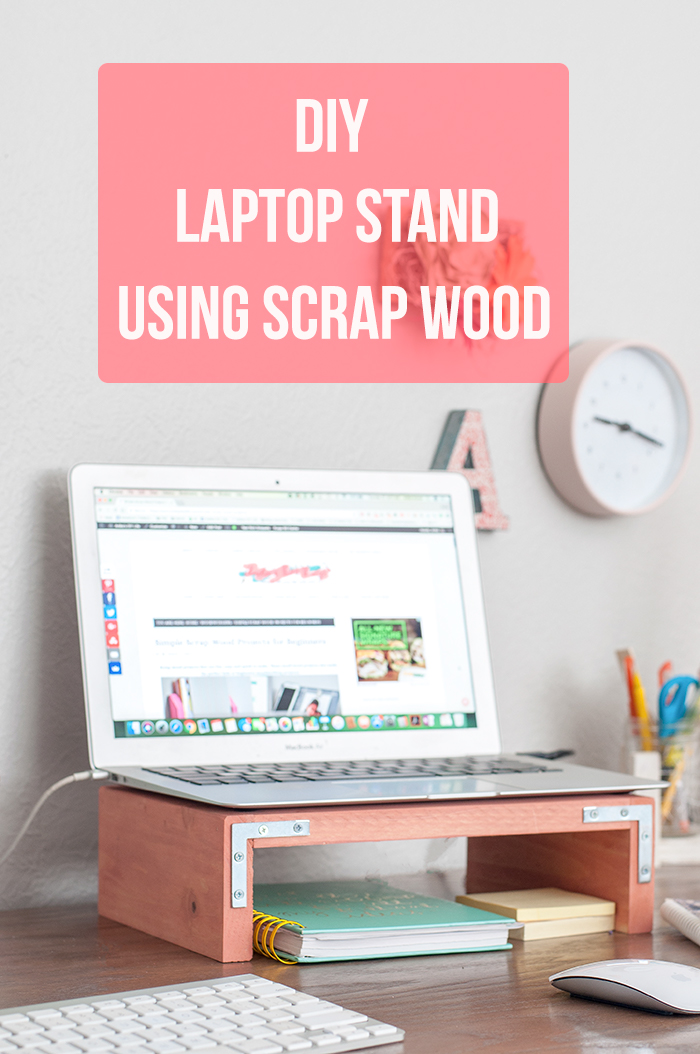
Liked this project? If so, you’ll love this DIY Scrap Wood Laptop Stand:
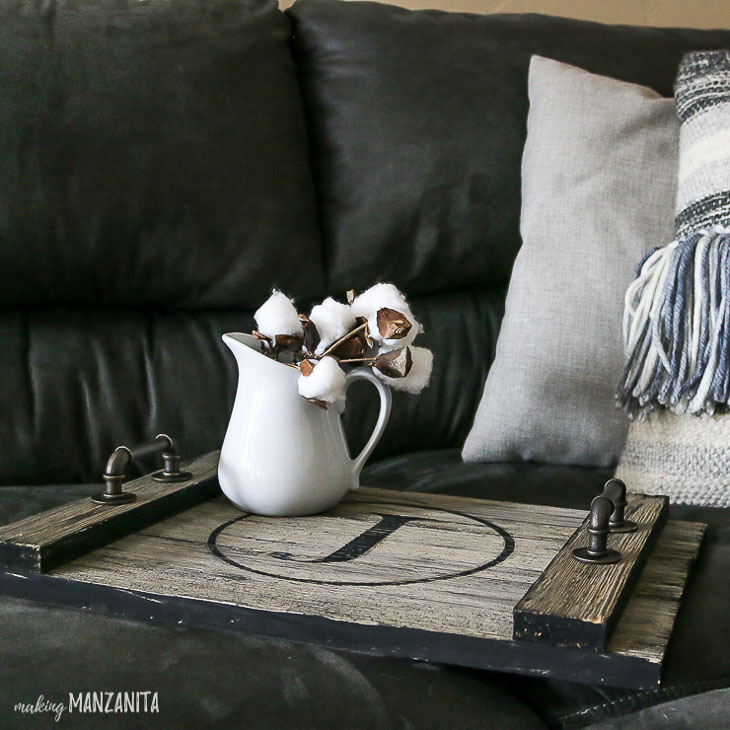
Or this DIY Farmhouse Style Serving Tray:


:format(jpeg)/http://assets.curbly.com/photos/0000/0013/8108/chain_large.jpg)

.jpg)

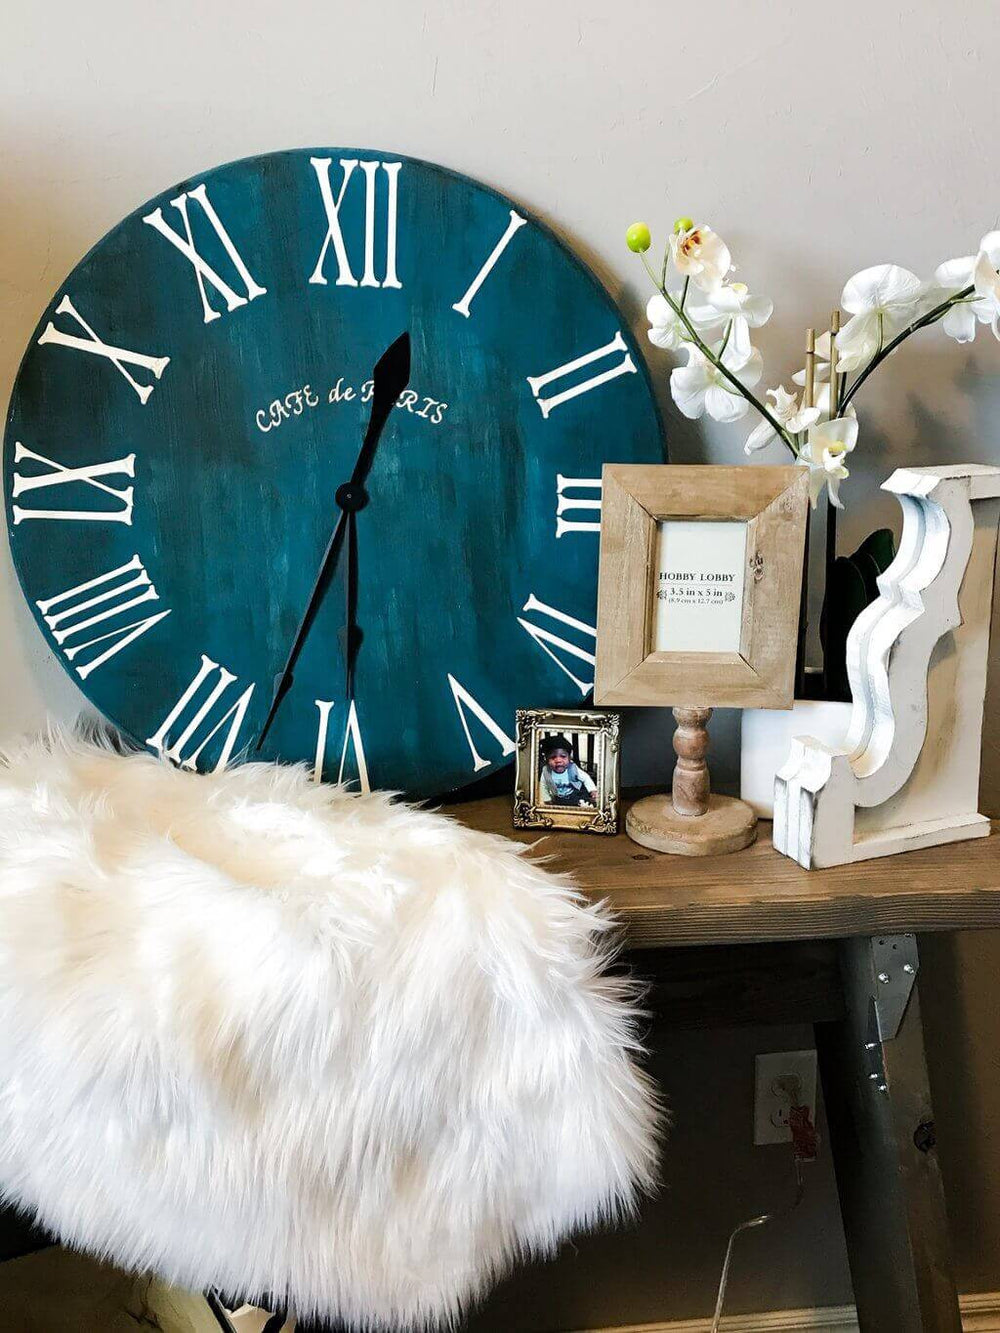 Make this DIY Rustic Roman Numeral Clock
 Build a Modern Farmhouse bench
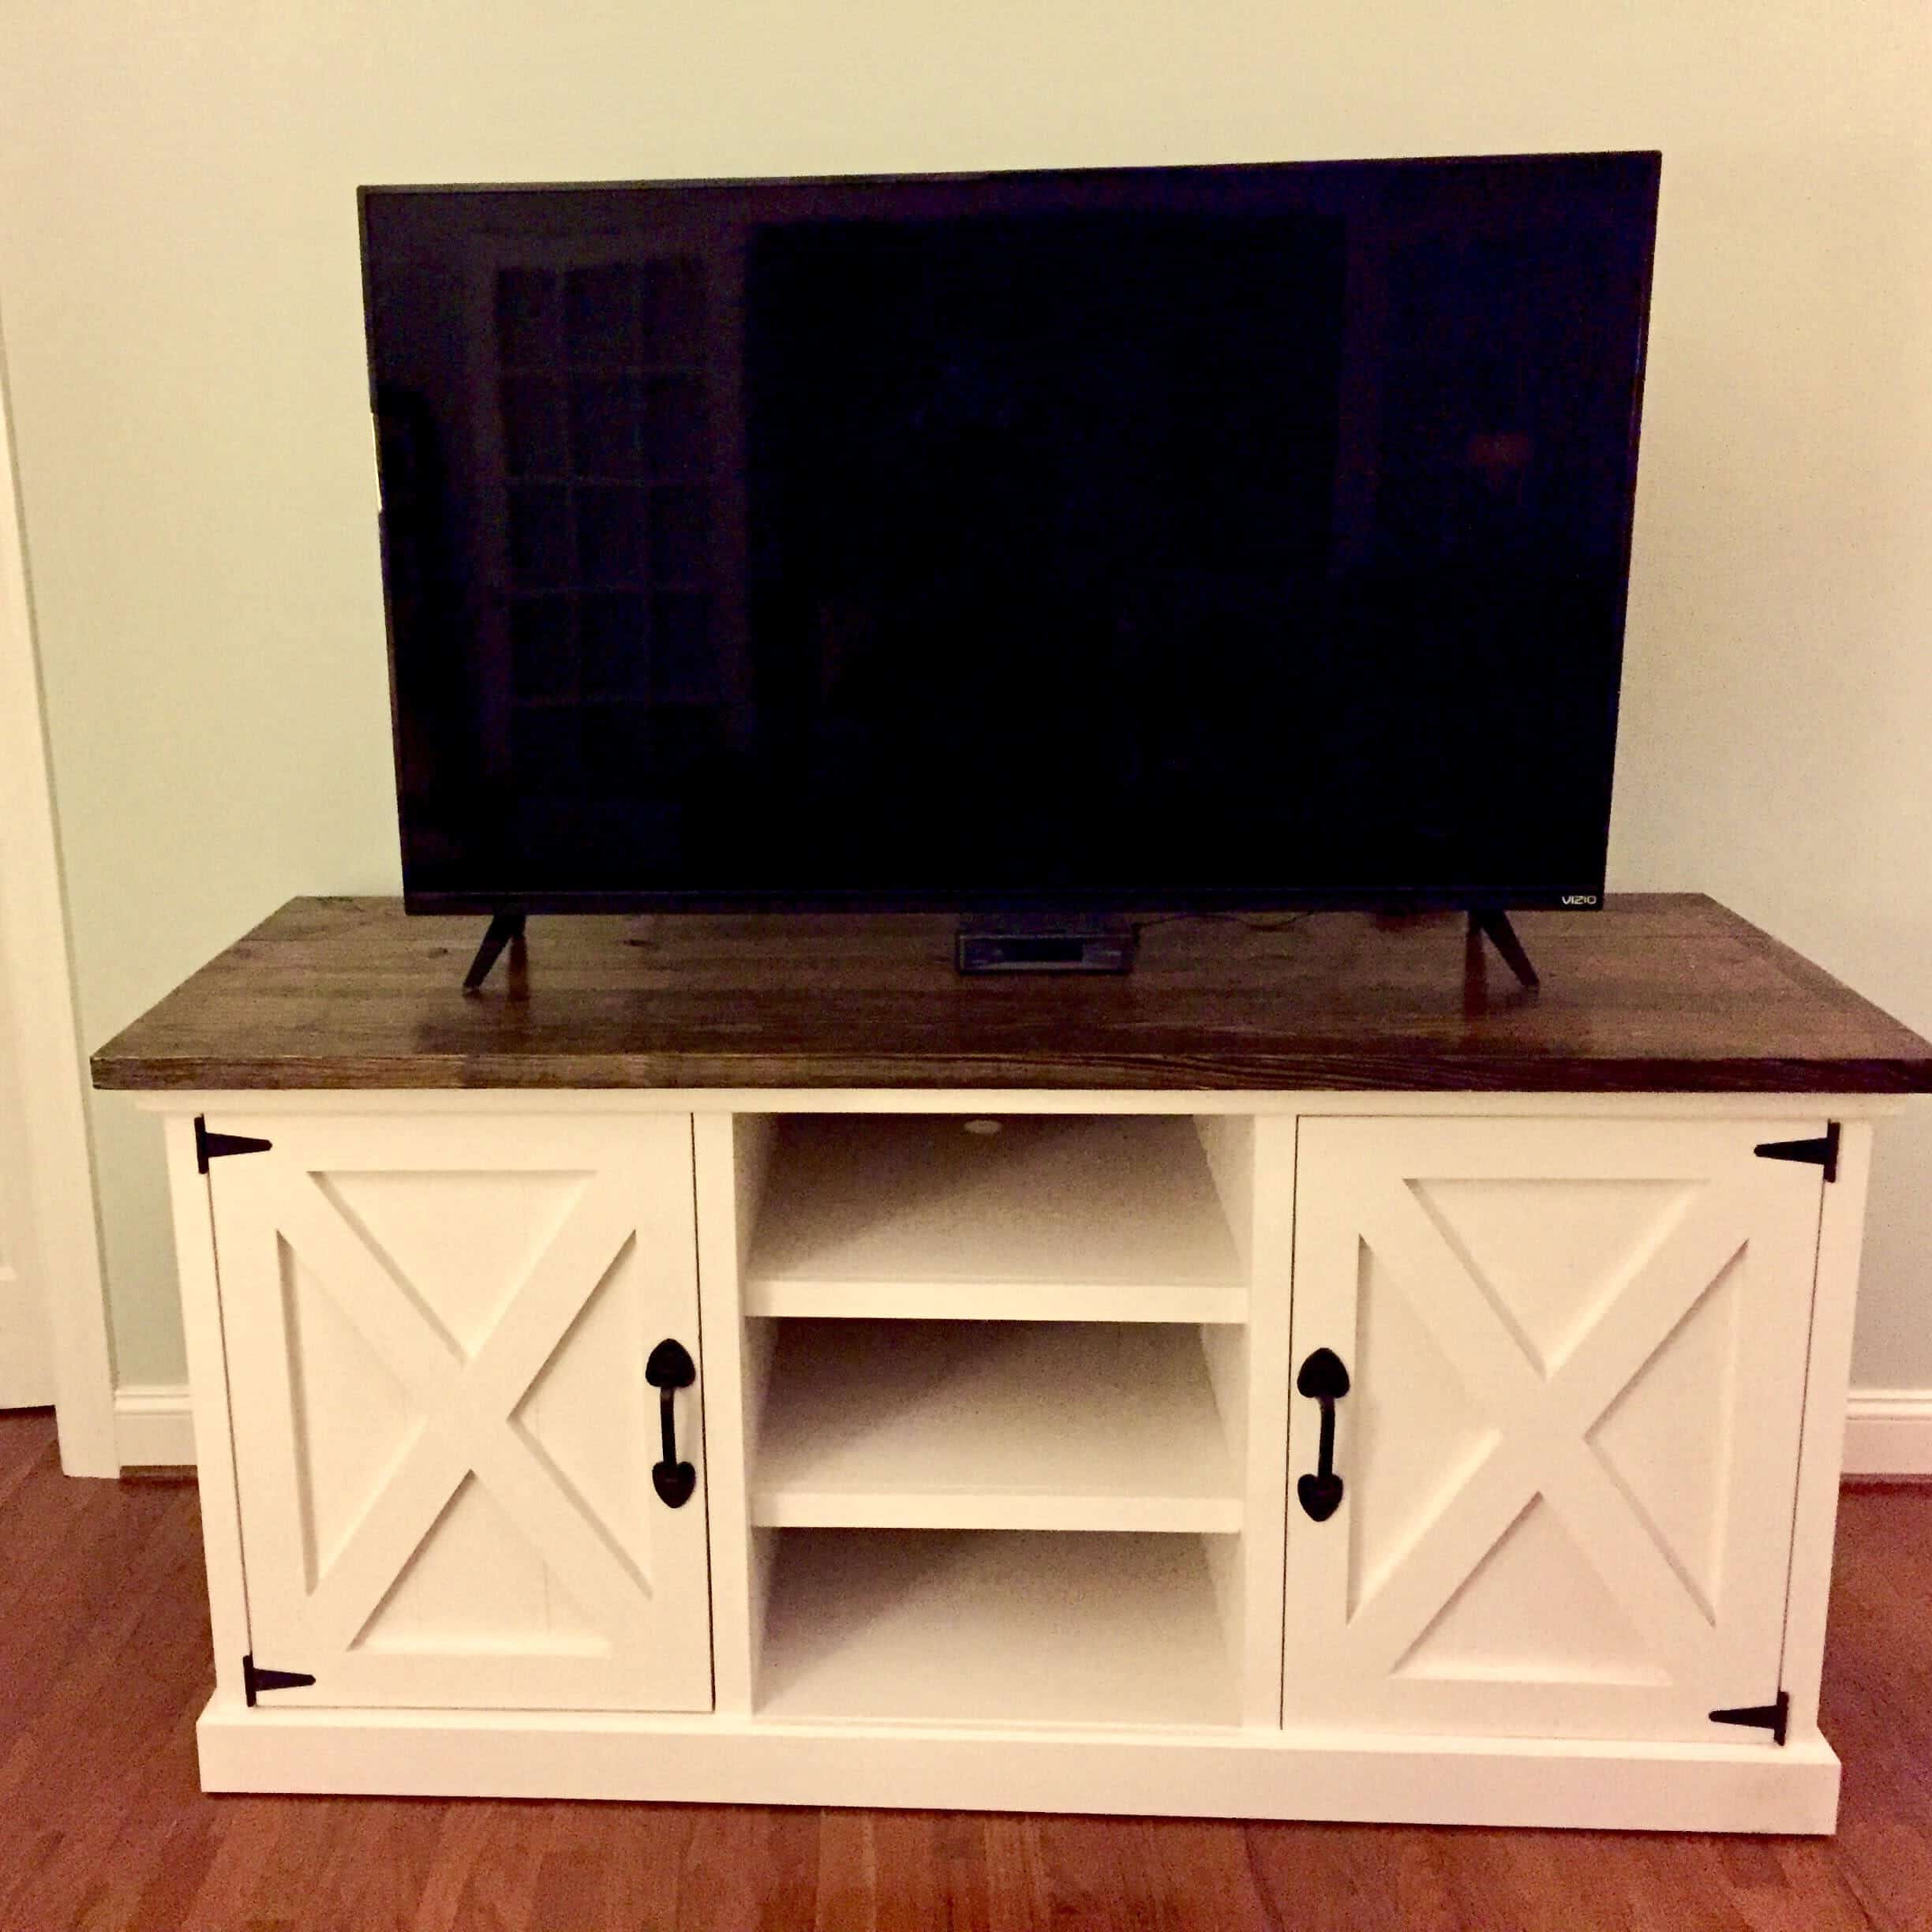
 Create this Rustic Caddy with a Branch Handle
 Create this Farmhouse Family Birthday Sign
 Build a DIY Side Table
 Create these cute animal shaped cutting boards
 Make a gorgeous cake stand
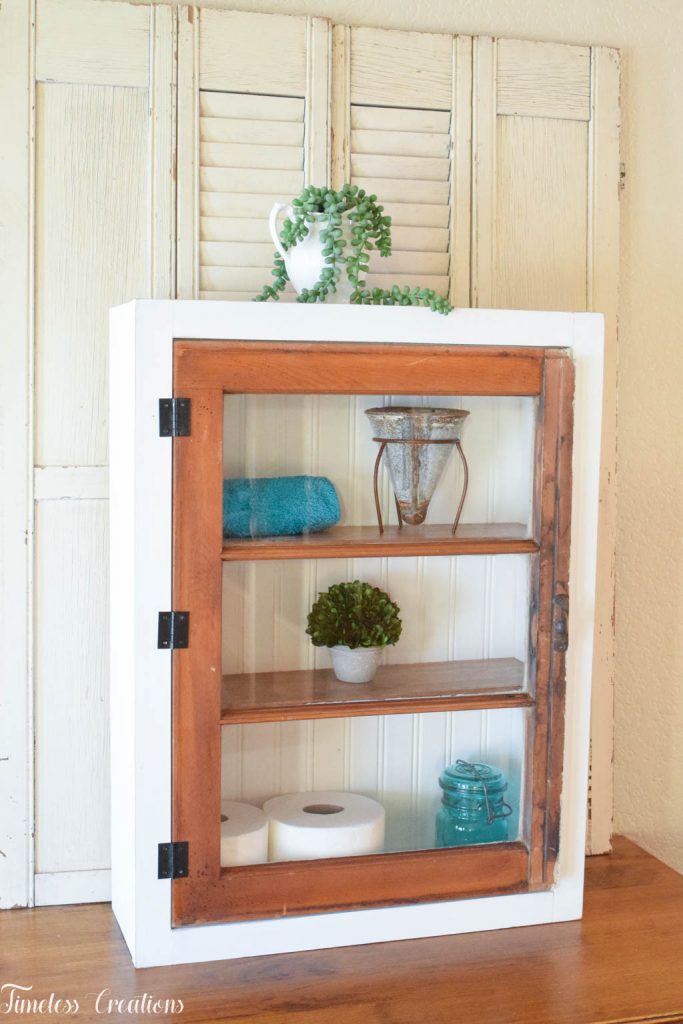 Build this DIY Window Wall Cabinet
 Create a Rustic Wood Headboard
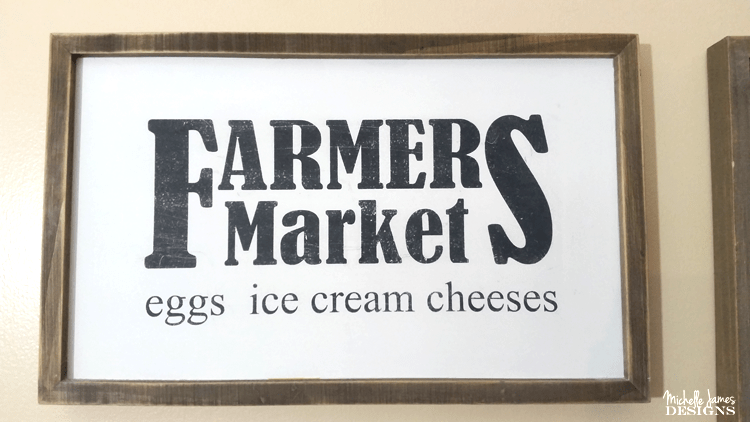 Add a DIY Farmhouse style Farmers Market Wooden Sign
 Add a Farmhouse Style DIY Flowerbox Centerpiece


 Build this DIY Rustic Media Center
 Make a Farmhouse Style Corbel Shelf
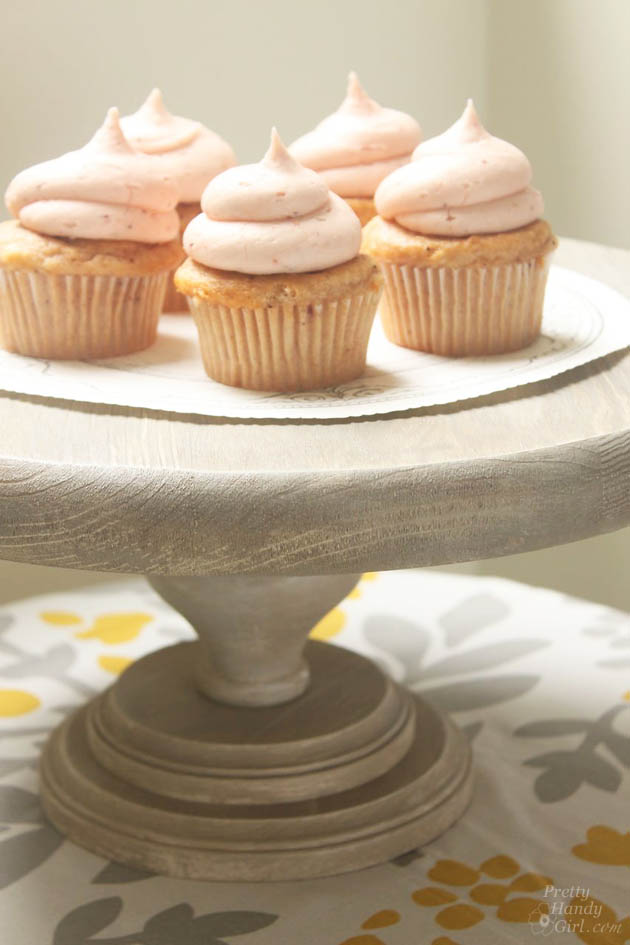
 Create this beautiful DIY Chicken Wire Memo Board
 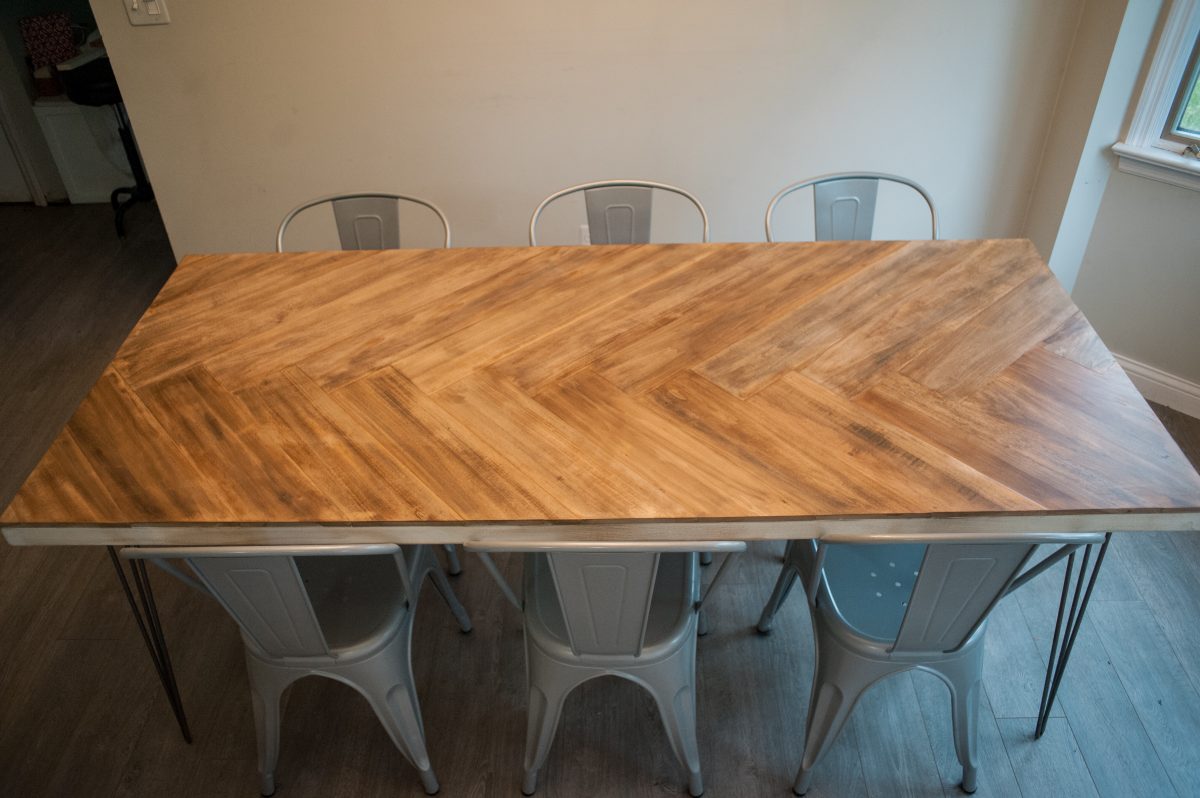 A gorgeous DIY Herringbone Table


 DIY Wooden Lanterns

 Make a German-Inspired


 Upcycle old silverware knives by making this

 Repurpose a Vintage Tin Dollhouse

 Paint over an old piece of artwork
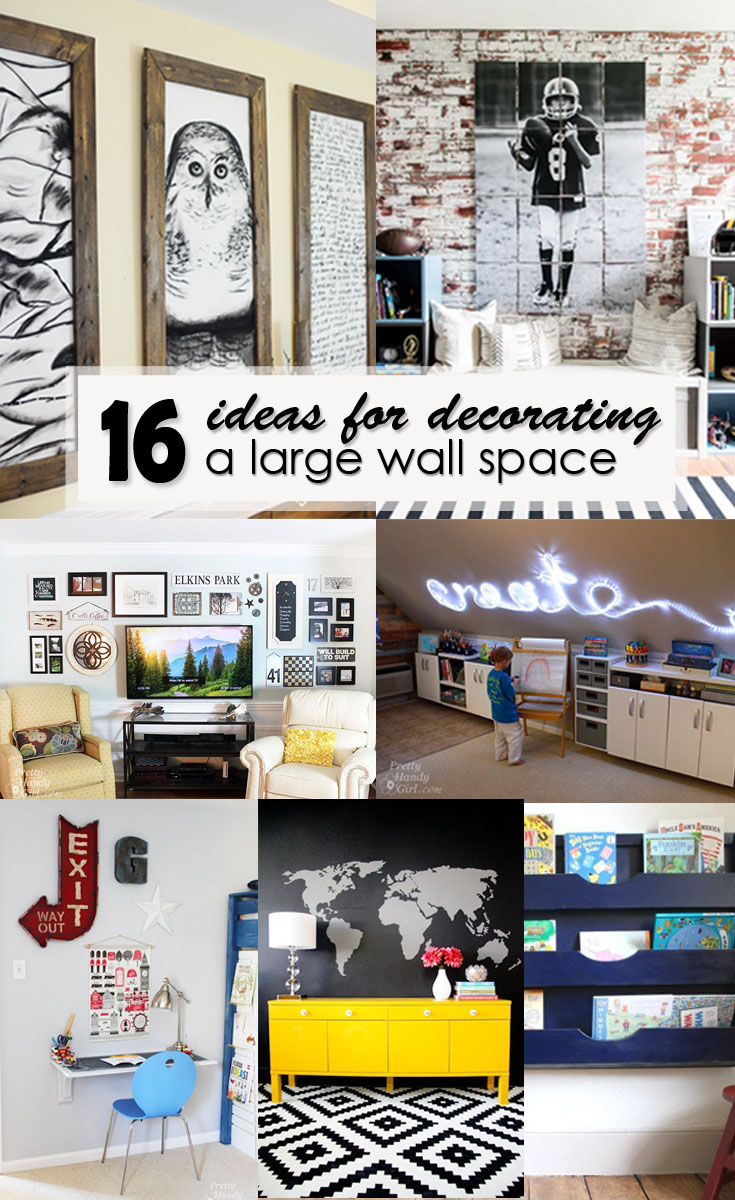
 Build a large Bookrack
 Add a large shelf that is customized
 Use blank wall space to build a wall-mounted desk
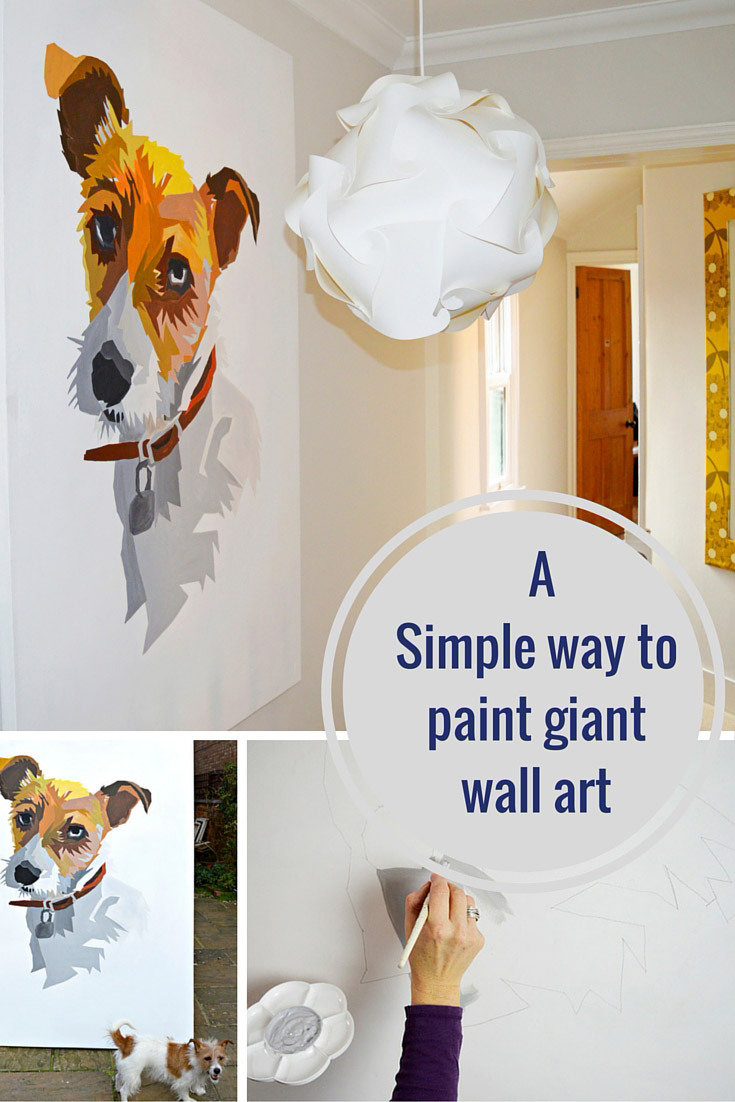 Learn how to paint your own Giant Wall Art.
 Build a large chalkboard with a ledge for all your supplies
 Use rope lighting
 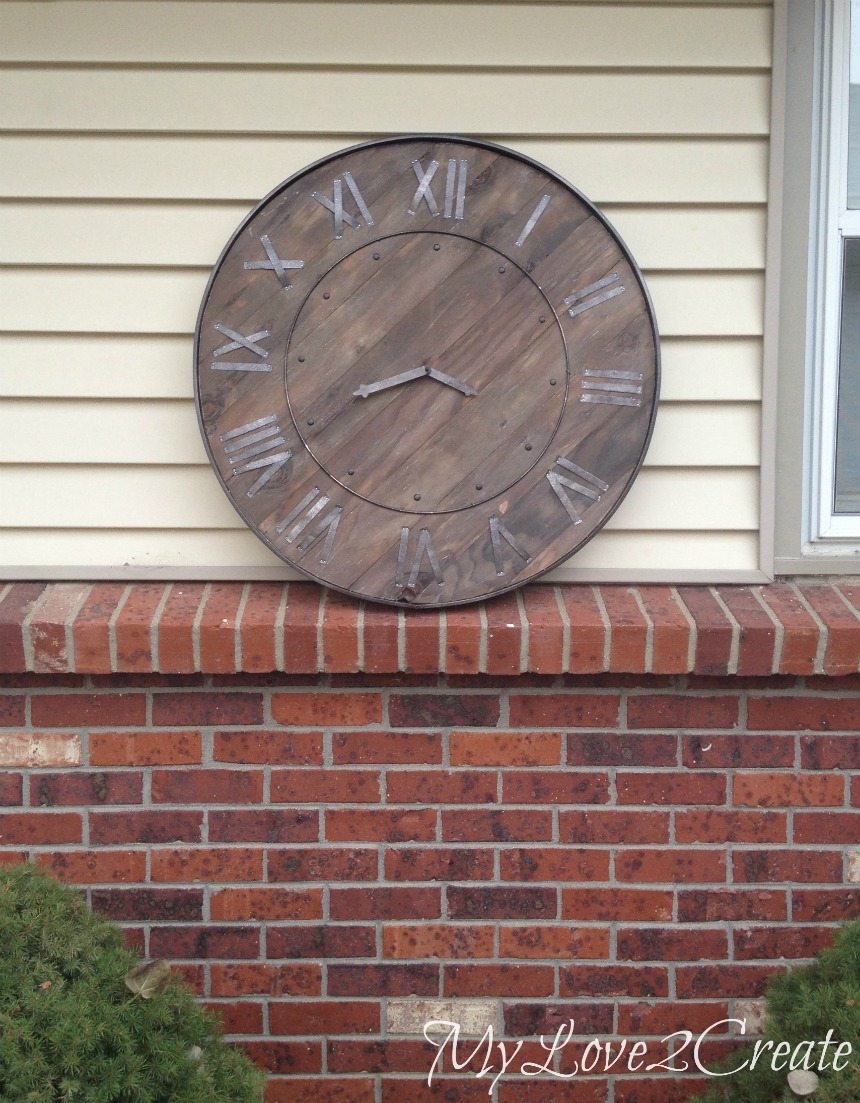 Build a large wall clock
 Use a Flow Wall system to create the perfect storage station
 Cover the wall in chalkboard paint
 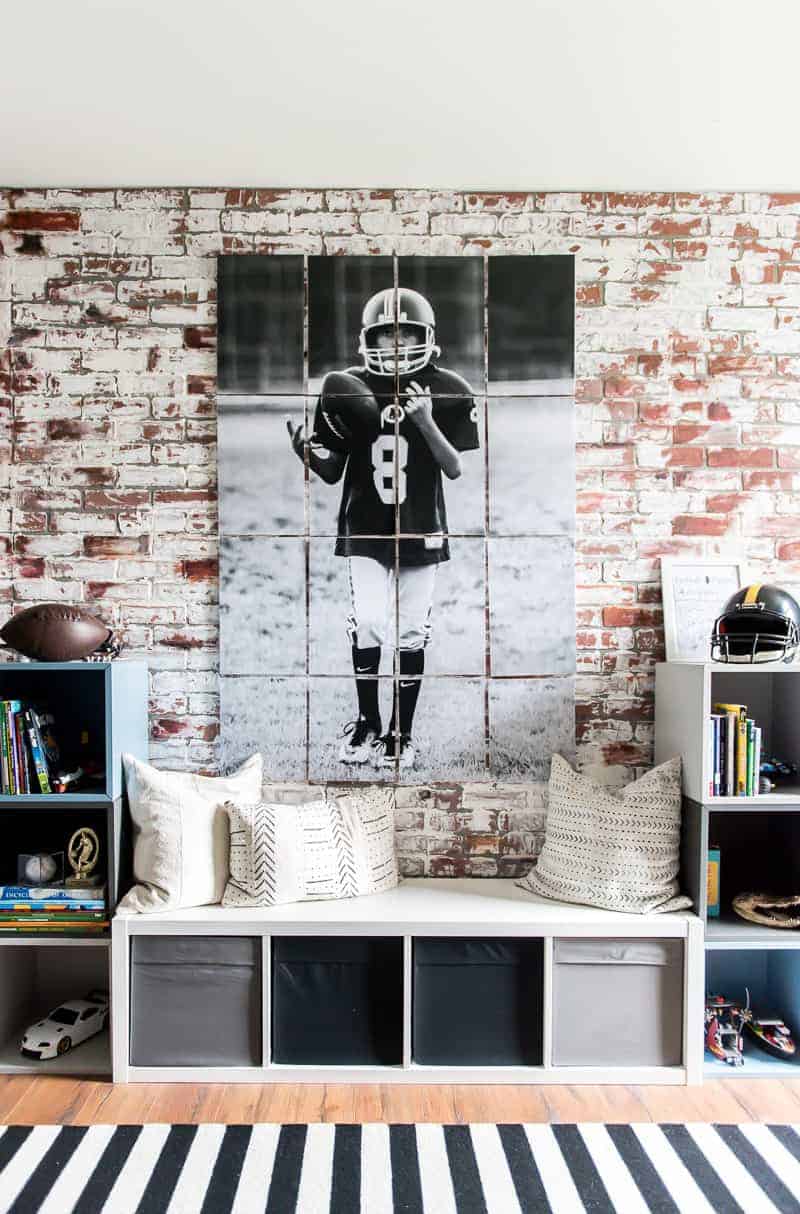 Use a photo printed on multiple pages
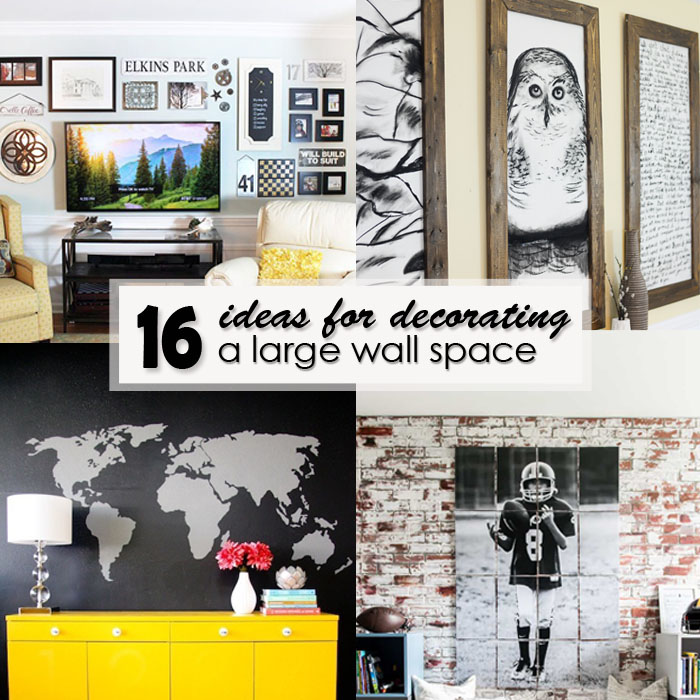
 Learn how to create the perfect gallery wall of photos, decor and memorabilia.
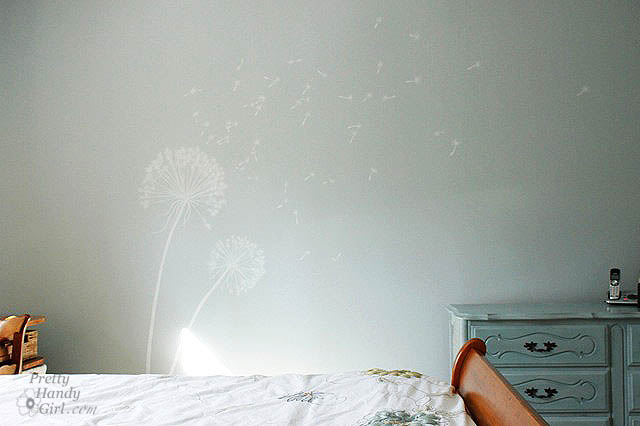 Paint a large image onto the wall
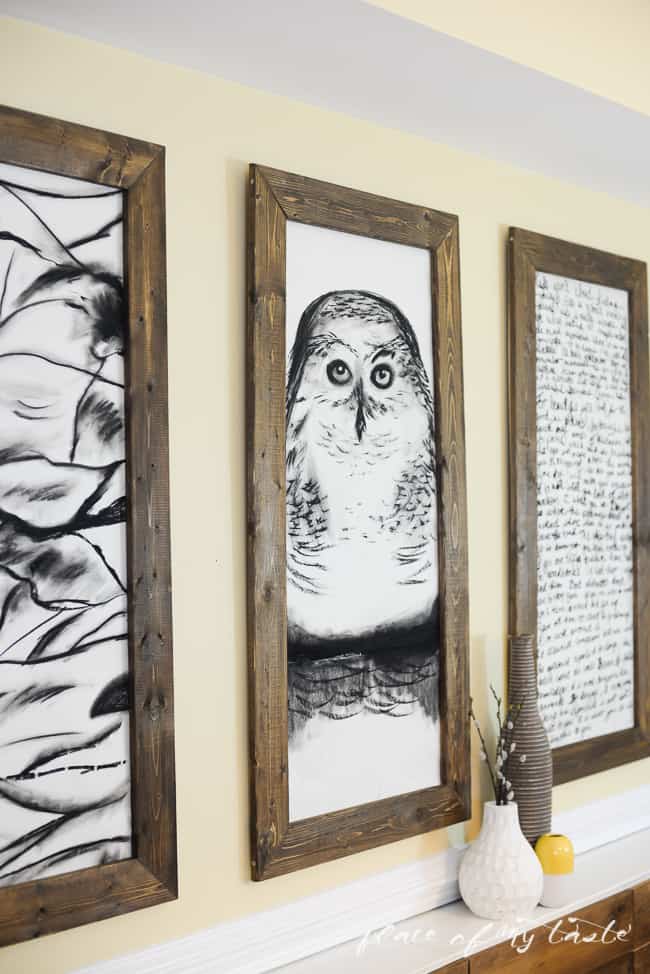 Build large frames and use multiple large canvases
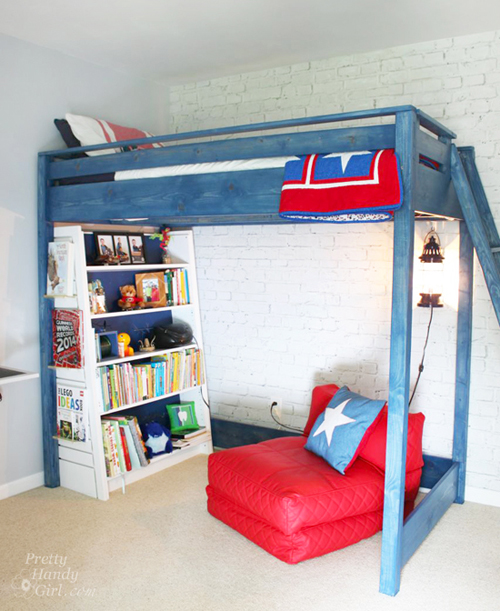 Install a brick wallpaper mural
 Paint a map wall mural