Tackle these 27 DIY exterior home maintenance tasks to keep your house in great shape. Easy, budget-friendly tips you can handle yourself.

Home Maintenance Projects for the Exterior of Your Home
Taking care of the exterior of your home might not be the most exciting task, but it’s one of the best ways to keep everything running smoothly and looking great year after year.
From simple cleanups to small repairs, regular exterior home maintenance projects help prevent bigger, more expensive problems down the road while boosting curb appeal at the same time.
The good news is that many of these tasks are easy to tackle on your own and don’t require special skills or tools. A little effort now goes a long way toward protecting your home, keeping it safe, and helping it look its best in every season.
27 Exterior Home Maintenance Tasks
Stay ahead of wear and tear with these necessary exterior home maintenance tasks that help protect your home, boost curb appeal, and prevent costly repairs before they start.

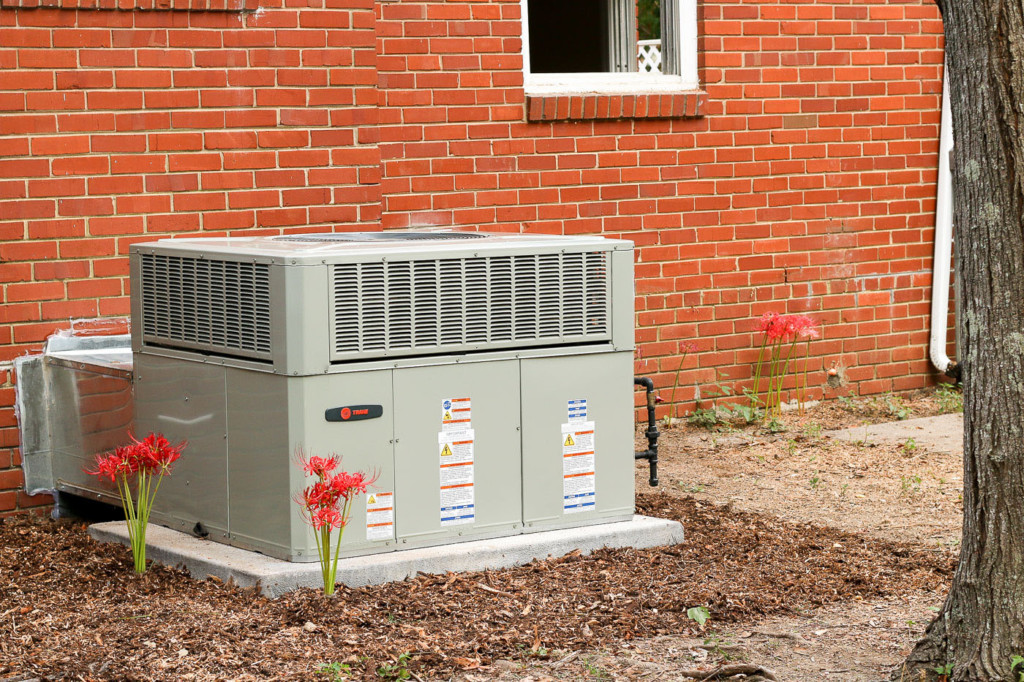
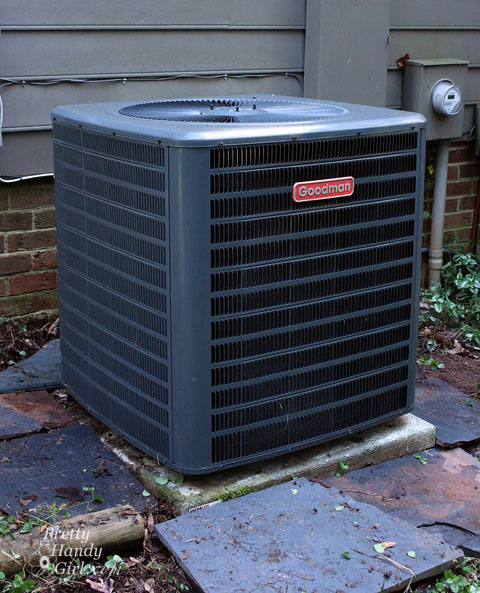
How to Keep Your HVAC System Running Smoothly
Learn simple ways to keep your HVAC system running smoothly with easy maintenance tips that improve efficiency, extend its lifespan, and help avoid costly repairs.
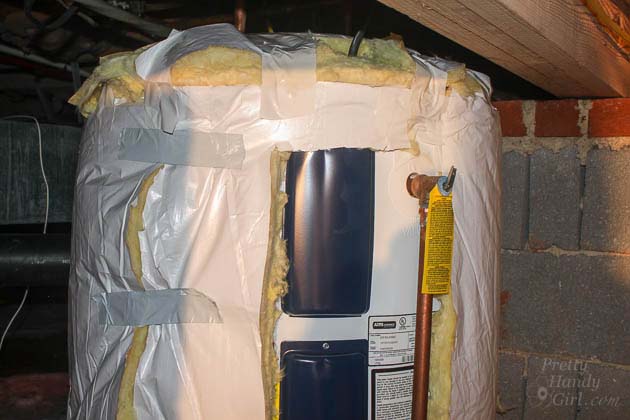
How to Make a Tank Style Water Heater More Energy Efficient
Learn how to make a tank style water heater more energy efficient to lower maintenance costs, keep it in good working order, and ensure reliable performance during the winter months.

Protect Pipes from Freezing
Protect your pipes from freezing during cold weather with simple preventative steps that help avoid bursts, leaks, and costly water damage.
Protecting Spigots from Frozen Burst Pipes
Protecting your spigots from freezing pipes is an easy preventative step that helps avoid leaks, water damage, and costly repairs during colder months.
Is Your HVAC Choking?
Learn the warning signs of restricted airflow, common causes like dirty filters or blocked vents, and simple fixes to keep your system running efficiently.
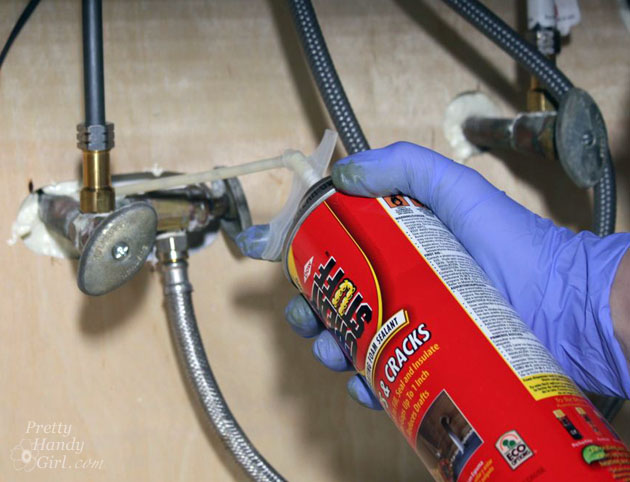
Seal Gaps Around Pipes
Seal gaps around pipes to block drafts, keep pests out, and prevent moisture from sneaking into your walls and floors.

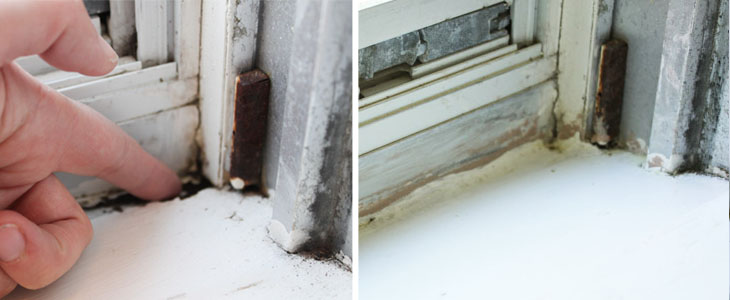
Water Leaks, Polybutylene Pipes, and Mold - What to Do
Water leaks, polybutylene pipes, and mold can quickly turn into serious home issues. Learn what to do, how to spot warning signs, and the steps to protect your home from costly damage.
21 Tips to Make Your Home Winter Ready
Get your home ready for colder months with 21 easy tips that focus on regular checks to help prevent damage, improve efficiency, and keep your home comfortable all winter long.
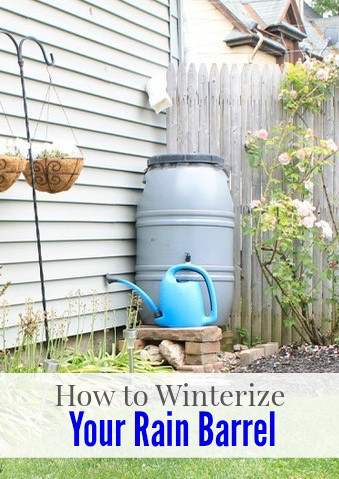
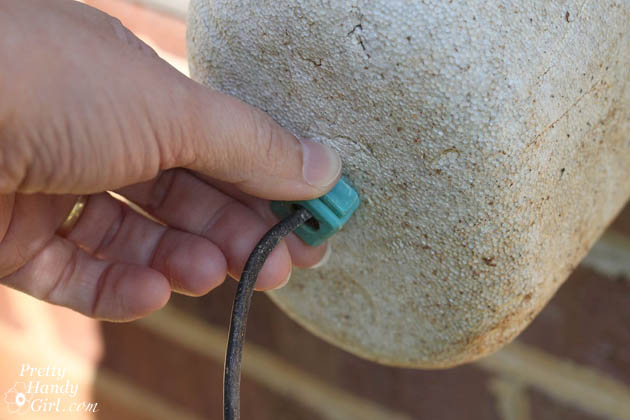
How to Winterize Your Rain Barrel
Learn how to winterize your rain barrel to prevent freezing, protect your system from damage, and ensure it’s ready to use again when warmer weather returns.
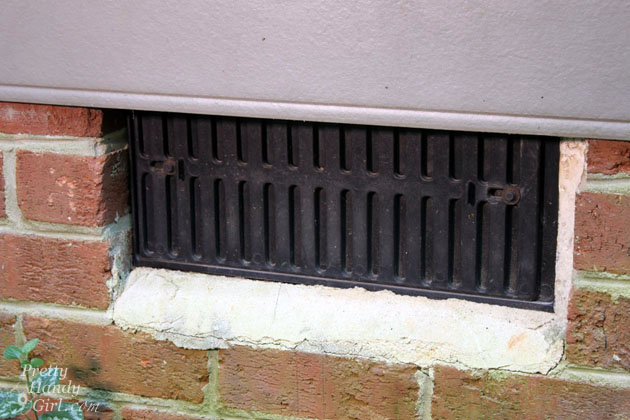
Do You Open or Close Crawlspace Vents
Do you open or close crawl space vents? Learn when to adjust them, how climate and seasons play a role, and what helps protect your home from moisture and damage year-round.
Caulk Cracks in Siding and Trim
Caulk cracks in siding and trim to seal out moisture, prevent rot, and protect your home from long-term damage caused by the elements.
12 Ways to Burglar Proof Your Home
Discover 12 simple ways to burglar proof your home with practical tips that boost security, protect your belongings, and give you peace of mind.
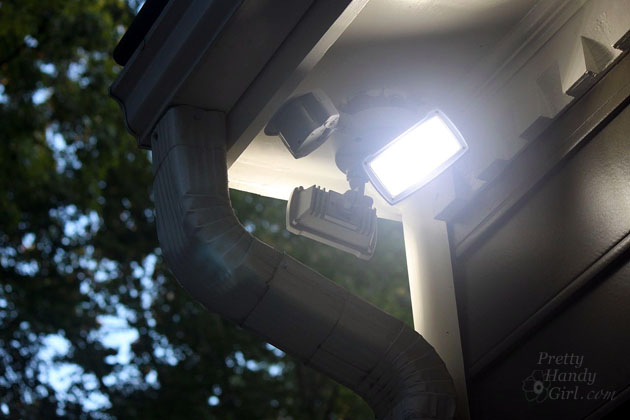
How to Install an Exterior Motion Sensor Light
Learn how to install an exterior motion sensor light with easy step-by-step guidance to improve safety, boost security, and brighten outdoor spaces automatically.

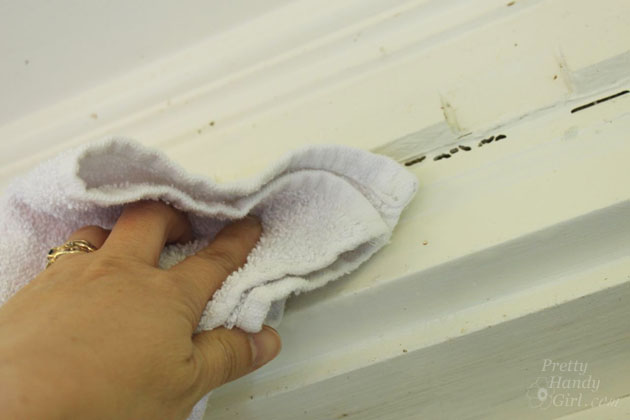
Exterior Home Clean Up without a Pressure Washer or Ladder
Clean up your home’s exterior without a pressure washer or ladder. This easy method removes dirt and grime safely while keeping the job simple and DIY-friendly.

Painting Metal Patio Chairs: 5 Easy Steps to an Awesome Makeover
Give your outdoor seating a fresh new look by painting rusty or chipped metal patio chairs in 5 easy steps. This simple makeover refreshes worn furniture and delivers awesome results without a big budget.
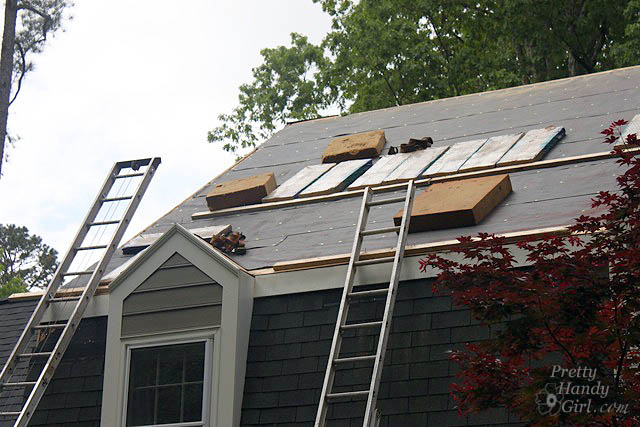
What You Should Know about Replacing Your Roof and Asphalt Shingles
Here’s what you should know about replacing your roof and asphalt shingles, including roof damage signs, what to expect during the process, and tips to help protect your home and future roof damage.
How to Fix Small Areas of Wood Rot
Learn how to fix small areas of wood rot before they turn into major damage. This simple repair helps protect your home and extend the life of wood surfaces.

How to Seal and Protect Your Deck
Learn how to seal and protect your deck with easy steps that guard against moisture, sun damage, and wear, helping your outdoor space last longer and look great.

How to Fix Cracks in Door Panels without Taking the Door Apart
Learn how to fix cracks in door panels without taking the door apart using simple tools and easy repair techniques. This quick DIY helps restore the look of your door and prevents further damage without a full replacement.

How to Repaint a Metal Storm Door
Learn how to repaint a metal storm door with simple steps that refresh its look, protect it from the elements, and extend its lifespan without a full replacement.

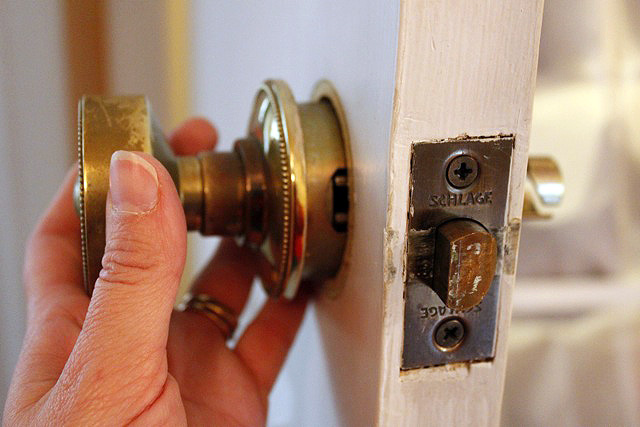
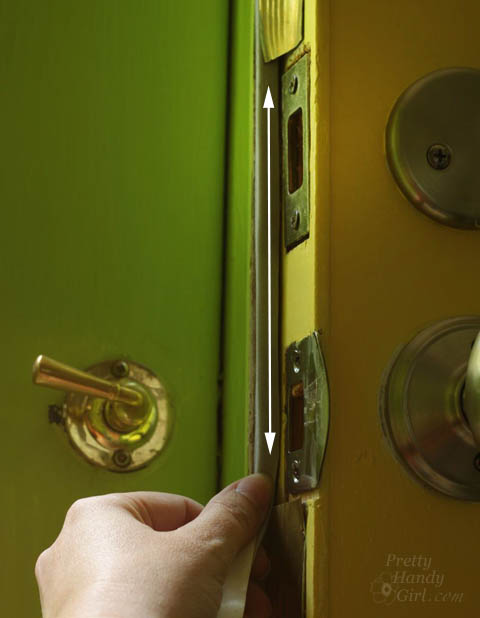
How to Replace Door Knobs and Deadbolts
Learn how to replace door knobs and deadbolts with easy, step-by-step instructions to improve security, update your home’s style, and complete a simple DIY upgrade in no time.
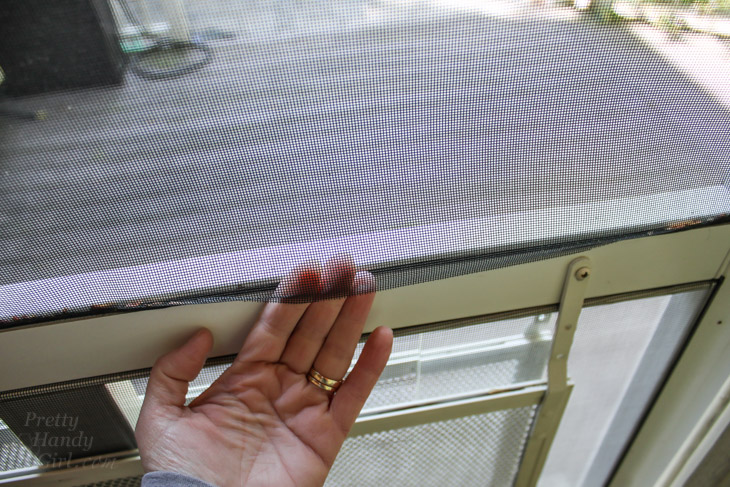
How to Fix Window & Door Screens
Learn how to fix window and door screens with simple DIY techniques that repair tears, replace frames, and keep bugs out while letting fresh air in.

Fixing Common Door Problems
A sticking door or one that won’t close properly can be frustrating, but it’s a very common problem. Once you understand the causes, fixing everyday door issues can be quick and easy.
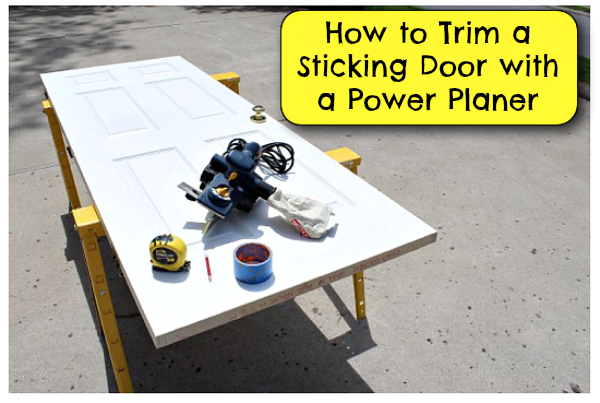
How to Trim a Sticking Door with a Power Planer
Learn how to trim a sticking door with a power planer using easy, step-by-step tips to improve the fit, stop rubbing, and get your door opening and closing smoothly again.

Easy Fix for a Screen/Storm Door Closer
Learn an easy fix for a screen or storm door closer to stop slamming, improve function, and keep your door opening and closing smoothly again.
Add Weather Stripping to Doors and Windows
Add weather stripping to doors and windows to block drafts, improve energy efficiency, and keep your home more comfortable year-round.

Weatherstrip Your Garage Doors
Weatherstrip your garage doors to reduce drafts, keep out moisture and pests, and improve overall energy efficiency in your home.
PIN FOR LATER