Installing the Most Beautiful Ceiling Fan I Ever Laid Eyes Upon

I’m super excited to share you How to Install the Most Beautiful Ceiling Fan I Ever Laid Eyes Upon! You remember last month when I gave my stepmom’s screen porch a drab to fab makeover, right? Well, I didn’t really complete the makeover. I strategically cropped this ugly ceiling fan out of the shots:
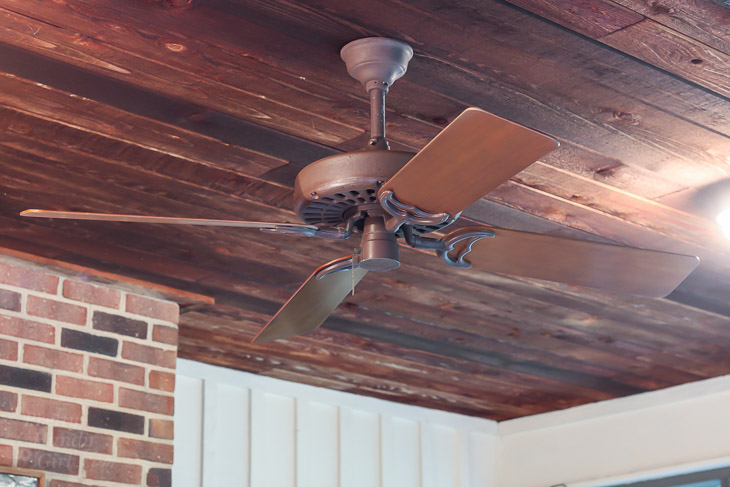
That ceiling fan isn’t just ugly. . .it’s truly F-U-G-L-Y! And we won’t even talk about the layer of black goopy dust on top of the motor and blades. Just thinking about it brings up the bile in my throat.
My stepmom and I knew we wanted to ditch the existing ceiling fan, but I wanted to replace it with an attractive ceiling fan. (I know, that seems like an oxymoron.) And then it happened, I saw a photo on Instagram that made my heart skip a beat. Our Fifth House posted a photo of her Haiku H Series Fan on her screen porch.
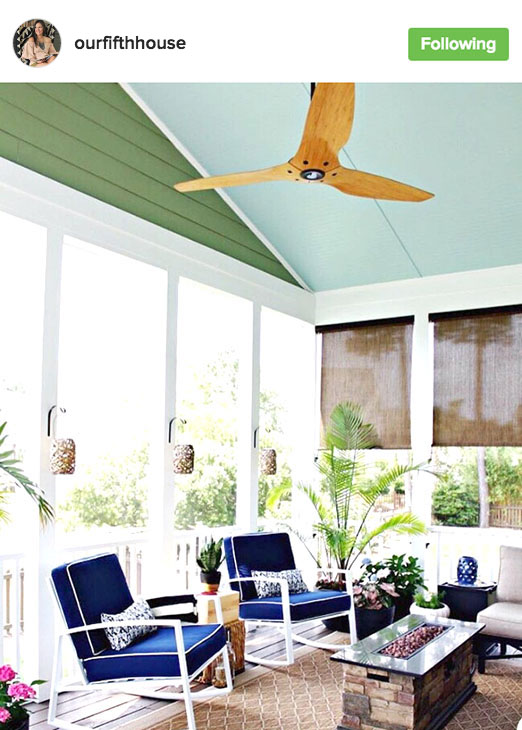
That’s when I knew I had to install a Haiku Ceiling Fan on my stepmom’s screen porch. I approached Haiku Home (owned by Big Ass Solutions) about working with me on the screen porch makeover. They graciously agreed to supply the fan if I would supply the words and photos in this post. NOT ONLY THAT, they offered to give one of my readers a Haiku L Series Fan as well (read to the end of this post to enter.) Deal! Now that you know the back story, I present to you the Most Beautiful Ceiling Fan I Ever Laid Eyes Upon:
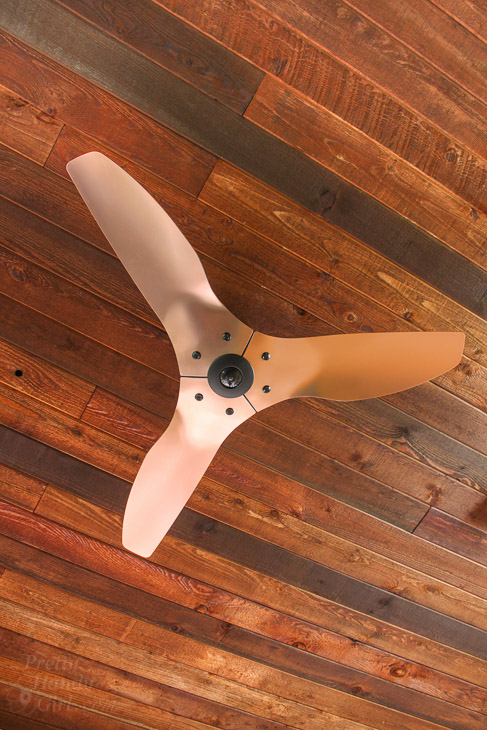
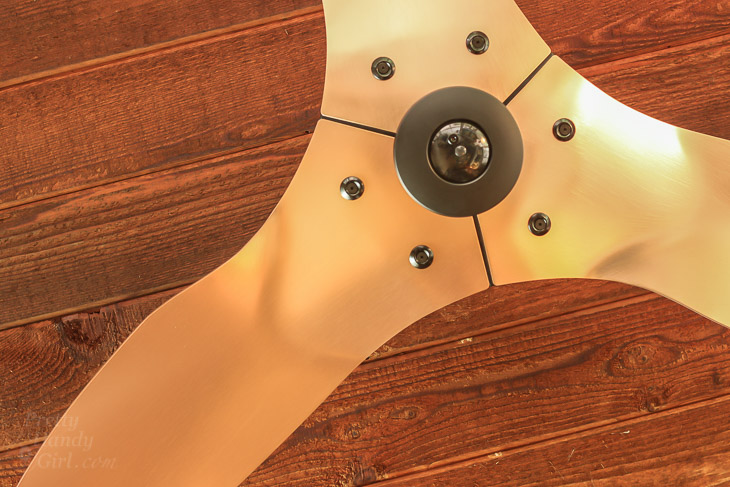
Isn’t that the most gorgeous ceiling fan you’ve ever seen? The motor is tiny and hidden by the beautiful brushed copper air foils. This fan is shiny, sleek, and modern. Best of all, it works great!
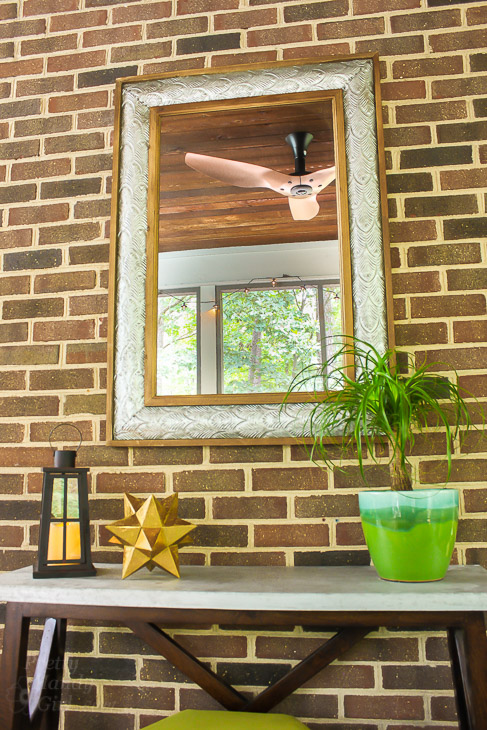
My stepmom had one switch that controlled her ceiling fan before. The switch was inside the house, not even remotely close to the door she uses for the porch (stupid!) We solved that issue by requesting a remote control for the Haiku Luxe Series Fan. Now she can sit on the screen porch and control the ceiling fan without walking through the house to turn it on.
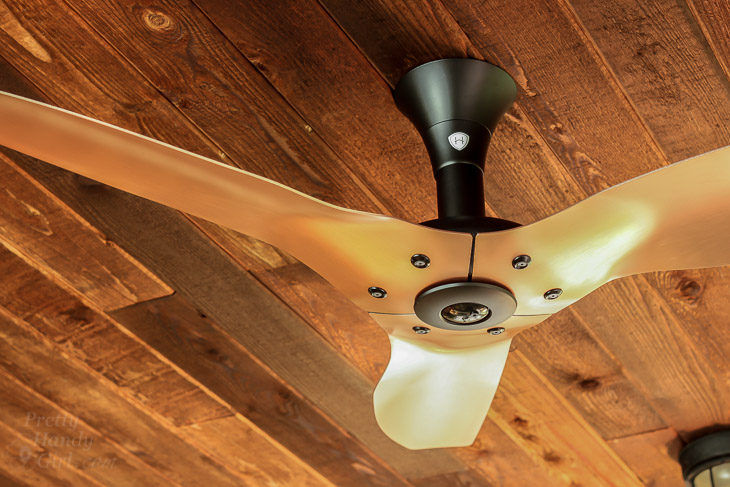
Want to see how easy it is to install the Haiku Ceiling Fan? Let’s get busy.
(I’ve included affiliate links for your convenience. I earn a small percentage from a purchase using these links. There is no additional cost to you. You can read more about affiliate links here.)
Materials:
Instructions:
Shut off the circuit to your ceiling fan. (Turn on the fan, then shut the circuit off and check that the fan doesn’t have power.)
Begin by removing the fan blades from the old ceiling fan.
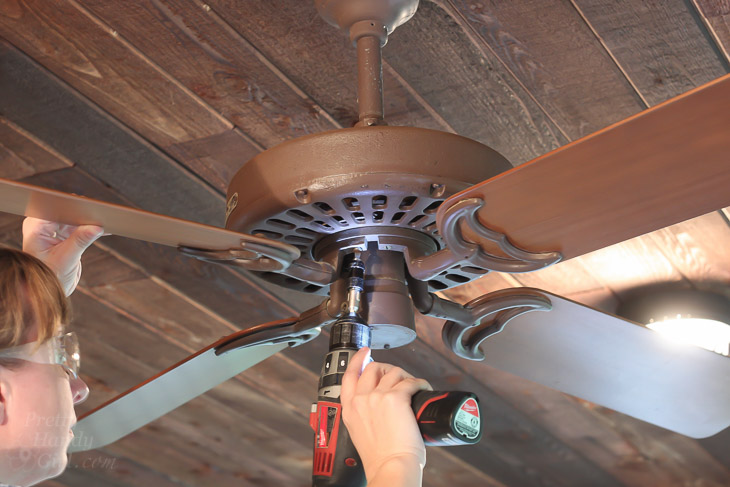
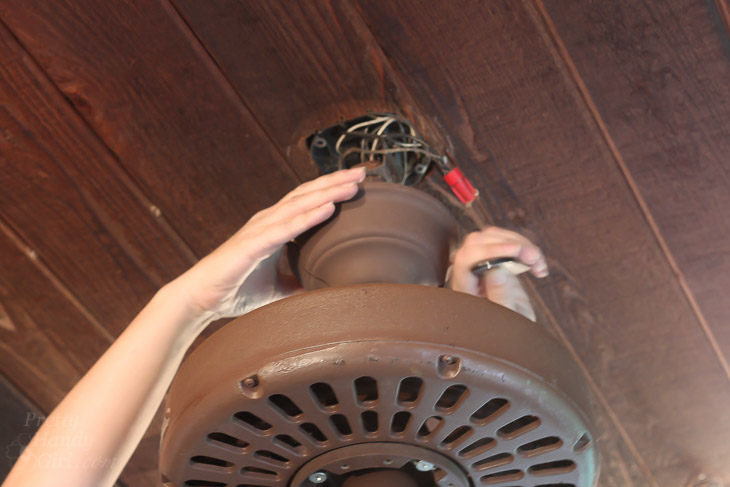
Remove the canopy covering the wiring. (All ceiling fans are different, look for screws or rotate the canopy to remove.)
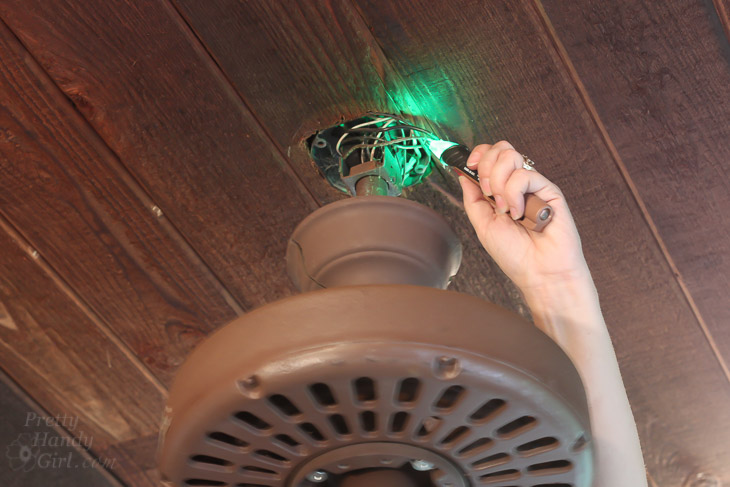
Use the voltage tester to check for power. The green light means it’s safe. Red light (and/or an audible alarm) means the power is still on.
Disconnect the wires starting with the black “hot” wires. Then disconnect the white “neutral” wires and finally the bare “ground” wires.
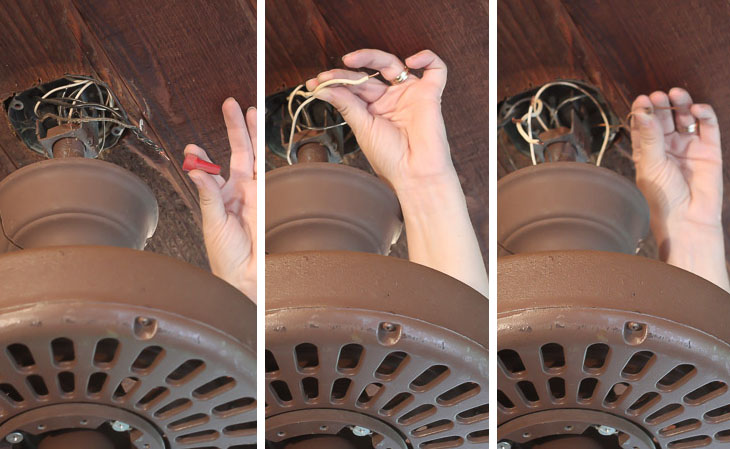
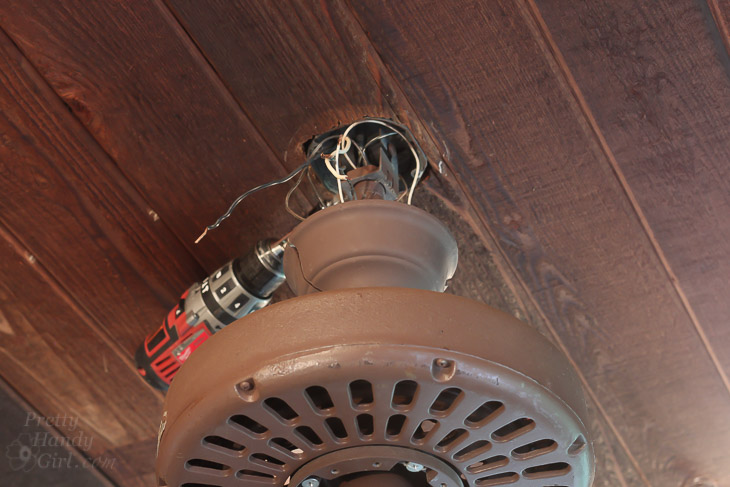
Have a friend support the fan as you remove it from the mounting bracket.
Time to prepare the Haiku Luxe Series Fan for installation. Be sure to follow the installation instructions included with your fan.
Remove the shipping screws and shipping cap.
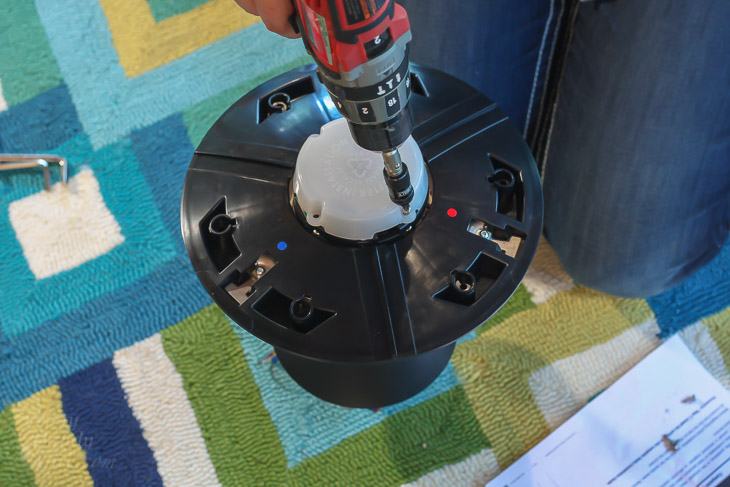
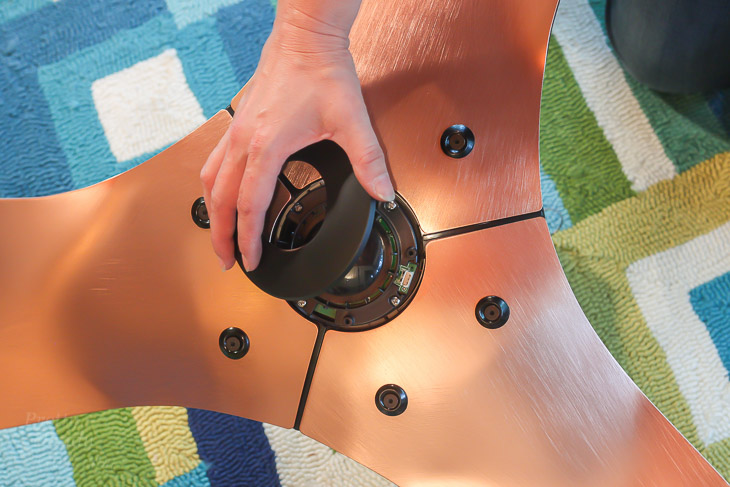
Locate the screws and grommets to attach the airfoils (fan blades).

Match each airfoil with the color dot on the motor. Attach the airfoils using the screws and grommets provided.
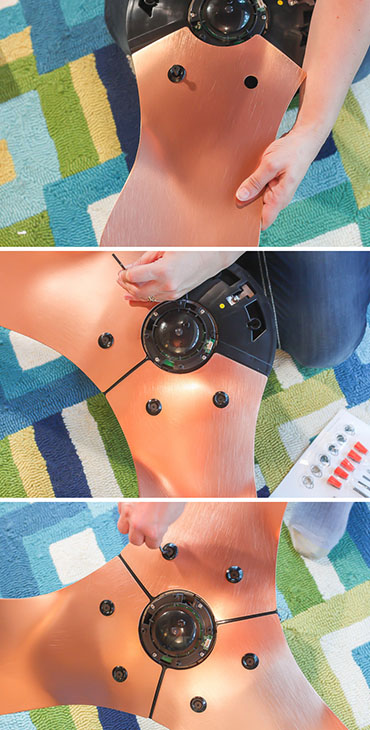
Attach the lower cover in the center of the airfoils.
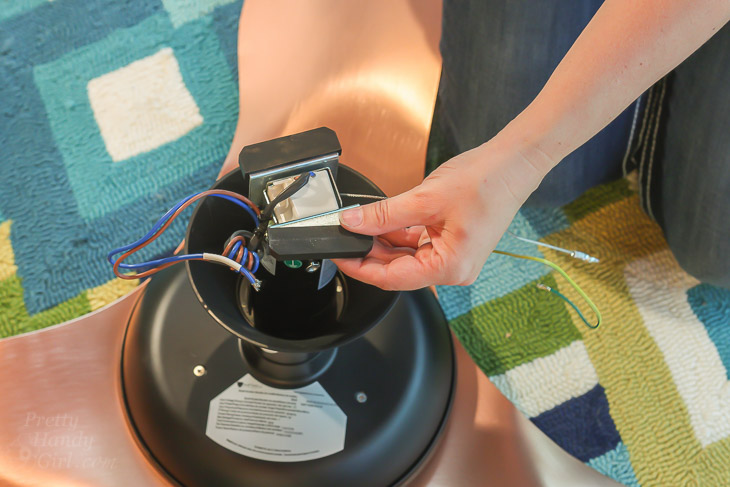
Locate the rubber bumpers and slide them onto the extension brackets.
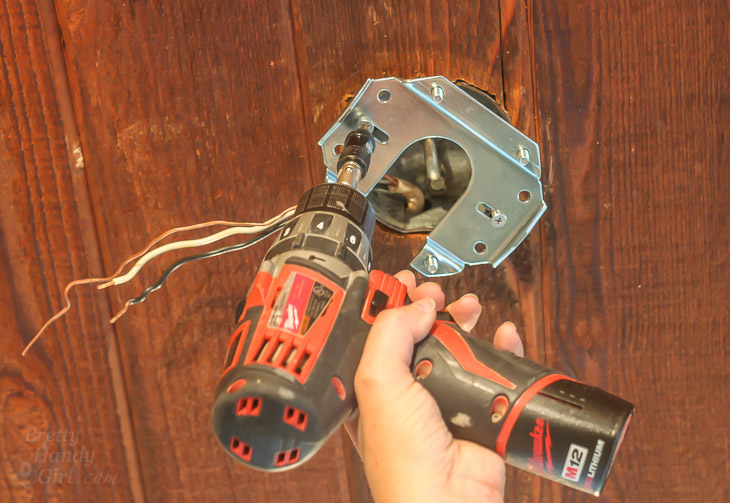
Attach the mounting plate to the ceiling box with screws from your ceiling junction box.
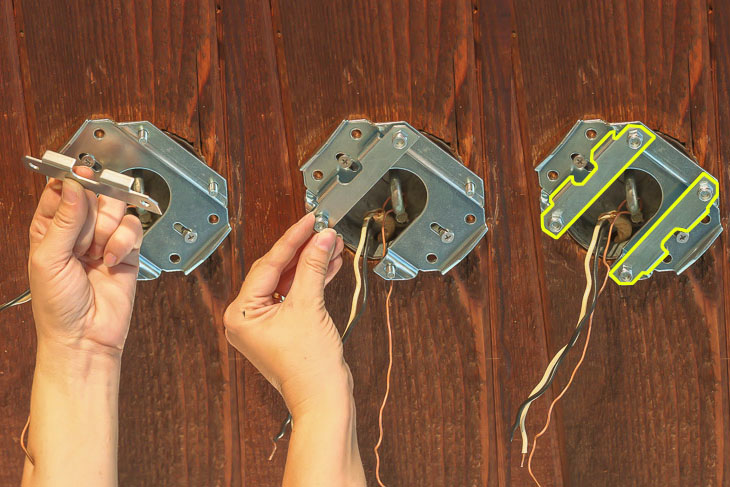
Locate the mounting brackets (outlined in yellow below) and loosely attach them to the mounting plate.
Attach the safety cable to a secured hook or stud in the ceiling (our junction box had a hook bolted to the ceiling joist which was a perfect anchor point.)
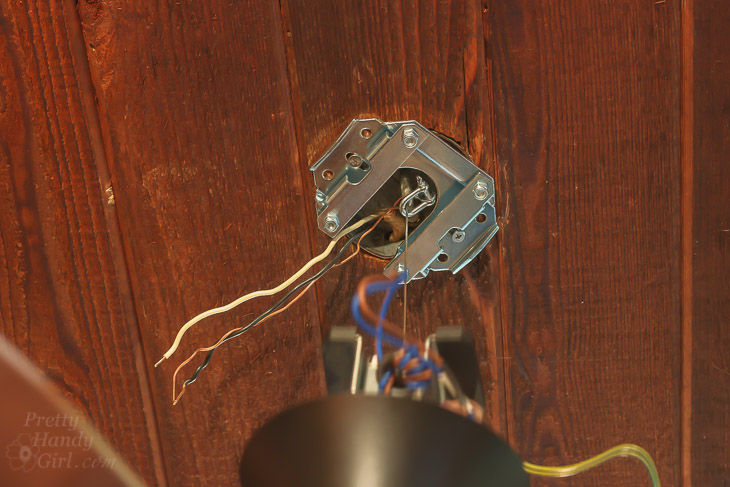
Wire the ceiling fan by attaching the wires in this order: 1. Green/yellow to bare “ground” 2. Blue to white “neutral” 3. Red to black “hot”.
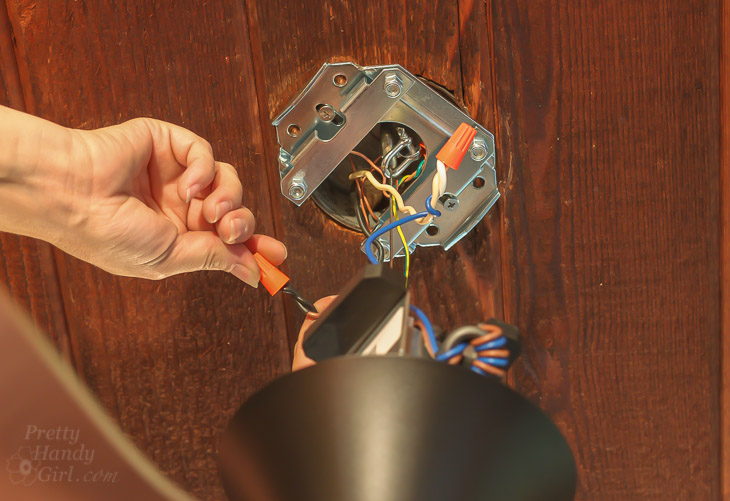
Tighten the bolts on the mounting brackets.
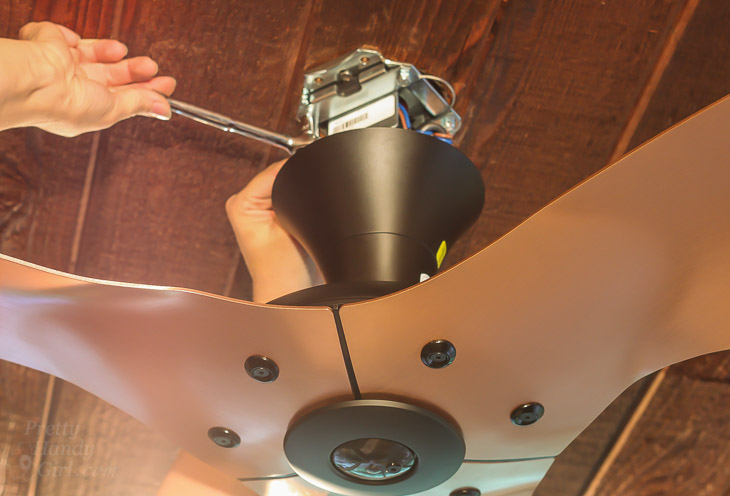
Secure the wire cover with screws provided. Slide the rest of the wiring cover up to cover the extension tube. Snap the cap on the side bolt.
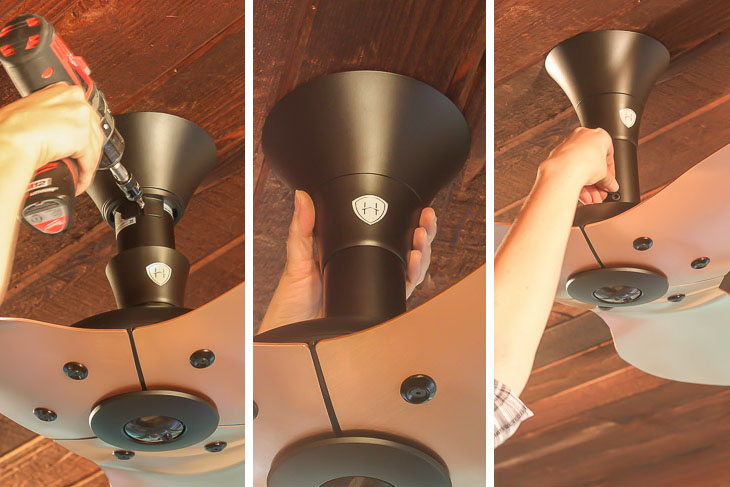
Now sit back and admire the view! Then use your remote control to turn the fan on and enjoy the breeze!
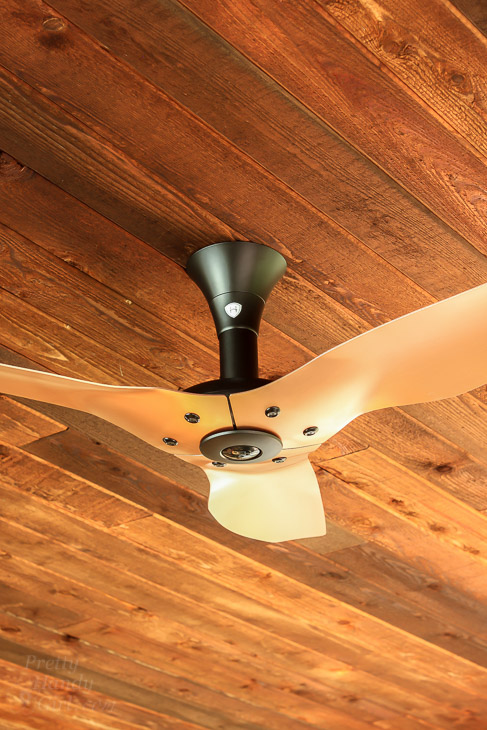
The Haiku Luxe Series fan is truly a thing of beauty. My stepmom and I love how it looks.

It is definitely a show stopper. Especially if you remember the old fan that was there.
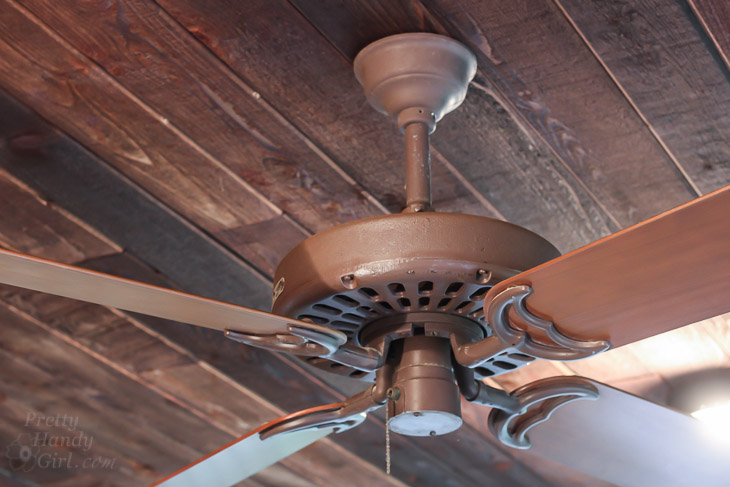
Big coppery bling improvement!
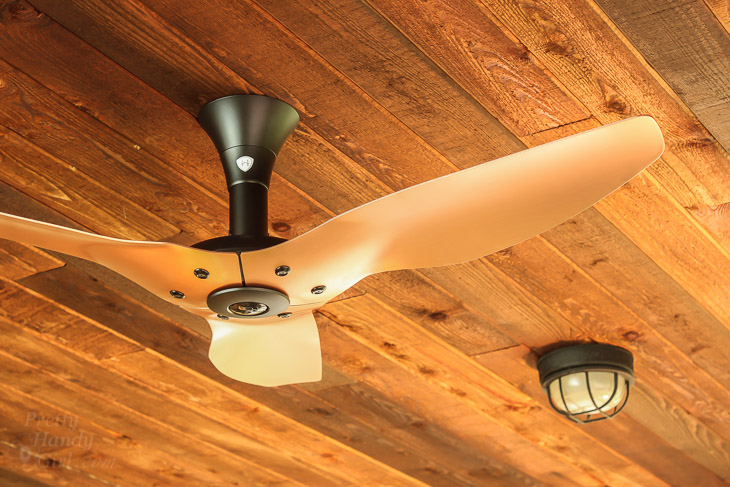
I think this fan needs to be in an art museum. . . but that’s just my opinion.
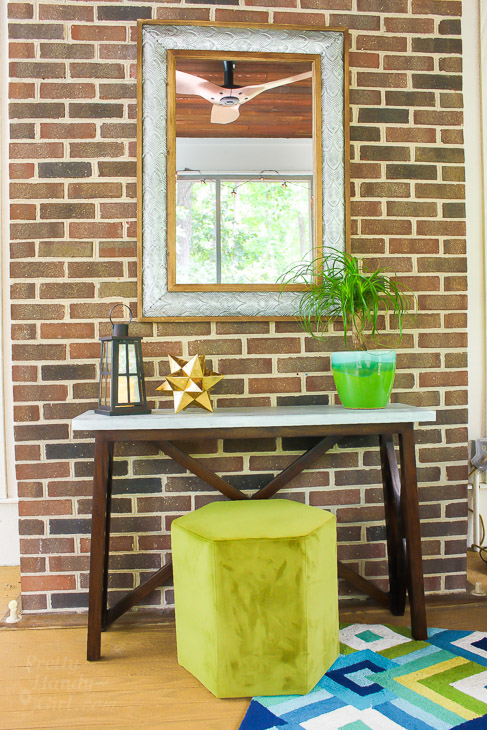
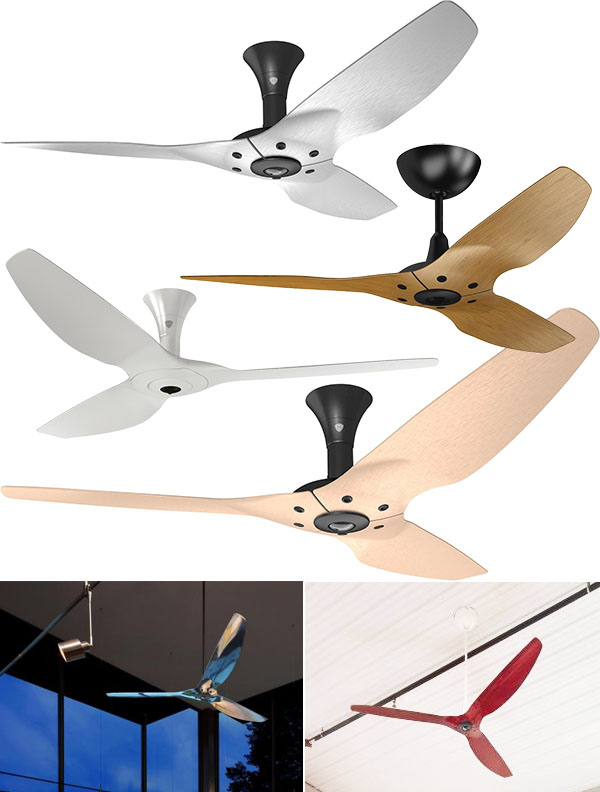
I’m thinking I might need to replace a ceiling fan or two in our home now. You should see all the options Haiku Home has:
Sorry, the giveaway has ended.
I have one question for you before you go, isn’t this the Most Beautiful Ceiling Fan You Ever Laid Eyes Upon?

I’m definitely a fan! LOL. . . get it?
![]()
Disclosure: Big Ass Solutions sent me the Haiku Home Luxe Fan for this project. I was not paid to use the product. I was not told what to write about their product. I approached Big Ass Solutions about working with me because I know they make quality products. As usual, I’m vary particular about the brands I mention on the blog.
Pin for later!



The fan you took down was a Hunter Original. It will outlast the new crap you hung in it’s place for decades.
The new fan is not cheap crap. It’s definitely a quality fan made by Haiku, parent company is Big Ass Fans. You are welcome to do the research on the quality.
I think it’s a great fan design, and it looks really nice in the room you installed it in. But I think it would look a little too modern in my older-style home. But thank you very much for sharing, and giving inspiration. it looks like the hard work you put in to change the fan was well worth it!
That is truly a beautiful piece of art and functional at the same time!
I like the I series. I like dark expresso finishes.
Brushed copper looks awesome
Best ceiling fan I’ve found.