A Dry Erase Message Board from a Cabinet Door
Happy Monday morning y’all! I’ve been working like a busy bee this past month. So many projects! I need to clone myself so one of us can work on the projects like this dry erase message board and the other can write the posts. (Luckily I had an extra hour yesterday thanks to switching back to standard time.)
One of the reasons I’ve been so busy is that I will be giving my first demonstration at the Raleigh Habitat for Humanity ReStore this Saturday at 1pm. If you are in the area, I’d love to see you. Here is the address and more information about the ReStore. I will be demonstrating how I turned a truly nasty greased wall cabinet into this charming shoe storage bench.
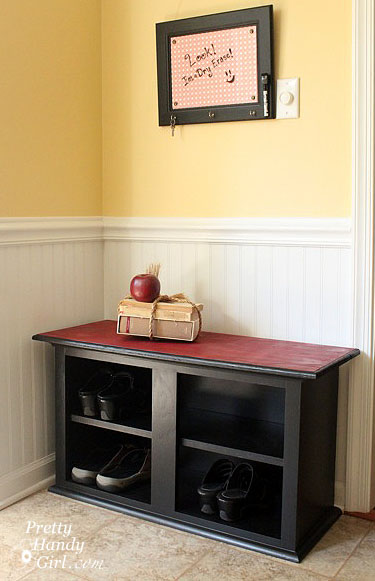 I’m not the type who can throw something away, so when I removed the cabinet doors to make the shoe bench, I decided to salvage them and make message boards. The first one was transformed into a cute chalkboard frame.
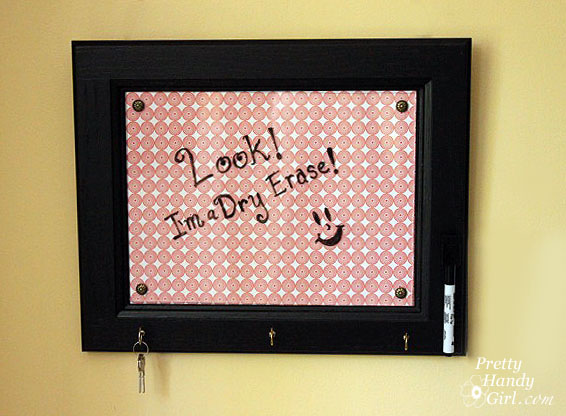
The other one was turned into a — you guessed it — a dry erase message board! And of course (because I love you), I’ll share with you how I made it.
Materials:
- Cabinet door (pre-primed and painted)
- Plexiglass cut to the interior panel dimension
- Scrapbook paper (choose a light color that dry erase marker will show up on top of)
- 4 Nail head trim tacks
- 3 Cup hooks
- X-acto blade
- Metal ruler
- Sharpie marker
- Drill and bits
- Scrap of wood
- Hammer
- Needle-nosed pliers
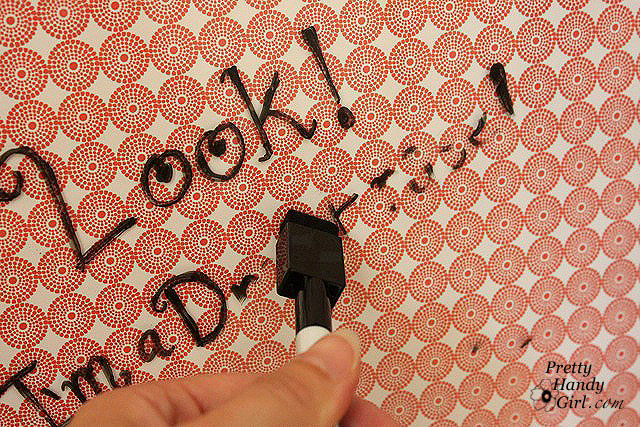
- Dry erase marker
- E-6000 glue
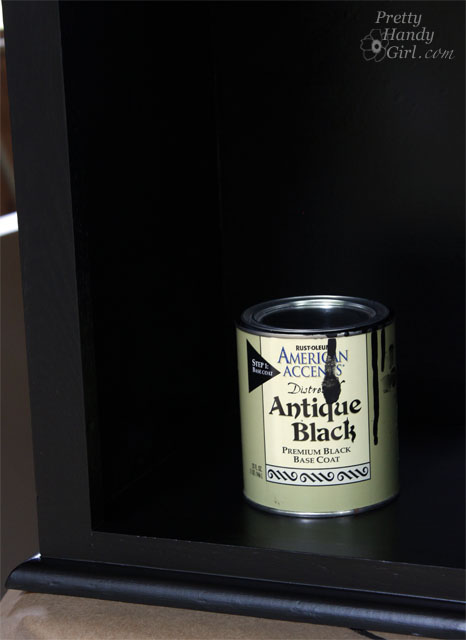
1. If you haven’t already: clean, prime and paint your door. It isn’t necessary, but if you want to give your cabinet door a new look, go ahead and paint it any color you like! The sky is the limit on color. I used American Accents Antique Black.
2. Now, cut your scrapbook paper to fit inside the cabinet door panel. As always, be sure you are using a fresh new x-acto blade and a metal edged ruler.
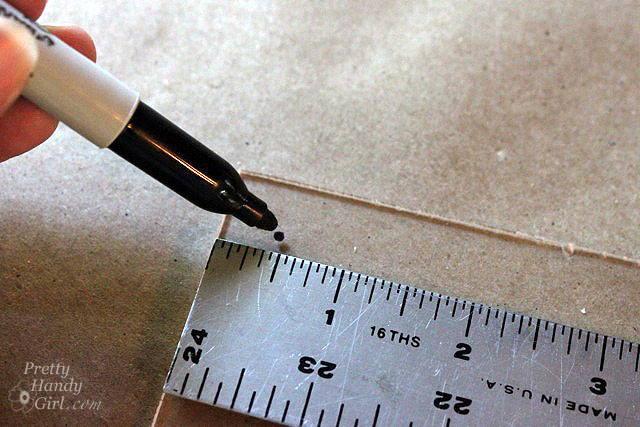
3. Next mark a dot 1/2 inch from the corners of the plexiglass.
4. Drill a small hole through the plexiglass at each dot. Use a drill bit that is slightly larger than the nail on your nail head tack.
5. Lay your scrapbook paper into the panel, then rest your plexiglass on top of the paper. (I purposely didn’t glue the scrapbook paper so I could change it out when I want a décor change.)
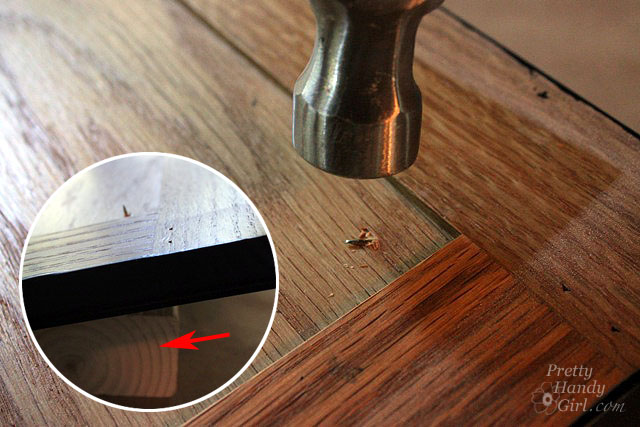
6. Set a nail head into each corner hole in the plexi. Hold the nail with the needle-nosed pliers as you hammer each tack into the cabinet door.
7. If your tacks go through the back, flip over the cabinet door. Set the piece of scrap wood (red arrow) under the nail head and hammer the point of the nail to bend it to the side (so no one gets poked!)
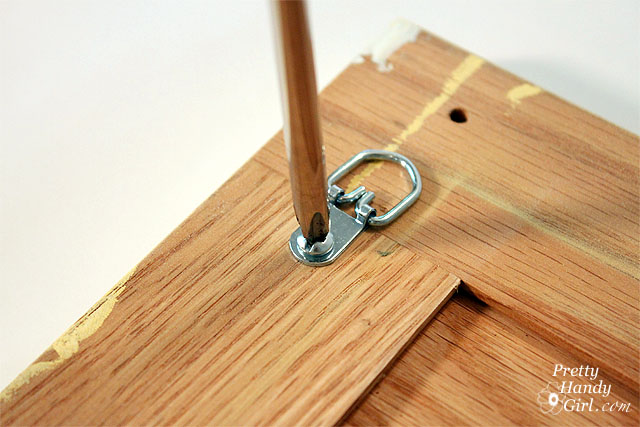
8. Use a ruler to mark where you want your cup hooks mounted. Pre-drill holes for your cup hooks using a drill bit slightly smaller than the cup hook screw end. Then screw them into the holes.
9. Attach D-ring hooks to the back of the door.
10. Attach a dry erase pen to the board using string. Or if you find a marker with a magnetic cap, you can glue a magnet to the board using E-600o. Now you can hang the marker back on the board when you’re done writing a message.
11. Hang that cute little dry erase board up on the wall! Did you see this and this tip for hanging frames that have two hooks? Genius!
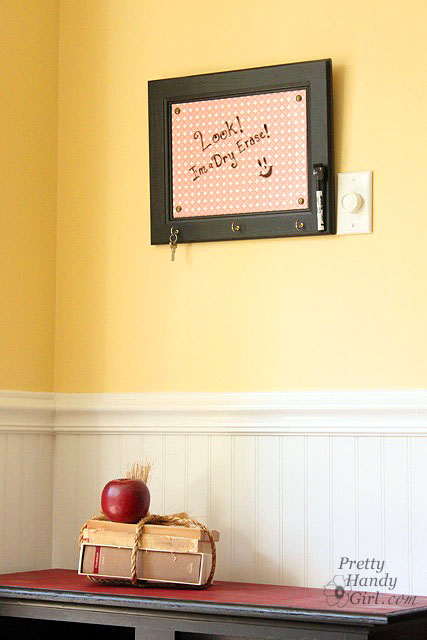
That is how you can make a custom dry erase board out of an old cabinet door! I love how it matches the bench colors and can match anything I want it to by changing out the scrapbook paper. Shoot, I could probably put photos behind the plexi too!
![]()
Okay, so who is coming out to join me on Saturday? Please don’t let me show up and give a talk to the crickets. 😉










Trackbacks & Pingbacks
-
25 DIY Projects Made From Old Cabinet Doors – It’s Time To Repurpose! – Sketchup Shed Plans says:
May 25, 2017 at 1:46 pm
« Older Comments[…] Tutorial: prettyhandygirl […]
Leave a Reply
Want to join the discussion?Feel free to contribute!